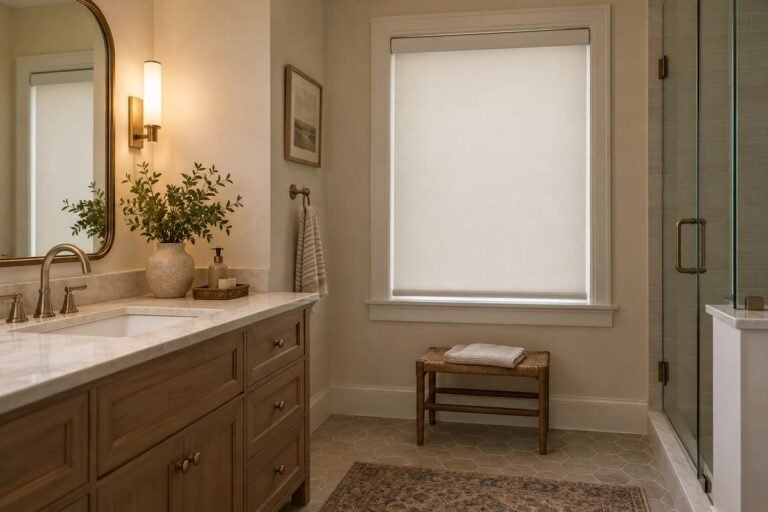
Shower door ideas begin with the opening you need to use every day. A clear glass panel or striking dark frame can change the bathroom’s appearance, but the complete enclosure also needs to suit the finished walls, shower base and route into the shower. Choose the operating arrangement before choosing its decorative details.
Compare entering, reaching the controls, showering, leaving and cleaning as one sequence. Include the bathroom door, vanity drawers, toilet and any planned seating. A door that looks compact when closed can have a very different footprint while somebody uses it.
These 24 original concepts focus on enclosure choices rather than glass installation. They do not establish a product’s fit, waterproofing, code compliance or accessibility for a particular person. Have a suitable professional confirm the complete design and follow the exact enclosure’s current specifications and instructions.
The images are original AI-generated decor concepts, not installation diagrams or photographs of completed client projects.
Browse These 24 Shower Door Ideas
Jump to an idea
- Begin shower door ideas with one clear alcove arrangement
- Compare a sliding door with the actual clear entry
- Consider a bypass layout when both access positions are useful
- Give a hinged door a genuinely clear opening area
- Compare a pivot assembly as its own complete configuration
- Let a fixed panel and moving door form one considered group
- Use a corner enclosure that belongs to the actual base geometry
- Compare an angled corner entry through a complete system
- Keep tub-shower doors in the correct product category
- Consider a folding arrangement only through its intended movement
- Shower door ideas with a restrained framed outline
- Compare a semi-frameless design by its actual visible parts
- Choose a frameless appearance from a suitable supported design
- Use clear glass when the view into the shower is considered
- Shower door ideas with frosted glazing and a real privacy test
- Let patterned glazing become one controlled texture
- Use a dark frame to repeat one existing room detail
- Keep a pale metal finish quiet beside cooler tile
- Give a warm metal finish a restrained supporting palette
- Let detailed shower tile keep the main visual role
- Coordinate the door sweep with the vanity’s working position
- Keep planned shower seating clear of the entrance sequence
- Plan a reachable care routine for glass, tracks and seals
- Finish shower door ideas with a normal-use review
Compare shower door ideas through the finished opening
Keep the exact model, configuration, finished wall measurements, height, threshold requirements, wall condition and usable entry on the same comparison sheet. DreamLine distinguishes finished door-opening measurements from rough construction and base dimensions. Its guide also illustrates that wall finishes change the available opening. Have the actual dimensions and installation conditions checked before ordering; a familiar nominal shower size does not confirm a door will fit.
| Planning question | Arrangement to compare | Detail to confirm |
|---|---|---|
| Little room for a swinging panel | A suitable sliding enclosure | Its actual clear entry and cleaning access |
| A clear space beside the opening | A suitable hinged or pivot assembly | The complete sweep, handle and surrounding fixtures |
| An alcove with two finished walls | A compatible alcove configuration | Finished widths, height and the exact adjustment range |
| A corner shower | A complete matching corner enclosure | Base geometry, panel positions and entry route |
| A shared bathroom needing more privacy | Appropriate frosted or patterned glazing | A real sample under the expected lighting |
| A detailed tile scheme | A quieter glass and frame composition | The repeated lines viewed from the room entrance |
| A demanding upkeep routine | An enclosure that can be maintained as instructed | Reach to glass, tracks, seals and hardware |
Keep adjustment claims specific to the actual model
DreamLine’s product information explains that width adjustment and tolerance for walls that are not plumb vary by model. Some configurations require plumb walls; a different design can provide a stated adjustment. Do not treat a frame, channel or similar product photograph as evidence of a particular tolerance. Ask for a confirmed product specification and a site assessment rather than trying to correct an unsuitable opening with improvised parts.
Give maintenance a place in the selection
DreamLine’s maintenance guidance calls for suitable nonabrasive care and periodic attention to the glass and hardware. Read the instructions for the exact glass treatment, finish and enclosure together. Keep a practical way to reach the relevant surfaces and arrange proper support for damage or misalignment. A coating or a frameless appearance does not remove the need for care.
Make a shower-door decision and handover sheet
Record the exact product and configuration, verified site measurements, who confirmed compatibility, opening direction, clear entry, nearby obstructions, chosen finish and glazing. Add the current instruction and care links and a place for the installer’s handover information. After the first normal week, note difficult entry movements, awkward cleaning access or a repeated conflict with another fixture. Address those observations through the appropriate product or installer support.
1. Begin shower door ideas with one clear alcove arrangement
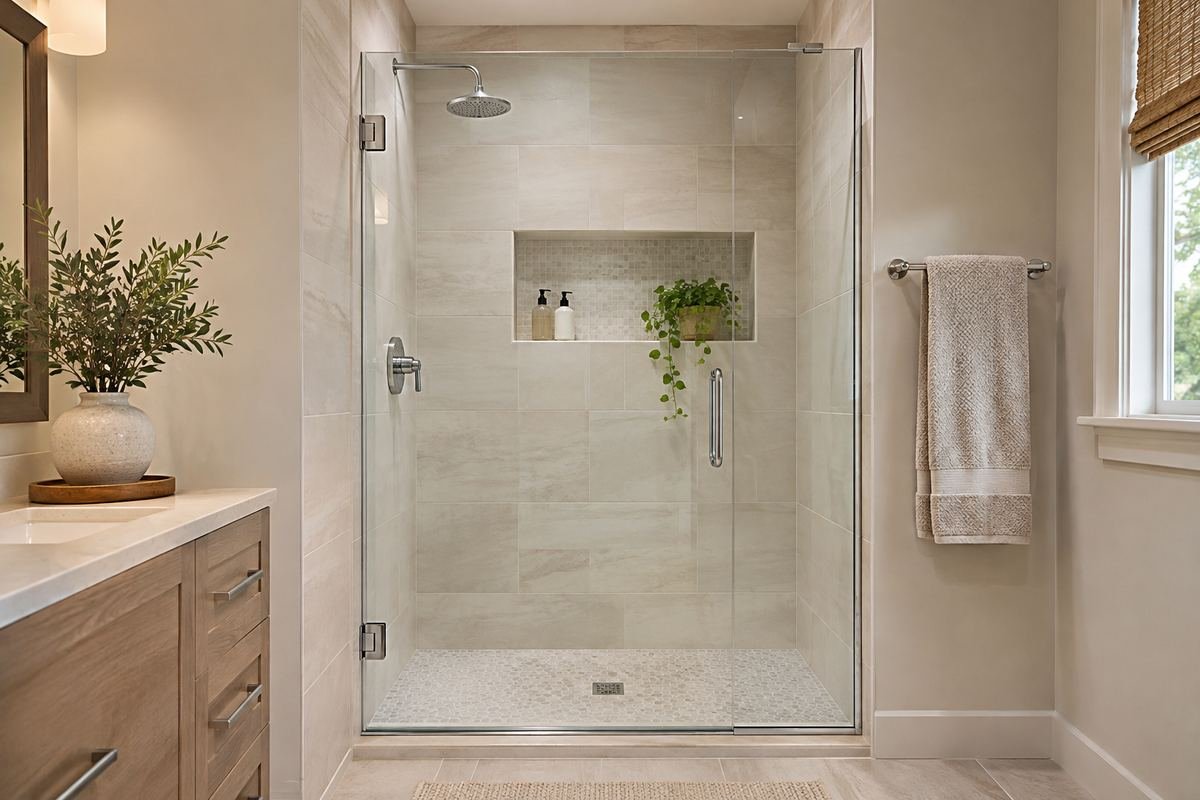
An alcove can give the enclosure a defined position between two finished walls. Begin by comparing a compatible complete door assembly with the way the shower will be approached. Keep the surrounding bathroom simple while the entry arrangement is being decided.
Look at the full opening from both inside and outside the shower plan. Include handles, fixed panels and any header rather than drawing one line where the glass closes. A clear initial arrangement makes later choices about finishes and tile much easier to assess.
Practical tip: Choose the operating arrangement before the frame color.
2. Compare a sliding door with the actual clear entry
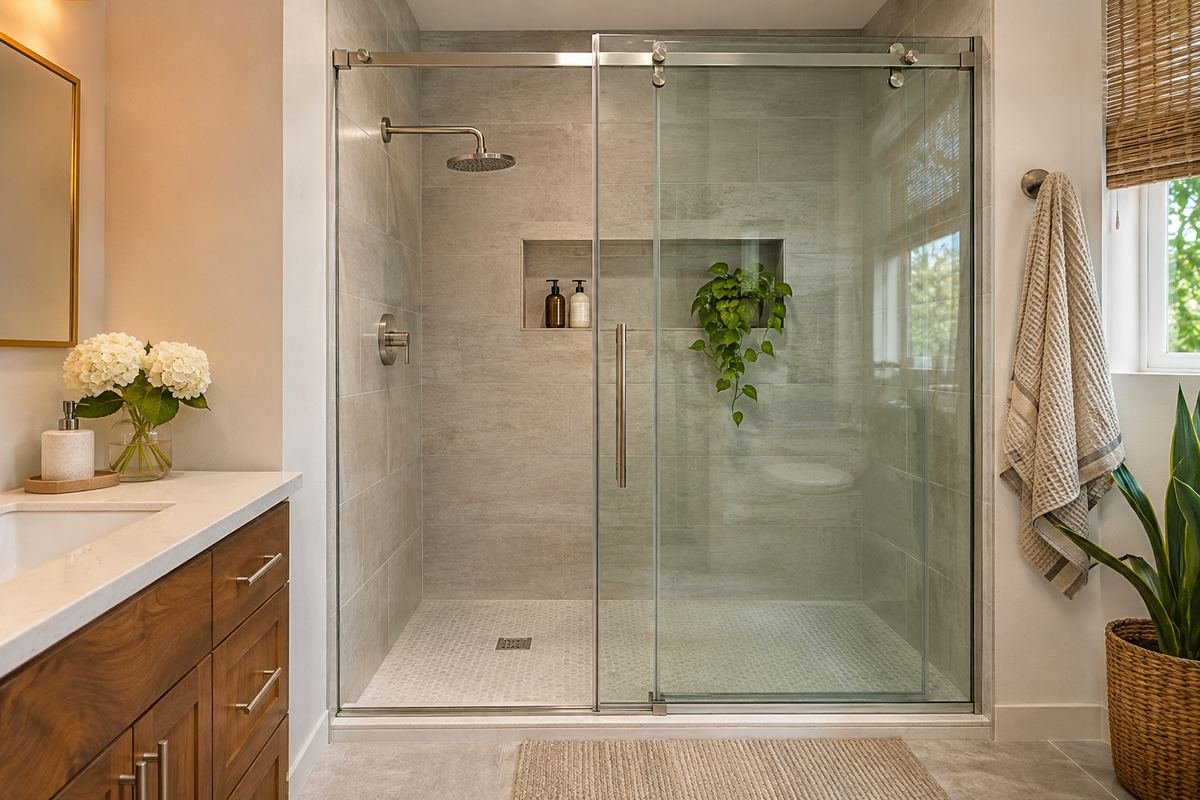
A suitable sliding door can be worth considering where a swinging panel would compete with other fixtures. Compare the open position of the moving glass with the entry it actually leaves. The complete opening is more useful information than the width of the enclosure when closed.
Check how the approach meets that entry and where the person would stand to operate the panel. Include any fixed glass, overlap and handle in the model-specific discussion. Avoid assuming that every part of the overall enclosure width becomes a usable doorway.
Practical tip: Record the usable entry as a separate comparison.
3. Consider a bypass layout when both access positions are useful
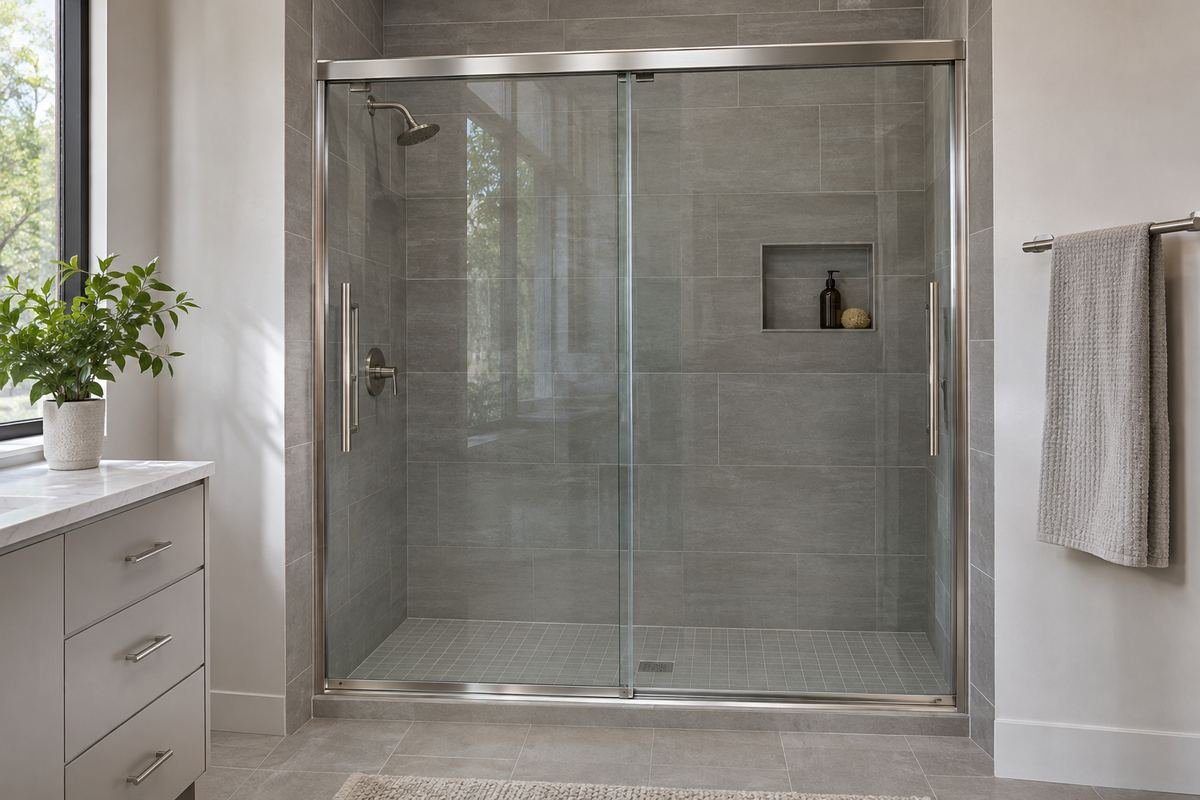
A bypass arrangement uses moving panels that pass one another. Compare a complete product intended for the opening when approaching from either side would help the actual routine. Check the manufacturer’s permitted movements instead of inferring them from two similar-looking panels.
Consider the entry position used most often and how the opposite side would be cleaned. The extra operating choice needs a purpose; it need not become another feature to maintain when one clear entry would serve the room well.
Practical tip: Compare both normal open positions on the same plan.
4. Give a hinged door a genuinely clear opening area
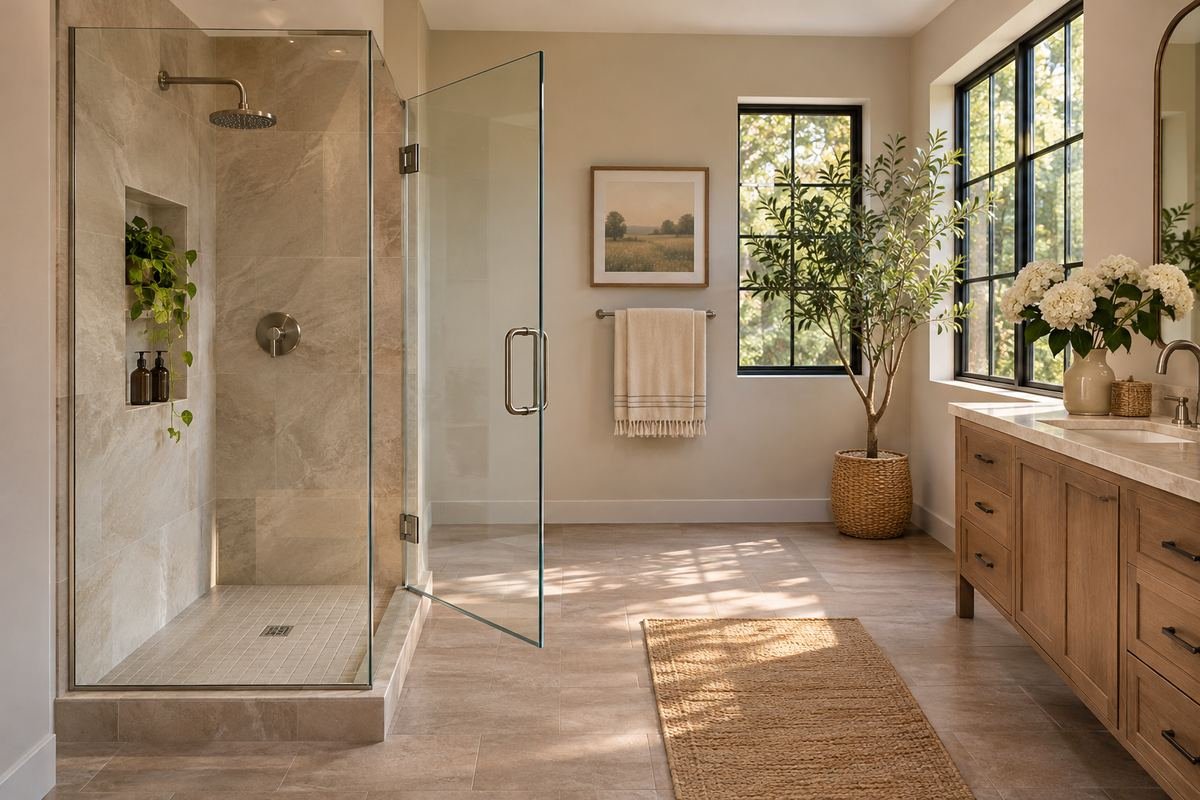
A hinged enclosure can create a clear visual entrance when its complete movement works with the bathroom. Compare the panel and projecting handle with the actual room arrangement. Keep this decision attached to an exact suitable product rather than treating every frameless door as interchangeable.
Review the panel throughout its permitted sweep with other fittings in ordinary use. A vanity drawer or bathroom door can change the relationship even if the shower door looks clear while everything is closed. Let the complete routine determine whether the arrangement earns its place.
Practical tip: Check the handle at the widest part of the movement.
5. Compare a pivot assembly as its own complete configuration

A pivot door should be compared through the way its actual assembly moves and is supported. Keep the full product specification beside the room plan. A similar outward appearance does not mean that it has the same mounting requirements or operating footprint as another door.
Ask how the proposed model affects entry, surrounding fittings and the finished opening. Judge the complete arrangement before choosing a handle or finish. The useful comparison is between verified configurations that fit the site, rather than product names used as broad guarantees.
Practical tip: Keep support and movement attached to the exact model.
6. Let a fixed panel and moving door form one considered group
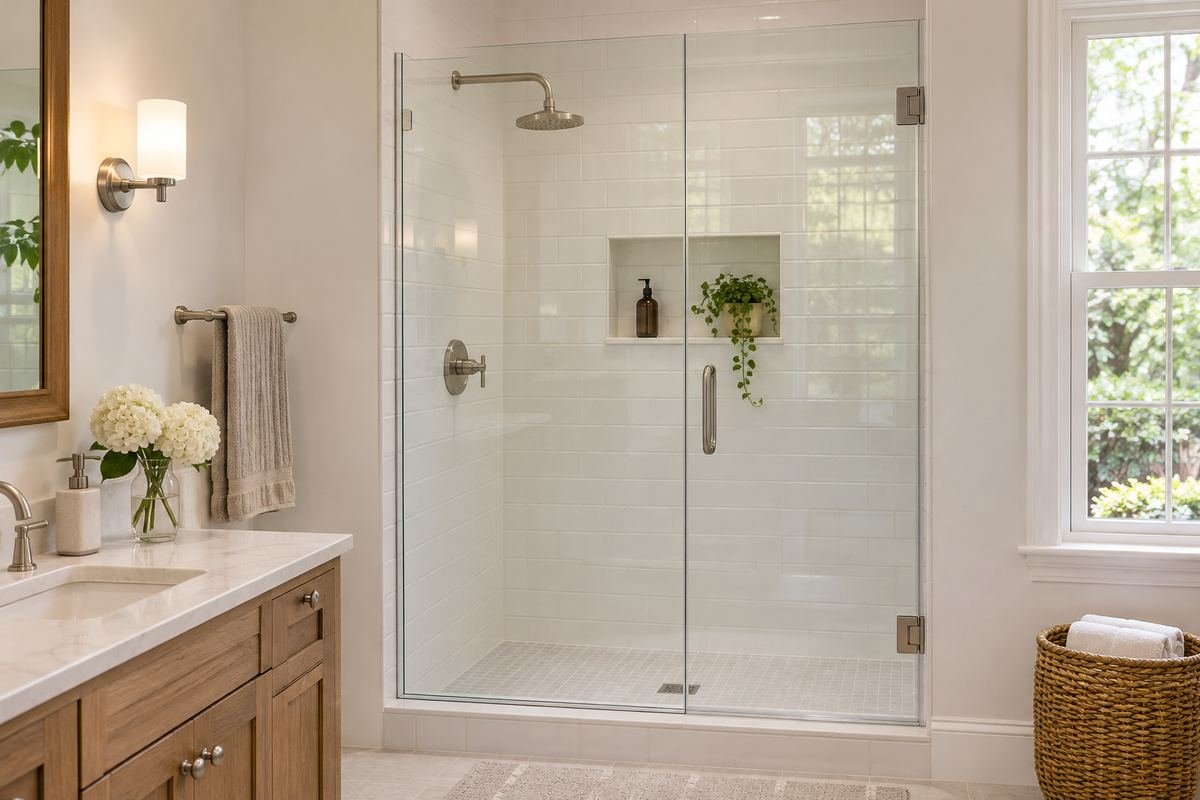
A moving door beside a fixed panel can divide a wider opening into clear parts. Compare the whole compatible assembly with the position of the shower entry and nearby fittings. Keep the fixed panel’s size and support in the product discussion rather than adding a generic piece of glass.
View the panel junctions from the bathroom entrance. A restrained layout can make the enclosure easier to read, especially beside detailed tile. Confirm that the door remains useful rather than choosing an attractive fixed-panel proportion that makes the entry awkward.
Practical tip: Compare the entry after choosing the fixed-panel arrangement.
7. Use a corner enclosure that belongs to the actual base geometry
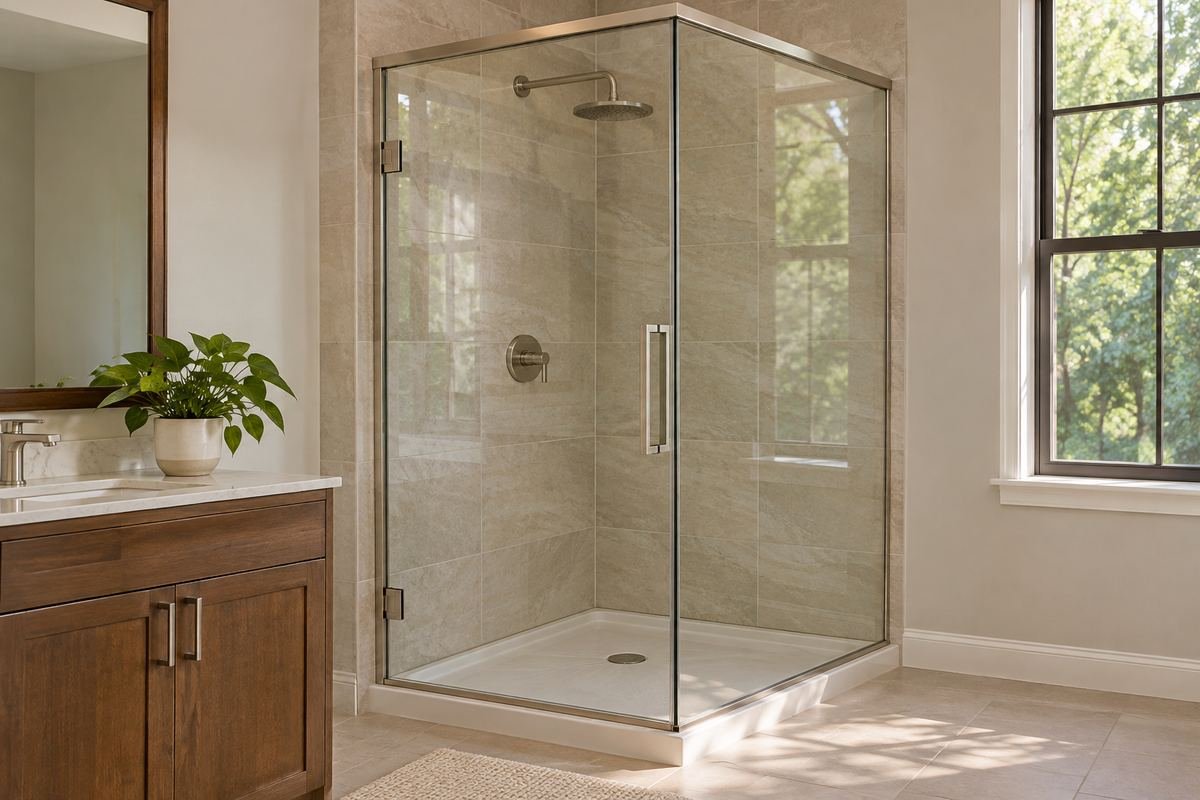
A corner shower needs a complete enclosure planned for its actual shape. Compare the finished walls, base and entry as a coordinated arrangement. Keep the choice specific instead of combining an appealing corner-door photograph with an unrelated base.
Look at how the entrance faces the room and how the surrounding fixtures will be approached. A visually compact corner is useful only when the entry and interior routine also work. Have compatibility confirmed before treating the enclosure as the final decorative layer.
Practical tip: Keep the base and enclosure configuration together.
8. Compare an angled corner entry through a complete system
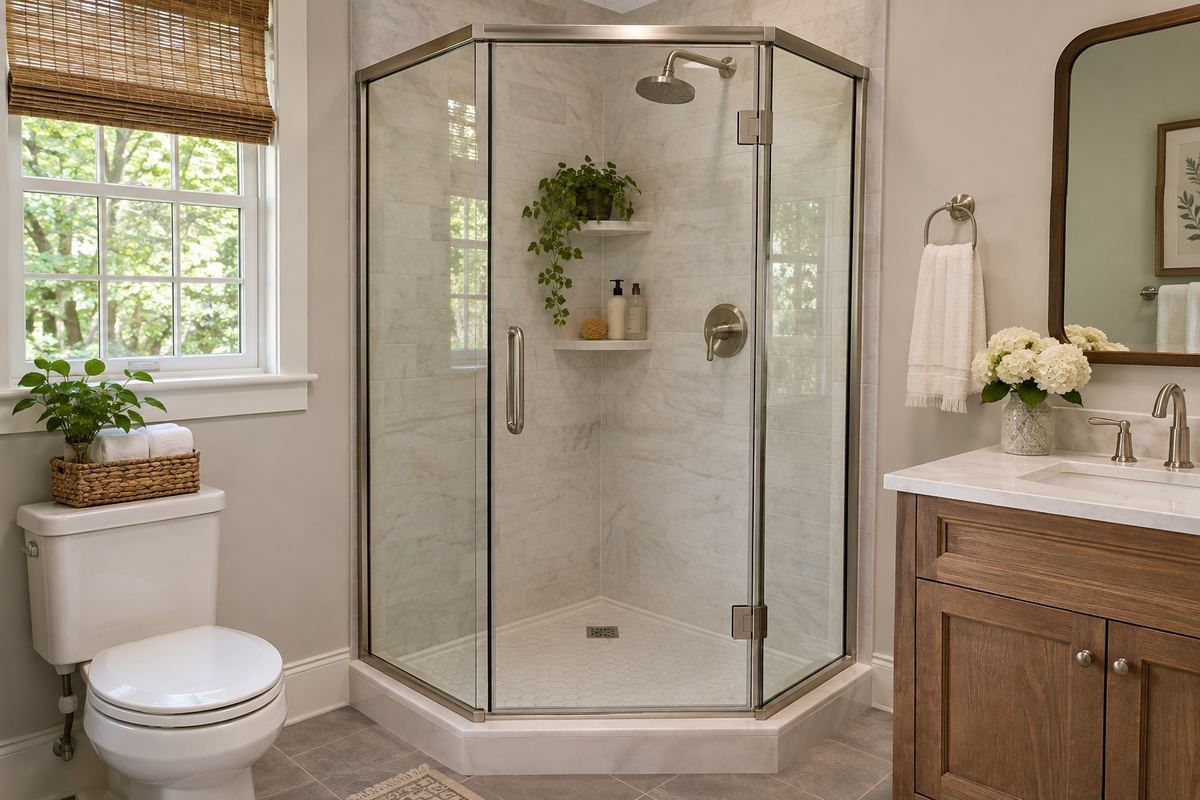
An angled front can give a corner enclosure a distinctive outline. Compare a suitable complete system where the actual bathroom plan benefits from that entry direction. The angled shape changes the relationship with the room and needs its own fit review.
Check the approach from the bathroom door and the position used to operate the shower entrance. Avoid choosing the angle only because it seems to remove a corner on paper. The full base geometry, door movement and interior use still need professional confirmation.
Practical tip: Test the real approach to the angled entrance.
9. Keep tub-shower doors in the correct product category

A bath-and-shower combination calls for a door system intended for that arrangement. Compare a suitable product with both bathing and showering routines. Keep the tub shape, rim and finished walls in the fit discussion rather than selecting a shower-only door from a similar image.
Think through reaching controls, entering, leaving and cleaning the complete tub. The door should support those tasks without relying on improvised parts or assumptions about a familiar tub width. Compare the open arrangement as carefully as the front elevation.
Practical tip: Specify the actual tub when comparing door systems.
10. Consider a folding arrangement only through its intended movement

A purpose-designed folding enclosure may suit a particular opening when its complete movement and entry have been confirmed. Compare the model’s folded and unfolded positions with the room. Keep the panel sequence clear rather than assuming any two hinged pieces can fold together.
Consider the space needed to operate the assembly as well as the space occupied by the folded glass. Ask how its joints and seals will be maintained. The mechanism should solve a real access or layout question instead of adding complexity for its appearance alone.
Practical tip: Compare the full folding sequence with the intended installer.
11. Shower door ideas with a restrained framed outline

A framed enclosure can give the shower a clear boundary within the bathroom. Choose the frame as part of a verified complete assembly and compare its visible lines with the room’s other details. A slim quiet composition can work beside both plain and patterned tile.
View the header and perimeter together rather than choosing from one metal swatch. Check the exact product’s fit and care requirements independently of the style. The frame should have a considered visual role while the assembly remains suitable for the actual site.
Practical tip: Judge the whole perimeter from the room entrance.
12. Compare a semi-frameless design by its actual visible parts
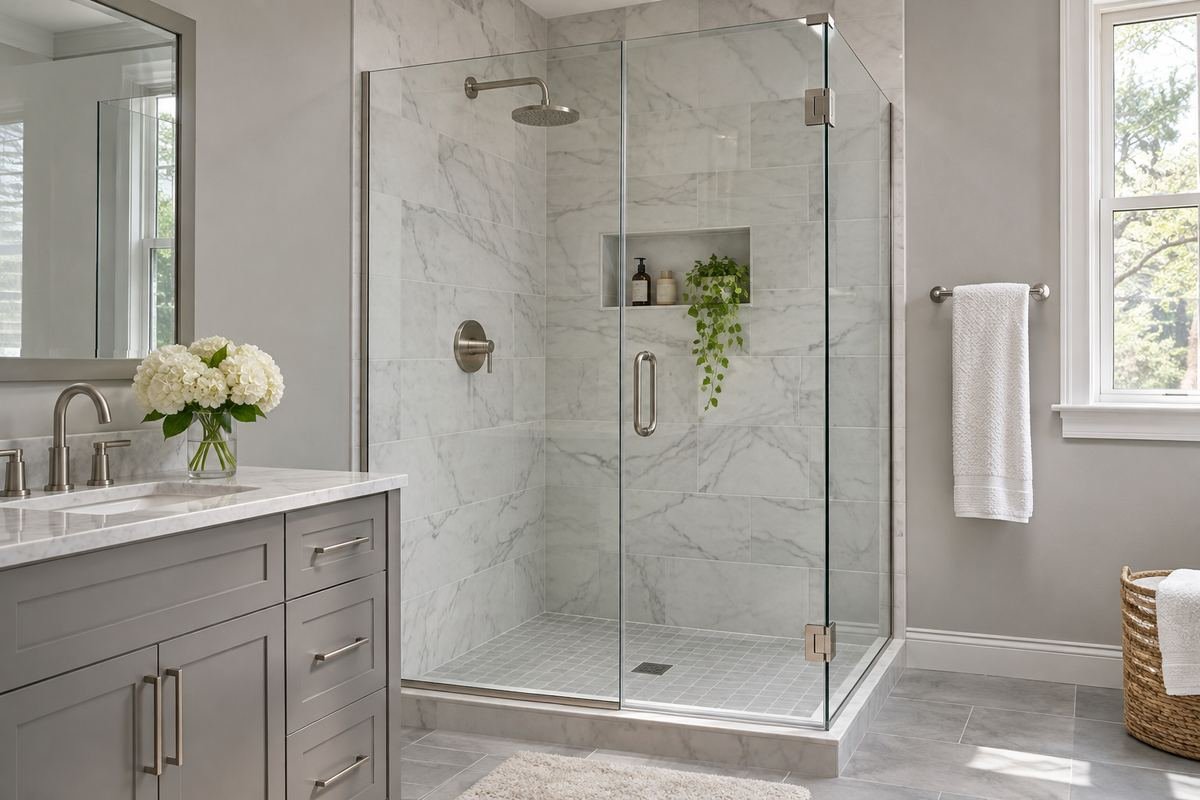
The term semi-frameless can describe different combinations of glass, profiles and hardware. Compare the exact assembly and its real visible lines. Use the product drawing or a properly identified display to understand what is included rather than relying on the label alone.
Notice where the metal meets tile, how the header reads and which parts move. Those details can connect the enclosure to the rest of the room. Keep visual preference separate from verified site compatibility and avoid assigning a generic adjustment range to the style.
Practical tip: List the visible profiles in the exact configuration.
13. Choose a frameless appearance from a suitable supported design
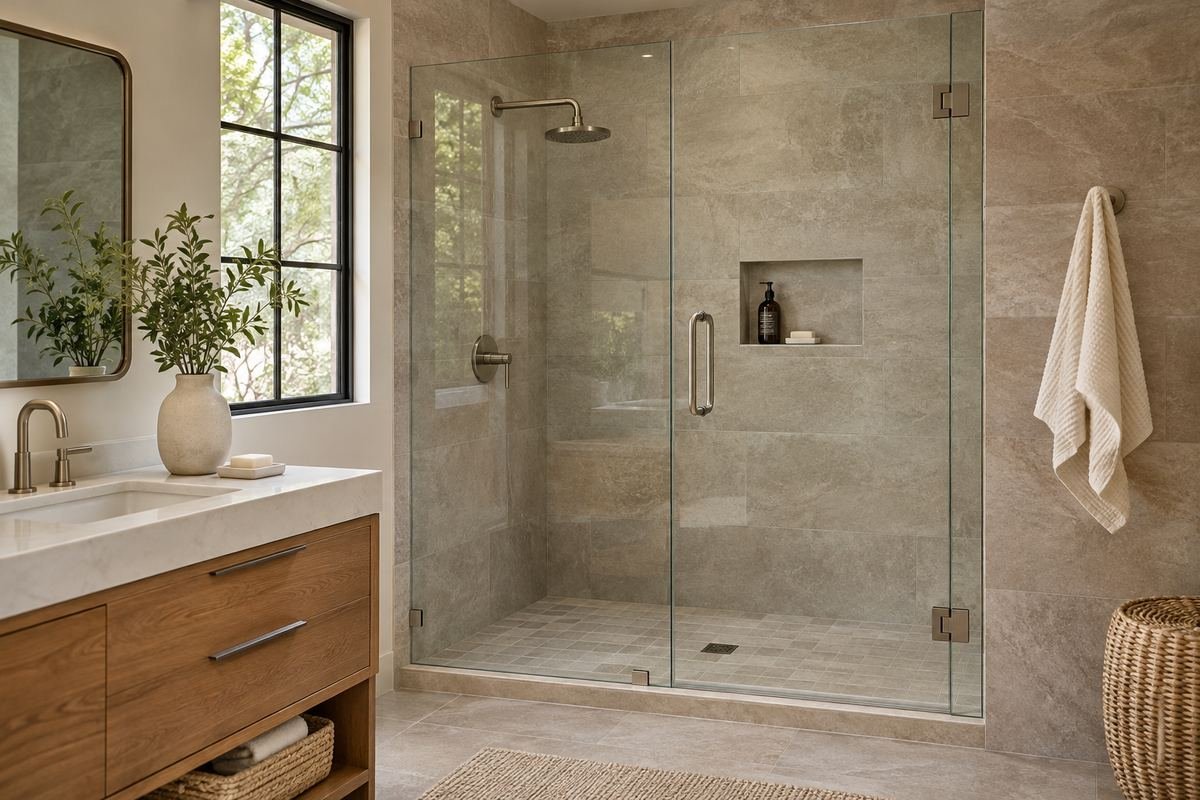
A frameless appearance can keep more attention on the tile and room beyond the glass. Compare a complete product whose support and installation conditions have been confirmed for the site. Clear edges do not establish that a generic glass panel can be used in the same way.
Review the visible hinges, brackets, handle and any required support together. A quieter outline can be effective without removing components that belong to the design. Choose the finished composition from the suitable options rather than editing away necessary hardware for a photograph.
Practical tip: Keep every required support in the design view.
14. Use clear glass when the view into the shower is considered
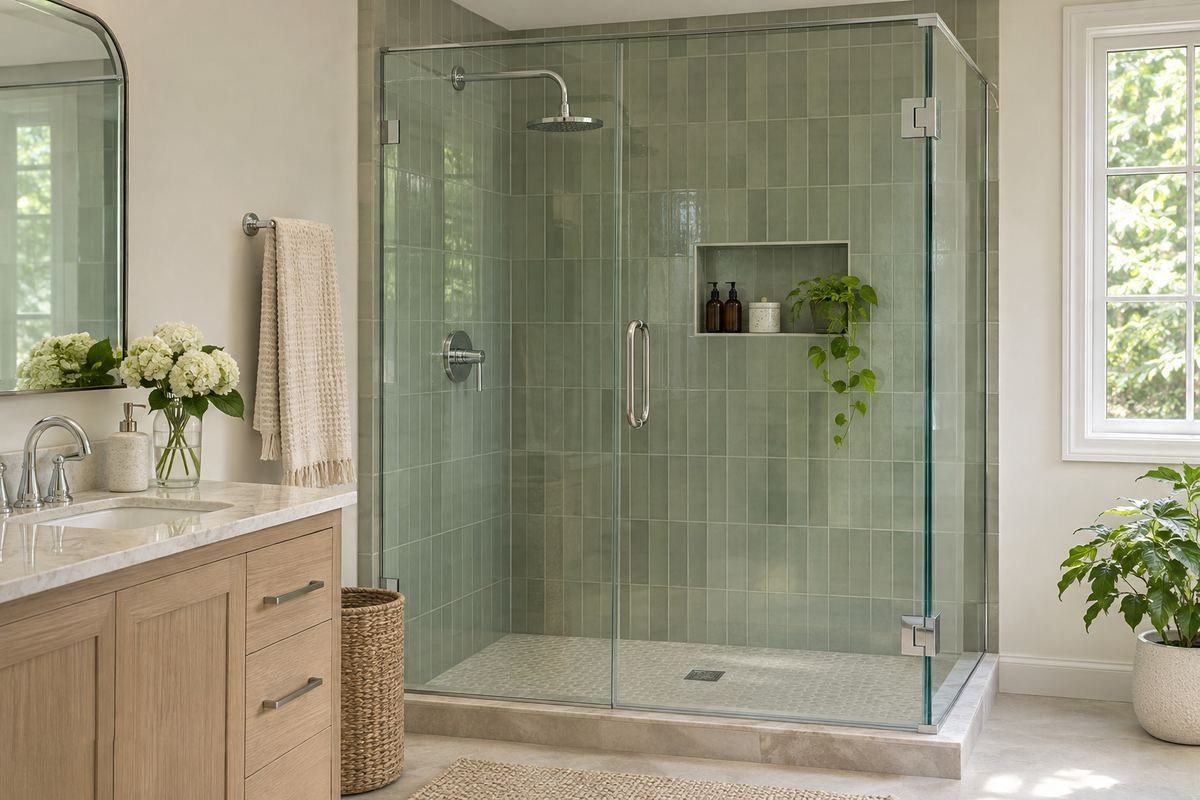
Clear glazing makes the tile, fittings and stored supplies more visible from the bathroom. Compare that view as a whole before selecting the glass. A restrained shower interior can give a clear enclosure a calmer appearance without requiring every object to disappear.
Look from the main room entrance and from the vanity. Check whether a strongly patterned wall or busy niche becomes the dominant feature. If more privacy is wanted, compare an appropriate obscured option instead of expecting a minimal frame to change the view through clear glass.
Practical tip: Review the actual sightline before ordering the glazing.
15. Shower door ideas with frosted glazing and a real privacy test
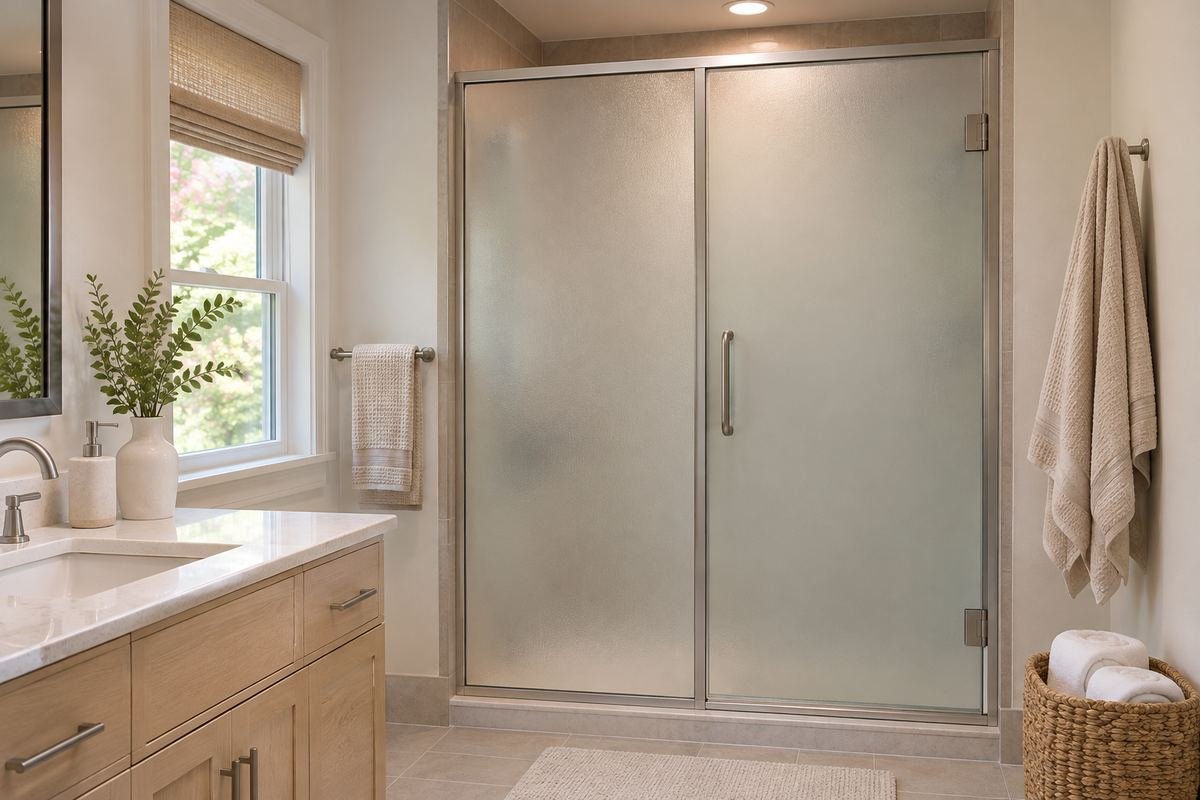
Frosted glazing can soften the view into the enclosure while maintaining a distinct light surface in the room. Compare an appropriate real sample under the expected lighting and viewing distances. Do not use the word frosted as a promise that every silhouette or movement will disappear.
Coordinate the glass with nearby materials after the privacy comparison. A simple frame and quiet tile can let the softened surface feel deliberate. Confirm the glass belongs to the selected enclosure and understand which surfaces can be cleaned in the specified way.
Practical tip: Test the glazing with the lighting you will use.
16. Let patterned glazing become one controlled texture
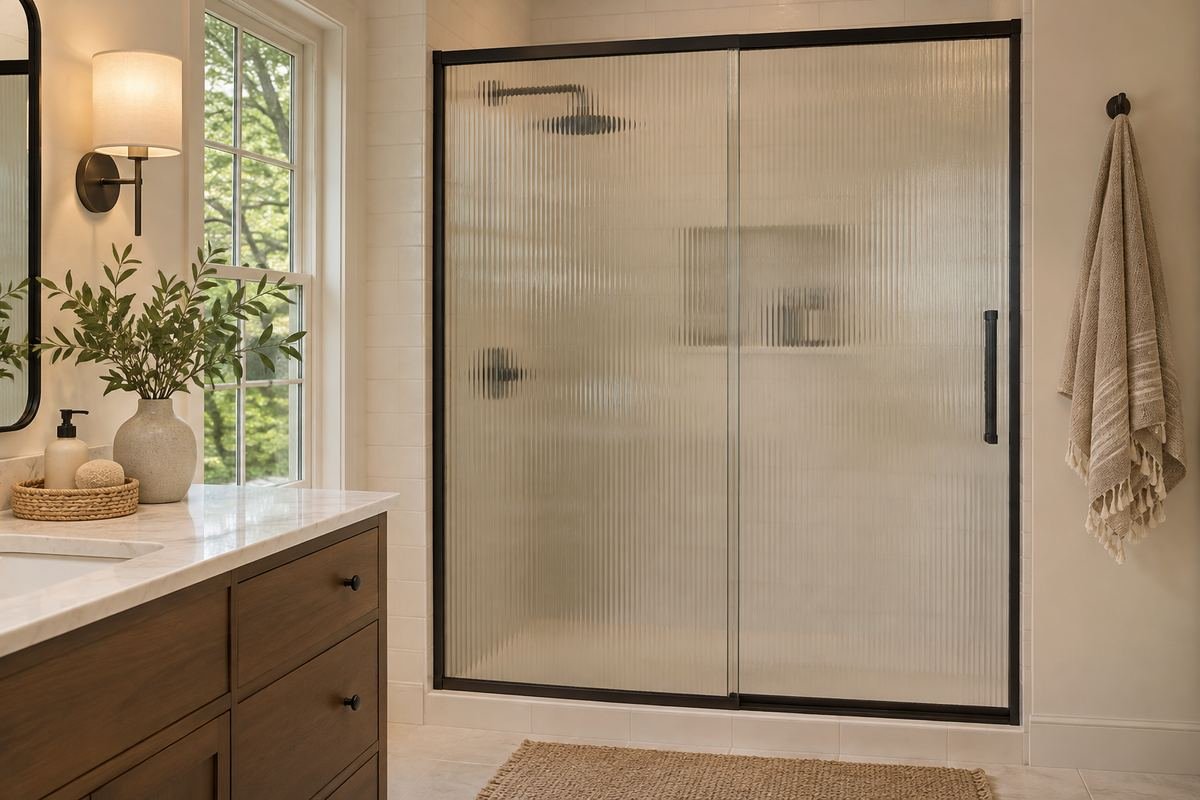
A suitable patterned shower-glass option can introduce texture without adding another strong wall color. Compare the actual pattern at full scale with the enclosure’s frame and the bathroom’s tile. A small sample and a complete panel may read very differently.
Keep the remaining repeated patterns restrained while judging the glass. Confirm its actual privacy, orientation and care requirements rather than assuming the appearance performs like another textured surface. The pattern should remain a useful choice after the initial decorative impact.
Practical tip: Compare one complete-panel view as well as a close sample.
17. Use a dark frame to repeat one existing room detail

A dark enclosure frame can connect the shower to a mirror edge or another restrained dark feature. Choose a suitable finish within the actual product range and compare it under the room’s light. Repeating one deliberate line can be enough to make the shower feel integrated.
Avoid adding dark outlines to every object merely to make the frame seem connected. View the enclosure with the tile and nearby cabinetry, then keep the composition simple. Check the specified care for the finish independently of the color choice.
Practical tip: Repeat one existing detail before adding more contrast.
18. Keep a pale metal finish quiet beside cooler tile
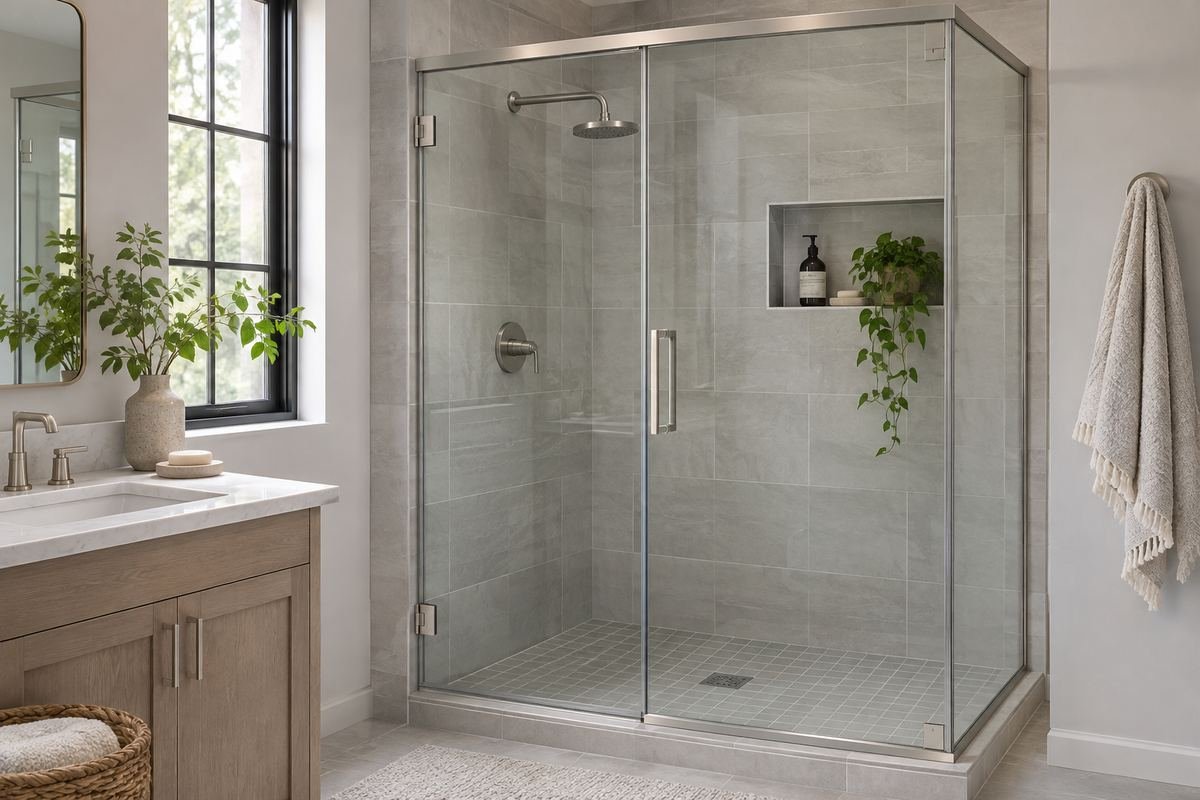
A restrained pale metal finish can sit comfortably beside cool gray or white tile. Compare the exact finish with the tap and shower fittings in the actual lighting. Similar names or screen images do not establish an identical sheen or undertone.
Let a slight variation remain deliberate if it looks balanced in person. Choose from compatible enclosure options before trying to perfect the match with unrelated hardware. The complete assembly and its proper care matter more than forcing every visible metal into one label.
Practical tip: Compare physical finishes together where possible.
19. Give a warm metal finish a restrained supporting palette

A warm metal finish can bring contrast to a shower with quiet cream or pale stone-look walls. Compare the actual enclosure finish with the room’s other metals before committing. Keep its role clear so the small hardware group does not compete with several additional decorative accents.
View the complete shower from the entrance and confirm which components are supplied in that finish. Avoid mixing unknown replacement parts into a verified assembly for a closer color match. Let the selected product’s options define the final hardware group.
Practical tip: Choose the complete hardware group before matching accessories.
20. Let detailed shower tile keep the main visual role

When the shower already has a strong tile pattern, a quieter glass and frame composition can keep the room understandable. Compare the enclosure lines against the pattern at full scale. A simpler surrounding palette gives both the tile and the door a clearer place.
Check the view through the glass rather than selecting the two elements independently. If frame lines and tile joints create too much visual activity, compare another suitable configuration or a quieter tile layout. Do not change required supports simply to simplify the image.
Practical tip: Judge the glass, frame and tile together.
21. Coordinate the door sweep with the vanity’s working position

A shower entrance and nearby vanity need to work in the same bathroom routine. Compare the exact door movement with drawers or cupboards in their ordinary open positions. Include the panel handle, vanity pulls and the person’s approach rather than reviewing only two closed fronts.
If the movements conflict, revise the suitable product choice or room arrangement with the project professional. A minor-looking collision can reveal that the bathroom was planned as separate objects. Keep the useful everyday movement central to the final composition.
Practical tip: Check the normal open vanity position on the plan.
22. Keep planned shower seating clear of the entrance sequence
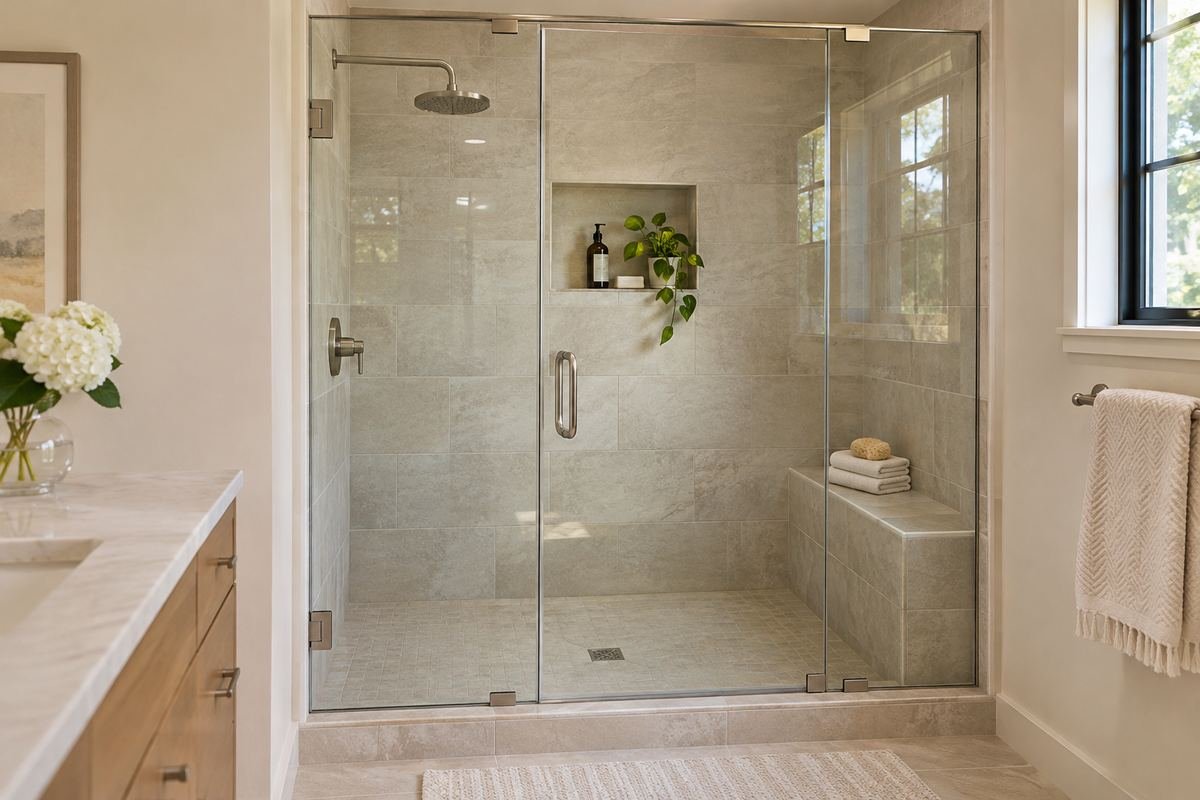
A seat can change the way a shower enclosure is entered and used. Compare its complete position with the actual door and fixed panels. Include the route to the seat and the movement used to operate the enclosure as part of the coordinated professional plan.
Keep the seating choice specific to the shower design and intended users. Do not infer accessibility from the presence of a bench or a wide-looking photograph. A clear visual separation between door movement and seating can help communicate the arrangement without replacing its proper assessment.
Practical tip: Review the seat and enclosure on one drawing.
23. Plan a reachable care routine for glass, tracks and seals

A shower door needs a practical maintenance route as well as a useful entry. Compare how the surfaces identified by its care instructions can be reached. Keep the relevant glass, profiles and seals in view when assessing whether the routine is realistic for the household.
Choose appropriate products and methods from the current instructions for that enclosure and finish. Avoid treating a protective coating as permission to skip care or use stronger cleaners. Keep the product identification available so questions about damage or alignment go to the right support channel.
Practical tip: Keep the care instructions with the exact model record.
24. Finish shower door ideas with a normal-use review

After the enclosure has been properly installed and handed over, review how the normal bathroom routine feels. Note a difficult approach, a repeated conflict with another fixture or a surface that is awkward to maintain. Keep those observations specific rather than judging the result only from the room’s first photograph.
Use the decision and handover sheet to discuss any problem with the appropriate installer or product support. A considered enclosure should continue to serve the household after the styling is complete. Let the room’s settled daily use guide any further changes.
Practical tip: Record the movement that repeatedly causes difficulty.
Frequently Asked Questions
Can I choose a shower door from the base size alone?
No. Compare the exact door’s specified conditions with the finished opening and complete base or threshold. Wall finishes, the enclosure’s position and its configuration affect the fit. Have the actual arrangement checked before ordering rather than matching two nominal size labels.
Is a sliding door always better in a small bathroom?
A suitable slider avoids a conventional outward door sweep, but the actual clear entry, panel movement and cleaning access still matter. Compare using the complete enclosure with the nearby fixtures in their ordinary positions. The smallest closed-door footprint is only one part of the decision.
Does every shower door open from either side?
No. Reversibility and the permitted entry arrangement belong to the exact model. DreamLine notes that some doors are specifically intended for a left or right installation. Confirm the correct configuration and the available route rather than assuming that a product photograph can simply be reversed.
Will frosted glass provide complete privacy?
Do not assume it will. Compare a real appropriate sample with expected lighting, distance and sightlines. Different patterns and finishes obscure the view differently. The glazing still needs to belong to a suitable shower enclosure and be cared for as specified.
Can a glass coating replace cleaning?
No. Use the exact enclosure and coating’s current care instructions. Choose a layout that lets you maintain the appropriate surfaces, seals and hardware. Avoid applying a generic abrasive cleaner or home mixture simply because another glass product tolerates it.
What if an existing glass door becomes misaligned or damaged?
Follow the product’s instructions and arrange appropriate manufacturer or professional support. Do not force a troublesome panel, substitute unknown hardware or infer that a cosmetic adjustment is enough. Keep the product identification and handover information available for the support conversation.
Choose the Details That Work in Your Home
Choose shower door ideas by confirming the operating arrangement first, then compare glass, frame and finish as a coordinated part of the bathroom. Keep the exact product’s fit, maintenance and installation requirements on the same sheet. A convincing enclosure works during a normal shower and reset, beyond the closed-door photograph.
For related ideas, explore shower tile ideas, shower niche ideas, shower bench ideas, bathroom door ideas.
Planning References
DreamLine: finished-opening measuring guides; DreamLine: product-specific door types, adjustment and reversibility; DreamLine: shower door glass and hardware maintenance; KOHLER: shower door configurations and glass options. Follow the instructions for the exact products you choose.
Optional digital guide for this topic
If you prefer a structured workbook, explore this related paid guide.