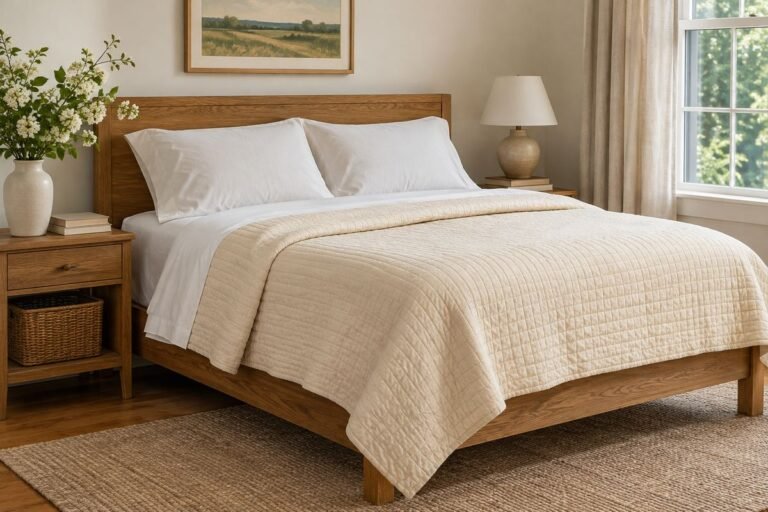
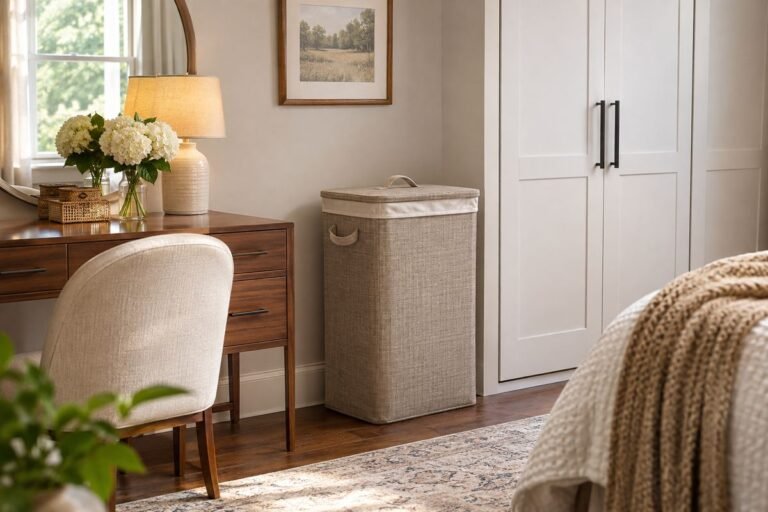
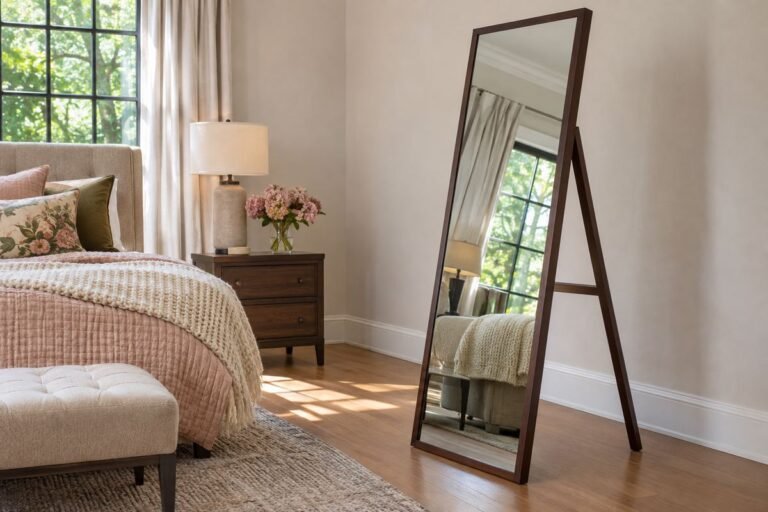
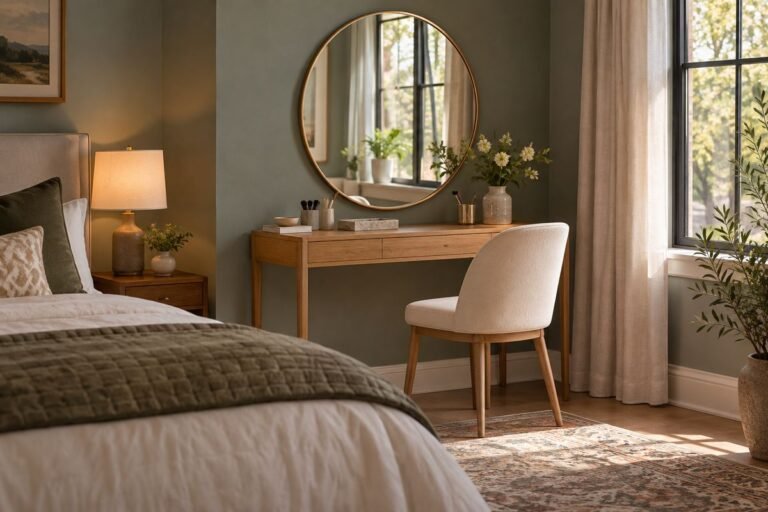
A bedroom wardrobe is a large piece of furniture that changes both storage and the room around it. The doors, full depth and position beside the bed matter as much as the attractive front shown in a product photograph.
Start with the wall, clothing outline and dressing route, then choose a facade that belongs with the headboard and other furniture. These ideas focus on the wardrobe as bedroom furniture rather than repeating a general closet-organizing system.
The images are original AI-generated decor concepts, not installation diagrams or photographs of completed client projects.
Browse These 24 Bedroom Wardrobe
Jump to an idea
- Use a plain painted front for a quiet wall
- Bring warmth with a natural wood facade
- Fit a properly sized wardrobe into an alcove
- Create a measured run along one wall
- Choose sliding doors where the opening arc is awkward
- Use hinged doors in a clear dressing area
- Use one mirrored door as the reflective accent
- Choose framed panel doors for a traditional outline
- Add restrained vertical texture
- Use a dark facade as a deliberate anchor
- Match the wardrobe tone to the wall
- Try a two-tone wardrobe with one clear division
- Keep the handle design simple and usable
- Use a compact single wardrobe for a limited collection
- Use a shorter unit beneath a sloping ceiling
- Step the furniture heights along a changing wall
- Pair a wardrobe with a separate low dresser
- Leave the window wall useful
- Use a purpose-designed corner wardrobe
- Choose glazed doors for a restrained clothing display
- Try woven door panels as a furniture texture
- Plan internal drawers together with the doors
- Keep a dressing chair outside the opening path
- Finish the wardrobe wall with a clear return route
Measure the Complete Bedroom Wardrobe and Its Opening Space
Record the available wall width, ceiling height, skirting, switches, outlets and the route used to bring furniture into the room. IKEA’s PAX planning guidance starts with the available width, height and depth. Check the instructions for the exact wardrobe, including assembly space and required wall anchoring. A closed furniture footprint is only the beginning; doors, drawers and the person dressing need space too.
| Room condition | Possible approach | Important tradeoff |
|---|---|---|
| Limited space in front | Suitable sliding-door system | Only part of the interior opens at once |
| A broad clear dressing area | Hinged doors | Full door arc and internal drawer travel |
| An existing alcove | Properly sized furniture or designed fitted unit | Opening, wall conditions and assembly access |
| Changing furniture arrangement | Appropriate freestanding wardrobe | Required anchoring and the complete moving route |
A Wall-Fit Example That Includes the Missing Pieces
A 96-inch wall and three 30-inch-wide furniture units leave 6 inches on paper. That leftover space is not automatically enough for the actual installation: skirting, uneven walls, permitted fillers, handles and door movement may need some of it. Draw the exact frame widths, finished ends and opening path before choosing a three-unit run. These example dimensions show the method and do not describe a standard wardrobe product.
Copy a Wardrobe Purchase Record
Keep six entries together: the room measurements; the complete furniture dimensions; the clothing lengths it must hold; the door and drawer opening plan; the assembly and anchoring instructions; and the delivery route. Add the exact finish sample beside a photograph of the bed. This record makes it easier to compare two wardrobes without letting an attractive door conceal an impractical furniture depth.
1. Use a plain painted front for a quiet wall

Plain wardrobe doors can make a large storage piece feel calmer beside patterned bedding or a detailed headboard. The simple surface lets the bedroom keep another clear focal point.
Choose the paint tone against the actual wall and floor rather than in isolation. Handles and door gaps will still define the furniture outline, so include them in the comparison. Keep a finish sample near the bed for several lighting conditions before deciding.
Practical tip: Let one major bedroom surface carry the strongest pattern.
2. Bring warmth with a natural wood facade
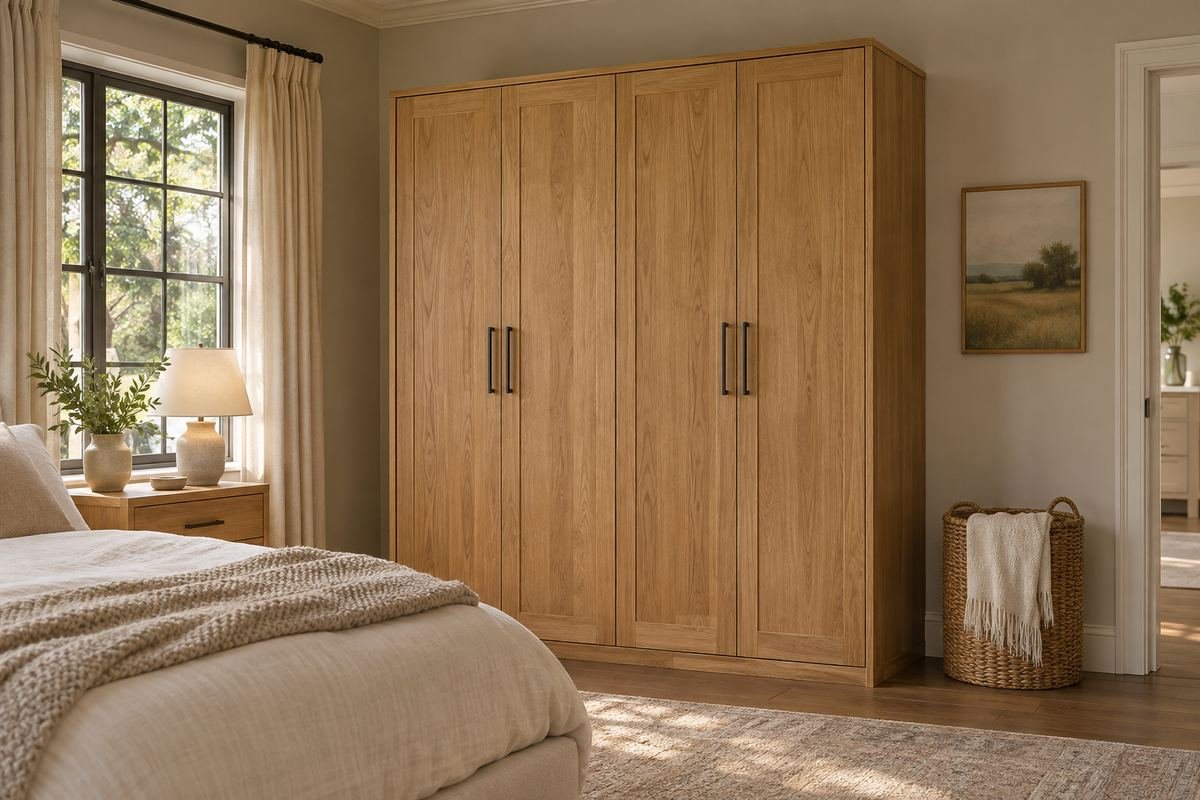
A wood-fronted wardrobe can provide warmth and grain across a large vertical surface. It works especially well when the rest of the room has quiet painted walls and restrained textiles.
Compare the wood undertone with the bed and floor. Matching every timber is unnecessary, but the relationship should be deliberate. Keep other textured furniture details modest so the wardrobe grain can be read without competing with several equally busy surfaces.
Practical tip: View the sample vertically where the wardrobe will stand.
3. Fit a properly sized wardrobe into an alcove
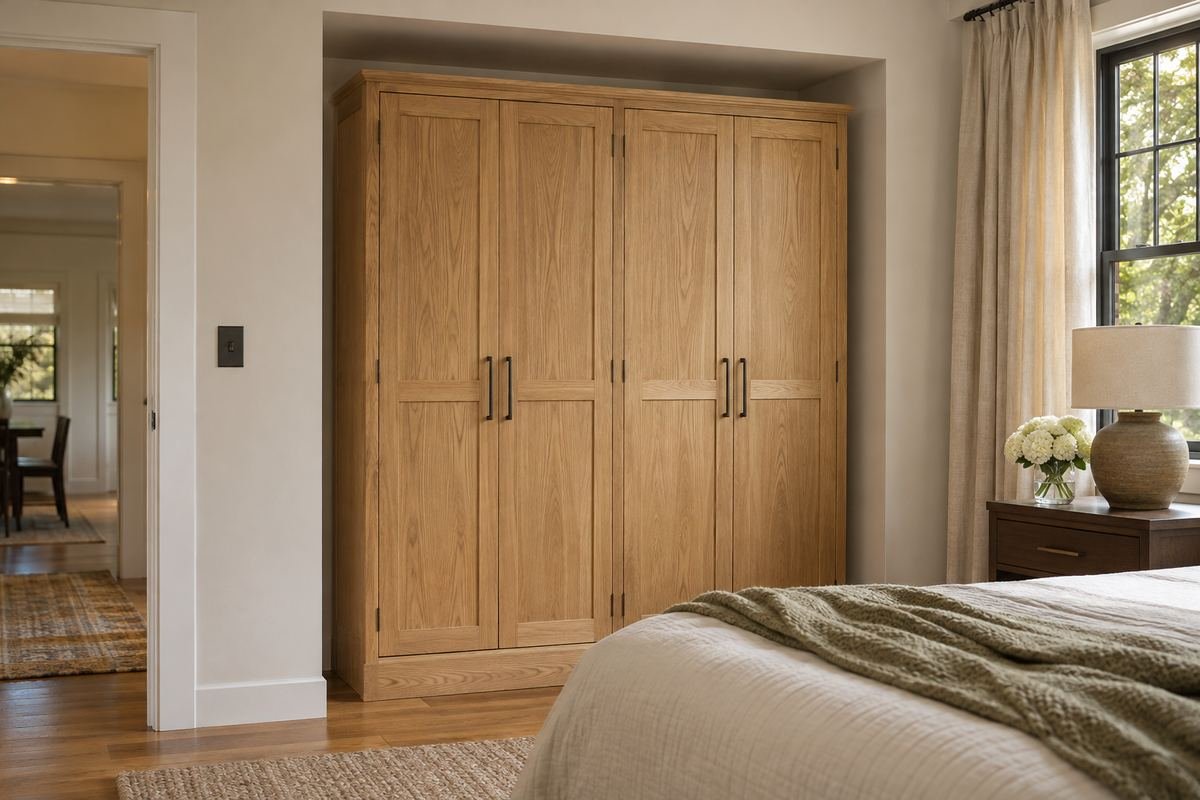
An existing alcove can give a wardrobe a clear place in the room. The surrounding walls help define the furniture position and may leave the main bedroom wall less crowded.
Measure at several heights and include skirting and the actual opening. A furniture unit still needs its specified assembly, anchoring and door clearances. Use a designed fitted solution when standard furniture cannot suit the space rather than trimming structural parts of a ready-made wardrobe.
Practical tip: Measure the alcove at the floor, middle and intended furniture top.
4. Create a measured run along one wall

A coordinated wardrobe run can make storage read as one deliberate furniture wall. Repeated door proportions and a consistent finish help the room feel orderly.
Plan complete frame widths, end details and opening paths before filling the wall. Keep switches, outlets and ventilation requirements available as appropriate to the room. A slightly shorter run with usable ends may work better than the maximum number of frames that fit on a sketch.
Practical tip: Draw the finished end panels as well as the storage frames.
5. Choose sliding doors where the opening arc is awkward

A compatible sliding-door wardrobe avoids swinging a panel toward the bed. It can suit a layout where there is enough complete wardrobe depth but limited room for a hinged door arc.
The track, overlapping panels and assembly requirements are part of the furniture size. Only some of the interior may be exposed at once, so map which drawer or hanging section can be reached. Use the exact system instructions rather than applying another product’s clearances.
Practical tip: Test the available interior opening as well as the closed facade.
6. Use hinged doors in a clear dressing area

Hinged doors can expose a broad section of the wardrobe and give direct access to the clothing inside. They work well when the dressing space remains clear while the doors are open.
Mark the full door arc on the floor and include handles. Then test any internal drawer with the door in its intended open position. Keep the route beside the bed available rather than assuming a photograph with closed doors represents everyday use.
Practical tip: Try the door plan with the laundry hamper in its normal position.
7. Use one mirrored door as the reflective accent
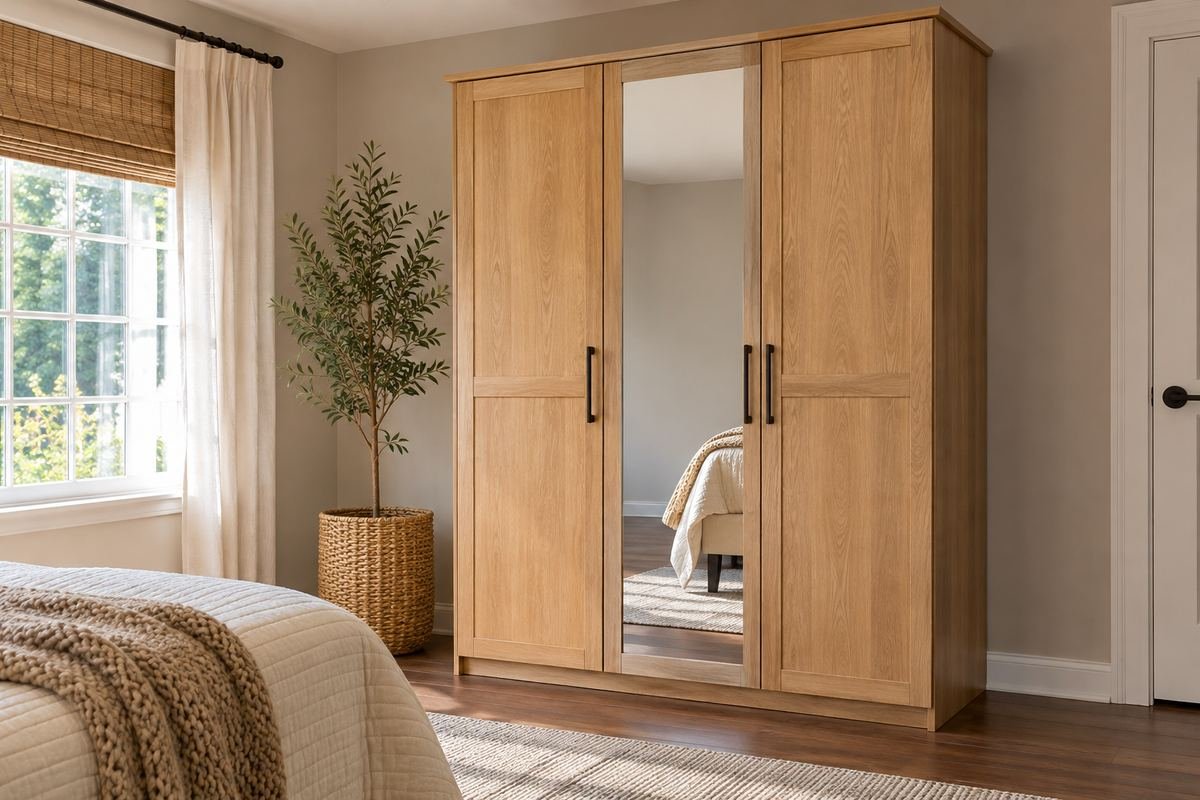
One mirrored panel can provide a dressing reflection while the remaining doors retain a quieter furniture finish. It can be useful when a separate floor mirror would occupy another part of the room.
Choose a wardrobe designed for the mirror panel and follow its assembly and anchoring instructions. Study what the mirror reflects from the doorway and the bed. Keep a usable standing position in front rather than treating the reflective surface as a purely decorative feature.
Practical tip: Mark where you will stand to see a complete outfit.
8. Choose framed panel doors for a traditional outline
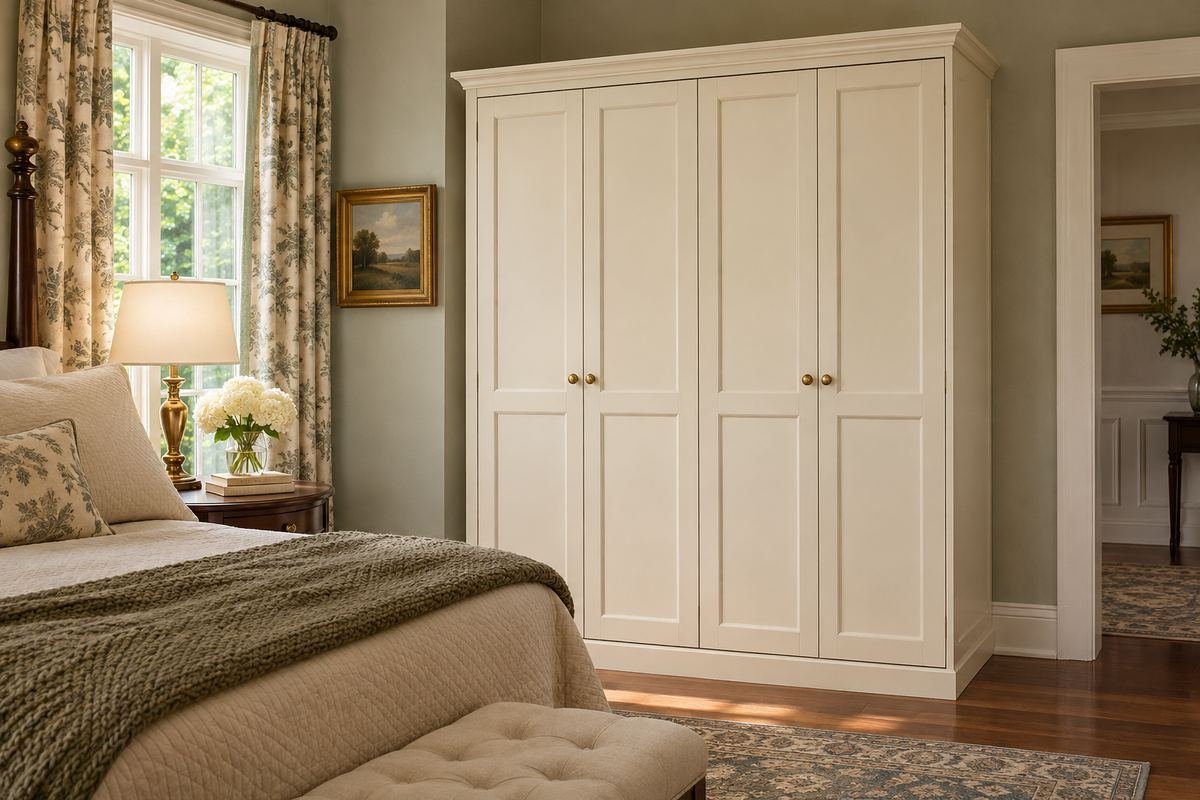
Framed doors can relate a wardrobe to other traditional furniture without requiring ornate trim everywhere. Their divisions give a broad facade a more detailed rhythm.
Compare the panel scale with the wardrobe size and nearby headboard. Small repeated panels can become busy across a long run, while a simpler frame can remain calm. Keep the handle style related to the door proportions rather than choosing hardware as a separate decorative theme.
Practical tip: Look at the entire run from the bedroom doorway.
9. Add restrained vertical texture
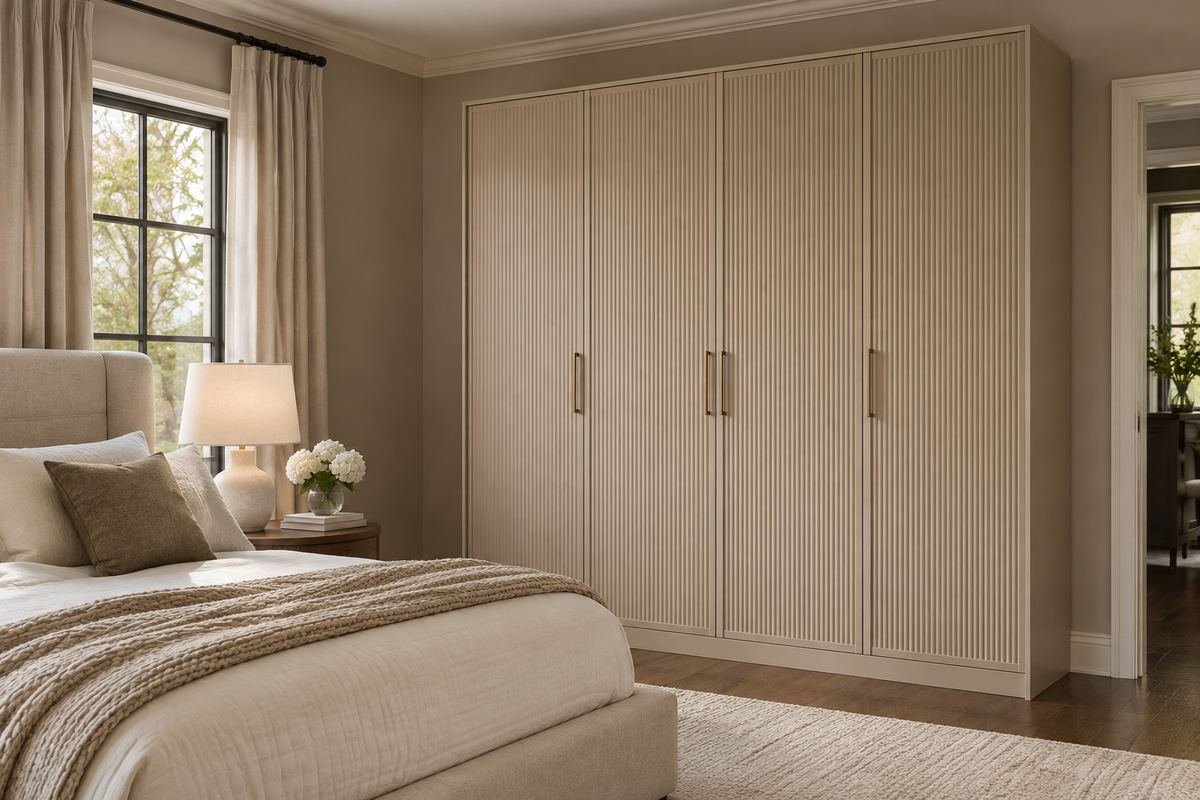
A ribbed or fluted door surface can introduce texture while keeping the wardrobe in one color. Vertical detail may work well beside plain bedding and a simple bed frame.
Request an actual finish sample because groove depth and shadow can change the effect. Consider the cleaning routine for the exact finish. Avoid repeating the same strong linear texture in every other furniture piece, which can make a modest room feel visually crowded.
Practical tip: Let the textured wardrobe be the main vertical detail.
10. Use a dark facade as a deliberate anchor

A deep charcoal or dark brown wardrobe can anchor a pale bedroom. It works best when the floor area and surrounding surfaces keep the furniture outline readable.
Repeat the dark tone in one smaller feature, such as a frame or bedside lamp base. Compare the complete silhouette rather than only a dark swatch. If the run overwhelms the room, a shorter furniture group or a lighter finish may make the layout feel more balanced.
Practical tip: Judge the dark facade with the bedroom door open in its normal position.
11. Match the wardrobe tone to the wall

A close wall-and-furniture tone can make a broad wardrobe feel more integrated. The doors still remain readable through shadow gaps and hardware, but the room has fewer large color changes.
Compare actual paint and furniture samples because similar names may hide different undertones. Think about the finish sheen as well as the color. A quiet facade can then support a more distinctive quilt, rug or small artwork without the room needing another strong vertical feature.
Practical tip: Compare the samples under the evening bedroom light.
12. Try a two-tone wardrobe with one clear division

A controlled two-tone facade can relate wood and painted furniture already present in the bedroom. One clear division is easier to read than several alternating unrelated colors.
Use the design of the actual wardrobe system to establish which parts can have different finishes. Keep the larger area quieter and let the smaller section supply contrast. Confirm that chosen doors, frames and hardware are compatible rather than assembling a color scheme from unrelated product parts.
Practical tip: Sketch the whole front before ordering individual doors.
13. Keep the handle design simple and usable

Handles can change the appearance of a plain wardrobe without changing the main facade. A proportionate pull or knob can connect the furniture to existing bedroom details.
Check the product’s permitted hardware and installation requirements. Include projecting handles in the opening plan, particularly beside another door or a narrow passage. Choose a shape that is comfortable for the people using it rather than relying only on a small styling photograph.
Practical tip: Try the actual handle grip before committing to a full set.
14. Use a compact single wardrobe for a limited collection

A single wardrobe can suit a small clothing collection without occupying an entire bedroom wall. It may leave room for a useful chair, desk or clearer dressing route.
Measure the garments and hangers the wardrobe must contain. A narrow exterior does not guarantee useful internal width or depth. Choose the complete piece around the actual collection, then follow required assembly and anchoring instructions even when the furniture appears compact.
Practical tip: Measure your longest ordinary garment before choosing the unit height.
15. Use a shorter unit beneath a sloping ceiling

A lower wardrobe may fit beneath the usable part of a sloped ceiling without forcing tall furniture into an awkward gap. The remaining wall can feel intentional when the furniture proportions suit the room.
Check the highest point needed for assembly and opening the doors. Use a properly designed shorter unit rather than cutting a tall wardrobe to fit. Avoid creating an inaccessible top pile merely because there is an unusual wedge of space above.
Practical tip: Draw the slope and the full furniture outline together.
16. Step the furniture heights along a changing wall

A planned group of different-height wardrobes can follow a room with a ceiling change or beam. A consistent finish helps the separate pieces read as one considered arrangement.
Use compatible furniture sizes and leave all required installation clearances. Keep the transition deliberate rather than filling every leftover gap with another box. The step should preserve access and suit the room’s actual construction, with a qualified designer handling custom work where needed.
Practical tip: Plan the visible side of every change in height.
17. Pair a wardrobe with a separate low dresser

A tall wardrobe and a low dresser can divide hanging and folded storage without making the entire wall one tall mass. The lower furniture also gives the room a visual pause.
Compare the combined widths and leave each piece its required anchoring and opening space. Keep the dresser surface modest rather than turning the gap into a crowded display. Similar finish undertones can connect the pieces without requiring an identical furniture collection.
Practical tip: Open the dresser drawers while the nearest wardrobe door is in use.
18. Leave the window wall useful

Placing a wardrobe on a solid wall can preserve the window, curtain movement and usable daylight area. It also avoids asking a large furniture piece to compete with the room’s main opening.
Include the curtain stack and any required access around the window in the furniture plan. Do not assume the empty wall beside glazing is fully available. A narrower wardrobe may be a better tradeoff than blocking the way the room is opened, lit and cleaned.
Practical tip: Draw the curtains in their open position before marking the wardrobe.
19. Use a purpose-designed corner wardrobe

A suitable corner wardrobe can connect two storage directions without an improvised collision between doors. It can work in a room where a simple straight run leaves a difficult corner.
Study the exact opening and the clothing access behind it. Corner furniture can occupy more usable floor area than its front suggests. Compare it with a shorter straight unit before assuming that filling the corner produces more useful storage.
Practical tip: Include the complete corner footprint in a full-size floor mockup.
20. Choose glazed doors for a restrained clothing display
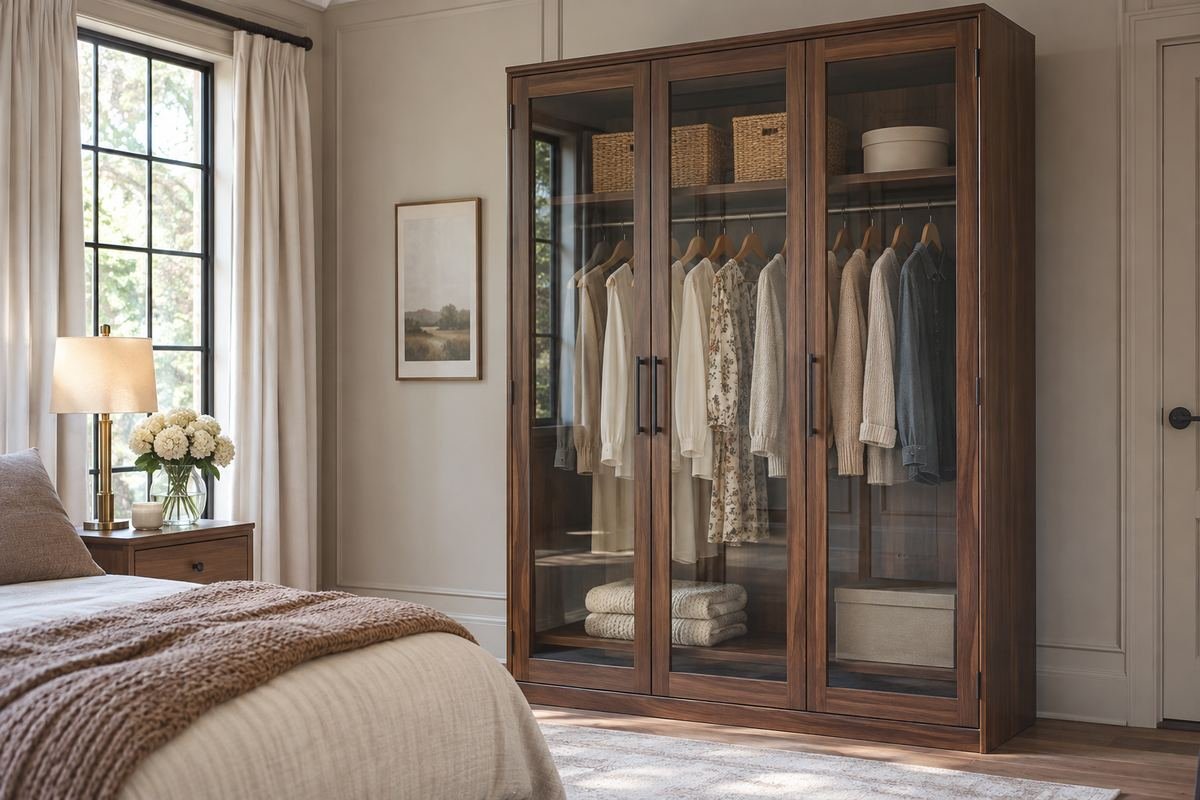
Glazed wardrobe doors can make a small, deliberately arranged clothing group part of the bedroom appearance. The framed facade can suit a room with quieter bedding and limited other display.
The interior will remain visible, so decide whether maintaining that view suits your routine. Select a complete furniture product with the intended glazing and hardware. Opaque doors may be more useful when the storage collection changes frequently or needs a visually quieter home.
Practical tip: Photograph the actual clothing group before choosing a visible interior.
21. Try woven door panels as a furniture texture

A wardrobe designed with woven door panels can bring a lighter natural texture to the bedroom. It can relate to a simple wood bed while the main clothing storage remains contained.
Confirm the exact furniture construction and care requirements. Woven appearance alone does not establish ventilation performance or suitability for a damp room. Keep the surrounding textures restrained so the facade has a clear role rather than competing with several similar weaves.
Practical tip: Compare a panel sample beside the bed and curtain fabric.
22. Plan internal drawers together with the doors

Internal drawers can keep the exterior wardrobe front simple while providing another storage type behind it. Their usefulness depends on being able to open them fully.
Use the exact furniture system’s compatibility rules for hinge positions, door movement and drawer locations. IKEA’s PAX guidance specifically notes that hinges affect possible drawer positions. Keep this as a furniture access decision before choosing the facade, rather than discovering the conflict after assembly.
Practical tip: Test the full open configuration in the product planner.
23. Keep a dressing chair outside the opening path

A small dressing chair can make the wardrobe area more useful when there is room for both. Its position should support dressing without becoming a permanent obstruction in front of the doors.
Map the chair occupied and pulled away from the wall, then open the wardrobe. Choose a smaller piece or another location if the routes overlap. Avoid filling the chair with storage bags just because it occupies a convenient space near the clothing.
Practical tip: Test the chair and wardrobe with a person-sized standing position marked on the floor.
24. Finish the wardrobe wall with a clear return route
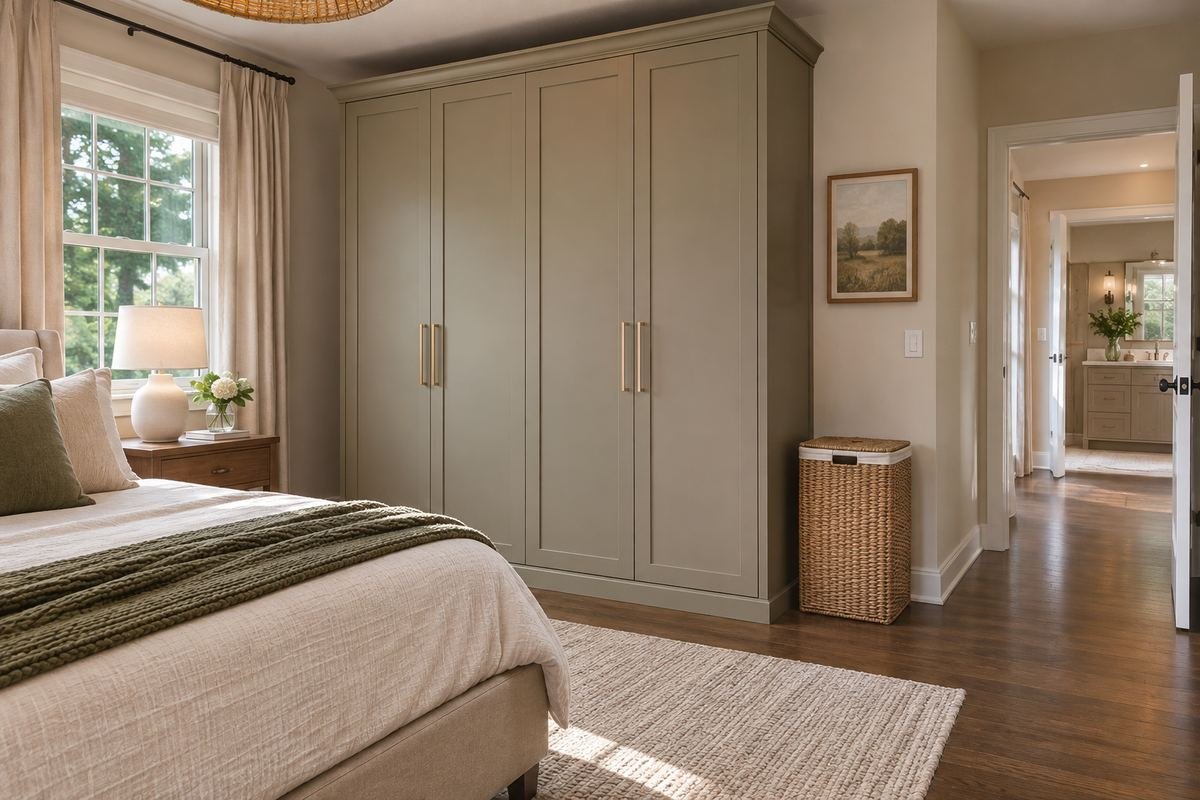
The wardrobe should work at the end of an ordinary day as well as during a planned outfit change. Keep the nearest hamper, dressing surface and clothing return position easy to reach.
Walk from the bedroom door to the wardrobe, open it and return an everyday garment. If a furniture corner, chair or hamper repeatedly needs moving, revise the arrangement. A bedroom wardrobe feels integrated when its appearance and the surrounding dressing route both work together.
Practical tip: Review the furniture layout after one ordinary week of use.
Frequently Asked Questions
Are sliding wardrobe doors always better in a small room?
They avoid a hinged door arc, but the complete track depth, access to the interior and fitting requirements still matter. Compare the exact system with the bed and dressing route. A smaller hinged wardrobe can sometimes be more useful than a deeper sliding run.
Does a freestanding wardrobe need wall anchoring?
Follow the exact furniture instructions. Freestanding describes the furniture type and does not mean it can omit required anchoring. IKEA specifically instructs customers to secure PAX wardrobes to the wall with the appropriate supplied restraints and suitable wall fixing arrangements.
Can I choose the doors before planning the interior?
Plan both together. Hinges, sliding panels and drawer travel can affect access and compatible positions. The product’s planner and instructions should control the exact arrangement rather than a generic drawing.
Choose the Details That Work in Your Home
Choose a bedroom wardrobe that opens, fits and serves the dressing routine before finalizing the facade. A clear furniture outline, a considered finish and an accessible surrounding floor area can make storage feel like part of the bedroom rather than an object squeezed into it.
For related ideas, explore bedroom floor mirror ideas, bedroom laundry hamper ideas, bedroom paint colors.
Planning References
IKEA: planning a PAX wardrobe from room dimensions; IKEA: wardrobe door fitting and interior compatibility; IKEA: PAX wardrobe wall anchoring. Follow the instructions for the exact products you choose.
Optional digital guide for this topic
If you prefer a structured workbook, explore this related paid guide.