Shower bench ideas should begin with the person who will use the seat and the space needed around it. A beautiful ledge can still be uncomfortable to sit on, difficult to clean beneath or awkwardly placed behind the enclosure door.
Think through the sequence of entering, operating the shower, sitting and reaching an everyday item. Include the seat in the complete floor plan rather than adding it after the walls and glass have been chosen. This is also the time to distinguish ordinary decor preferences from individual bathing or transfer needs that require a tailored professional assessment.
These 22 concepts compare seating arrangements, material relationships and finishing details. The illustrations show design intent, not structural support, waterproofing or accessibility compliance. Use purpose-designed shower seating, confirm the exact product and installation requirements, and have the complete wet-area assembly resolved appropriately.
The images are original AI-generated decor concepts, not installation diagrams or photographs of completed client projects.
Browse These 22 Shower Bench Ideas
Jump to an idea
- Begin with a simple full-width built-in bench
- Keep a shorter bench within one deliberate wall section
- Use a triangular corner seat where the actual seat works
- Compare a rectangular corner bench with an angled option
- Consider an open underside through a complete supported design
- Compare a purpose-designed folding shower seat
- Choose a removable bench that is specified for shower use
- Keep the bench beside a clear entry route
- Place seating beyond the door sweep
- Coordinate a side-wall seat with the actual controls
- Give daily products a separate reachable storage zone
- Let the bench repeat the main wall tile
- Give a quiet tiled bench one considered seat surface
- Use gentle contrast to make the seating zone readable
- Continue a restrained tile grid across the bench front
- Keep patterned tile to one controlled bench detail
- Use a slatted timber appearance as a considered material accent
- Compare a softened front edge through the actual fabrication
- Give a long narrow shower one clear seating end
- Balance a substantial bench with a quieter enclosure
- Leave a generous cleanable floor area around removable seating
- Finish the bench as a useful seat rather than a display shelf
Plan shower bench ideas through the whole daily routine
Mark the seat, entry, enclosure-door movement, controls and shower outlet on one plan. Add the person’s seated position and the storage they need to reach. Compare the space with the seat in use, and include any folding or movable positions. A simple mockup outside the shower can help discuss proportions, but the final arrangement needs to suit the actual user, product and project requirements.
| Project need | Direction to compare | Decision to resolve |
|---|---|---|
| A permanent seating zone | A complete built-in bench arrangement | Support, waterproofing, drainage and usable space |
| A contained corner | A purpose-designed corner seat | Actual sitting area and remaining standing space |
| A clear floor beneath | A properly designed wall-supported seat | Complete support and waterproofed connections |
| Occasional seating | A suitable folding shower seat | Open and closed positions, mounting and user needs |
| A removable option | A product specified for shower use | Stability, dimensions and ordinary cleaning access |
| A particular bathing or transfer need | An individually assessed seating arrangement | Professional guidance and applicable project requirements |
Keep the seat inside the waterproofing plan
A tiled bench is part of the complete shower assembly. Schluter’s prefabricated-bench guidance includes directed surface drainage and waterproofing at the connections. Those details belong to the chosen system and installation plan. An attractive tiled front cannot establish what is behind it. Have the bench, wall junctions, surface drainage and enclosure relationship resolved together before selecting the finishing material.
Treat support as a specification, not a visual style
A floating appearance, timber surface or folding mechanism does not establish a seat’s capacity. The Teakworks4u product reference, for example, ties its stated performance to the specified mounting. Compare the actual complete product and its installation requirements. Keep any individual support or transfer needs within the professional project brief instead of assuming a decorative concept is suitable for everyone.
Review the seat from the cleaning position
Look at the front edge, underside, wall junctions and floor around the seat. Ask how those places will be reached during normal cleaning. A slim visual gap may be more difficult to maintain than it looks in a photograph, and a removable bench still needs somewhere practical to move while the shower is cleaned. Choose a detail you can care for according to the actual material instructions.
Separate the sitting surface from display storage
A bench can quickly become a shelf for bottles and folded towels in styled photographs. Keep the usable seating area clear in the real plan and give daily shower products a suitable separate place. Include the reach from sitting when selecting that storage. A useful seat should remain available without first moving several containers out of the way.
1. Begin with a simple full-width built-in bench
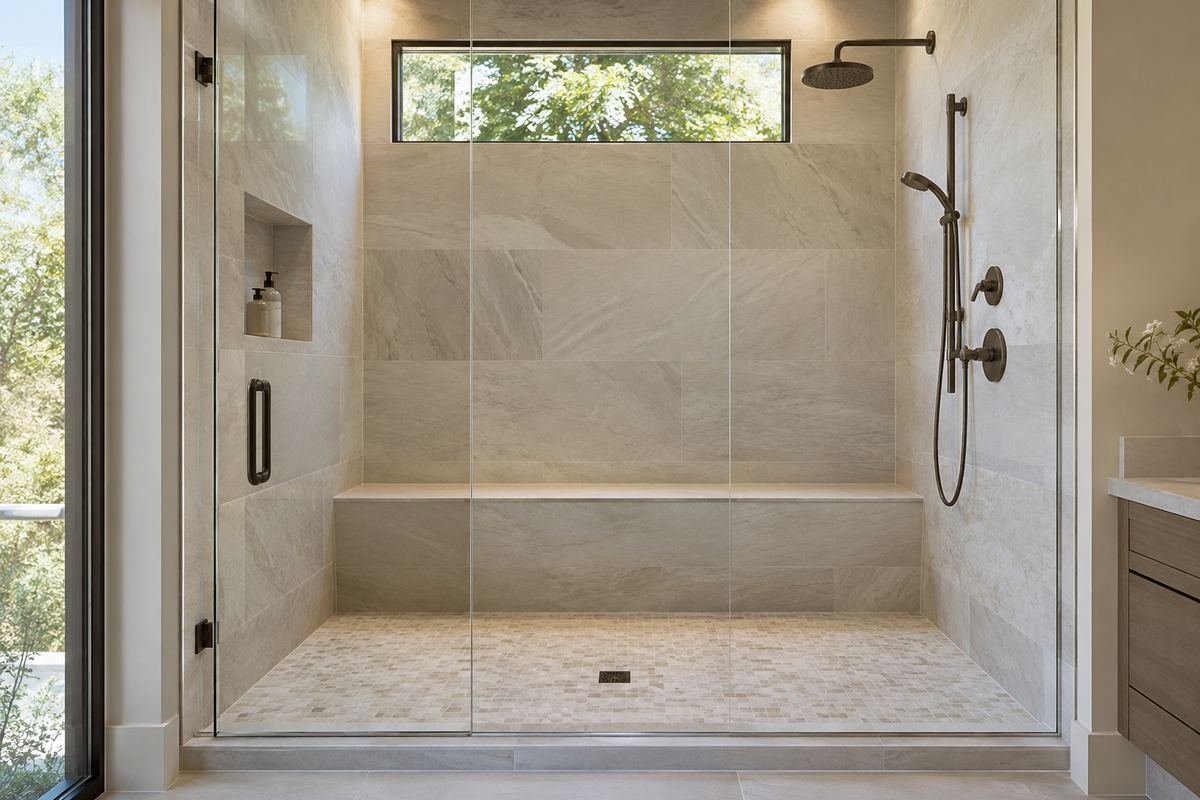
A bench across one end of the shower can give the seating area a clear architectural place. Its uninterrupted front can look calm when the wall tile and glass arrangement are equally restrained. This is a useful concept for a project where permanent seating is part of the initial plan.
Compare the seat with the usable shower area before allowing its width to dominate the layout. Include the standing position, entry and reach to controls. The whole assembly needs appropriate support, waterproofing and surface drainage. Keep the seat clear of stored bottles so the broad surface continues to serve its actual purpose.
Practical tip: Set the seating zone on the floor plan before choosing the tile.
2. Keep a shorter bench within one deliberate wall section
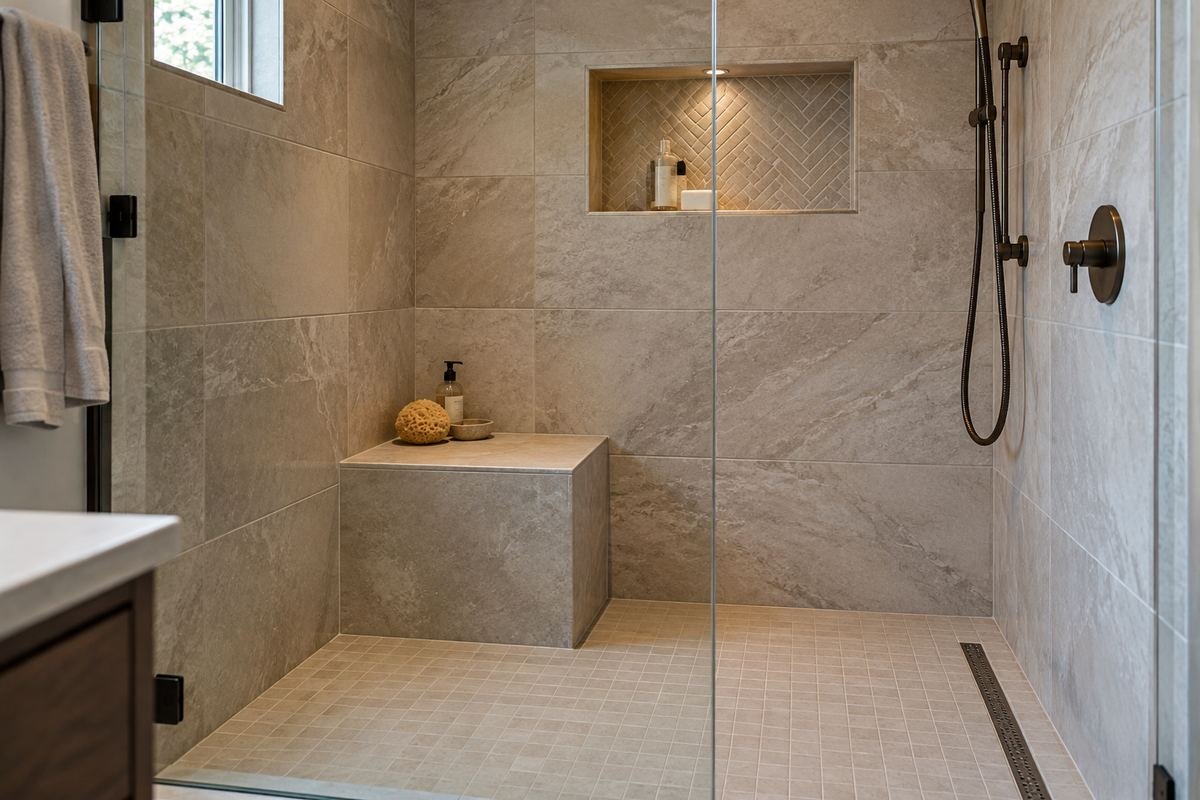
A shorter built-in bench can create a seating zone without running across the entire wall. It can suit an arrangement where another part of the enclosure needs to remain clear for standing or moving. The limited length also gives the tile layout a defined stopping point.
Review both exposed ends and the connection to the floor and wall. Avoid leaving a narrow leftover pocket that is hard to reach during cleaning. Compare the actual sitting area with the intended user and keep the controls and storage within a considered routine. A compact appearance should still provide a useful seat.
Practical tip: Review the exposed end as carefully as the front.
3. Use a triangular corner seat where the actual seat works

A triangular corner bench can give a shower a contained seating feature. Its angled front may leave a different standing area than a rectangular bench, which makes it useful to compare on the actual plan rather than choose by appearance alone.
The usable sitting area changes with the shape. Test the intended position and reach, including the angled edge and nearby fittings. A small triangular ledge should not be assumed to provide comfortable seating for every person. Have the corner connections and complete waterproofed assembly detailed appropriately before treating the tile surface as the finished decision.
Practical tip: Compare the usable seat rather than the corner footprint alone.
4. Compare a rectangular corner bench with an angled option

A rectangular bench can occupy a corner while retaining a straight sitting edge. It can relate neatly to rectangular wall tile and a simple shower enclosure, especially where the corner is intended to feel substantial and built in.
Draw its full projection into the shower. The straight edge changes the space left for standing and moving, and the side wall may affect how someone sits. Compare that arrangement with the door movement and the position of any handheld outlet. Choose the shape through the actual routine rather than assuming every corner seat saves the same amount of space.
Practical tip: Put both bench shapes on the same room plan.
5. Consider an open underside through a complete supported design
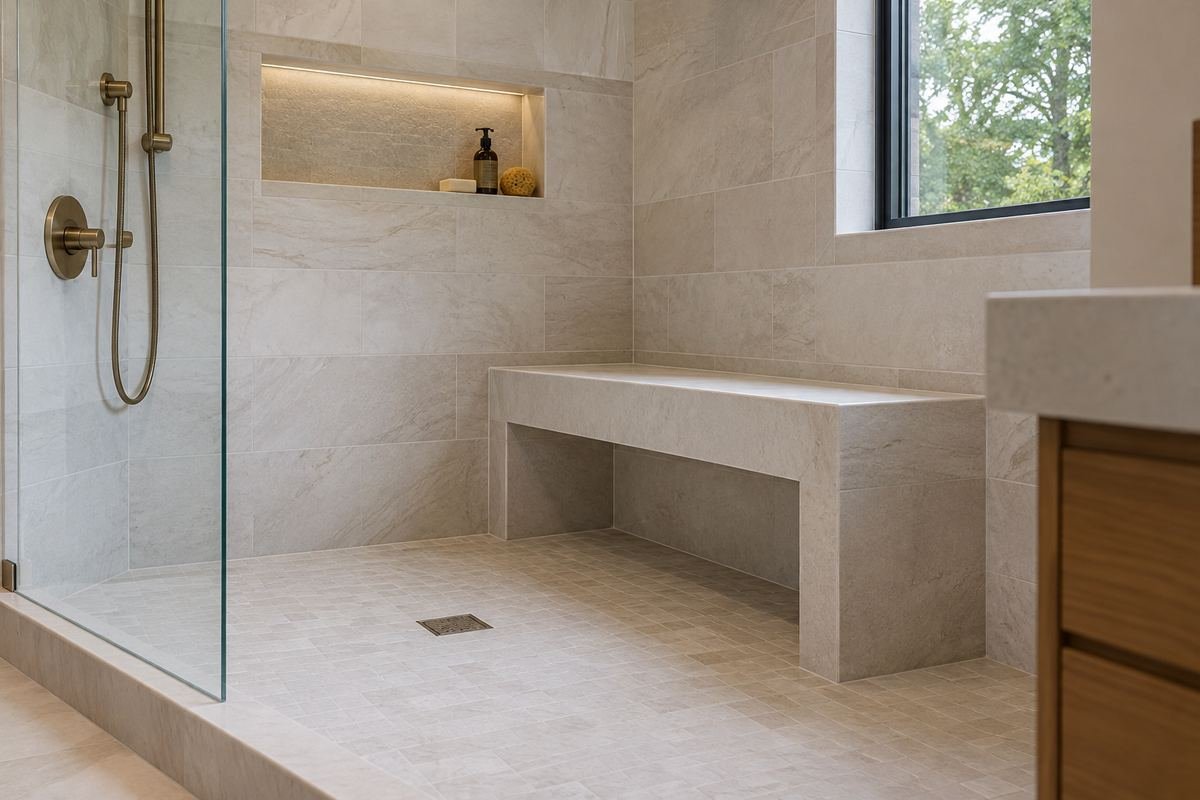
A wall-supported bench with space beneath can make the shower floor feel visually more continuous. The open area can be attractive where the room is restrained and the bench is intended to read as one clear horizontal plane.
The floating appearance needs a properly designed complete assembly. Confirm the support, waterproofed connections and suitability for the actual use. Also check whether the underside and floor junction can be comfortably reached during cleaning. A very narrow gap can preserve the look while making ordinary maintenance awkward, so assess the useful space beneath rather than its appearance alone.
Practical tip: Resolve support and cleaning access before choosing an open underside.
6. Compare a purpose-designed folding shower seat
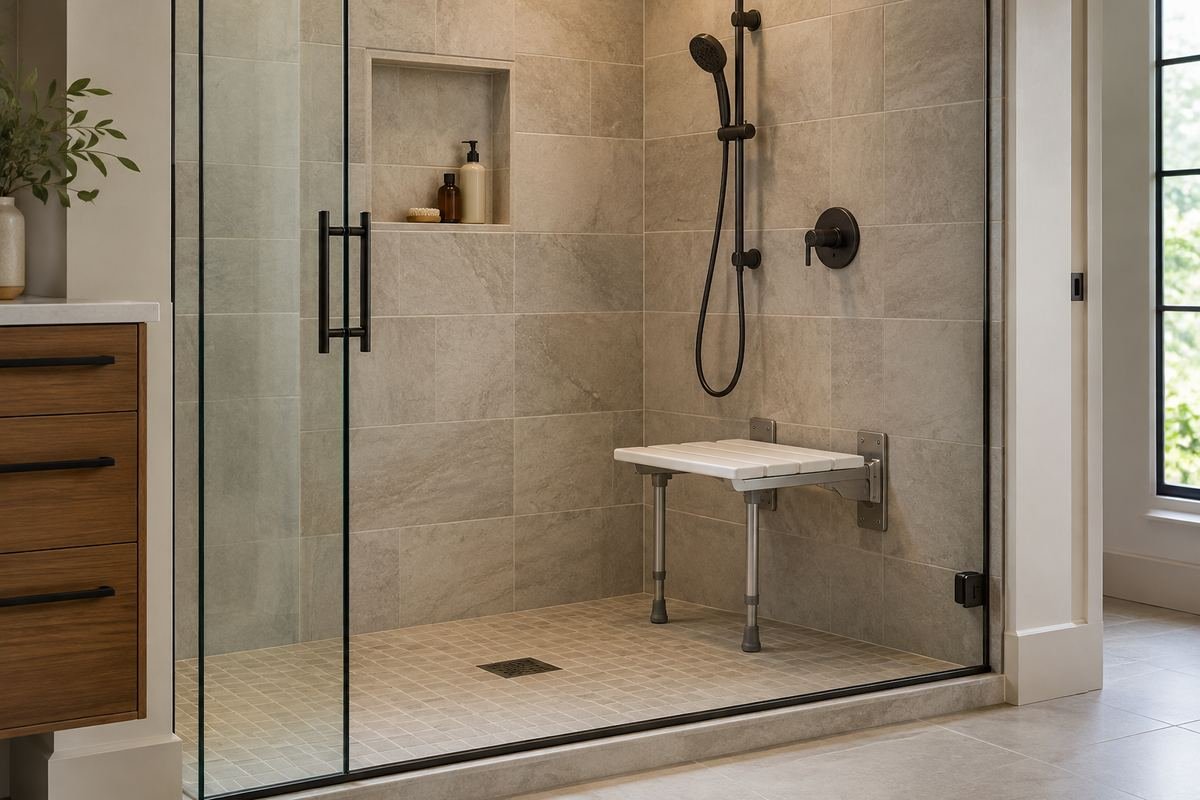
A folding seat can offer a different relationship between the shower’s seated and standing positions. It can be worth comparing when the seat is used occasionally and a clear closed position is part of the room plan.
Choose a complete product specified for shower use and the actual person. Review the mounting requirements, operating action and both open and folded positions. Some designs include support legs; others have different requirements. Keep every stated performance claim tied to the exact product and installation rather than transferring it to a similar-looking decorative concept.
Practical tip: Draw the open seat, its supports and the folded position.
7. Choose a removable bench that is specified for shower use
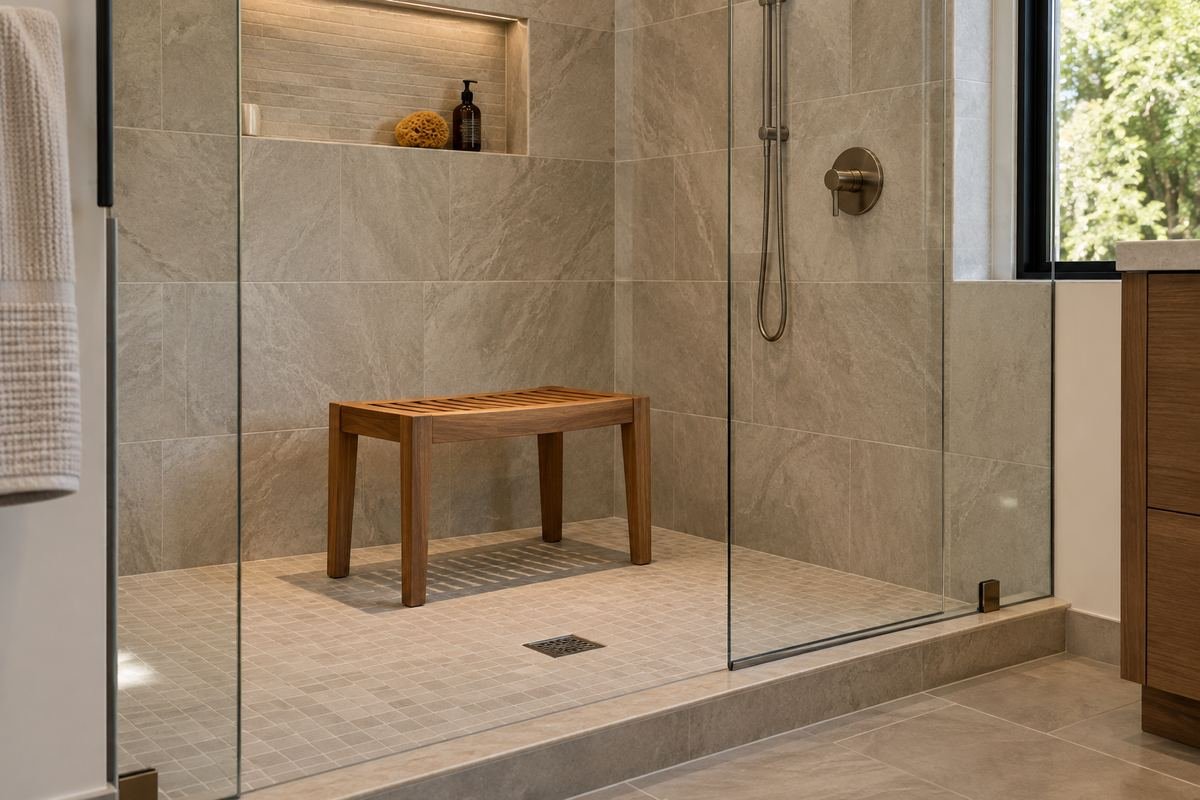
A suitable freestanding shower bench can provide a removable option when the complete product fits the room and routine. A restrained timber appearance can soften the tile visually without requiring the seating to become part of the wall finish.
Confirm intended shower use, stability, dimensions and care requirements. Check the whole bench in the actual standing and entry space, including its feet. Plan where it will go while the shower is cleaned. A portable appearance does not make every ordinary stool suitable for a wet floor or for every person’s seating needs.
Practical tip: Select the complete shower product before its decorative material.
8. Keep the bench beside a clear entry route
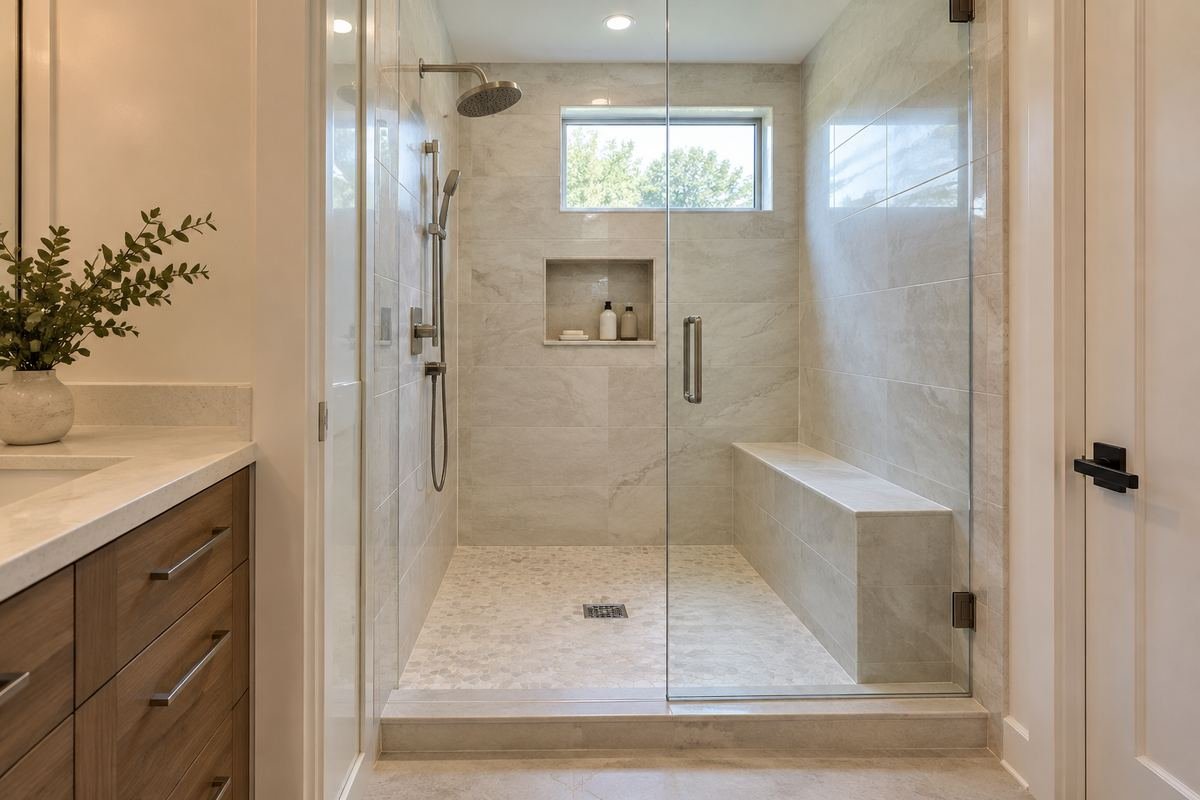
A seat near the entrance can have a useful relationship with the way the shower is approached. Its position can also make it easier to see as part of the bathroom composition, rather than hiding it at the far end of the enclosure.
Keep the route into the shower clear with the bench in use. Include the enclosure-door sweep and any hardware, then compare the normal standing and seated positions. Avoid using a visually convenient entrance corner if it narrows the practical approach. The entry should remain understandable and comfortable through the whole routine.
Practical tip: Test the route with the seat occupied in the plan.
9. Place seating beyond the door sweep

A bench at the quieter end of an enclosure can help keep the main door movement separate from the seated area. This can be a useful starting point when the opening and hardware already define a clear arrival zone.
Review the full door travel and the person’s position at the seat. Include handles and any other projecting fittings, not just the glass outline. Also check how the user reaches the controls from the entrance. Moving the bench away from the door should not create a different awkward step in the everyday bathing sequence.
Practical tip: Draw the handles and fittings with the moving glass.
10. Coordinate a side-wall seat with the actual controls
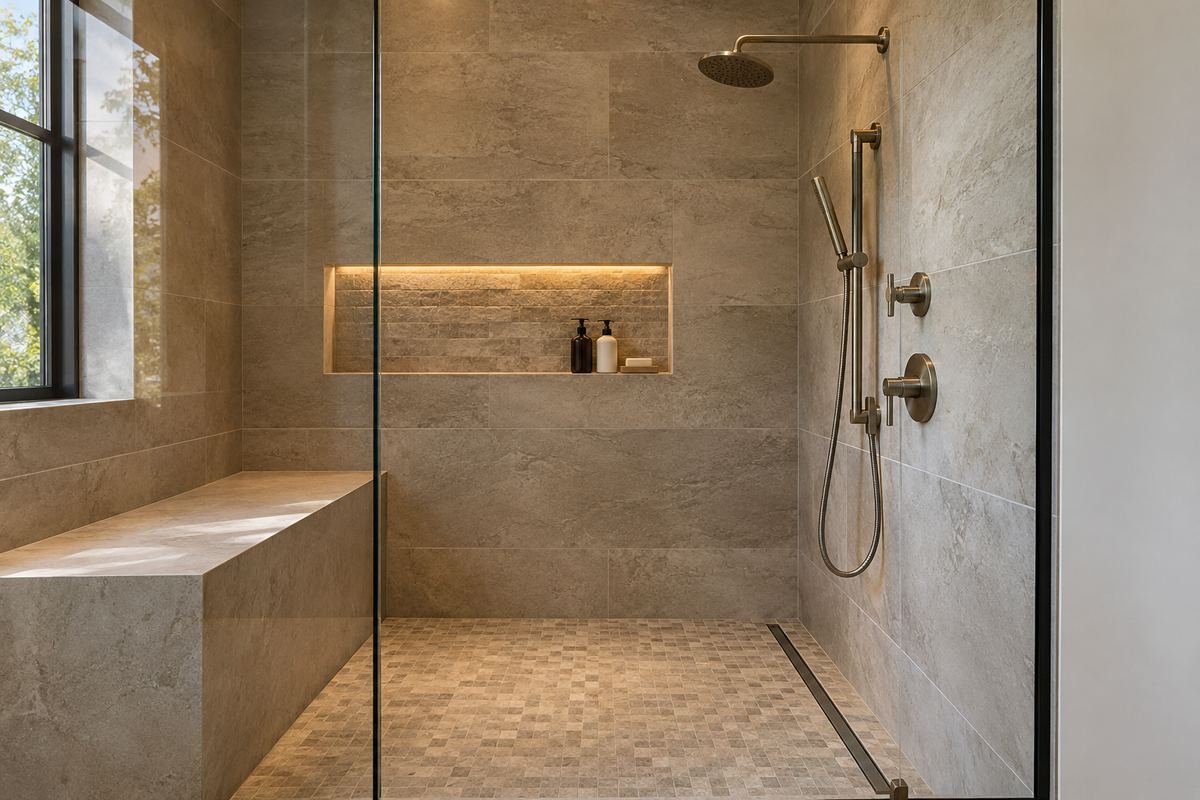
A side-wall bench can create a clear seated orientation within the shower. It can be useful where the controls, outlet and storage can all be reviewed from the same seated position rather than scattered across unrelated walls.
Compare the reach with the person who will use the seat and the complete product arrangement. Avoid choosing control positions from visual symmetry alone. Include the hose path if a handheld fitting is planned, keeping it within the overall installation design. The aim is a coherent routine, not a decorative line of fixtures that becomes difficult to use.
Practical tip: Review the seated reach before finalizing fixture positions.
11. Give daily products a separate reachable storage zone

Storage near the bench can keep the sitting surface available. A small suitable recess or shelf can hold the ordinary shower products without turning the seat into a display ledge every time the room is tidied.
Set the storage from the actual seated reach and bottle inventory. Compare the height and side position with the bench instead of copying a niche placed for a standing photograph. Keep the contents limited and resolve the storage connection through the complete shower assembly. The everyday items should be easy to retrieve without forcing the seat itself to hold them.
Practical tip: Choose storage from sitting as well as standing.
12. Let the bench repeat the main wall tile

Continuing the field tile across the bench front can make the seating feel integrated with the shower. It is a useful direction when the enclosure already has a strong fixture finish or an interesting floor and the bench does not need another decorative material.
Plan the joints at the front, top and exposed ends as one composition. The tile layout must work with the properly detailed seat assembly and surface drainage. A matching surface still needs a deliberate edge finish. Compare a sample corner so you can see how the real tile thickness and grout lines will appear from the bathroom doorway.
Practical tip: Review a finished corner rather than a flat tile sample alone.
13. Give a quiet tiled bench one considered seat surface
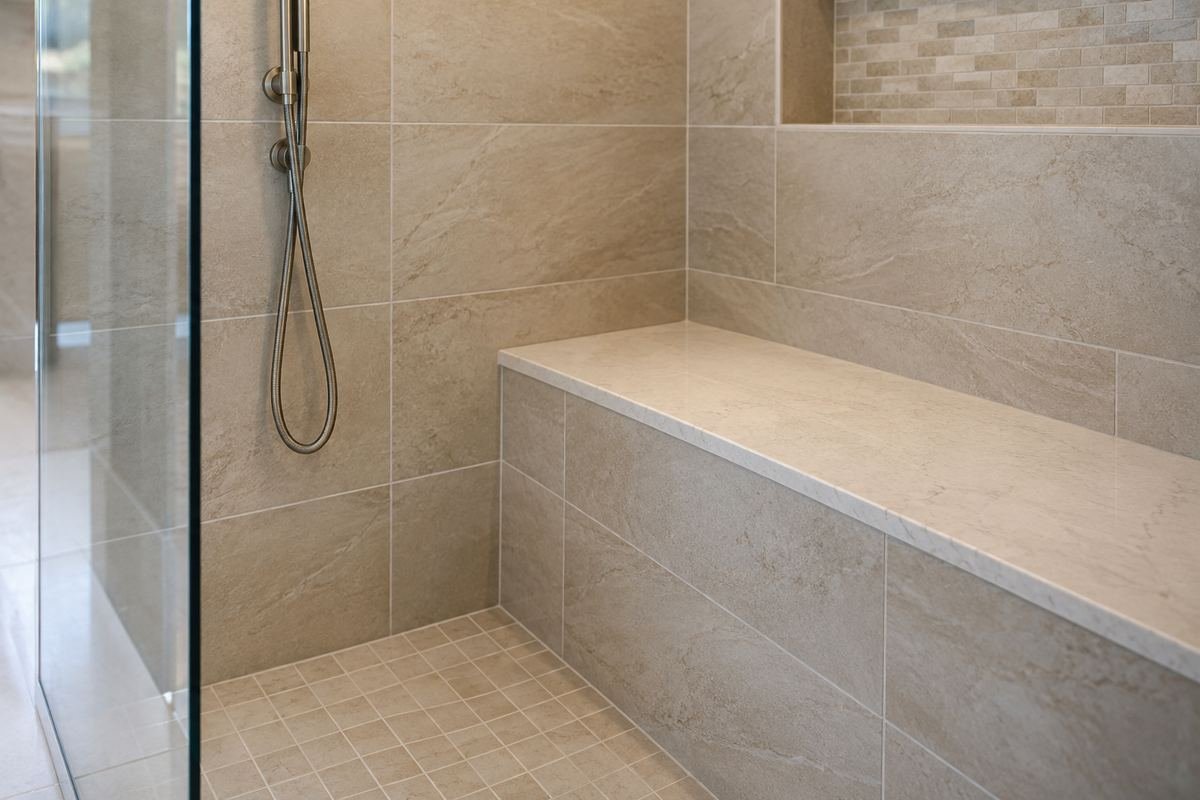
A distinct top can give a simple tiled bench a clear finishing line. A restrained stone-look surface can relate to the vanity or another fixed material without asking the shower walls to change their whole appearance.
Choose the actual material and assembly for shower use, including its support, edge detail and care requirements. Compare the top with the field tile in the same light. Keep the material change deliberate and check how it meets the adjacent walls. A single-looking surface in an illustration does not establish the real fabrication or waterproofing detail.
Practical tip: Coordinate the seat top with the wall junctions and front edge.
14. Use gentle contrast to make the seating zone readable

A seat in a related but slightly different tone can make the bench easier to distinguish within the shower composition. Warm gray against ivory, for example, can define the surface without turning the bench into a loud feature.
Compare complete samples in the actual bathroom light and consider the person using the space. Decorative contrast does not establish any measured accessibility benefit. Keep the edge finish, support and drainage decisions within the complete plan, then choose the degree of tonal difference that belongs with the tile and fittings.
Practical tip: Compare the broad surfaces together rather than relying on color names.
15. Continue a restrained tile grid across the bench front

A simple grid can help a bench look carefully integrated with the shower wall. When the front and wall joints have a deliberate relationship, the seat can feel like part of the original architecture instead of an object added later.
Ask for an elevation that includes the front, top and exposed side. Avoid choosing alignment on one face that creates an awkward narrow cut on another. The finished grid is a visual planning task within the already resolved shower assembly. Check a sample edge and grout relationship before approving the final layout.
Practical tip: Review every visible bench face on the same elevation.
16. Keep patterned tile to one controlled bench detail
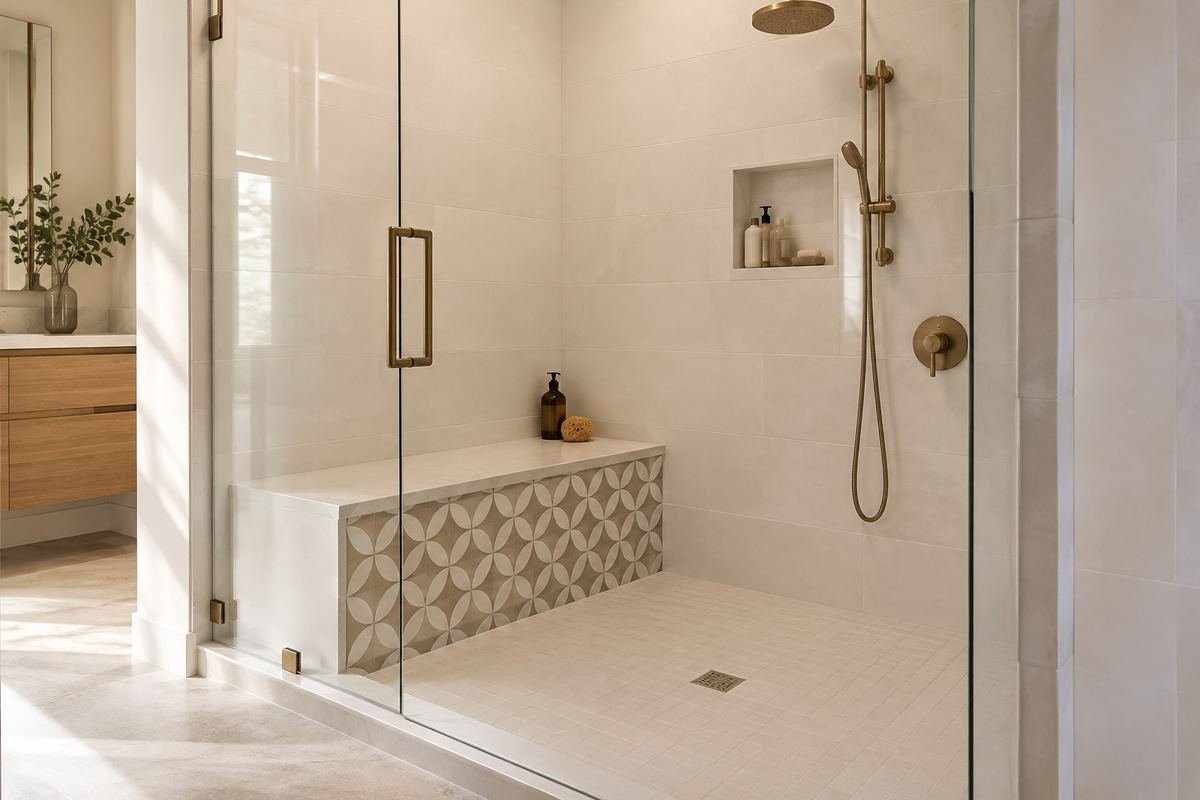
A small patterned area can give the seat a distinct decorative role in a largely plain shower. It may be useful when the bench is visible from the doorway and the room needs one modest focal detail rather than a whole patterned wall.
Choose where the pattern begins and ends, then review its repeat at the real scale. Keep the seat surface, edge and wall junctions compatible with the complete specified assembly. A pattern that looks crisp in a small sample may become busy across several bench faces, so compare a limited feature with a fully plain alternative before ordering.
Practical tip: Use a full-size pattern repeat in the material comparison.
17. Use a slatted timber appearance as a considered material accent

A purpose-designed slatted shower seat can bring warmth to a bathroom dominated by tile and glass. The repeated narrow lines can provide enough texture that the rest of the seating zone remains simple.
Choose the complete shower product, not a decorative copy based only on the wood name. Review its construction, support, intended conditions and care instructions. Include the spaces between and beneath the slats in the cleaning routine. A warm material can be an attractive accent while still needing a clear place to dry and an upkeep plan suited to the exact product.
Practical tip: Review the whole seat specification and care routine together.
18. Compare a softened front edge through the actual fabrication
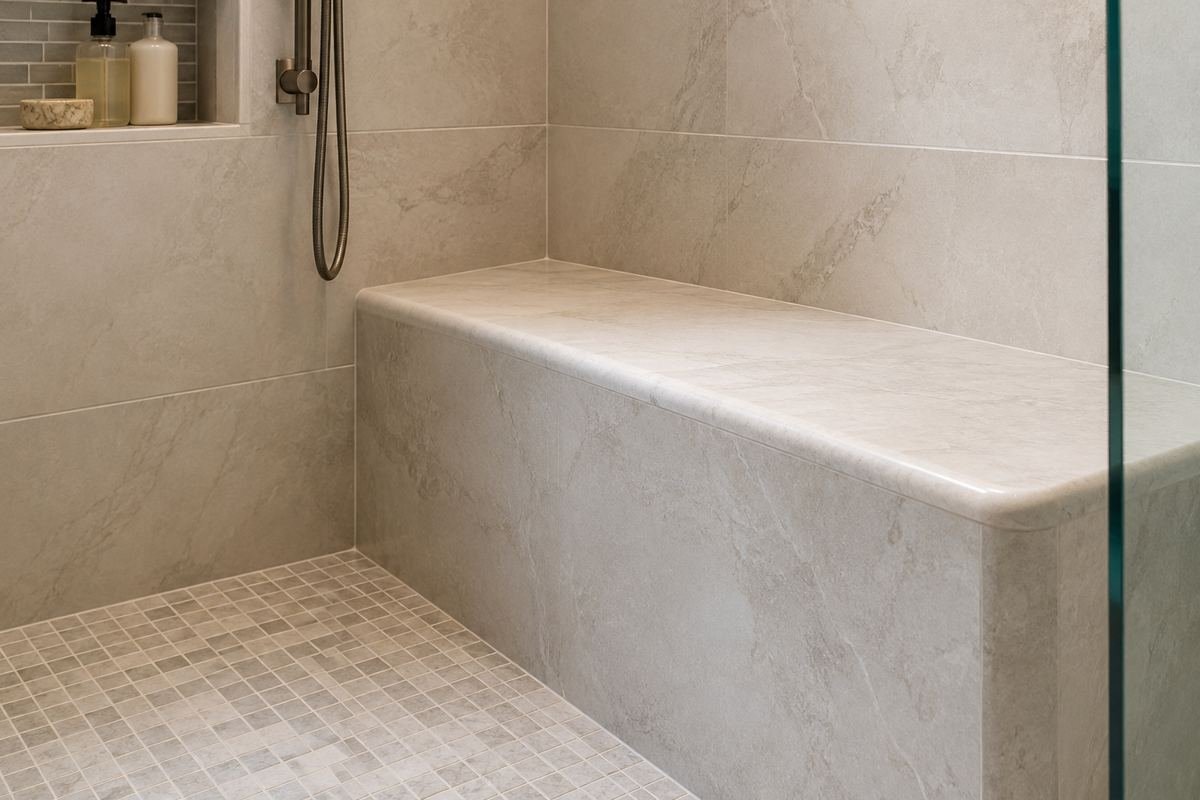
A subtly softened front can make a solid bench look more finished than an abrupt raw-looking edge. It can suit a restrained shower where the seat’s outline is the main detail and the surrounding materials remain quiet.
Have the edge chosen for the actual material, thickness and complete assembly. A curved-looking edge in a rendering is not a fabrication instruction or a guarantee of comfort. Review a sample or detail with the fabricator and installer, including the underside and wall ends, then compare it with the intended sitting position.
Practical tip: Approve the real edge detail before approving the final color.
19. Give a long narrow shower one clear seating end

A bench at one end can help organize an elongated enclosure into a standing area and a seating area. The arrangement can look especially calm when the walls use a consistent finish and the entry remains visually straightforward.
Compare the useful space remaining along the whole length. Include the controls, outlet and reach from the seat, rather than assuming the far end is automatically the best position. A narrow room can make door movement and cleaning access particularly important. Review those practical relationships before letting a strong end-wall composition determine the plan.
Practical tip: Walk through the complete entry-to-seat sequence on the plan.
20. Balance a substantial bench with a quieter enclosure
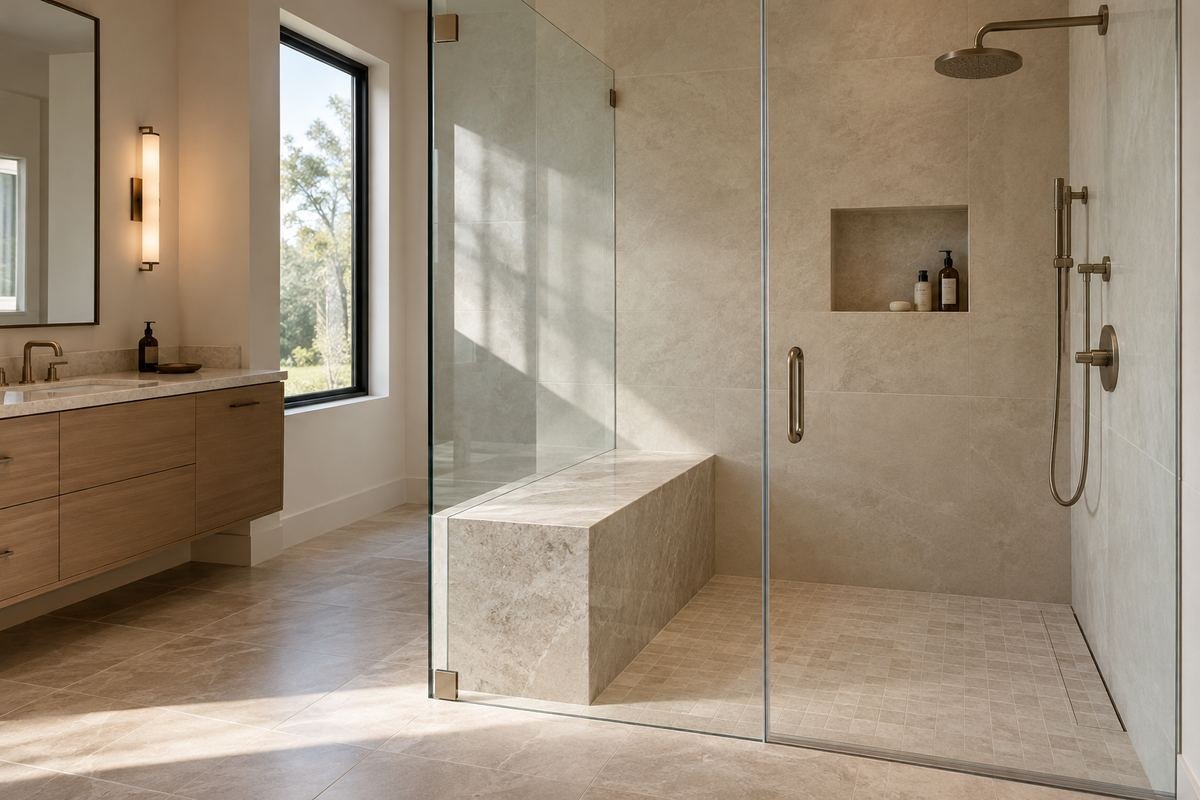
A visually solid bench can provide the room’s main horizontal feature. Keeping the nearby tile, glass and fittings restrained can let that substantial shape feel deliberate without turning the shower into a collection of competing details.
Check the mass from the bathroom doorway and from inside the shower. A bench that looks balanced in a wide photograph may dominate a smaller real room. Compare its usable dimensions and projection with the actual seat requirement, then remove decorative objects that make the surface read as a display instead of a place to sit.
Practical tip: Use the doorway view to check the bench’s visual weight.
21. Leave a generous cleanable floor area around removable seating

A removable bench can make the layout flexible, but it still needs a deliberate place within the shower. Clear space around its feet can help the whole arrangement feel settled and make ordinary maintenance easier to plan.
Check the specified product’s footprint with the entry, drain and standing area. Plan how it will be moved for cleaning and returned to a stable appropriate position. Avoid adding loose storage underneath unless the actual product and routine support it. A clear floor view is useful only when the complete seating arrangement remains suitable for the intended use.
Practical tip: Plan the cleaning move before adding storage beneath the seat.
22. Finish the bench as a useful seat rather than a display shelf
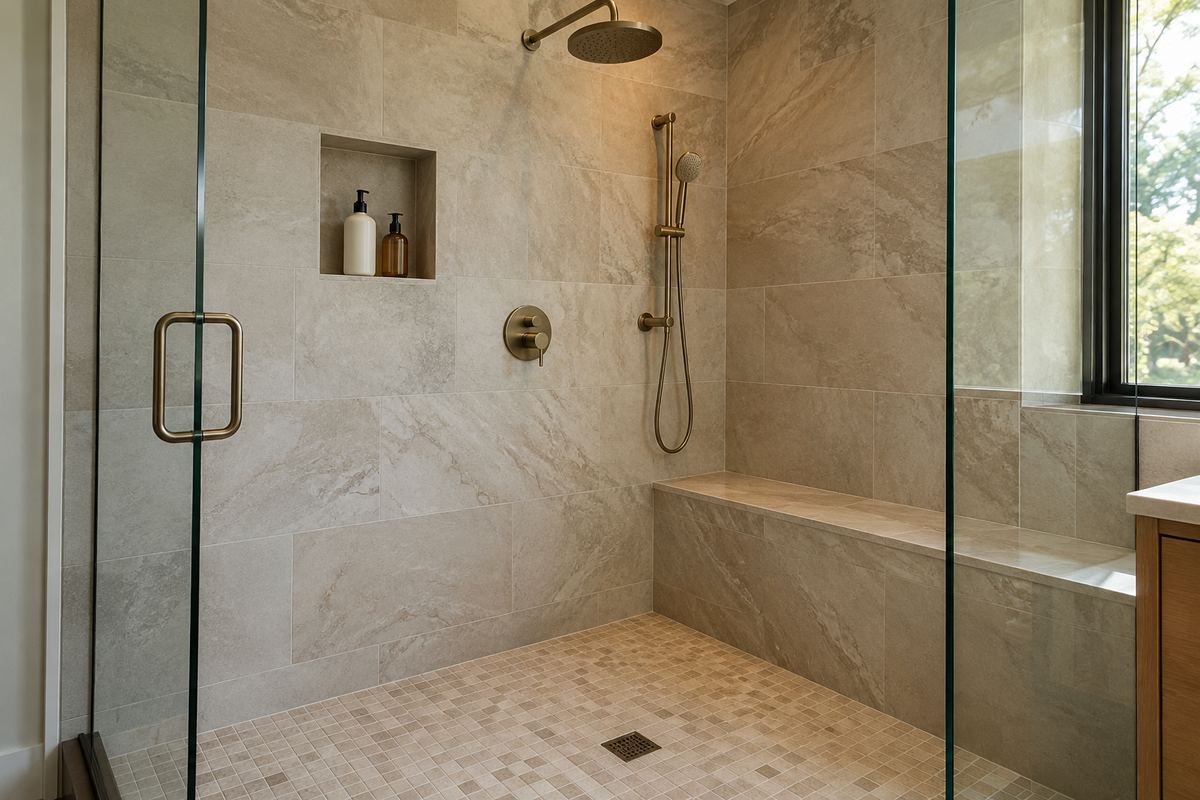
A completed shower bench can look considered with very little styling. The seating surface, material edge and relationship to the wall already provide enough visual information when the rest of the enclosure is tidy.
Keep bottles in suitable separate storage and leave towels outside the regular spray area. Review the ordinary use after the room has been occupied, not only when it is freshly photographed. If objects repeatedly collect on the seat, adjust the storage routine. The most successful final detail is a bench that remains ready for the person who needs it.
Practical tip: Keep the whole sitting area available during everyday use.
Frequently Asked Questions
Where should a shower bench go?
Choose the position through the entry, seated routine, controls, water outlet and storage reach. Include the enclosure door and the remaining standing area. There is no universally best wall or corner for every room and user.
Is a floating shower bench suitable for every bathroom?
The appearance alone cannot establish suitability. A wall-supported seat needs an appropriate complete support and waterproofing arrangement, and the usable seat must meet the actual user’s needs. Compare the specified system with the whole project before choosing it for its open underside.
Can I use an ordinary wooden stool in the shower?
Choose seating specifically intended for the actual shower conditions and use. An ordinary decorative stool may not have suitable construction, stability or care requirements. A material name alone does not establish the performance of the complete seat.
Does a shower bench need a separate storage niche?
A separate suitable storage zone can keep the sitting surface clear, but a niche is only one option. Choose the arrangement from the daily products and the seated reach. Resolve any recess as part of the complete waterproofed shower design.
What is the right shower bench size?
Set the dimensions from the actual user, intended purpose, usable shower area and product or project requirements. Check the entry and standing space with the seat included. Avoid selecting a universal number from a photograph, especially where individual bathing or transfer needs are involved.
Can a shower bench improve accessibility?
A correctly selected seating arrangement may be part of an individually planned bathroom, but a decor concept or product name does not establish accessibility. Have the person’s needs, support, reach, transfer method and applicable requirements assessed by an appropriately qualified professional.
Choose the Details That Work in Your Home
Choose the seating purpose and position first, resolve the complete support and wet-area design, then refine the materials. The strongest shower bench ideas preserve a useful place to sit, a clear route into the shower and a manageable cleaning routine. The finish should support that arrangement rather than dictate it.
For related ideas, explore shower niche ideas, shower tile ideas, shower sizing checks.
Planning References
Schluter: prefabricated shower bench and complete connections; Teakworks4u: an example of product-specific shower-seat requirements. Follow the instructions for the exact products you choose.
Optional digital guide for this topic
If you prefer a structured workbook, explore this related paid guide.