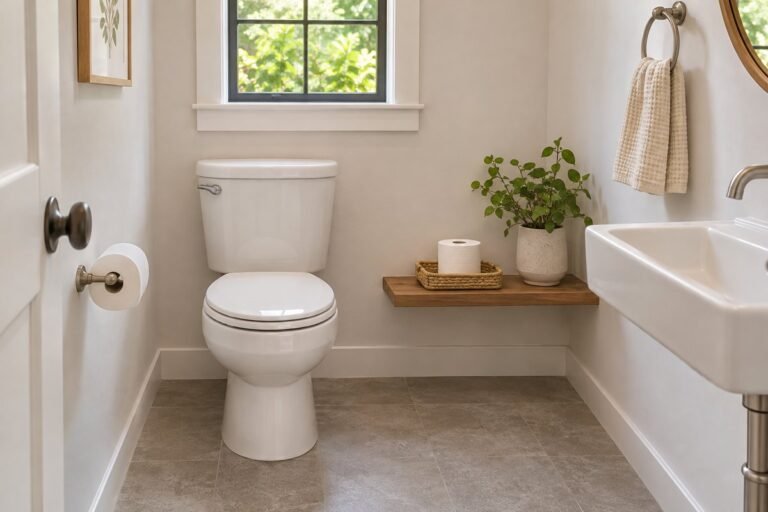
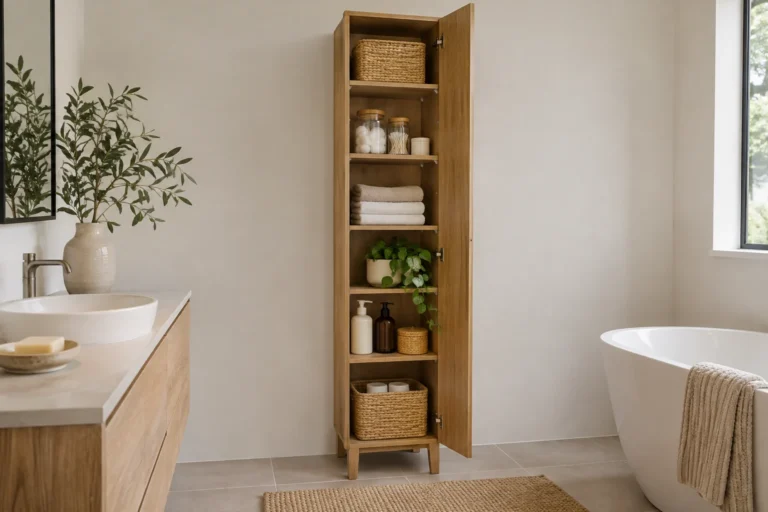
Shower sizing requires a complete bathroom plan, suitable products and confirmation of the requirements that apply to the actual project. A single dimension or a photograph cannot establish code compliance, accessibility or a complete installation.
Use these ideas to prepare questions and compare arrangements with an appropriate qualified professional. The images illustrate design details and do not provide approved construction drawings or verified clearances.
Images are illustrative design concepts, including AI-generated replacement images. They are not installation drawings.
Keep Shower Sizing and Product Changes on One Plan
Record the chosen enclosure, opening mechanism, seating, controls and drain arrangement together with the measured room. Next, compare each substitution with that complete plan before it is ordered. For example, changing a hinged screen to another model can alter the entry and nearby fixture relationship even when the listed tray size is unchanged. Keep the project professional responsible for confirming applicable requirements involved through the final product selection.
Read a Shower Dimension With Its Design Type
The U.S. Access Board’s ADA bathing-room guide illustrates why one size cannot describe every shower. Its transfer compartment is 36 × 36 in as an absolute dimension, while the standard roll-in compartment has a minimum interior of 30 in deep × 60 in wide. The guide uses the center points of opposing walls as its measurement references. These are specific accessible-shower configurations under that standard, not one universal minimum for every household project. Entry clearance, controls, seats, grab bars and thresholds have additional provisions. Ask the project professional which requirements apply before selecting an enclosure.
1. Confirm the Requirements for the Actual Project
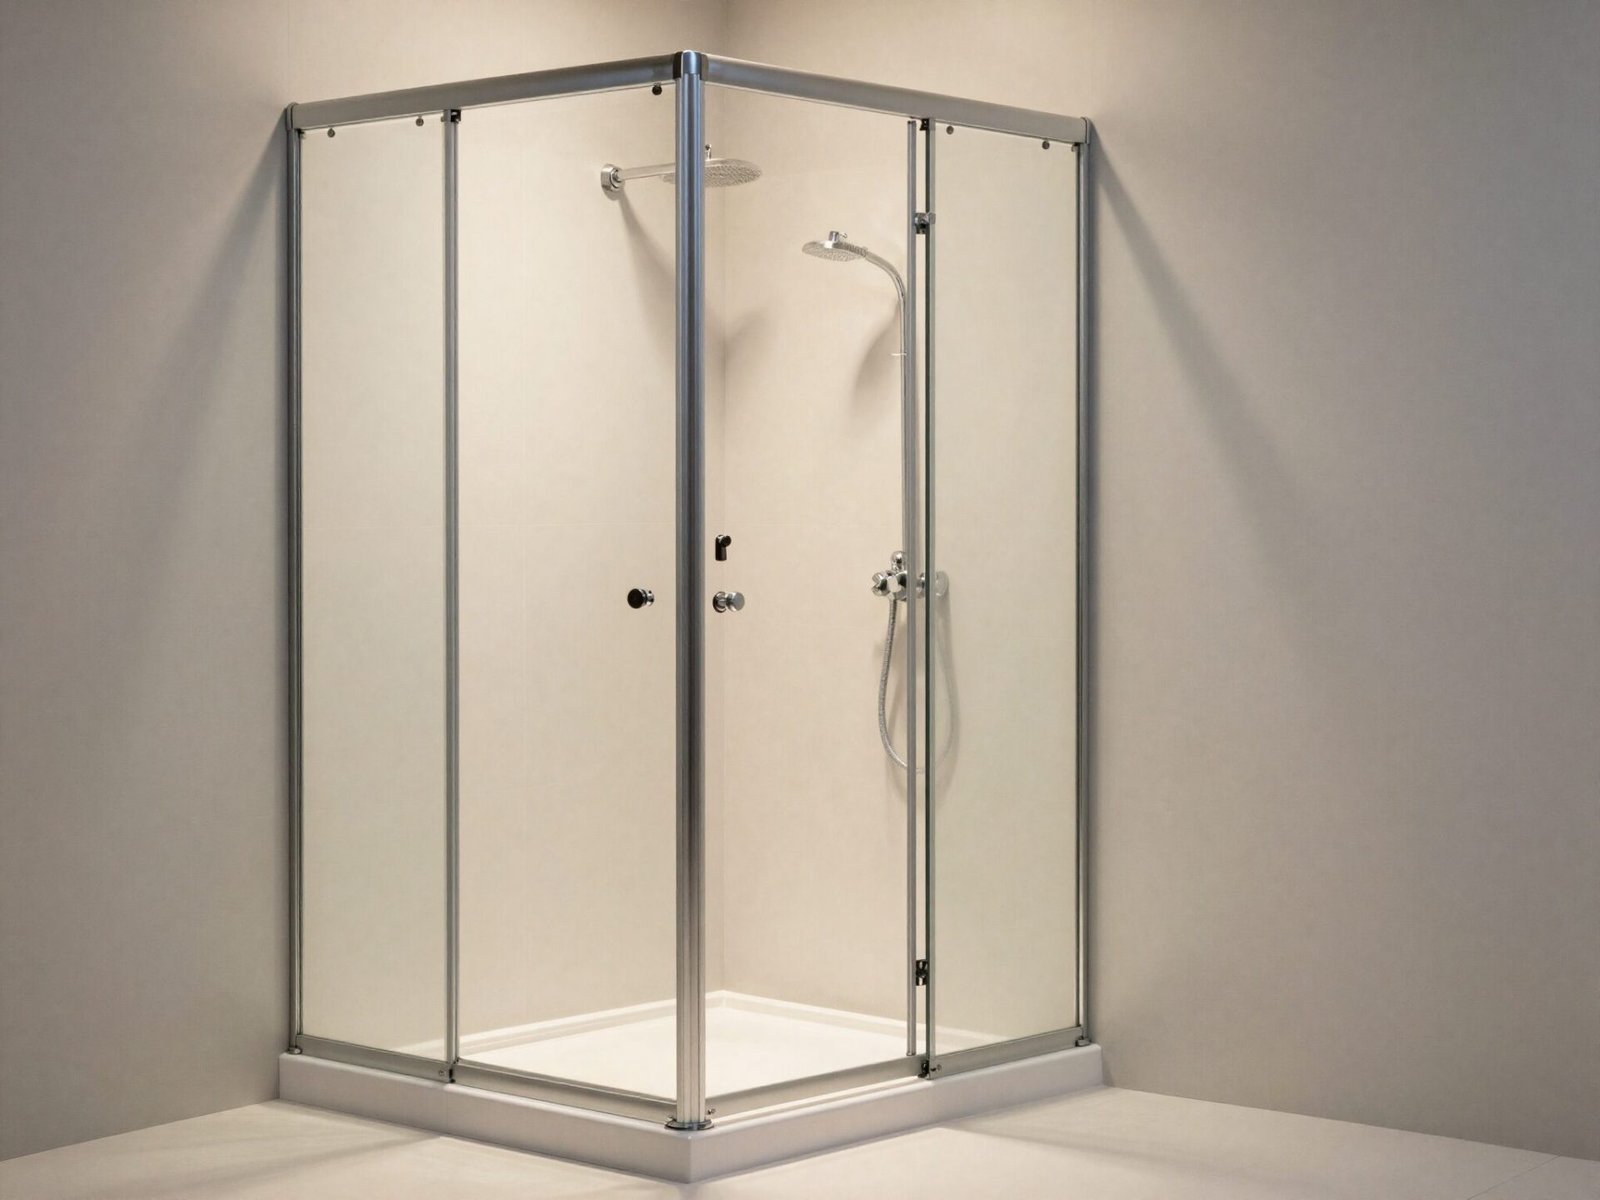
Have the applicable building and installation requirements checked for the actual location and project type. Do not treat one widely repeated minimum as a complete shower design. Record the applicable standard and the exact reference points used for each required dimension.
Try this: Resolve the relevant requirements before ordering products.
2. Compare the Interior With Actual Users
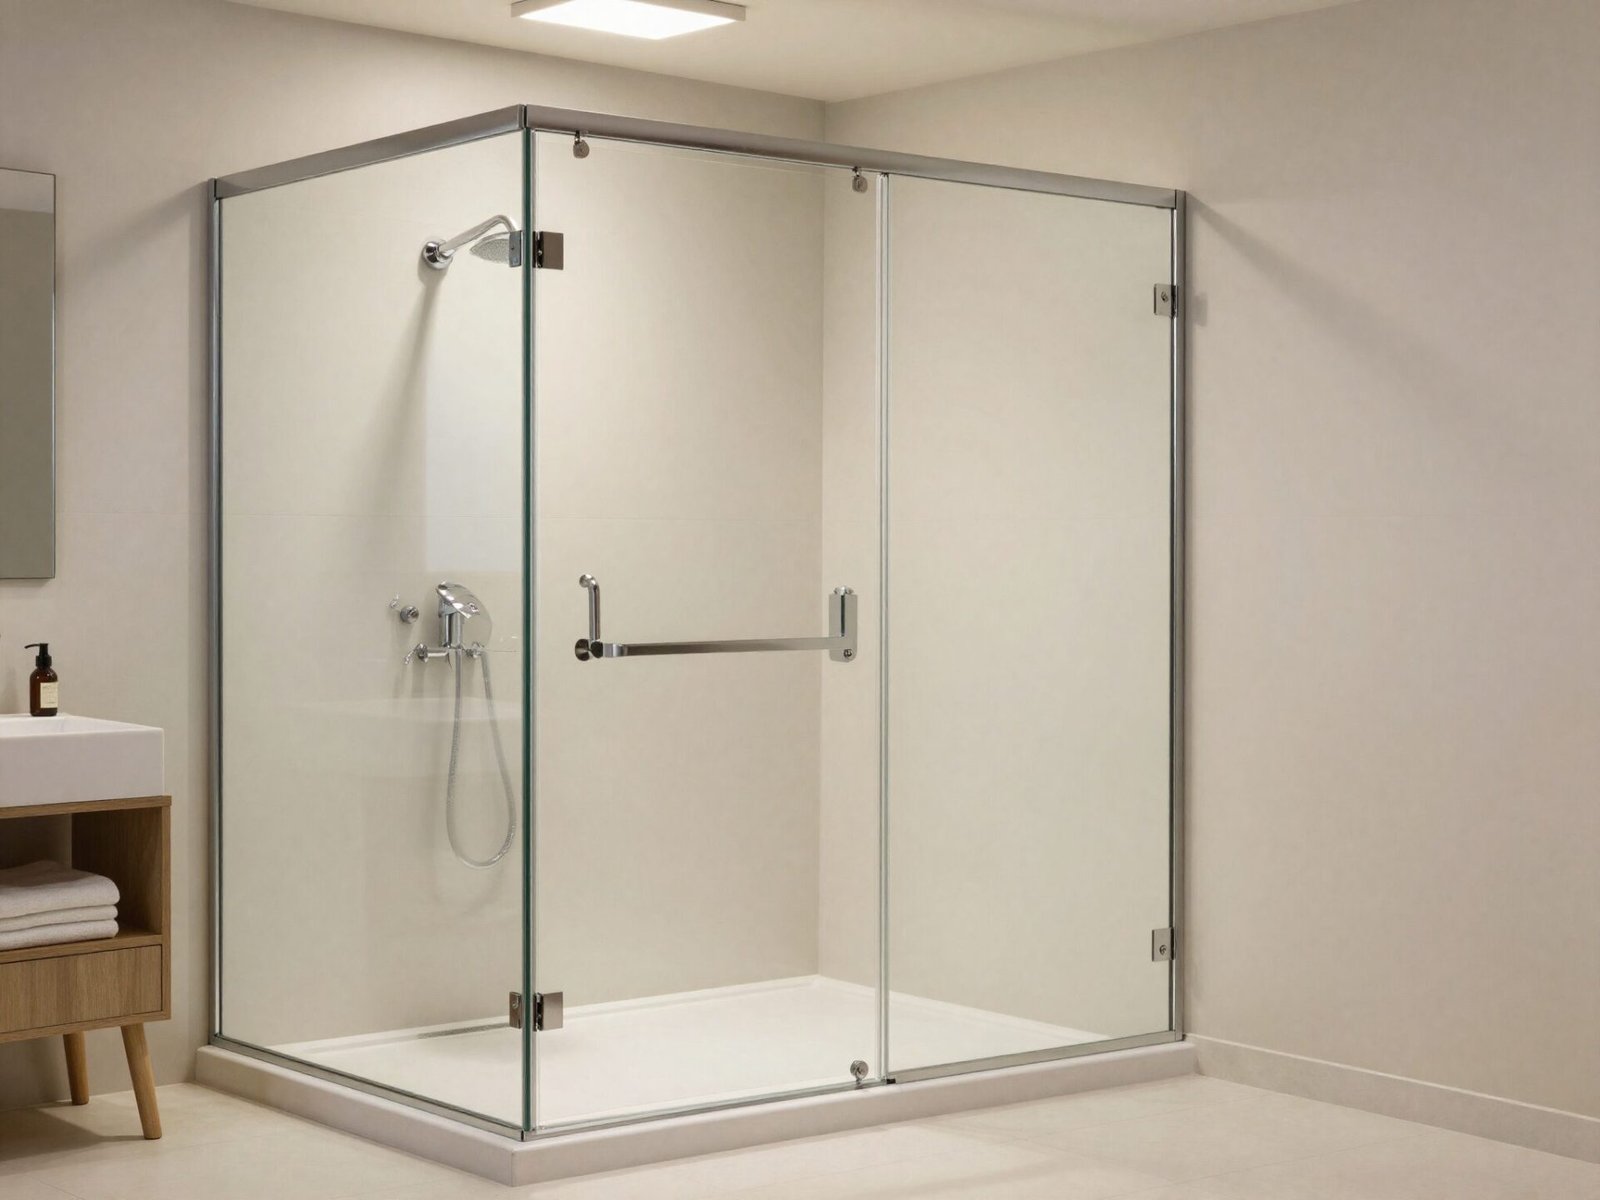
Consider how the intended users enter, turn and perform ordinary shower tasks. Compare that space with the actual enclosure, fixtures and project requirements. A generic comfort dimension does not account for every user or room.
Try this: Review the complete interior rather than only the external tray size.
3. Coordinate the Shower With the Whole Bathroom
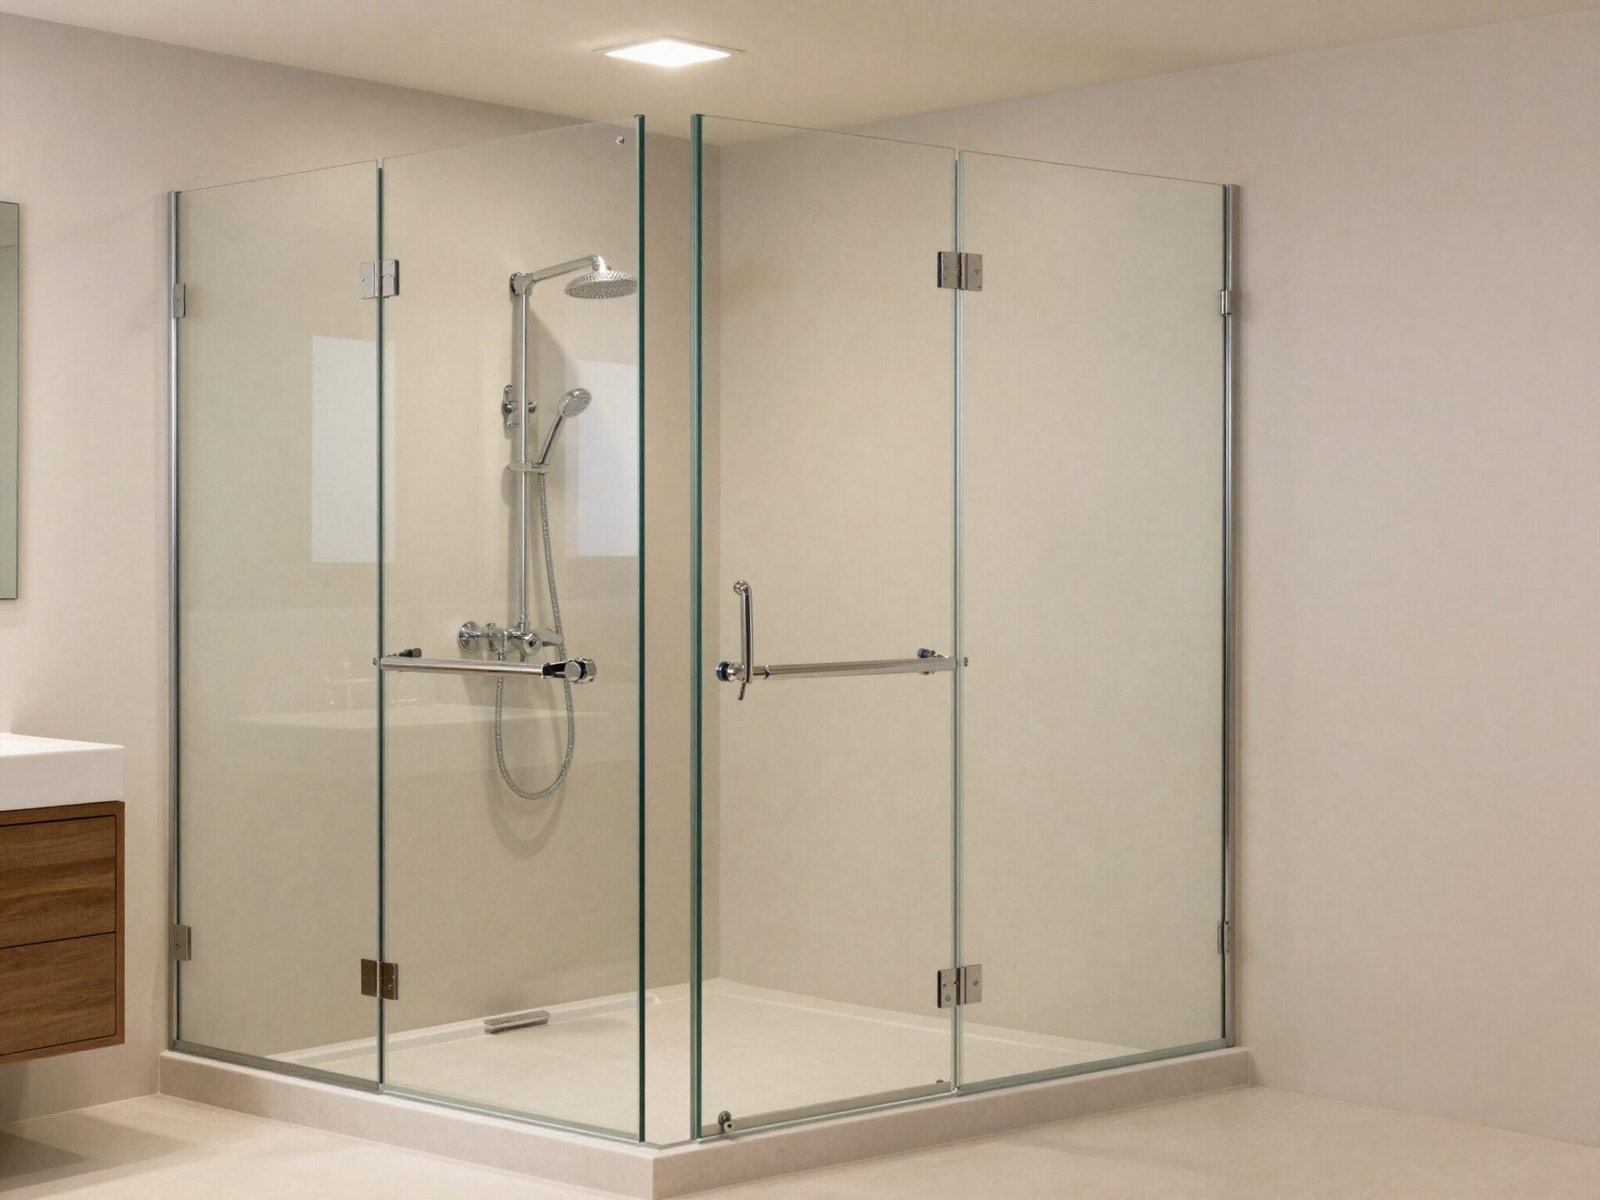
Compare the shower with the vanity, toilet, doors and storage access. A larger enclosure can still make the surrounding bathroom harder to use. Keep the actual product dimensions and applicable requirements on the same plan.
Try this: Test the main route with every fixture in place.
4. Assess Multiuser Needs as a Complete Design
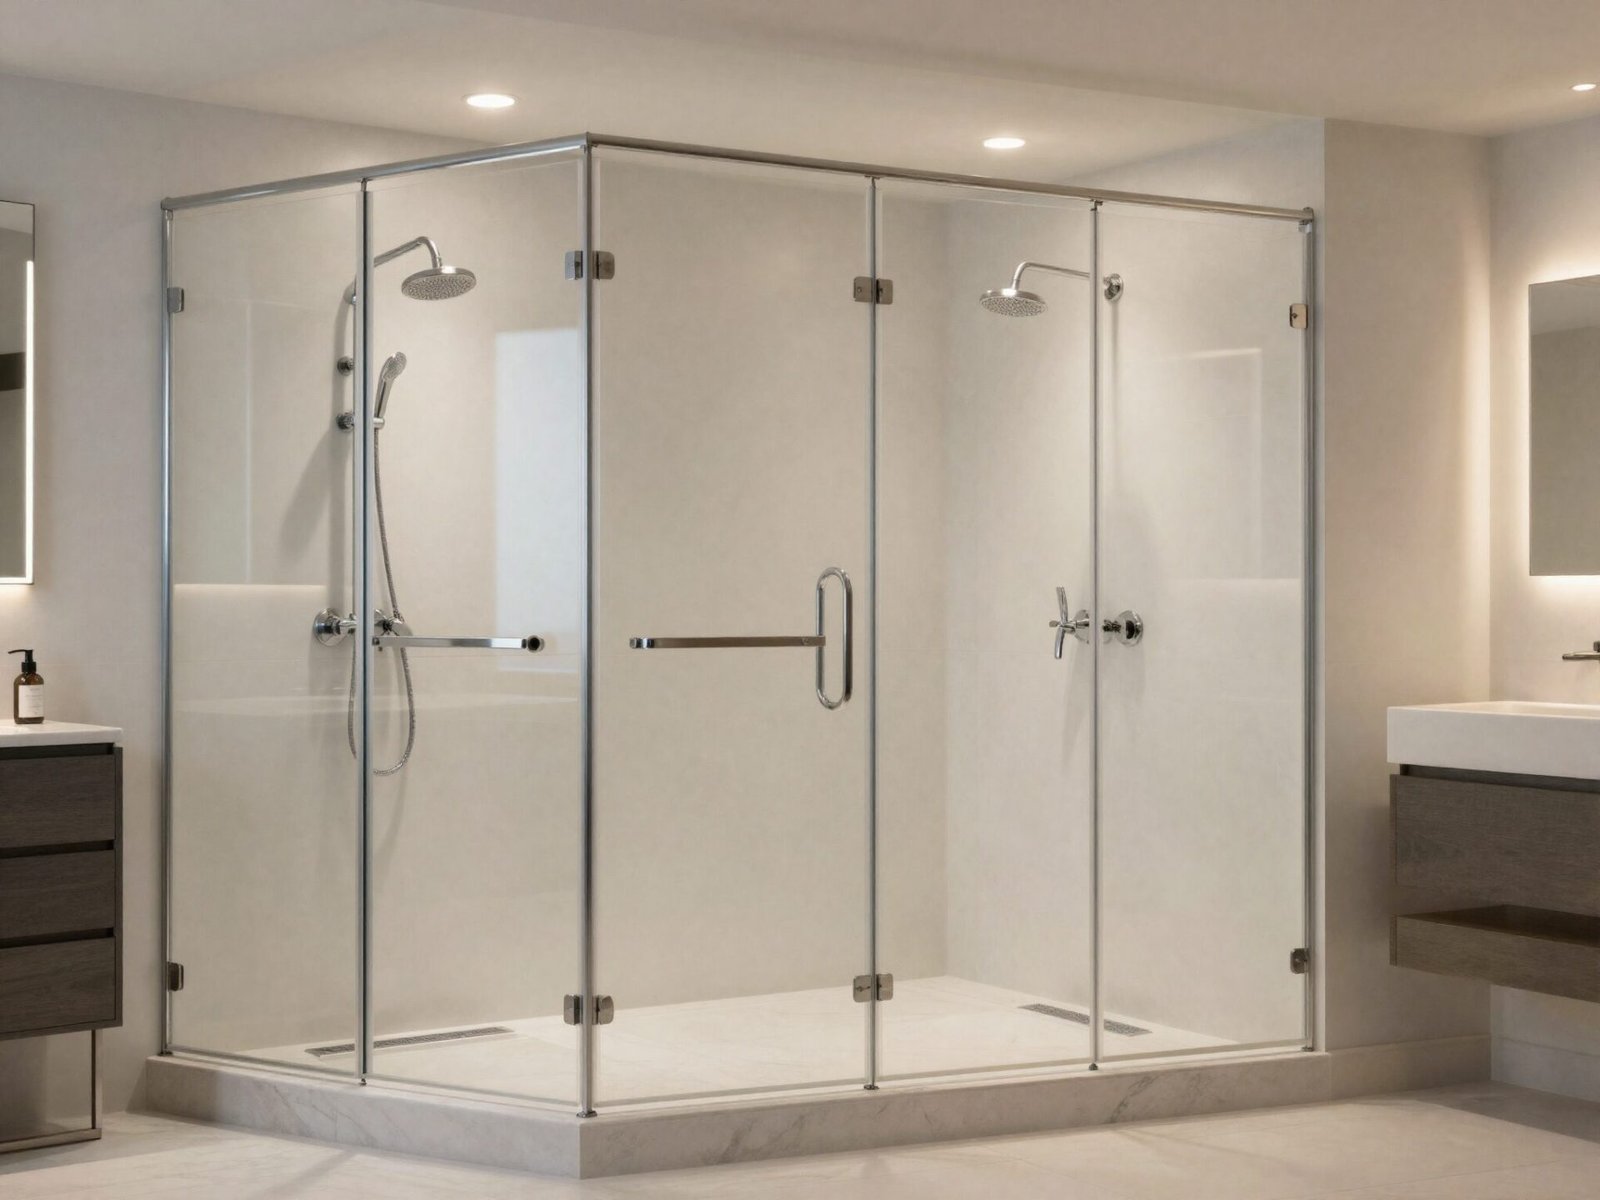
A larger shower photograph does not establish suitability for simultaneous use. Have the actual users, fittings, access, water system and project requirements assessed together. Choose the arrangement for its intended routine rather than a universal size label.
Try this: Discuss the real use case before selecting another fixture.
5. Plan the Approach and Entry Space
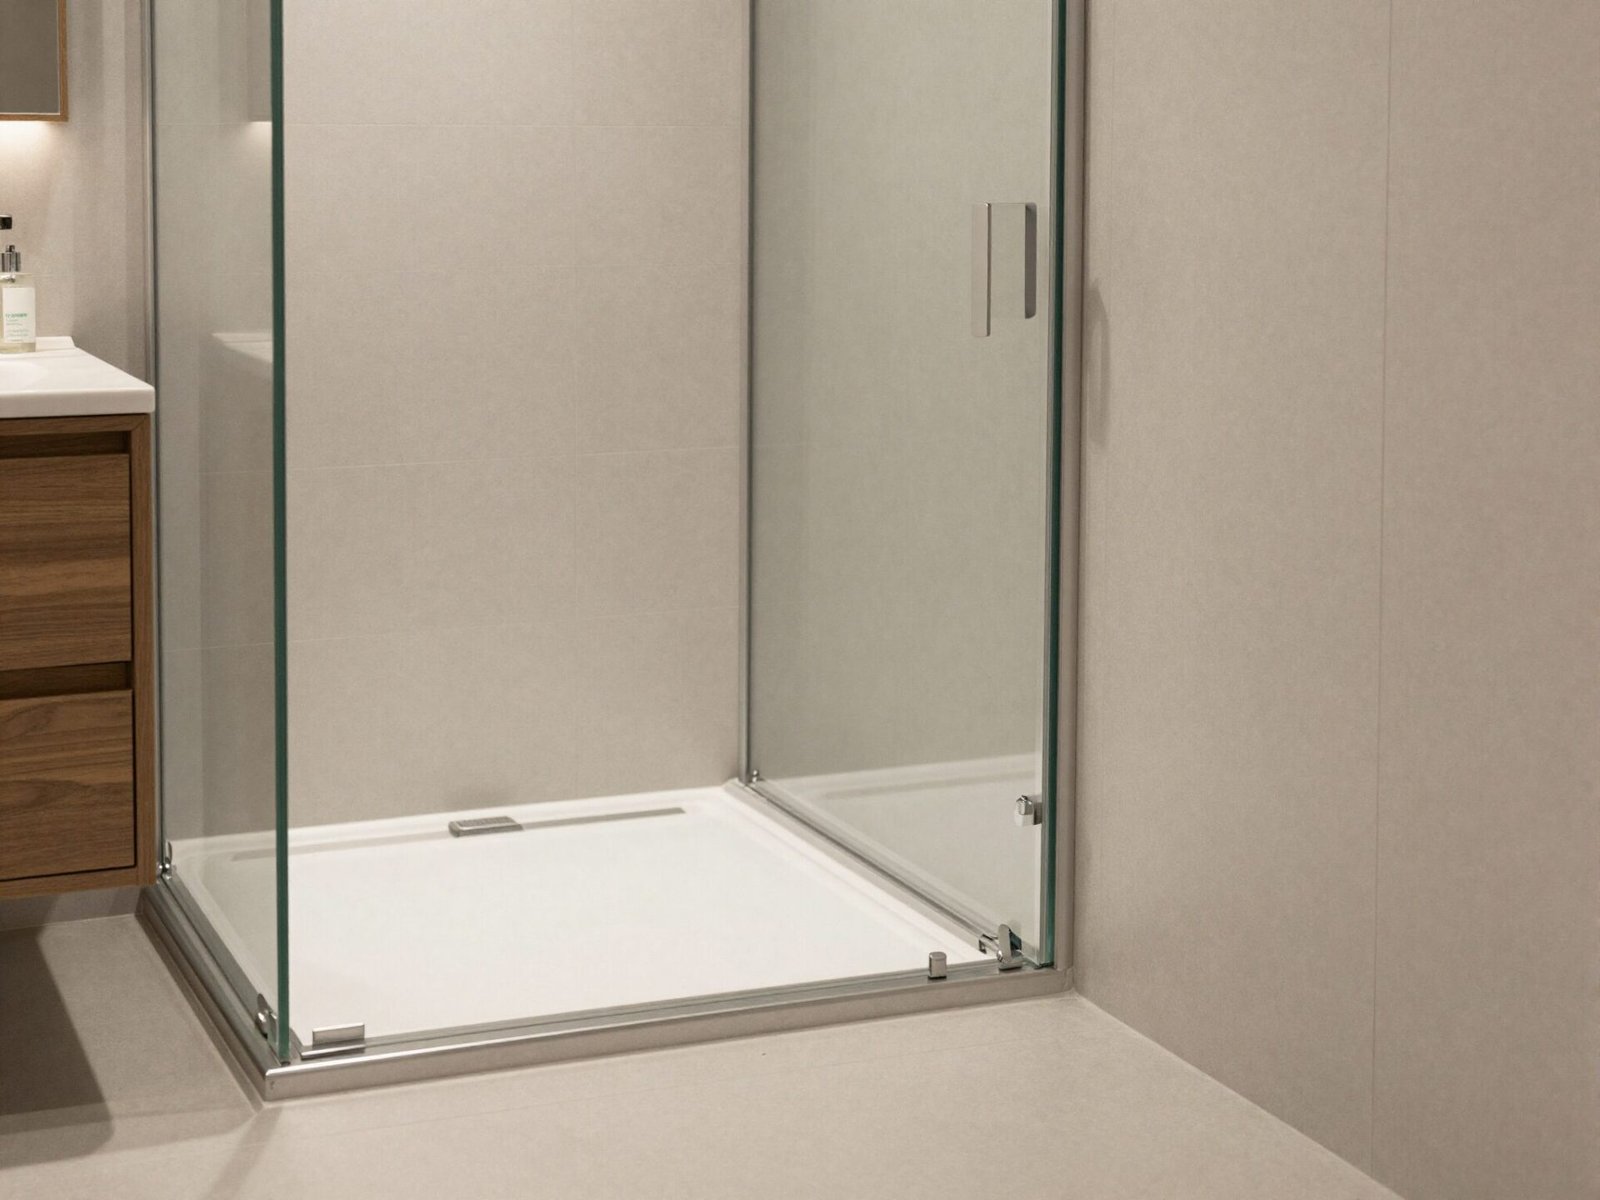
Review the floor area used to approach, enter and leave the shower. Include door movement and adjacent fixtures while confirming the actual project requirements. A clear-looking floor in an image does not supply a dimensioned approach plan.
Try this: Check the entry with the selected enclosure drawings.
6. Check Overhead Space With the Fixtures
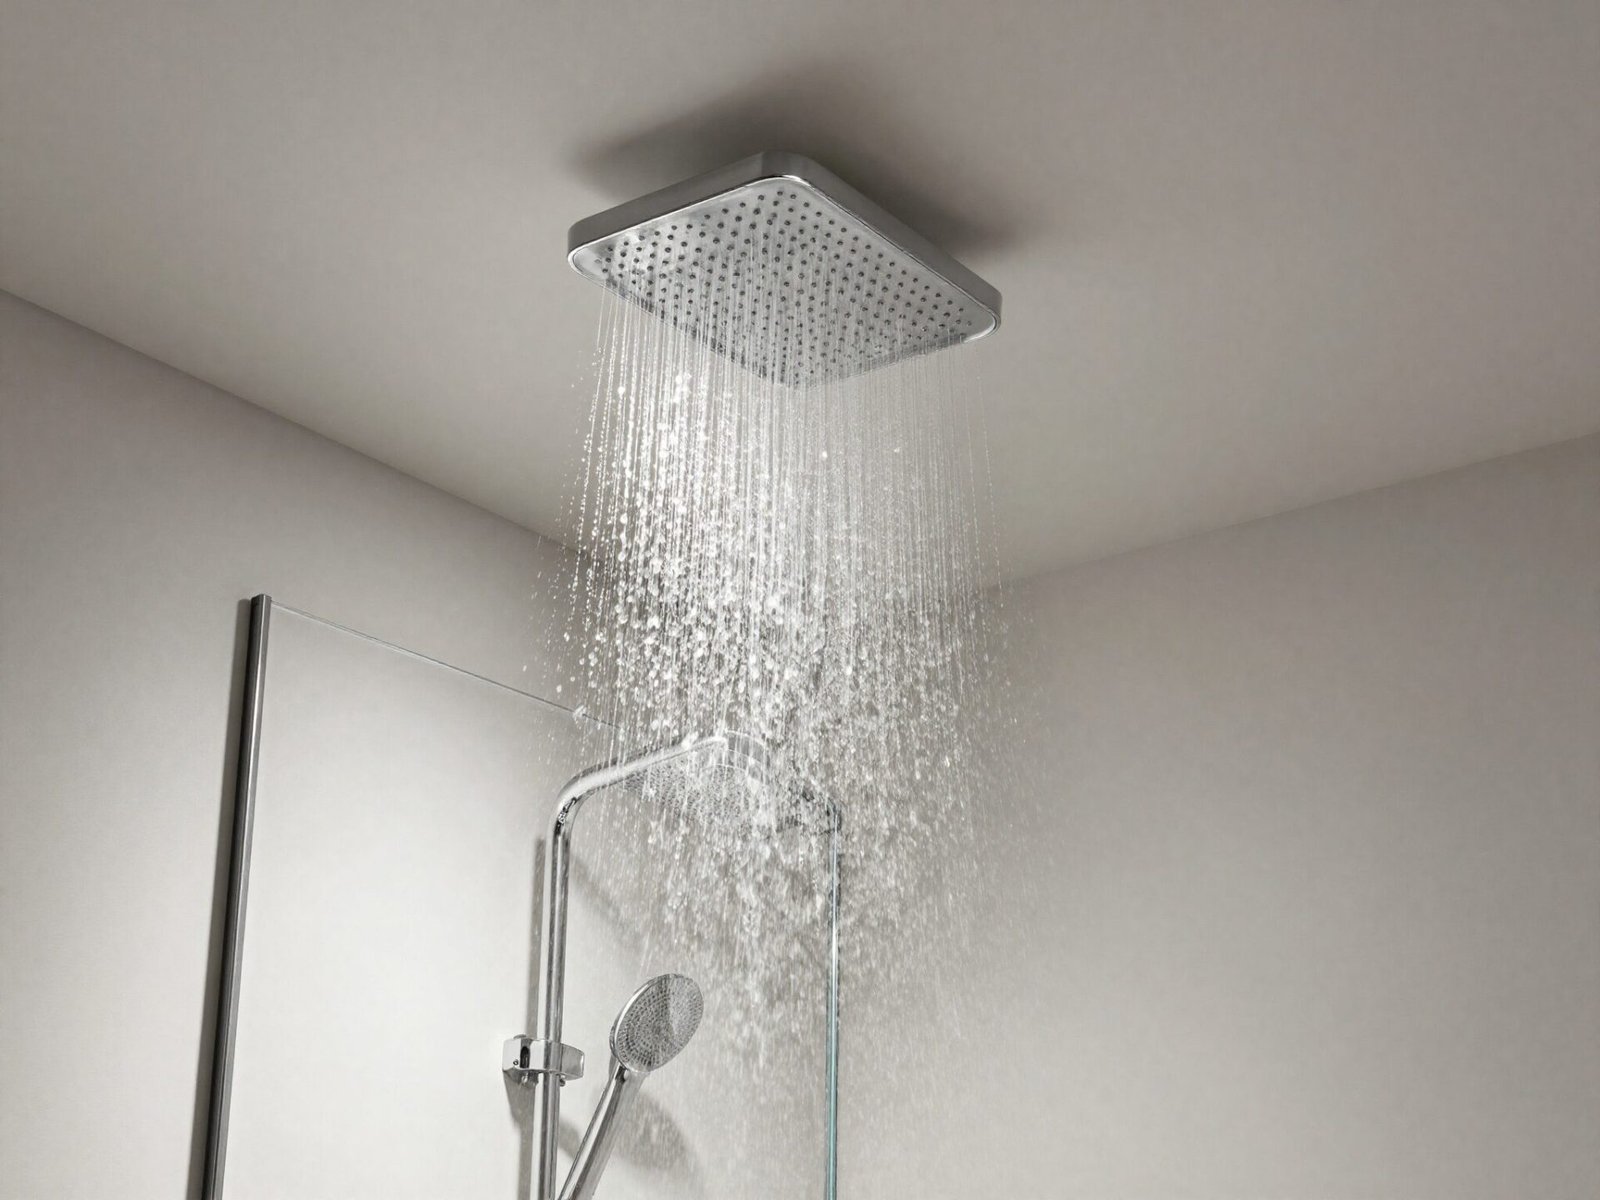
Compare the ceiling and showerhead positions with the intended users and actual products. Have relevant requirements and installation details confirmed. A running showerhead photograph cannot establish usable headroom in another bathroom.
Try this: Measure the complete vertical arrangement before choosing fittings.
7. Include Seating in Shower Sizing
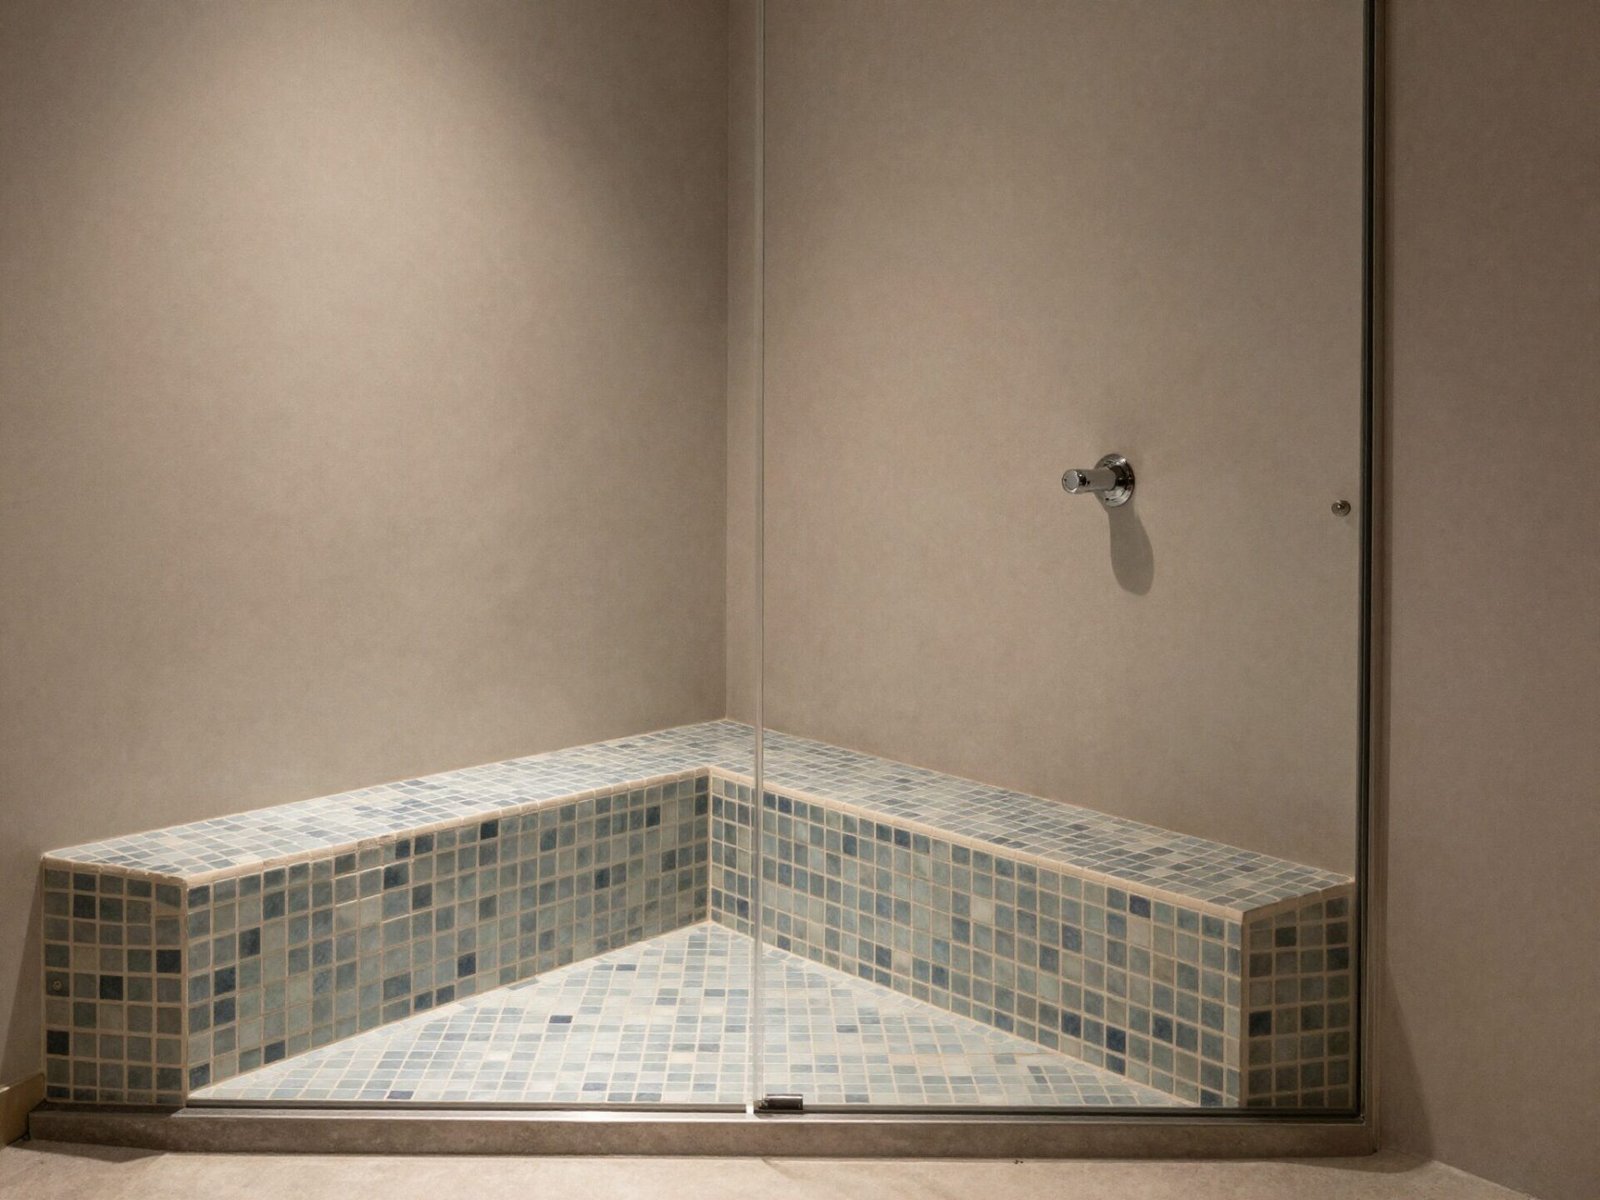
A built-in seat changes the usable space, support, waterproofing and access needs. Have the actual seat and installation assessed as part of the complete design. The visible bench cannot establish capacity, dimensions or suitability for an individual user.
Try this: Choose the seating needs before finalizing the enclosure.
8. Check the Full Enclosure-Door Movement
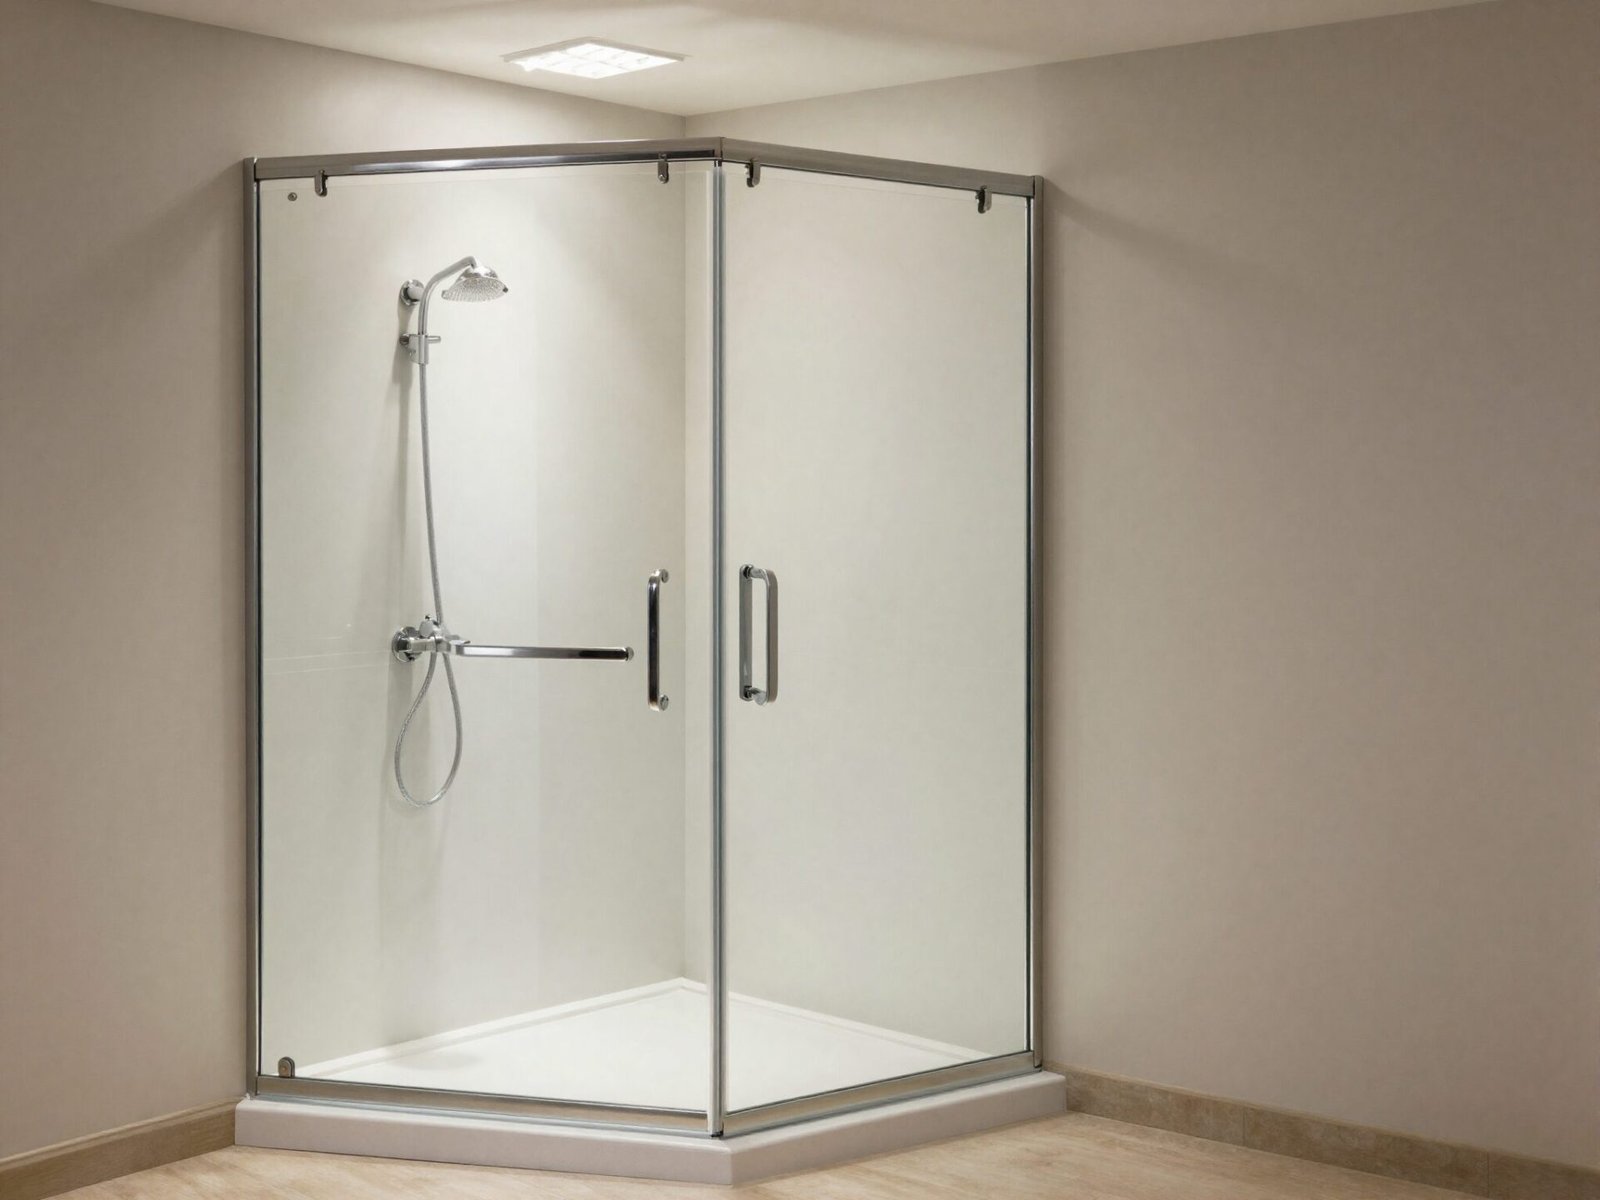
Compare the actual opening mechanism, handles and full movement with nearby fixtures and users. Follow the selected enclosure guidance and confirm project requirements. A door-width range alone does not describe the complete entry arrangement.
Try this: Review the opening with the product drawings in hand.
9. Compare a Corner Enclosure With Other Layouts
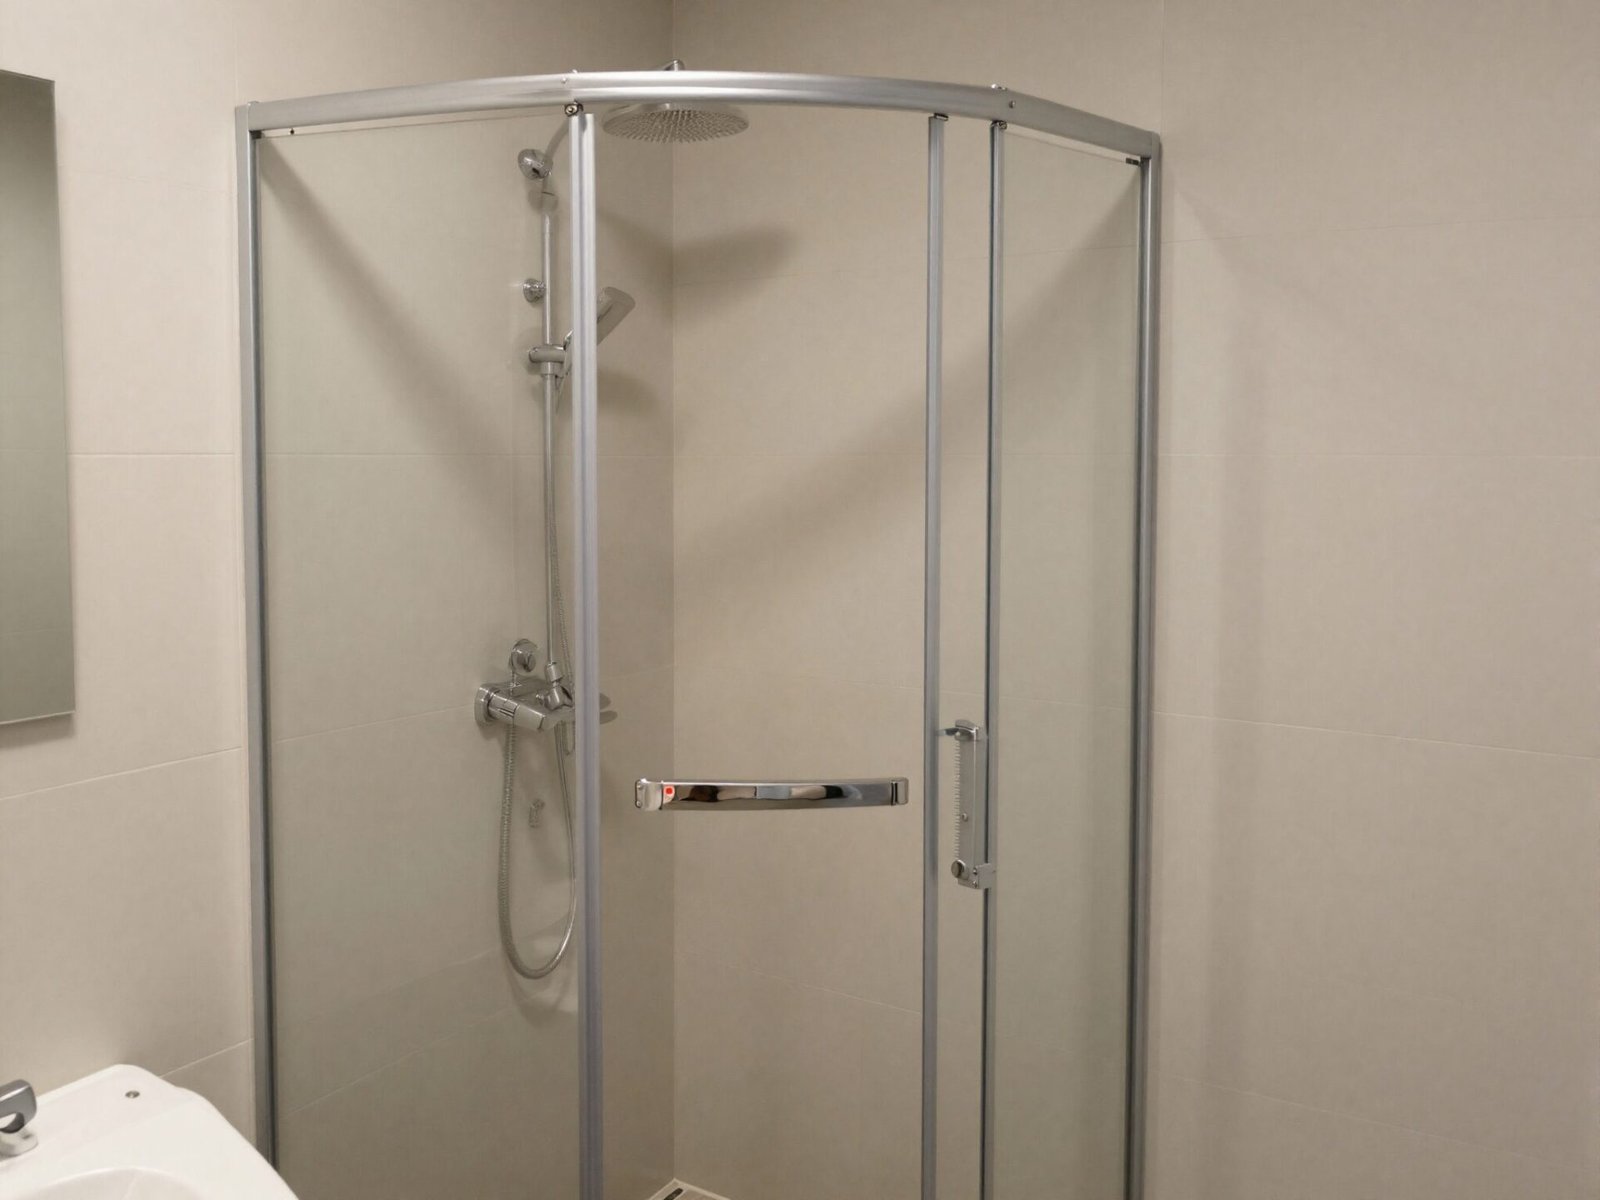
A corner enclosure can offer a different footprint where the actual dimensions fit. Check the usable interior, entry and neighboring fixtures rather than assuming every corner model saves useful space. Confirm the selected product and installation requirements.
Try this: Compare at least one alternative arrangement on the measured plan.
10. Plan Shower Access Around the Actual User Needs

A shower seat and support-bar reference illustrates possible features without establishing accessibility compliance. Have the intended users and all applicable design, support, control and access requirements assessed for the actual project. Do not copy a labeled dimension from an unrelated layout.
Try this: Use appropriate qualified advice for the complete access design.
11. Compare Entry Thresholds Through the Actual Design
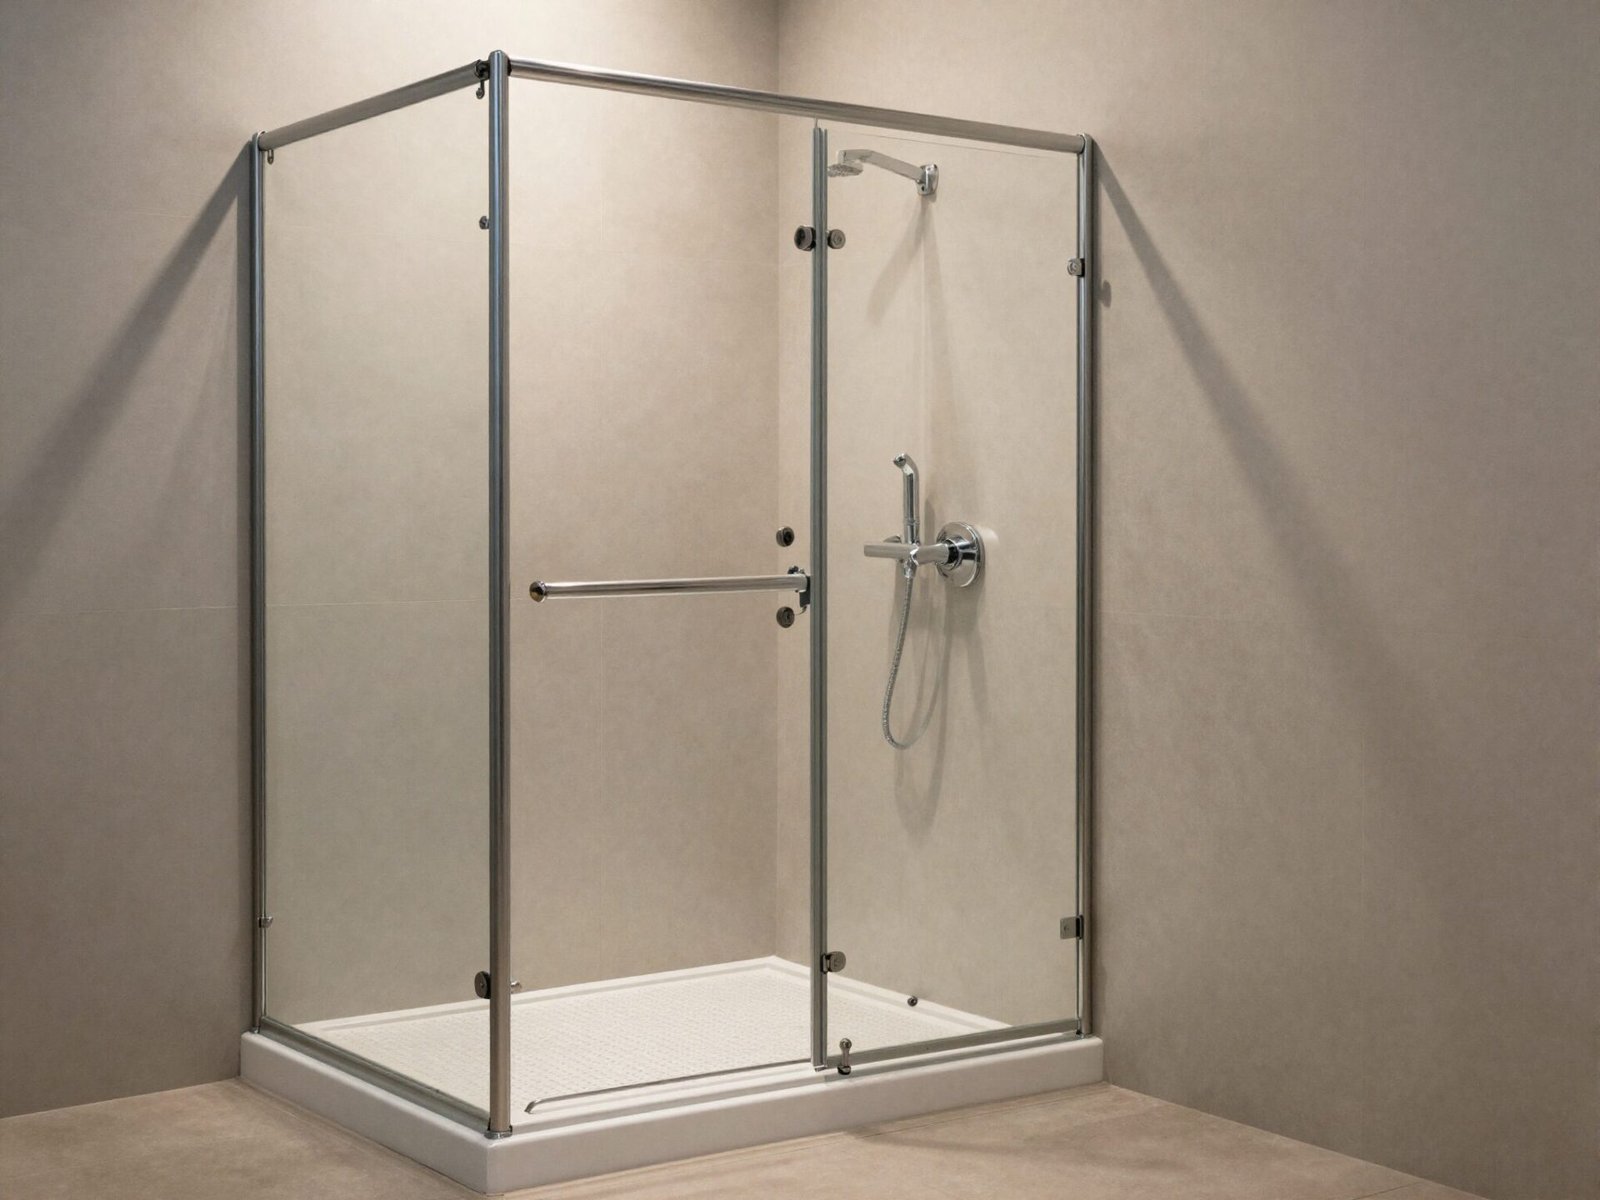
A shower enclosure photograph does not prove that an entry is step-free or suitable for a particular access need. Confirm the actual threshold, approach, floor assembly and water-management details as one design. Keep applicable requirements part of the assessment.
Try this: Review the entry section drawing as well as the plan view.
12. Coordinate Drainage With the Complete Assembly
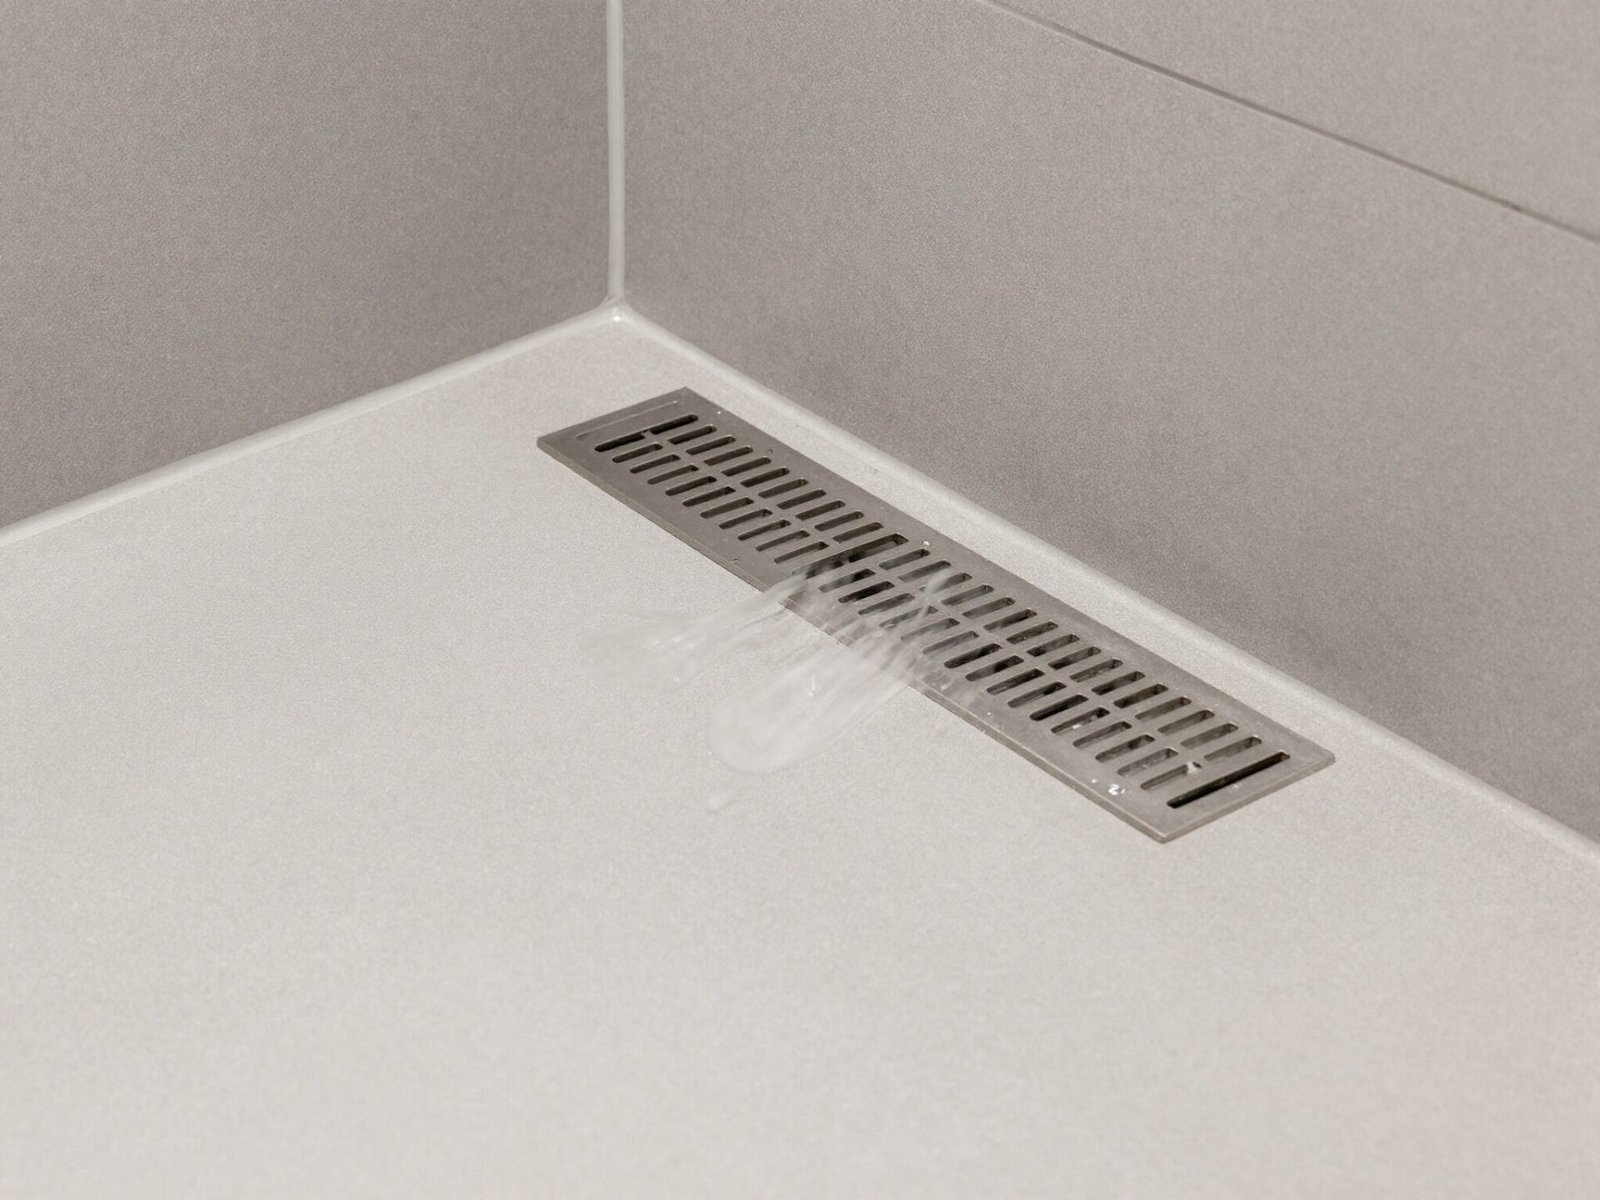
A visible drain illustrates one surface detail rather than a complete water-management method. Have the actual floor, waterproofing, drainage and product interfaces designed and installed appropriately. Do not infer performance from the appearance of a grille or tile joint.
Try this: Resolve the full assembly before choosing only the finish color.
13. Choose the Showerhead With Its Installation Needs
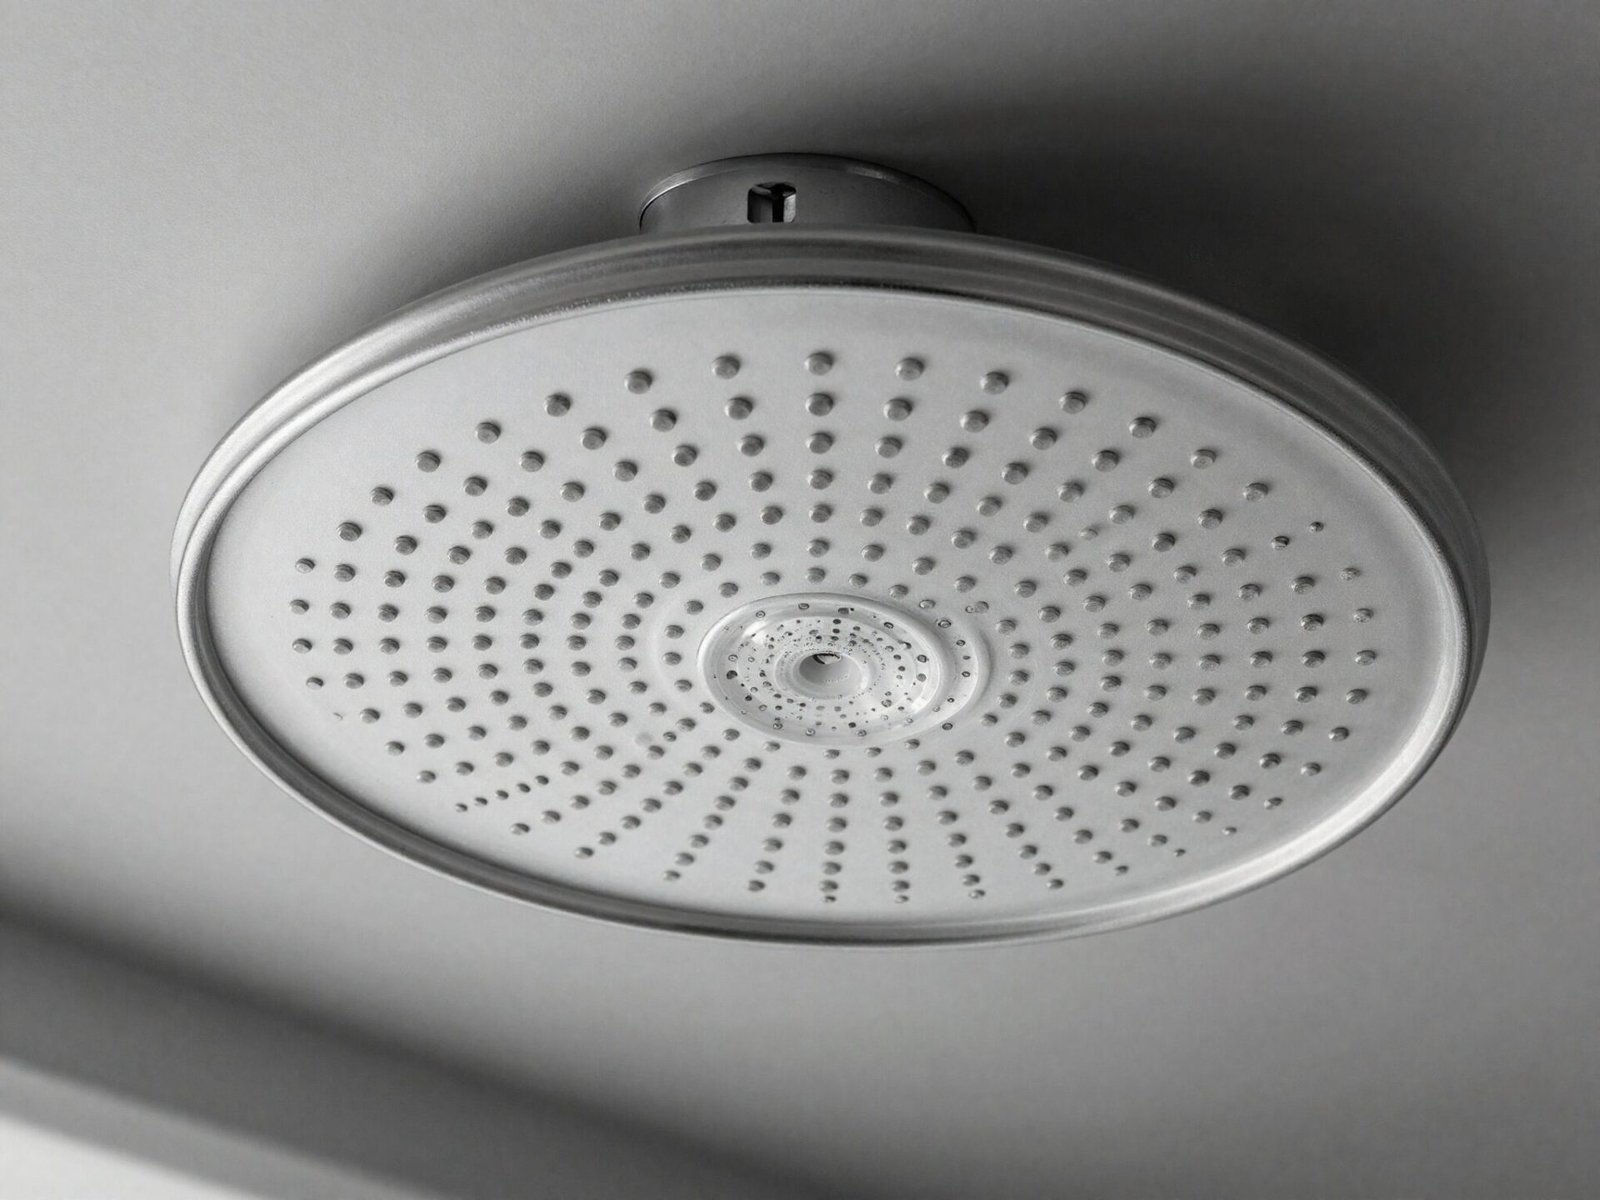
Compare the actual product position, adjustment and water-system requirements with the enclosure and intended users. Follow the relevant installation guidance with qualified help. The shape of a showerhead does not establish a universal mounting height.
Try this: Check the full fixture arrangement before closing the specification.
14. Review the Complete Shower Plan
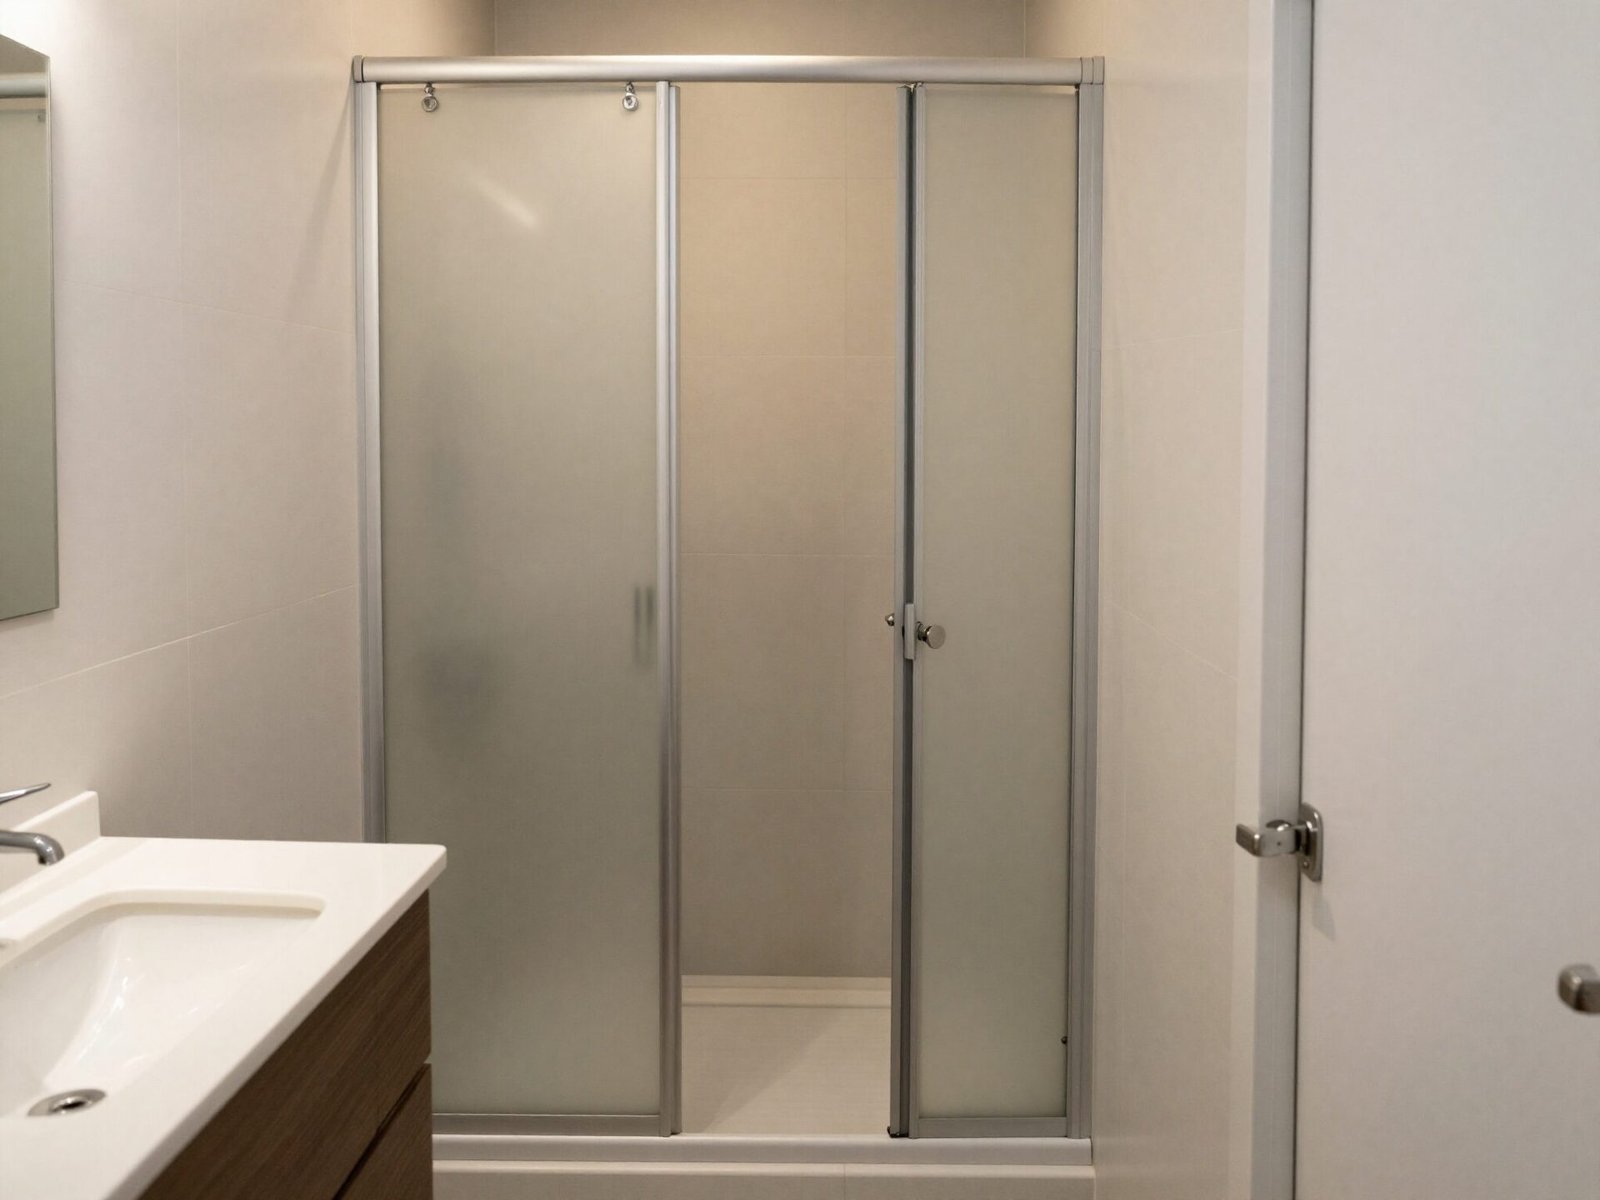
Check the enclosure, entry, seating, controls, services and neighboring fixtures together. Confirm actual product compatibility and the requirements applying to the project. Keep the illustrative images separate from the approved project information.
Try this: Recheck the complete plan when a selected product changes.
Coordinate the Complete Shower Before Installation
Begin with the actual users and bathroom measurements, then confirm the complete shower design and applicable requirements. Choose the final products from that coordinated plan.
Related Guides
- 14 Bathroom Vanity Sizing Checks Before You Choose
- 20 Bathroom Ideas for a Spa-Like Stylish Retreat
- 20 Small Bathroom Wall Ideas That Work in Tight Spaces
Waterproofed Assembly Reference
Details such as a niche need to integrate with the selected waterproofed wall assembly. Consult the exact system instructions rather than copying a visible tiled detail. Schluter: niche assembly and installation information.
Optional digital guide for this topic
If you prefer a structured workbook, explore this related paid guide.