Garden potting bench ideas work best when there is room to complete a real gardening task. Before choosing shelves or decorating with terracotta pots, lay out the container, appropriate growing medium and ordinary tools for one familiar job. The useful surface is the space left after those essentials are in position.
Treat the bench as a working place with a beginning and an end. Supplies arrive, a pot is prepared, the finished container leaves and the equipment is cleaned and returned. A modest station with a clear routine can be more useful than a large display crowded with things that never move.
These 27 original concepts combine outdoor furniture choices with practical storage groups. They are design ideas rather than construction plans, product tests or a planting recipe. Choose furniture intended for the actual task and exposure, follow its load, assembly and care instructions, and use guidance appropriate to the plants and products you select.
The images are original AI-generated decor concepts, not installation diagrams or photographs of completed client projects.
Browse These 27 Garden Potting Bench Ideas
Jump to an idea
- Begin garden potting bench ideas with one clear worktop
- Use a shallower wall-side bench beside a narrow route
- Compare a freestanding station with access to both sides
- Use a corner arrangement only when its interior stays reachable
- Give a compact garden one short complete station
- Divide a longer top into preparation and completed-pot areas
- Choose natural wood with its actual upkeep in mind
- Use a painted frame as one restrained garden color
- Compare a metal work surface through its exact specification
- Let an open metal frame keep the storage easy to see
- Garden potting bench ideas with a suitable removable tray
- Compare a low rear edge as part of the bench design
- Use a lower shelf for a modest ready-pot collection
- Group empty pots by the sizes that are actually used
- Keep saucers separate from the empty-pot stack
- Give ready supplies a clearly defined return position
- Set aside an incoming tray for used pots
- Give a scoop a simple place to return
- Collect ordinary hand tools in a manageable holder
- Keep small ties and plant markers in a suitable dry case
- Treat seed packets as temporary task supplies
- Keep growing medium in its appropriate identified packaging
- Give a small watering can a clear approach and return
- Separate completed containers from the active work surface
- Compare a folding bench with its complete setup routine
- Use existing cover without assuming the station is weatherproof
- Finish garden potting bench ideas with a one-session reset
Plan garden potting bench ideas with one complete task
Choose a familiar small potting job and arrange its actual pot, tray, scoop and supplies on a suitable temporary surface. Record the working area, the space for completed pots and the route for bringing materials in and taking them away. Compare the proposed bench’s usable top, height, depth and storage with that trial. Keep the normal garden route, door movement and any required access clear; a photograph of an empty bench cannot establish the working fit.
| Your actual task or condition | Detail to compare | What to check |
|---|---|---|
| Preparing one small container | A modest clear top and suitable removable tray | The real pot and tools fit without crowding |
| Several containers in one session | Separate preparation and completed-pot areas | Finished pots leave before the top becomes crowded |
| A narrow side-yard route | A shallower suitable bench | The working person and carried pots still have room |
| An exposed outdoor position | Furniture intended for that exposure | Exact material,finish,care and seasonal storage guidance |
| A mixed collection of empty pots | A modest lower shelf divided by usable size | One container can be removed without rebuilding a stack |
| Returning used pots and tools | A separate incoming area | Cleaning can happen before they join ready supplies |
| Only occasional potting | A suitable folding or movable arrangement | Its complete setup,handling and storage instructions |
Give outdoor materials a realistic care plan
IKEA’s outdoor furniture guide distinguishes the care needed by different materials and notes that wood treatment depends on exposure and use. Apply the exact bench maker’s instructions to its complete top, frame and finish. Do not treat metal, a painted surface or an outdoor label as a promise that care, weather protection or seasonal storage is unnecessary.
Separate a tidy appearance from clean gardening equipment
University of Minnesota Extension explains that soil and plant debris on tools and containers can carry plant pathogens. Its guidance distinguishes removing dirt from the subsequent disinfection step where appropriate. Keep used items separate from ready supplies and follow the relevant equipment, material and product instructions. This layout guide does not prescribe a chemical mixture or replace plant-specific advice.
Make a one-pot workflow and bench-care card
Write five rows: supplies to bring out, a clear working position, a place for the completed pot, equipment to clean, and the final return destination. Add the bench’s exact care link and a seasonal storage reminder. During one normal session, note the object that forces you to clear the surface or step around a pile. Improve that part of the sequence before buying another organizer or making the station larger.
1. Begin garden potting bench ideas with one clear worktop
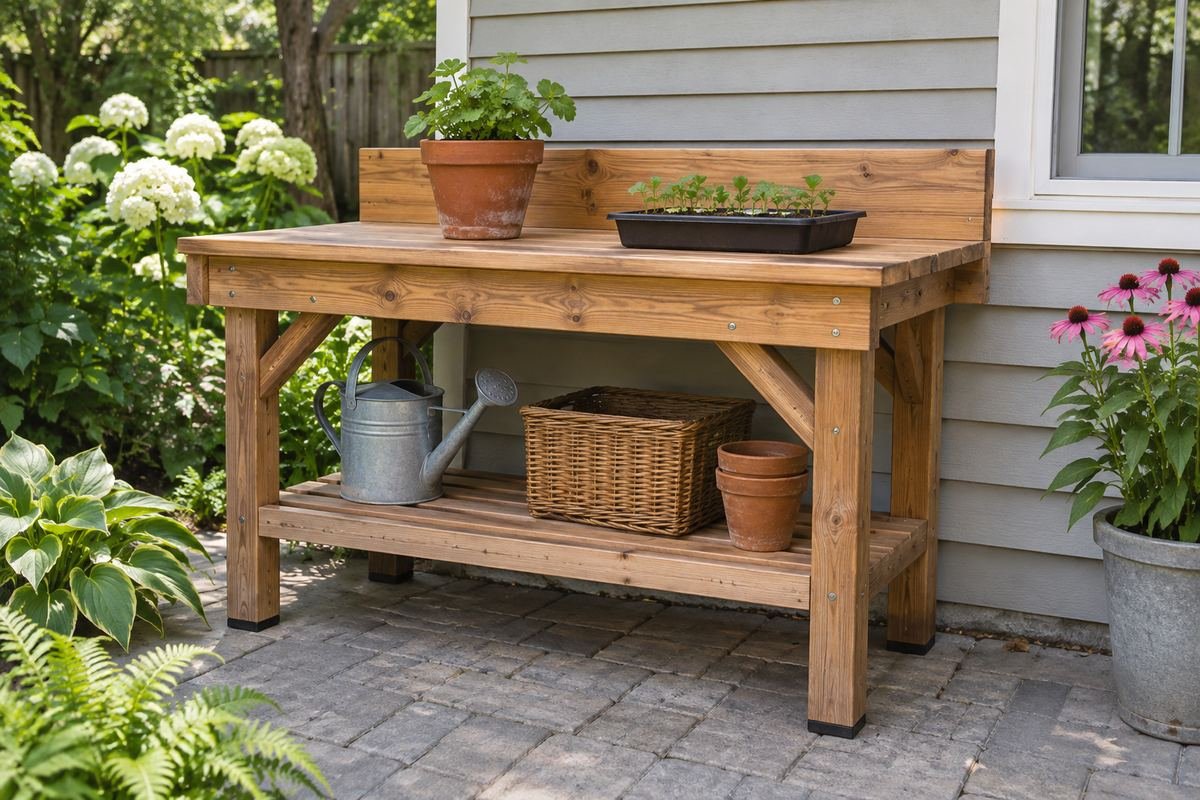
Make the working surface the first decision. Place the actual pot and a suitable tray in the position used for a familiar small task, then add the tools that are needed during that session. Notice which part of the top must remain clear to complete the job without shifting everything.
Choose storage only after that working area is understood. A bench with fewer permanent objects can be easier to use and still look considered. Keep decorative pots to a separate appropriate position if they make the main surface difficult to begin using.
Practical tip: Test one real task before choosing extra shelves.
2. Use a shallower wall-side bench beside a narrow route
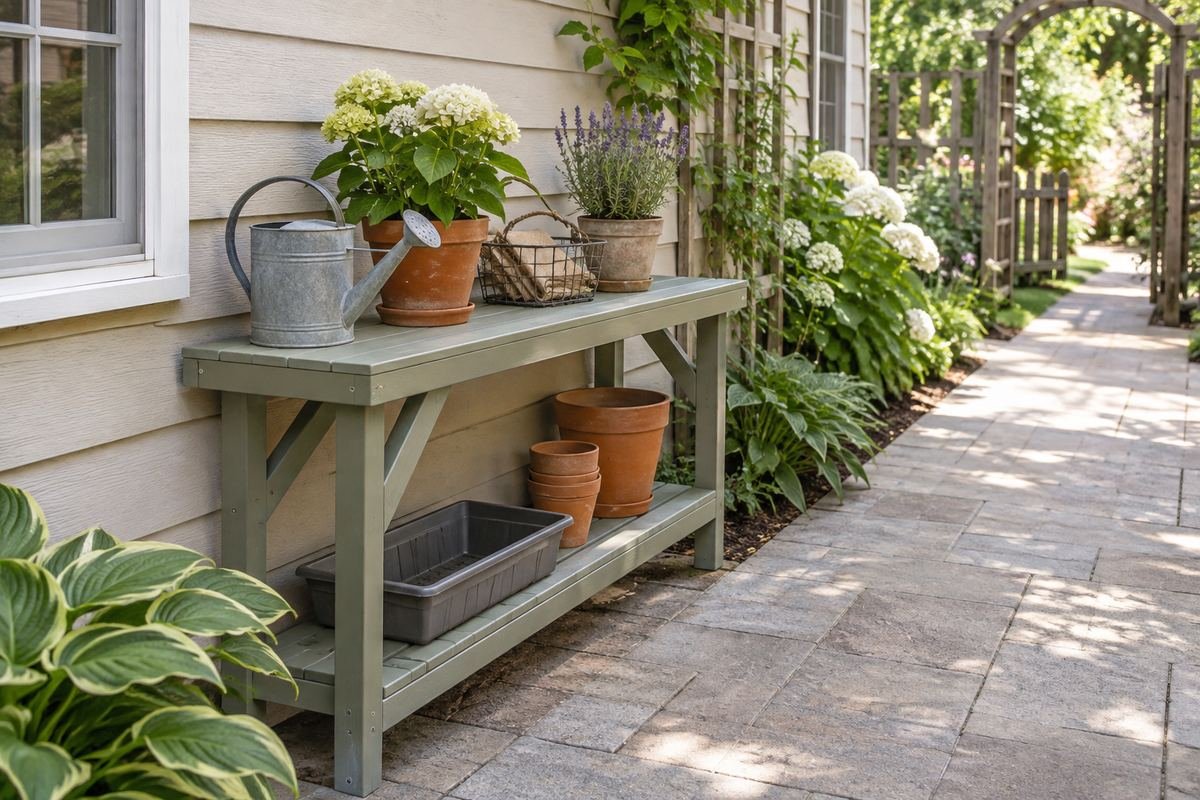
A shallower bench can keep a side-yard station more manageable when the retained tools and pots fit the usable top. Compare the complete furniture depth with the position used to work. Include projecting shelves, handles and the person carrying a container past it.
Check the route during an actual potting session rather than measuring only the empty bench. If the work would still occupy the whole passage, choose another suitable position or a smaller task group. A narrow furniture label does not establish a useful working layout.
Practical tip: Include the working person in the route comparison.
3. Compare a freestanding station with access to both sides
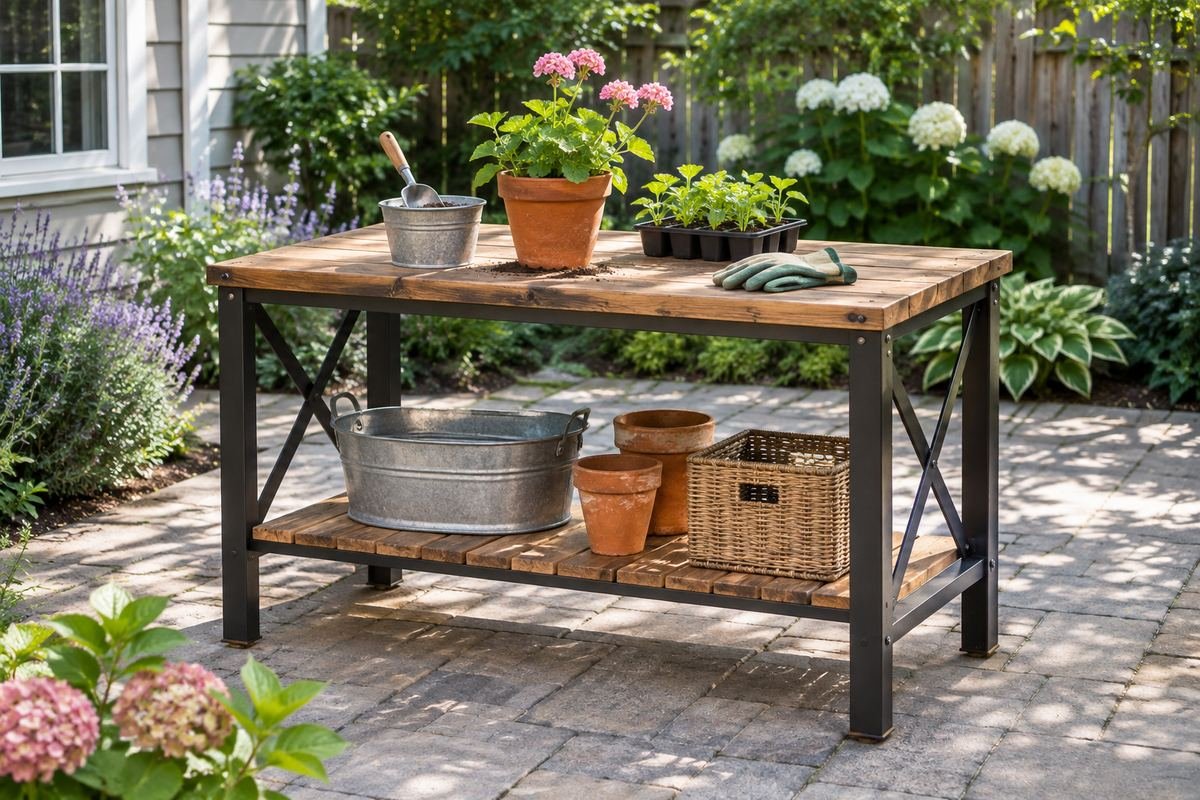
A freestanding bench may suit a garden where working from more than one side has a practical purpose. Compare the actual tasks and surrounding movement before placing it in the middle of a terrace. The extra access needs room around the complete furniture.
Keep the retained supplies visible and the top restrained so the second side can be used without reaching through a display. Plan how the station will be cared for and stored as appropriate. An island-like position should improve a real task rather than simply fill an empty view.
Practical tip: Give the second working side a specific purpose.
4. Use a corner arrangement only when its interior stays reachable
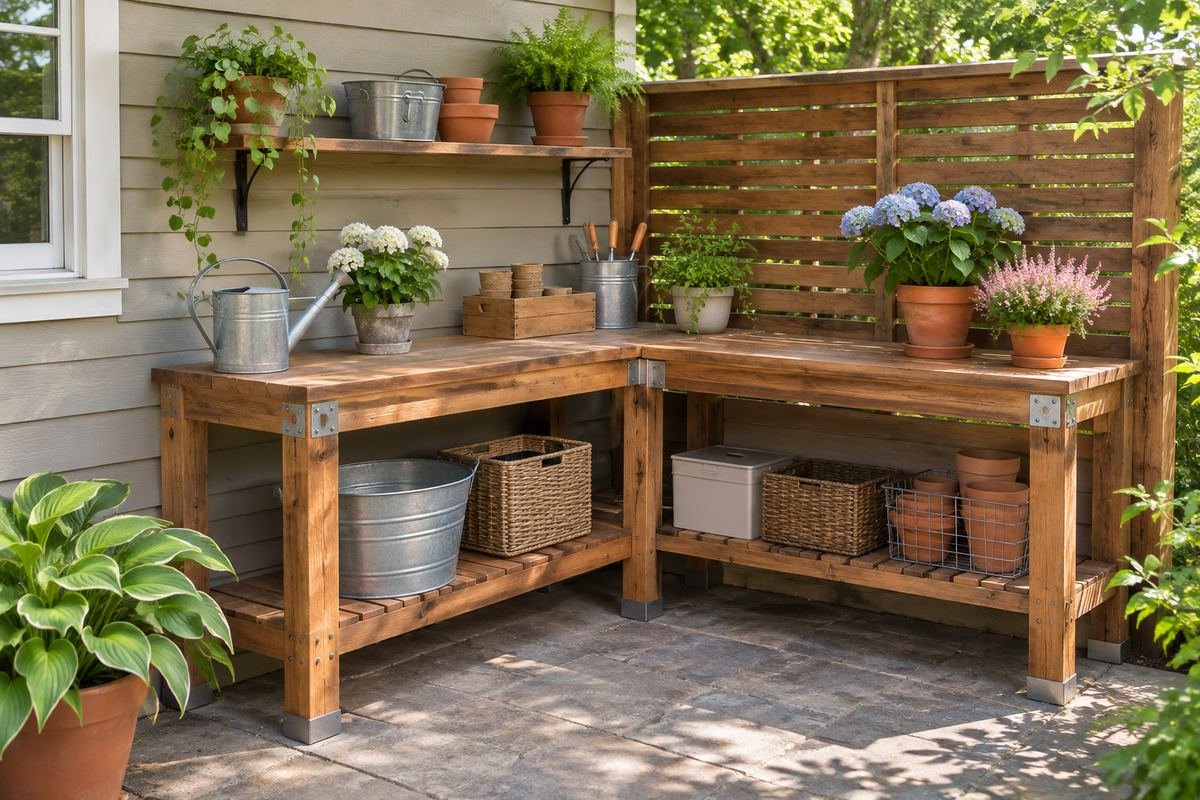
A corner station can bring related potting tasks into one area when the actual surfaces remain useful. Compare a suitable complete arrangement with the way pots and tools travel through the task. Keep the deepest part of the corner from becoming storage that cannot be reviewed easily.
Try reaching the ordinary supplies with the foreground items in place. If the corner depends on a deep pile of unused pots, simplify the group or compare a straight bench. The outline should serve the task rather than dictate an awkward collection of compartments.
Practical tip: Check the rear corner with the station set up for use.
5. Give a compact garden one short complete station
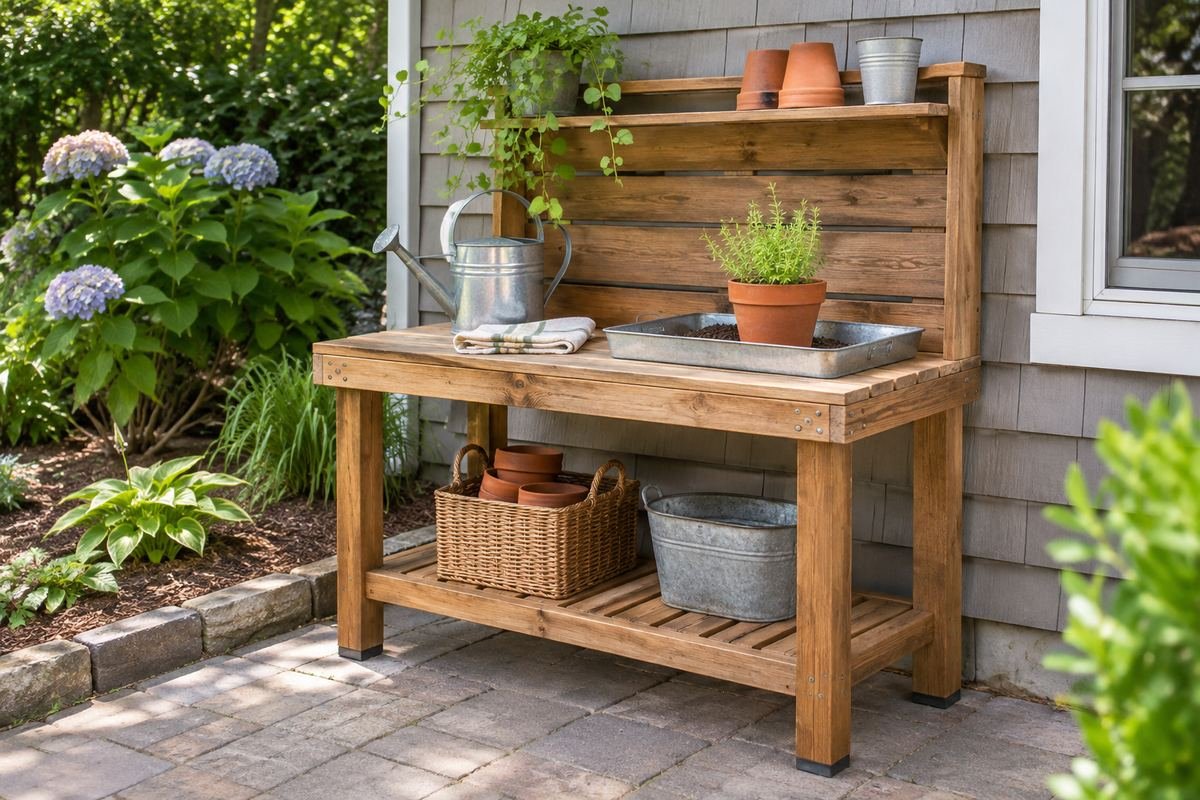
A short bench can serve a modest collection when it holds the actual potting task and leaves a useful approach. Choose the retained tools and containers before adding storage to every side. Keep the station’s scale related to the garden and the frequency of use.
Plan the destination for supplies that do not fit during a session. Bringing out a small appropriate group can work better than compressing the whole gardening collection onto the bench. The finished arrangement should remain usable when a pot is being handled rather than just displayed.
Practical tip: Keep the task small enough for the real surface.
6. Divide a longer top into preparation and completed-pot areas
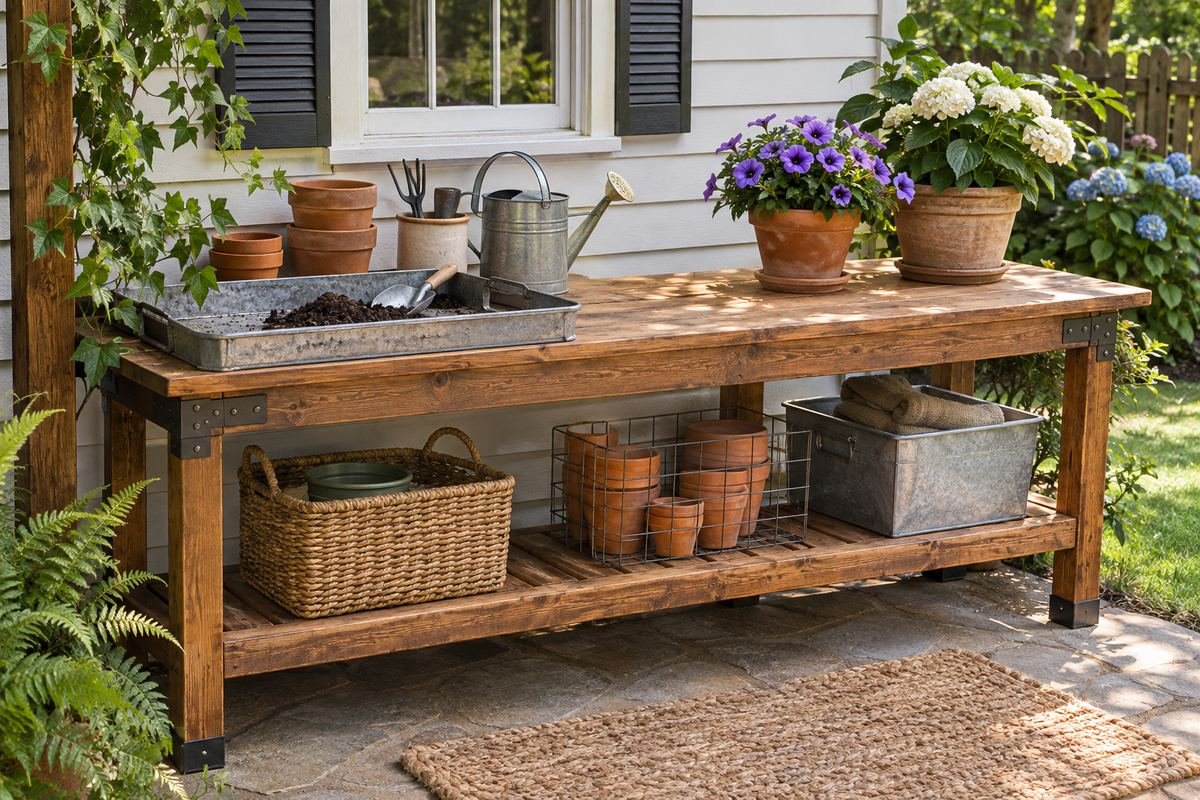
A longer bench can be useful when several small containers are prepared in one session. Give the active task and the finished pots separate suitable positions. Compare the complete group on the top before treating the extra length as permanent storage.
Move completed containers to their appropriate growing or holding location before the work area becomes crowded. Keep their ongoing plant needs separate from the convenience of the bench. The second area should help the sequence move forward rather than become a collection that never leaves.
Practical tip: Choose a clear exit destination for completed pots.
7. Choose natural wood with its actual upkeep in mind
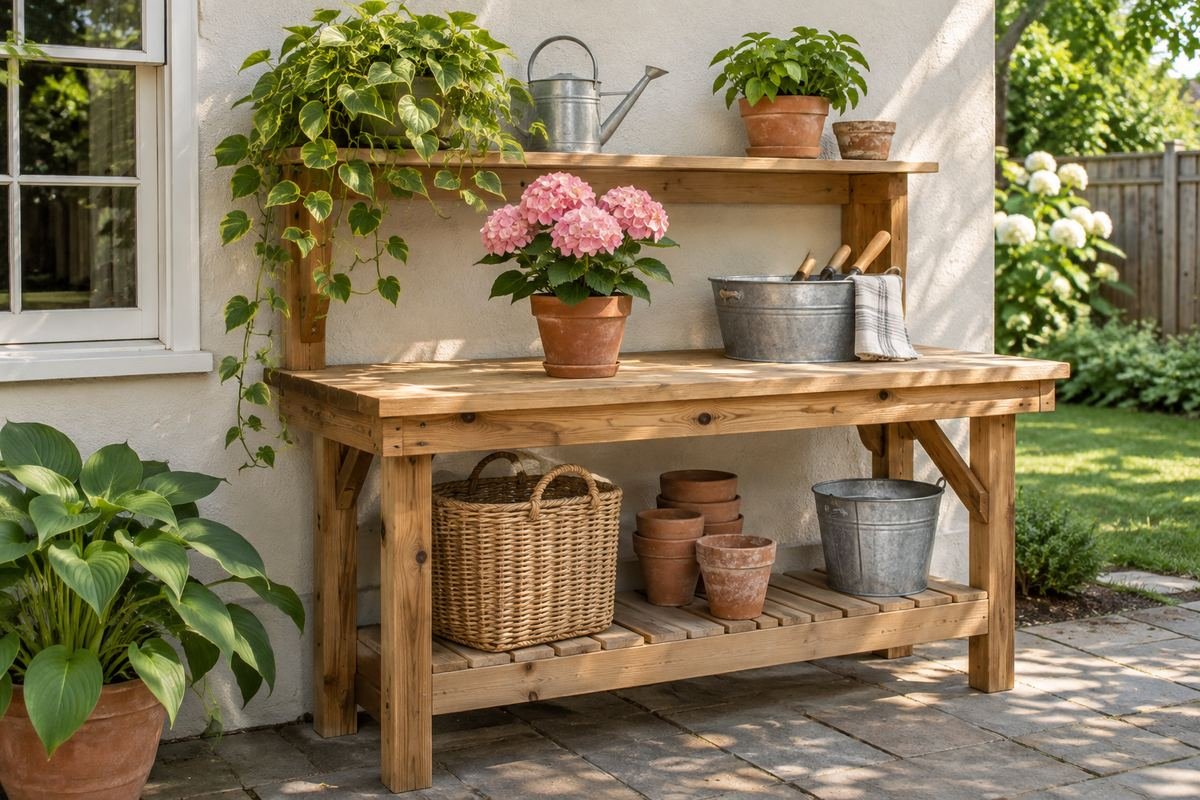
A natural wood bench can connect a potting area to timber fencing and planted borders. Compare its complete construction, intended exposure and finish before choosing it for the texture alone. Read the exact care instructions for the top and frame together.
Keep maintenance access practical around the furniture and decide how seasonal protection or storage will work where required. A weathered appearance in a photograph does not establish that every untreated or reclaimed board suits the task. Let a verified suitable product provide the material character.
Practical tip: Choose the care routine together with the wood finish.
8. Use a painted frame as one restrained garden color
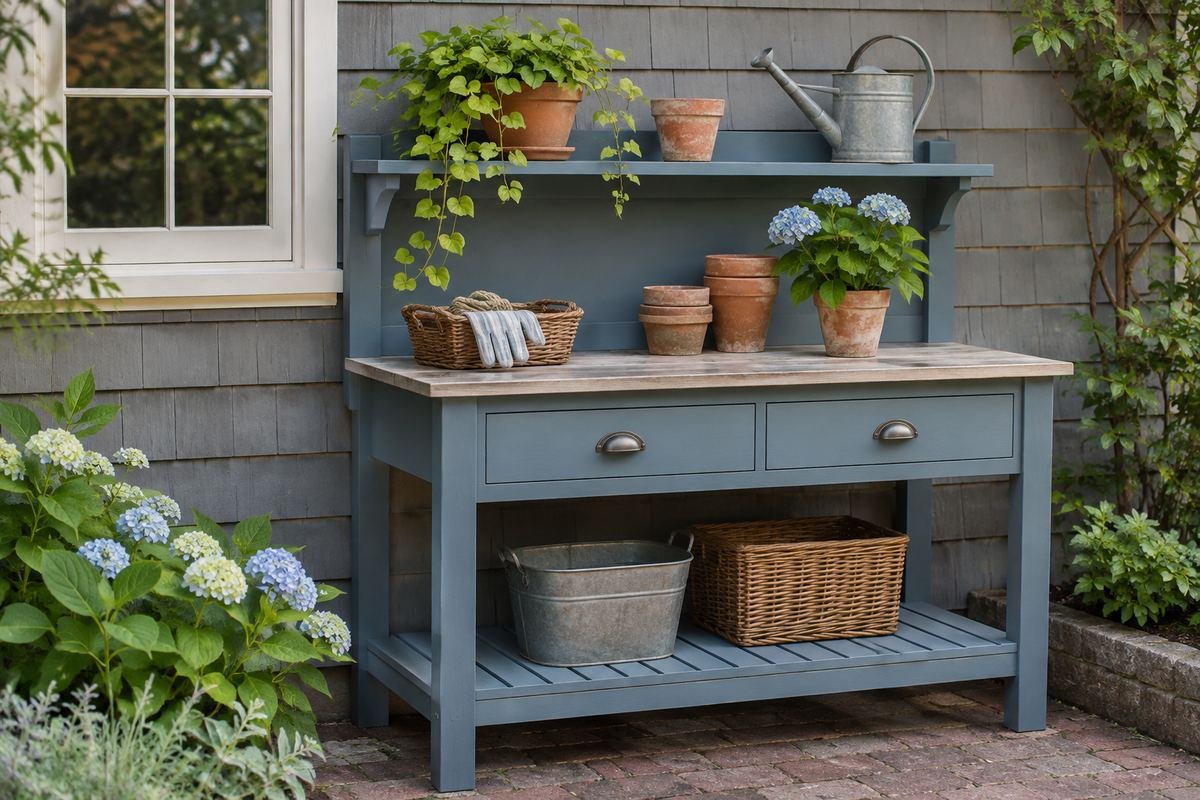
A painted bench can relate the work area to a shed door or another small garden feature. Compare a suitable outdoor finish within the exact furniture’s intended use. A muted green, soft blue or quiet neutral can define the station without making every stored pot match.
View the color with the ordinary supplies returned to their places. Keep the worktop and storage practical while the frame provides the decorative connection. Follow the furniture’s repair and care guidance if the finish changes through use rather than applying an unrelated treatment automatically.
Practical tip: Repeat one existing garden color before adding another.
9. Compare a metal work surface through its exact specification
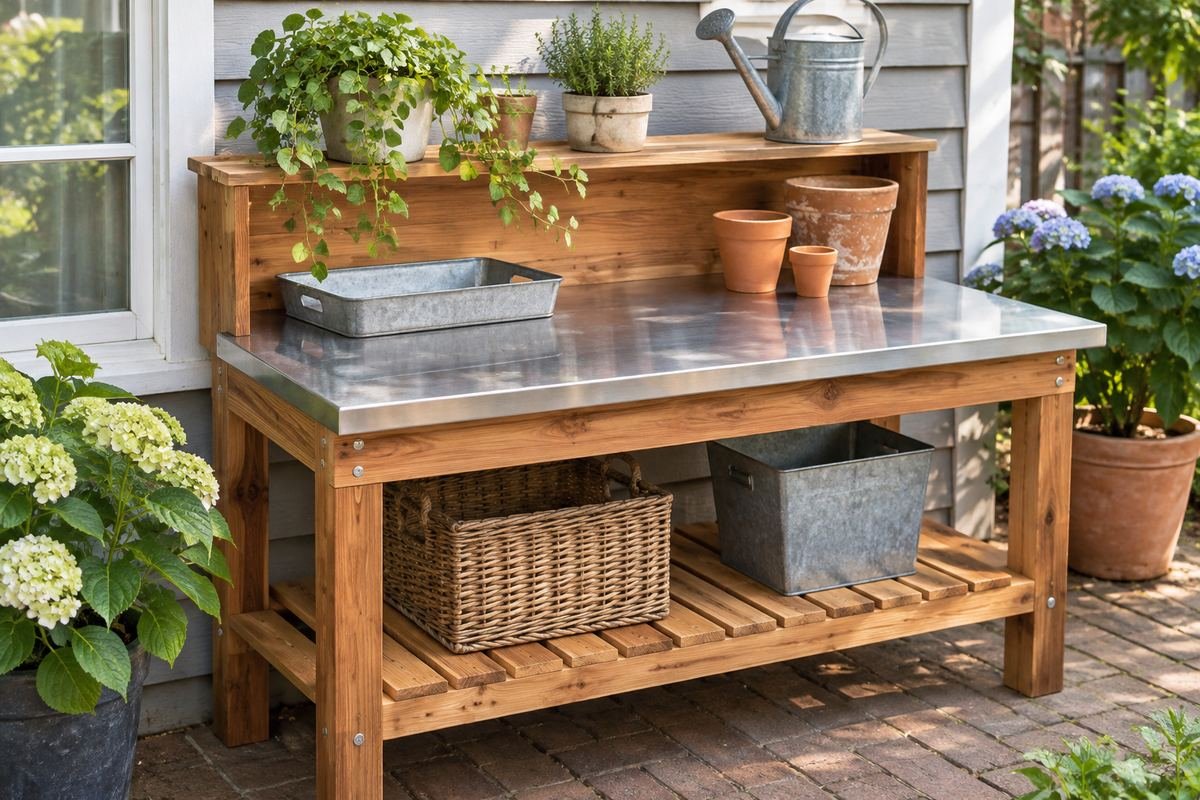
A suitable metal top can give the potting station a clear working character. Confirm its intended use, finish and care with the complete bench rather than treating every metallic-looking surface alike. Include the actual tray and tools when judging whether it serves the task.
Consider how the top meets its edges and what the normal cleanup involves. Keep products and methods matched to the specific surface. The material should be chosen for a routine that can be followed, with its appearance as part of the overall garden composition.
Practical tip: Check the top material separately from the frame.
10. Let an open metal frame keep the storage easy to see
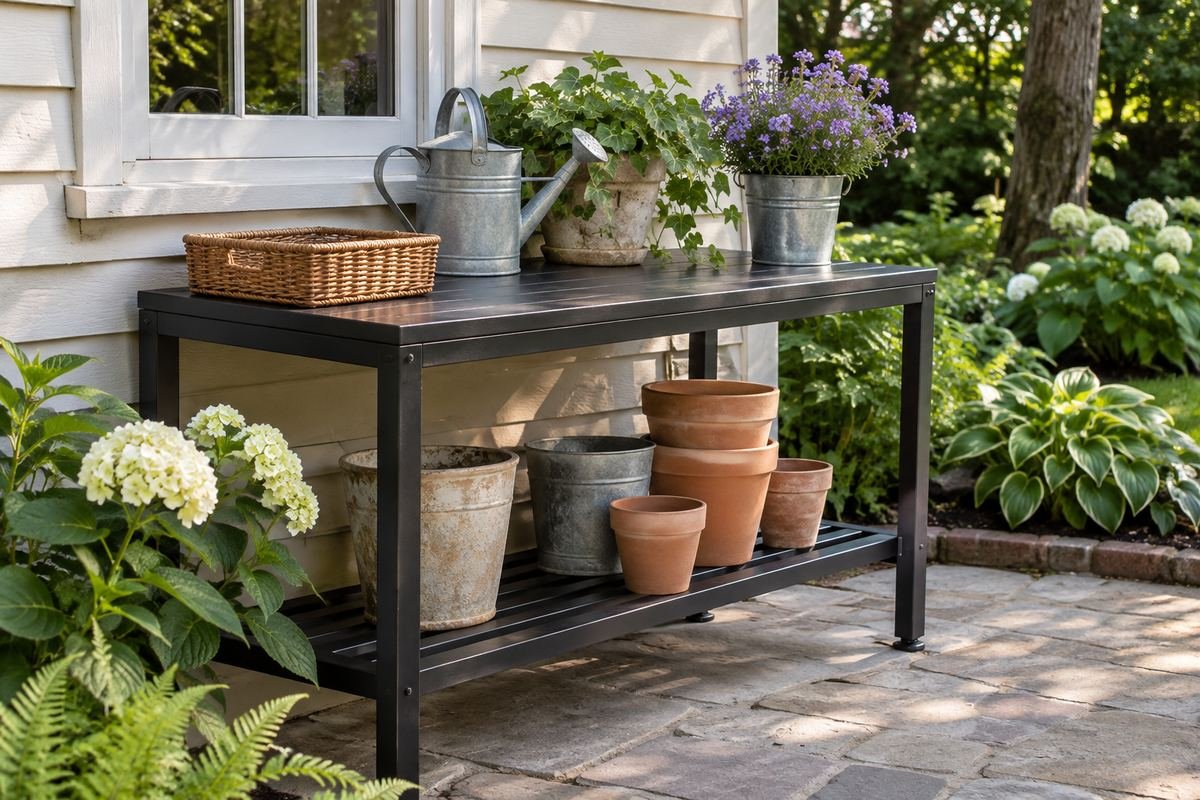
An open-frame bench can leave the lower supply groups visible without solid cabinet sides. Compare a product intended for the outdoor position and potting task. Give each retained group a clear suitable location so the open design remains readable during use.
Choose the collection before filling every shelf. Mixed small containers can become visually busy when nothing is enclosed, so limit the number of repeated shapes. Check the exact care of the frame and shelves independently of a general assumption that metal needs no attention.
Practical tip: Keep open storage to groups that earn their space.
11. Garden potting bench ideas with a suitable removable tray
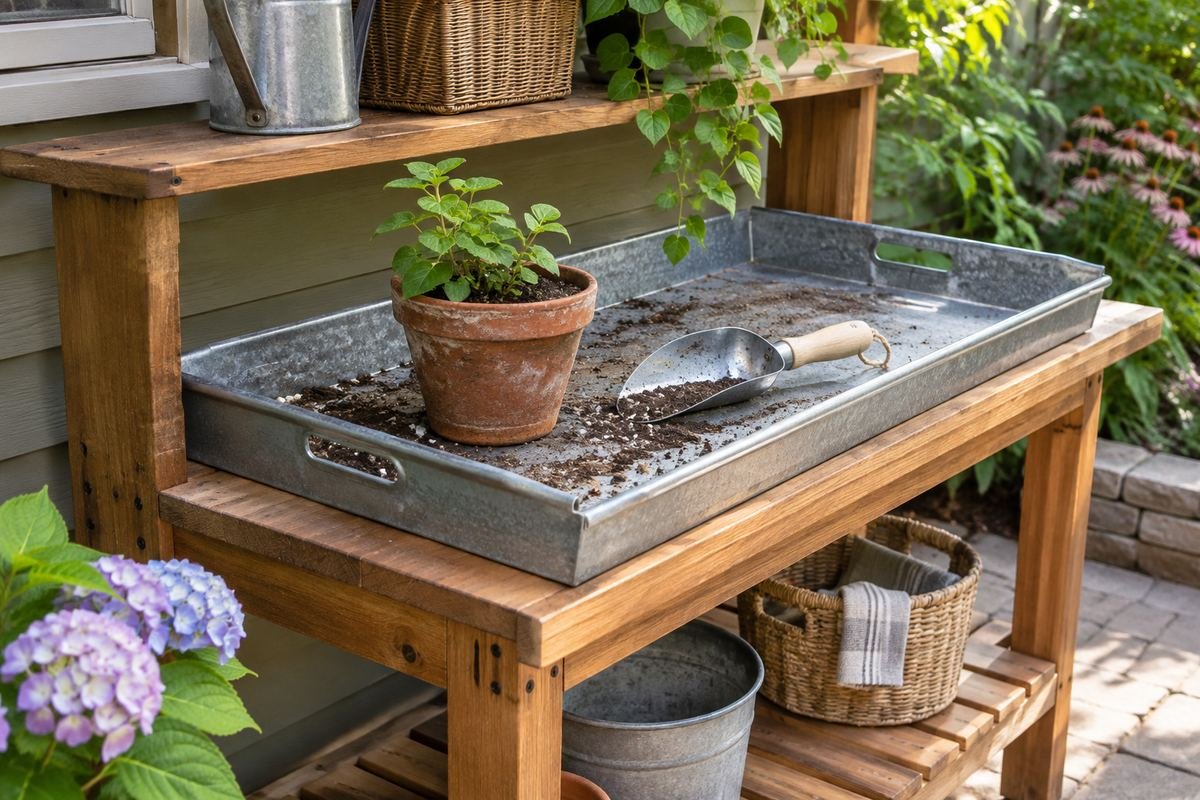
A removable tray can define the immediate task and help keep the small tools with the pot being prepared. Choose a tray appropriate to the materials and compare it with the worktop dimensions. Leave enough surrounding surface to set down an ordinary item without balancing it on the rim.
Keep the loaded group manageable and decide where the tray will be cleaned and returned according to its guidance. Do not assume it protects every top from moisture or replaces normal bench care. Its useful role is to make the task easier to start and reset.
Practical tip: Test the tray with the actual pot inside it.
12. Compare a low rear edge as part of the bench design
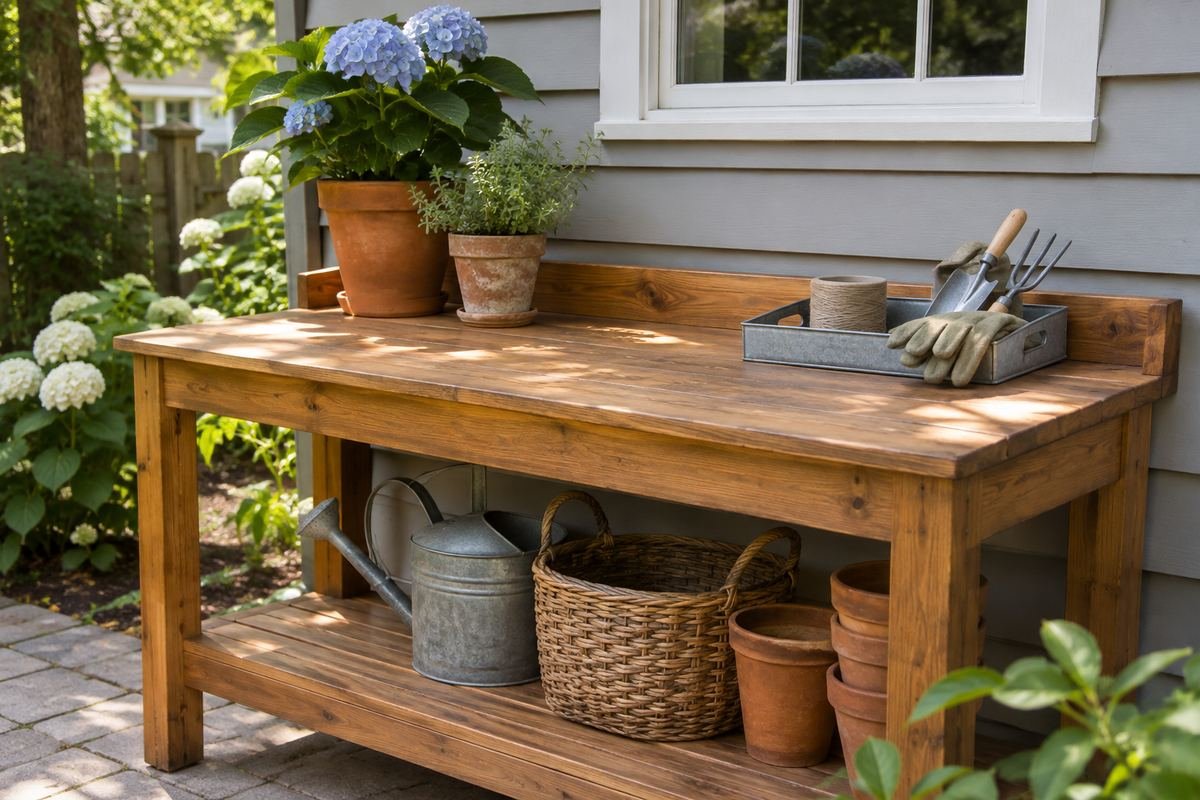
A purpose-designed low rear edge can give the working surface a clear boundary. Compare it with the height and depth of the actual tray and retained tools. Keep the useful working reach central rather than choosing a tall back solely as a place to hang more supplies.
Check how the complete surface will be cleared and cared for. A rear detail should not conceal a difficult-to-reach strip filled with loose material. Choose a suitable finished design rather than adding an improvised part that changes the bench’s intended use.
Practical tip: Check the rear edge from the cleaning position.
13. Use a lower shelf for a modest ready-pot collection
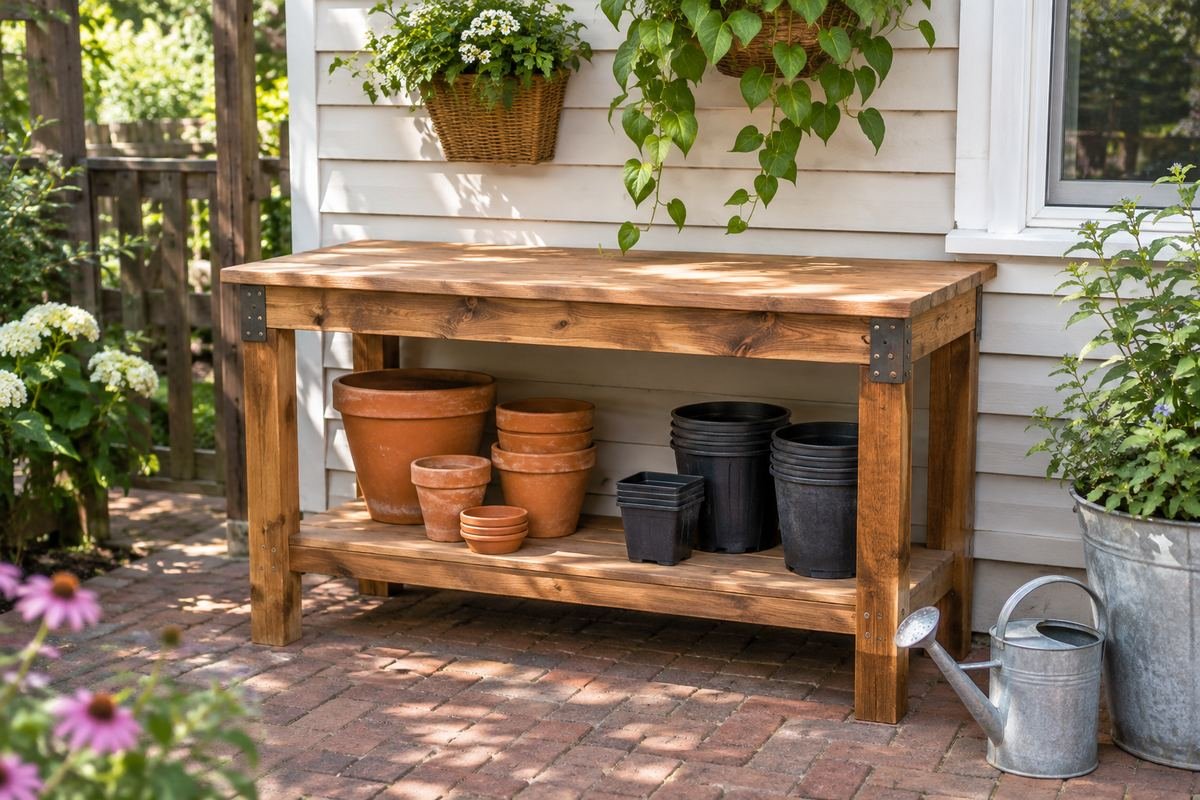
A lower shelf can keep a few suitable empty pots near the working task. Compare the shelf’s stated use and support with the actual retained group. Keep the front row clear enough that one container can be removed without moving everything else.
Use the shelf for pots that are ready for the next task, with returning used items dealt with separately. Reduce unused shapes before adding another layer behind them. The shelf should support the potting routine rather than become a display that is continually unpacked.
Practical tip: Choose the ready group before filling the shelf.
14. Group empty pots by the sizes that are actually used

Similar-looking empty pots can occupy a surprising amount of space when no task is assigned to them. Review the retained collection by usable dimensions and intended plant needs. Keep a modest practical group rather than arranging every container as a decorative collection.
Compare any nesting arrangement with the pot material and the way one piece can be removed. Separate shapes that become wedged or awkward. A small visible group can make choosing a container easier than searching through a tall mixed stack.
Practical tip: Keep one pot removable without rebuilding the group.
15. Keep saucers separate from the empty-pot stack
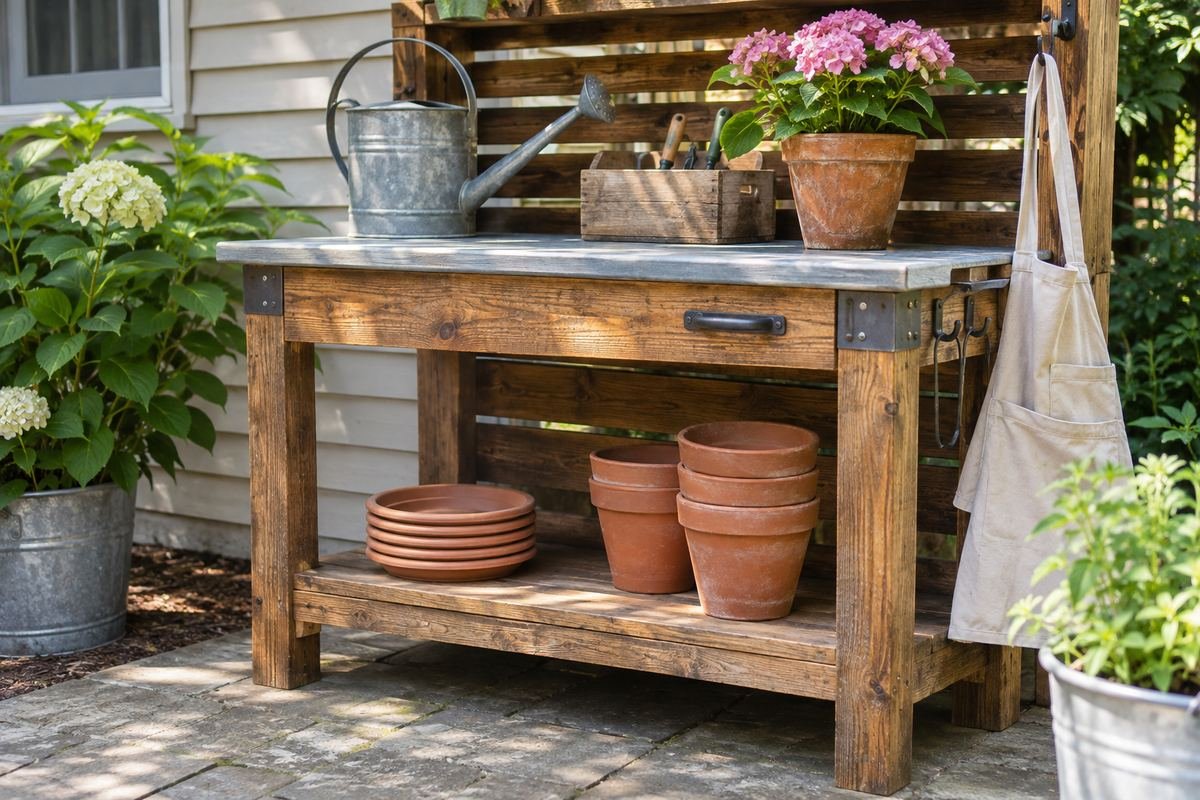
Saucers and trays often need a different shape of storage from upright pots. Compare a shallow suitable group on a shelf where the required piece can be seen. Keep the retained sizes connected to the containers they actually serve rather than collecting every spare dish.
Review the care and return step before nesting several pieces together. A flat group can be useful when it remains manageable and does not hide behind taller pots. Reduce unused sizes before adding another divided container simply to fit them all.
Practical tip: Choose the saucer from the potting task before setting up.
16. Give ready supplies a clearly defined return position
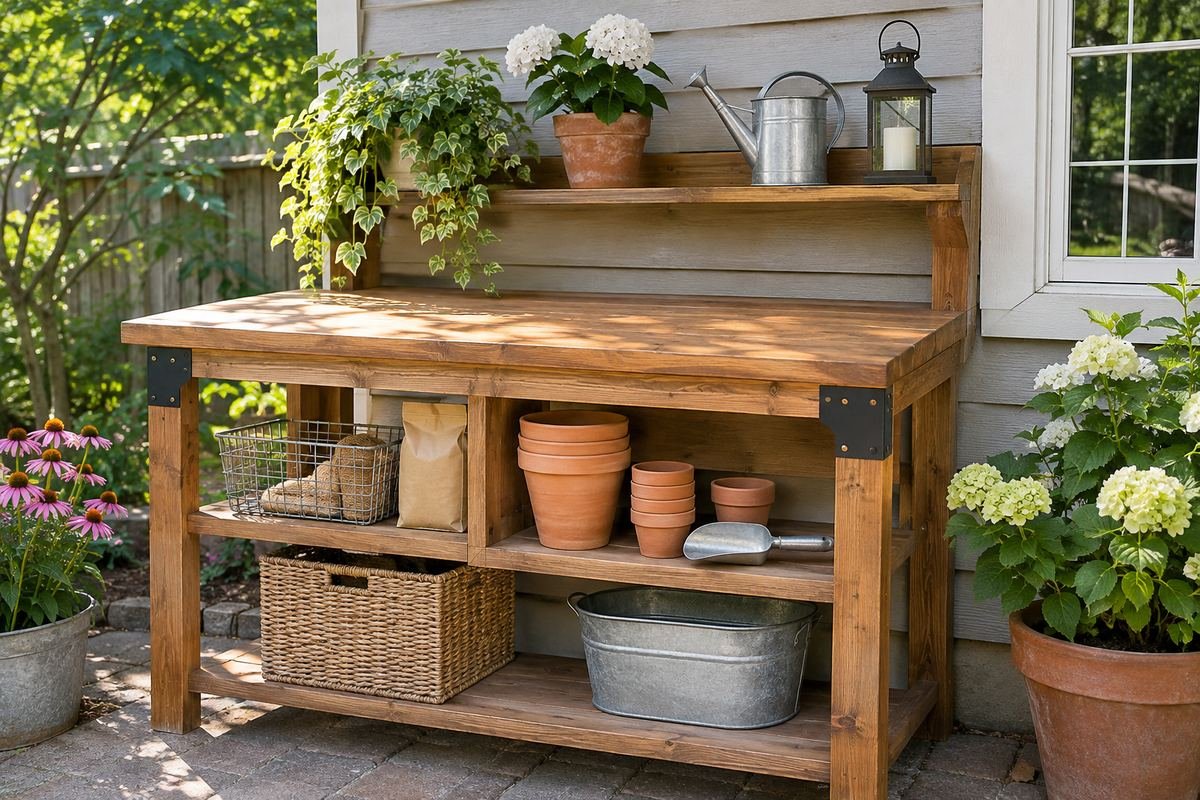
Keep the ordinary supplies that are ready to use in a defined part of the station. A short shelf section or suitable removable container can make that group easy to recognize. Choose the contents from real sessions and keep the main worktop available.
Separate items that still need attention so the ready area does not become ambiguous. A consistent return position is useful when different household members share the garden. The group should remain understandable after a normal task without needing an elaborate labeling system.
Practical tip: Return the ready group to the same useful position.
17. Set aside an incoming tray for used pots
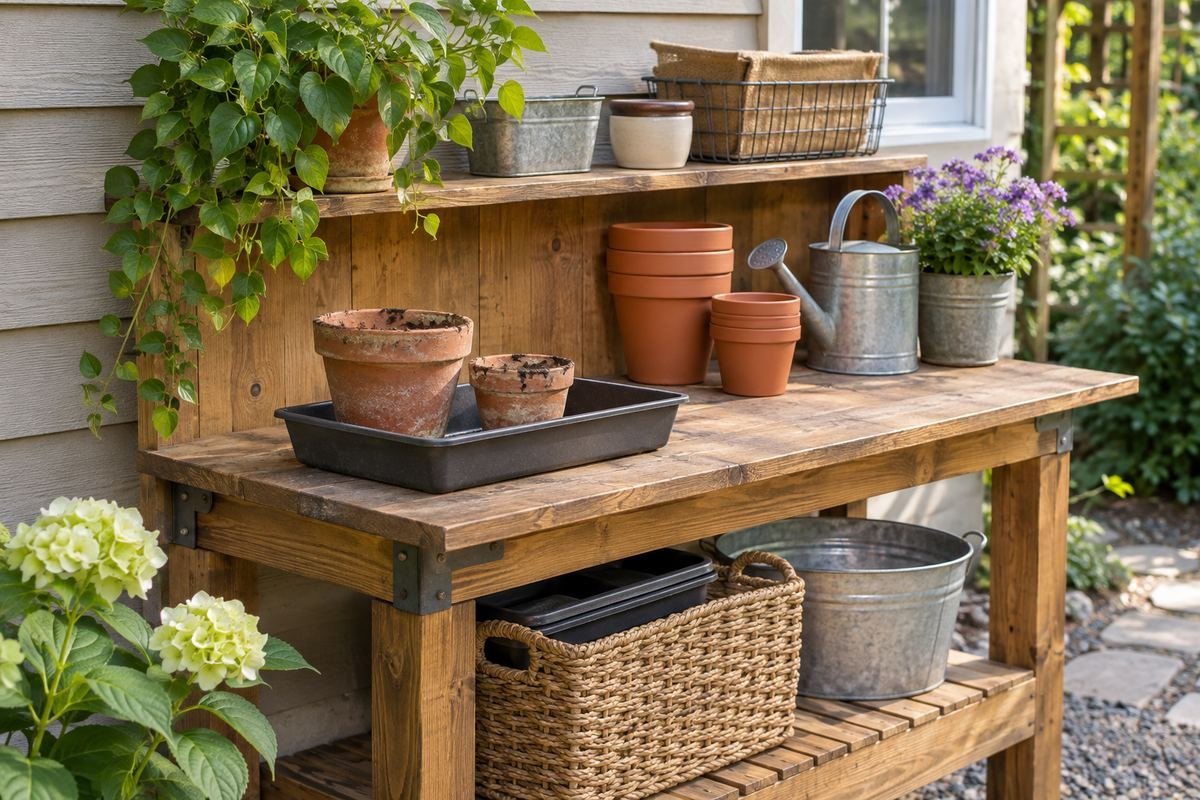
A returning used pot needs a destination before it joins the ready collection. Compare a suitable separate tray or temporary work position for that incoming group. Keep the task of cleaning the equipment visible instead of letting used containers disappear into a neat-looking stack.
Follow appropriate gardening guidance and the exact materials’ care instructions before returning the items. Keep the incoming area modest enough to deal with through the normal routine. A defined position should prompt the next step rather than become a permanent overflow pile.
Practical tip: Keep incoming equipment separate until it is ready to return.
18. Give a scoop a simple place to return
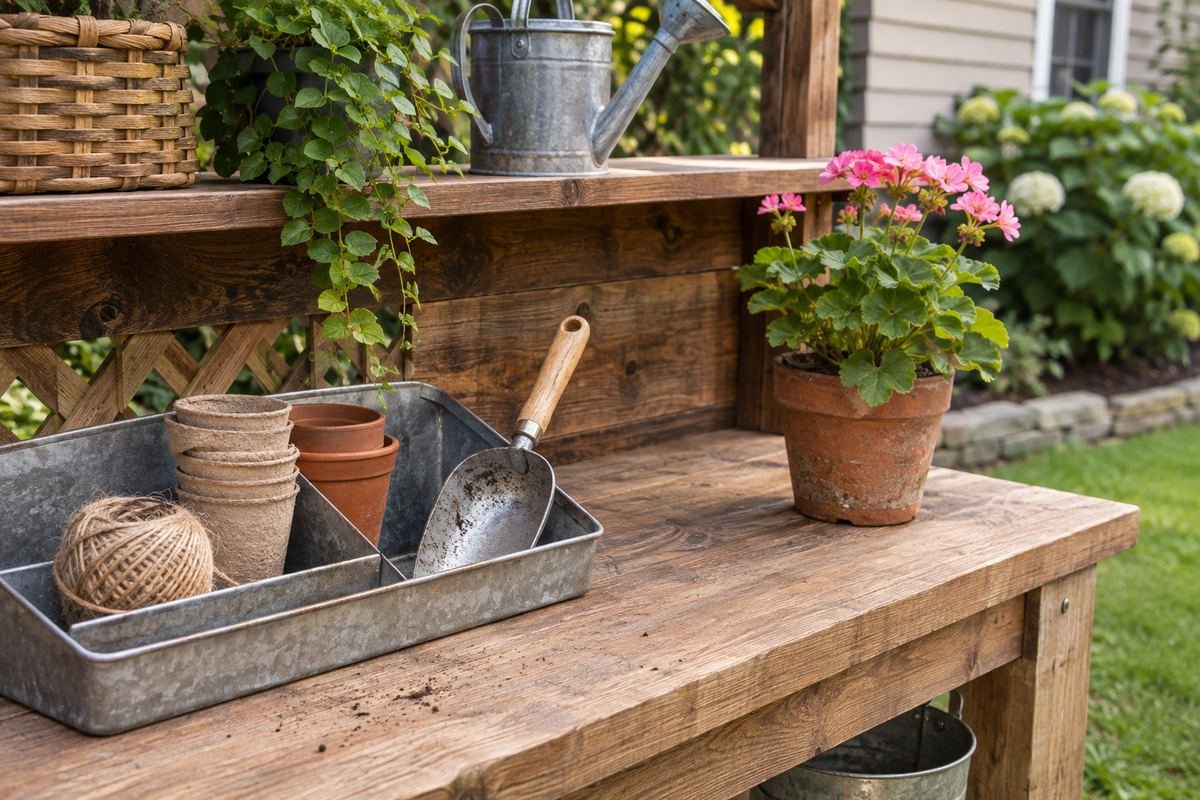
A plain scoop can stay easy to find when it has a suitable defined position with the potting group. Compare a modest container or designated tray section that suits the tool’s shape. Keep the working end from disappearing beneath unrelated supplies.
Include the tool’s appropriate cleaning and drying in the return routine. A useful holder does not need to become a collection of duplicate utensils. Keep the scoop needed for ordinary tasks and choose a practical storage position for the actual material and exposure.
Practical tip: Choose one clear return position for the regular scoop.
19. Collect ordinary hand tools in a manageable holder
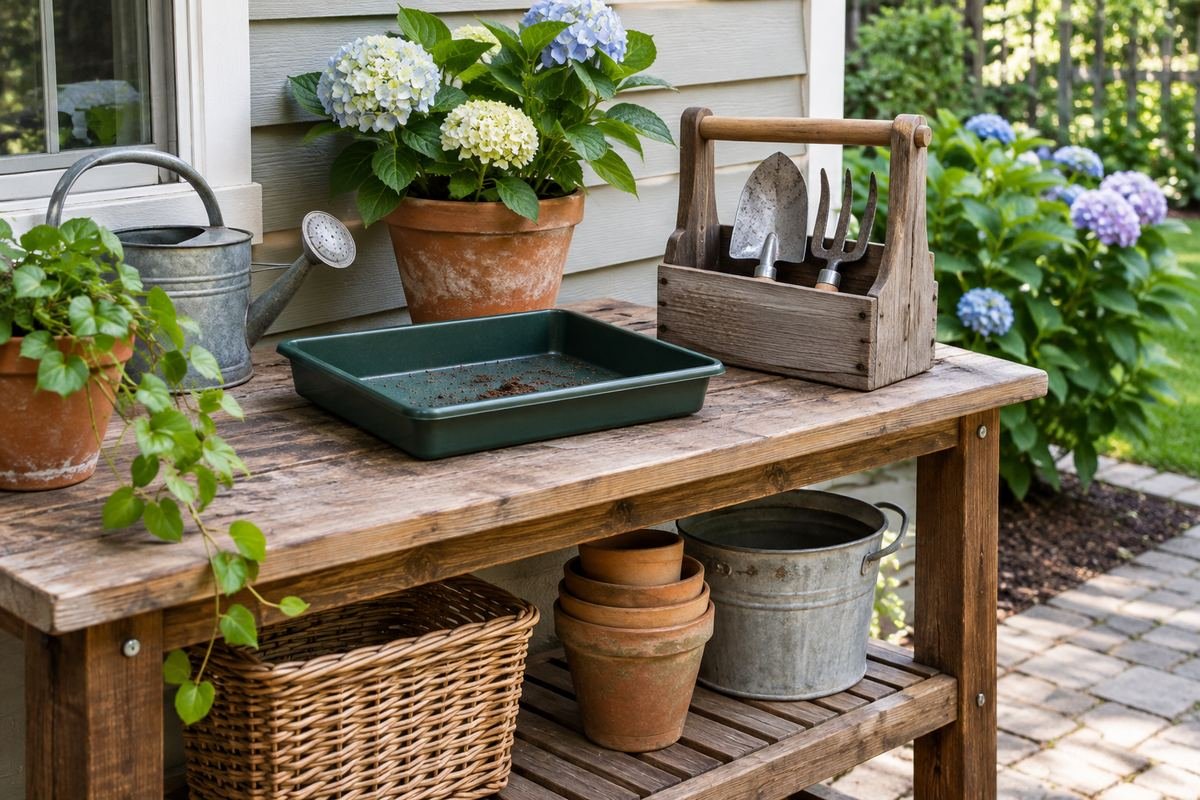
A suitable small holder can keep a few ordinary hand tools together when they are used during the same gardening task. Compare the complete group with the holder and its intended use. Retain a modest selection rather than filling every available pocket.
Keep the group appropriate to the household and return tools according to their own care requirements. Choose proper storage for equipment that needs a different arrangement. The useful holder makes a familiar task easier to begin without turning the worktop into a permanent tool display.
Practical tip: Build the holder around the tools actually used together.
20. Keep small ties and plant markers in a suitable dry case
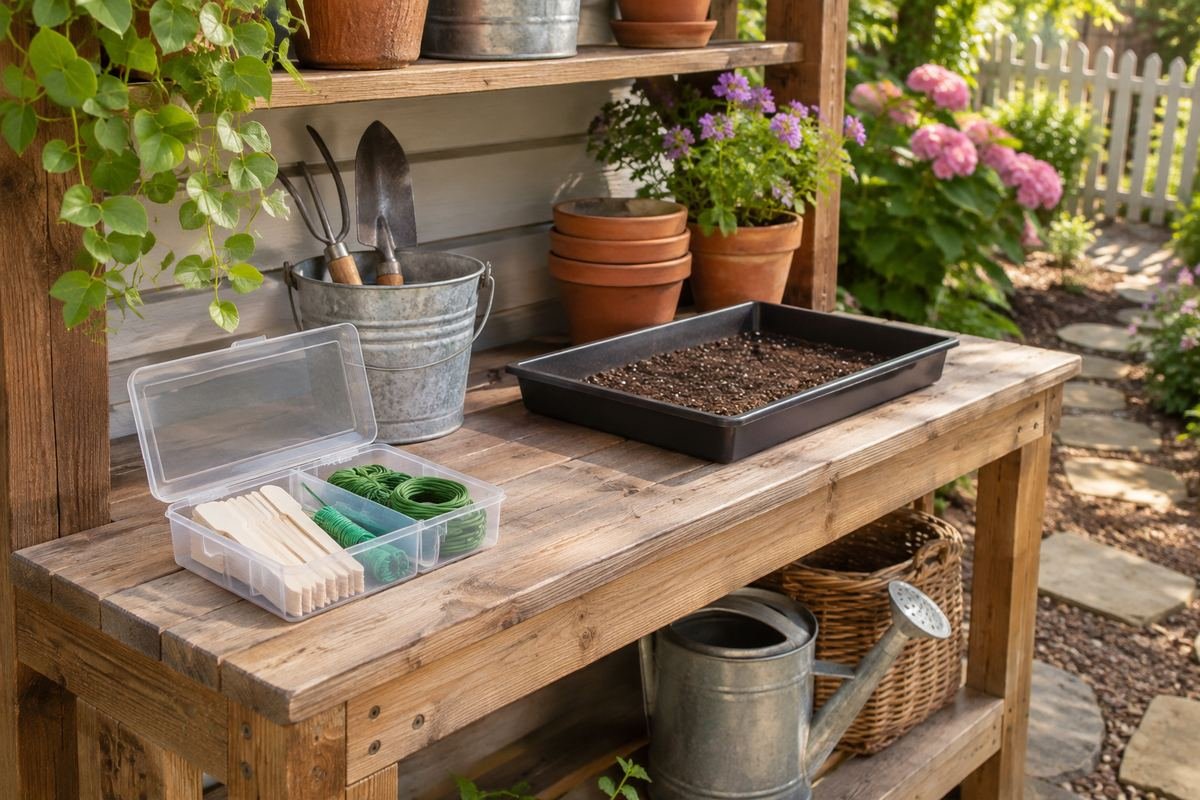
Small gardening items can become difficult to find when they are scattered beneath pots. Compare a suitable divided case for a modest group of markers and ties. Give it a proper dry storage destination and bring out only what the current task needs.
Keep the case away from the active tray while loose material is being handled. Return each small group before clearing the worktop so it does not mix with the pot collection. The benefit comes from a clear routine rather than adding more compartments than you can review.
Practical tip: Bring out a small task group and return the case afterward.
21. Treat seed packets as temporary task supplies
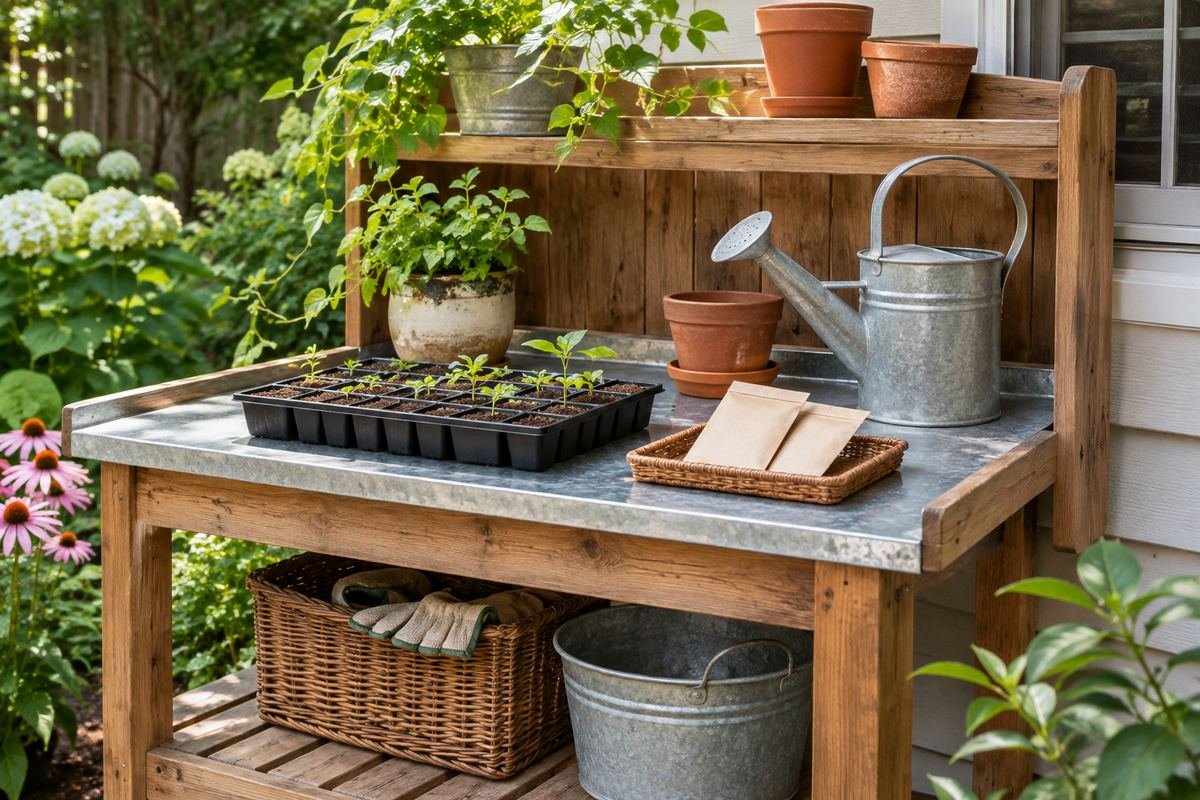
Bring the appropriate seed packets to the bench for a planned task, then return them to a suitable storage place. Follow the packet and relevant gardening guidance for the seeds rather than treating an outdoor shelf as a permanent destination. Keep the working group small enough to track.
Record what was actually used before the packets leave the station. A simple gardening note can connect the task to later care without needing a display of every variety. The bench is a preparation place; the seed collection needs its own appropriate conditions.
Practical tip: Give the packets a return destination before starting.
22. Keep growing medium in its appropriate identified packaging
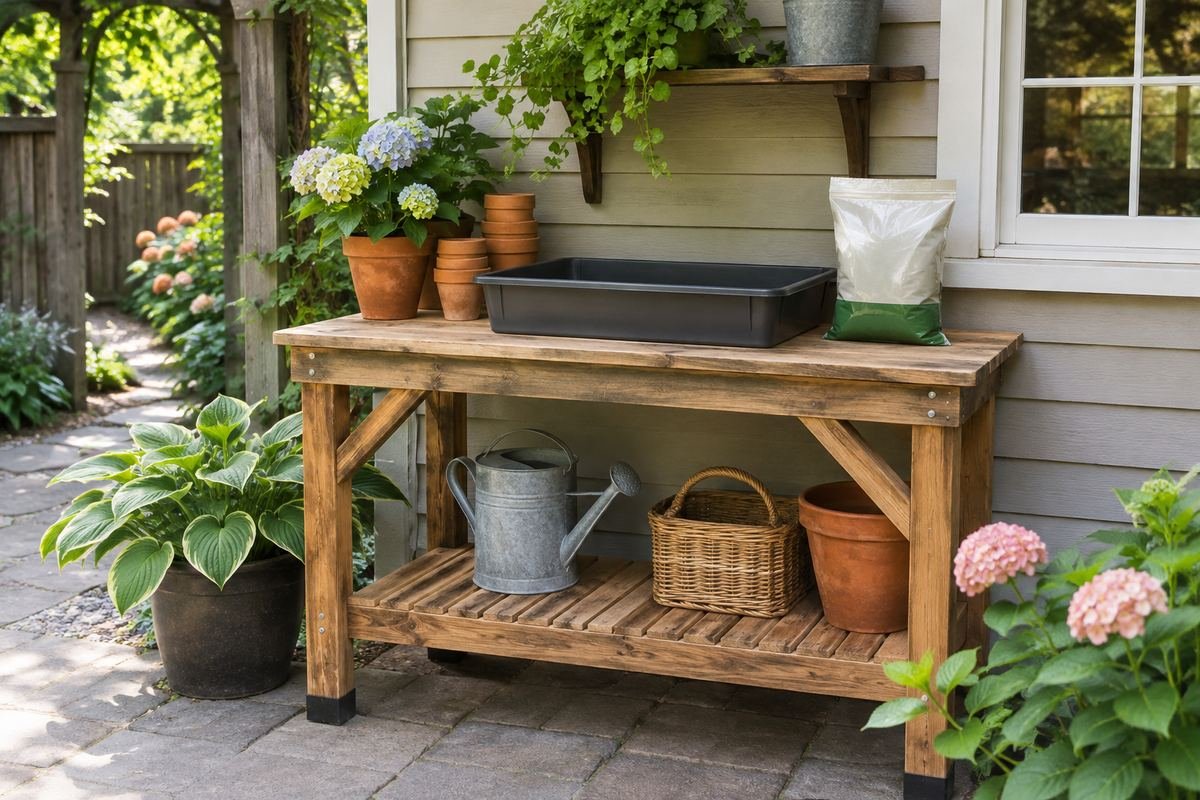
Plan how the medium needed for a session will arrive and return according to its actual instructions. Keep the original identification available rather than decanting several different products into matching decorative containers. Compare the manageable amount needed for the familiar task.
Choose the proper storage location from the product guidance and actual conditions. A bag shown beside a potting bench does not establish that it should remain outside in every climate. The station can look calm with a small temporary working group and a clear return step.
Practical tip: Keep the product identity with its storage.
23. Give a small watering can a clear approach and return
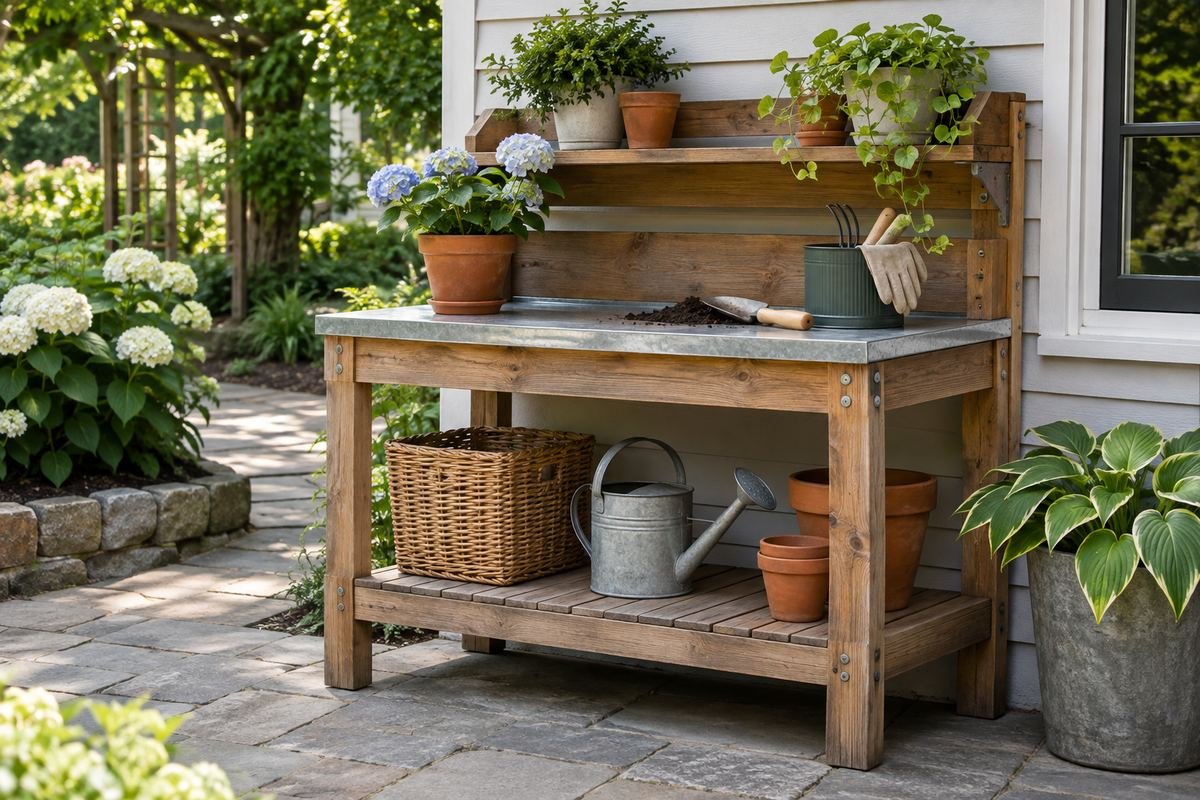
A watering can needs a useful route to the plants and a suitable position between tasks. Compare its full shape, including handle and spout, with the bench and surrounding movement. Keep it outside the working position when it is not part of the current potting task.
Choose an appropriate water source and plant-care routine separately from the furniture styling. The can should be manageable for its actual user rather than selected only for a decorative finish. Keep the return position from blocking the route used to carry completed pots.
Practical tip: Include the handle and spout in the storage footprint.
24. Separate completed containers from the active work surface
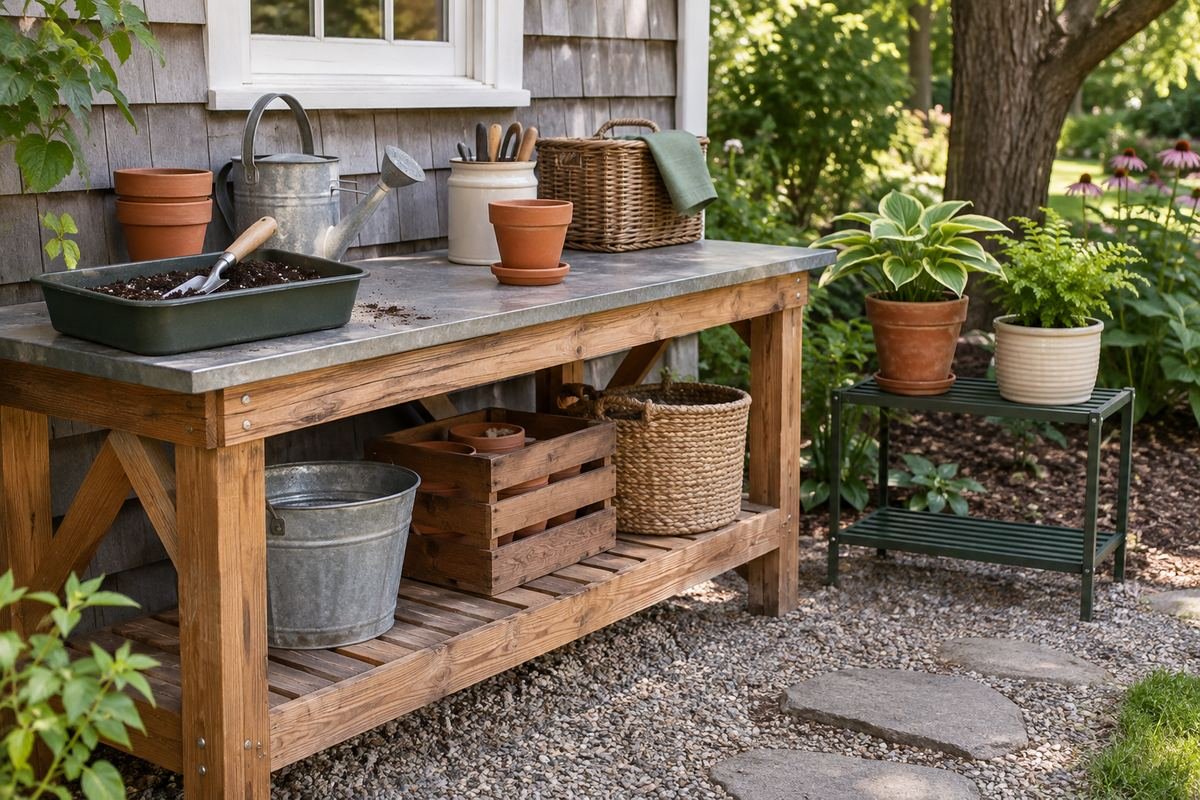
A completed pot can leave the working tray for a separate suitable holding position. Compare a manageable group and a clear transfer route rather than surrounding the active task with planted containers. This makes the next pot easier to prepare without repeatedly clearing space.
Choose the plants’ ongoing location from their actual light, temperature and care needs. A convenient bench shelf is not automatically the right growing place. The holding area should support the short task sequence and release the surface before it becomes crowded.
Practical tip: Choose the next destination before completing the pot.
25. Compare a folding bench with its complete setup routine
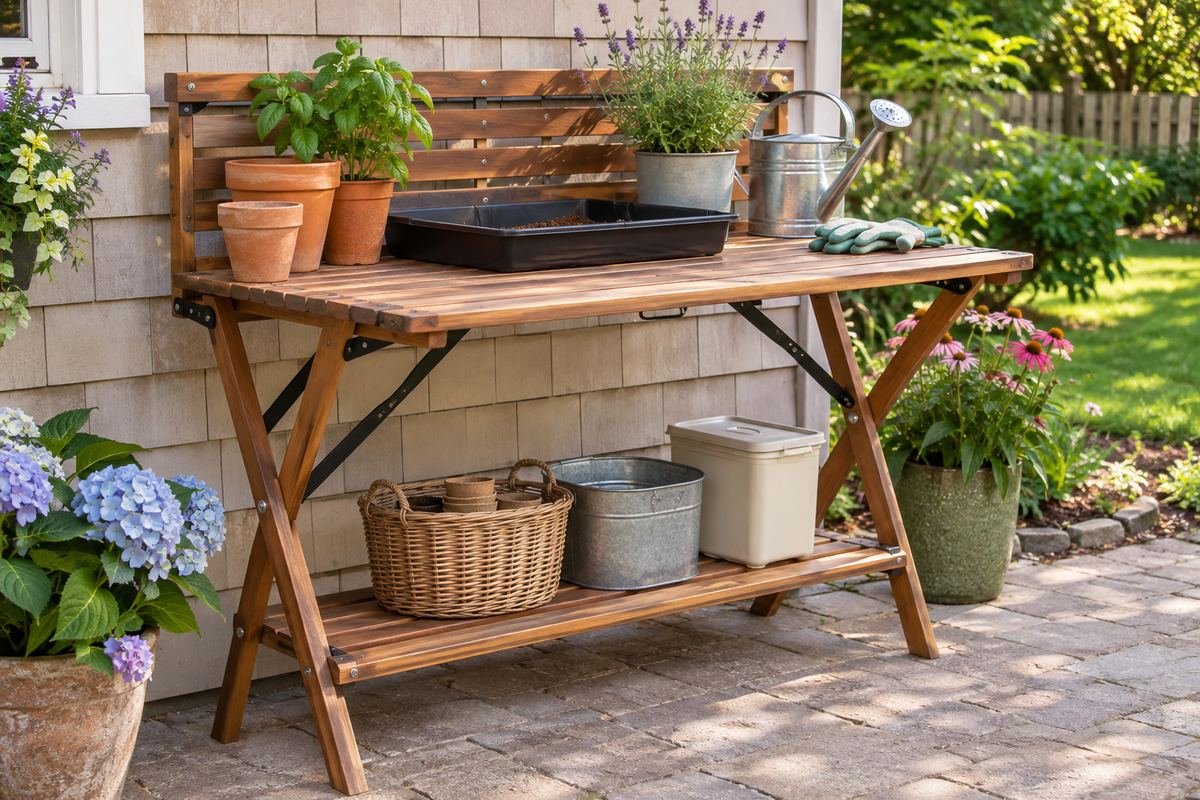
An occasional potting task may suit a purpose-designed folding workbench when its intended use, capacity and setup are appropriate. Compare the complete open footprint with the normal working arrangement. Keep the product’s correct locking and handling instructions part of the decision.
Plan where the bench will be stored and how it will be retrieved before each session. Do not choose a folding form that requires the household to move several other objects to begin. A smaller practical temporary station can serve an occasional task without occupying the garden permanently.
Practical tip: Test the setup and return routine before choosing.
26. Use existing cover without assuming the station is weatherproof
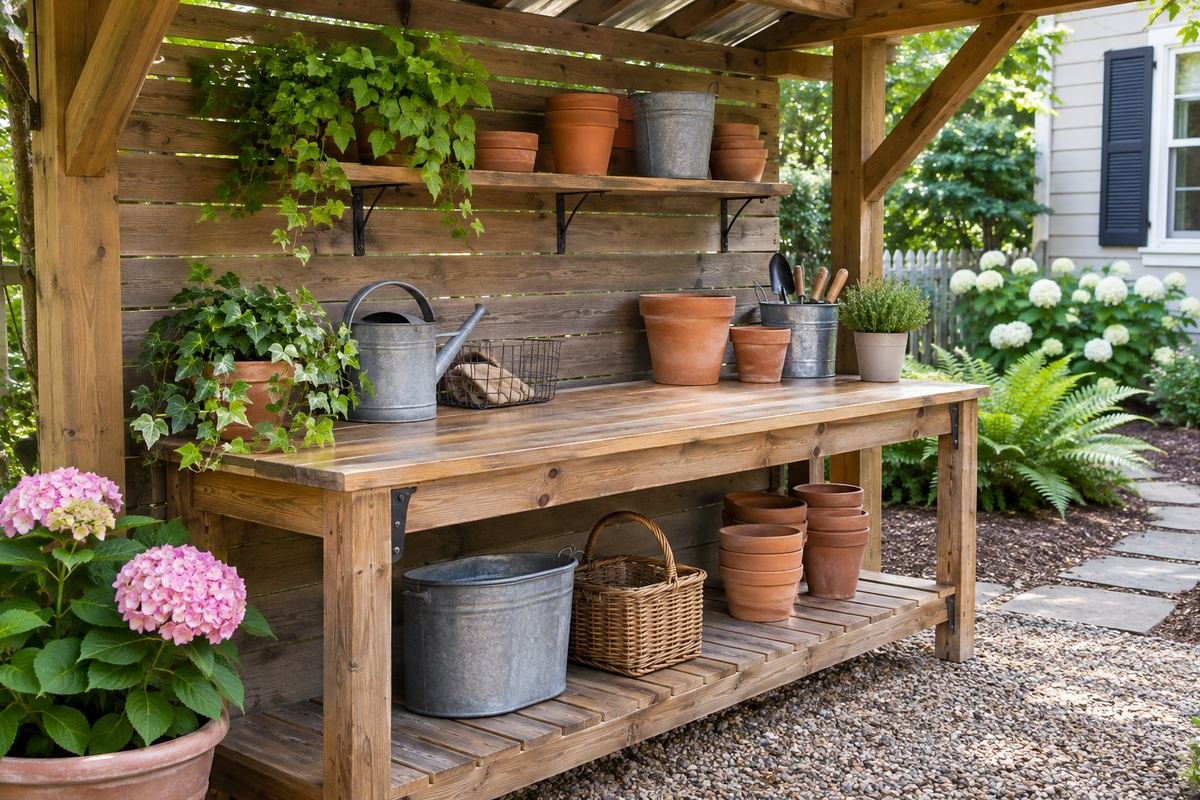
An existing suitable sheltered position can make the work area more convenient when it preserves the garden route and required access. Compare the actual exposure to wind and rain with the bench and supply instructions. A roof nearby does not establish that everything beneath it stays dry.
Keep seasonal protection and storage practical for the complete furniture and retained supplies. Choose the position for the task before adding decorative layers. If the shelter makes the approach cramped, compare another suitable arrangement rather than forcing the station into the corner.
Practical tip: Assess the actual exposure beneath the existing cover.
27. Finish garden potting bench ideas with a one-session reset
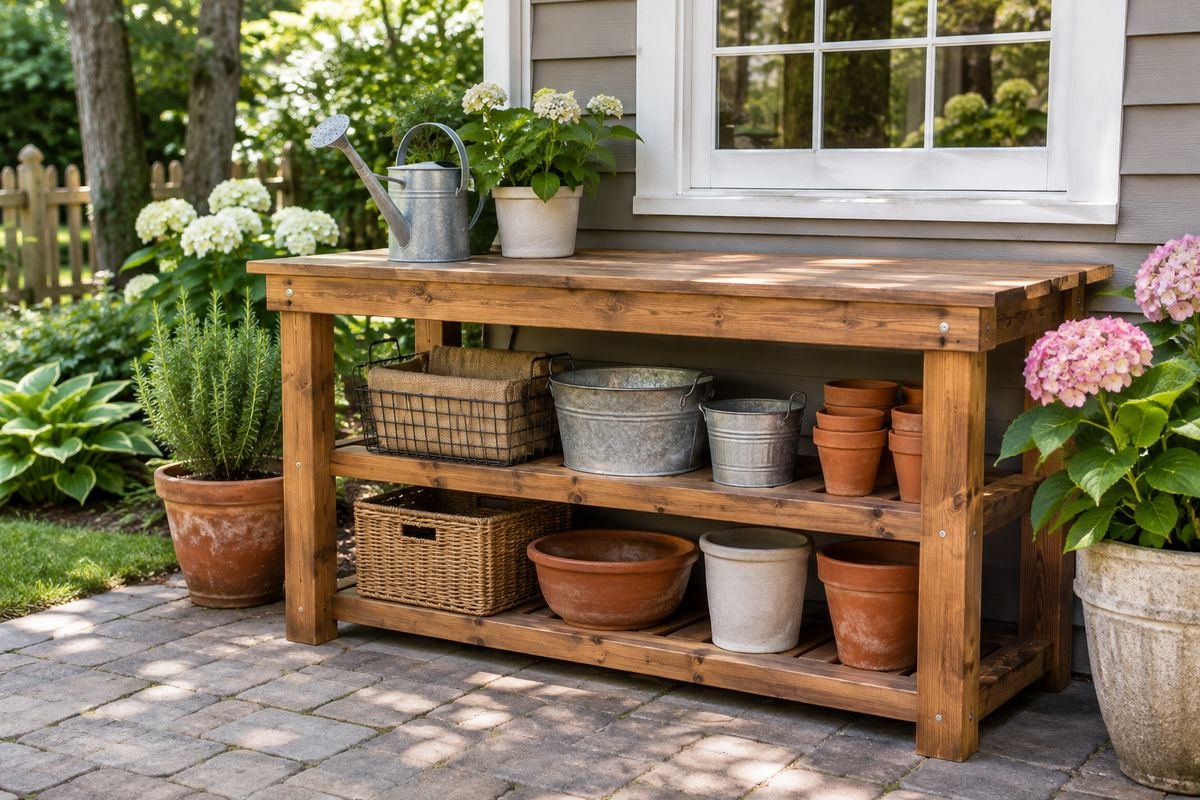
After a familiar small task, use the workflow card to return the station to a useful starting point. Move completed pots to their appropriate next location, deal with used equipment and return supplies correctly. Notice the object that is repeatedly left on the worktop because it has no clear destination.
Improve that part of the routine before adding more shelving or another surface. Keep the bench’s material care and seasonal requirements with the same card. A settled working area can look attractive through the simplicity of its useful groups rather than a large decorative collection.
Practical tip: Fix the recurring item left out after the task.
Frequently Asked Questions
How large should a potting bench be?
Choose the usable top from a real task with the actual pot, tray and ordinary tools. Include space for the person, incoming supplies and the completed container, then compare the whole arrangement with the available route. A larger top is less useful when it is difficult to reach or becomes permanent storage.
Can an ordinary indoor table become a permanent outdoor potting bench?
Do not assume so. Check whether the complete furniture and finish are intended for the task and exposure, together with their load and care requirements. A decorative resemblance to an outdoor workbench does not establish that it can tolerate potting materials, moisture or outdoor conditions.
Should clean and used pots share the same shelf?
Give returning used equipment a separate appropriate position until it has been dealt with. Minnesota Extension notes that remaining soil and plant debris can carry plant disease. Follow appropriate cleaning guidance and each product’s instructions rather than judging readiness from a quick visual inspection.
Does a removable tray replace the worktop care instructions?
No. Compare a tray suited to the task and keep it manageable, but continue to follow the bench and tray instructions. Check what happens to spilled material and moisture, and remove the tray for the specified care. It is an aid to the routine, not a guarantee that the surface cannot be affected.
Can seedlings stay on the potting bench after the task?
Only when the actual plants and conditions suit that position. A preparation surface is not automatically an appropriate growing location. Minnesota Extension’s seed-starting guidance emphasizes suitable containers and plant-specific instructions; choose the ongoing light, temperature and care arrangement separately.
What belongs on the bench between gardening sessions?
Keep a modest appropriate group that suits the furniture and local exposure, while returning other supplies to their proper storage. Leave the main work area available for the next task. Review the actual instructions and household needs rather than leaving every gardening product outside for appearance.
Choose the Details That Work in Your Home
Choose garden potting bench ideas from the task, the person and the actual outdoor position. Keep a useful top, manageable supply groups and a clear return routine, then use material and color to connect the station to the garden. A bench that is ready for the next ordinary session can remain attractive without becoming a permanent display of clutter.
For related ideas, explore small garden design ideas, raised garden bed ideas, garden path ideas, indoor plant shelf ideas.
Planning References
IKEA: care and exposure for outdoor furniture materials; University of Minnesota Extension: cleaning gardening tools and containers; University of Minnesota Extension: appropriate seed-starting containers and plant-specific instructions. Follow the instructions for the exact products you choose.
Optional digital guide for this topic
If you prefer a structured workbook, explore this related paid guide.