Good shower caddy ideas begin with the daily bottles and the shower's actual fittings. A rack that looks generous can still leave a tall bottle trapped beneath the next basket or interfere with a handheld hose. Inventory the products, check the support arrangement and test the movements before choosing the finish.
The following 24 ideas compare useful storage layouts and caddy types. Follow the exact product's surface, installation, loading and care requirements. Accessories are storage, not grab supports, and the illustrations do not establish mounting strength, waterproofing or accessibility compliance.
Contents
- 1. Start with one compact basket for the current routine
- 2. Adjust shelf spacing around the tallest actual bottle
- 3. Use one visible row instead of a crowded second layer
- 4. Keep the original packaging and useful directions
- 5. Place larger containers only where the loading instructions allow
- 6. Give bar soap a separate suitable support
- 7. Contain short tubes without hiding them behind tall bottles
- 8. Assign shared storage by routine rather than shelf symmetry
- 9. Check a showerhead-mounted caddy against the exact fixture
- 10. Keep the lower stabilizer part of the support decision
- 11. Keep a handheld hose free through its normal movement
- 12. Test an over-door rack with the enclosure moving normally
- 13. Match a pressure corner shelf to its specified corner
- 14. Measure both contact surfaces for a tension-pole design
- 15. Use a freestanding corner rack only with its full footprint clear
- 16. Keep suction contacts separate from grout and texture
- 17. Assess adhesive storage through preparation and removal requirements
- 18. Treat screw-fixed storage as part of the wet-wall assembly
- 19. Compare storage position with the actual spray pattern
- 20. Plan reachable storage around a seated routine
- 21. Leave the screen, curtain and entry route independent
- 22. Use an accessory hook only for a light appropriate item
- 23. Keep bulk refills and occasional products elsewhere
- 24. Choose a caddy that can be emptied and maintained easily
Compare the loaded caddy with the complete shower
Measure the tallest bottle with its normal closure, the widest container and the space needed to lift each item above a retaining edge. Record the finished wall material, showerhead arrangement, handheld hose, door and controls. Then compare the whole loaded footprint with the caddy's documented support and limits. Include removal for cleaning. If its attachment is unsuitable for the actual enclosure, choose another appropriate type rather than improvising a fixing.
Choose an arrangement that fits your situation
- Only two daily bottles need storage: Compare a modest single basket before adding more tiers
- A tall bottle cannot be lifted out: Check usable shelf clearance and retaining-edge height
- A handheld hose crosses the rack: Choose a documented compatible arrangement and test the complete hose route
- The wall or corner does not match the mounting requirements: Choose another suitable caddy type without improvising attachments
- Cleaning requires unloading a large reserve collection: Remove backups from the shower and retain the current routine only
1. Start with one compact basket for the current routine

A modest single basket can be enough for a short list of daily products. Place the actual bottles in a paper outline and leave useful space between them. A large multi-tier rack is not necessary when most of its contents would be backups. Choose the smallest appropriate arrangement that remains comfortable to use and clean.
2. Adjust shelf spacing around the tallest actual bottle

Movable baskets can suit a mixed group of tall and short containers. Simplehuman's cited adjustable caddy uses shelves that move vertically and sideways. Check the exact model's allowed positions and secure each part as instructed. Include the bottle's removal path rather than setting the gap to the container height alone.
3. Use one visible row instead of a crowded second layer

A wider shallow basket can keep a few products identifiable without hiding a rear row. Compare usable width after the retaining sides and supports are included. Test removing the widest bottle without shifting its neighbors. A shallow arrangement is useful only when its projection still suits the enclosure and the support permits the complete load.
4. Keep the original packaging and useful directions

A caddy can organize mixed bottle shapes without requiring everything to be decanted. Preserve labels, closures and storage instructions on the actual products. Arrange the group so it remains easy to recognize and remove. A coordinated rack can provide the visual connection while the packaging continues doing its job.
5. Place larger containers only where the loading instructions allow
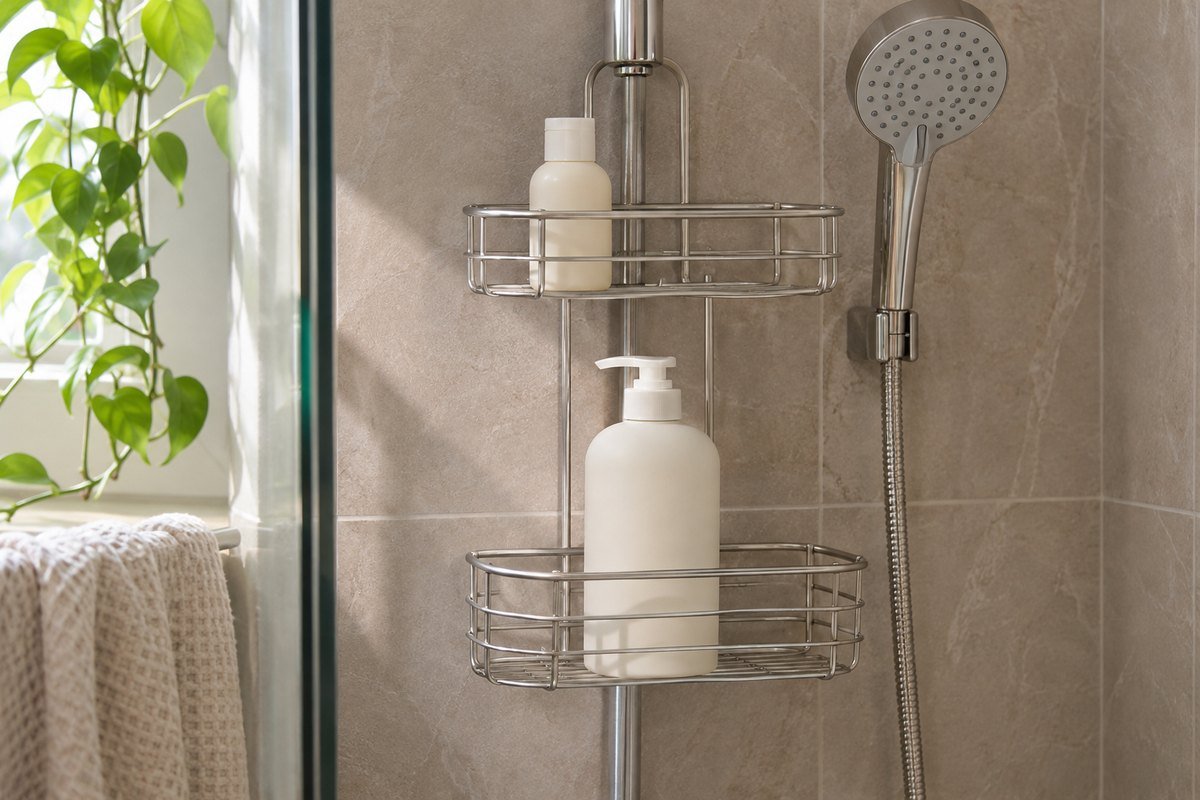
A large bottle changes the load as well as the required shelf space. Check total and per-shelf limits for the actual model, including its required distribution. Do not treat a lower shelf as permission to exceed either limit. Store bulk refills elsewhere when they add weight and handling without serving the daily shower routine.
6. Give bar soap a separate suitable support

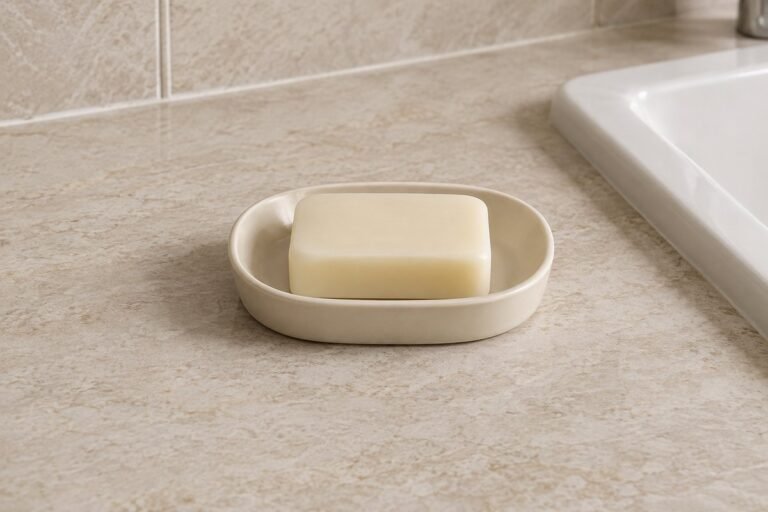
A dedicated soap area can keep the bar from disappearing between large bottles. Check its opening size, lifting access and water route, especially as the bar becomes smaller. Keep any removable dish easy to lift for care. A caddy's wire basket is not automatically a suitable support for every soap bar.
7. Contain short tubes without hiding them behind tall bottles

A small tube needs a position where it remains visible and easy to grip. Compare a suitable shallow compartment with the tube's height and closure. Avoid packing short items into an inaccessible gap behind the main group. Keep only products whose required storage conditions suit the shower location.
8. Assign shared storage by routine rather than shelf symmetry

A shared caddy can have one defined zone per person or a common group plus personal items. Choose the arrangement from actual reach and product use. Unequal shelf gaps may work better than identical rows when one routine includes taller bottles. Keep each zone understandable without filling it simply to balance the photograph.
9. Check a showerhead-mounted caddy against the exact fixture

A hanging caddy needs the type of showerhead support its maker specifies. Check the pipe, clamp and complete stabilizing arrangement before purchase. Do not assume that a ceiling rain head, flexible hose or another projecting fitting provides an equivalent support. Ask the maker about an uncertain combination or choose a different appropriate storage type.
10. Keep the lower stabilizer part of the support decision
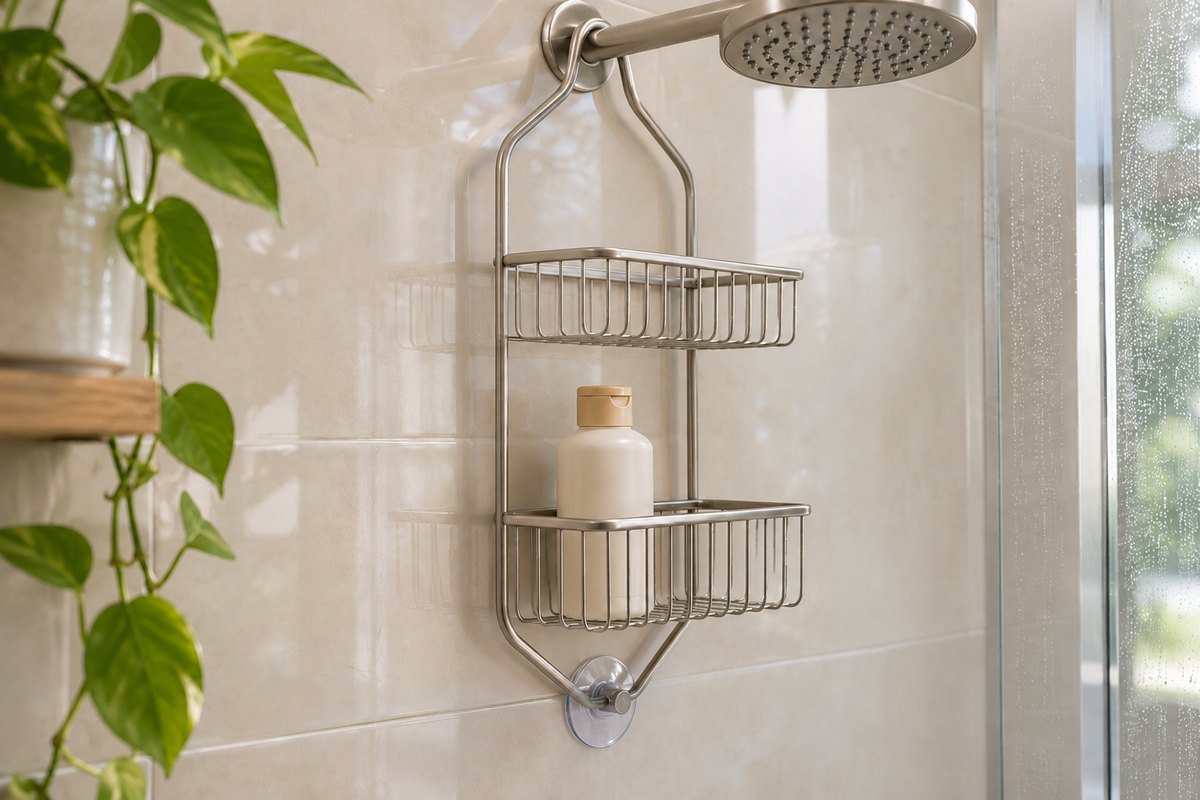
A hanging rack may depend on support below as well as above. Simplehuman describes both upper and lower support for its cited adjustable design. Inspect the actual assembly rather than hanging a basket from one convenient point. A missing contact or unsuitable lower surface calls for the correct parts or a different compatible product.
11. Keep a handheld hose free through its normal movement

Compare the rack with the hose both parked and in use. A suitable central channel, offset baskets or storage positioned clear of the hose altogether may leave a better route. The cited Simplehuman range identifies handheld compatibility for its extra-large option, which should not be transferred to every model. Check the supplied version and avoid wrapping a hose around the rack to make it appear tidy.
12. Test an over-door rack with the enclosure moving normally

An over-door caddy must match the permitted door or screen thickness and support detail. Check hooks, protective contacts, door closure and the loaded rack's full movement. Include both sides of the glass in the assessment. Choose another arrangement if the caddy prevents the enclosure from operating as intended; a generic hook is not a substitute for the specified system.
13. Match a pressure corner shelf to its specified corner

A pressure-mounted corner caddy has specific wall and corner requirements. OXO's cited Press-Sure instructions limit that model to right-angled corners and exclude flexible acrylic or fiberglass walls and rounded corners. They also prohibit operating pump dispensers while they sit on it. Follow those model-specific rules rather than assuming every no-drill shelf works in every shower.
14. Measure both contact surfaces for a tension-pole design

A tension-pole caddy needs compatible upper and lower surfaces within its approved height range. Measure the actual location and confirm the pole assembly, feet and loading with its maker. Simplehuman's range includes a floor-to-ceiling tension type. That description is not approval for a suspended ceiling, sloping contact or an improvised pole extension.
15. Use a freestanding corner rack only with its full footprint clear

A purpose-made freestanding shower rack can suit a compatible level corner without relying on a shower arm. Check every foot, the loaded stability and any restraint requirements in its instructions. Keep the complete base outside the entry and standing area. A small-looking upper basket can still sit above a much wider foot arrangement.
16. Keep suction contacts separate from grout and texture
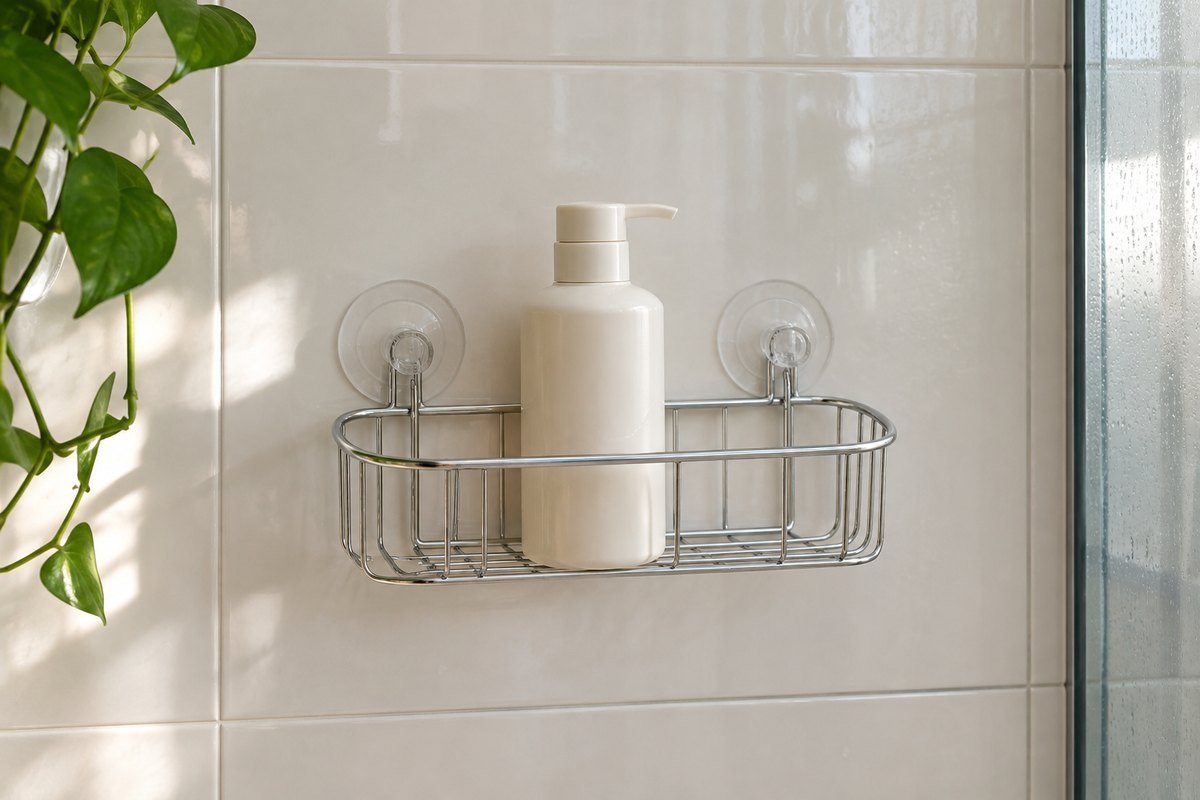
A suction basket needs the smooth compatible surface specified for that exact product. Locate every contact before choosing the shelf height, since a grout line can interrupt an otherwise suitable tile face. Inspect and maintain the mount as directed. Do not add glue or another attachment to compensate for a surface that the product excludes.
17. Assess adhesive storage through preparation and removal requirements

A shower-rated adhesive caddy still has particular compatible surfaces, preparation steps, waiting periods and limits. Read them before attachment and confirm what removal may do to the finish. Choose the complete product for the actual water exposure. A no-drill label does not establish that a product can be removed without damage or used on every painted surface.
18. Treat screw-fixed storage as part of the wet-wall assembly
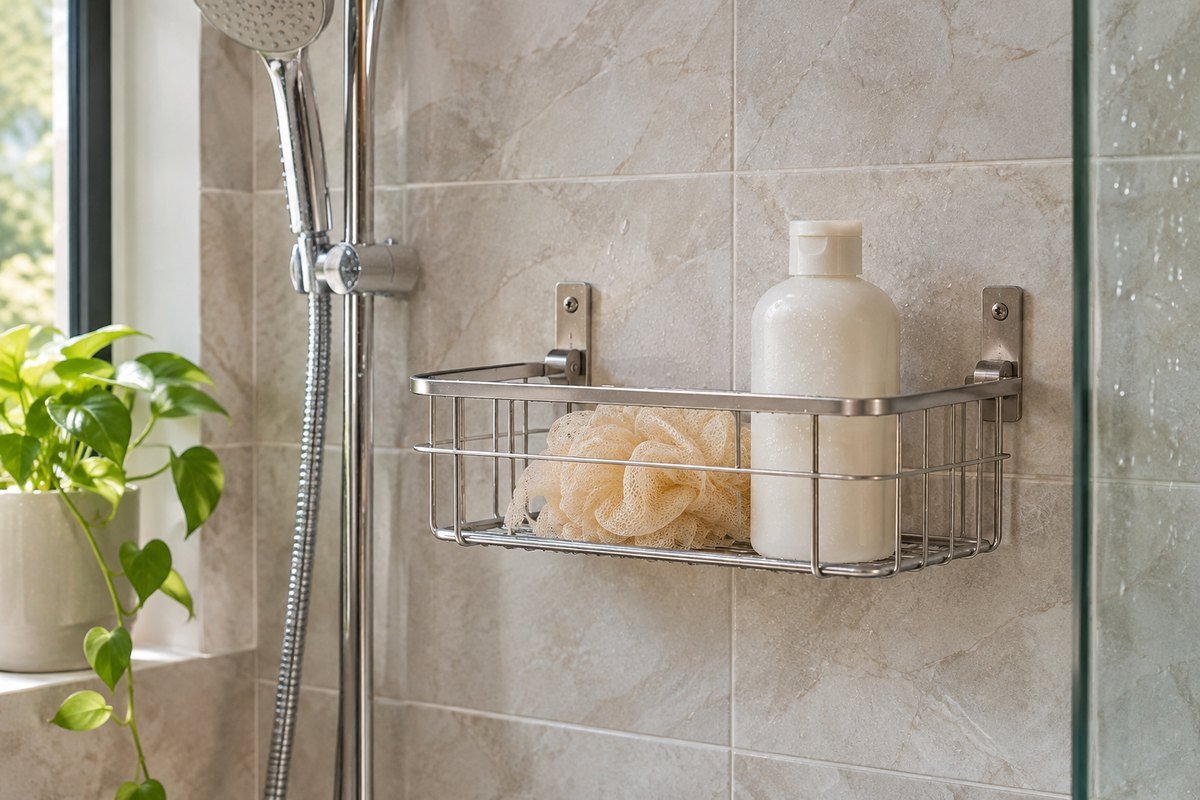
A mechanically fixed shower basket needs suitable structural support and a compatible waterproofing detail. Have the actual wall and concealed services assessed before any drilling. Use the selected system's instructions and qualified help where needed. Decorative inspiration can guide shape and placement while the complete fixing and penetration detail remains a separate site-specific decision.
19. Compare storage position with the actual spray pattern

A suitable location outside the strongest direct spray can make the storage routine easier to maintain. Test the arrangement with the showerhead in its ordinary positions, including a handheld unit if present. Keep controls reachable and the enclosure working correctly. Do not move the water barrier or alter shower fittings simply to accommodate another basket.
20. Plan reachable storage around a seated routine
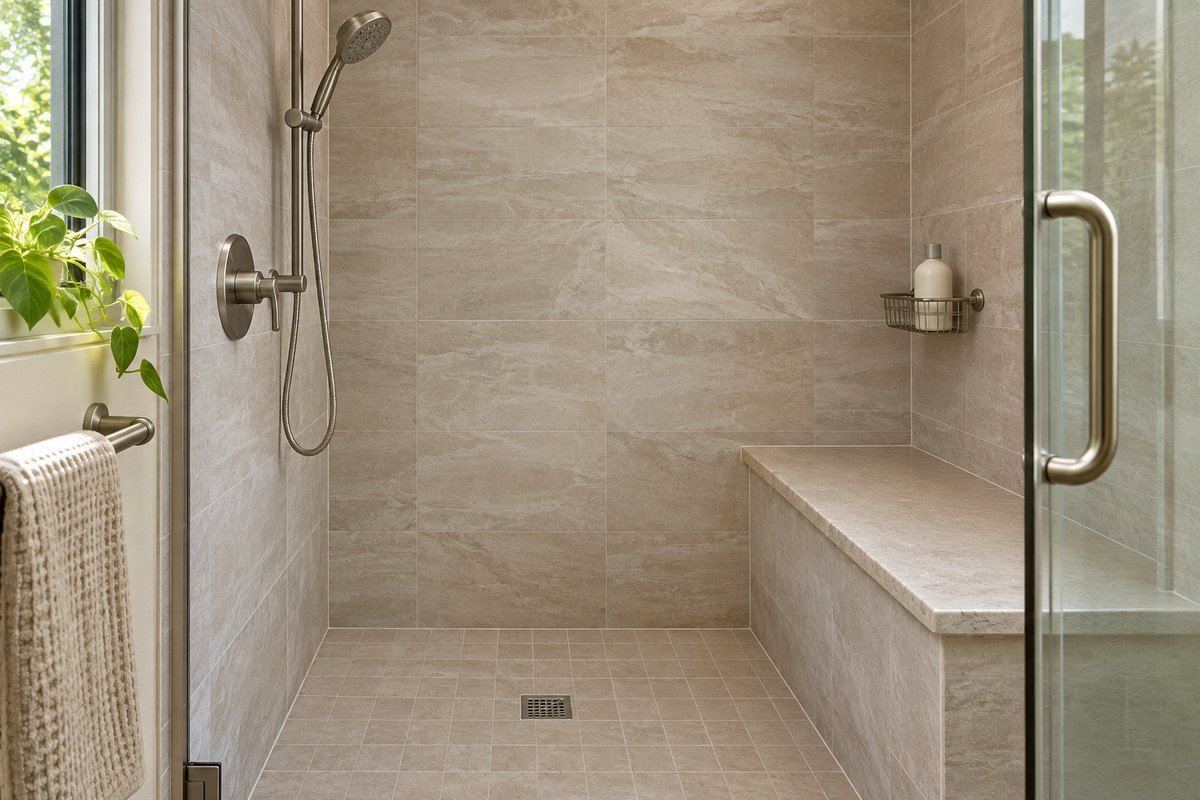
If a shower is used from a bench or seat, assess the caddy from that real position with the relevant designer or professional. Check the approach, bottle removal and return without uncomfortable leaning. A convenient standing height may be unsuitable when seated. An illustration cannot establish a universal height or accessibility compliance for a particular person.
21. Leave the screen, curtain and entry route independent

A caddy can fit the wall while projecting into a door swing or catching a shower curtain. Check the loaded outline with the enclosure in all normal positions. Include hanging accessories below the shelf. Keep the storage outside the route used to enter, turn and leave, even when a centered composition would appear more balanced.
22. Use an accessory hook only for a light appropriate item

An integrated hook can give a small shower tool a defined return position when the product supports it. Check the loaded accessory's length and the drying space around it. Keep it separate from controls and walking areas. A decorative row of hanging objects can become another obstacle, so retain only what serves the current routine.
23. Keep bulk refills and occasional products elsewhere

The shower caddy should serve the current routine rather than become the bathroom's complete inventory. Store spare products in suitable conditions according to their labels. This reduces the group that must be moved for cleaning and makes an empty or unnecessary container easier to notice. Reassess the daily list before buying another tier.
24. Choose a caddy that can be emptied and maintained easily

Review removal, cleaning, drying and reassembly before treating the arrangement as finished. Follow the actual maker's instructions for every finish and contact. OXO's cited pressure-caddy guide describes release for cleaning and drying before reinstallation; other systems have their own sequence. Inspect missing parts, worn contacts and damaged coatings rather than hiding them behind bottles.
Build a bottle-and-fixture fit sheet
List the daily containers with their full height, widest base, normal closure and the clearance needed to lift them above the basket rim. Draw the intended shelf spacing and place paper bottle footprints inside it. A row that fits tightly on paper still needs room for fingers and ordinary removal. Keep each original label and care direction available, and count the real filled load when comparing the product's limits.
On a second sketch, mark the wall surface, every required contact, showerhead support, handheld hose, controls, screen and entry. Add the cleaning sequence and an appropriate place to set removed parts. Check the exact model instructions, since handheld compatibility, corner shape and allowed wall material differ between products. Choose the caddy only after the storage group and the complete shower arrangement work together.
A practical next step
Choose a shower caddy through the daily bottle group, complete support arrangement and normal enclosure movements. Then use shape and finish to connect it with the bathroom. A modest rack that is easy to reach and maintain is more useful than a larger display with unresolved fit or mounting.
For the surrounding room, shower niche ideas when planning permanent recessed storage. Bathroom shelf ideas for supplies kept outside the shower.
The images are original AI-generated design concepts, not photographs of tested products or verified installations.
Sources and care references
- Simplehuman: adjustable shower caddy shelves, support and model-specific handheld compatibility
- OXO: Press-Sure Corner Caddy instructions, surface exclusions and cleaning
- Simplehuman Australia: tension, hanging and freestanding corner caddy types
Optional digital guide for this topic
If you prefer a structured workbook, explore this related paid guide.