Good bath tray ideas begin with the tub's two supporting edges, not the objects placed on top. A tray can provide temporary room for a few useful items when its contact points fit the actual rim and its position leaves bathing access clear. Start with that fit before comparing finishes, compartments or decorative styling.
These 23 ideas focus on ordinary adult bathing arrangements. Follow the exact tub and caddy instructions, including any load limits, and use a separate appropriate support for getting into or out of the bath. A bath tray is an accessory surface, not a seat or grab rail. The illustrated layouts are design concepts rather than verified installations.
Contents
- 1. Begin with a narrow tray and a small useful group
- 2. Compare an adjustable caddy through its intended support range
- 3. Choose an open slatted top for simple inspection
- 4. Use a continuous top when small bases need a broader landing area
- 5. Give a soap bar its own removable dish
- 6. Keep a single short bottle easy to retrieve
- 7. Leave a defined temporary place for a cloth
- 8. Choose a reading support for the actual book
- 9. Choose a simpler tray when a reading prop has no job
- 10. Use a restrained display when the tray is not in use
- 11. Keep wall-mounted faucet controls independent
- 12. Check the relationship with a freestanding tub filler
- 13. Confirm curved-rim compatibility before choosing the finish
- 14. Compare the tub rim separately from an alcove's tiled ledge
- 15. Measure an oval tub at the exact intended position
- 16. Give a bath-shower combination a clear changeover plan
- 17. Use a light bamboo tone beside pale tile
- 18. Let a darker tray relate to one existing room detail
- 19. Compare a pale composite design for a quieter outline
- 20. Check metal contacts and coating care as separate decisions
- 21. Give the empty tray a supported horizontal storage place
- 22. Compare the storage opening with the tray's full outline
- 23. Finish each use with the tray's actual care routine
Check both contact points and the complete access sequence
Measure across the intended position and record each rim's usable flat contact area, slope and obstructions. Then compare those measurements with the actual caddy's underside and approved adjustment range. Check faucet movement, the shower screen and the space needed to enter, remove the tray and set it aside. A tray's maximum overall length does not establish the required bearing on both rims. If the manufacturer cannot confirm the combination, choose another appropriate accessory arrangement.
Choose an arrangement that fits your situation
- Only a cloth and one toiletry need a surface: Compare a narrow purpose-made rack with a clear usable top
- The required support span varies by position: Measure the exact location and check the approved adjustment range
- A rounded rim offers little flat contact: Confirm compatibility before placing a caddy on it
- The bath also serves as a shower: Plan the tray's removal and suitable dry storage first
- A large tray fits the tub but not the cabinet: Compare its complete stored outline with the door opening and route
1. Begin with a narrow tray and a small useful group
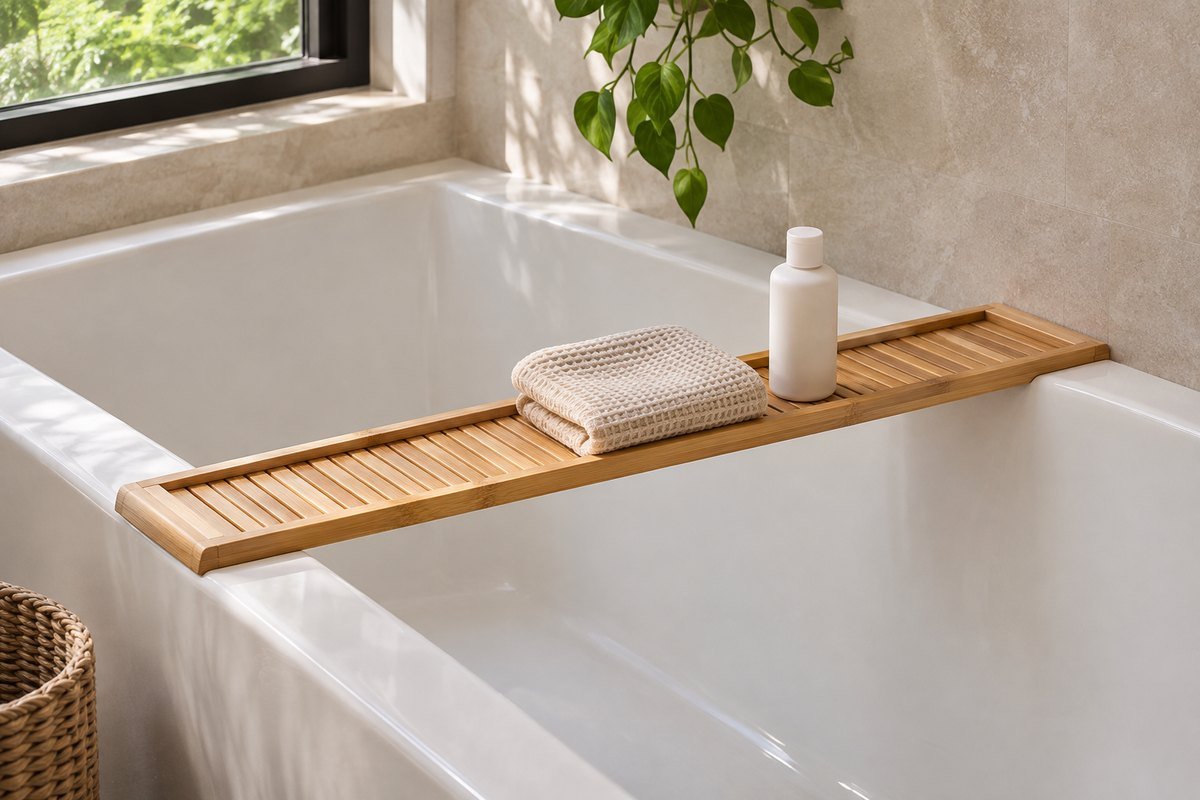
A narrow tray can be enough for one closed toiletry and a folded cloth when a broad display serves no daily purpose. Compare the usable top depth with the actual items rather than filling every available inch. IKEA's cited fixed HAVERN rack measures 70 by 14 by 4 centimeters. Those are that model's overall dimensions, not a universal bath-tray size or proof of fit.
2. Compare an adjustable caddy through its intended support range

An adjustable design may suit a tub whose supporting span differs from a fixed rack. Check the exact model and the position of both underside contacts at the intended setting. Umbra's current cited Aquala page lists extendable arms with silicone contact surfaces and a maximum extension of 37 inches. Confirm the supplied version rather than borrowing a different extension figure from an older listing.
3. Choose an open slatted top for simple inspection

A slatted top makes gaps and the surface beneath the accessories easier to see. Compare the spacing with the smallest object you intend to use, including its base. A wide gap may be unsuitable for a narrow bottle even when the overall tray is large. Lift and clean the rack as its maker directs; open construction does not remove the need for care.
4. Use a continuous top when small bases need a broader landing area

A purpose-made bath tray with a continuous top can suit a few small containers that would sit awkwardly across large gaps. Check how its maker manages water and specifies cleaning. Keep the top accessible instead of adding a separate layer that conceals residue or changes the intended contact. Choose the construction from its actual use, not an assumption that a solid board is automatically waterproof.
5. Give a soap bar its own removable dish

A suitable small dish can keep one bar separate from the tray's other contents. Compare the dish's base with the available top and choose an arrangement that lifts off for cleaning. Keep the bar and container within the intended loaded footprint. Avoid filling a long rack with several different soap stations when only one is used.
6. Keep a single short bottle easy to retrieve
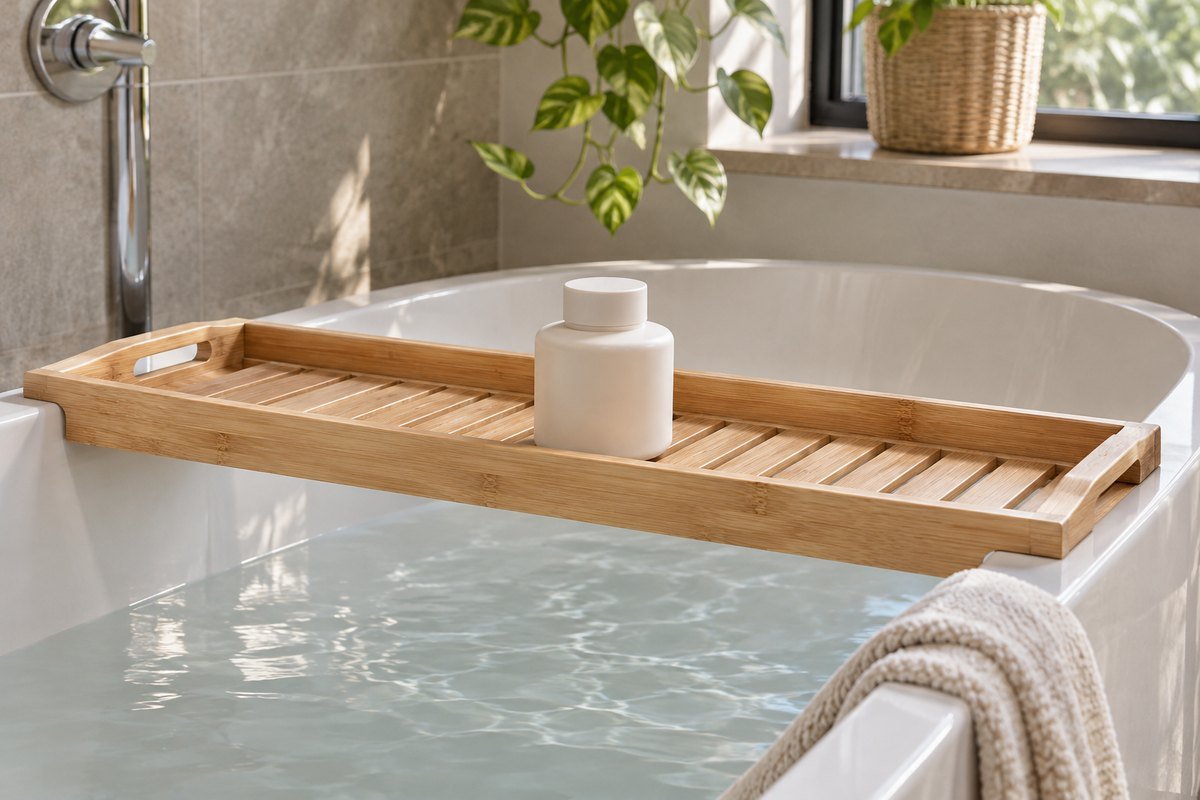
A short daily bottle may be easier to lift from a modest tray than a tall group crowded around a reading support. Keep the product in suitable original packaging with its required directions. Compare the base and closure with the surface and remove unnecessary backups. A coordinated arrangement does not require decanting every bath product into matching bottles.
7. Leave a defined temporary place for a cloth

A folded cloth can have one clear landing area without covering the tray's whole surface. Keep it away from mechanisms and the supporting contacts, then return it to the appropriate drying or laundry routine after use. This is a temporary position during the bath, not long-term storage for damp textiles. Retain a separate suitable place for the towel used afterward.
8. Choose a reading support for the actual book
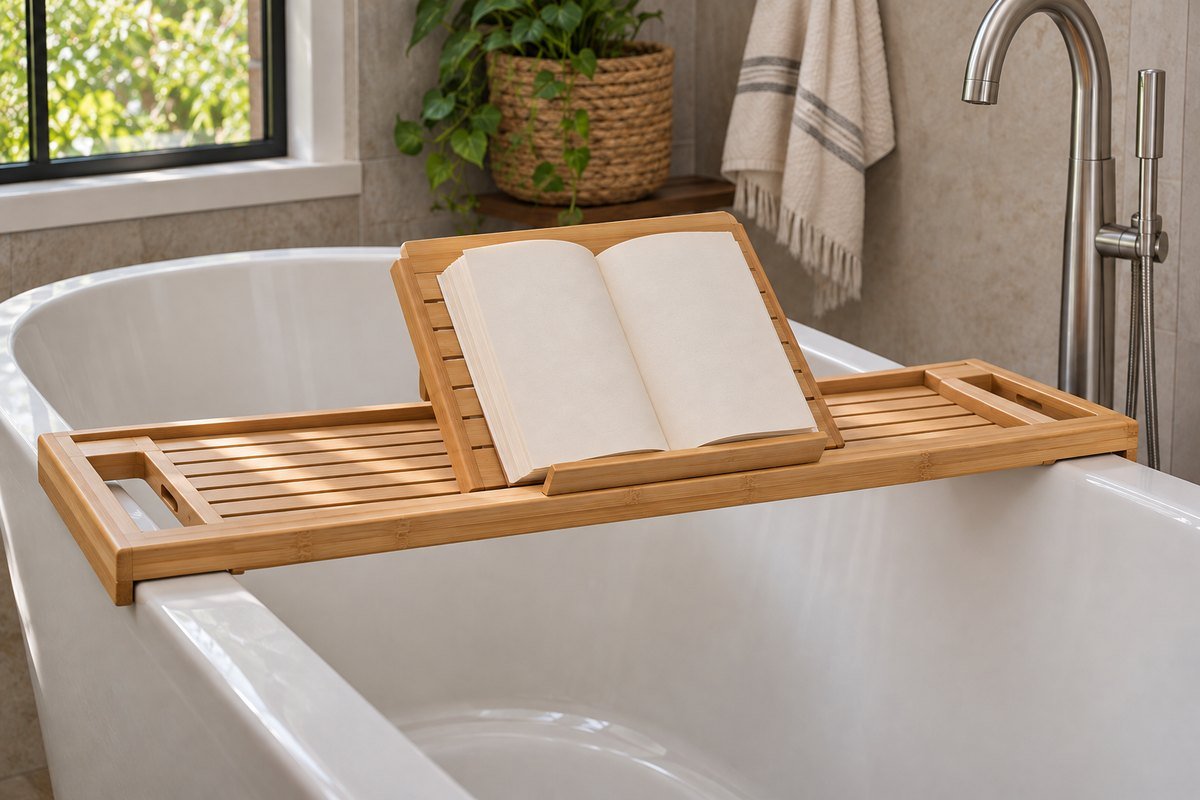
If reading is part of the routine, compare the intended prop, ledge and opening angle with the real book's size and weight. Umbra's Aquala includes a middle support for reading material. That feature does not establish that every book will stay dry or fit the same way. Use the caddy's instructions and keep access to its other useful items straightforward.
9. Choose a simpler tray when a reading prop has no job

A flat uncluttered rack can be more useful when the bath routine needs no book holder. Unused slots and supports still take up space and add surfaces to clean. Compare a simpler purpose-made model before choosing a feature-heavy caddy. Keep supplied structural components intact; selecting another design is different from removing a part from an existing tray.
10. Use a restrained display when the tray is not in use

Between uses, a limited arrangement can connect the tub area with the rest of the bathroom. Keep only a few items that tolerate the location and are easy to remove. Check the tray and surfaces beneath rather than leaving a permanent decorative group undisturbed. The finished look should not depend on moving a collection before every ordinary bath.
11. Keep wall-mounted faucet controls independent

A tray near wall-mounted taps needs enough room for the handles, spout and the hand operating them. Check the full control movement before settling the tray position. Keep the caddy's supporting ends on suitable rim areas rather than shifting it to an unsupported angle. If the fixtures leave no appropriate position, retain another accessible storage solution.
12. Check the relationship with a freestanding tub filler

A floor-mounted filler can project over a rim that appears otherwise clear. Compare the spout, hose and control movement with the loaded caddy at its intended location. Include the route used to reach the controls. A tray that fits the tub's widest point may still conflict with its fittings, so assess the complete arrangement together.
13. Confirm curved-rim compatibility before choosing the finish

A rounded or rolled rim can give a different contact surface from a broad flat ledge. Ask the caddy maker to confirm the combination rather than assuming a long tray will bridge it correctly. Inspect both underside contact areas. A staged photograph cannot establish grip on a curved rim, so leave the tray off when the fit remains uncertain.
14. Compare the tub rim separately from an alcove's tiled ledge

A wide tiled surround can look like a convenient extension of the tub, but it is not automatically an approved caddy contact. Identify the actual surfaces the chosen rack is intended to rest on. Keep any wall joint and sealant accessible for inspection and cleaning. Confirm the complete arrangement instead of extending a tray onto an unrelated ledge.
15. Measure an oval tub at the exact intended position

An oval tub can change width along its length. Mark the intended caddy position and check the span and contacts there, not only at the widest midpoint. Compare its loaded arrangement with the room's access route. If moving the tray a few inches changes its support, treat each proposed position as a separate fit check.
16. Give a bath-shower combination a clear changeover plan

A shared tub and shower needs a practical place for the removed tray before the shower screen or curtain is used. Test that sequence with the room's normal equipment in position. Keep the tray outside the movement area and follow its storage instructions. An accessory that has nowhere to go may add more daily handling than it saves.
17. Use a light bamboo tone beside pale tile

A light bamboo finish can add a modest warm accent to a pale tub area. Compare it with the vanity or another existing wood tone without requiring an exact match. Confirm material and finish from the product information. IKEA's cited HAVERN specifies bamboo with clear acrylic lacquer and damp-cloth care; a wood-looking photo alone cannot establish either detail.
18. Let a darker tray relate to one existing room detail

A darker finish can connect the tub to a mirror frame or cabinet while remaining a small accent. Keep the outline visible against the bathroom background and compare actual samples under the room's lighting. Verify the finish is intended for bath use. Color resemblance does not establish water resistance, product composition or a maintenance method.
19. Compare a pale composite design for a quieter outline

A pale purpose-made caddy can reduce contrast when the tub already stands against patterned tile. Choose it by its documented material, supports and cleaning instructions rather than expecting every white plastic-looking finish to behave alike. Keep small contents visible and easy to lift. A simple color relationship can be enough without adding another decorative motif.
20. Check metal contacts and coating care as separate decisions

A metal bath rack can relate to existing fittings, but its contact surfaces and finish need their own assessment. Check the actual maker's guidance for the tub surface and cleaning products. Do not infer rust resistance or coating chemistry from a metallic appearance. Keep the rack's loaded outline modest and inspect the places where it rests.
21. Give the empty tray a supported horizontal storage place

A dry shelf can hold the emptied tray when its complete shape fits and it can be removed comfortably. Include extended handles or folded supports in the stored outline. Leave the shelf useful rather than balancing the rack over other containers. Check the exact product's storage directions before choosing an orientation or a cramped cabinet.
22. Compare the storage opening with the tray's full outline

A cabinet may be wide inside while its door opening is too narrow for the tray. Check the whole movement, including hinges, handles and the angle needed to lift it out. Retract only the parts designed to move as instructed. If storage requires forcing or dismantling the rack each time, choose a simpler model or another suitable location.
23. Finish each use with the tray's actual care routine

Empty the tray, clean it according to its maker and inspect the contact areas and surface beneath. Both cited bamboo models specify a clean damp cloth; that is not permission for soaking or dishwasher cleaning. Let the accessory return to its appropriate dry storage condition before putting it away. Revise the setup when its decorative contents repeatedly prevent a simple reset.
Make a two-contact fit and storage card
Sketch the exact proposed caddy position. Record the distance between the supporting areas, the usable contact width on each rim, the underside contact shape, the product's allowed adjustment and the space around taps. For a hypothetical 60-centimeter gap with 5 centimeters of intended bearing on each side, the simple overall span would be 70 centimeters. That arithmetic illustrates why measuring only the gap is incomplete; it does not prescribe sufficient bearing, confirm grip or replace a manufacturer's fit specification.
Add a second sketch for entry, removal and storage. Identify where the empty caddy will rest while the tub is entered or used as a shower. Record the cabinet opening and the tray's stored outline, then keep the exact model instructions with the card. The current Aquala manufacturer page uses a 37-inch maximum extension; other versions or older listings can show different figures. Use the information for the actual supplied product, and leave out accessories whose compatibility remains uncertain.
A practical next step
Choose a bath tray through its actual rim contacts, modest useful contents and complete removal routine. Then use finish and form to connect it with the room. A simple accessory that fits and stores easily is more useful than a crowded display whose support or daily changeover remains unresolved.
For the surrounding room, bathroom decor ideas that keep the tub area usable. Bathroom counter organization for the products kept away from the tub.
The images are original AI-generated design concepts, not photographs of tested products or verified installations.
Sources and care references
- Umbra: current Aquala 020390-390 dimensions, extension, contact surfaces and care
- IKEA: fixed HAVERN 303.231.88 measurements, material and care
Optional digital guide for this topic
If you prefer a structured workbook, explore this related paid guide.