The most useful soap dish ideas begin with the bar you use and the place where water will go. A shallow dish can keep one soap within reach, but its ridges, drain openings and receiver do different jobs. Compare those details before choosing a matching bathroom set.
These arrangements cover ordinary bathroom sinks, showers and temporary guest setups. Choose accessories intended for their actual exposure and follow their mounting and care instructions. The images illustrate possible layouts rather than tested products, drainage demonstrations or verified installations.
Contents
- 1. Begin with one bar and a modest countertop dish
- 2. Use raised ribs while keeping the lower surface accessible
- 3. Compare a removable drain insert and receiver
- 4. Check an open rack against the smallest useful bar
- 5. Align a draining spout with the actual basin
- 6. Choose a rounded support for a round bar
- 7. Give a long rectangular bar enough continuous support
- 8. Use a smaller suitable insert for the last usable pieces
- 9. Give two different bars separate recognizable places
- 10. Compare a wall bracket with a lift-out dish
- 11. Keep a suction contact on the specified flat surface
- 12. Treat an adhesive mount as a surface-specific choice
- 13. Place shower soap outside the main spray path
- 14. Use an existing niche without crowding its usable depth
- 15. Check a narrow ledge with the loaded dish in place
- 16. Choose handwashing reach before visual symmetry
- 17. Keep an existing built-in dish easy to inspect
- 18. Open a travel dish for the temporary bathroom routine
- 19. Separate the guest's current bar from unopened spares
- 20. Group a small soap station on one removable base
- 21. Match the material to the real care routine
- 22. Finish the arrangement with an easy empty-and-clean reset
Trace the water route and the full hand movement
Measure the new bar, the dish's usable inner area and its complete base. Then identify whether water remains in a receiver, leaves through openings or flows toward a basin through a purpose-designed spout. Check the surface beneath and how the components lift out for cleaning. Finally, reach for the soap, operate the faucet and return the bar without moving another container. A good-looking dish should make that ordinary sequence straightforward.
Choose an arrangement that fits your situation
- One daily bar on a small counter: Compare a modest dish with enough inner support and lifting room
- The dish holds water below the soap: Check how its channels or receiver are emptied and cleaned
- A spout directs water toward the sink: Confirm its outlet reaches the basin while the main base remains supported
- Wall storage is preferred: Match the full mounting system to the actual surface and exposure
- Small soap ends fall between support bars: Choose an appropriate finer support without adding hidden filler
1. Begin with one bar and a modest countertop dish

A small dedicated dish can give the daily hand soap an obvious home without covering the counter. Compare its usable area with the bar when new, not only when nearly finished. Leave room to pick the soap up comfortably. Choose the position before completing a coordinated accessory set, since a large matching dish may overwhelm the sink's useful landing area.
2. Use raised ribs while keeping the lower surface accessible
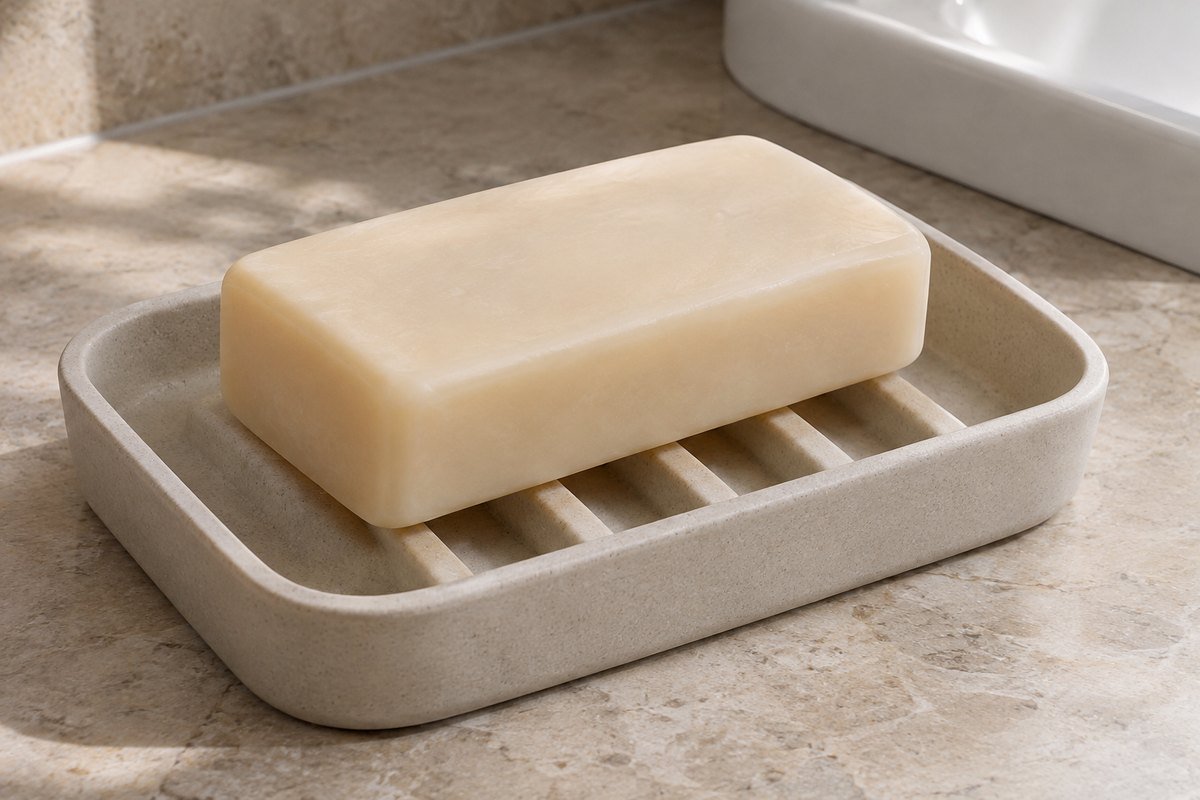
A ridged dish supports the bar above its lower surface. Umbra's cited Touch design uses this raised-ridge approach. The channels still need inspection and cleaning, and retained water must be dealt with according to the product's care instructions. Do not assume that a textured top means water has an outlet or that the accessory maintains itself.
3. Compare a removable drain insert and receiver

A two-part dish can separate the bar's support from the water collected below. Check how the insert lifts out and whether the receiver can be emptied without an awkward grip. Keep both parts accessible rather than concealing them inside another container. Choose this construction for its actual care sequence, not because a second layer automatically keeps the counter dry.
4. Check an open rack against the smallest useful bar
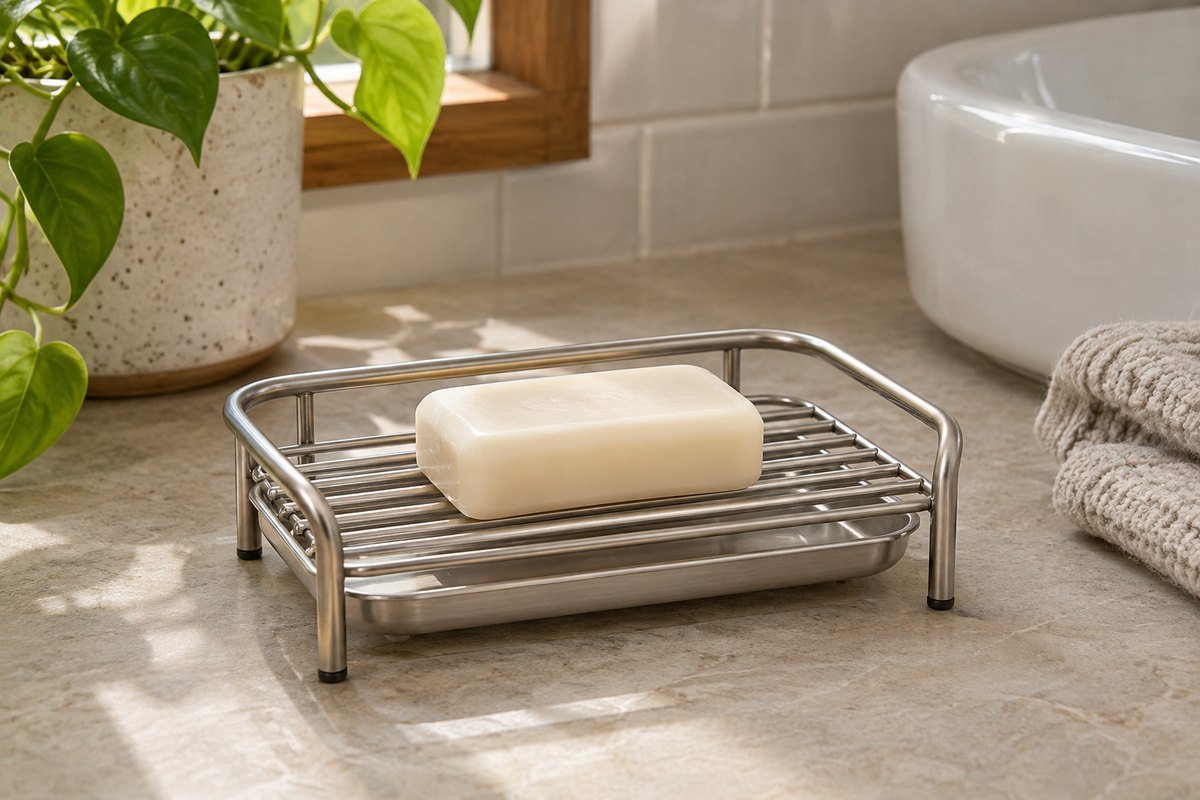
A wire or slatted rack can leave space around the soap, but the gaps need to support its changing size. Compare the remaining bar with the openings rather than assessing only a new full rectangle. Inspect the surface where drips land. Keep the rack's finish and contact feet suitable for the location and the cleaning method you intend to use.
5. Align a draining spout with the actual basin
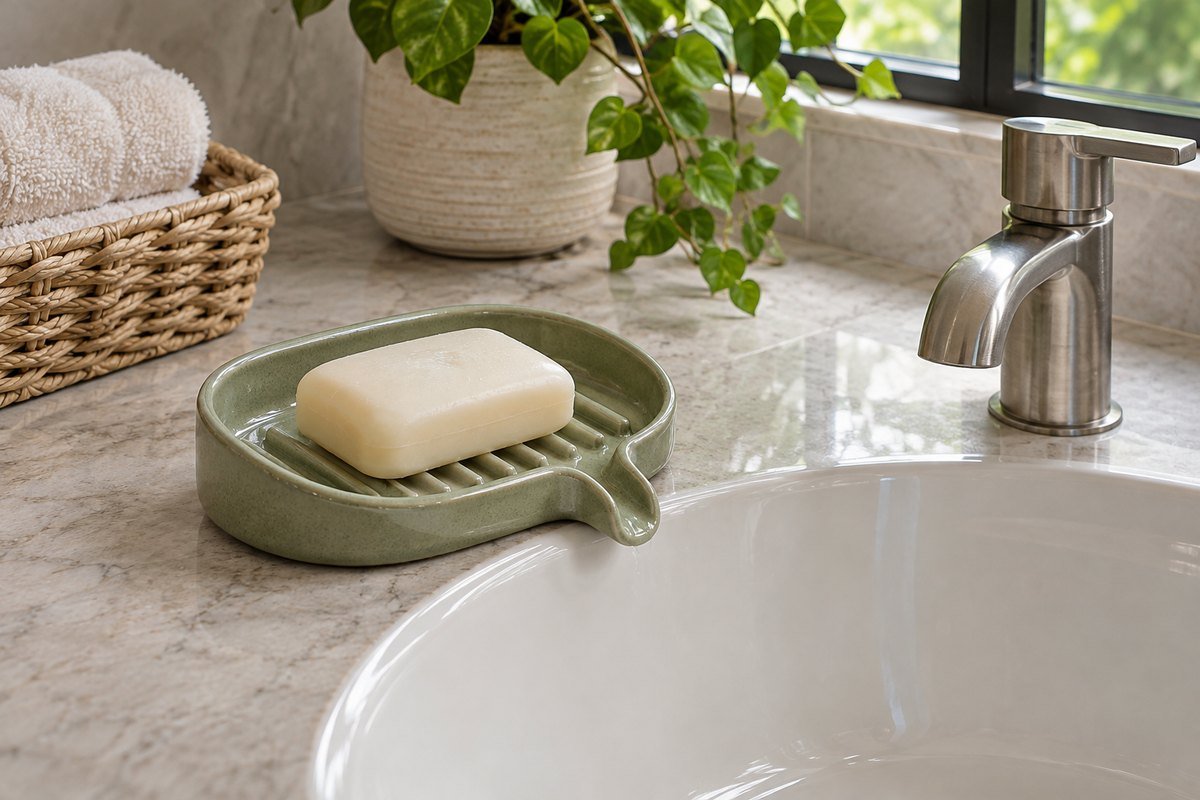
A purpose-designed draining dish needs its outlet positioned over the intended receiving area. Compare the spout length, counter edge and basin shape together. Check the maker's required orientation and whether the dish's whole supporting base remains stable. A spout that stops short of the bowl or points at a joint does not solve the water route simply by resembling a waterfall.
6. Choose a rounded support for a round bar
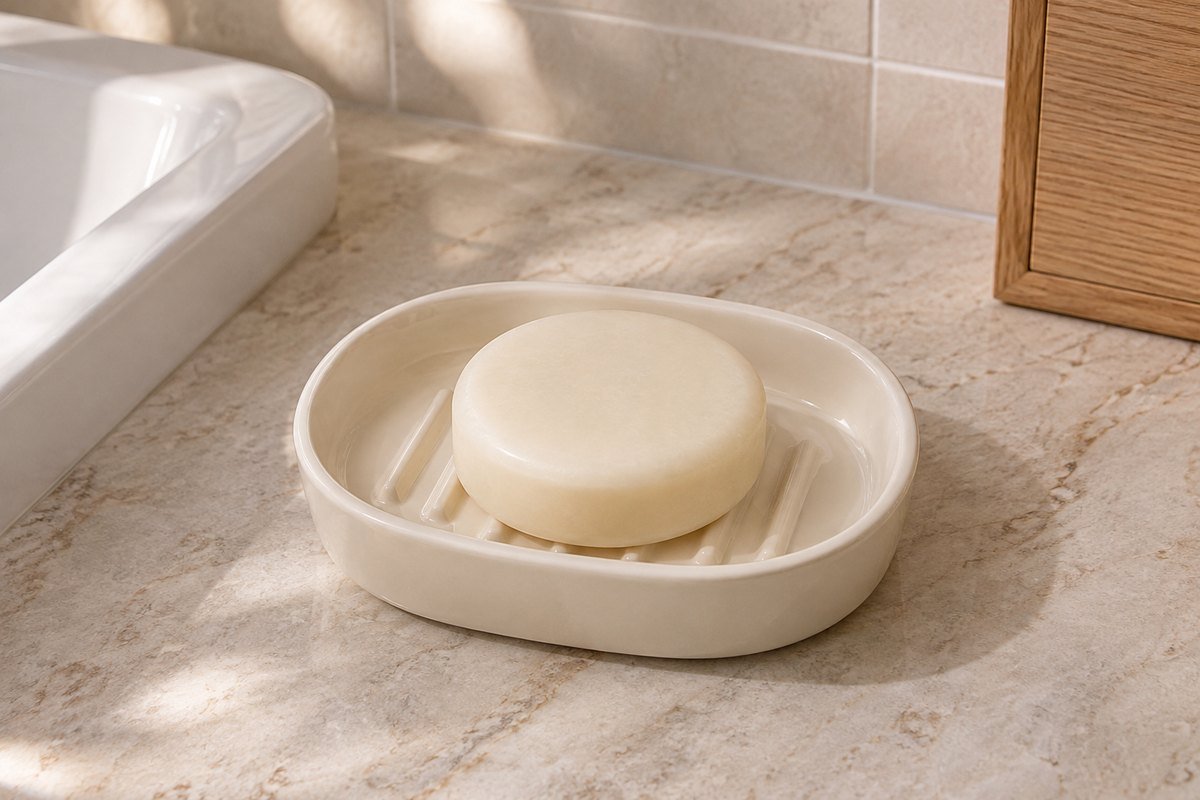
A round soap may sit more naturally in a suitable circular or oval dish than across a narrow rectangular slot. Check the usable contact area and the space to lift it from the edge. Keep the dish's construction appropriate for the bar rather than choosing solely by outline. Leave any drainage channels accessible as the soap becomes smaller.
7. Give a long rectangular bar enough continuous support

A long bar needs enough supporting area along its whole useful length. Compare the inner dish dimensions with the actual new bar and leave a workable grasp. A generous outer rim can make a dish look larger than its usable center. Keep the soap within its intended support rather than bridging it between two unrelated containers.
8. Use a smaller suitable insert for the last usable pieces
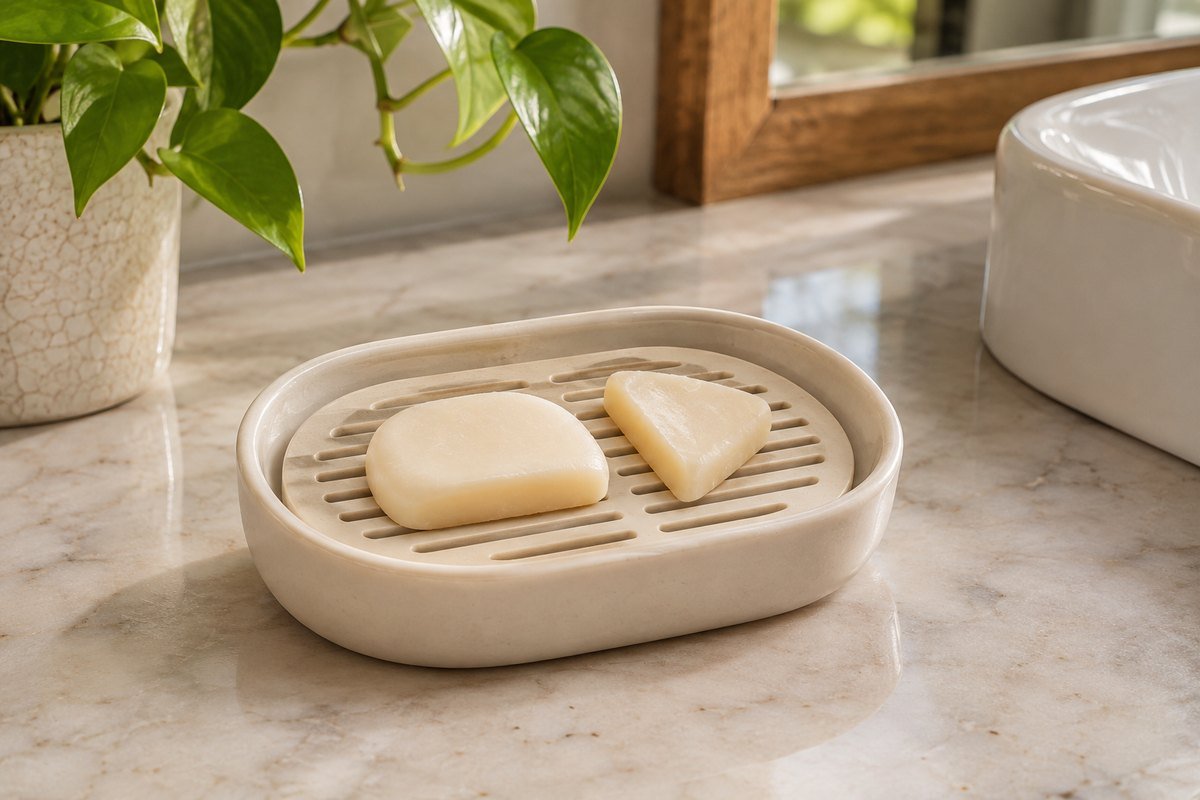
Small soap ends can disappear through openings that held the original bar well. Compare an appropriate finer support or a different purpose-made dish before the pieces become awkward to retrieve. Follow the bar and accessory care directions. Do not fill the dish with decorative stones or an improvised liner that conceals residue and makes cleaning harder.
9. Give two different bars separate recognizable places

If two bars serve genuinely different routines, use distinct positions rather than stacking them in one wet dish. Keep product identity and required directions available in suitable original packaging nearby. Choose each support for its own bar size and exposure. More dishes are useful only when they prevent mixing or handling problems; they are not needed to fill a shelf.
10. Compare a wall bracket with a lift-out dish

A wall-mounted bracket can clear the counter while allowing its dish to be removed for care. Check that removal is comfortable without lifting past another fixture. Match the complete mounting system to the actual wall and expected contents. A removable dish is particularly useful when the bracket otherwise makes its underside difficult to inspect.
11. Keep a suction contact on the specified flat surface

IKEA's cited TISKEN soap dish uses a suction mount and a removable dish. Its instructions call for a clean flat compatible surface, such as glass, mirror or tile, and exclude wallpaper. Place the actual suction contact clear of grout or surface texture. Check the supplied instructions and inspect the mount rather than interpreting the illustration as proof that it will remain attached.
12. Treat an adhesive mount as a surface-specific choice

An adhesive soap dish has its own preparation, waiting period, load and removal directions. Check all of them for the exact wall finish and water exposure before attachment. Keep the dish removable if its design allows easier care. Do not combine mounting products or add extra glue to compensate for a surface the maker does not approve.
13. Place shower soap outside the main spray path

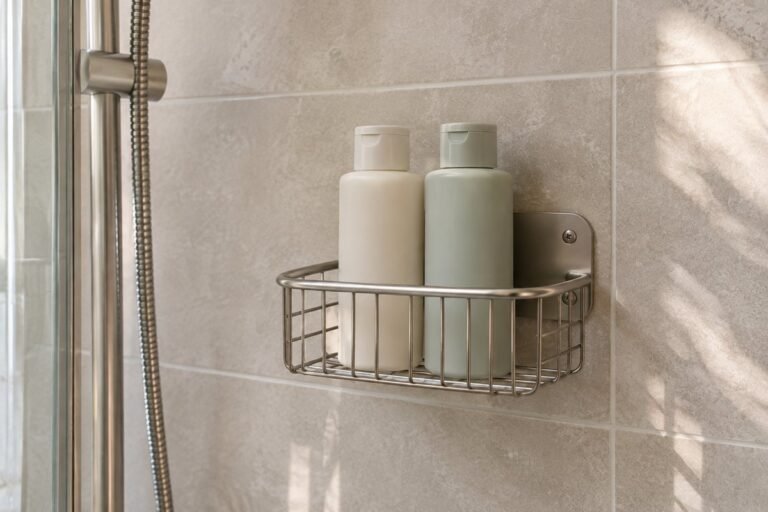
Position an appropriate shower dish within normal reach while considering where the shower actually sprays. A location continuously struck by water may make the bar and surrounding area harder to maintain. Check the outlet, controls and movement together. Keep the storage arrangement useful without reaching across a fixture or crowding the shower's entry.
14. Use an existing niche without crowding its usable depth

A suitable existing shower niche can hold a removable dish when its entire base fits and the soap can be lifted easily. Keep the dish clear of neighboring bottles and inspect the niche surface beneath it. Decorative inspiration does not specify how to build or waterproof a new niche. Resolve any damaged joint or persistent water problem separately from choosing accessories.
15. Check a narrow ledge with the loaded dish in place

A ledge may look deep enough for a dish while leaving its rim or soap projecting into movement space. Check the full loaded outline and the route used to reach it. Keep the complete supporting base on the intended surface. Choose a smaller suitable dish or another location when the arrangement needs a precarious overhang.
16. Choose handwashing reach before visual symmetry
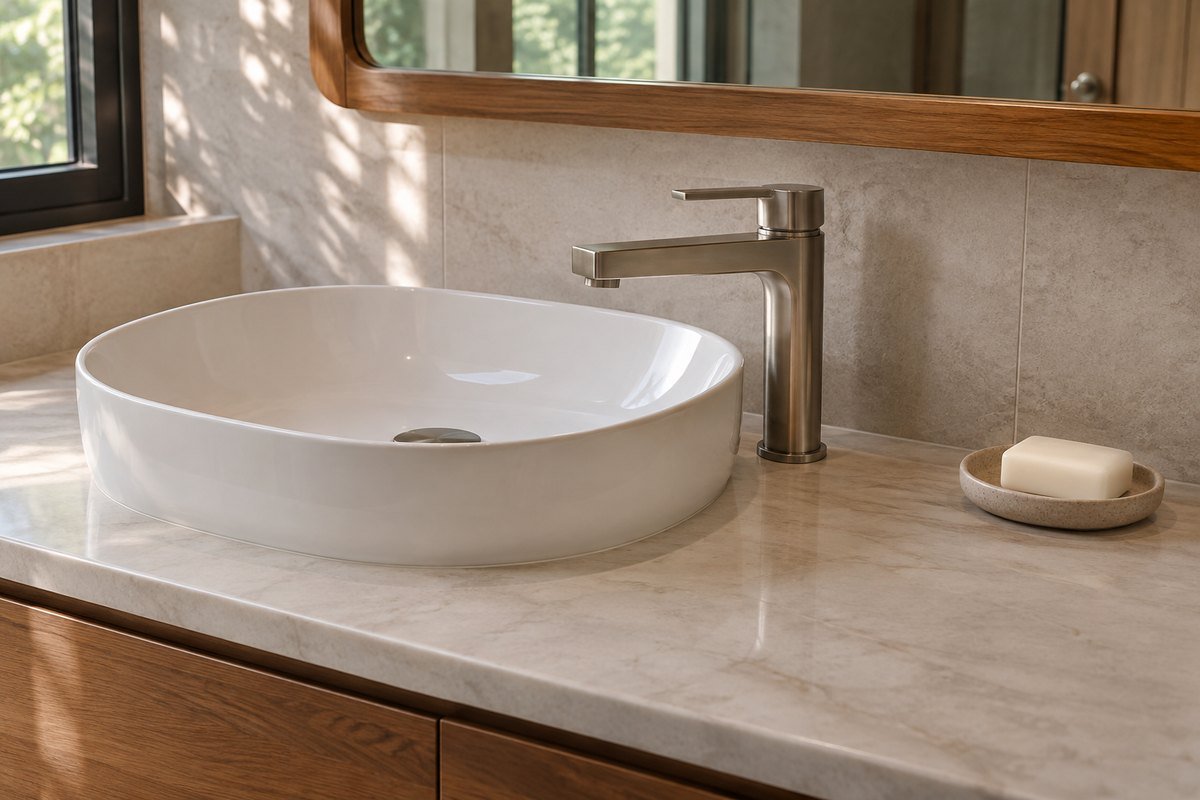
Put the soap where it can be picked up and returned during normal handwashing while the faucet remains accessible. A centered dish behind the spout can look balanced but require unnecessary reaching. Test both the tap and the loaded dish together. Reduce the accessory group if there is no clear useful place beside the basin.
17. Keep an existing built-in dish easy to inspect

An existing intact built-in soap dish may already solve the storage problem. Clean and inspect it according to its material and condition before adding another accessory above it. A decorative cover can hide cracks, loose parts or water collection. Treat damage and any surrounding waterproofing concern as a separate repair decision rather than stacking organizers over the evidence.
18. Open a travel dish for the temporary bathroom routine
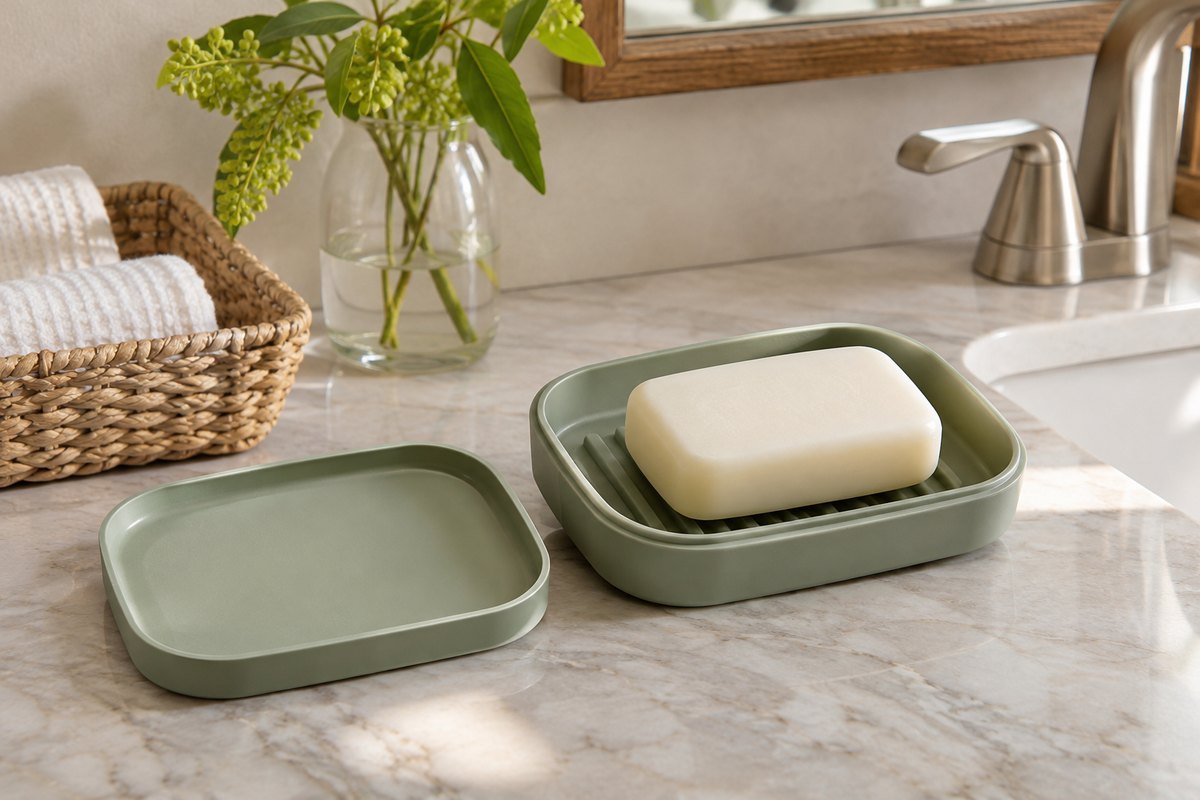
A travel container must suit transport as well as use after arrival. Check its directions for opening, drying and closing before packing it again. Give the open dish a stable supported position during the stay and keep its lid out of the way. Do not assume a closed travel box is the most useful permanent home for a damp bar.
19. Separate the guest's current bar from unopened spares
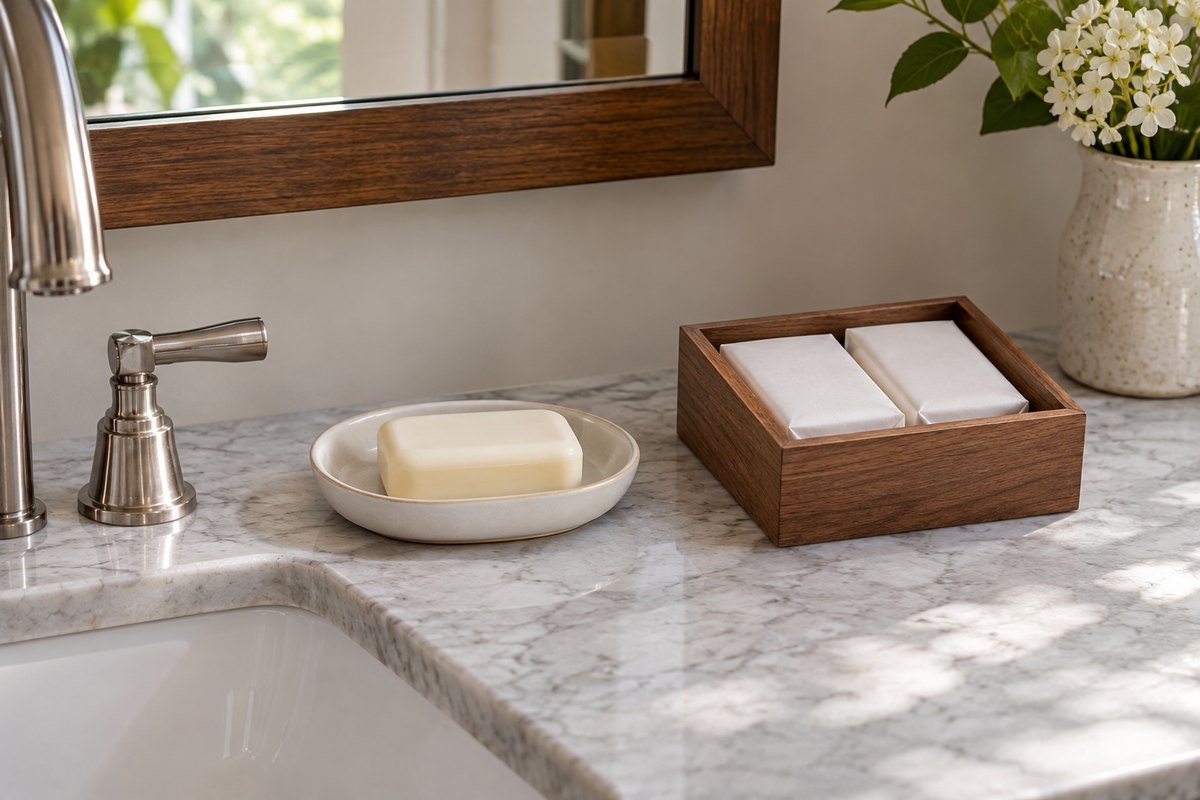
A guest arrangement can use one obvious dish for the bar in use and a separate dry place for wrapped replacements. Keep the current soap easy to recognize and the spare packaging intact. Check and clean the setup between stays. Avoid stacking wrapped supplies around a damp dish simply to make the station appear generously stocked.
20. Group a small soap station on one removable base
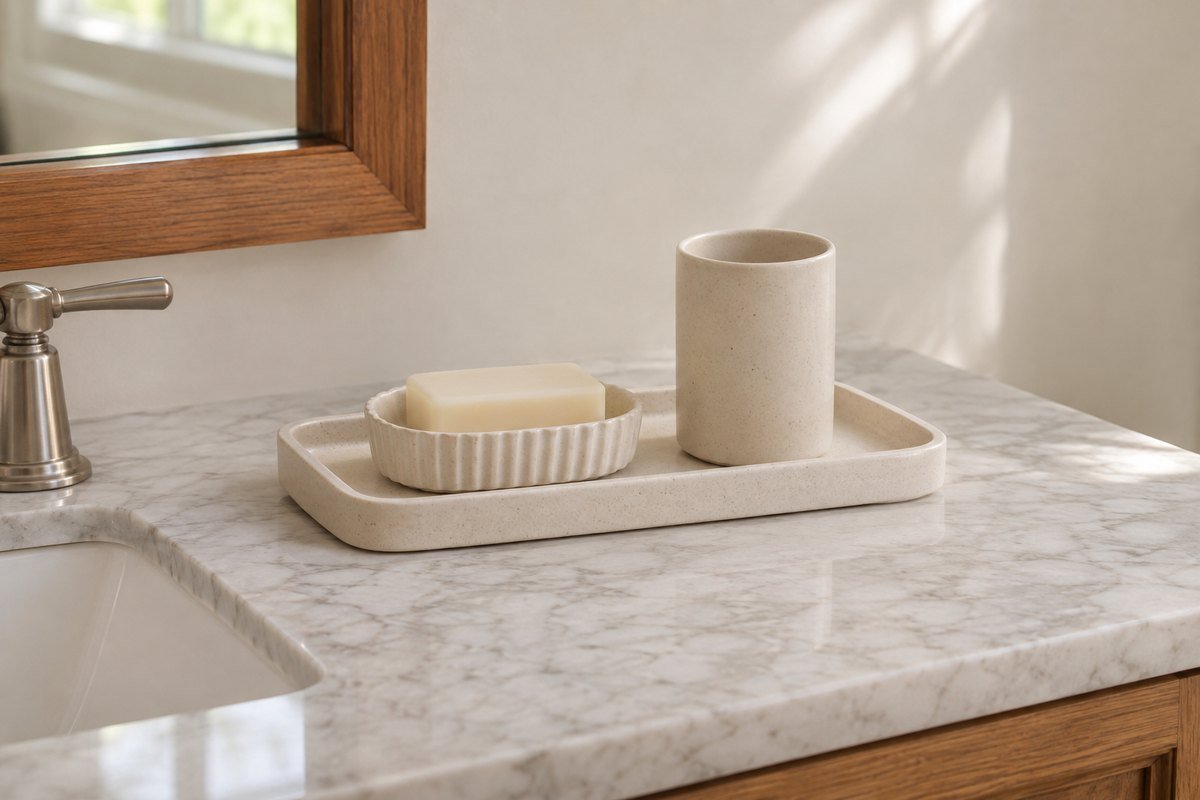
A low tray can connect a dish with another necessary sink item when the whole group still leaves useful counter space. Check that the dish remains accessible and that water is not simply transferred into a hidden second receiver. Lift and inspect both levels during care. Use the tray only when it reduces handling rather than adding another permanent layer.
21. Match the material to the real care routine

Compare the exact material and finish with the maker's cleaning directions, especially around soap residue and repeated wetting. A stone appearance does not establish sealing, and a metal appearance does not establish corrosion resistance. Choose a finish you can maintain without changing the bathroom's established surface-care products. A simple washable form can be more useful than an intricate coordinated piece.
22. Finish the arrangement with an easy empty-and-clean reset
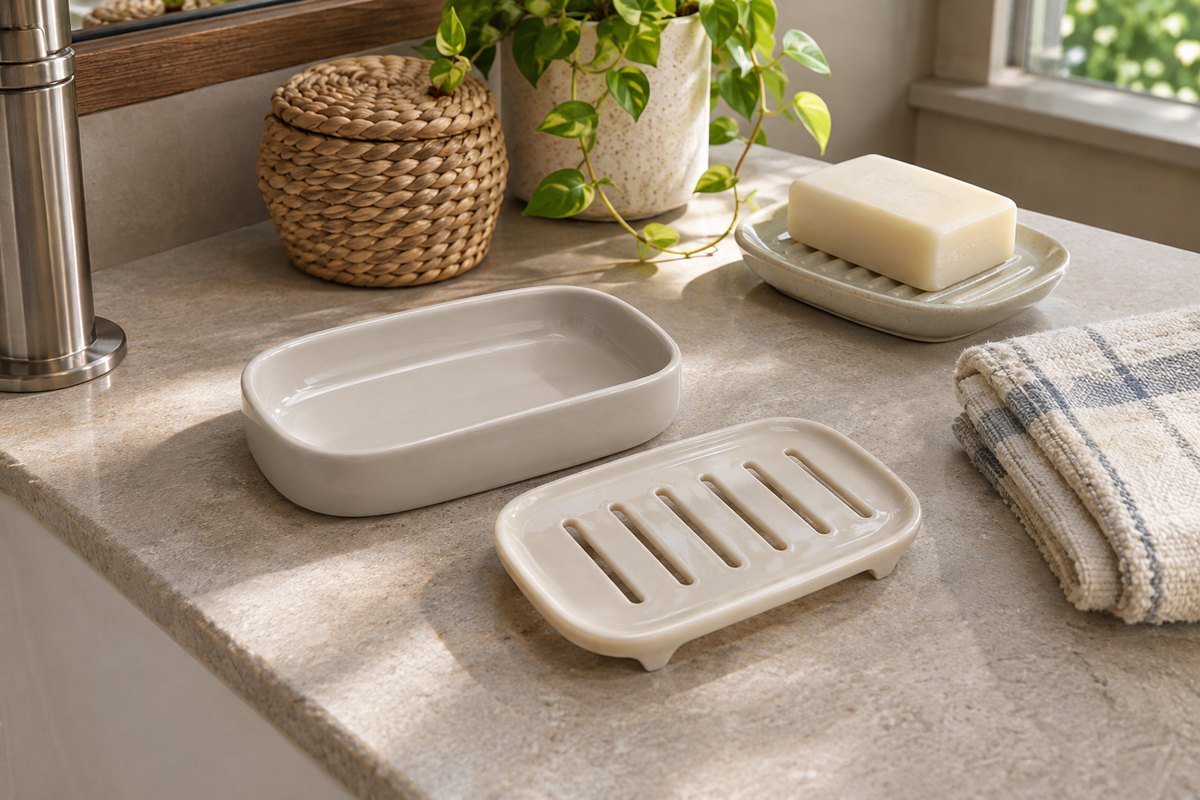
Remove the bar and detachable parts, follow the dish's specified care method and inspect the surface beneath. Return only the components needed for daily use. Replace or repair a damaged accessory as appropriate instead of leaving a sharp chip or unstable support in the routine. An attractive station is one that stays understandable when ordinary care is required.
Make a bar, base and water-route comparison card
Draw the new soap bar and record its length, width and approximate height. Add the usable inner support area of each dish, its overall base and any spout or wall mount. Include a second outline for the smallest bar you normally continue to use. This helps reveal why a wide outer rim, deep container or large rack opening can be a poor match even when the accessory looks generous in a photograph.
For each candidate, write where water goes, which part is removed first and how the counter or wall beneath is inspected. Record the exact material, model and care instructions rather than copying dimensions from a similar listing. Finally, test a paper footprint beside the basin and walk through handwashing. Keep only the arrangement that fits the bar, supports the complete base and gives the water a manageable destination.
A practical next step
Choose the soap dish through its inner support, complete footprint and water route. Then use color or material to connect it with the room. One accessible bar in an easy-to-clean arrangement can be more useful than a collection of accessories whose drainage and care remain unresolved.
For the surrounding room, bathroom counter organization for a useful sink arrangement. Bathroom decor ideas that support everyday use.
The images are original AI-generated design concepts, not photographs of tested products or verified installations.
Sources and care references
- Umbra: Touch soap dish raised-ridge construction and product details
- IKEA: TISKEN 903.812.84 removable dish, surface compatibility and care
Optional digital guide for this topic
If you prefer a structured workbook, explore this related paid guide.