The most useful makeup storage ideas make a specific product easy to identify, remove and return. A lipstick grid, long pencil tray and palette file solve different problems. Begin with the collection you actually use, then choose a few containers that fit those shapes instead of buying one large organizer and filling its empty spaces.
These 25 arrangements focus on home storage rather than makeup application or product recommendations. Choose a clean, dry location away from direct sunlight, as the American Academy of Dermatology recommends, and follow each product's directions. A beautiful container cannot make an unsuitable storage environment appropriate.
Contents
- 1. Give a small daily routine one manageable case
- 2. Size lipstick cells around the actual cases
- 3. Lay long cosmetic pencils in a shallow channel
- 4. Keep short eye-product tubes visible in a low compartment
- 5. Reserve upright clearance for tall closed bottles
- 6. Use a broad bin for flexible tubes
- 7. File suitable closed palettes with independent support
- 8. Keep small compacts in one readable layer
- 9. Give an oversized palette its own measured space
- 10. Stand fully dry brushes where the bristles stay clear
- 11. Use a horizontal case when upright storage is too tall
- 12. Plan a separate place for brushes to dry
- 13. Give a clean dry sponge a suitable separate compartment
- 14. Keep powders inside their identifying packages
- 15. Assign personal kits separately in a shared space
- 16. Keep unopened reserves outside the daily organizer
- 17. Make opening information easy to consult
- 18. Use a travel pouch as a removable subset
- 19. Use a small cart when the kit moves between dry locations
- 20. Lift one contained group from a deeper cabinet
- 21. Match shallow drawers to product shapes
- 22. Separate the attractive display from the product's storage location
- 23. Check the full circle of a rotating organizer
- 24. Stack purpose-made drawers without blocking the lower level
- 25. Choose removable parts that simplify the next cleanout
Map the products before choosing the organizer
Group the current collection by shape and frequency of use. Measure the longest pencil, tallest closed bottle, largest palette and longest brush. Record drawer clearance, cabinet access and any lid or handle that adds height. Try paper footprints at the proposed location. Include room for fingers and normal return; a collection that fits only when precisely packed will be inconvenient during an ordinary morning.
Choose an arrangement that fits your situation
- A short daily routine: One manageable case with room to open and close normally
- Many capped pencils: A long shallow compartment measured to the longest item
- Several flat palettes: A suitable supported file or individually accessible flat sections
- Tall bottles beside a shallow drawer: A suitable taller cabinet rather than forced drawer storage
- Tools awaiting drying: A separate appropriate drying setup before enclosed storage
- A sunny or damp location: Resolve the environment before choosing a prettier organizer
1. Give a small daily routine one manageable case

A compact case can hold the few products used together without turning the whole dressing surface into storage. Choose compartments after laying out that real group. The case should open fully in its working position and close without pressing on caps or brushes. Keep its return location convenient enough that putting it away is part of the routine.
2. Size lipstick cells around the actual cases

A divided upright rack can make capped lip products easier to select than a crowded cup. Compare each opening with the widest case, including square lids and decorative ends. Leave space to grasp a short product without pulling out its neighbors. A grid is useful only if the cases fit naturally and their identifying information remains available.
3. Lay long cosmetic pencils in a shallow channel

A single shallow channel can keep capped pencils visible from end to end. Measure the longest item rather than using the drawer's outside dimensions. Include a sharpener only if it has its own contained place and appropriate condition. Avoid diagonally wedging pencils beneath another group, where selecting one disrupts the rest of the drawer.
4. Keep short eye-product tubes visible in a low compartment

A tall container can hide a short mascara or eyeliner case below its rim. Compare a lower compartment that exposes enough of each capped product to grip it easily. Preserve identity and opening information on the actual packaging. Keep only the current appropriate products here rather than storing a deep row of indistinguishable old tubes.
5. Reserve upright clearance for tall closed bottles

Foundation and similar bottles can need more height than the smaller makeup group. A contained upright section may suit them when their instructions permit that storage. Include the complete closure and organizer base in the measurement. If the drawer cannot close without contact, choose a suitable cabinet or another location instead of forcing bottles onto their sides.
6. Use a broad bin for flexible tubes

Flexible tubes change shape as they are used, so very tight molded cells can become frustrating. A broad shallow bin can accommodate a small changing group while keeping closures accessible. Choose the orientation from the packaging and its directions. Keep enough space to return a partly used tube without reshaping the whole collection around it.
7. File suitable closed palettes with independent support

A short supported file can let flat palettes be removed individually. Compare the palette thickness, hinge and identifying edge with each slot. Keep the file stable and within the furniture's usable footprint. Store a fragile or unsuitable palette another way rather than assuming that every makeup package can be stood on its edge.
8. Keep small compacts in one readable layer

For a modest collection, a shallow tray can be easier to use than a compact tower. Each closed case remains visible without lifting a stack. Compare the largest diameter with the compartment and allow room for fingers. If the group does not fit in one comfortable layer, review the collection or assign a second suitable location.
9. Give an oversized palette its own measured space

One unusually large palette can dictate an organizer that is too bulky for everything else. Measure that item separately and give it a suitable flat compartment or supported slot. Check the full lid and hinge clearance when it is used. Let the smaller collection use a compact system instead of enlarging every compartment around one exception.
10. Stand fully dry brushes where the bristles stay clear

A suitable covered holder can keep a small set of clean, fully dry brushes together. Compare its internal height with the longest brush and its lid with the widest head. Avoid packing the group so tightly that the bristles bend against one another. This is a storage position after drying, not a method for drying freshly washed tools.
11. Use a horizontal case when upright storage is too tall
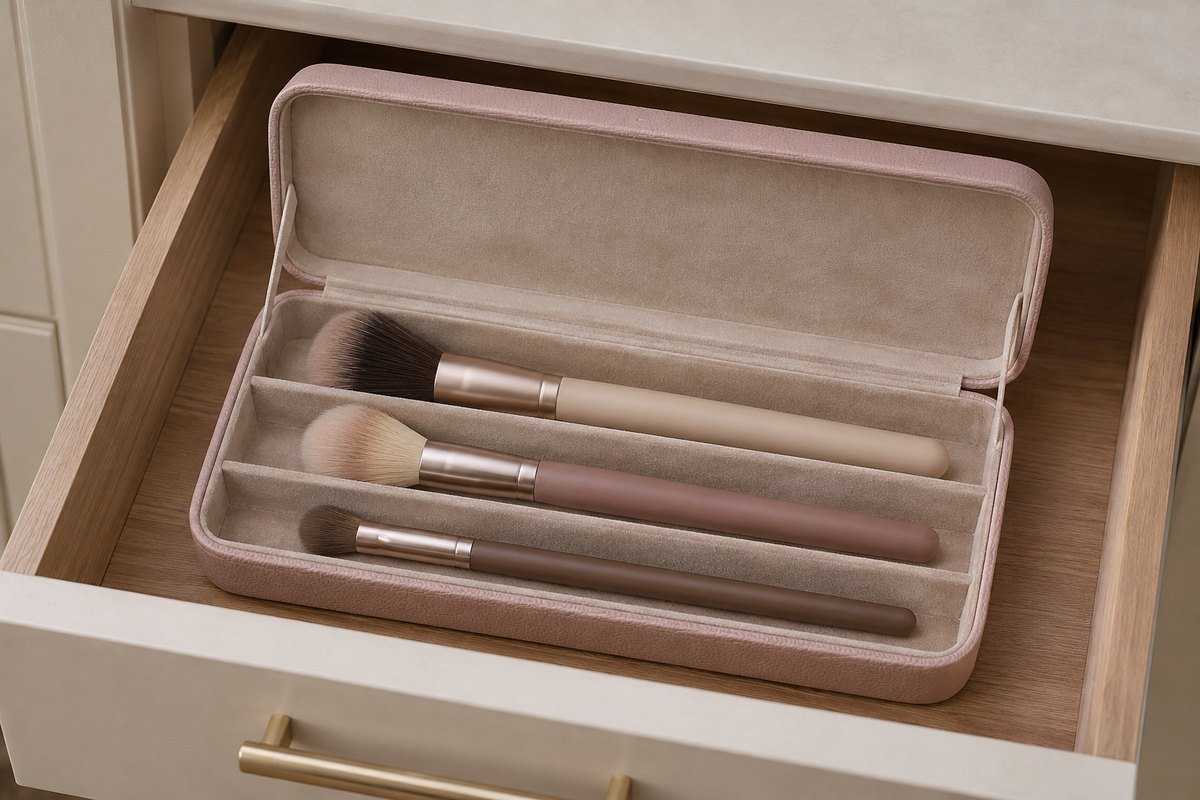
A shallow brush case may suit a low drawer if it supports the handles without crushing the heads. Measure the longest brush and compare the closed case height with the drawer above it. Keep the tools fully dry and follow their care directions. Choose another location when the case works only by bending bristles into a smaller space.
12. Plan a separate place for brushes to dry
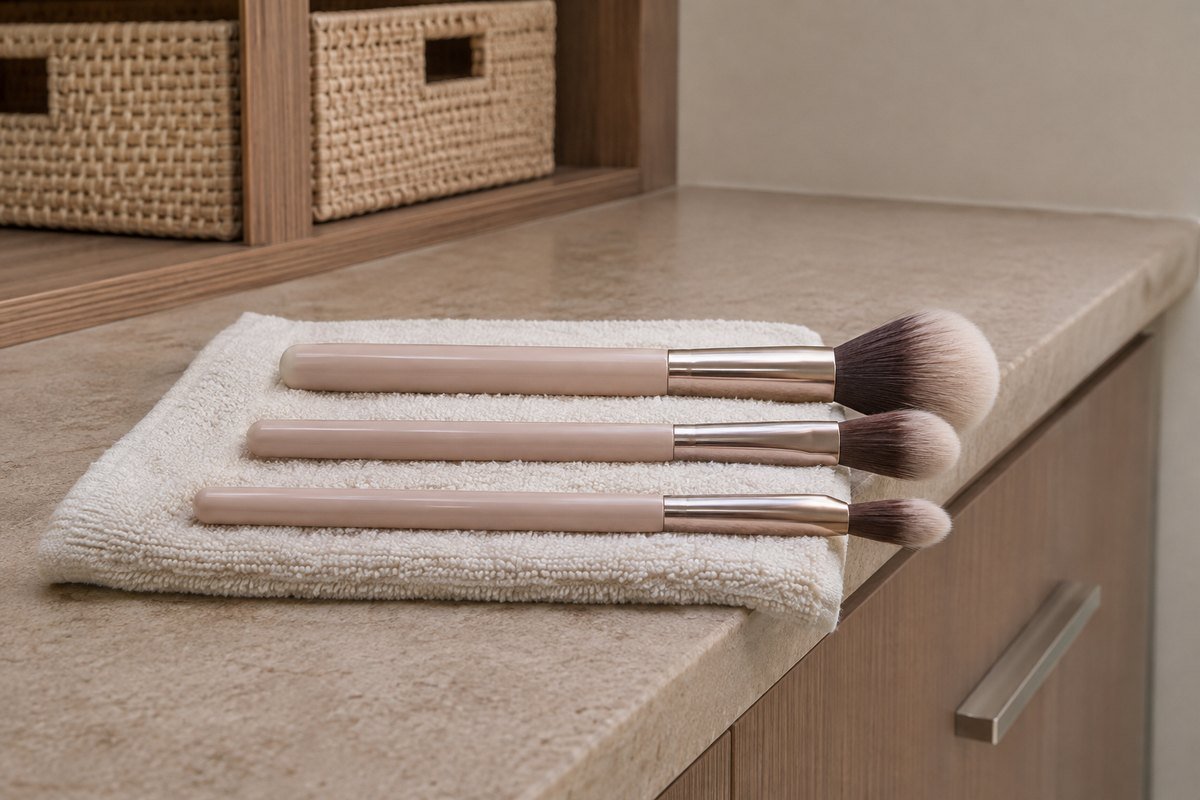
Cleaning creates a temporary arrangement that storage needs to accommodate. The AAD advises drying washed brushes flat on a towel with their tips beyond the counter edge, rather than upright in a cup. Identify a clean, undisturbed place for that step and return brushes to their holder only when ready. Keep the permanent organizer separate from the drying setup.
13. Give a clean dry sponge a suitable separate compartment
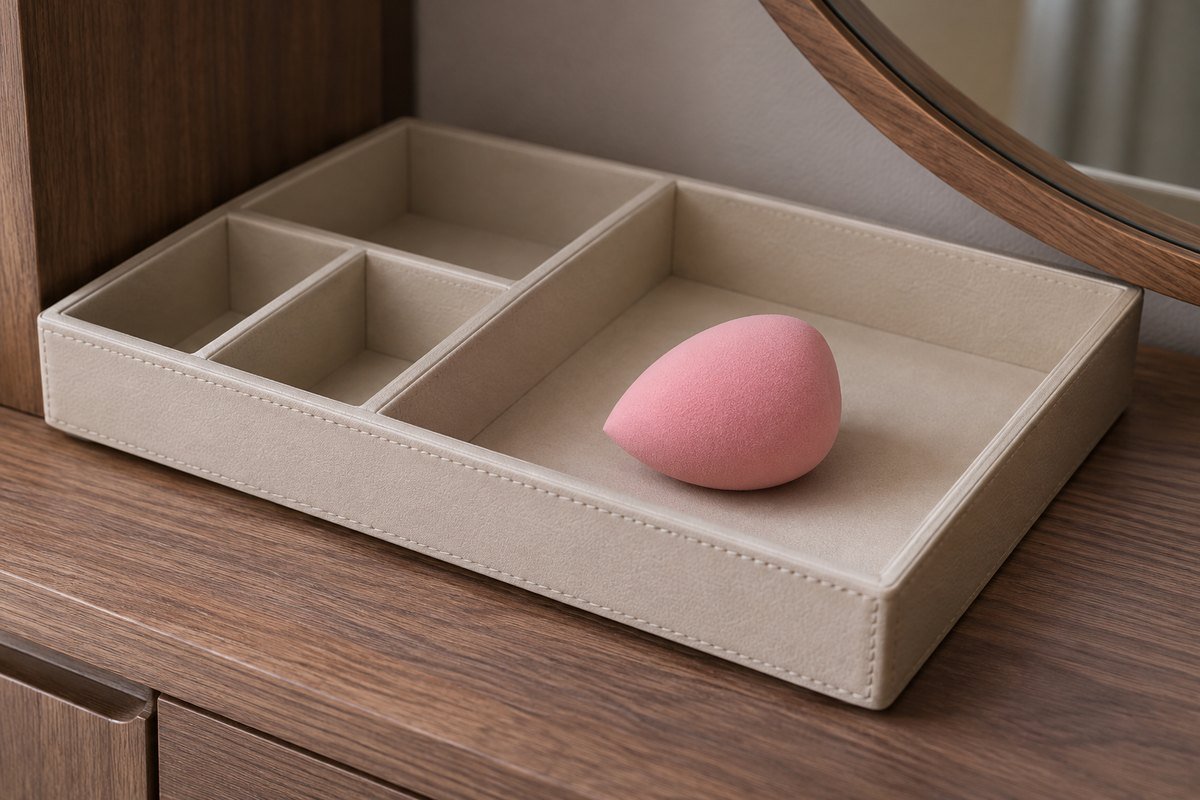
A sponge has a different shape and care routine from a pencil or brush. Assign it an appropriate clean compartment after following its cleaning and drying directions. Do not close a damp sponge in a decorative box simply to clear the table. Compare the compartment with the sponge's actual shape so retrieval does not require squeezing it between other products.
14. Keep powders inside their identifying packages
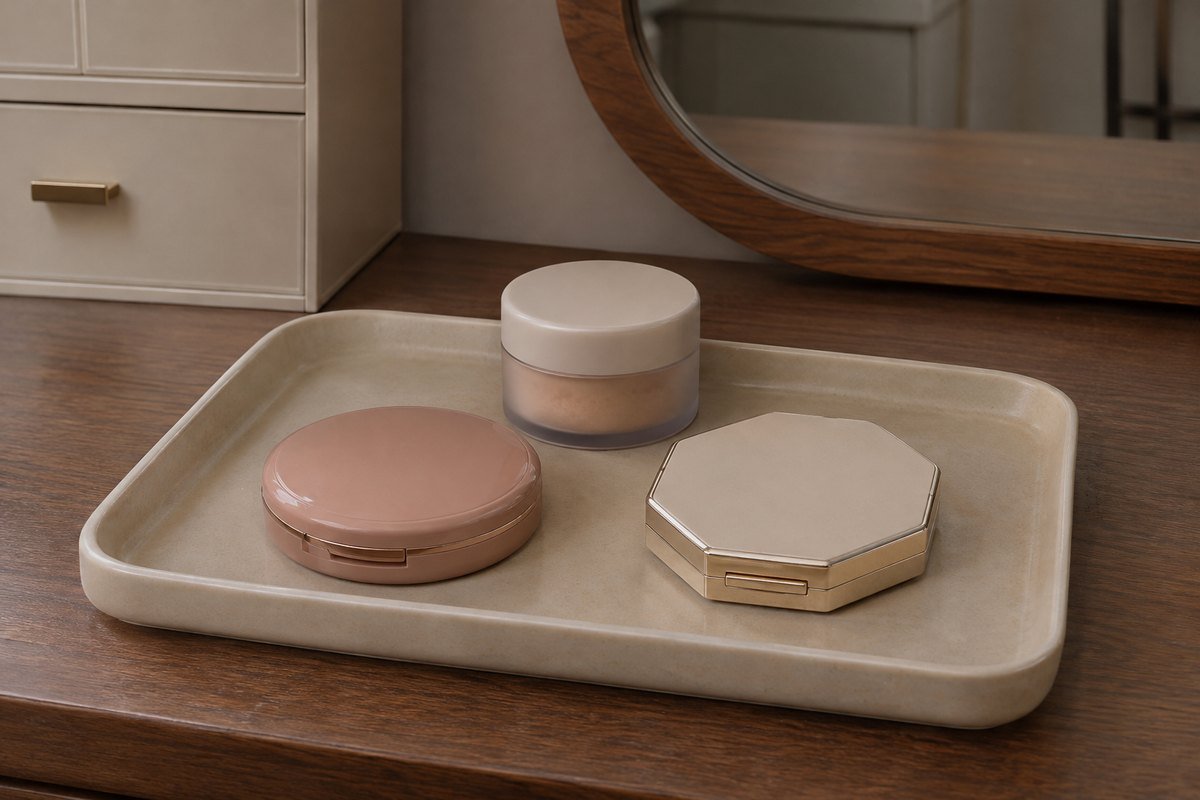
A wide removable tray can organize differently shaped closed powder products without transferring them into matching pots. Preserve the useful information and closures on the actual packages. Let the tray create the visual connection instead of requiring identical containers. Check that each compact can be opened on the working surface without scattering the surrounding storage group.
15. Assign personal kits separately in a shared space
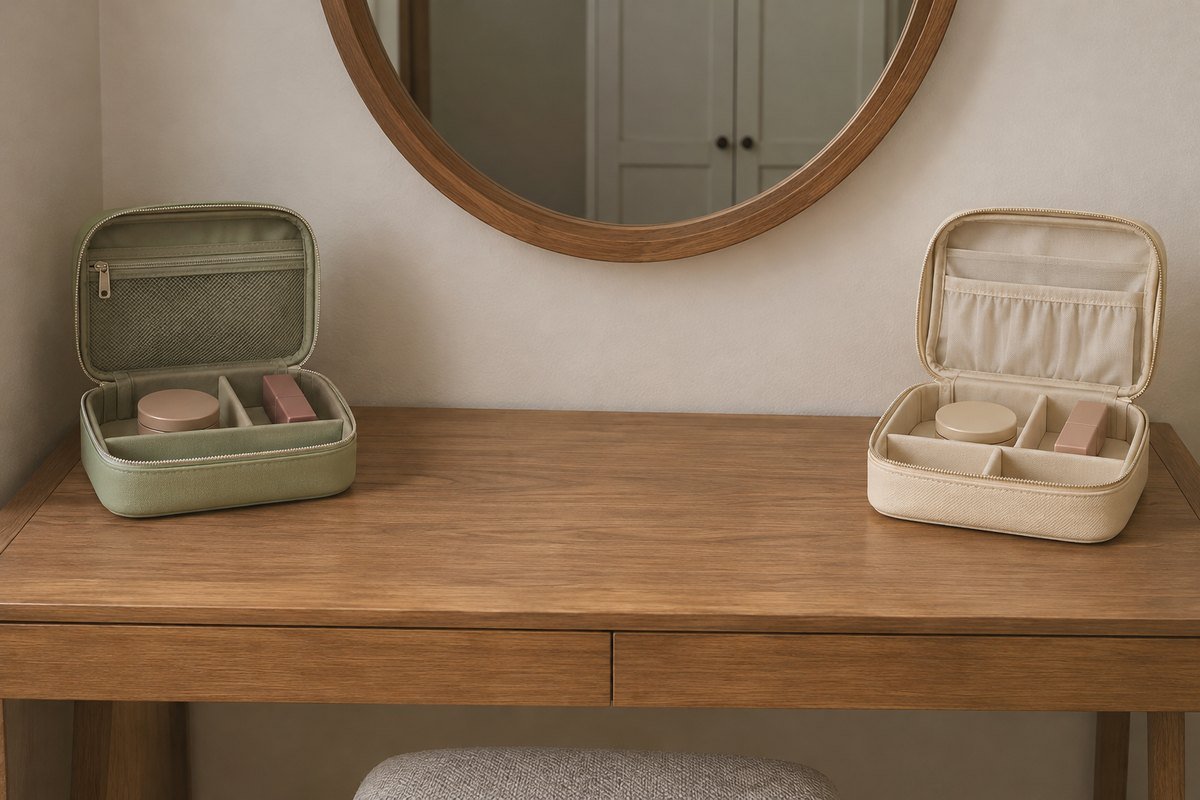
Two users can share a vanity while retaining clearly separate makeup and tools. Give each kit a convenient return place rather than combining similar-looking products into one communal grid. FDA advises against sharing makeup. A practical household boundary can be as simple as separate containers with different shapes, while a common clear area remains available for use.
16. Keep unopened reserves outside the daily organizer
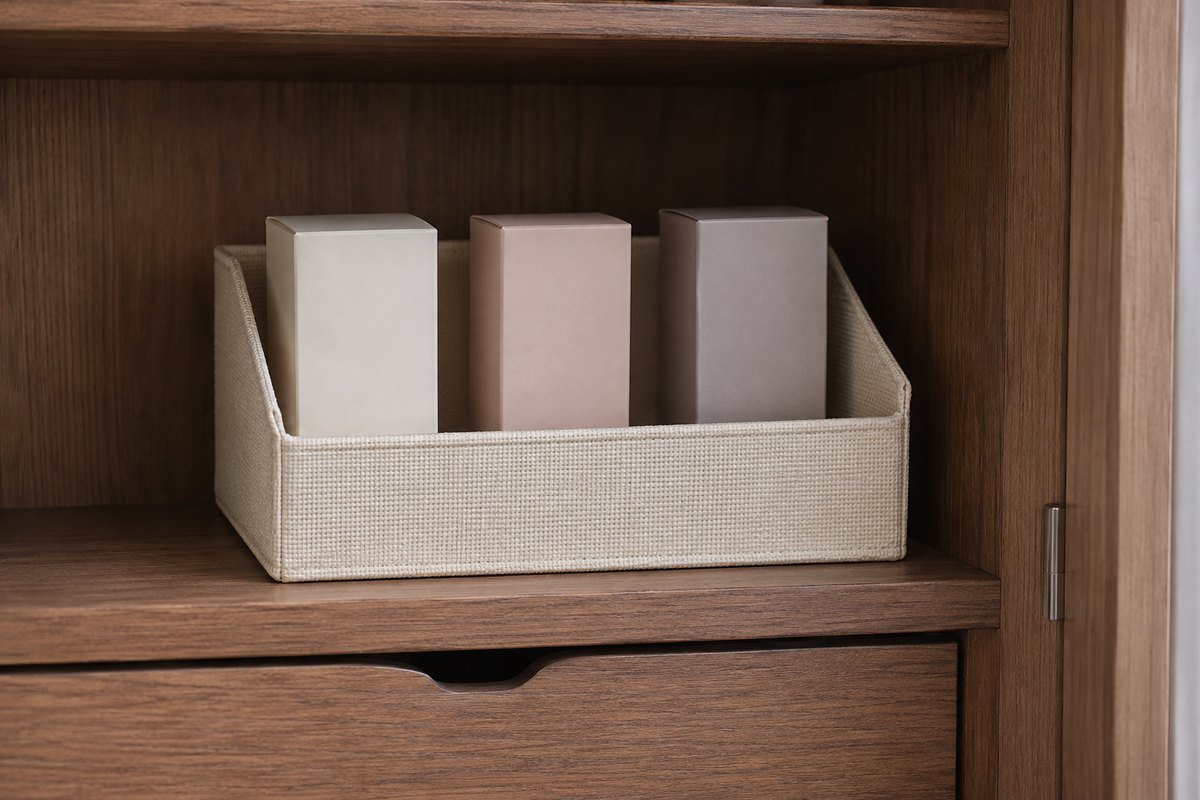
Backups do not need the same convenient position as the current routine. A bounded reserve bin can make duplicate purchases easier to notice. Keep products identifiable, follow their storage requirements and review their dates. Do not let the reserve section become a reason to retain more stock than the household can appropriately use.
17. Make opening information easy to consult
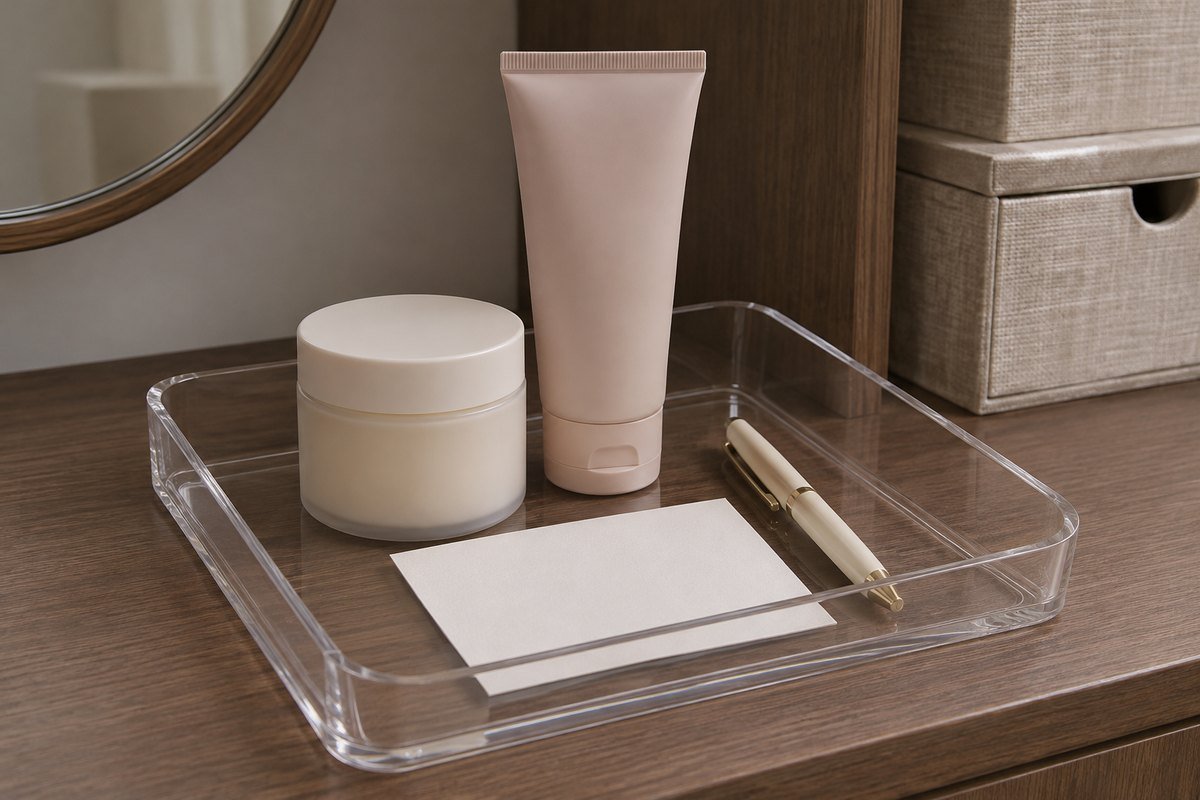
A simple paper record or personal note can track when products are opened without covering important packaging information. The AAD recommends keeping track of opening dates; check the actual product's directions when deciding what to retain. A tidy drawer is not evidence that its contents remain appropriate. Keep the record close enough to use during the normal review.
18. Use a travel pouch as a removable subset

A travel pouch can hold a deliberate selection without replacing the whole home system. Choose a shape that opens far enough to see its contents and fits the actual products without pressure. Unpack and review it after returning home. Keep the clean, dry pouch in its own place rather than leaving forgotten products inside for the next trip.
19. Use a small cart when the kit moves between dry locations
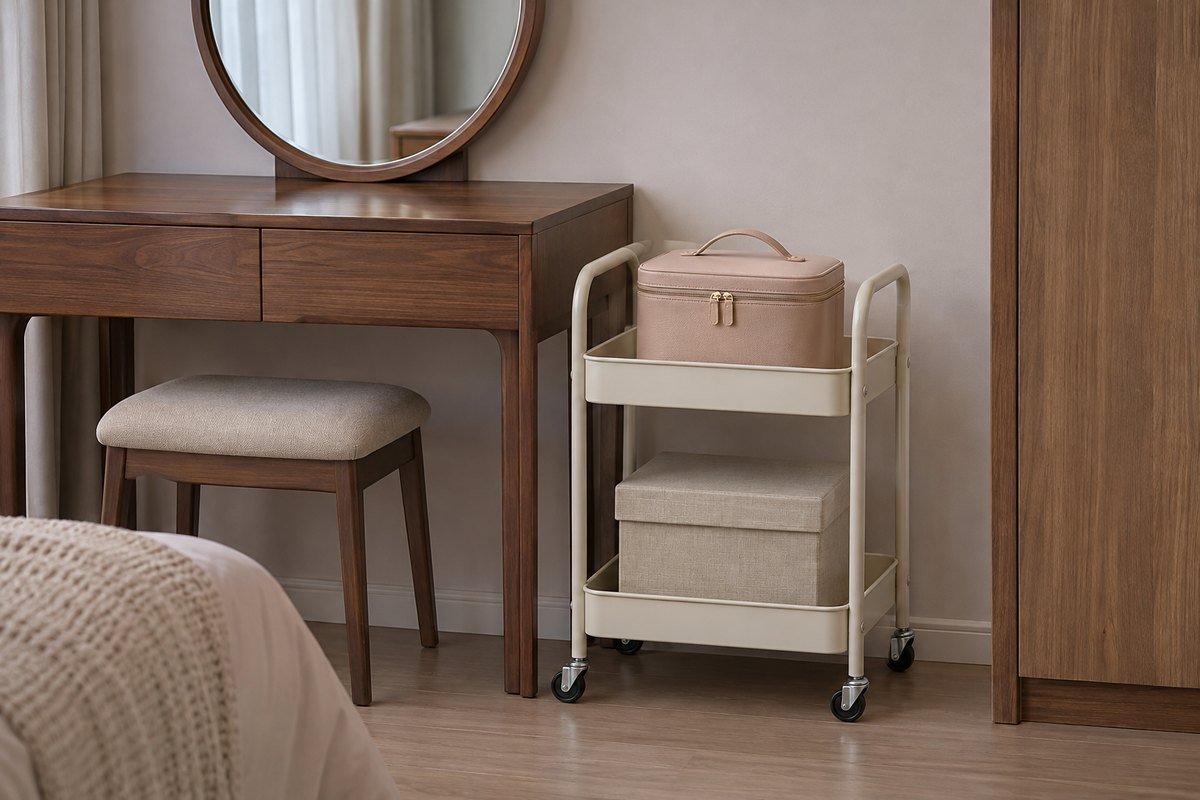
A suitable cart can give a larger kit a defined home without covering the dressing table. Keep the frequently used group on an easily reached level and occasional items below. Check the cart's instructions, stability and movement with the real load. Give it a parking place outside walking routes; a movable organizer still needs a sensible destination.
20. Lift one contained group from a deeper cabinet
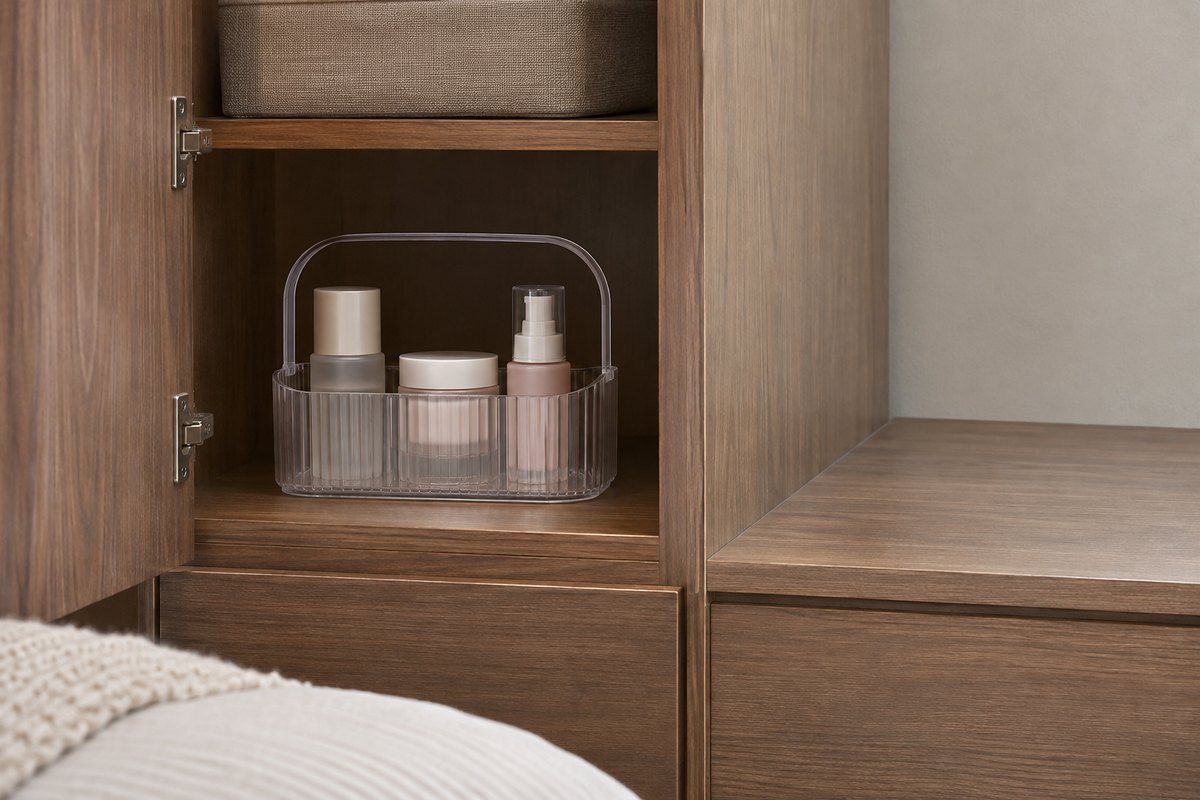
A removable caddy can make a deep cabinet more useful when reaching individual packages at the rear is awkward. Compare its filled weight, handle clearance and the surface where it will be set down. Keep the caddy manageable rather than using it as a large mixed bin. A rear reserve group can stay separate from the items retrieved daily.
21. Match shallow drawers to product shapes
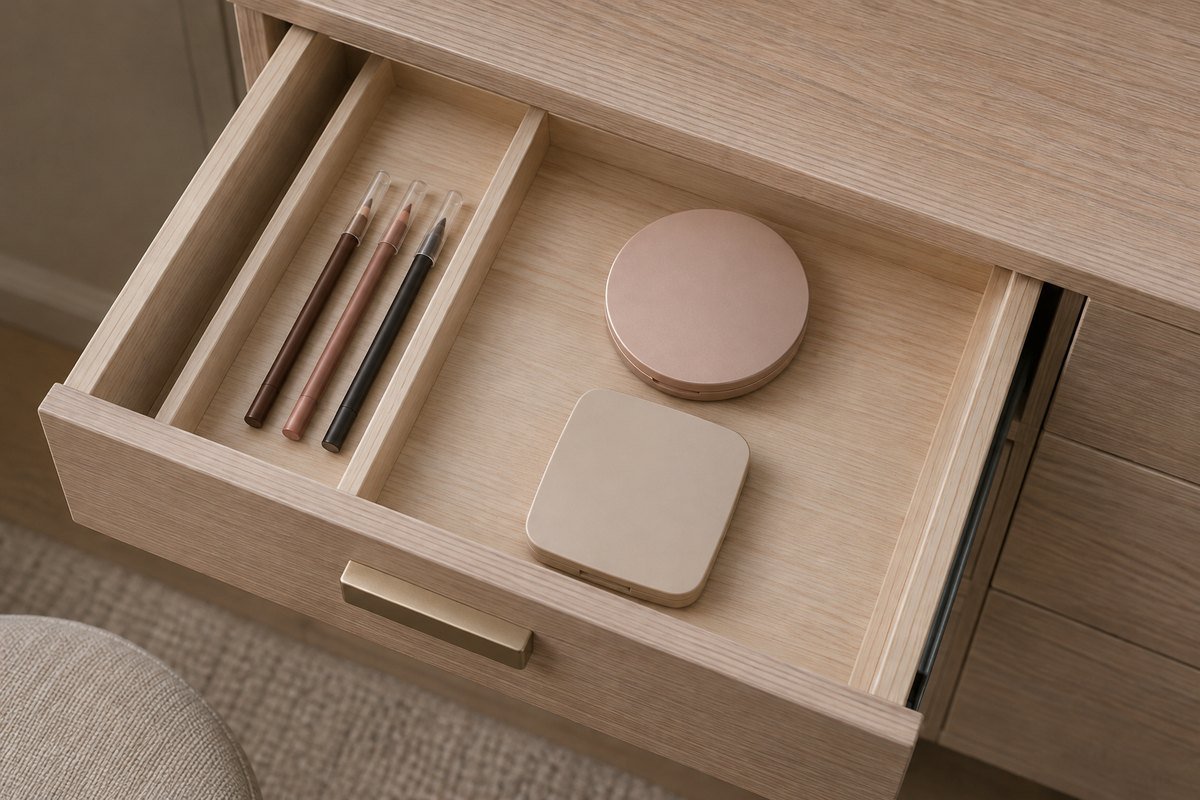
A shallow drawer can work well for a small collection of pencils and closed compacts when the interior divisions follow those shapes. Test the actual filled height, including any tray base. Keep the drawer's movement unobstructed. This layout serves makeup selection specifically; towels, hair accessories and unrelated bathroom supplies can use their own appropriate storage.
22. Separate the attractive display from the product's storage location

A sunny windowsill can look appealing in a room photograph without meeting the products' requirements. Keep cosmetics in a suitable dry location away from direct sunlight and heat. A mirror or simple decorative object can give the room character while the collection stays elsewhere. A closed box alone does not establish that the surrounding conditions are suitable.
23. Check the full circle of a rotating organizer

A rotating organizer can bring a few items forward when its complete turning footprint fits. Test the tallest closed bottle, outer retaining edge and neighboring wall through a full turn. Leave the hand space needed to select an item. If rotating it means moving the mirror or another container every time, a simple stationary tray may be more convenient.
24. Stack purpose-made drawers without blocking the lower level

A small drawer unit can provide separate levels for a mixed collection. Choose a system intended to stack and use it according to the maker's instructions. Check that the lower drawer opens with the upper level loaded and that tall contents clear its housing. Avoid building a tower from loose decorative boxes that must be dismantled every morning.
25. Choose removable parts that simplify the next cleanout
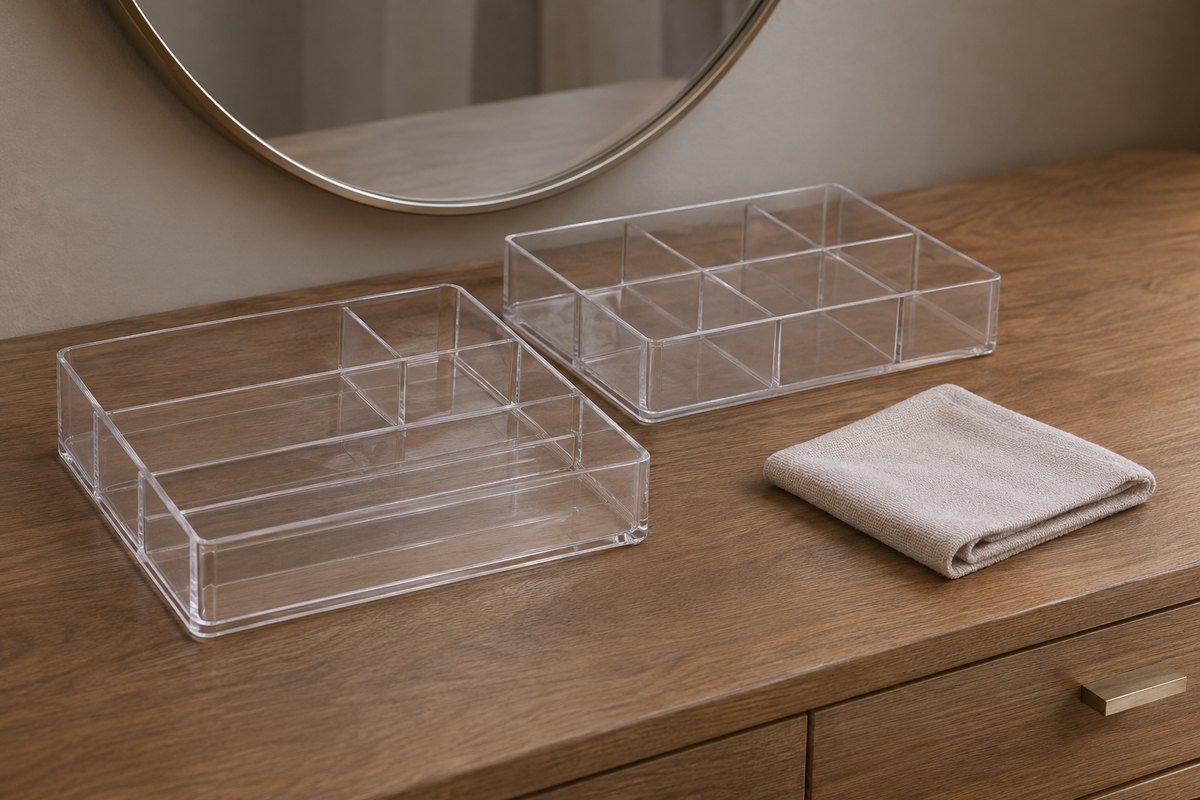
A few washable or wipeable components can make the system easier to maintain, but follow the care instructions for the exact materials. Empty and clean one module at a time, then let it dry as directed before returning products. Review damaged containers and unwanted duplicates during the same reset. Add another organizer only when the remaining useful collection needs it.
Make a product-fit and care map before shopping
Draw the available drawer or shelf at full size on paper, then place the closed products within the proposed compartments. Include the tallest cap, widest compact, palette hinge and brush head. Check the ordinary selection path as well as the static arrangement: can the shortest lipstick be gripped, the largest palette removed and the daily case returned without shifting everything else?
Keep a short second list for the care routine. Name the brush-drying location, the return place for clean dry tools and the date record used to review products. FDA notes that moisture, temperature changes and sunlight can affect cosmetics, so review the location before refining the containers. None of these organizers extends a product's usable life. Follow the product and organizer directions, keep useful labels available and revise the collection before expanding its storage footprint.
A practical next step
Choose makeup storage through the product shapes, everyday selection and return routine, and the conditions of the actual location. A few appropriate compartments can be enough. Keep the collection identifiable and the care steps convenient so the finished space continues working after the initial tidy-up.
For the surrounding room, bedroom vanity ideas for the surrounding dressing area. Bathroom drawer organization ideas for other appropriate dry supplies.
The images are original AI-generated design concepts, not photographs of tested products or verified installations.
Sources and care references
- FDA: cosmetic shelf life and the effects of storage conditions
- American Academy of Dermatology: dry storage, opening records and product care
- American Academy of Dermatology: makeup brush cleaning and flat drying
Optional digital guide for this topic
If you prefer a structured workbook, explore this related paid guide.