Useful art supply storage ideas follow the materials you actually reach for. Pencils need readable grades, brushes need room around their heads, and paints need the conditions specified for their containers. Start by separating those jobs instead of buying a wall of identical bins.
This guide focuses on organizing a modest home drawing and painting collection. Choose the arrangements that match your materials; you do not need all 26. Product-specific care takes priority over an illustration, and specialized solvents, hazardous-material storage and conservation of finished artworks need guidance beyond ordinary home organizers.
Contents
- 1. Make a removable tray for one drawing session
- 2. Lay graphite pencils in a shallow divided drawer
- 3. Keep colored pencils in a single visible layer
- 4. Give fineliners a compact case with readable positions
- 5. Use horizontal compartments for suitable markers
- 6. Store marker refills separately from the pens
- 7. Use a roomy pot for completely dry brushes
- 8. Choose a full-length tray for long brush handles
- 9. Reserve a brush roll for an appropriate travel set
- 10. Group paint tubes by medium before color
- 11. Keep paint bottles in a removable low bin
- 12. Give drawing inks a stable dedicated compartment
- 13. Keep mediums with their identity and instructions
- 14. Retain fitted trays for fragile pastel sticks
- 15. Separate charcoal from clean drawing tools
- 16. Create a small eraser and sharpener compartment
- 17. House painting knives so the working ends stay protected
- 18. Give clean palettes an upright return slot
- 19. Keep pan sets together in their intended cases
- 20. Store sketchbooks by how you select a surface
- 21. Use a full-size portfolio for drawing boards
- 22. Separate unused small canvases in a suitable rack
- 23. File reusable stencils in supported packets
- 24. Keep swatches beside a simple supply record
- 25. Choose one cart around a real working route
- 26. Give a shared room a complete closed return zone
Build the arrangement around a real session
Put the supplies for one recent project on a clear surface. Separate the tools used during the session, the materials returned afterward and the reserve stock left unopened. Measure complete items, including brush heads, bottle caps, cases and drawer openings. Keep original material identification and care directions. Decide where a used item goes before buying another container, and check any furniture fastening and loading requirements for the actual filled setup.
Choose the storage job before the container
- Pencils selected by grade or color: A shallow visible layer or fitted case
- Markers with a specified orientation: A case or compartment that preserves that orientation
- Completely dry brushes: A suitable holder with room around the heads
- Paint and ink containers: Distinct readable groups in the specified storage conditions
- A shared room: A limited portable working set and a complete return zone
1. Make a removable tray for one drawing session
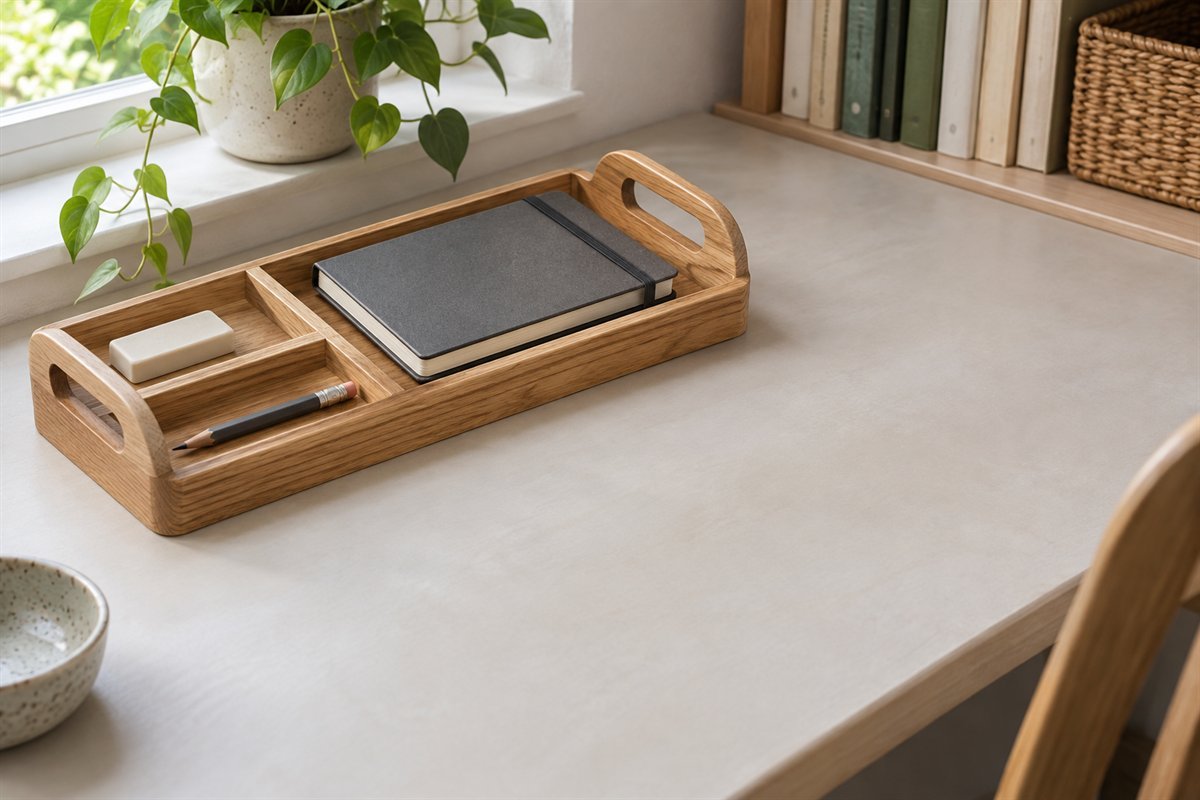
Start with the supplies needed for a typical short session rather than everything you own. A small removable tray can carry a sketchbook, chosen pencils and eraser to a shared table. Give the tray a permanent return position. If it holds several unrelated projects, reduce the contents until setting up and putting away each take only a few straightforward movements.
2. Lay graphite pencils in a shallow divided drawer
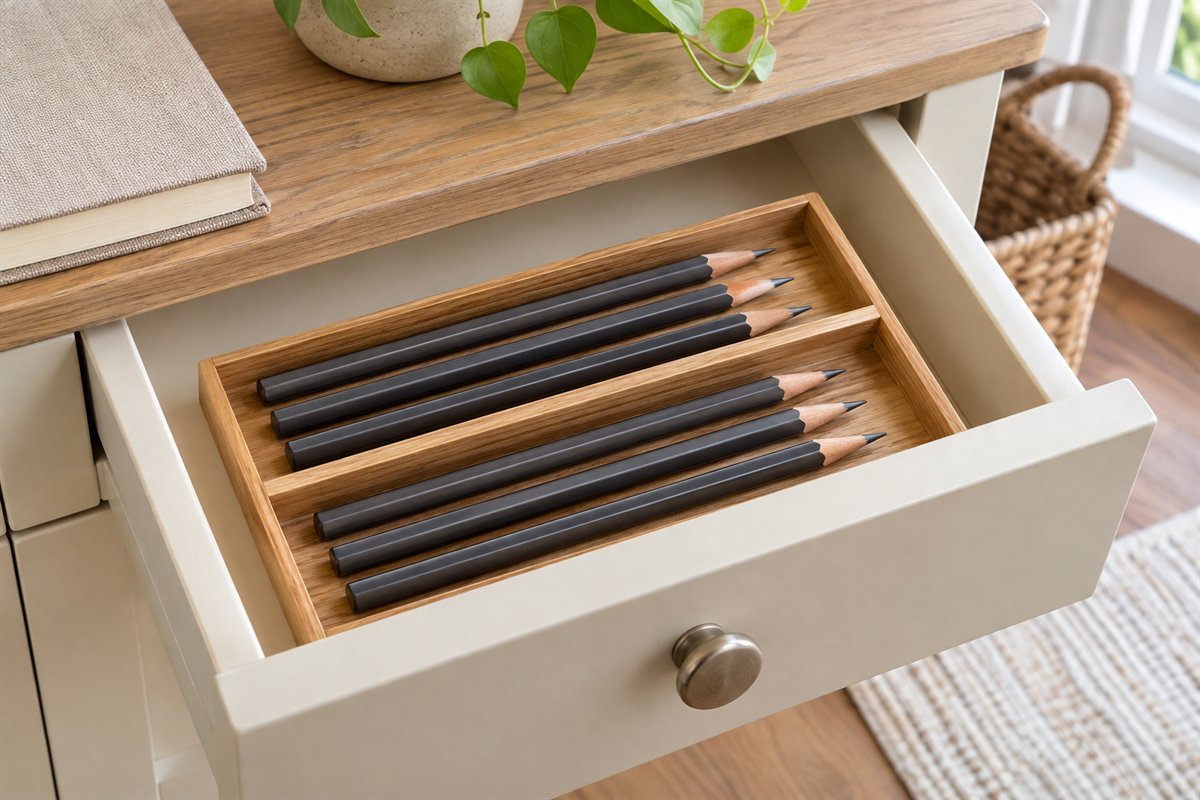
Graphite grades are easier to compare when the barrels can be seen. Arrange a modest working set in a shallow channel with space around the points. Preserve the grade markings on the real pencils instead of organizing only by matching exterior color. Put duplicate pencils elsewhere, leaving the working row readable without lifting several layers.
3. Keep colored pencils in a single visible layer

A single-layer pencil tray makes missing colors and short favorites easier to notice. Arrange the pencils in a sequence that suits how you choose colors, then keep that sequence consistent. Check the tray with the longest pencil and with the short ones you still use. Deep dividers can conceal short pencils even when the full-length set looks beautifully organized.
4. Give fineliners a compact case with readable positions
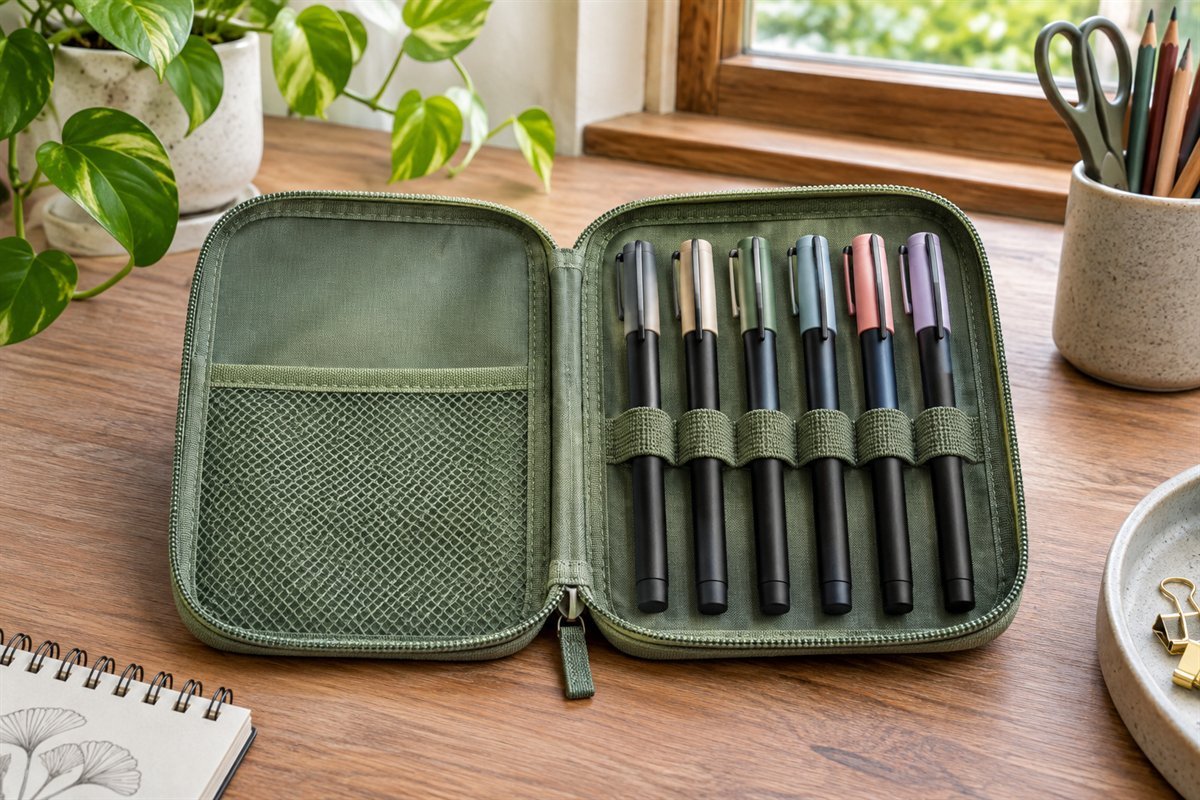
A small case can keep line widths together without turning them into an upright bundle of nearly identical caps. Assign a consistent place to each pen and keep its original identity available. Follow the pen maker’s storage orientation where specified; a case is an organizing tool, not a reason to ignore the requirements of a particular ink or nib.
5. Use horizontal compartments for suitable markers
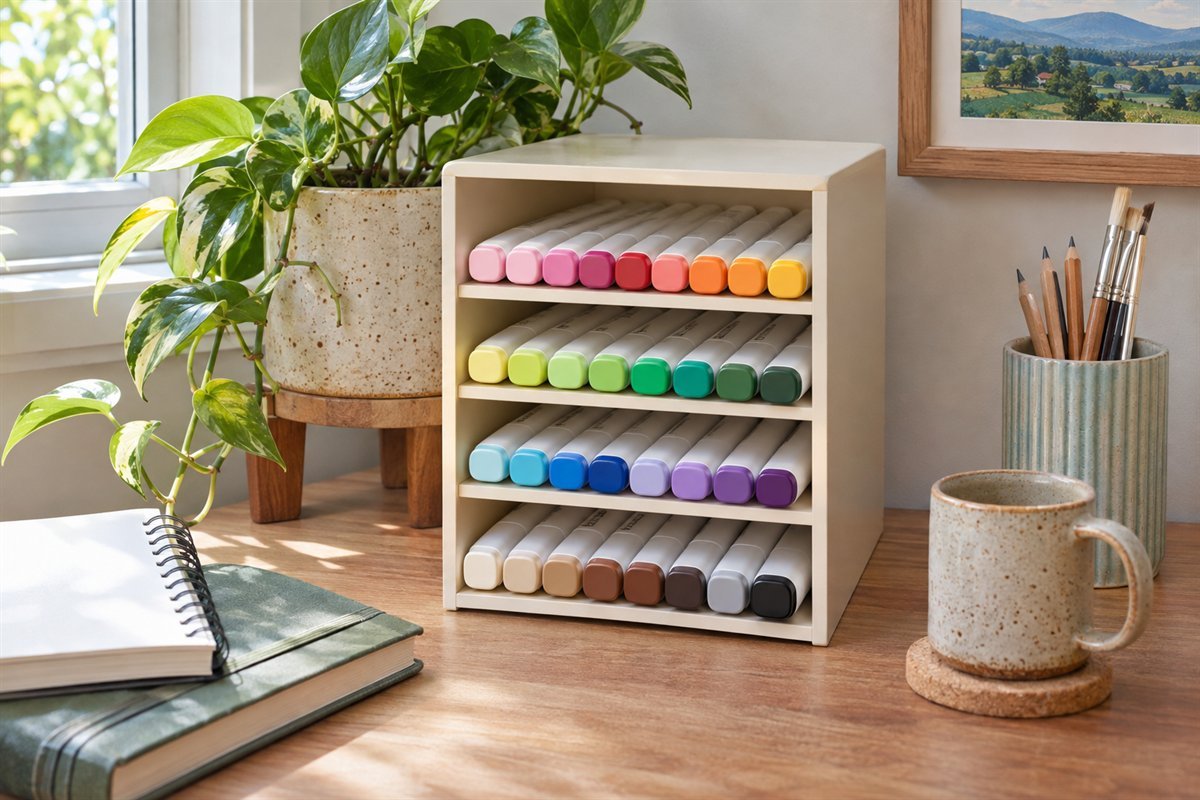
Choose marker storage from the actual product instructions. Copic recommends keeping its markers and Multiliners horizontal to help distribute ink evenly, in a cool position away from direct sunlight. A shallow horizontal cubby can make those pens easy to browse by cap color. That advice is product-specific; do not assume every paint marker or drawing pen needs the same orientation.
6. Store marker refills separately from the pens

Refill bottles have a different storage job from the markers they replenish. Copic says opened Copic Ink containers suit upright storage and should be protected from strong light. Keep their identification and closures intact. Because these are alcohol-based inks, follow the maker’s directions about heat, ignition sources and keeping them out of young children’s reach. A matching decorative box does not establish suitable containment.
7. Use a roomy pot for completely dry brushes
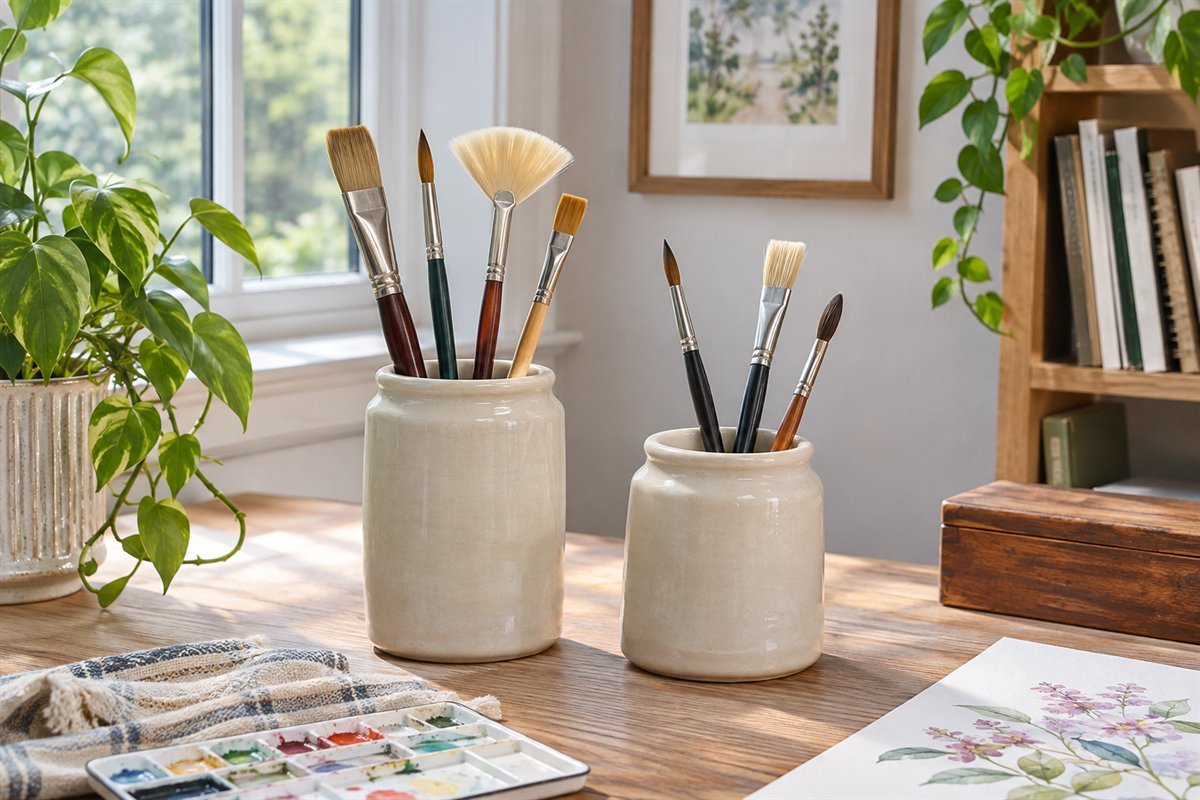
Winsor & Newton’s acrylic-brush guidance calls for storage in a pot or jar with bristles upward, only after the brushes are completely dry. Choose a holder that does not squeeze the heads together. Separate broad brushes from a few fine detail brushes when the taller handles make selection difficult. A storage pot should receive cared-for brushes rather than become a substitute for the cleaning routine.
8. Choose a full-length tray for long brush handles
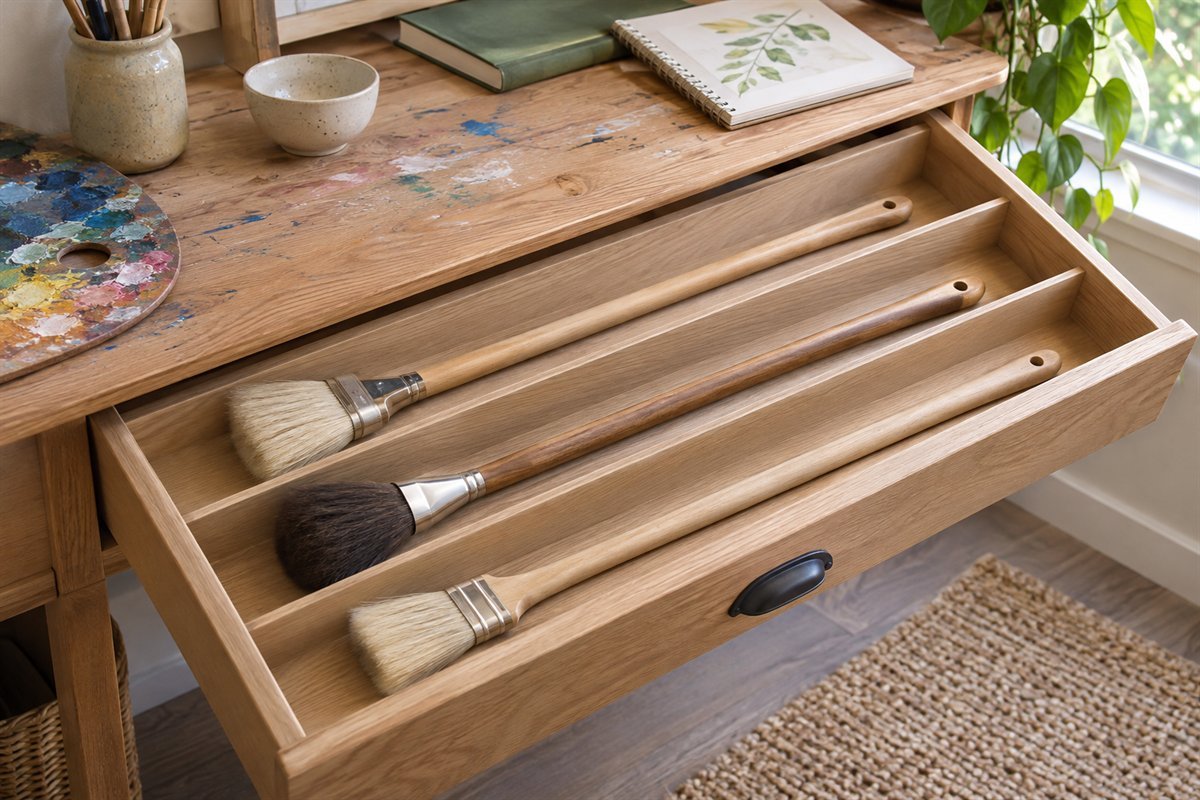
Long handles can be awkward in a short pencil organizer. Measure the complete dry brush, including its head, before choosing a flat tray or drawer. Allow the brush to rest without its bristles bearing the weight of neighboring tools. Keep this arrangement for brushes whose own care instructions permit the chosen position; do not shorten the required space by bending the head around a divider.
9. Reserve a brush roll for an appropriate travel set
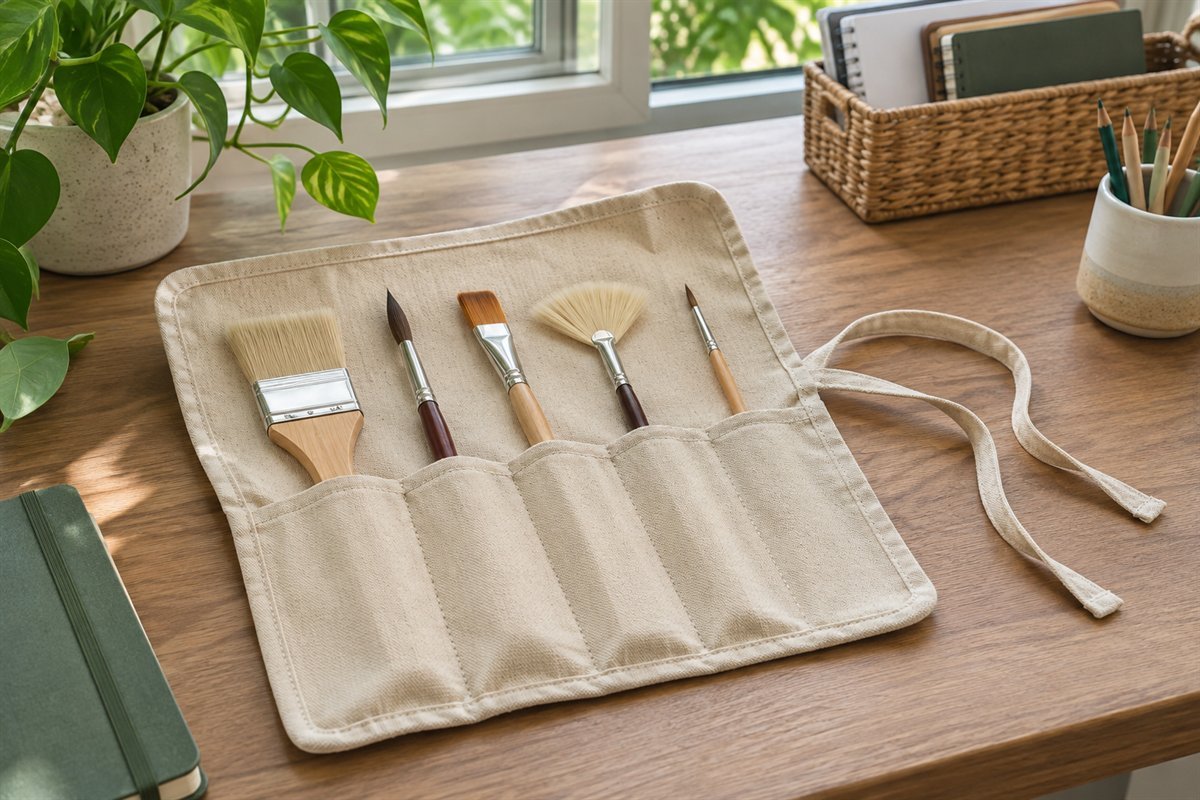
A brush roll can keep a selected travel set together while leaving the main collection at home. Compare pocket length with the actual handles and confirm that the cover does not press into the brush heads. Pack only properly cared-for, fully dry brushes using a case suited to them. Leave room for each brush to be returned independently instead of forcing several into one stretched pocket.
10. Group paint tubes by medium before color
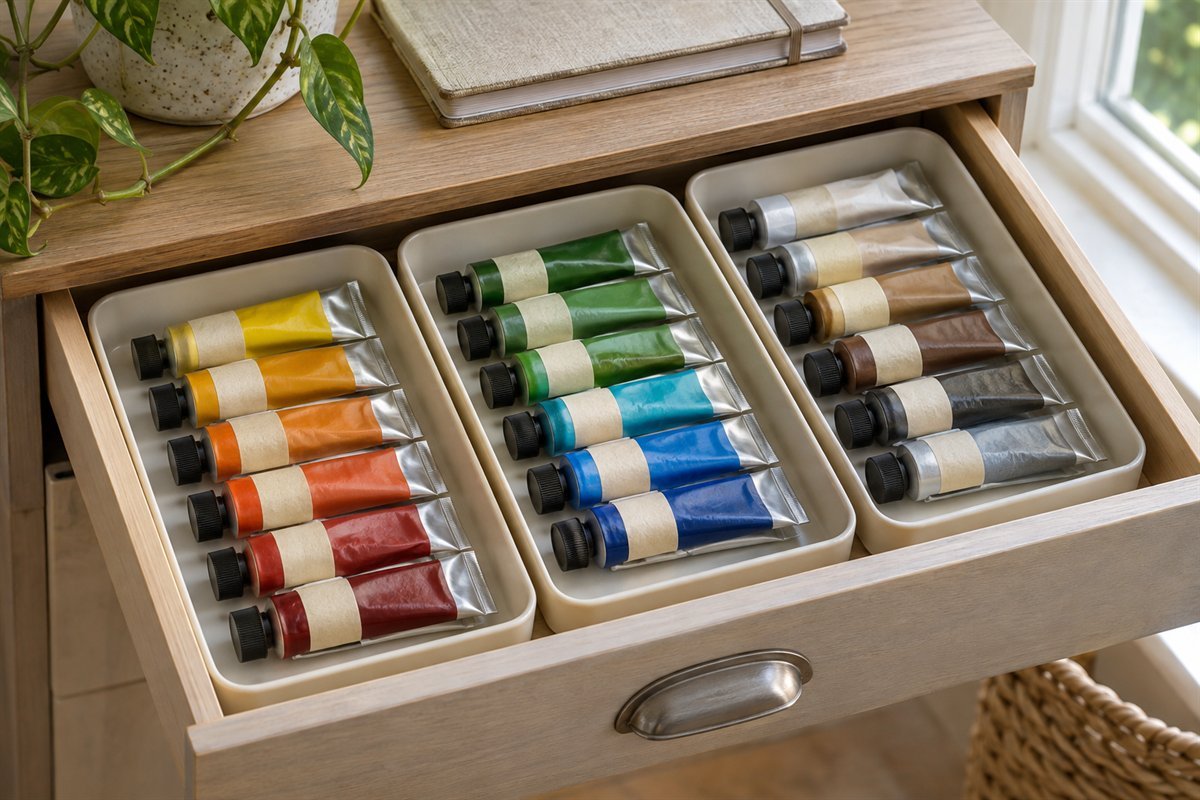
Keep watercolor, gouache and acrylic tubes distinguishable before refining their color groups. Similar-looking tubes can contain materials intended for different work. A shallow tray allows the actual label to remain readable and gives partly used tubes room without flattening them beneath a heavy pile. Keep the original packaging or product information you need rather than transferring identification to a lid that can be swapped accidentally.
11. Keep paint bottles in a removable low bin
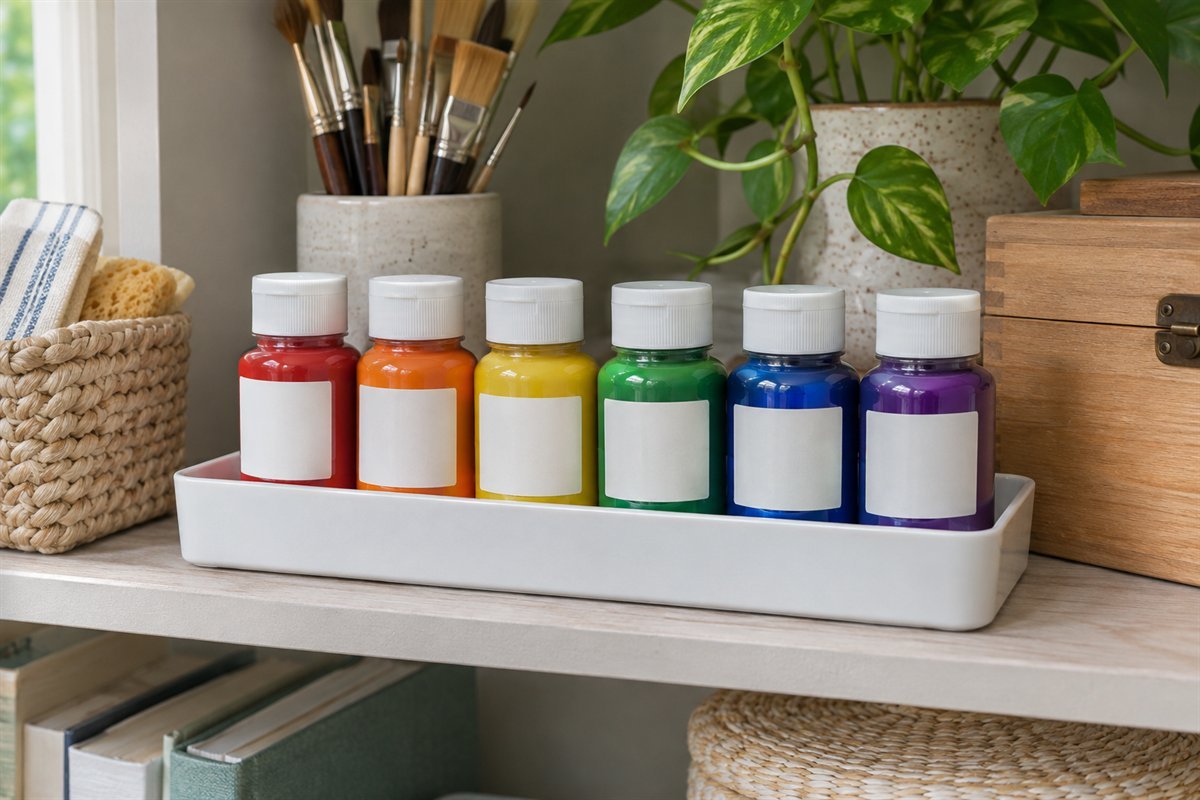
A low bin can bring a small bottle collection forward without hiding every label. Compare its handle and base with the filled load, and keep the bottle closures accessible. Caran d’Ache advises retaining gouache and acrylic paints in their original containers and closing them carefully. Use the bin to organize those containers, not to decant their contents into matching decorative jars.
12. Give drawing inks a stable dedicated compartment

Drawing inks should remain easy to identify separately from paint, marker refills and cleaning products. A bounded compartment can keep the correct bottle visible and reduce the temptation to stack other tools around its cap. Follow the exact ink’s storage and handling directions. Check how you remove a bottle with the neighboring compartments occupied, preserving space for your fingers around the actual container.
13. Keep mediums with their identity and instructions
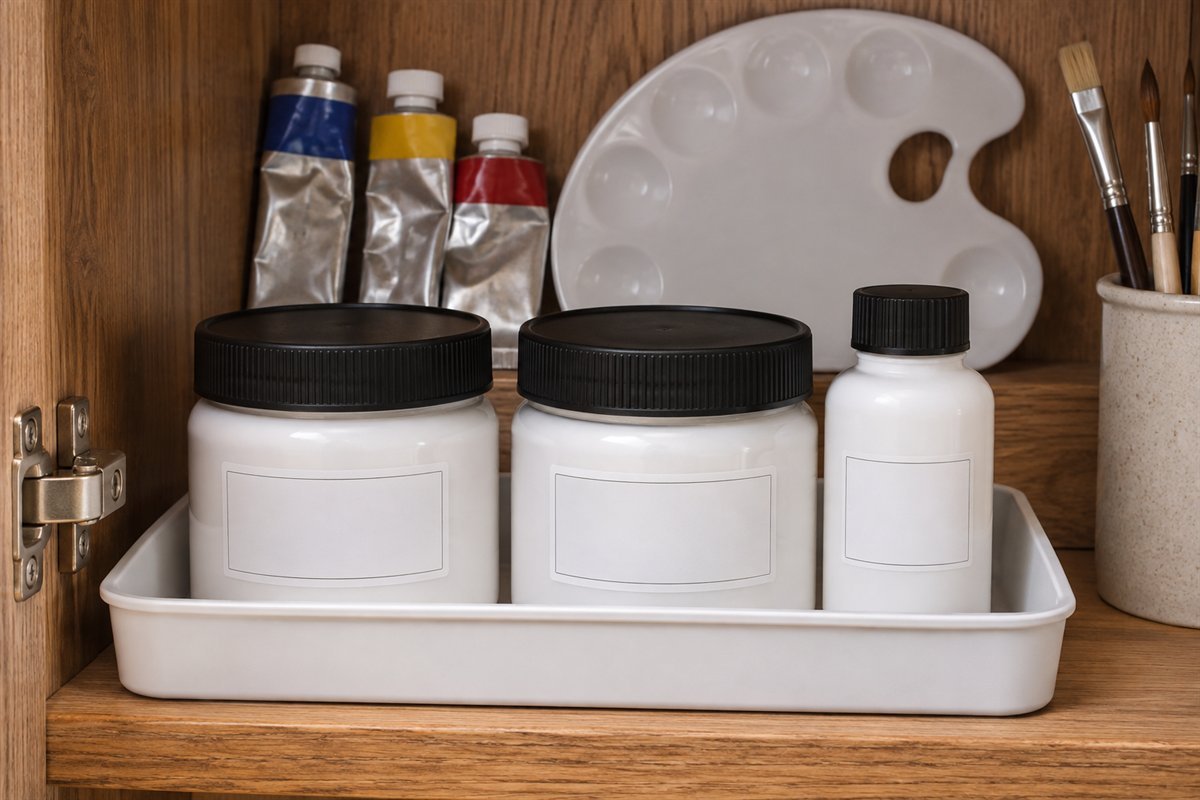
Mediums can have similar appearances while performing different jobs. Keep the exact product identity, original container and instructions together, with enough space to read them before use. Give larger jars a suitable shelf position instead of stacking them over small tubes. Select storage conditions for the actual product; the attractive organization of a cupboard cannot establish temperature control or chemical compatibility.
14. Retain fitted trays for fragile pastel sticks
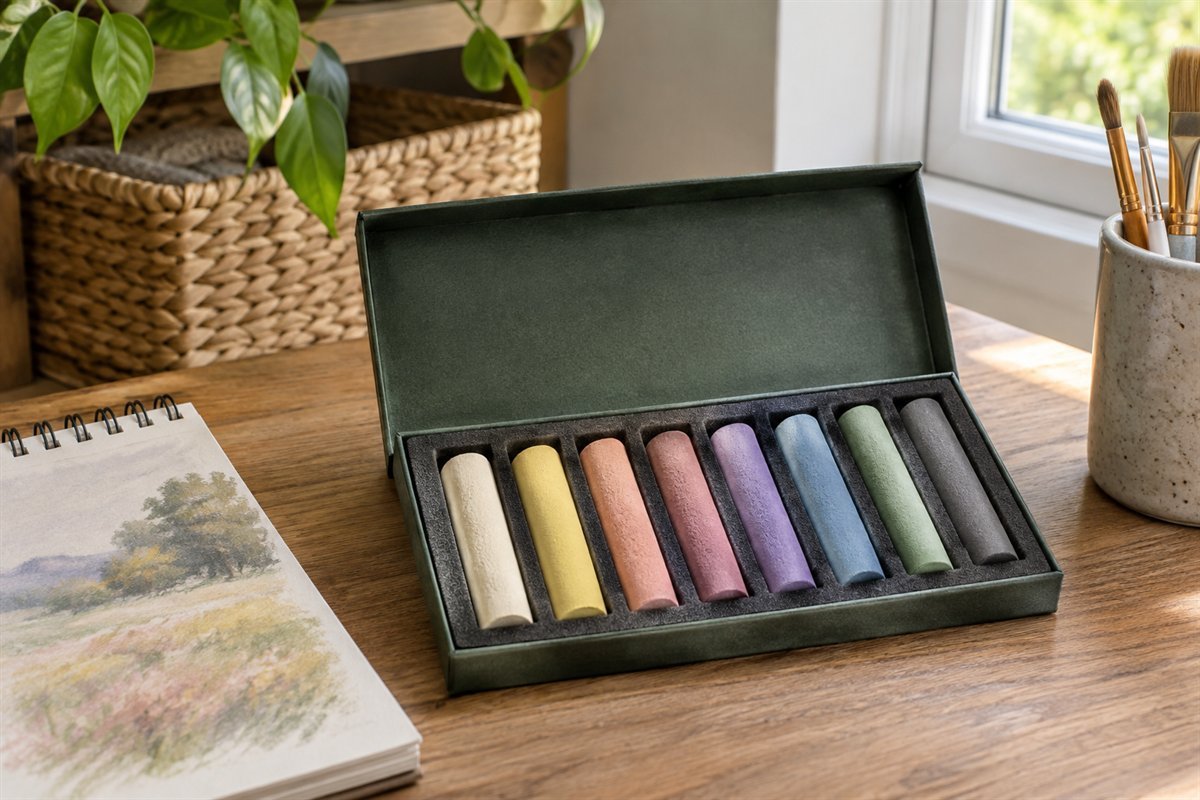
A fitted tray that arrived with a pastel set may already solve the problem of separating fragile sticks. Check its condition and keep the pieces readable instead of tipping them into a general pencil cup. If replacing the housing, choose a system appropriate to the exact pastel type. Keep broken usable pieces in an identifiable bounded position, without mixing the residue into unrelated supplies.
15. Separate charcoal from clean drawing tools
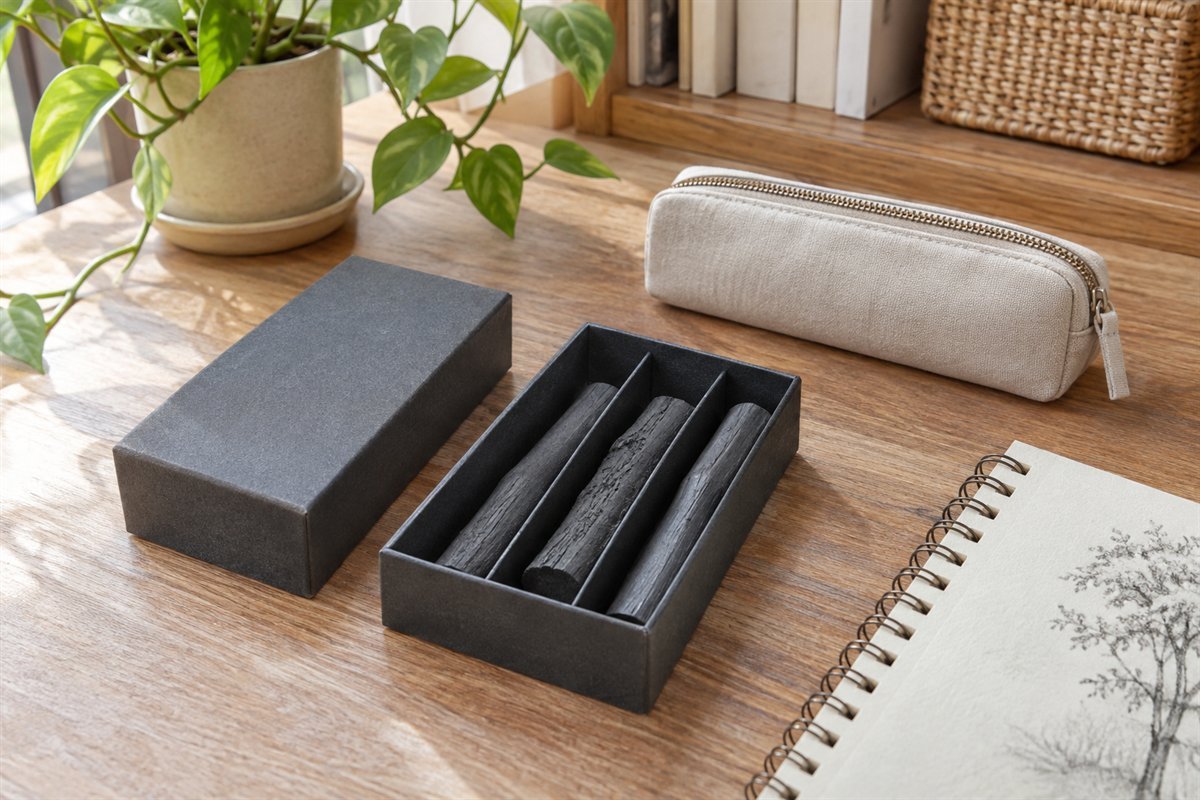
Charcoal needs a clearly separate place from tools you want to retrieve cleanly. Keep its original identification and suitable protective housing, then store that group where it can be lifted without scattering loose pieces. A dedicated box also makes it easier to notice a damaged insert. Treat the box as organization for the exact material, following its handling directions rather than assuming all dark drawing sticks are interchangeable.
16. Create a small eraser and sharpener compartment
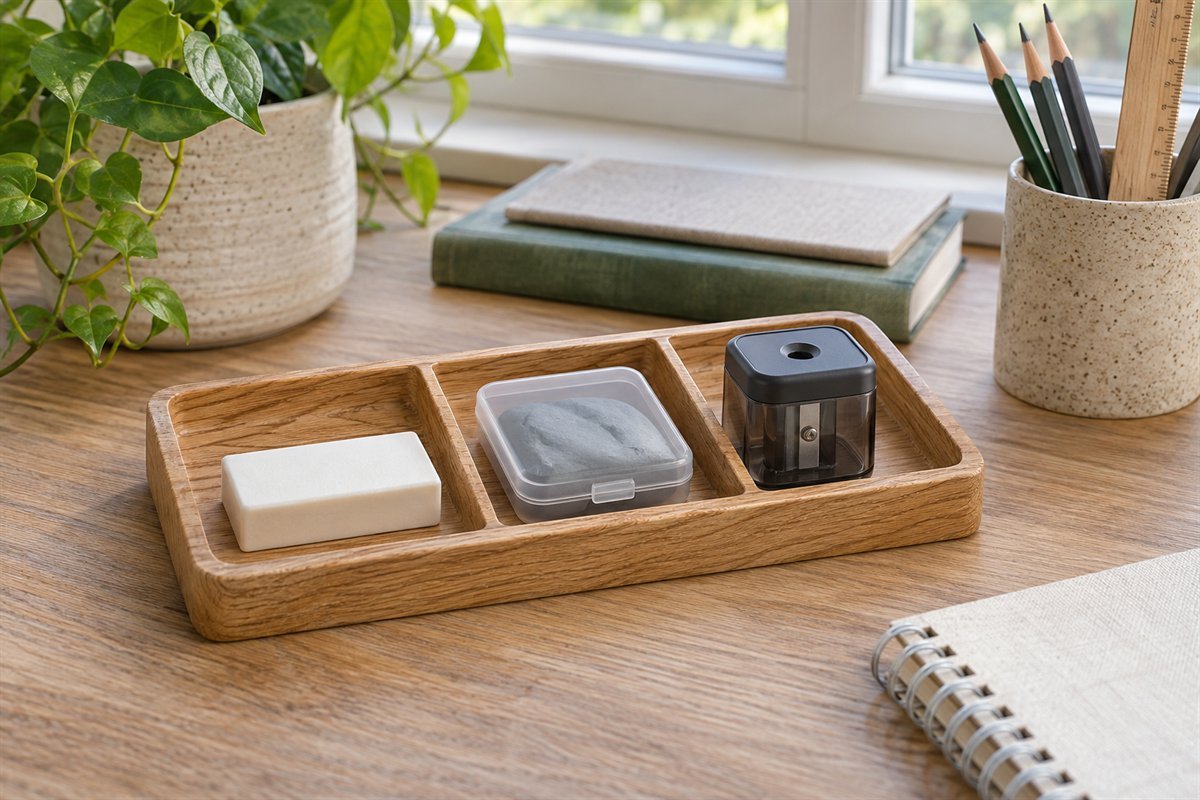
Small drawing accessories disappear quickly inside a large tool drawer. A removable compartment can hold an eraser, its appropriate case and an enclosed sharpener without competing with the pencil points. Check that the sharpener can be removed and emptied as intended. Keep spare blades and accessories in their proper secure housing rather than turning this convenient working compartment into a loose-parts collection.
17. House painting knives so the working ends stay protected
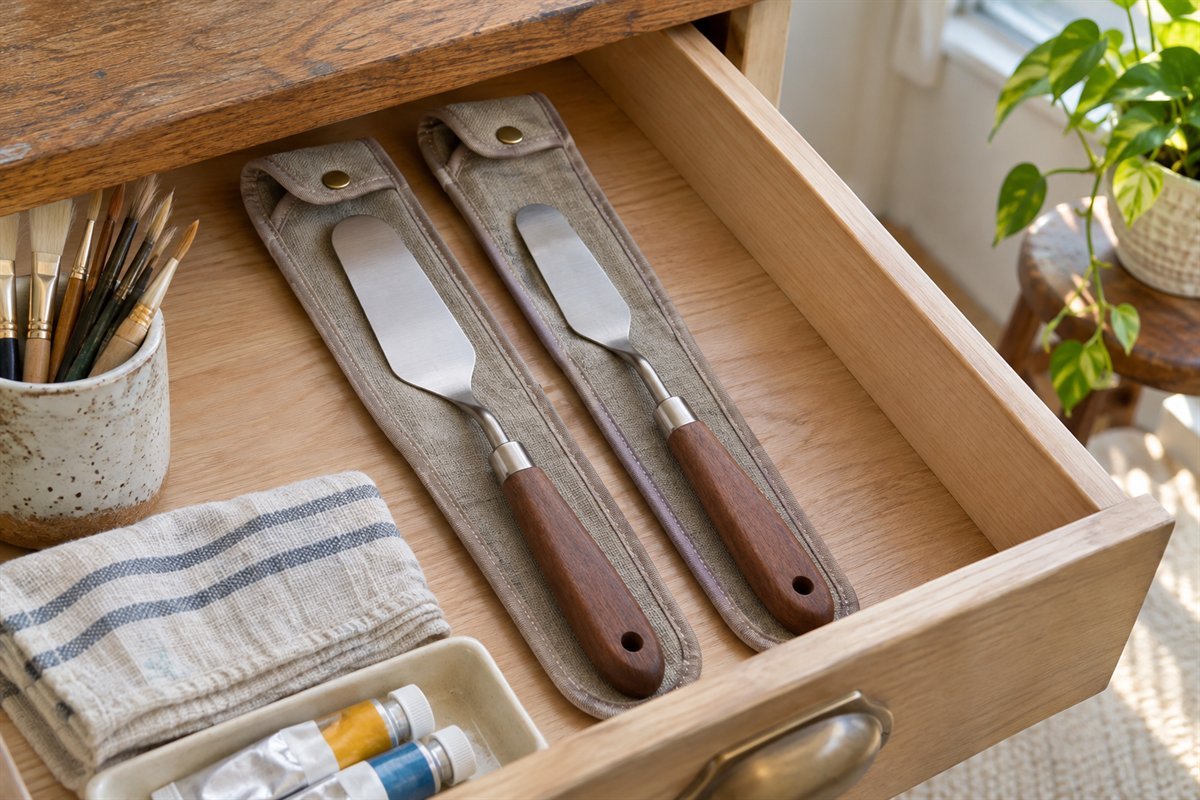
Painting knives and other shaped tools do not belong in a tightly packed brush pot. Choose a compartment and protection suited to their working ends, with the handles easy to grasp. Keep tools with different uses distinguishable. Before selecting a drawer insert, check the complete tool length and the clearance needed to lift it without catching its neighbor or scraping the furniture.
18. Give clean palettes an upright return slot
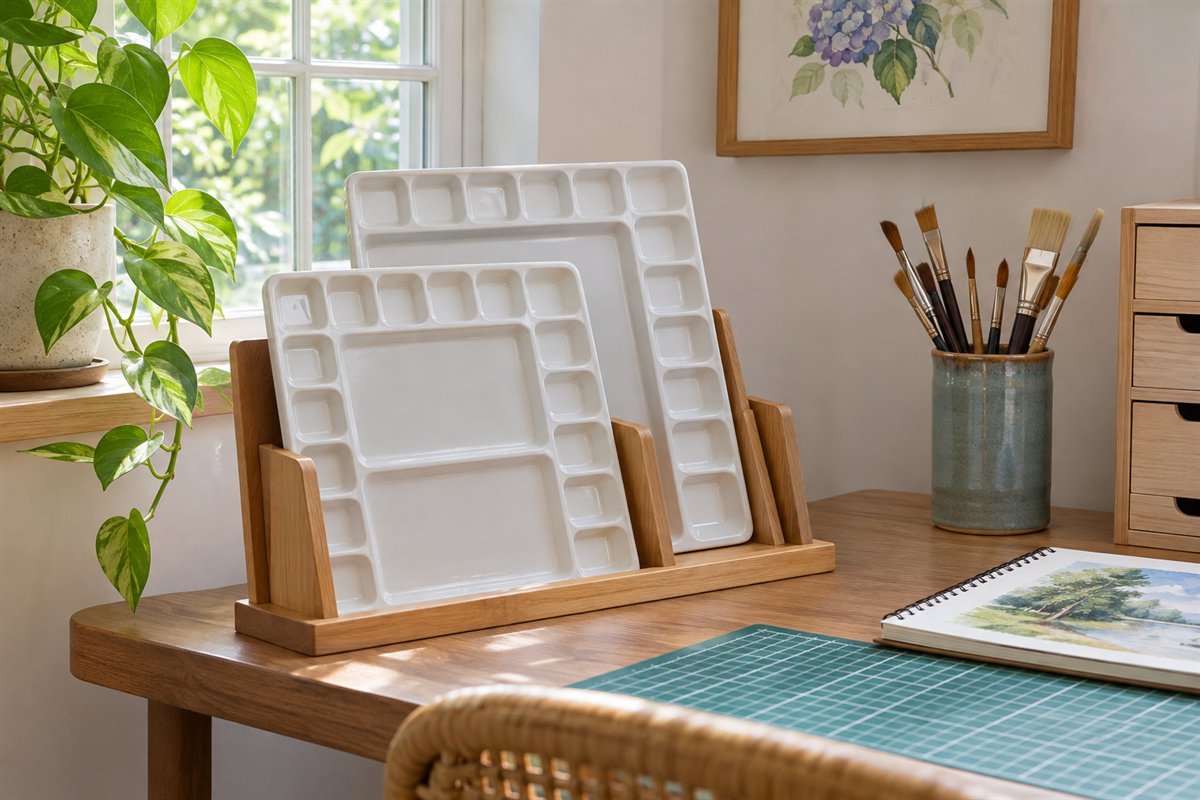
A clean, dry palette can have a defined return slot instead of lying across the next project. Measure its full outline, including a handle or thumb opening, and make sure the slot does not trap it. Follow the palette’s own cleaning and storage requirements. Keep wet or deliberately paint-retaining palettes in the system designed for them rather than treating every palette as an empty board.
19. Keep pan sets together in their intended cases
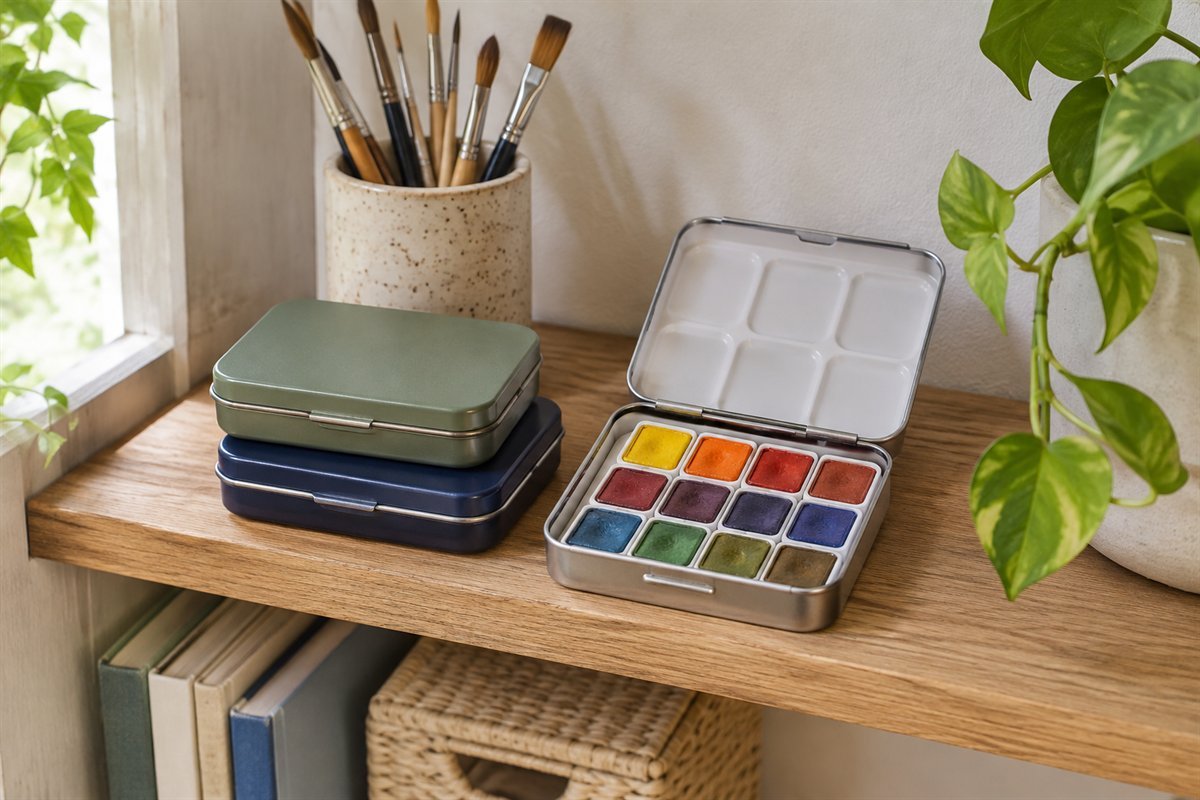
A watercolor pan set is easier to move and recognize when its intended case remains with it. Keep the set’s identity available and follow its directions for drying, closing and transport. Reserve a shallow position where one tin can be removed without upsetting another. Put loose replacement pans in an appropriate separate holder so a small refill does not vanish underneath a larger set.
20. Store sketchbooks by how you select a surface

Group sketchbooks around the surface and format needed for the next drawing. Keep watercolor, marker and general sketching books identifiable even if their covers look similar. Low supported groups make the binding and cover easier to inspect. Separate partly used books from unopened reserve books so you can resume an existing sketchbook without opening another simply because its cover looks familiar.
21. Use a full-size portfolio for drawing boards

Drawing boards need a storage outline measured around their complete shape. A supportive portfolio or suitable full-size compartment can keep a board from leaning across several tool drawers. Check the clips, corners and removal route too. This is storage for appropriate unused boards, not a method for compressing finished drawings or covering a surface that still needs to dry.
22. Separate unused small canvases in a suitable rack
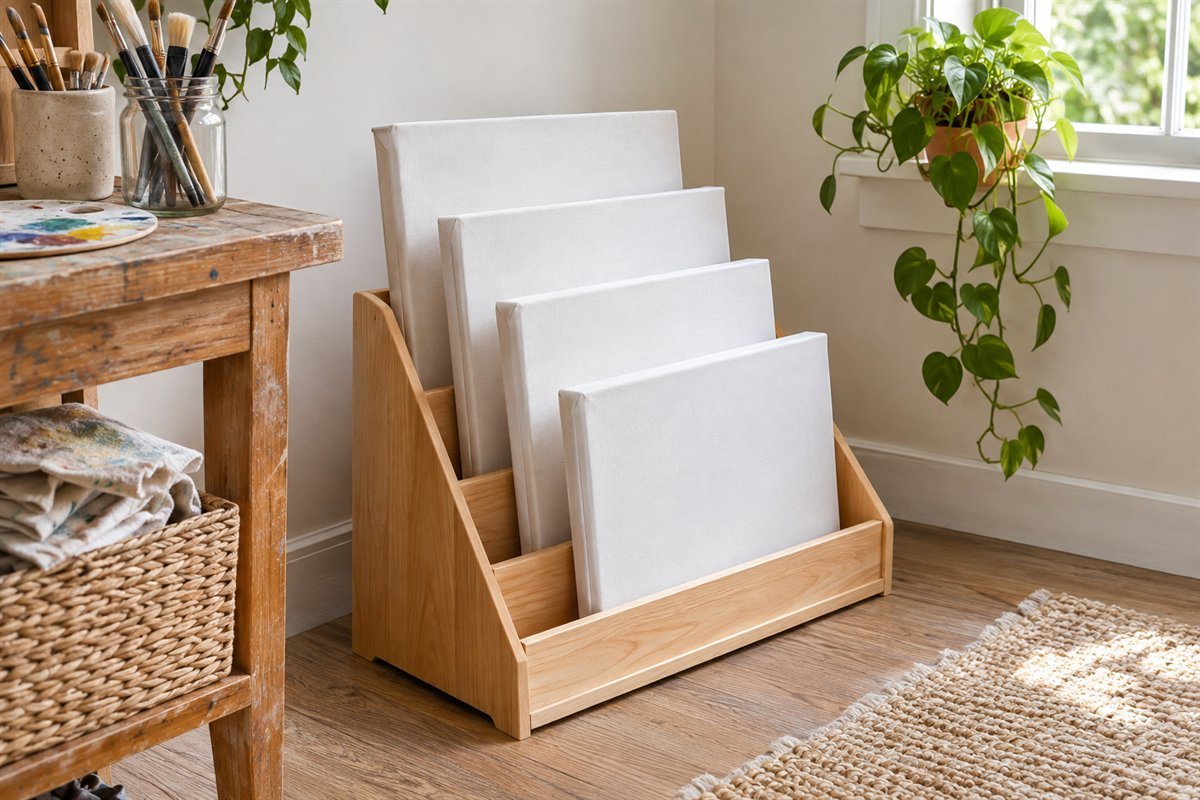
Unused canvases and panels can be easier to compare when each has a separate suitable position. Include the wrapped depth and projecting frame edges when measuring a rack. Follow the unit’s loading and use instructions and keep its route clear. Store finished paintings according to their actual care requirements; a rack for blank materials does not establish suitable housing for painted surfaces.
23. File reusable stencils in supported packets
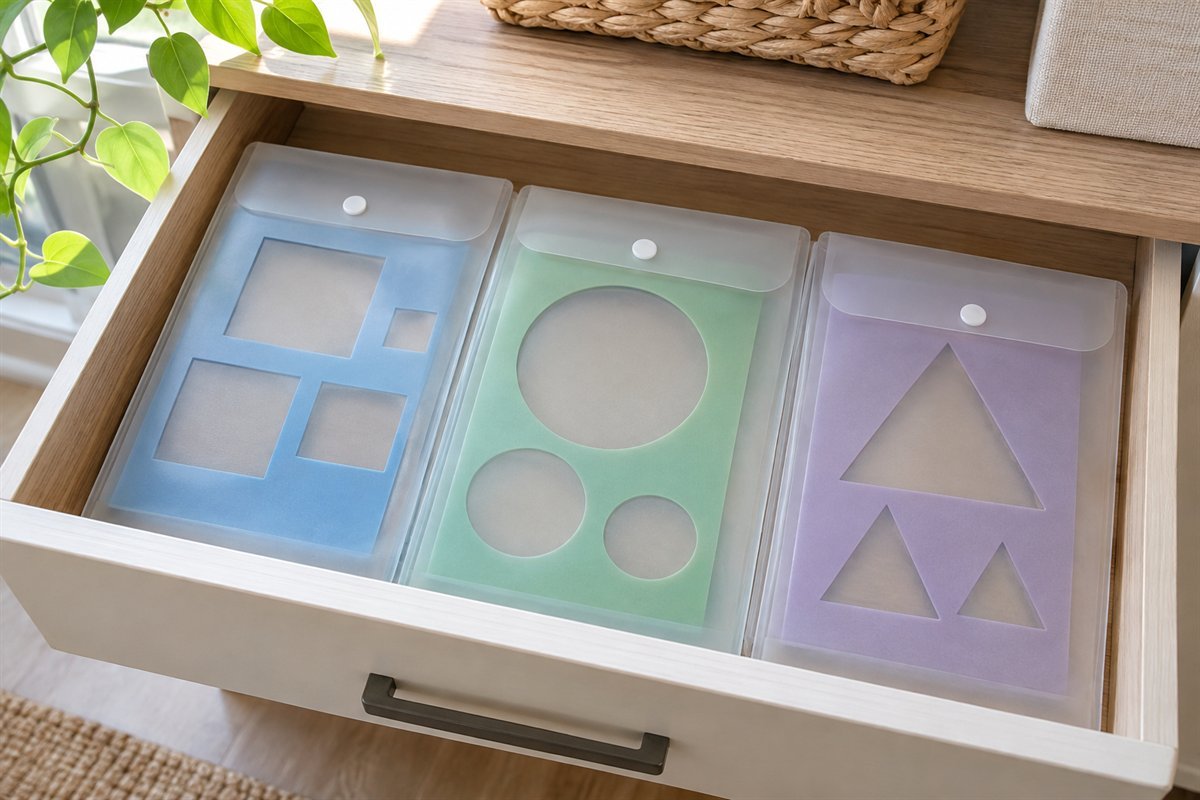
Reusable stencils are less frustrating when a complete piece can be lifted without catching a neighboring cutout. Store clean, dry stencils using a supported packet suited to their material. Arrange them by the kind of pattern you choose during work. Keep their original identity where needed, and do not fold a large stencil just to make it fit the file used for small paper templates.
24. Keep swatches beside a simple supply record

A supply record helps you find what is already in the cupboard. Record the exact product, color or grade, storage position and whether a spare is available. Keep a swatch made with the real material where useful; an organizer’s color label cannot replace product identity. Update the record when a favorite is nearly empty, then check reserve stock before adding it to a shopping list.
25. Choose one cart around a real working route
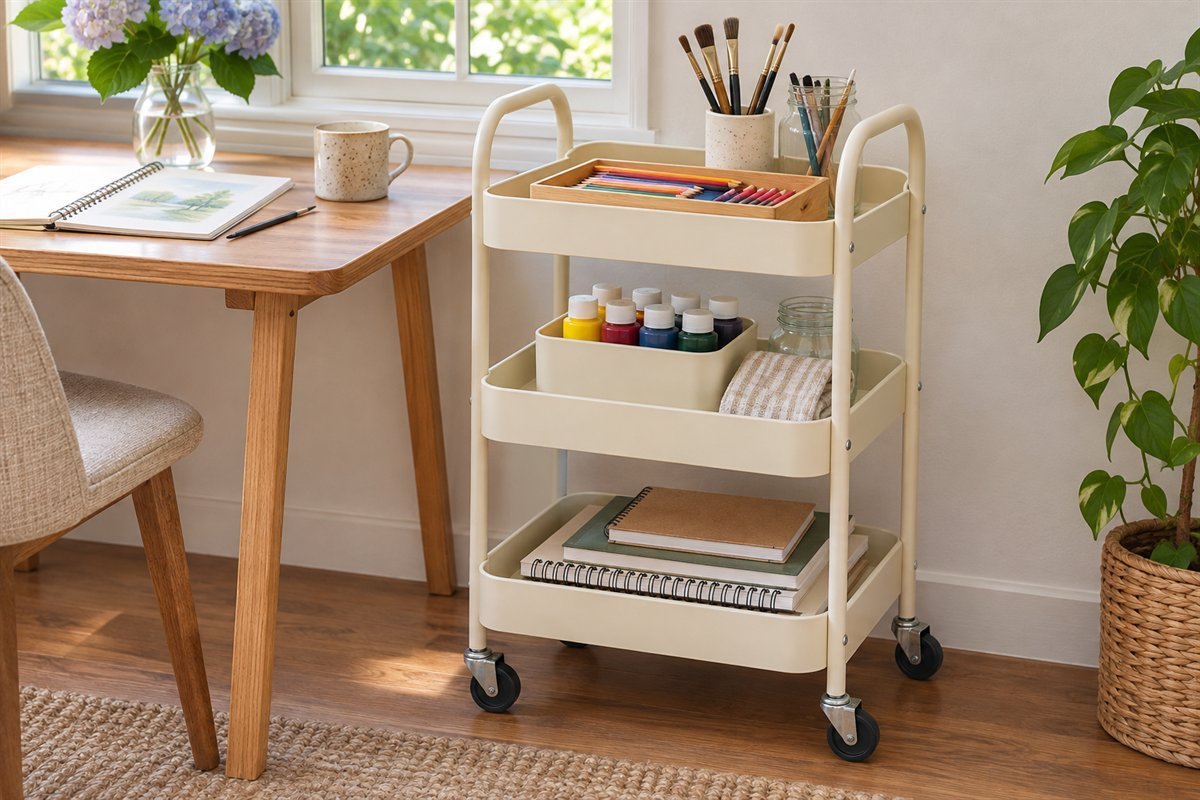
A cart suits a selected group that regularly moves between an easel and a table. Plan its parked position before filling the shelves, then test the occupied route. Keep the frequently used group near the easiest reach while following the cart’s actual load and use requirements. The useful measure is whether the chosen tools can move and return together without blocking the room.
26. Give a shared room a complete closed return zone

Closed storage can return a living area or guest room to its ordinary use. Organize the interior around the materials rather than relying on a door to hide a mixed pile. Check each product’s conditions and appropriate secure access for the household. Caran d’Ache cautions against unsuitable temperature extremes and strong light for paints; the cupboard location matters as much as the arrangement inside it.
Make a useful art-supply storage record
Use a notebook or simple sheet with six fields: exact product, color or grade, current quantity, storage location, care instruction to remember and refill or replacement needed. Write the actual manufacturer and product information when relevant, not just a generic label such as blue ink. The record should help you retrieve an item and choose the correct refill.
For example, a record for a Copic marker can identify its color and horizontal storage position, while a separate entry for opened Copic Ink records the bottle’s upright position and relevant manufacturer precautions. A brush entry can identify its medium and return holder, with storage only after the correct care routine. These are examples for those products rather than universal rules for every brand.
Test the arrangement by completing one normal put-away: return the pencils, inspect the brush holder, close the appropriate containers and place the project materials in their intended position. Note the first item that has no clear home. Adjust that one opening or category before purchasing more storage. Keep the working set small enough to repeat the routine on an ordinary busy day.
A practical next step
Choose a few arrangements that let you recognize the correct material, remove it directly and return it in the condition its maker requires. Begin with the group that currently interrupts your work. A readable pencil layer or a proper dry-brush holder can solve a more useful problem than filling every wall with new containers.
Craft room storage ideas for the wider materials and project area. Craft paper storage ideas for cardstock, pads and offcuts.
The images are original AI-generated organization concepts, not photographs of tested products or verified installations.
Sources and care references
- Copic: marker and Multiliner storage guidance
- Copic: storage of opened Copic Ink bottles
- Winsor & Newton: reshaping, drying and storing acrylic brushes
- Caran d’Ache: original containers, closures, light and paint storage conditions
Optional digital guide for this topic
If you prefer a structured workbook, explore this related paid guide.