Printed photo storage ideas should make the collection easier to find while respecting the materials in the box. A modern snapshot, a fragile mounted print and an old negative may need different housing. Begin with the prints’ condition and suitable preservation guidance, then choose an order and a return place that the household can maintain.
These ideas cover physical photographs, not a comparison of cloud photo services. They combine practical organizing methods with care points from the Library of Congress, National Archives and NEDCC. They do not replace an assessment of damaged, rare or unidentified materials, and an illustrated box cannot prove its materials are photo-safe.
Contents
- 1. Choose a stable indoor cupboard before a prettier box
- 2. Check the housing specifications beyond acid-free
- 3. Separate photographic processes before choosing sleeves
- 4. Begin with broad date or event groups
- 5. Use dividers to keep the groups readable
- 6. Give individual prints suitable separate enclosures
- 7. Consider opaque paper enclosures where appropriate
- 8. Size a 4-by-6 box for the complete enclosure
- 9. Keep different print sizes in supported groups
- 10. Store oversized photographs flat with full support
- 11. Set fragile or unusual originals aside for advice
- 12. Keep negatives and slides distinct from prints
- 13. Separate irreplaceable originals from handling copies
- 14. Choose an album through its pages and pockets
- 15. Use suitable corner mounts instead of sticky pages
- 16. Label the empty enclosure before adding the print
- 17. Retain useful old notes in a linked folder
- 18. Give newly printed photographs a small intake place
- 19. Work from one supported sorting packet at a time
- 20. Create a modest digitization queue without forcing prints flat
- 21. Link the digital filename to the physical location
- 22. Display copies while originals remain housed
- 23. Keep private collections behind an appropriate door
- 24. Keep a box map and review the return routine
Choose printed photo storage ideas around the originals
Identify what the group contains and what remains uncertain. Select appropriate enclosures for the photographic process, condition and handling needs; then measure the complete housings and usable box interior. Keep sources and supplier specifications with the collection record. Avoid relying on a uniform box style to settle preservation questions.
Match the group to its next useful home
- A modest group of ordinary prints in good condition: Appropriate individual housings and a manageable clearly identified box.
- Mixed dates with useful context: Broad reliable groups with unknown dates kept distinct.
- Large or fragile originals: Full support and material-specific guidance before choosing the enclosure.
- A frequently viewed image: A handling or display copy linked clearly to its retained original.
- Negatives, slides or an unfamiliar process: Separate housing and suitable identification or conservation advice.
1. Choose a stable indoor cupboard before a prettier box
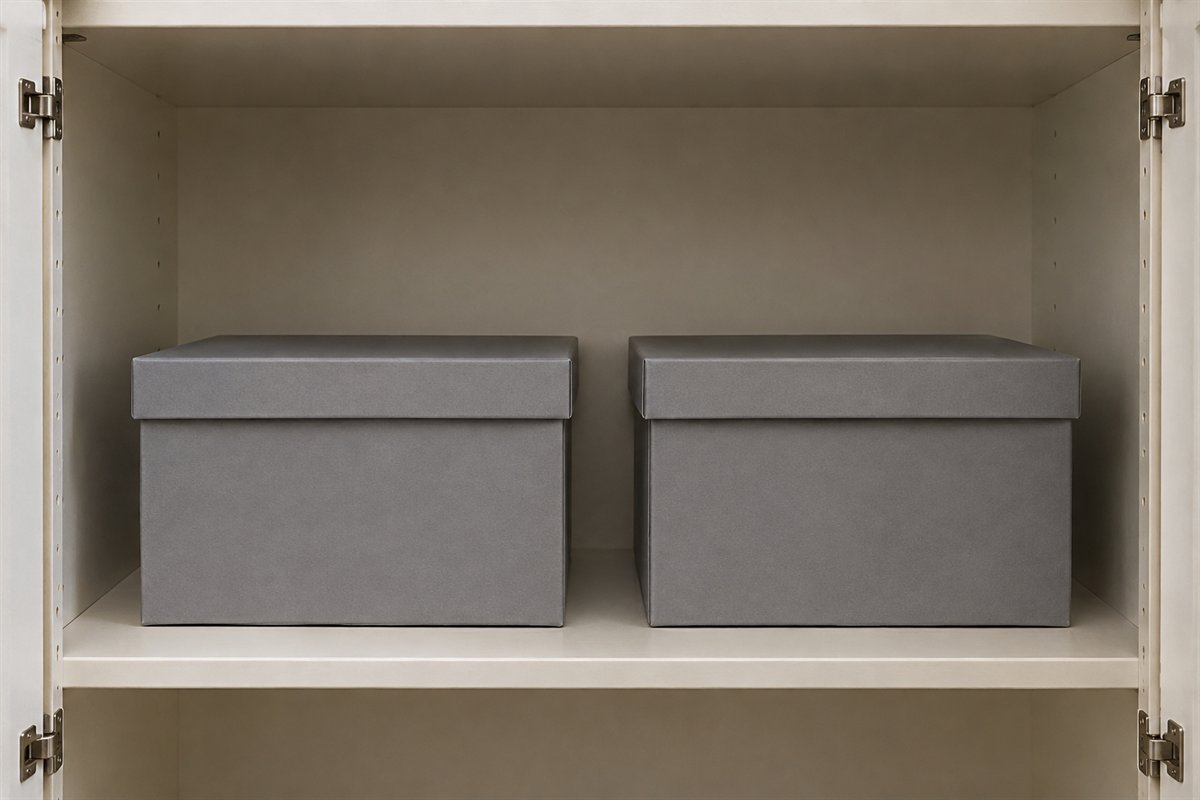
Start with the location. An interior cupboard away from heat, dampness and likely leaks is a better candidate than an attic or garage chosen only because it has spare space. NEDCC advises avoiding temperature and humidity extremes and fluctuations. Keep the boxes reachable so a future organizing session does not begin by carrying a heavy stack across the house.
Try this: Check the proposed shelf for nearby pipes, direct sun and the complete retrieval route.
2. Check the housing specifications beyond acid-free
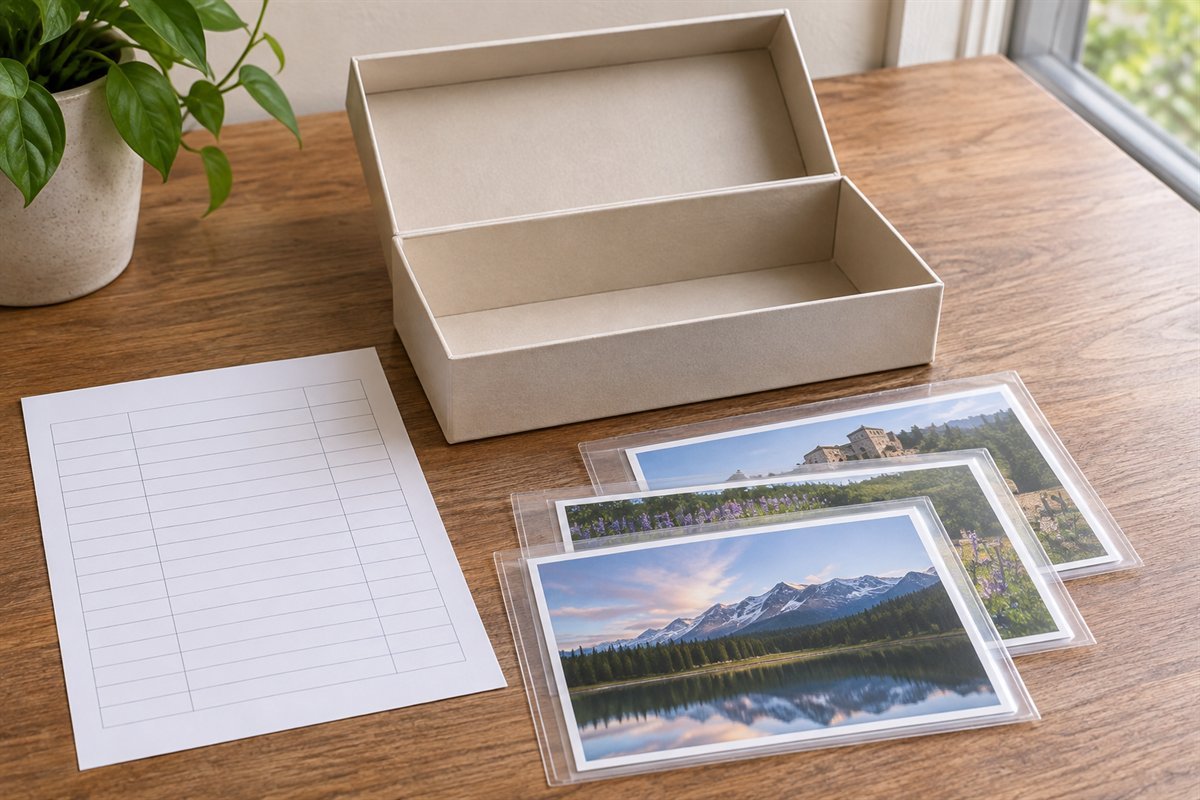
Read the supplier’s material information before buying housing for originals. The Library of Congress points to photo-storage standards and the Photographic Activity Test, rather than a decorative label alone. Ask how the complete enclosure is specified for the photographic material you have. A box that looks archival in an image does not establish that its board, sleeves or adhesives are suitable.
Try this: Save the actual product specification with the private collection record.
3. Separate photographic processes before choosing sleeves
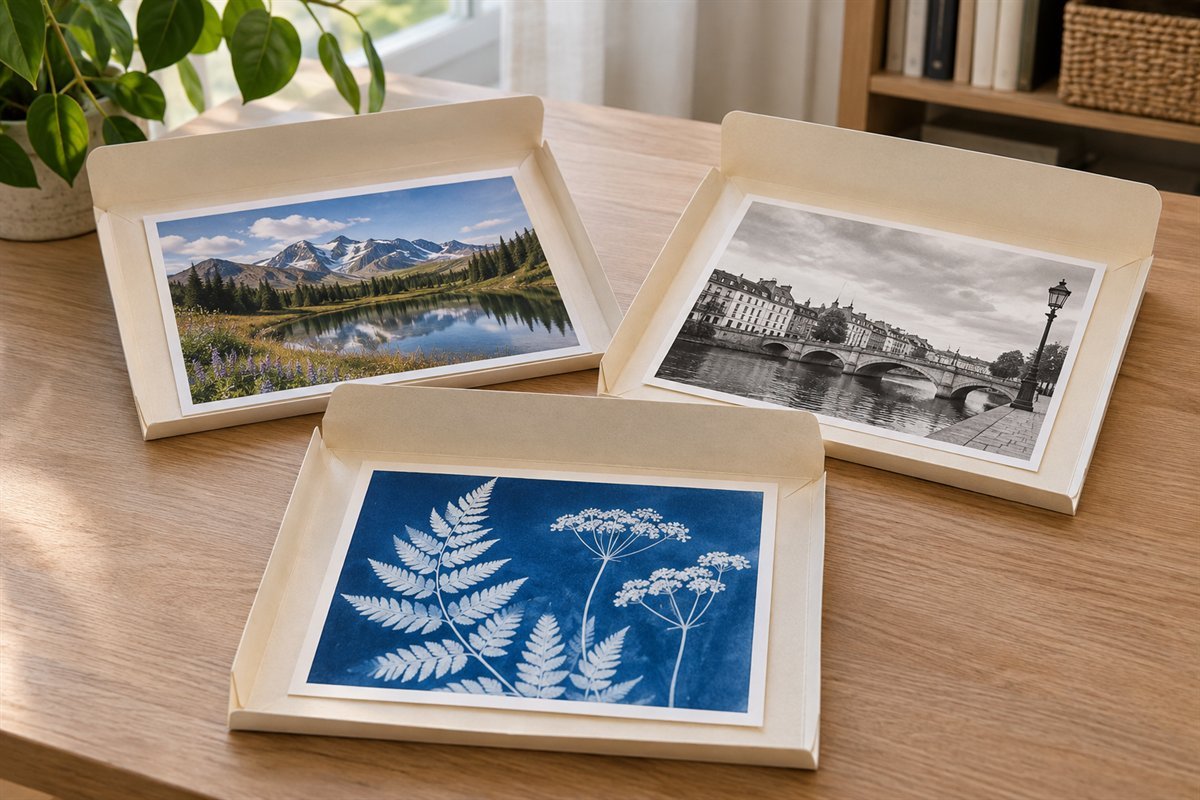
A mixed collection may contain modern prints, older processes, mounted photographs and negatives. Keep uncertain formats distinct while seeking appropriate guidance. National Archives guidance notes that some processes, including cyanotypes, need unbuffered neutral housing rather than alkaline-buffered materials. Do not select one paper or plastic for every item solely to make the cupboard look consistent.
Try this: Leave an uncertain item supported in its existing safe context until its needs are identified.
4. Begin with broad date or event groups
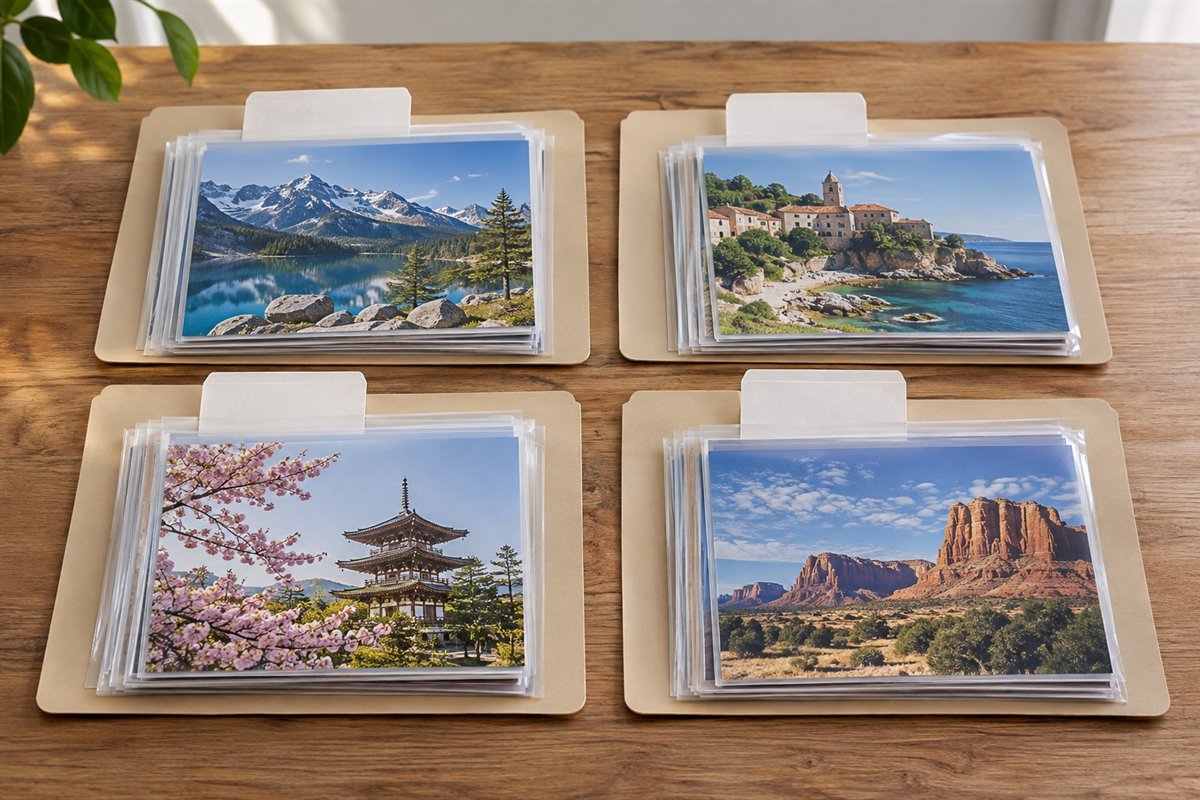
Choose a few broad groups that you can identify confidently: a decade, a known event or an established part of the family collection. Avoid inventing a date to finish the sorting faster. Keep an unknown group separate and preserve any useful original context. A coarse, reliable order is easier to refine later than an elaborate system built on guesses.
Try this: Sort one small group completely before opening another box.
5. Use dividers to keep the groups readable
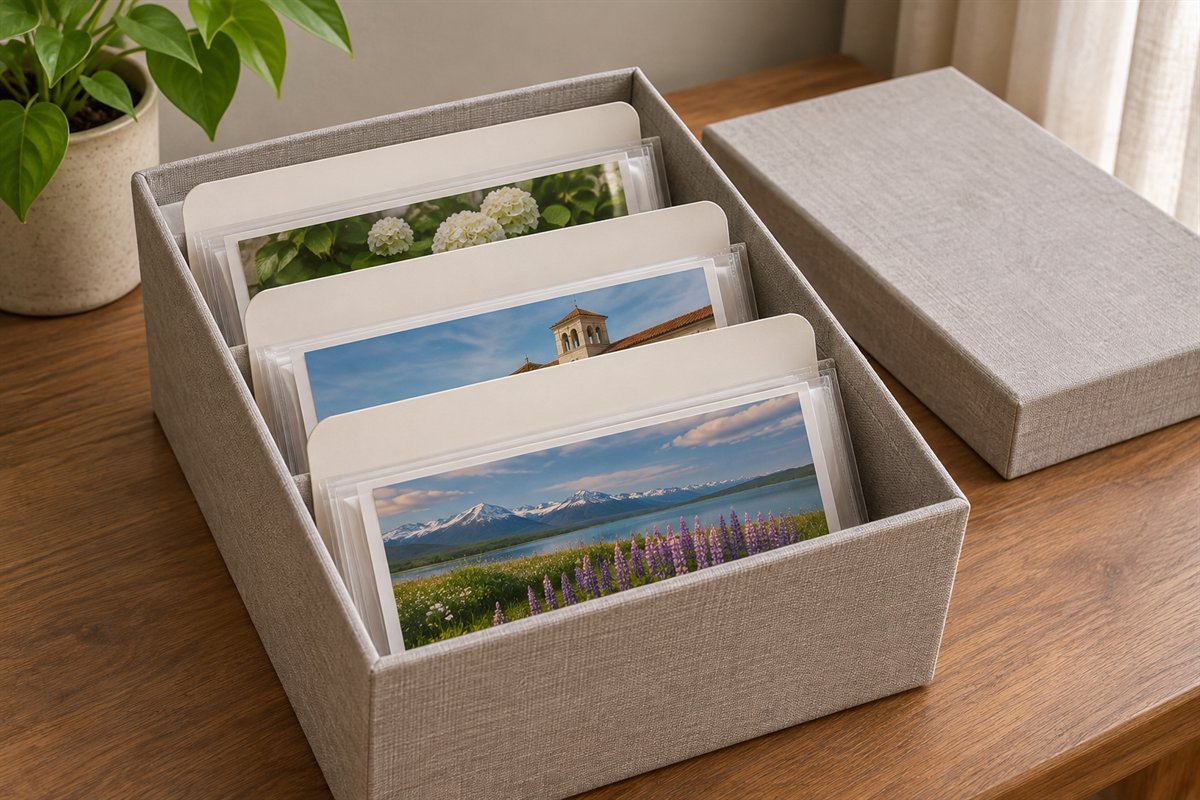
Dividers can make a photo box easier to browse without attaching labels to the prints. Keep the groups modest and choose photo-appropriate divider material with the rest of the housing. Leave room to lift an enclosure by its edge. The goal is a readable sequence that survives returning a print, not a row packed tightly enough to prevent movement by compression.
Try this: Remove one enclosed print from the middle without dragging the next group forward.
6. Give individual prints suitable separate enclosures
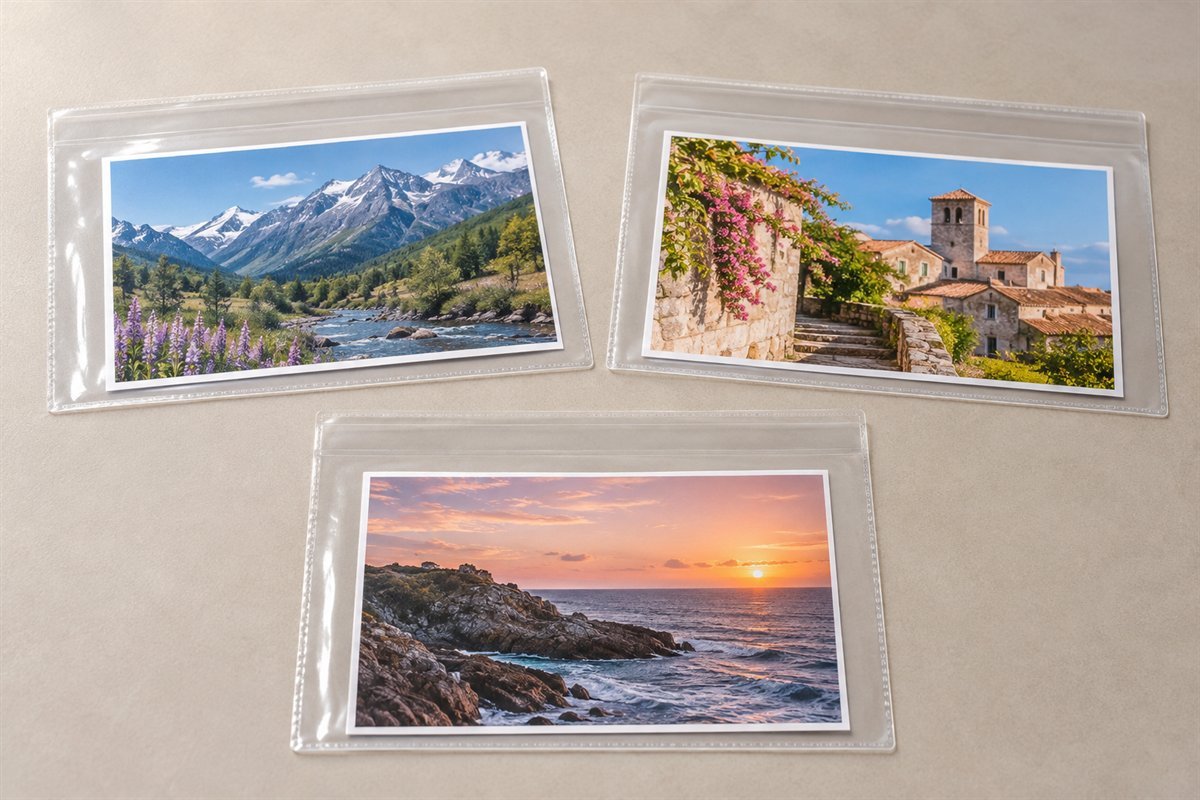
An individual enclosure can keep a print separate while reducing direct handling. National Archives recommends one photograph per sleeve or envelope where practicable. Match the enclosure to the print’s material and condition; some photographs require a different approach. Support the print during handling and avoid pressing an item into a sleeve that is too small.
Try this: Check the opening and the full print size before buying a large batch of sleeves.
7. Consider opaque paper enclosures where appropriate
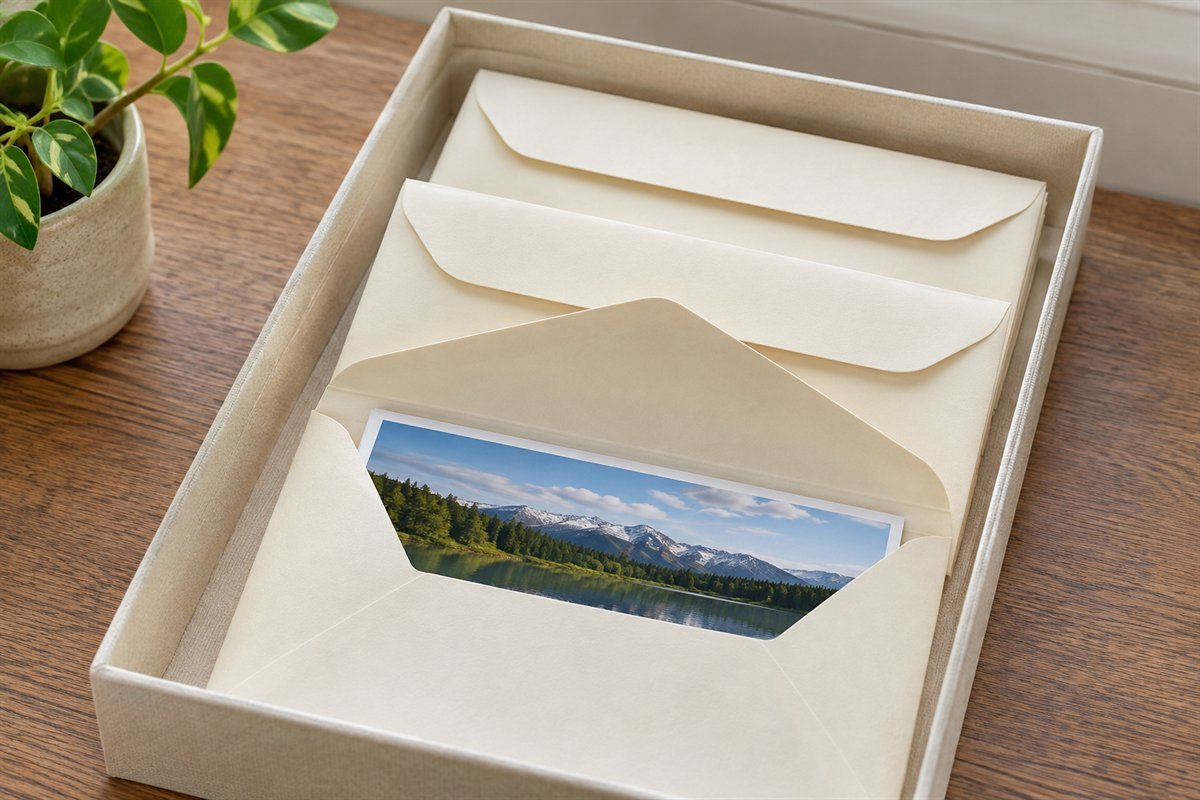
A suitable paper enclosure can reduce light exposure while an original is stored. It also means the print may need to be taken out for viewing, so consider how often the image is consulted. Follow material-specific guidance and the envelope’s construction. NEDCC advises keeping the image surface away from an envelope seam and avoiding unsuitable kraft or glassine housings.
Try this: Choose the opening and handling method with the actual print, not only the envelope’s outside dimensions.
8. Size a 4-by-6 box for the complete enclosure
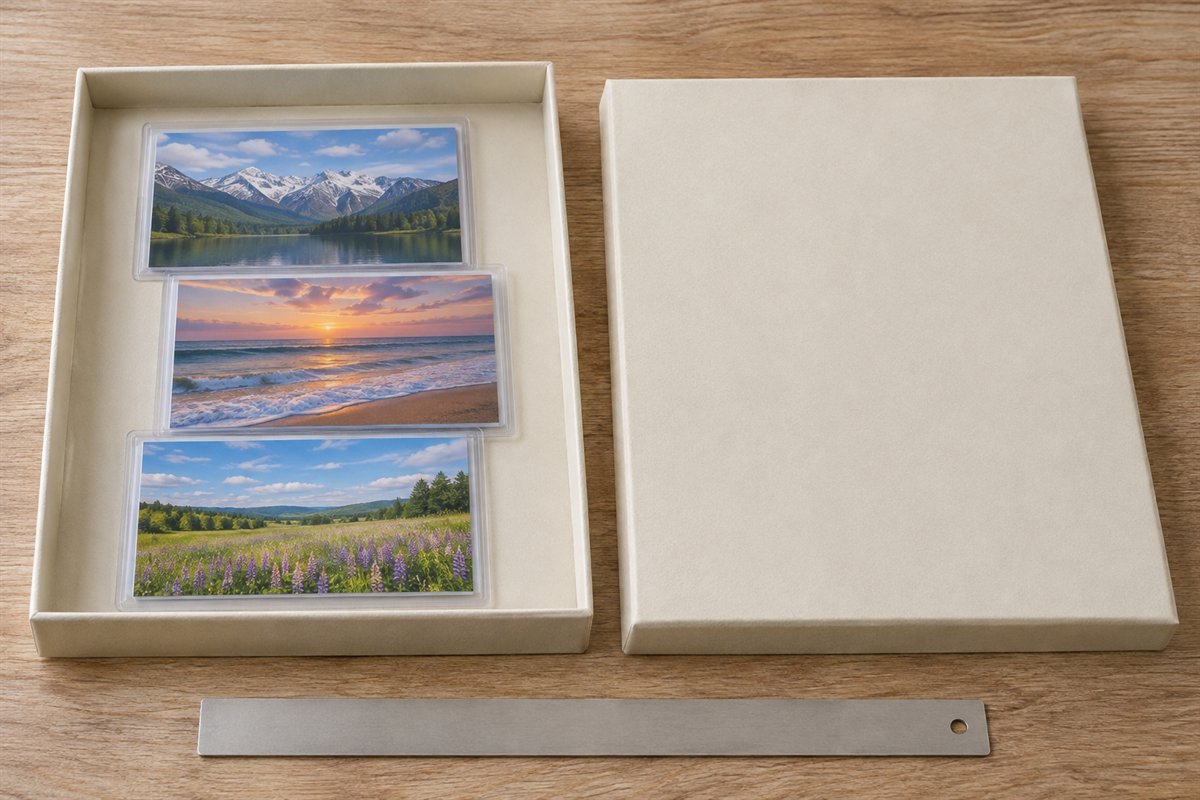
A box described as 4 by 6 inches may not fit every print, mount or sleeve associated with that size. Measure the complete enclosure and the box’s usable interior. Include room to grasp and return items without bending corners. Avoid relying on an advertised print size where the collection includes borders, older mounts or mixed formats.
Try this: Test one fully enclosed sample before rehousing the entire group.
9. Keep different print sizes in supported groups
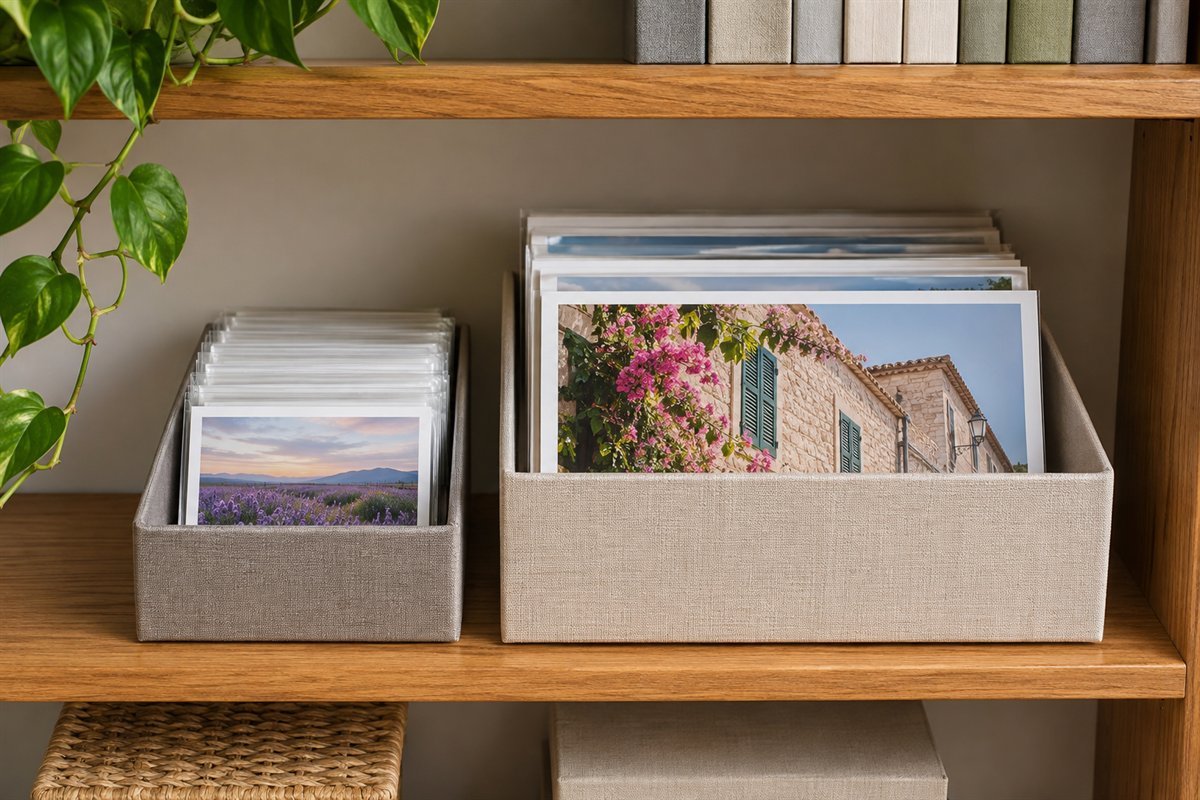
Separate substantially different sizes when one deep box makes the small prints disappear or lets them slump. Choose appropriate support and a manageable group for each container. A few correctly sized boxes can be easier to consult than a single mixed archive. Record where each group belongs so an occasional small print is not returned to an oversized gap.
Try this: Check the smallest item in the box as carefully as the largest.
10. Store oversized photographs flat with full support
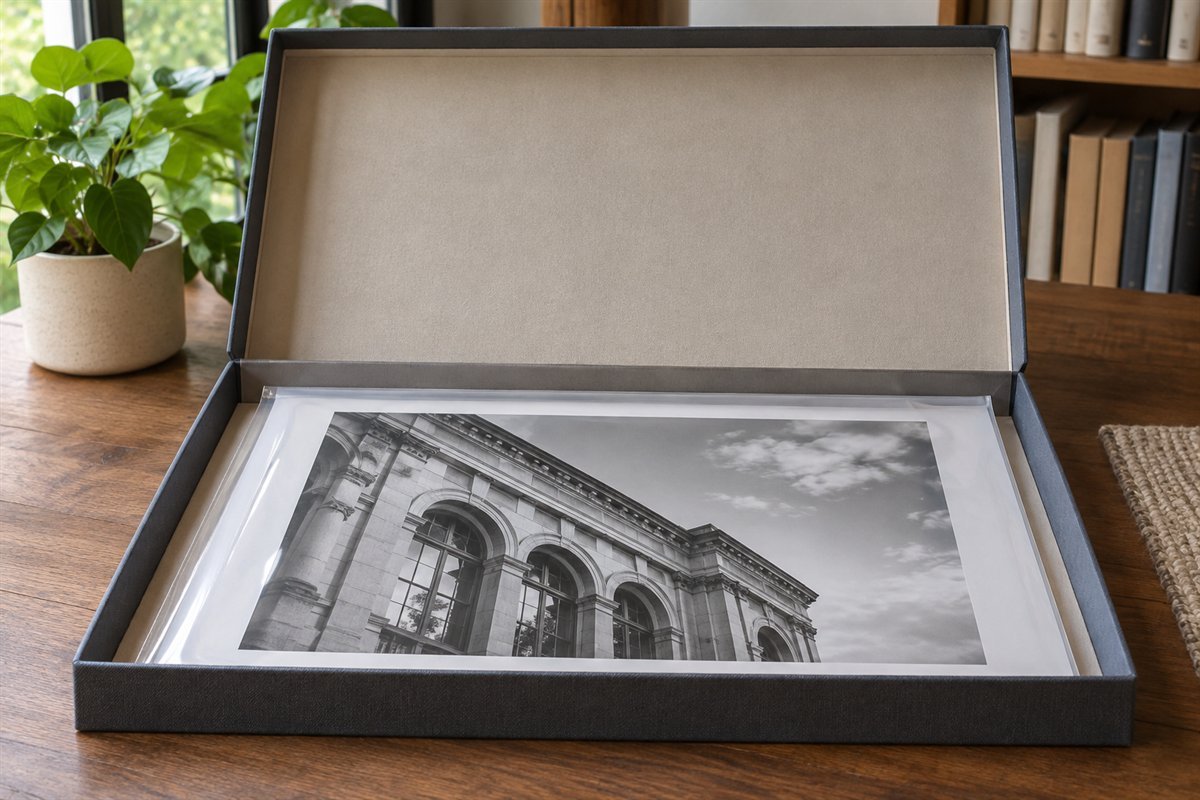
Large prints need a housing and shelf that support their whole footprint. A suitable flat box or folder can avoid folding or rolling an image to make it fit. National Archives describes horizontal housing for oversized photographs. Measure the print, mount and enclosure together, and keep the filled box light enough to handle in its intended location.
Try this: Demonstrate the entire box-to-table movement before assigning an upper shelf.
11. Set fragile or unusual originals aside for advice
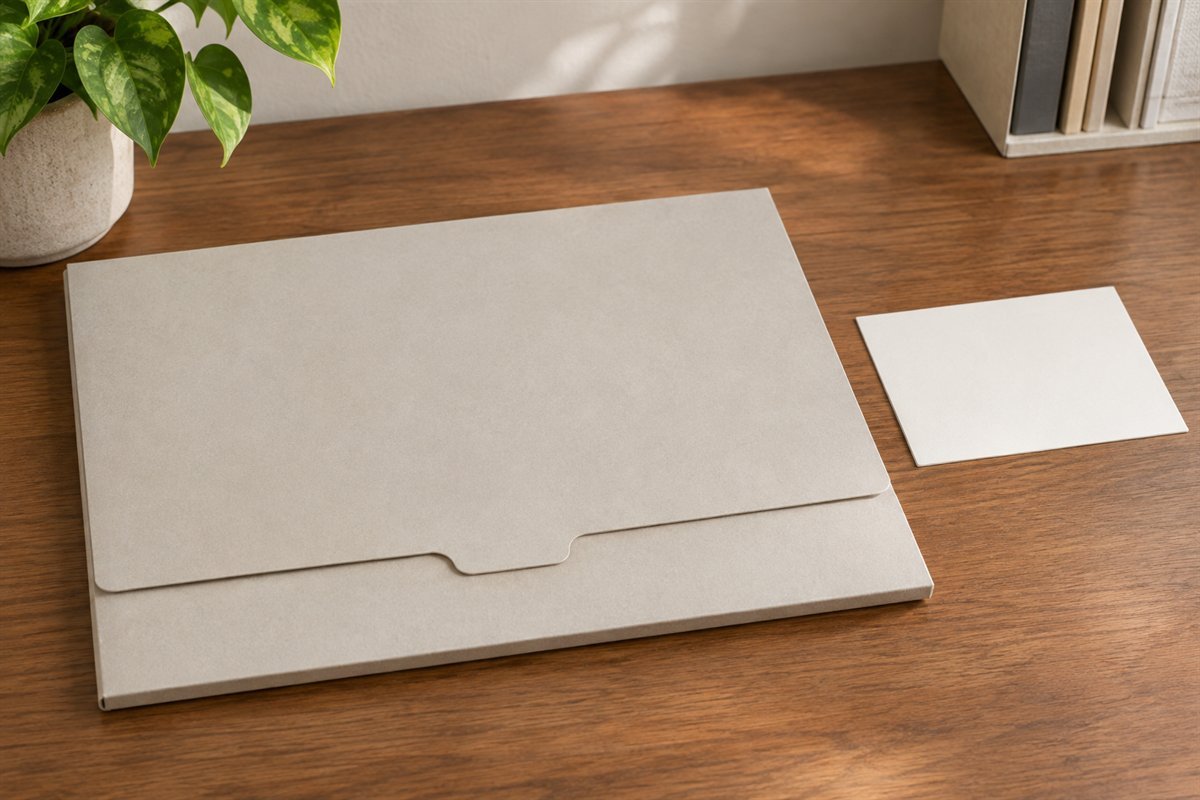
A brittle, flaking, stuck or unusually mounted photograph needs condition-specific advice. Keep it separate from the routine sorting workflow and avoid trying to flatten, peel, clean or repair it to make the storage look finished. The Library of Congress advises consulting a photograph conservator when an item’s condition calls for specialist care. Record what is uncertain without treating an organizing guide as a repair manual.
Try this: Preserve the existing context and seek advice before removing an adhered photograph from an album.
12. Keep negatives and slides distinct from prints
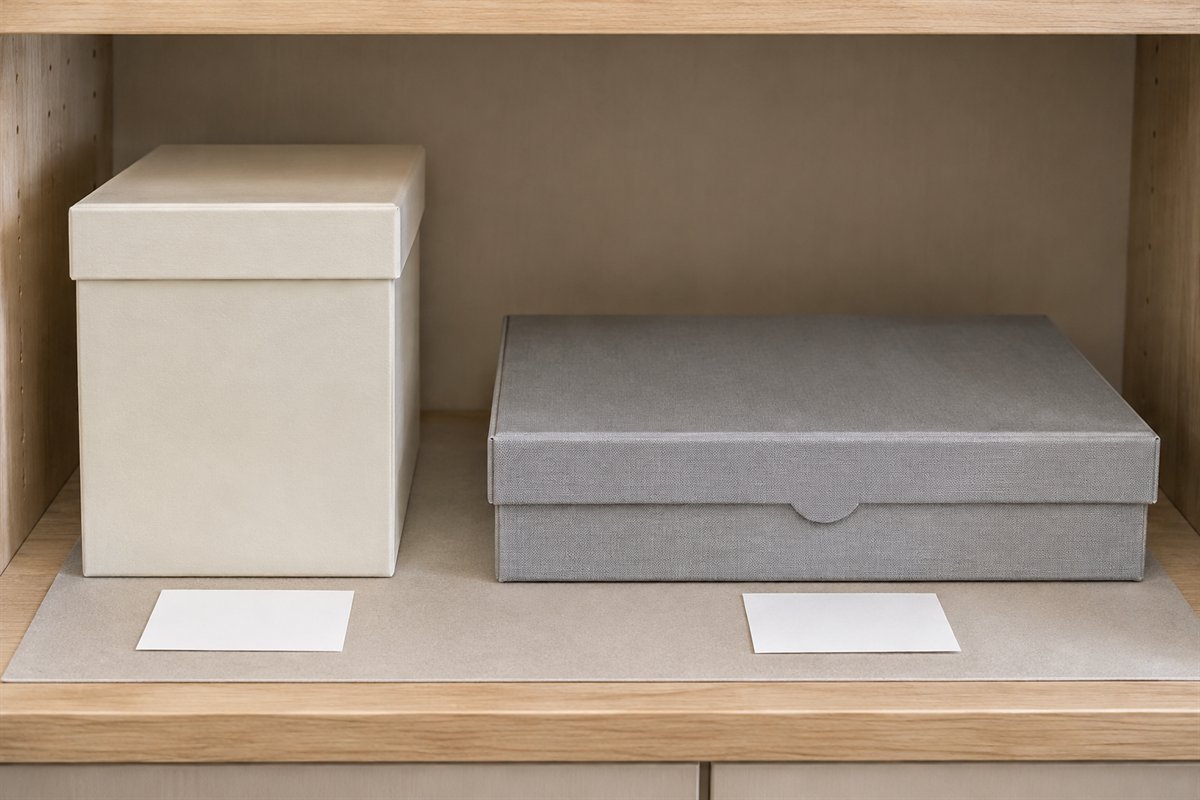
Prints, negatives and slides should remain linked by a locator record while receiving the housing their materials require. Keep them in distinct enclosures rather than putting a negative against a print surface. Film identification, deterioration and any cold-storage treatment need appropriate specialist guidance. This article does not prescribe a household refrigerator or freezer workflow.
Try this: Link the related groups with private identifiers instead of keeping different materials in direct contact.
13. Separate irreplaceable originals from handling copies
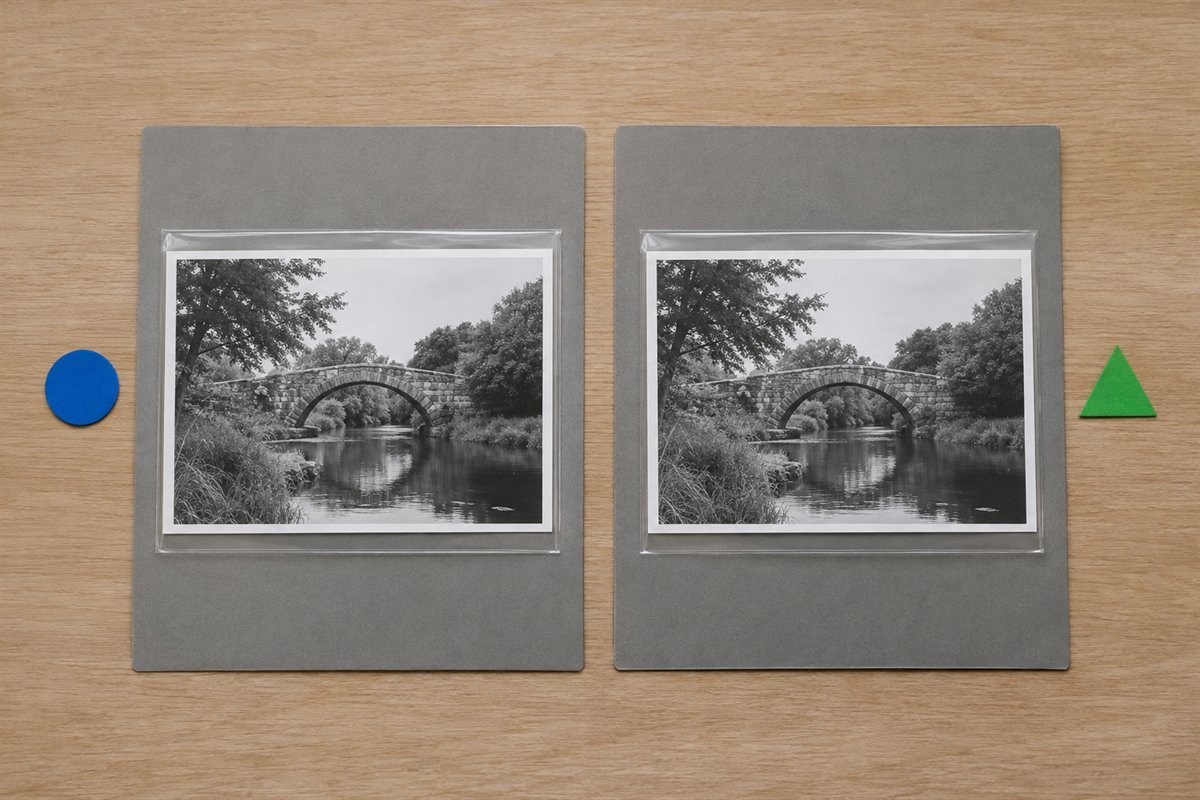
If an image is often shared, a handling copy can reduce repeated access to the original. Keep the two groups unmistakably distinct in the private inventory, even when the pictures look identical. Do not discard originals simply because a scan or new print exists. Choose a simple distinction that remains visible when both boxes are closed.
Try this: Identify a copy in the collection record before it can be mistaken for the source print.
14. Choose an album through its pages and pockets
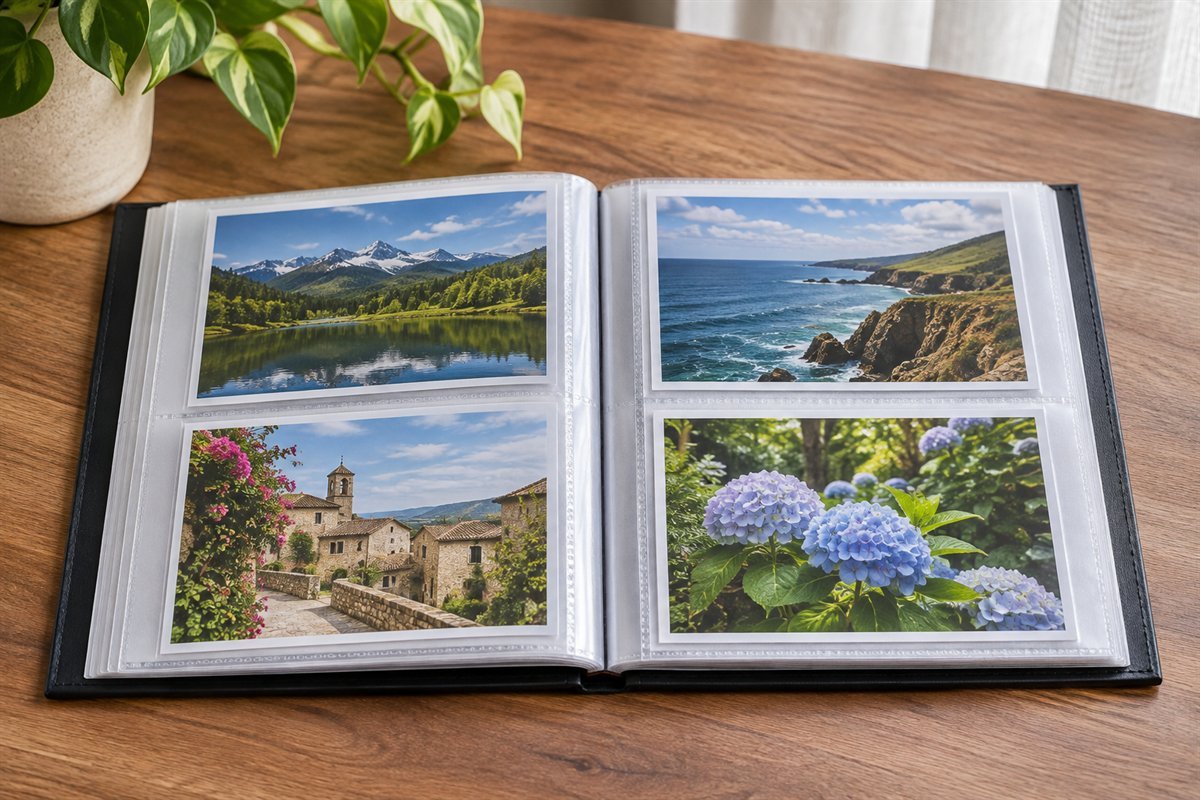
An attractive album cover says little about the materials touching the photographs. Check the pages, pockets and binding with appropriate preservation specifications. National Archives emphasizes the quality of those contact materials and warns against overstuffing. Compare the actual print and enclosure dimensions before filling the album, and keep its pages moving without forcing the spine.
Try this: Assemble a small sample section and check how the closed album rests.
15. Use suitable corner mounts instead of sticky pages
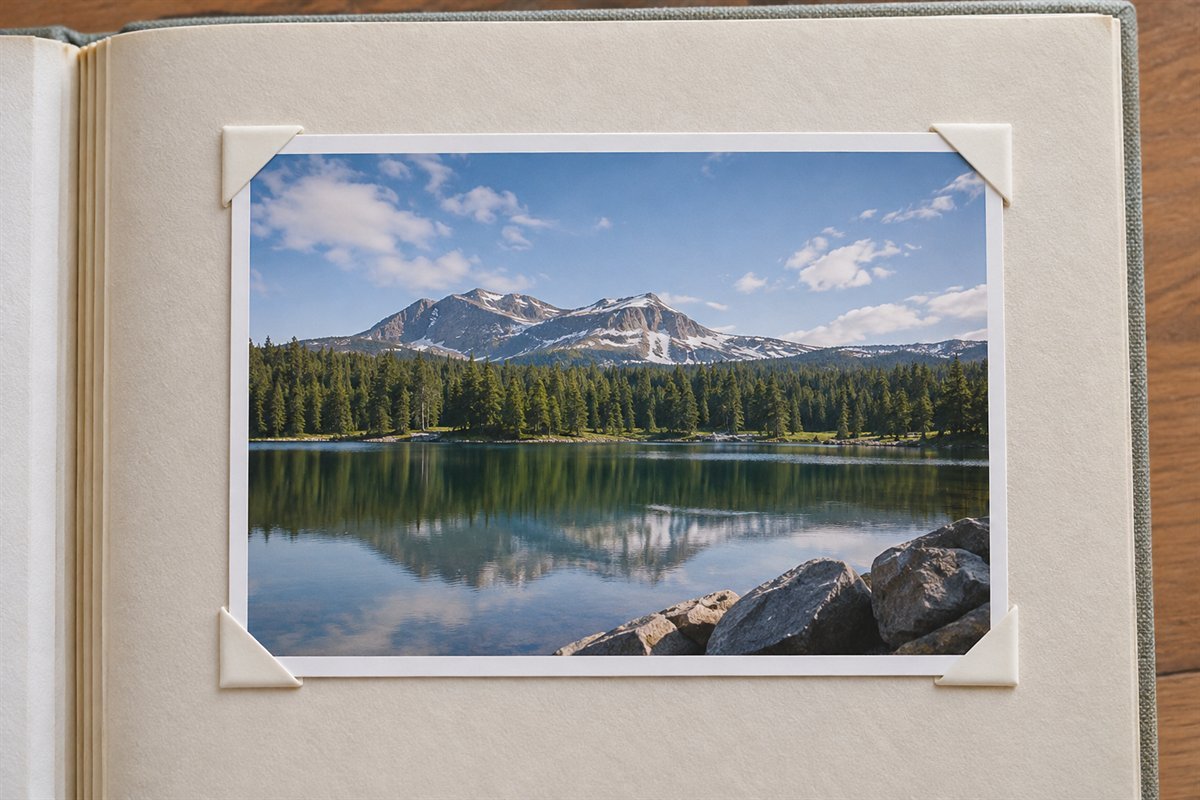
Appropriate corner mounts can hold a photograph without applying adhesive directly to it. Match the corners and page material to the photograph, and leave room for the print without forcing it into a tight frame. Avoid self-stick magnetic pages, sticky notes and improvised household glue. If an image is already stuck, seek advice before attempting removal.
Try this: Check that all four corners support the print without bending its edges.
16. Label the empty enclosure before adding the print
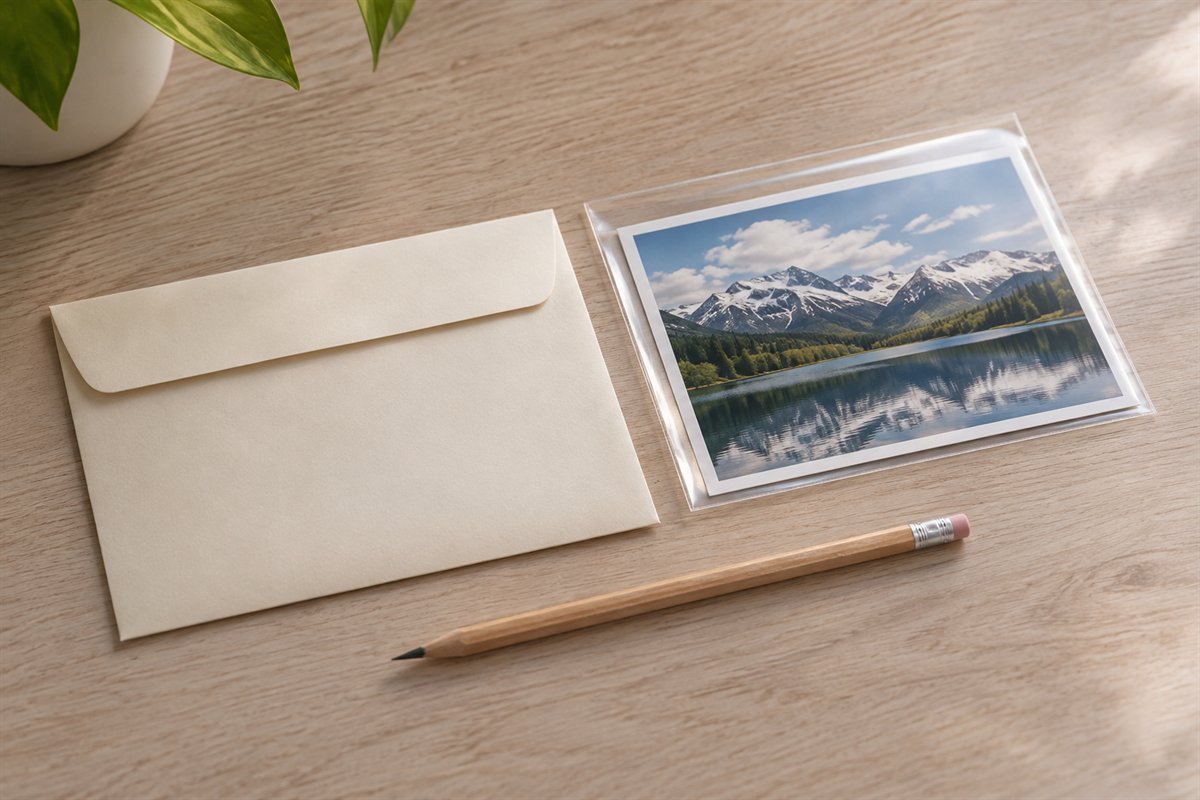
Put identifying information on the housing whenever possible. National Archives advises writing on an enclosure before the photograph is placed inside, so pressure is not transferred to the image. Keep the note concise and distinguish a known date from an estimate. Use a method suited to the enclosure and keep the image itself out of the writing area.
Try this: Finish the housing label, then place the supported print inside as a separate step.
17. Retain useful old notes in a linked folder
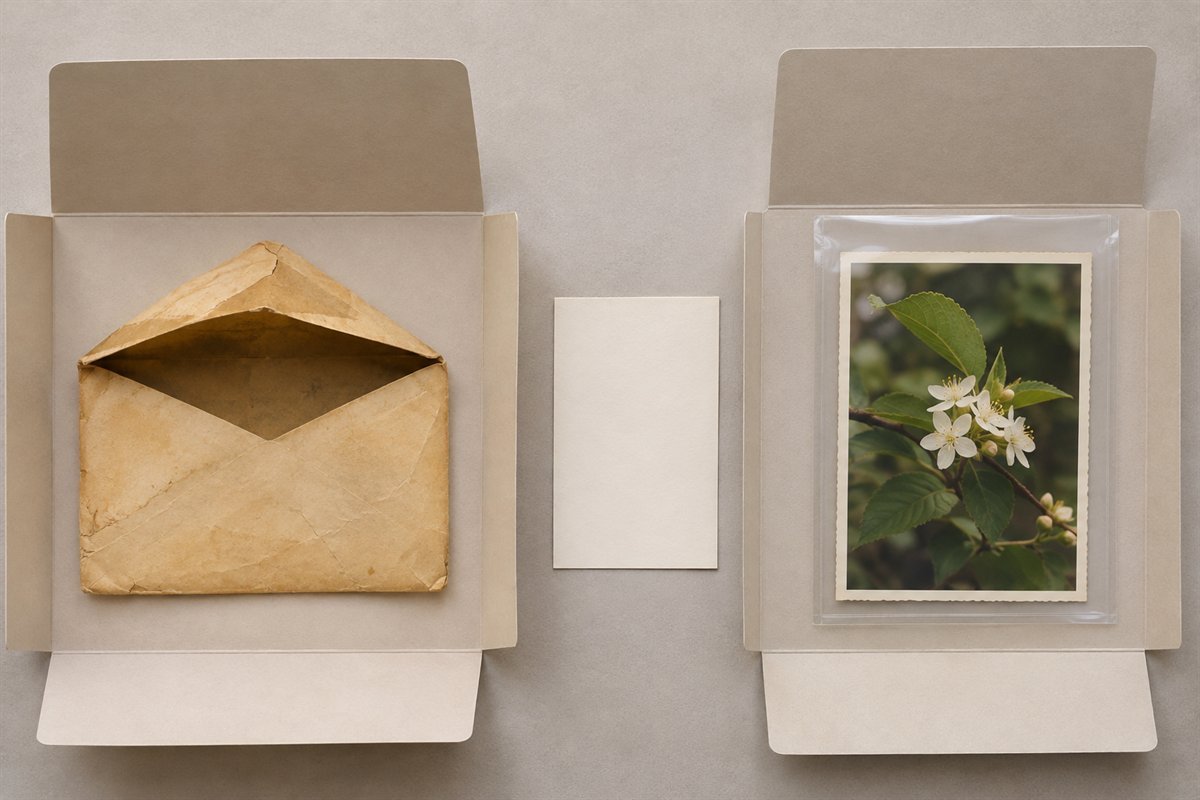
An old envelope or note may explain who supplied a group or how it was originally arranged. Preserve useful context without assuming the old paper is suitable direct housing for the photographs. Keep it in an appropriately separate linked folder and record the association. Photograph or transcribe a note privately if helpful, while keeping uncertainty visible.
Try this: Complete the context record before replacing failed packaging.
18. Give newly printed photographs a small intake place
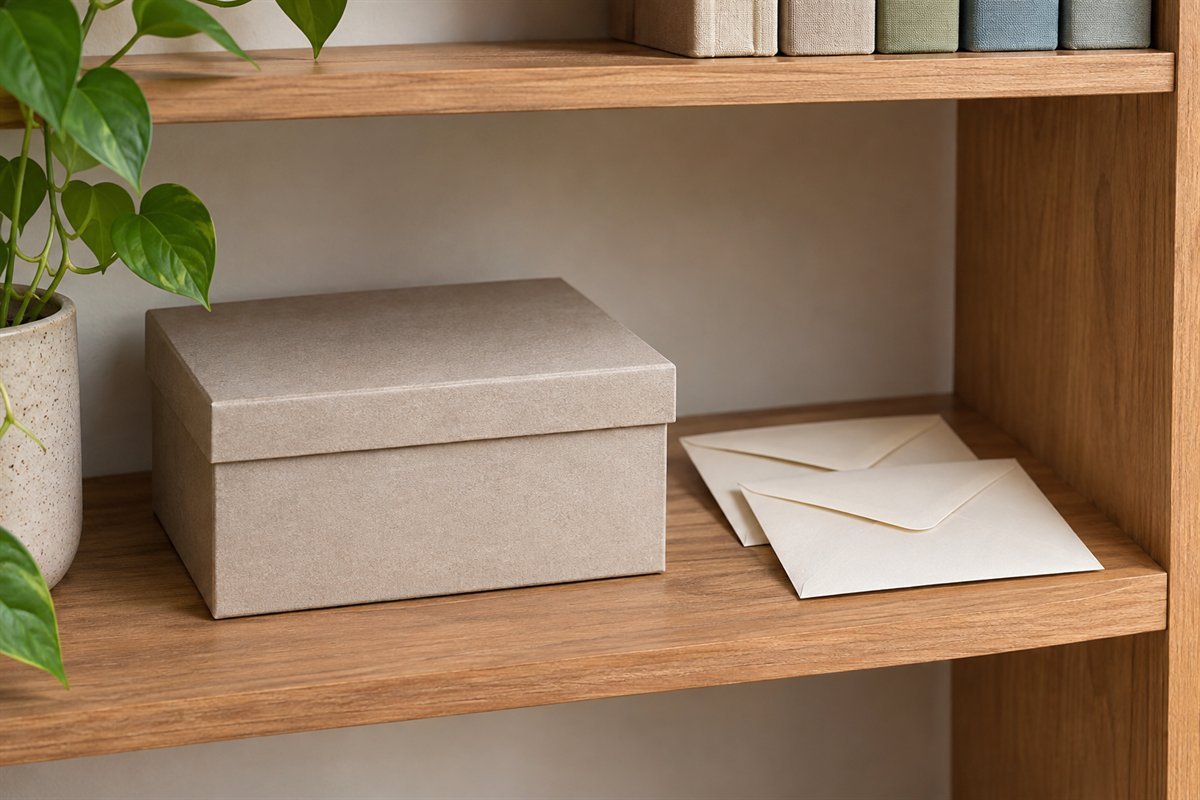
A small intake position can keep recent prints from joining an unsorted household-paper pile. Use appropriate housing from the start and decide where the group will go next. Keep only what can be processed in a manageable session. The intake box should feed the main collection rather than become a second permanent archive with no index.
Try this: Review the intake group when a new batch arrives.
19. Work from one supported sorting packet at a time
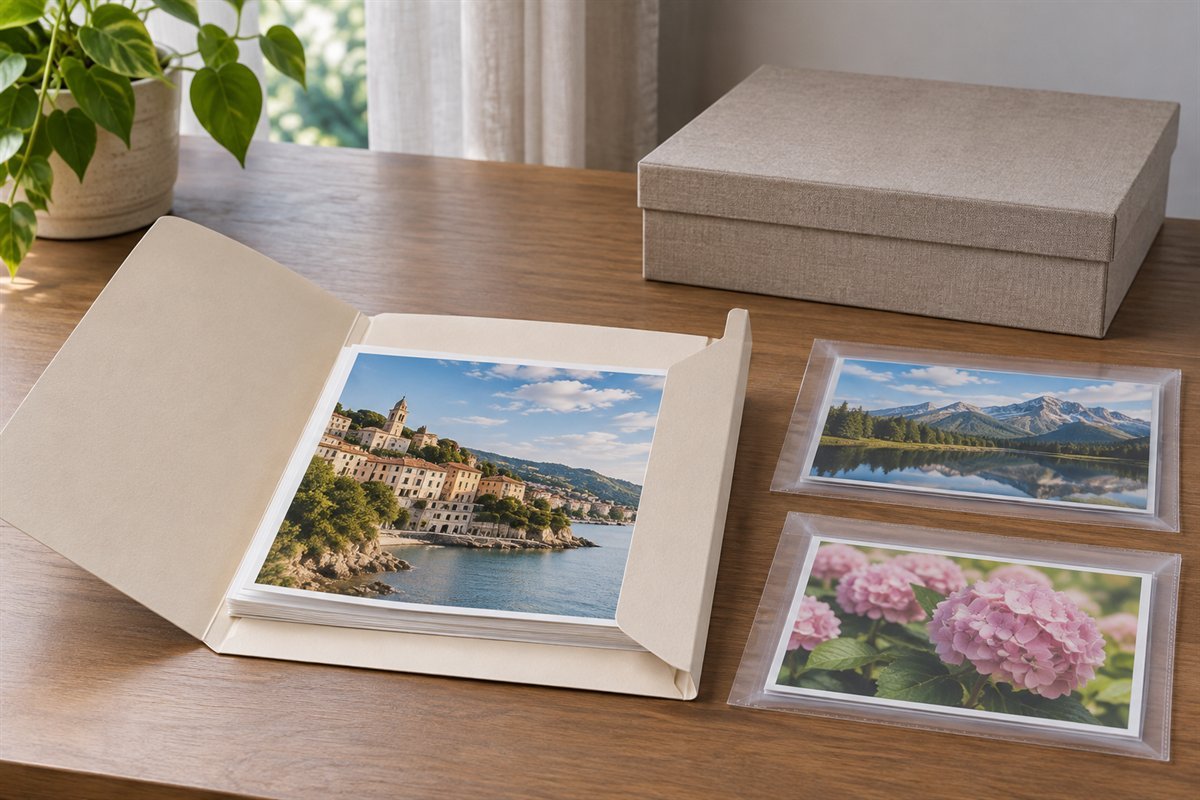
Limit a sorting session to a group that can be identified and returned before the table is needed again. Keep the working surface clean and clear of drinks, food and abrasive objects. Support the prints and follow the relevant handling guidance. Close one packet before beginning another, preserving the order that gives the images context.
Try this: End the session by returning every open group to its assigned housing.
20. Create a modest digitization queue without forcing prints flat
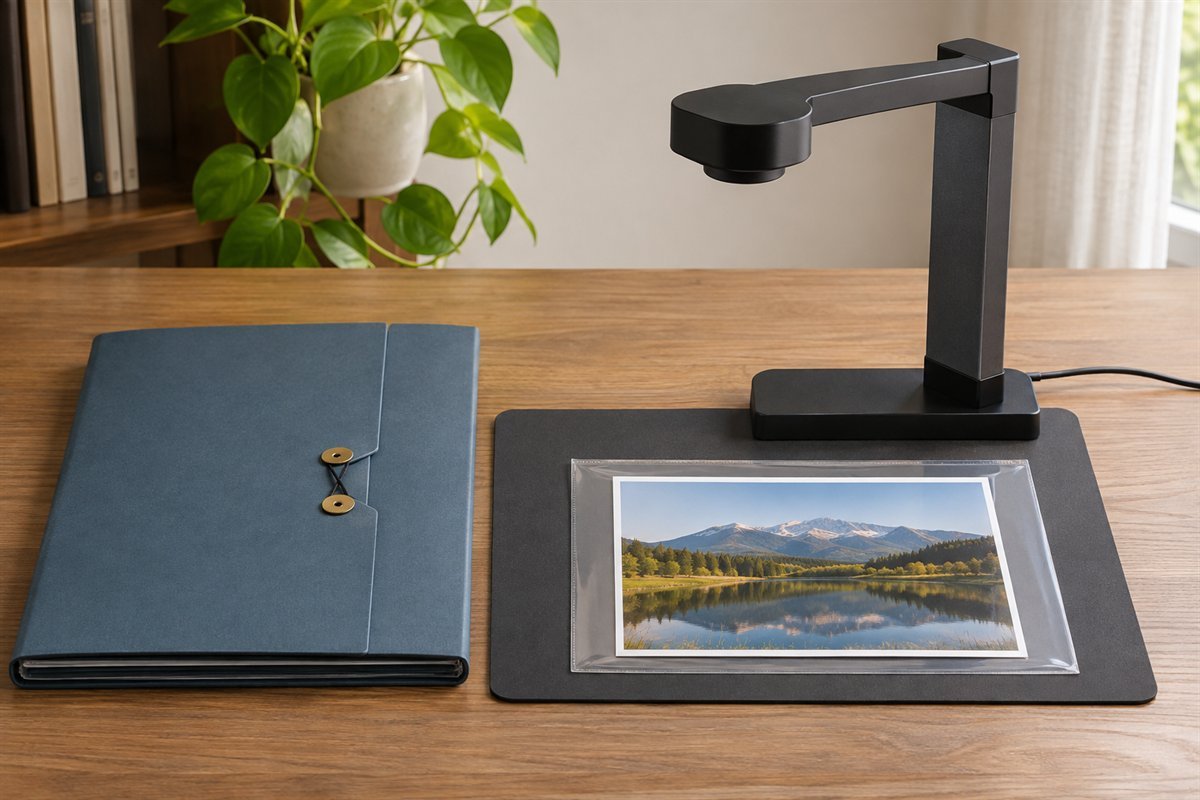
A small queue can connect organization with a later digitization project. Record which originals are ready for an appropriate capture method and which need advice first. Do not press curled, brittle or adhered material flat to meet a scanning deadline. Choose the capture process for the photograph and its condition, preserving the source order and identity.
Try this: Test the naming and return routine with one suitable print before opening a whole box.
21. Link the digital filename to the physical location
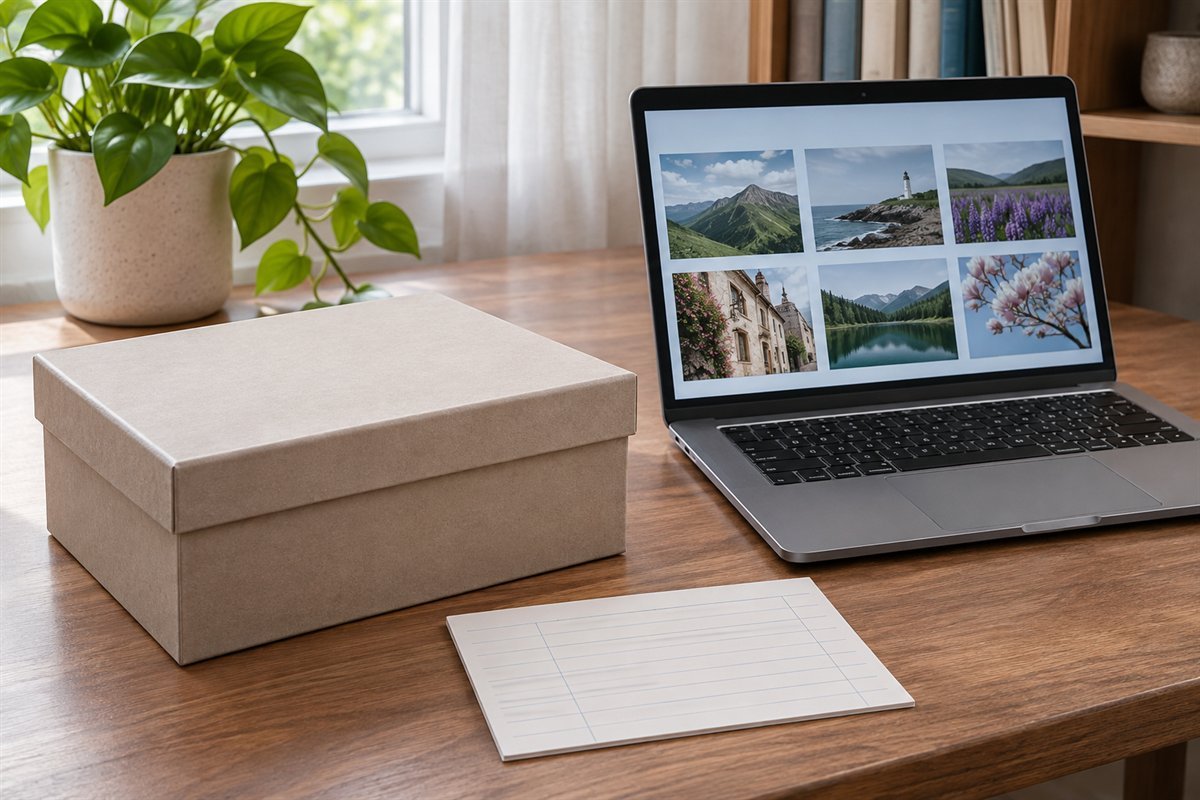
A private locator can connect an image file with the box, folder and enclosure holding its original. Use a consistent identifier that does not depend on remembering where the print was last viewed. Keep a digital copy separate from the physical-location record’s only copy, and plan suitable backups for the files. A scan should make finding an original easier, not break that connection.
Try this: Locate one print from its file record, then return it using the same identifier.
22. Display copies while originals remain housed
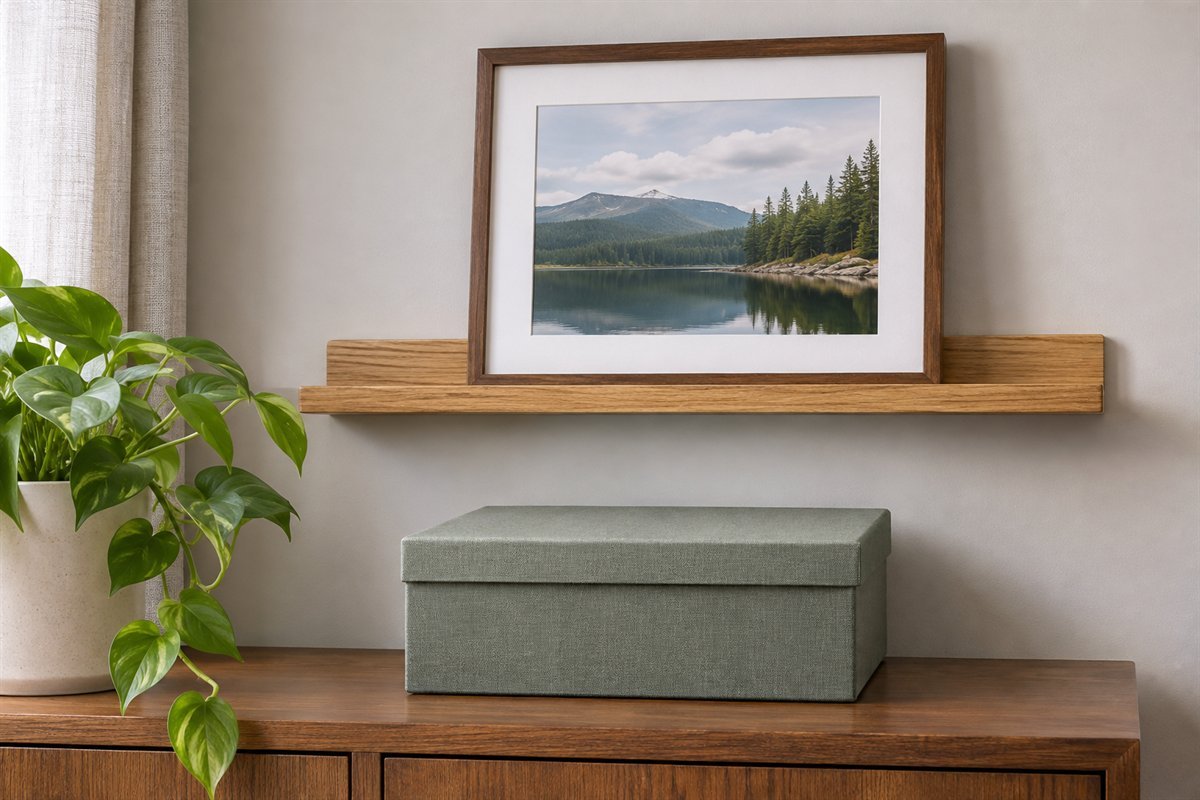
For a frequently displayed image, consider a suitable copy while the original remains appropriately housed. NEDCC notes that light damage is cumulative and favors occasional or rotating display for photographs. Plan a display that can be changed without repeatedly handling irreplaceable prints. The frame and ledge still need their own fit and installation checks.
Try this: Record which image is a display copy before placing it in the frame.
23. Keep private collections behind an appropriate door
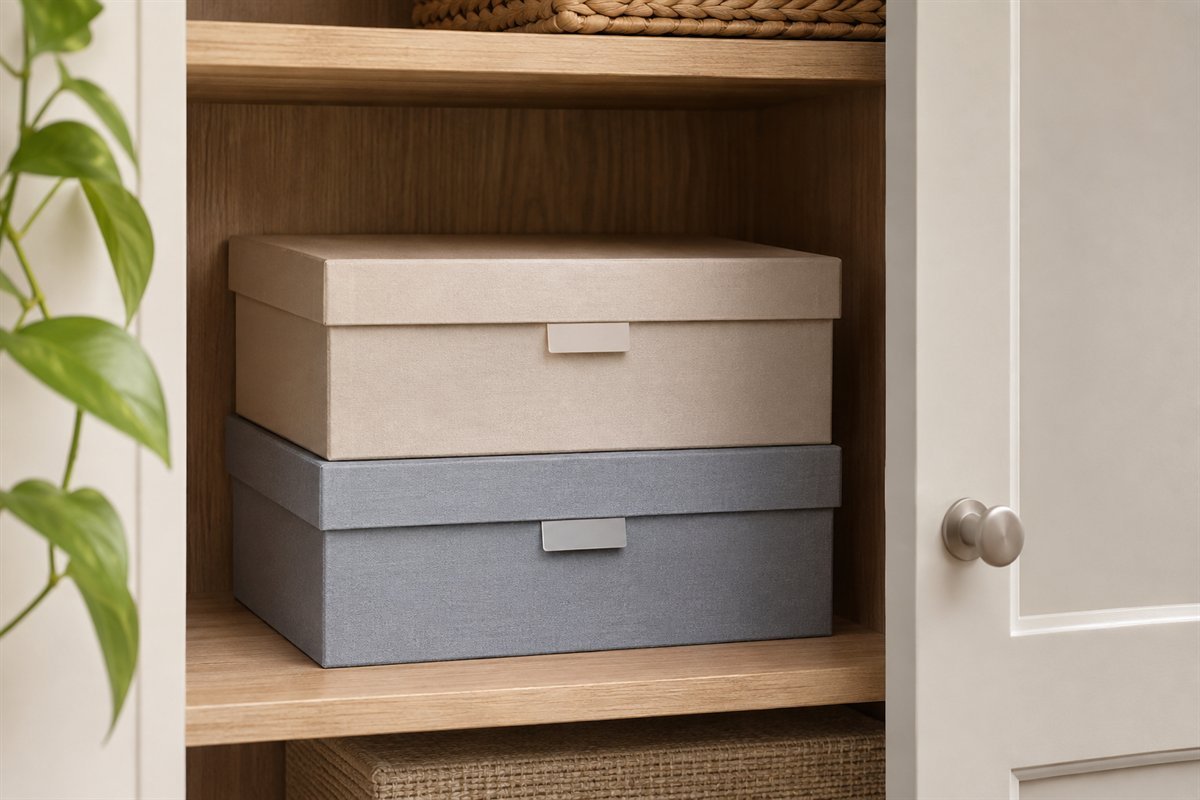
A household photograph collection may include images and identifying notes that should not sit in an exposed display. Choose access appropriate to the people sharing the room, and keep public-facing labels discreet. This is a privacy and organization decision; a decorative cabinet is not a security rating. Keep any detailed inventory in a location suited to its contents.
Try this: Read the shelf from a visitor’s position and remove unnecessary personal details.
24. Keep a box map and review the return routine
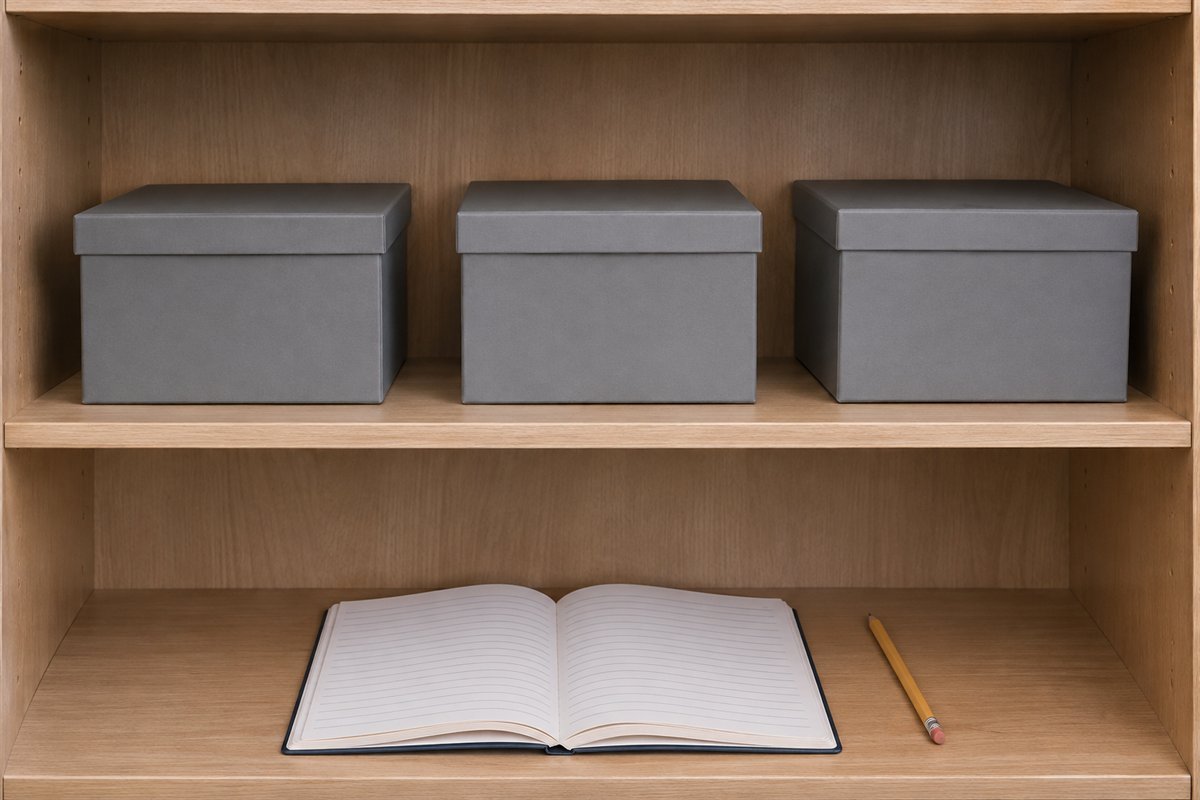
Finish with a short map of the collection: group, housing, location, unresolved condition question and next review. Check that one box can be removed and returned without unloading the whole cupboard. Inspect the storage environment and housing periodically, using appropriate guidance if a concern appears. Add another box only when it gives a retained group a useful, identifiable home.
Try this: Complete one retrieval-and-return cycle using the map before expanding the system.
A housing and locator checklist for one real photo group
Write down the group’s private identifier, known date range, photographic processes if identified, condition concerns, largest enclosed dimensions, chosen housing specification, physical location and corresponding digital-file reference. Mark assumptions as uncertain. Keep this record with the collection information rather than writing private details on a visible cabinet front.
For each box, check the usable length, width and depth with one appropriately enclosed sample. Confirm that a print can be removed without rubbing its image surface, forcing a corner or allowing the remaining group to slump. Use the photographic-material guidance to choose support and orientation; a fit test does not certify the enclosure’s chemistry.
Rehearse one ordinary request: find an image from the locator, consult the appropriate copy or original, then return it to the correct enclosure and box. Note the first step that requires guesswork. Simplify that step before investing in more containers.
Do not transfer general paper-storage instructions indiscriminately to photographs. Some archival guidance covers rolled paper documents, specialist cold storage or particular photographic processes. Those are distinct tasks requiring the relevant instructions, not shortcuts for a mixed household print collection.
Are all acid-free photo boxes suitable for every photograph?
No. Review the complete housing specification and suitability for the photographic material, rather than the phrase acid-free alone. Standards, PAT information, contact materials, print condition and process all matter. Ask a preservation supplier or photograph conservator about an uncertain group.
Can printed photos be kept in plastic sleeves?
Appropriate specified plastic enclosures can suit many prints in a suitable environment, but unknown plastics and PVC should be avoided. The exact material, coatings, photograph and condition matter. Follow the cited preservation guidance rather than treating every transparent pocket as equivalent.
Should photographs be removed from an old sticky album?
Do not force an adhered photograph away from a page to complete an organizing project. Removal can damage the print. Preserve the context and ask a photograph conservator about an appropriate method for the album and image.
A practical next step
Begin with one manageable group, identify its housing needs and give it a reliable locator and return place. Keep uncertain or damaged materials separate for advice, and use copies for routine sharing where appropriate. Expand the system when the first group is straightforward to find and return.
Paper file storage ideas for the surrounding household documents. Picture ledge ideas for suitable framed display copies.
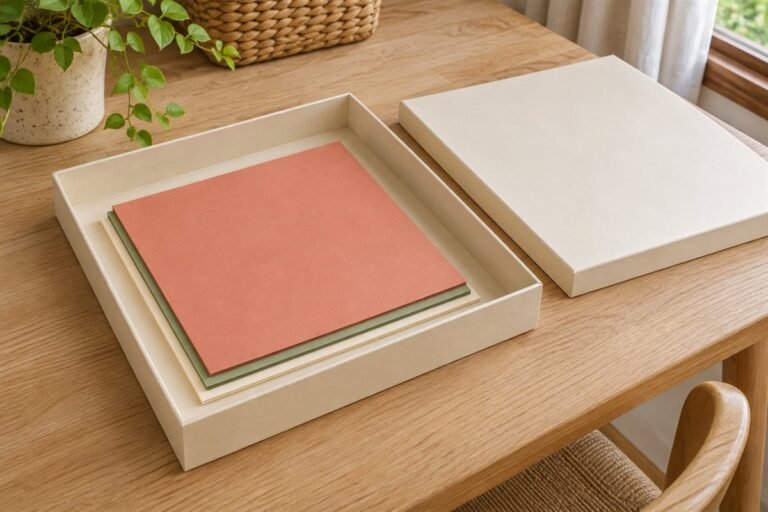
Images are original AI-generated organization concepts with invented photographs and blank record cards. They do not document real families, tested archival products, certified materials or conservation treatments.
Sources and care references
- Library of Congress: care, handling and storage of photographs
- National Archives: photographic enclosures, identification, support and process differences
- National Archives: family photograph housing and album materials
- NEDCC: photograph environment, enclosures and display considerations
Optional digital guide for this topic
If you prefer a structured workbook, explore this related paid guide.