Good craft paper storage ideas make it easy to choose one sheet without creasing its corners or unpacking the entire collection. Start with the paper you actually use: full cardstock sheets, patterned collections, bound pads and reusable offcuts each need a slightly different home.
This guide focuses on unused papercraft materials rather than household documents or a whole-room craft makeover. Choose a few of these arrangements to suit your collection. A card maker with small paper pads may need a different setup from someone working with large scrapbook sheets and poster board.
Contents
- 1. Give complete sheets a fully supported compartment
- 2. Use supported upright files for frequently chosen cardstock
- 3. Keep patterned paper collections in separate flat cases
- 4. Choose wide shallow drawers for a larger flat collection
- 5. Reserve magazine files for the smaller formats that fit
- 6. Limit desktop trays to the papers being used now
- 7. Put one unfinished paper project in a removable wallet
- 8. Give bound paper pads their own flat shelf
- 9. Sort reusable offcuts into a few size-based envelopes
- 10. Lay narrow paper strips in a divided shallow drawer
- 11. Contain loose die cuts in a small compartment box
- 12. House tissue sheets in a broad lightweight folder
- 13. Separate crepe-paper rolls in a shallow roll tray
- 14. Keep translucent sheets in a clearly separate packet
- 15. Keep glitter and foil stock from rubbing against other papers
- 16. Use a supportive portfolio for occasional oversized board
- 17. Give unopened reserve paper a separate shelf box
- 18. Use modest paper cubbies for independently removable groups
- 19. Choose a drawer cart when paper moves between work areas
- 20. Use one manageable paper tote for a temporary craft table
- 21. Build a small paper station inside an existing cupboard
- 22. Keep paper storage away from direct sun and unsuitable damp areas
- 23. Keep adhesive paper and stickers on their intended backing
- 24. Give blank cards and envelopes a separate divided space
Measure the paper, its folder and the removal space
Make three groups before buying an organizer: full sheets, bound pads and usable scraps. Record the largest item in each group, including packaging and dividers you intend to keep. Measure a cabinet’s usable interior and opening rather than relying on its outside dimensions. A pocket sold for 12-inch paper can be larger than the paper itself, and its tab can add more height. Decide which papers belong beside the work surface and which can live in a separate reserve.
Choose storage around your paper collection
- Several colors used in most projects: Supported upright dividers or a shallow drawer with independently removable groups
- Patterned sheets bought as a collection: A full-size folder or case that keeps the designs together
- Small useful offcuts: A few size-based envelopes to check before cutting a new sheet
- A temporary table used for crafting: One manageable portable paper file with a permanent return shelf
- Occasional oversized sheets: A separately measured supportive portfolio
1. Give complete sheets a fully supported compartment
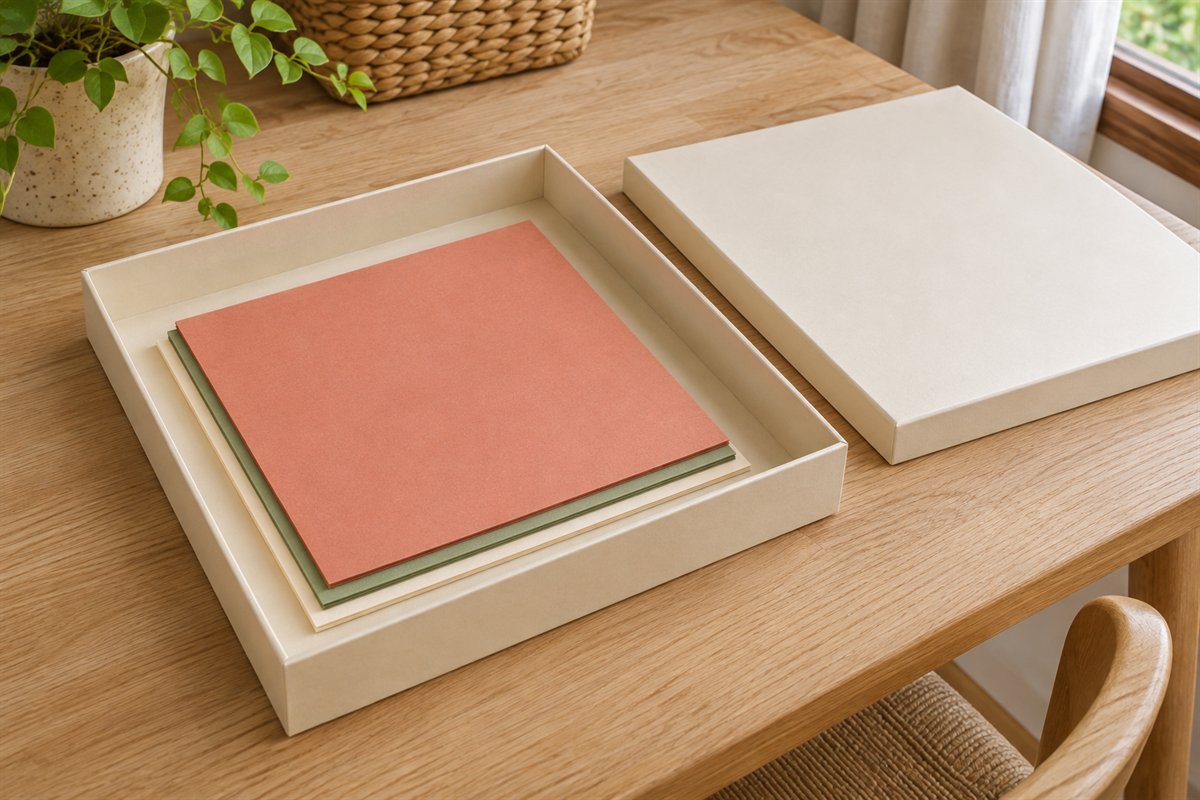
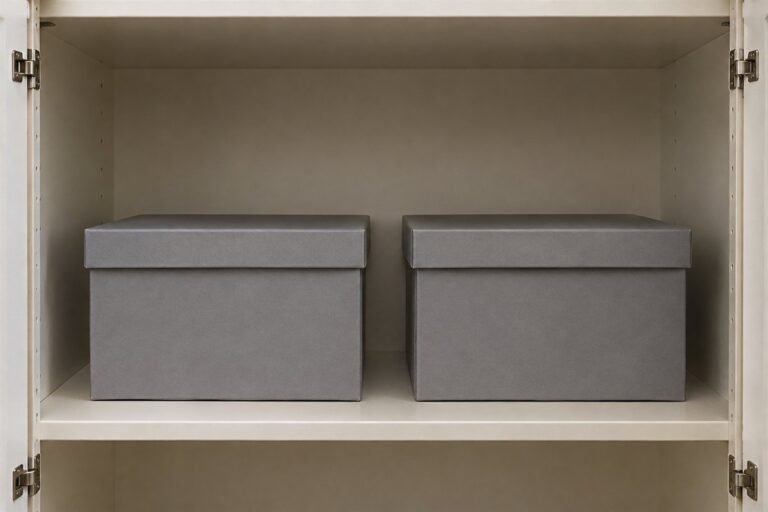
Begin with one compartment that supports the whole sheet. For square scrapbook paper, check both directions of the opening; a long organizer can still be too narrow. Place a small stack inside and remove its bottom sheet during the fit test. The corners should clear the sides without being curled upward, and the lid should close without pressing an oversized sheet into a bow.
2. Use supported upright files for frequently chosen cardstock
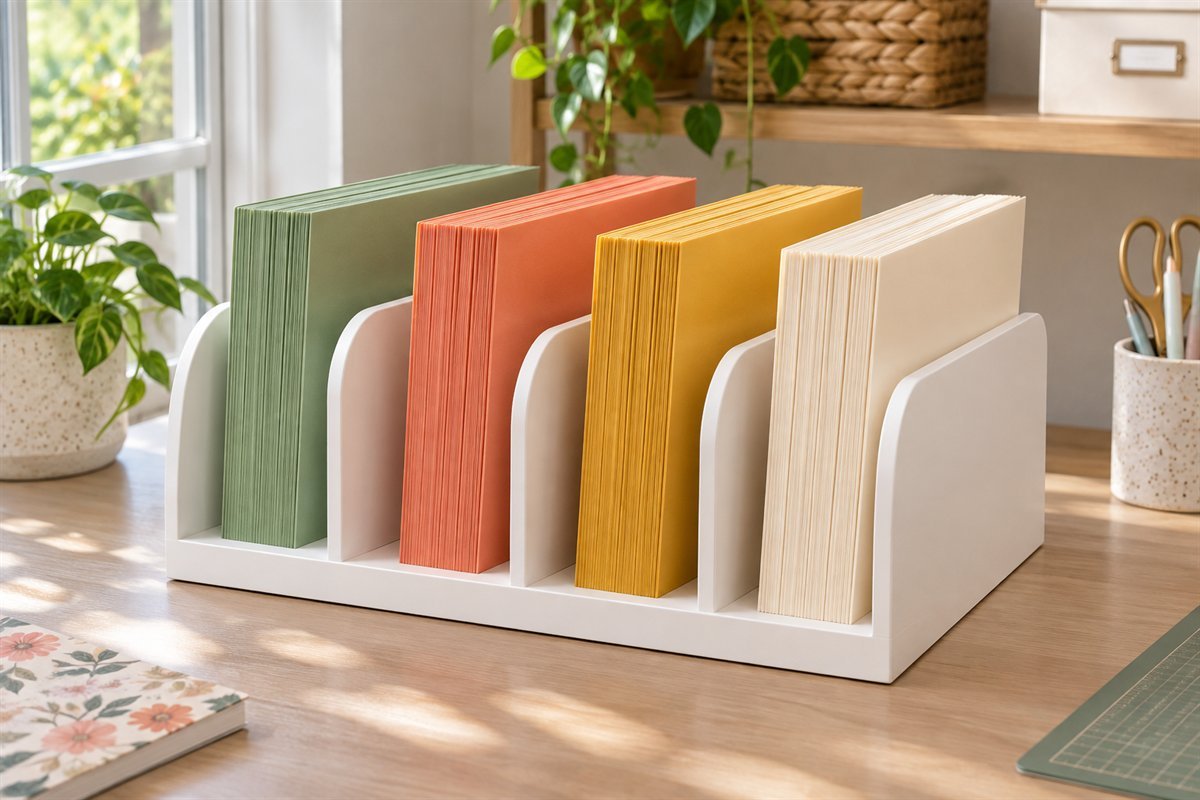
Upright files make a familiar color collection easy to browse. Use dividers and a base that support the sheets, keeping the group full enough to stay orderly without squeezing it tightly. Arrange colors in the sequence you naturally reach for them. If one color runs low, move its divider inward rather than leaving a few unsupported sheets leaning into a large empty gap.
3. Keep patterned paper collections in separate flat cases

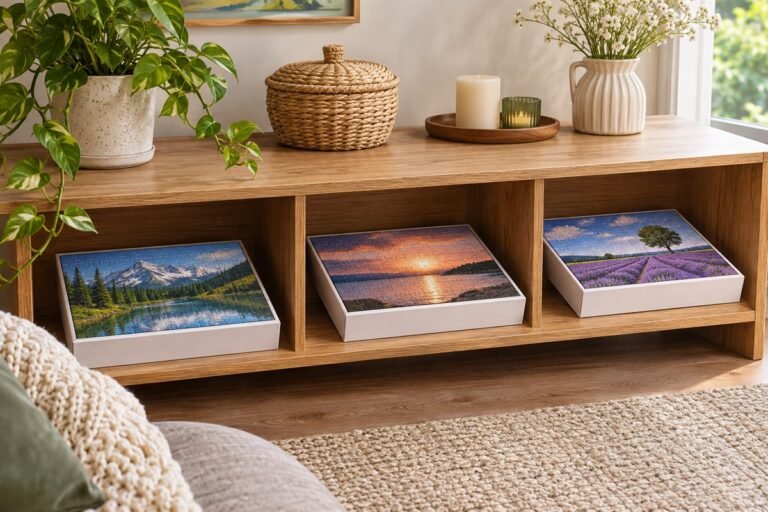
Patterned collections often contain colors and prints designed to work together. A shallow case can preserve that useful relationship without requiring a separate category for every pattern. Keep a small offcut envelope with its matching collection. Compare case size with shelf space too: IRIS lists its small 12-inch scrapbook case at 14.3 by 14.2 by 1.6 inches overall. Those outside measurements do not establish its usable interior or compatibility with every tabbed folder.
4. Choose wide shallow drawers for a larger flat collection
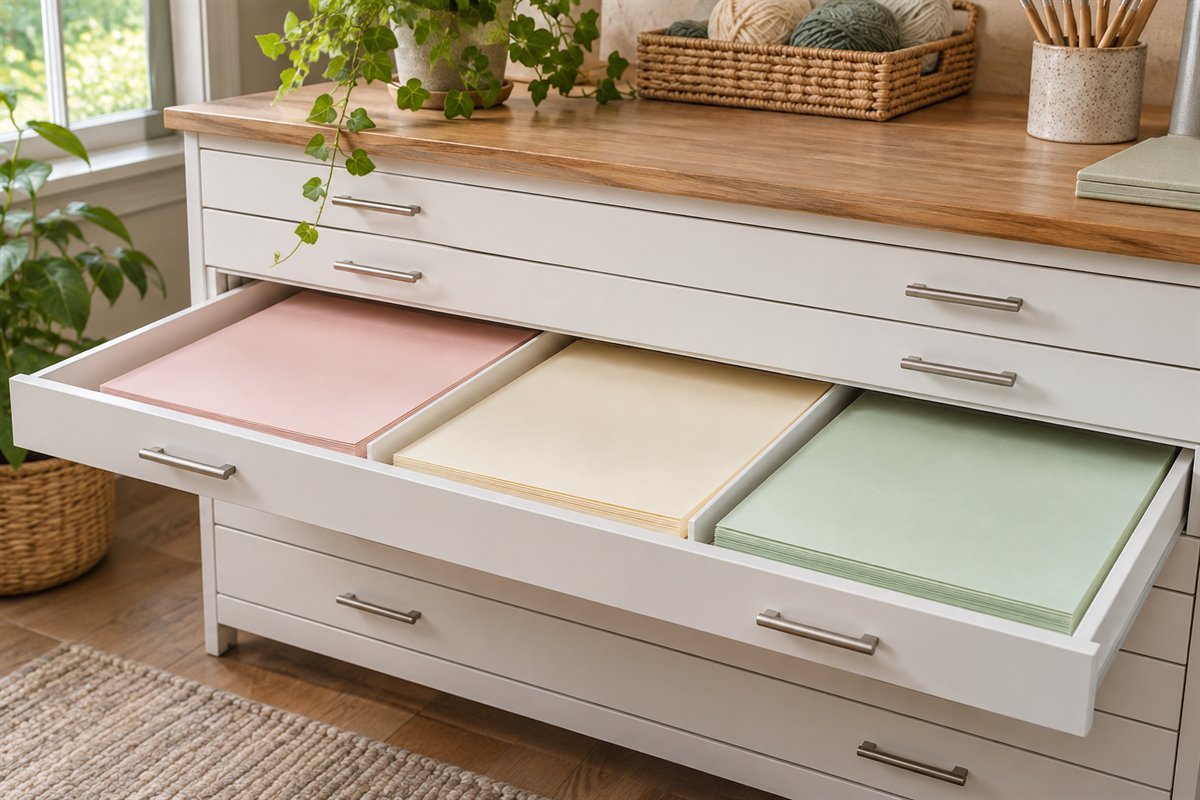
A wide drawer can hold several flat groups while leaving the worktop clear. Keep stacks low enough to see and lift the papers beneath them. Add simple divisions only where groups slide into one another. Test retrieval with the drawer in its normal opening position; a sheet that fits when the drawer is removed may still be awkward to lift beneath the worktop.
5. Reserve magazine files for the smaller formats that fit
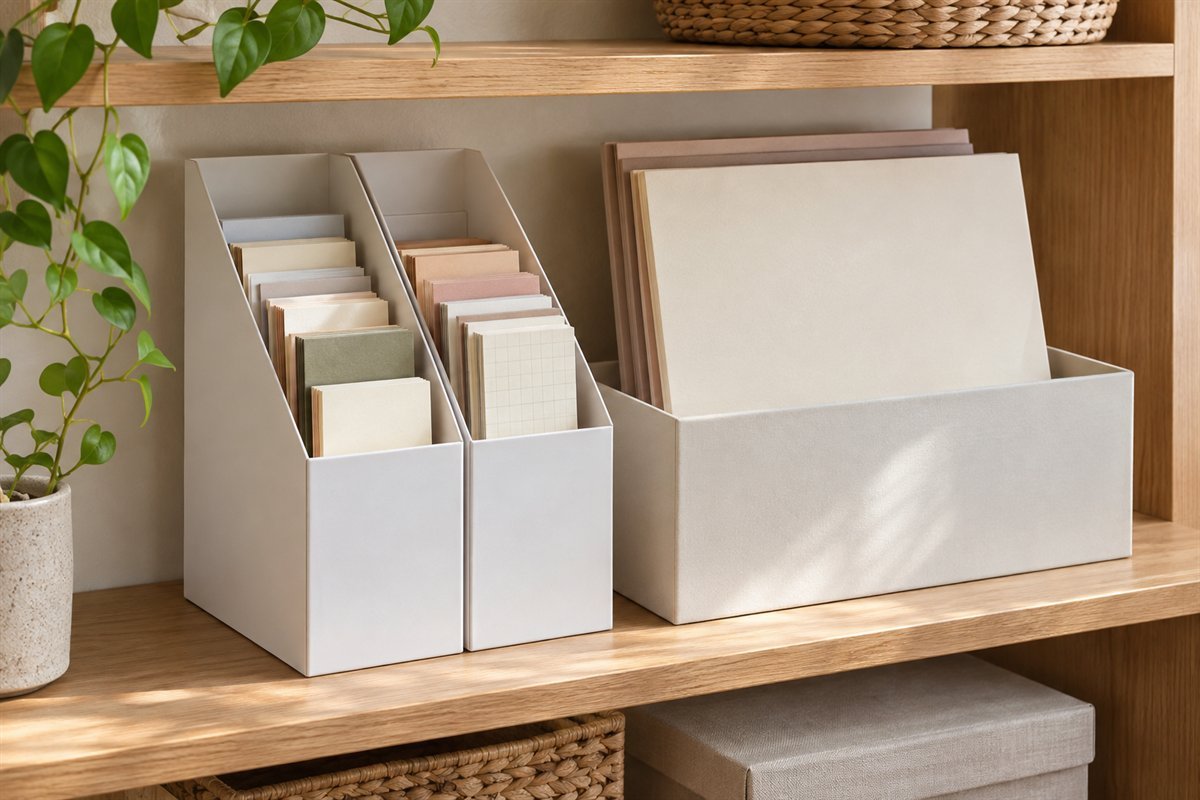
Magazine files can suit smaller pads and rectangular sheets, but their name says little about compatibility with square craft paper. IKEA lists the TJABBA model at 4 inches wide, 9¾ inches deep and 11¾ inches high. Use that as a reminder to measure the actual product, then check the complete stored packet. Choose a different compartment for sheets that project beyond its support.
6. Limit desktop trays to the papers being used now
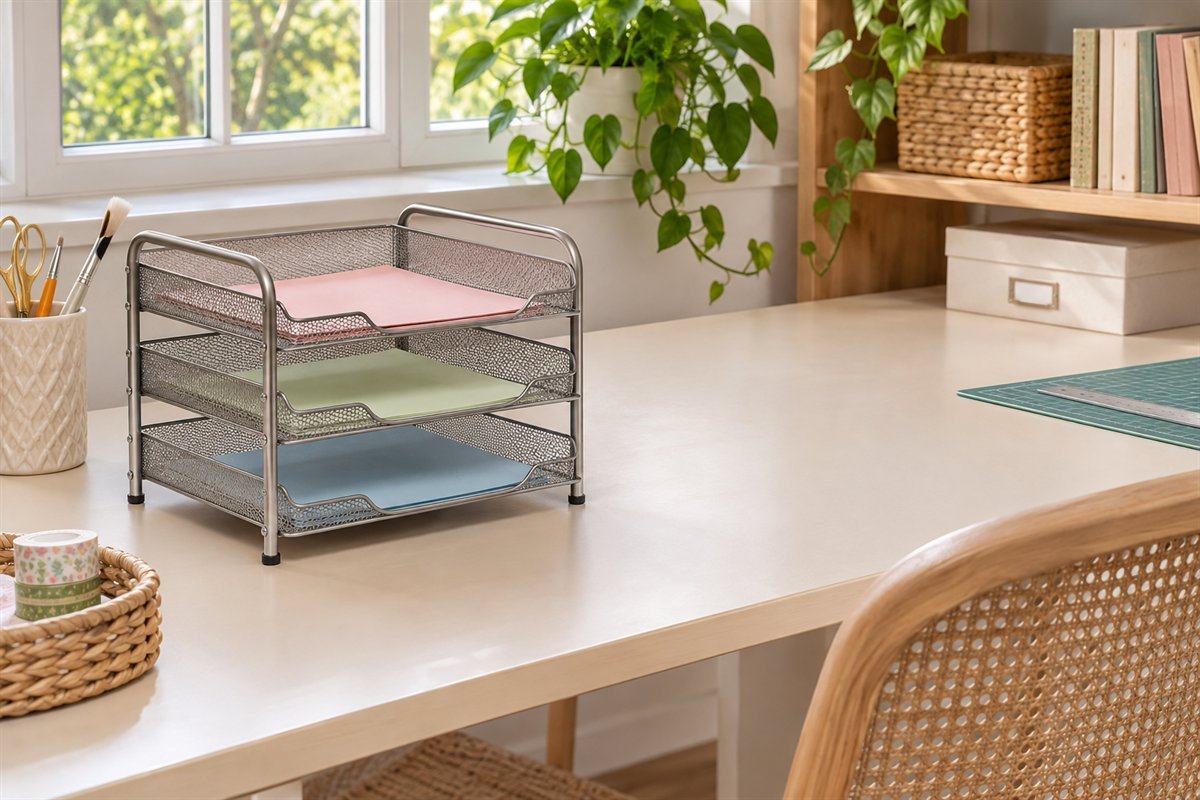
A small tray stack works best as a short-term selection area. One tray might hold the papers for today’s cards and another the remaining pieces from that project. Keep the long-term collection elsewhere so a working tray does not become a heavy mixed archive. At the end of the session, return unused sheets to their proper groups and leave the tray ready for the next project.
7. Put one unfinished paper project in a removable wallet
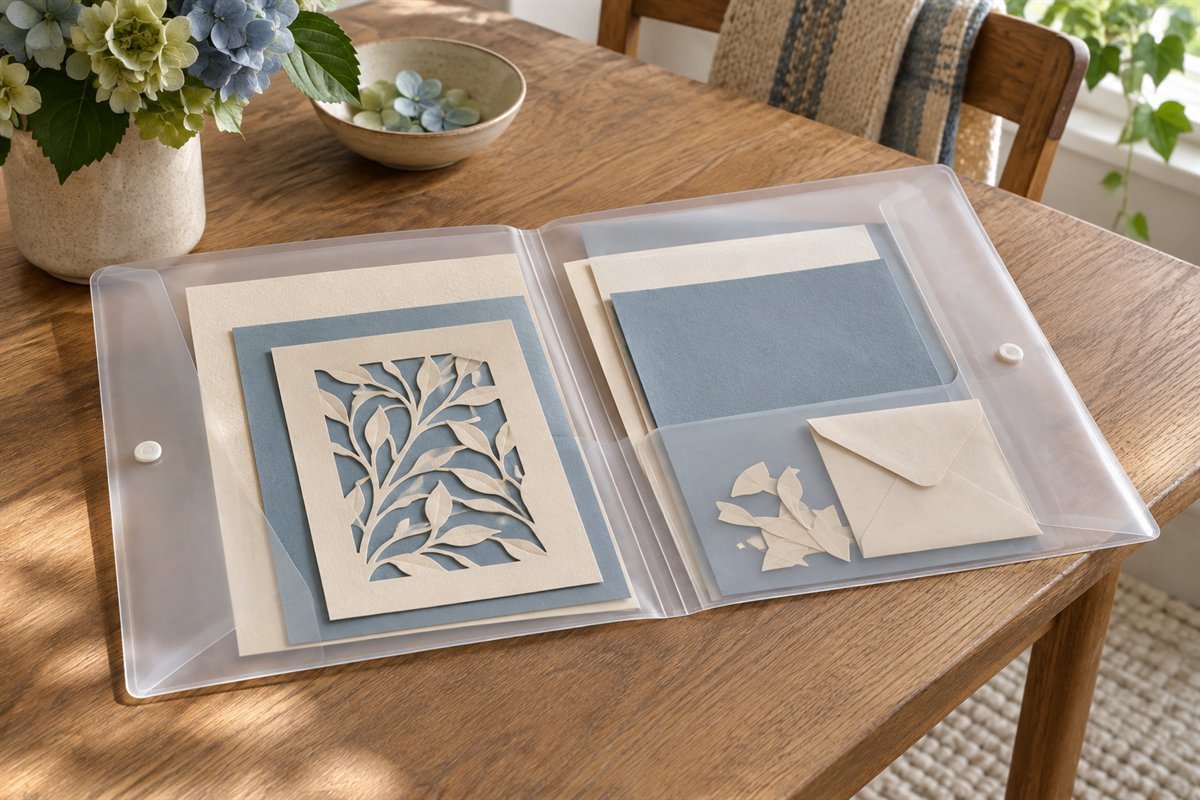
A project wallet keeps a chosen paper combination together between sessions. Include the useful scraps, a blank sample card and any dry components that belong to that project. Store glue, blades and other tools separately. Select the wallet around the largest piece and the packet’s thickness; forcing its closure can bend precisely cut edges that you intended to save.
8. Give bound paper pads their own flat shelf
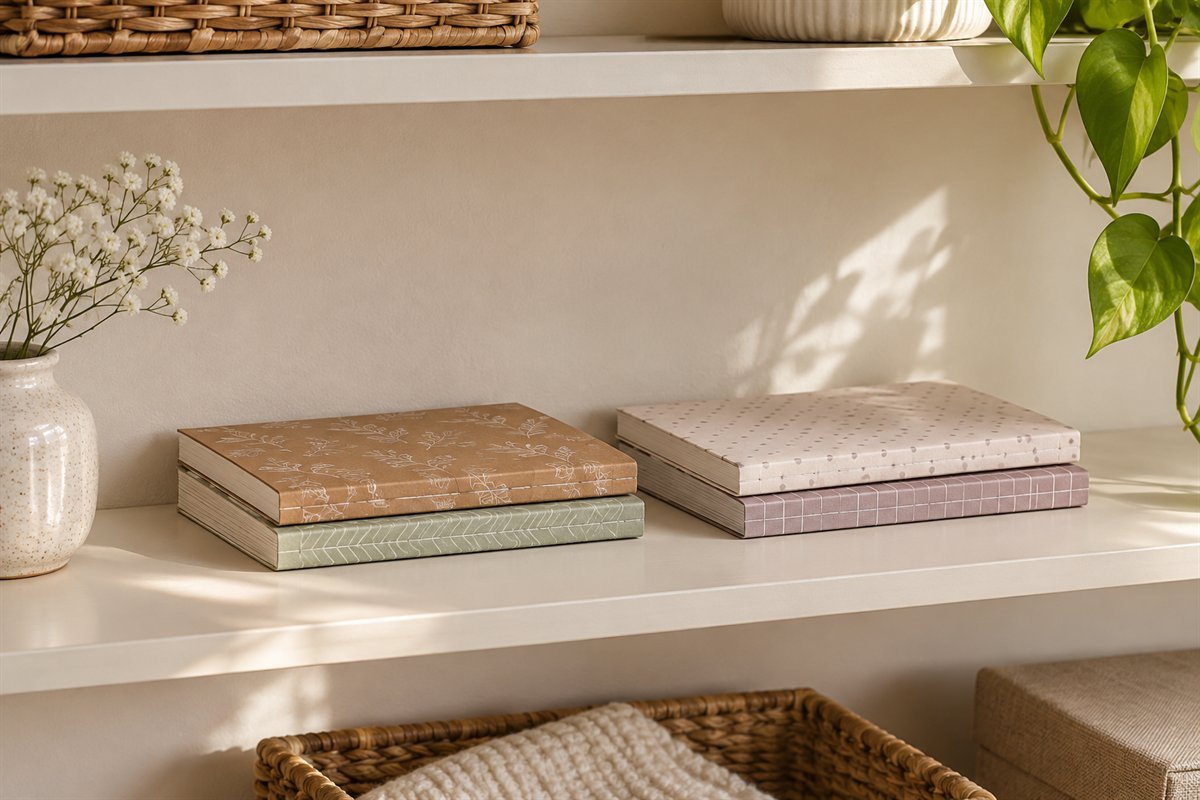
Paper pads are easier to browse when their covers and binding edges remain recognizable. Use low flat stacks, grouping pads by the format you use together. Leave room to lift one without dragging a neighboring pile over it. Keep loose sheets that have separated from a pad in a matching folder so they do not disappear between the covers of an unrelated collection.
9. Sort reusable offcuts into a few size-based envelopes
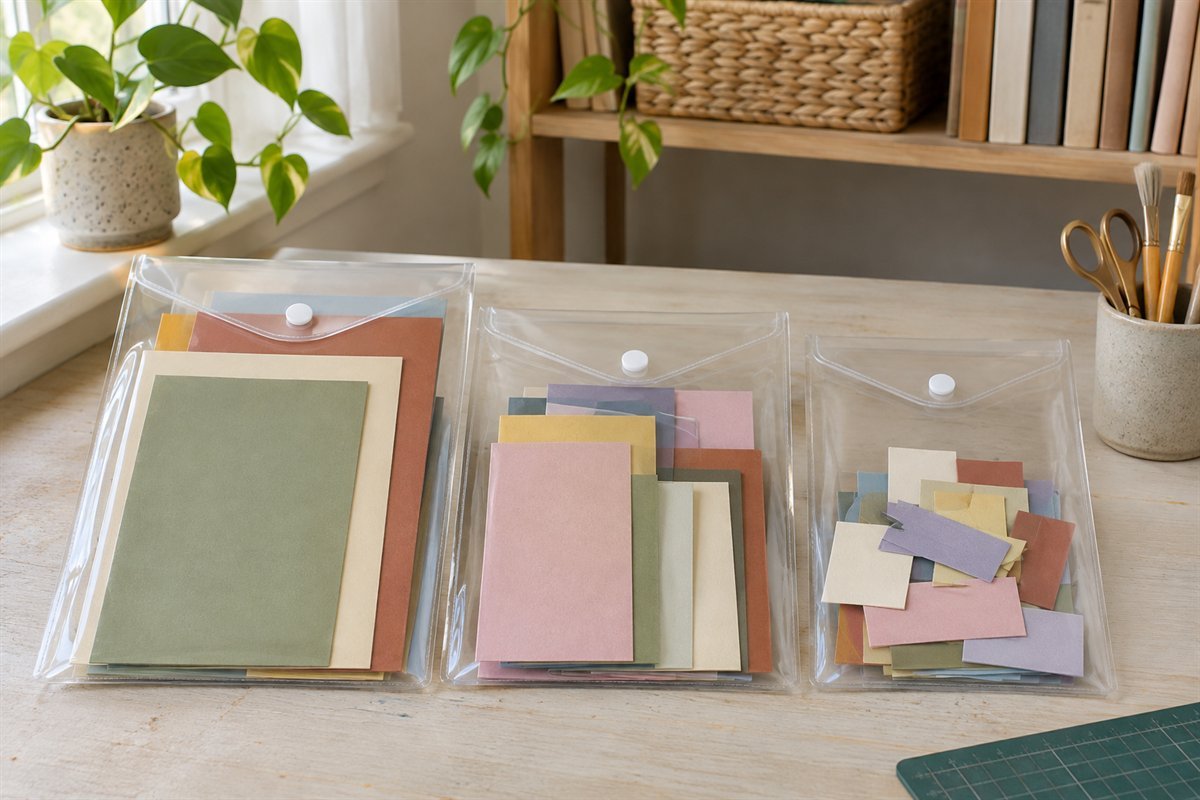
Size can be a more useful first division than an elaborate rainbow of tiny scraps. Create a few groups such as larger panels, small card fronts and short pieces for die cutting. Check these before opening a new full sheet. Define the smallest piece worth keeping from the projects you actually make; save a small collection you can browse rather than every sliver that leaves the trimmer.
10. Lay narrow paper strips in a divided shallow drawer
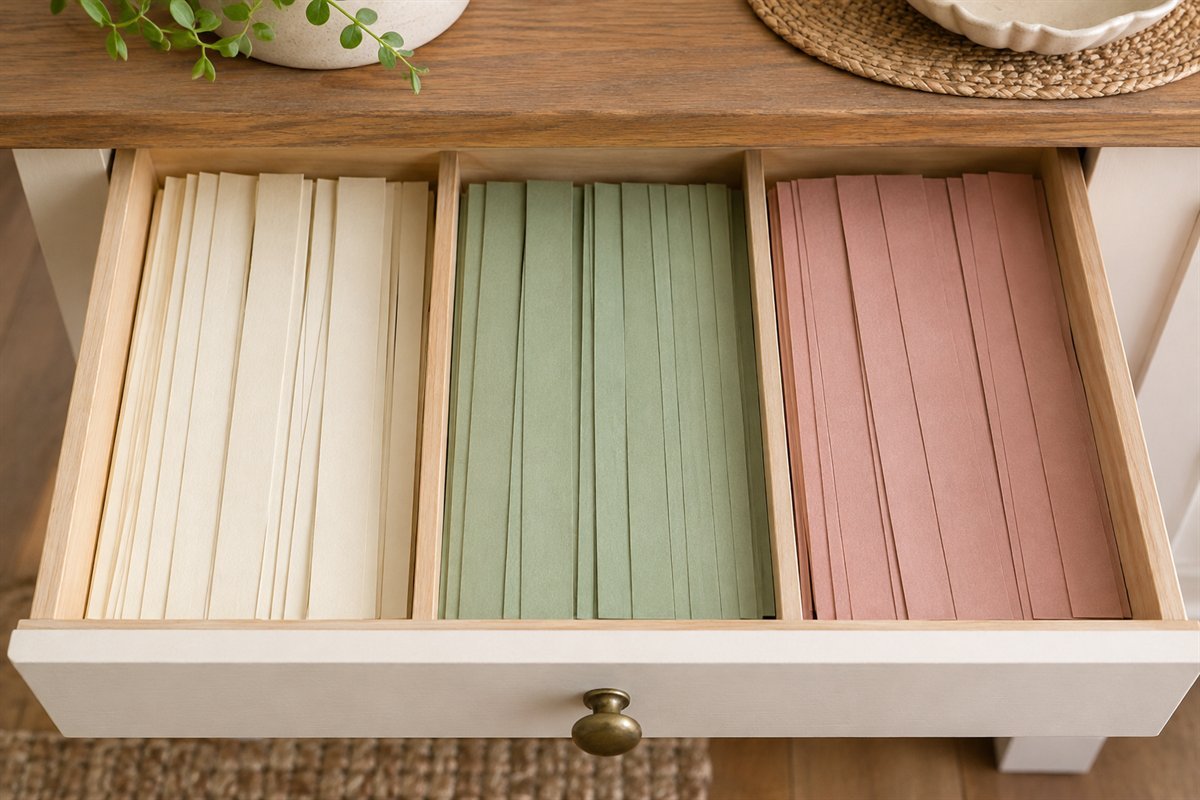
Long strips tangle and curl when they share a pouch with irregular scraps. A low divided drawer keeps useful lengths visible and supported. Separate wider border pieces from thin accent strips if both are part of your work. Use a short removable tray for the group rather than scattering strips across the entire drawer, leaving room to take one out without catching its neighbors.
11. Contain loose die cuts in a small compartment box

Precut paper shapes need smaller boundaries than full sheets. A shallow compartment box lets a few useful shapes remain separate without burying delicate pieces. Choose compartments large enough for the widest cutout and avoid packing them tightly. Keep the collection tied to shapes you regularly use; an expanding box of unrelated cuts can take longer to search than making the required piece again.
12. House tissue sheets in a broad lightweight folder
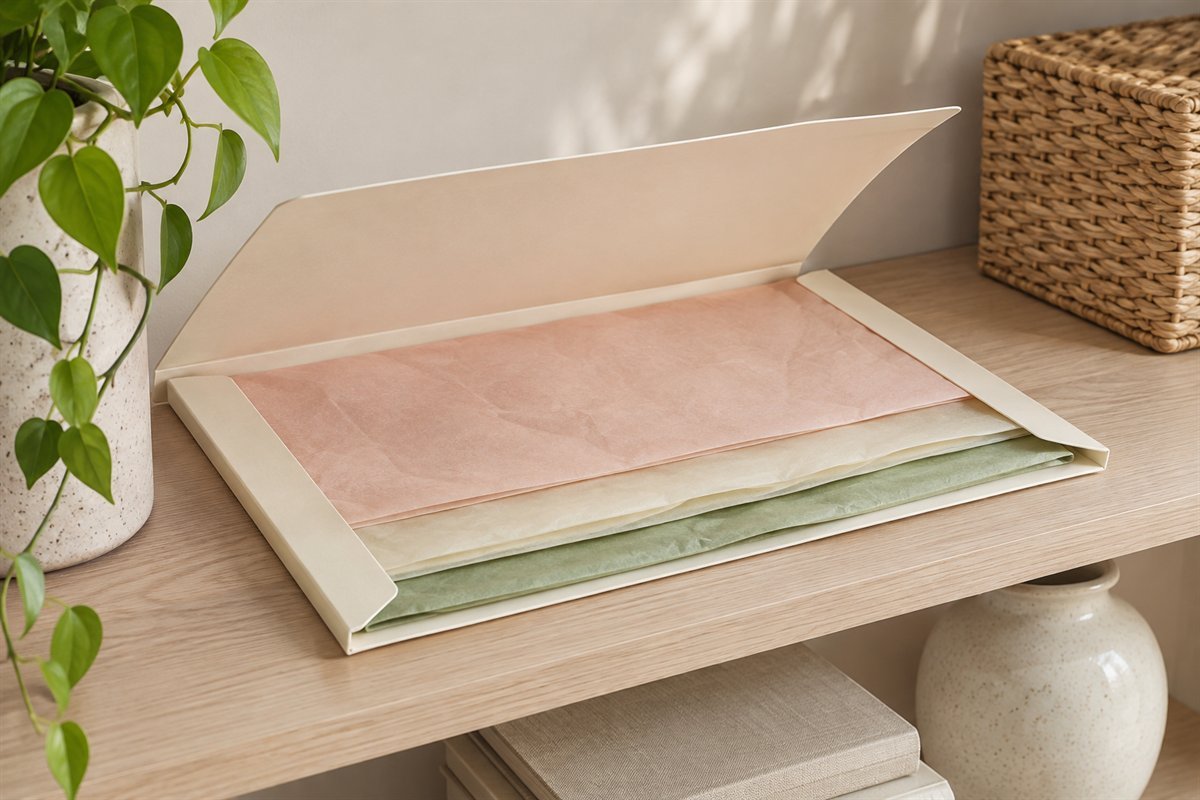
Thin tissue paper benefits from a separate, easy-to-handle group. Keep sheets in a broad folder, preserving useful original folds rather than repeatedly compressing them into a smaller container. Avoid placing heavier card packets above loose tissue. This is a different storage job from keeping stout cardstock upright, so give the folder its own accessible position where it can be lifted out flat.
13. Separate crepe-paper rolls in a shallow roll tray
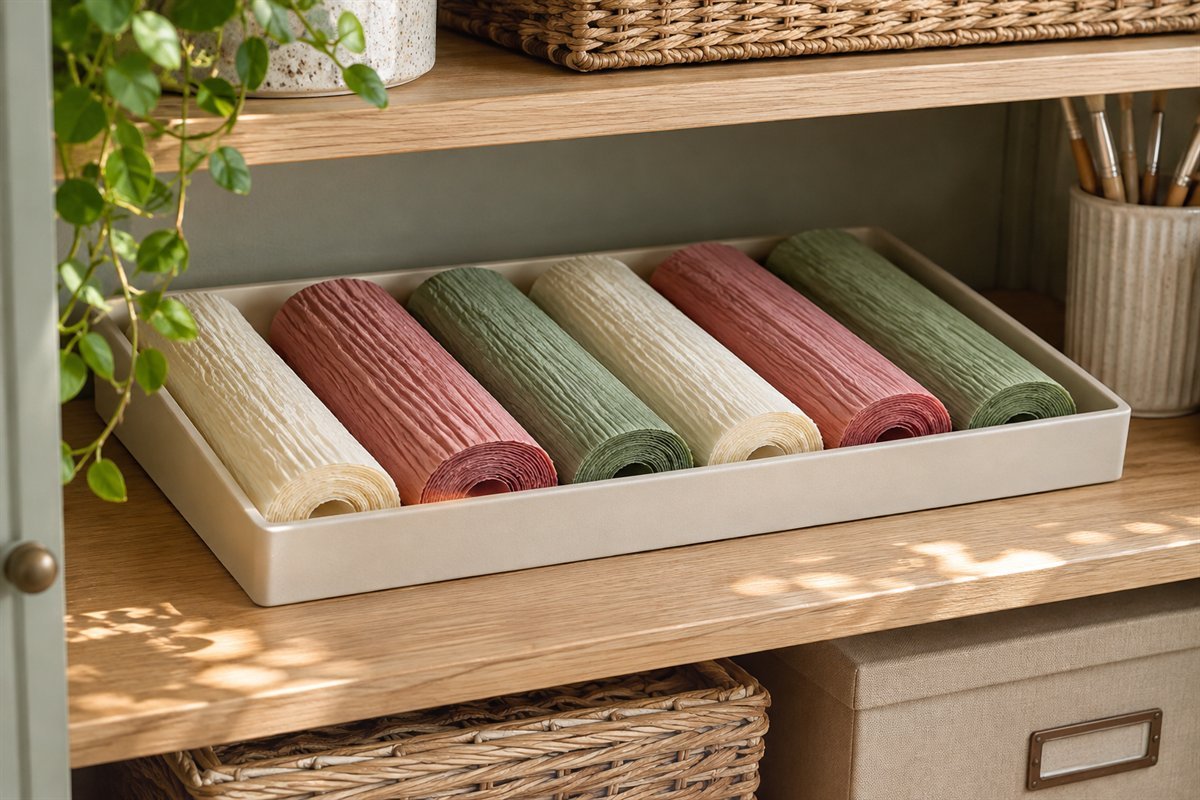
Crepe paper often arrives in a form that does not belong in a flat-sheet file. A shallow tray can keep its rolls together while leaving each color easy to identify. Compare the full roll length and diameter with the tray before choosing it. Retain the product information you need for its intended use, and keep it separate from other rolled craft materials that happen to look similar.
14. Keep translucent sheets in a clearly separate packet

Translucent papers can be difficult to identify in a mixed stack of white and cream stock. Keep each product in its own supported packet with its original identification available. Check the supplier’s handling and storage advice, especially for coated or printed sheets. For delicate finished artwork, choose housing through appropriate conservation guidance instead of assuming that any clear sleeve is suitable.
15. Keep glitter and foil stock from rubbing against other papers

Textured and metallic papers deserve a distinct place in the collection. Retain supplied protective backing or packaging when appropriate, and avoid forcing textured faces against papers they could mark. Keep the exact material identity clear because decorative surfaces may have different cutting or handling instructions. A small dedicated packet is usually more readable than mixing these sheets throughout every ordinary color file.
16. Use a supportive portfolio for occasional oversized board
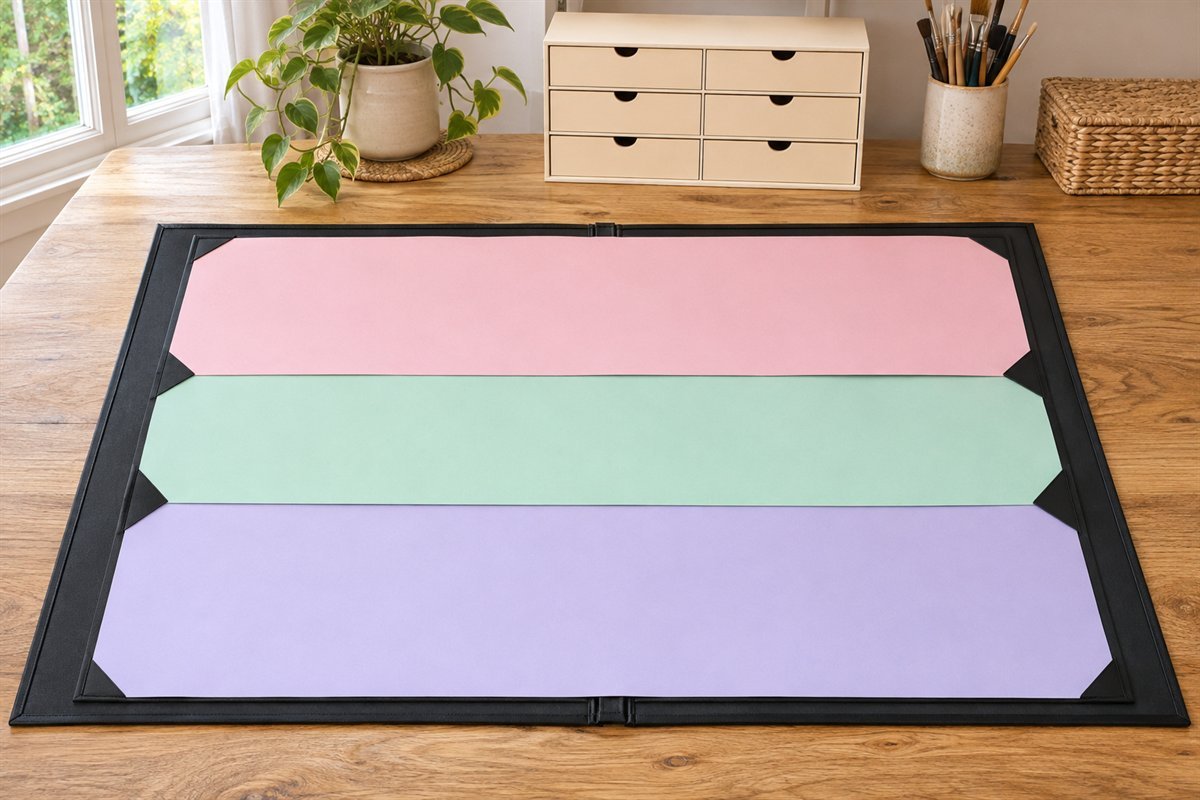
Poster board and large decorative sheets can overwhelm an otherwise sensible paper system. Measure them separately and choose a rigid portfolio or suitable full-sheet compartment with continuous support. Check the route used to remove the portfolio, including the space above it. Do not create a new fold simply to make a large sheet fit the drawer used for your everyday card stock.
17. Give unopened reserve paper a separate shelf box

Reserve stock does not need to occupy the easiest working space. Keep unopened or less frequently used packs in a suitable shelf box, preserving their material identification. Maintain a short note of the colors and formats in reserve so a nearly empty working file does not trigger an unnecessary duplicate purchase. Refill the active collection from this box before expanding the main organizer.
18. Use modest paper cubbies for independently removable groups
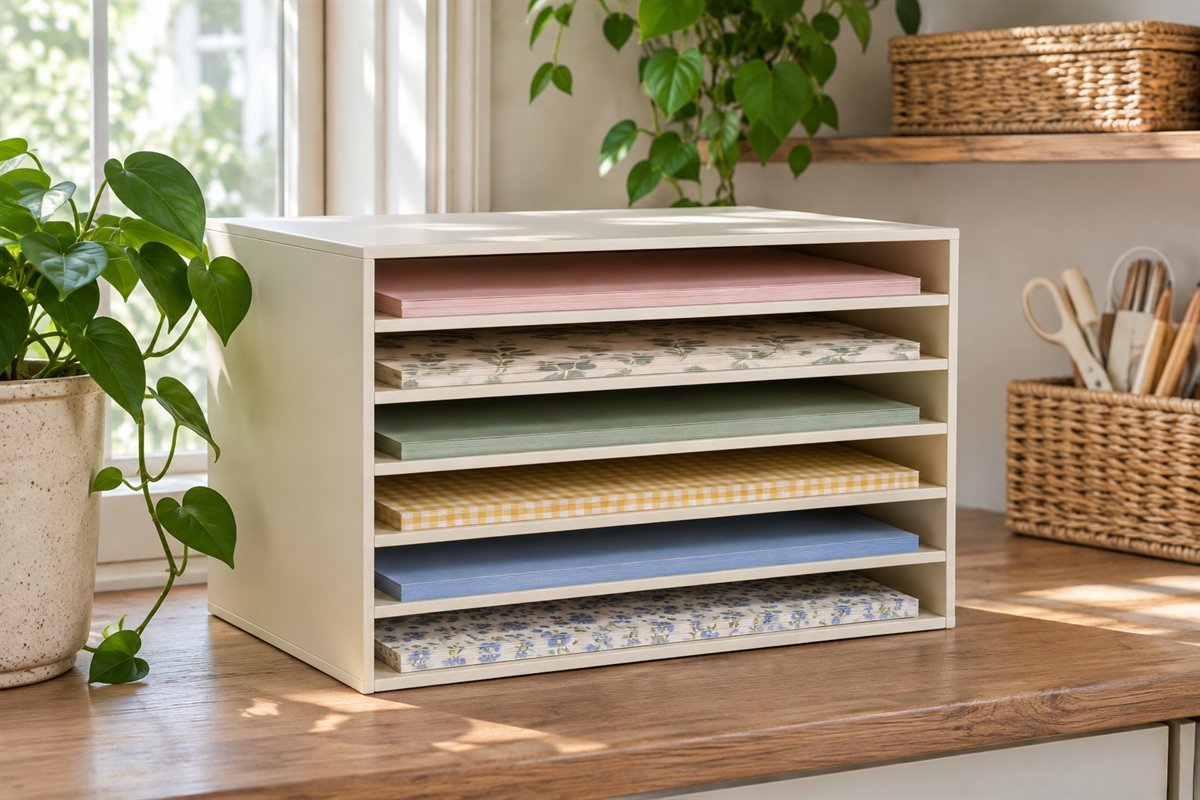
Paper cubbies work well when each opening has a clear job and remains shallow enough to browse. Give a group one opening rather than stacking several hidden categories in the same bay. Include the total paper weight when checking the unit’s instructions. If the front edge collects loose sheets, reduce the stack or change the category instead of adding another layer behind it.
19. Choose a drawer cart when paper moves between work areas
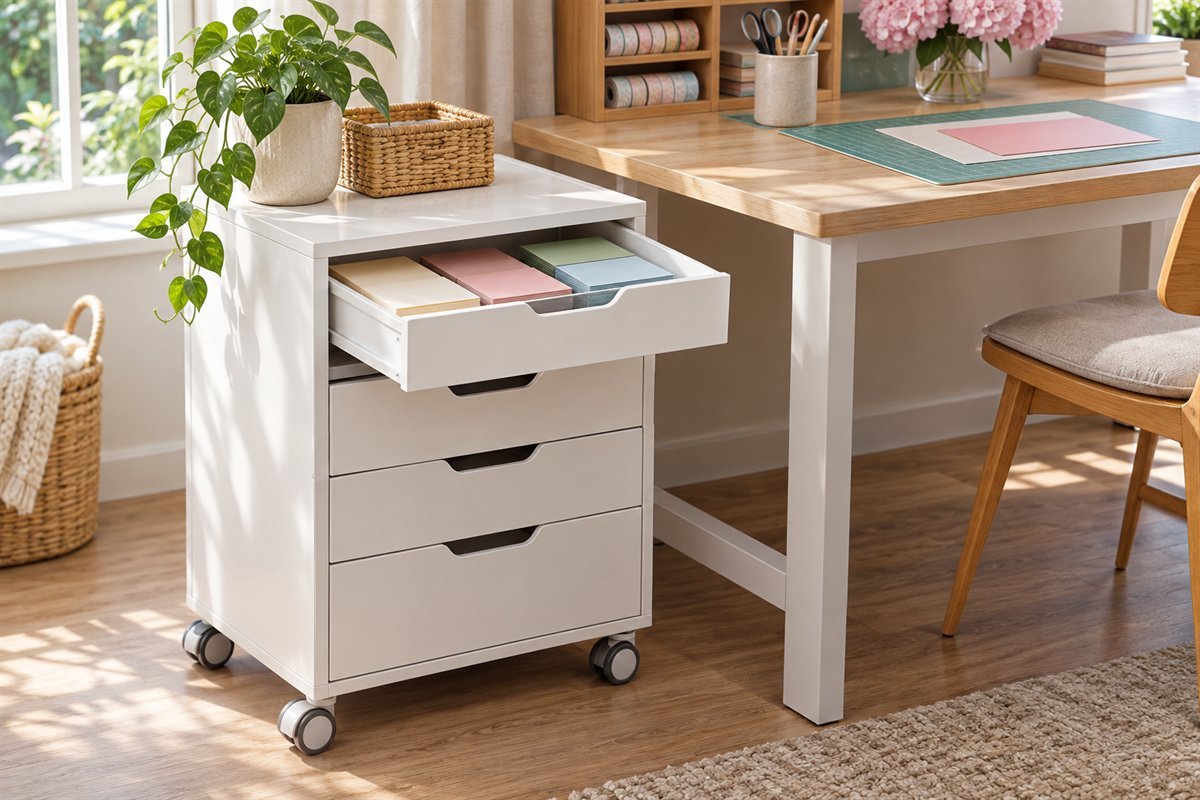
A drawer cart can bring a selected paper collection to the work surface and return it afterward. Compare the loaded drawers, permitted load and actual floor route before choosing the cart. Leave its top mostly clear so moving it does not require relocating a display of loose supplies. Decide where it parks when crafting ends; mobility is useful only if the room still has a workable home for the cart.
20. Use one manageable paper tote for a temporary craft table
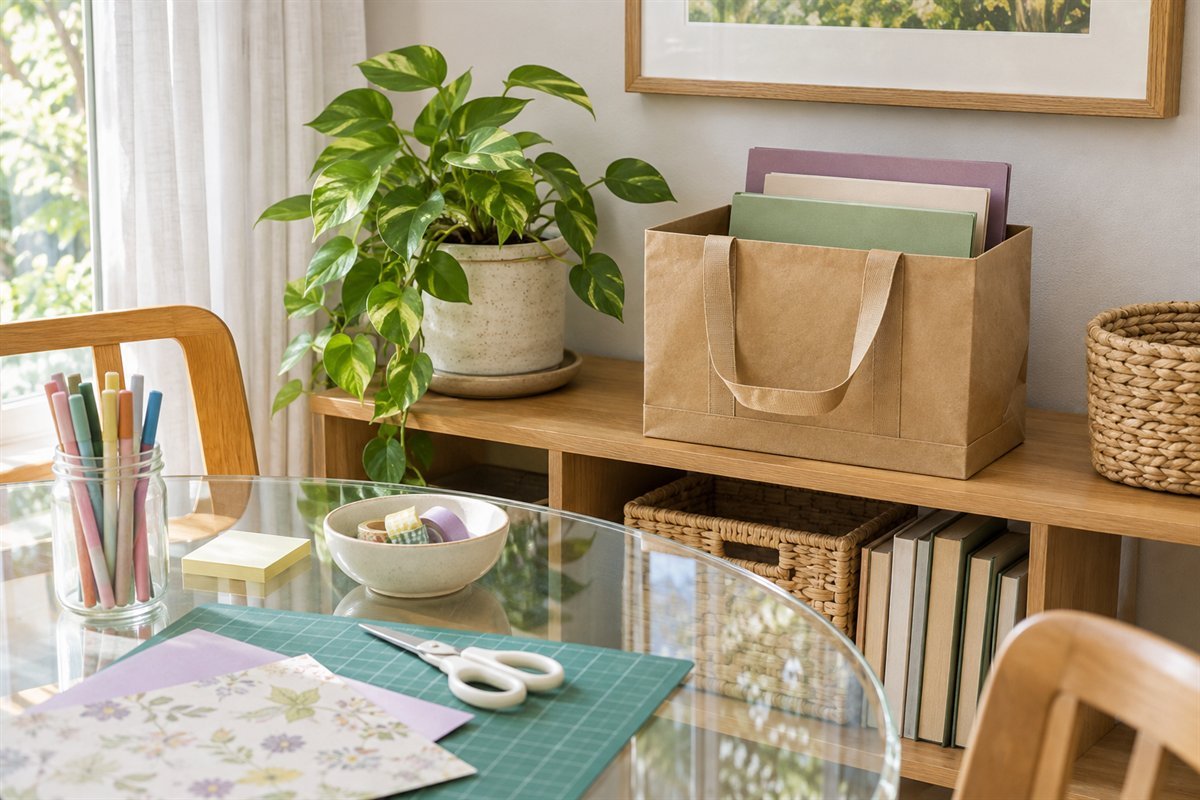
For a dining table or another shared surface, a portable paper file can carry the current selection without moving the whole supply cupboard. Check the container with its intended contents, not just when empty. Keep a clear shelf position for its return and an ordinary place to set it down during use. A manageable file of chosen papers is easier to put away than a large overloaded tote.
21. Build a small paper station inside an existing cupboard

A cupboard can hold a complete modest paper collection when its interior is planned around the actual formats. Put the frequently used papers near the front and leave the occasional supplies in separately removable groups. Check door hinges and shelf lips as part of the opening. Resist filling every empty inch: an accessible gap can be more useful than a second hidden row of paper.
22. Keep paper storage away from direct sun and unsuitable damp areas
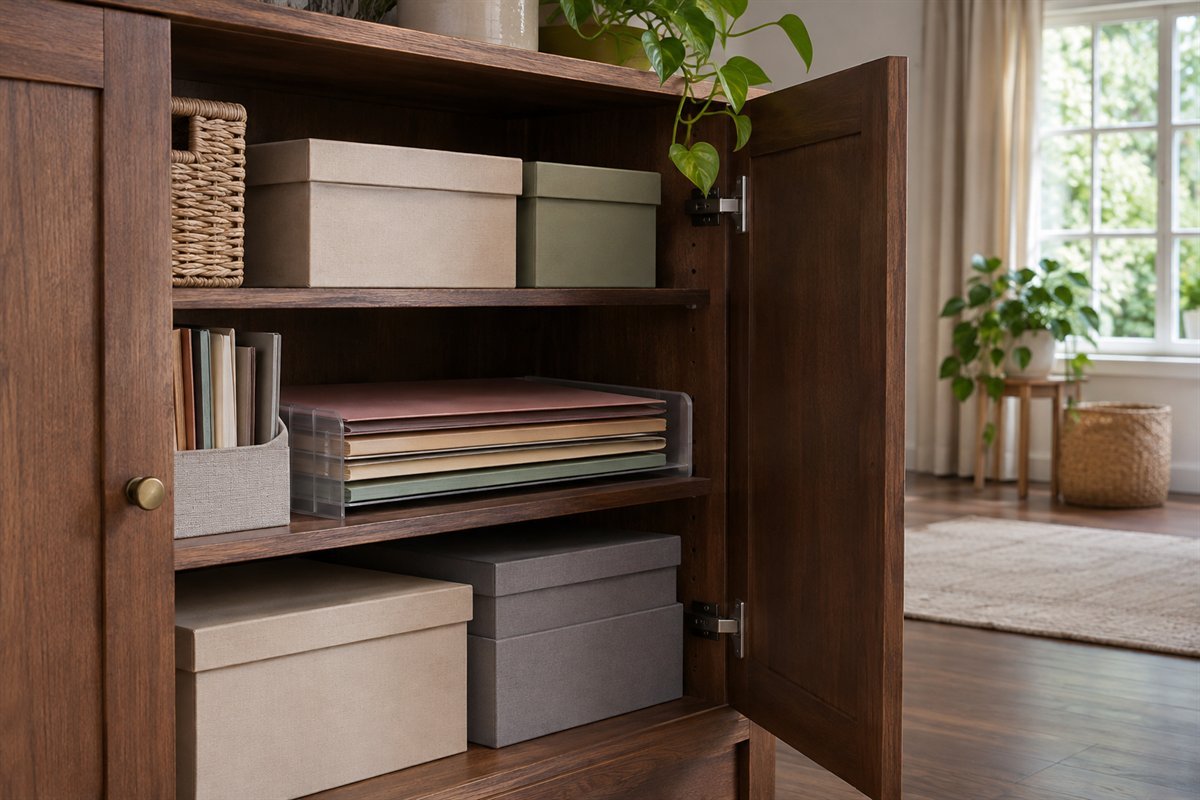
The room matters as much as the organizer. Library of Congress guidance for works on paper favors stable, clean conditions, limited light and distance from heat sources and leak-prone locations. Apply that preventive principle when choosing a paper-storage position, while following instructions for your actual craft materials. A shaded indoor cupboard is a better starting point than relying on a decorative lid to correct an unsuitable environment.
23. Keep adhesive paper and stickers on their intended backing
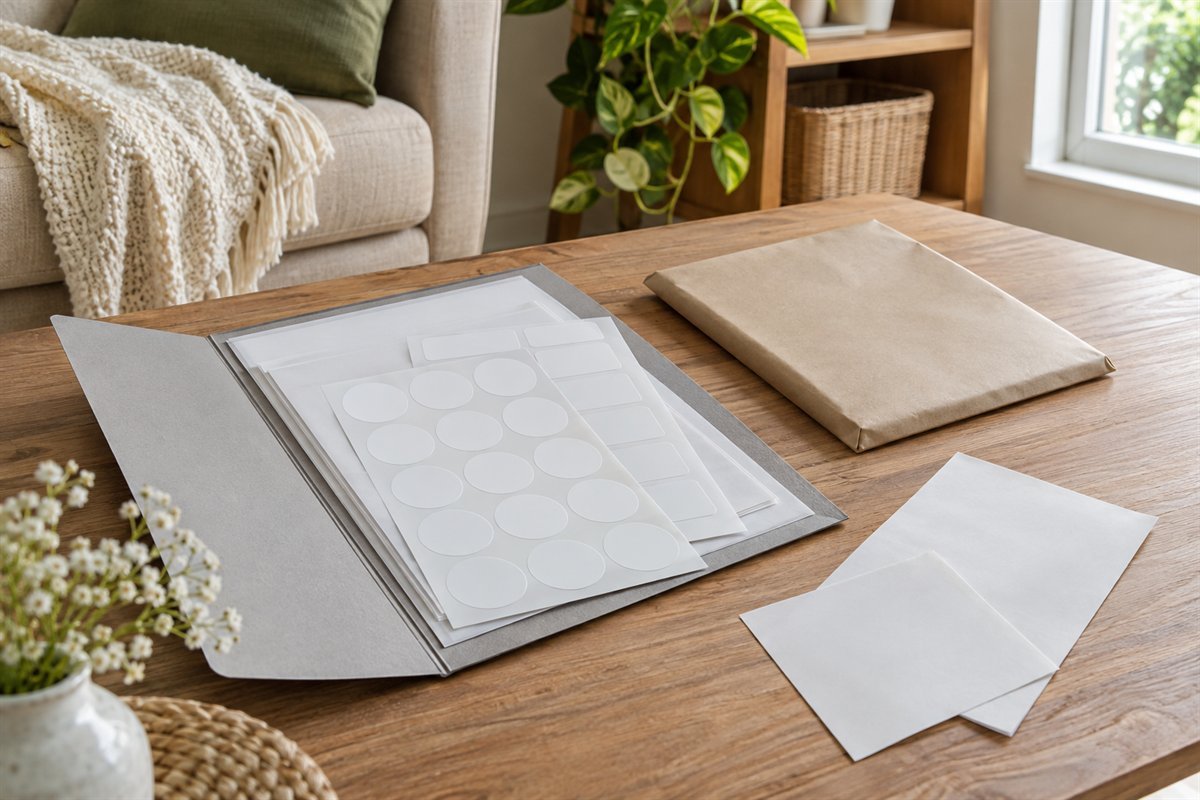
Store adhesive sheets and reusable sticker pieces with the backing and handling method intended for that product. Keep the packet distinct from ordinary card so you can identify it before cutting. Avoid transferring adhesive pieces to an improvised surface merely because it fits a matching folder. Check the manufacturer’s directions when the backing has been damaged or the material has already been partly used.
24. Give blank cards and envelopes a separate divided space
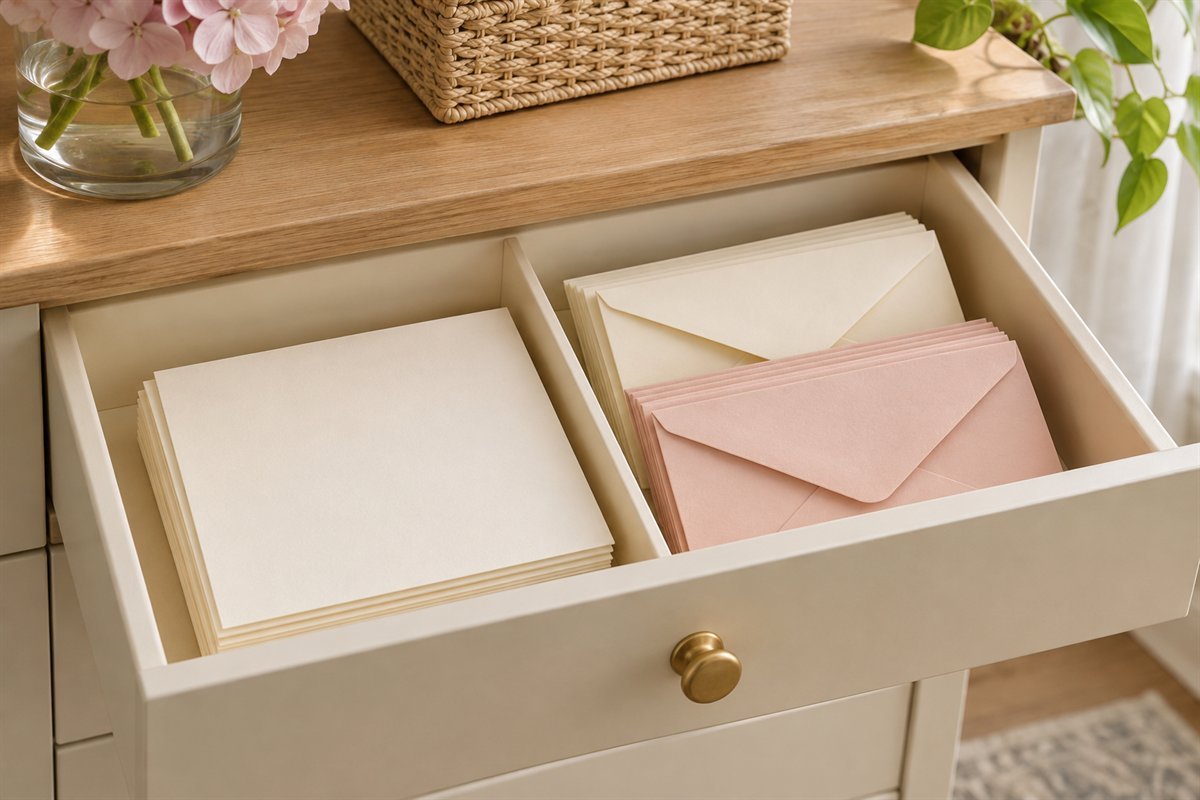
Blank card bases and envelopes are easier to match when they have their own bounded space. Keep folded cards supported and separate the sizes that belong to different projects. Try one actual card in its intended envelope before treating the two groups as a set. Return unused blanks here after a session so they do not become indistinguishable scraps in the main paper file.
Make a paper-fit and refill record
Write one line for each paper format you keep: largest sheet, full packet including tabs, typical quantity, chosen compartment and return location. Add a final column for the movement needed to remove it. This makes the record useful when comparing a shelf, drawer and portable file rather than simply listing things to buy.
For a worked sizing example, Crafter’s Companion describes one 12-inch tabbed divider pocket as 12.5 inches square before the tab is included. A storage opening measured only against a bare 12-inch sheet could therefore be too small for the filled pocket. Measure the pocket you actually own in all directions, then check its intended container and the furniture opening. Do not treat the example as a universal allowance for every brand.
Finish with two practical rules chosen for your projects: which useful scraps you will keep, and when reserve paper moves into the working file. Test the complete return routine with a current project before expanding the setup. Keep original material identification and care instructions available. For valuable finished work or unfamiliar mixed media, seek suitable preservation advice rather than treating an ordinary craft organizer as archival housing.
A practical next step
Choose the arrangements that protect complete sheets, make the useful colors easy to find and give scraps a realistic boundary. Begin with one awkward paper group, check its full stored size and test a real retrieval. When that works, extend the same clear return routine to the rest of the collection.
Craft room storage ideas for the wider supply area. Paper file storage ideas for household documents.
The images are original AI-generated design concepts, not photographs of tested products or verified installations.
Sources and care references
- IRIS USA: small scrapbook case overall dimensions
- IKEA: TJABBA magazine file dimensions and material
- Crafter’s Companion: pocket dimensions, tab allowance and compatible paper storage
- Library of Congress: care, handling and storage of works on paper
Optional digital guide for this topic
If you prefer a structured workbook, explore this related paid guide.