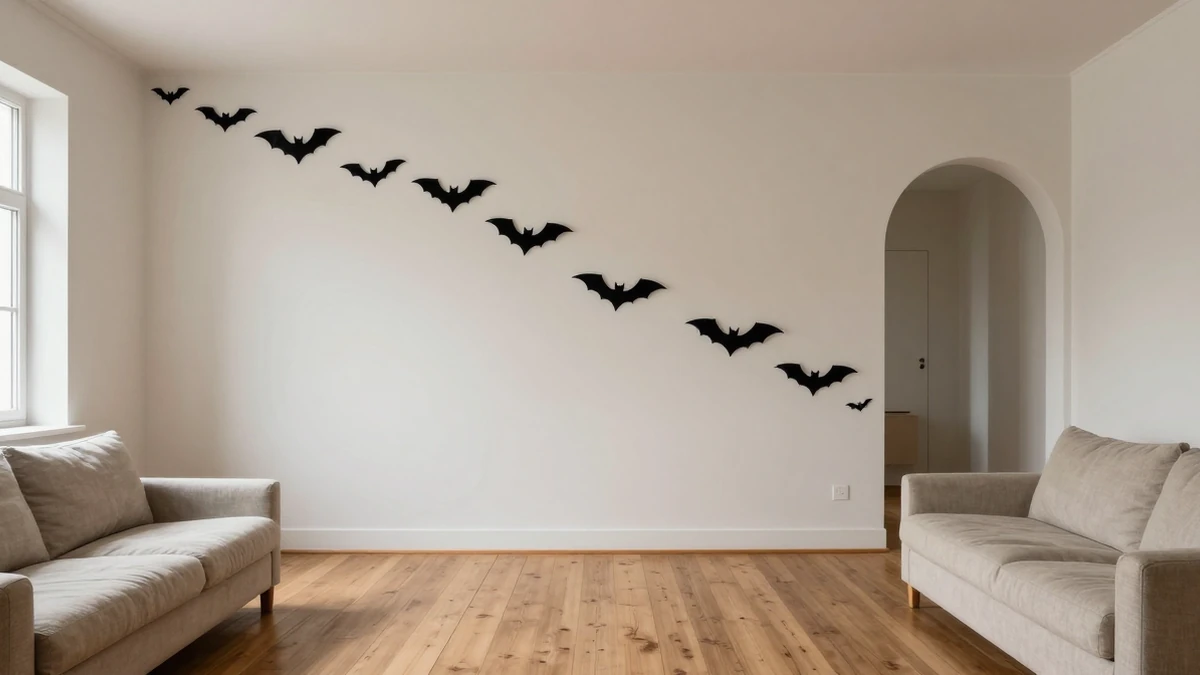
Bats on wall decor can look graphic and sophisticated—or like scattered party supplies. The difference comes from planning the flight path, matching the material to the setting, and giving each shape enough visual space. Before attaching anything, photograph the empty wall and sketch the display over the image. This quickly reveals whether the arrangement needs more height, a stronger focal point, or fewer bats.
These ideas cover temporary paper silhouettes, reusable wood and metal pieces, renter-friendly mounting, outdoor displays, and safe placement. Each approach includes a practical choice or tradeoff so you can build a display that suits the room rather than copying a generic swarm.
1. Build a Clear Flight Path
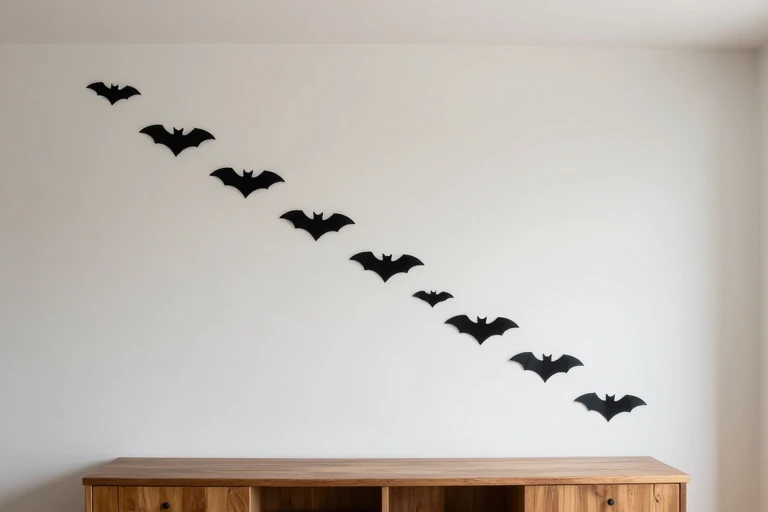
Choose where the bats appear to enter and where they are going. A diagonal path rising toward a doorway, window, or ceiling corner usually reads more clearly than evenly scattered shapes.
Lay every piece on the floor first. Cluster several bats near the starting point, then widen the gaps and reduce the density as the path travels.
Avoid abrupt turns unless an architectural feature explains them. The eye should be able to trace the display in one smooth movement.
2. Match the Scale to the Furniture
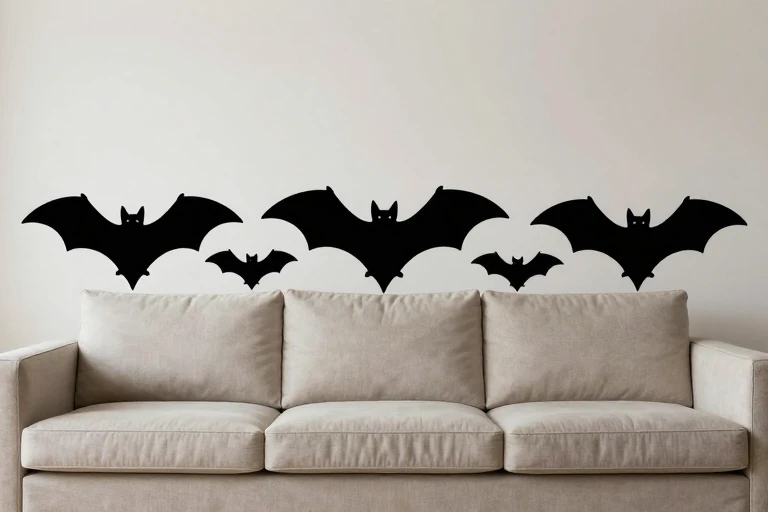
Use the furniture below the display as a measuring reference. Over a long sofa or sideboard, a tiny central cluster can feel disconnected; above a narrow table, an oversized swarm may overwhelm the surface.
Start the arrangement within the furniture’s visual footprint, then let a smaller portion escape beyond it. Mix several silhouette sizes rather than enlarging one repeated shape.
Check the composition from the room entrance. Close-up spacing can appear balanced while the full wall still looks undersized.
Loving These Ideas? Get the Step-by-Step Guide
Grab the full 5-day eBook and turn these ideas into a finished room.




3. Fold Paper Bats for Gentle Dimension
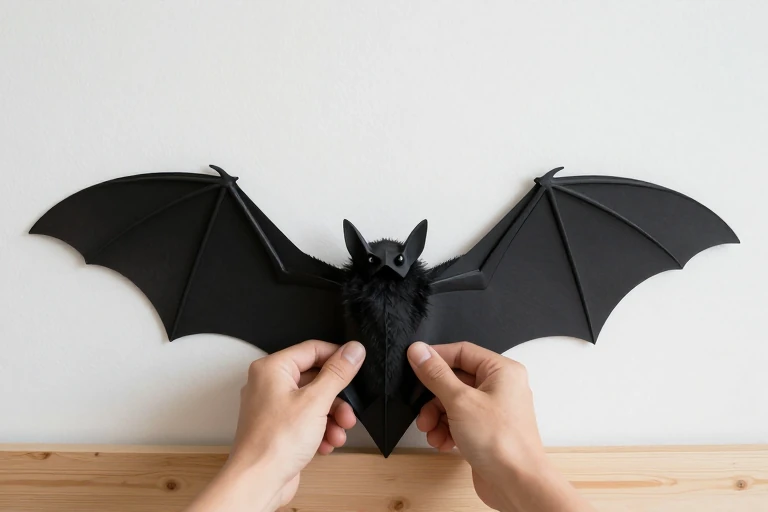
Cardstock is inexpensive, easy to customize, and light enough for temporary mounting. Fold each silhouette slightly along the body so the wings project from the wall instead of lying flat.
Vary the fold angle to prevent a mechanical appearance. Shallow folds create restrained shadows; sharper folds look more animated but catch dust and are easier to crush.
Matte paper photographs cleanly and conceals minor creases better than glossy stock. Test dark paper against the wall before cutting the full batch.
4. Choose Felt for Softer Rooms
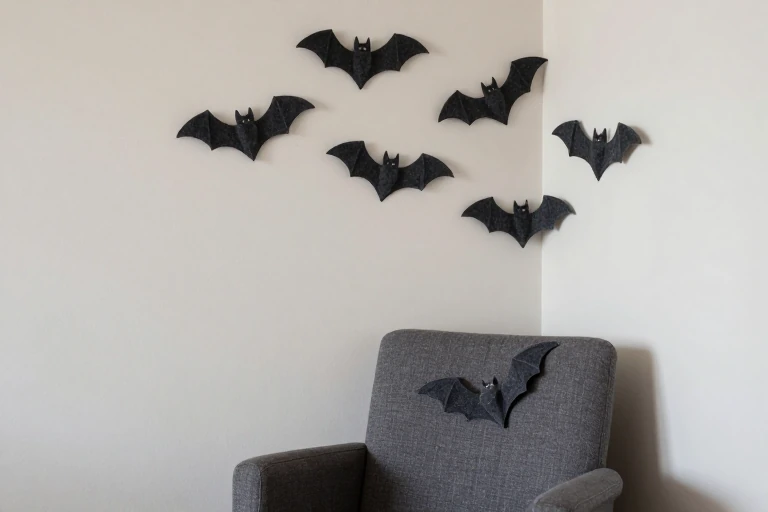
Felt bats suit bedrooms, nurseries, and reading corners where sharp paper points may feel visually harsh. The material absorbs light, producing a softer outline and little glare.
Choose dense felt that holds a clean wing shape. Thin craft felt may curl, especially when stored folded or placed near changing humidity.
Felt also collects lint more readily than paper or sealed wood. Use a low-suction upholstery attachment or lint roller carefully, supporting each piece so the mount is not pulled from the wall.
5. Use Wood for a Reusable Display
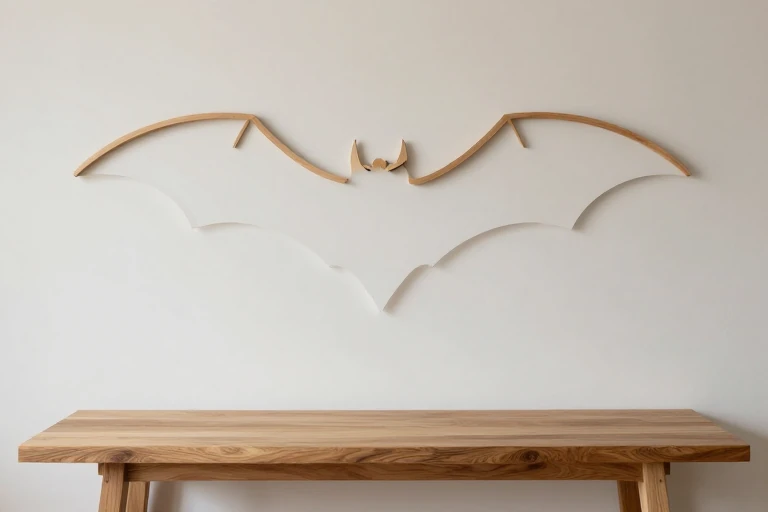
Thin wood bats provide crisp silhouettes with more permanence than paper. Painted plywood looks graphic, while stained wood introduces visible grain that works with warmer, less theatrical interiors.
Inspect every edge before hanging. Sand splinters and seal unfinished surfaces if the pieces will be handled and stored repeatedly.
Wood weighs more than cardstock, so select mounting hardware for the actual piece and wall material. A reusable display is only practical if its attachment method does not damage the wall or loosen during the season.
6. Add Metal Bats as Sparse Accents
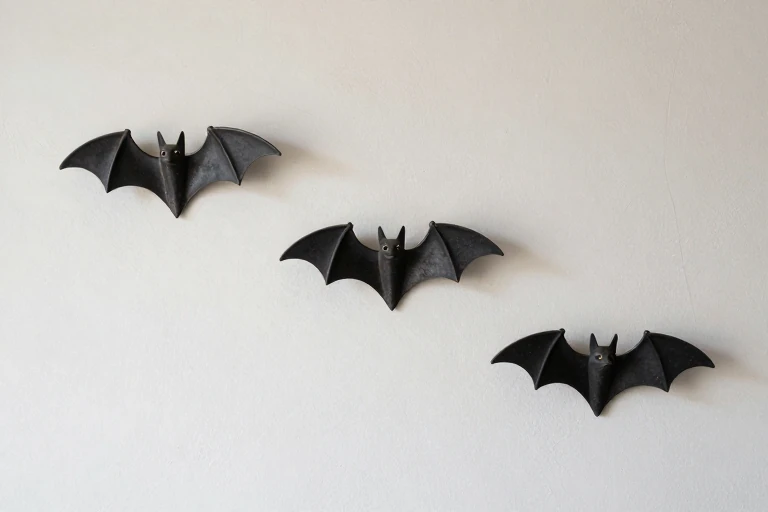
Metal bats have stronger visual weight than paper, even when their outlines are delicate. Use a few as focal accents rather than filling every open area.
Blackened metal creates a crisp shadow, while aged brass or copper can connect the display to warm light fixtures and hardware. Reflective finishes emphasize wall irregularities and fingerprints.
Confirm that edges are smooth and mounts are secure. Heavier pieces need fasteners appropriate for the wall construction; actual requirements depend on the site and local code.
7. Create a Tonal Dark-Wall Display
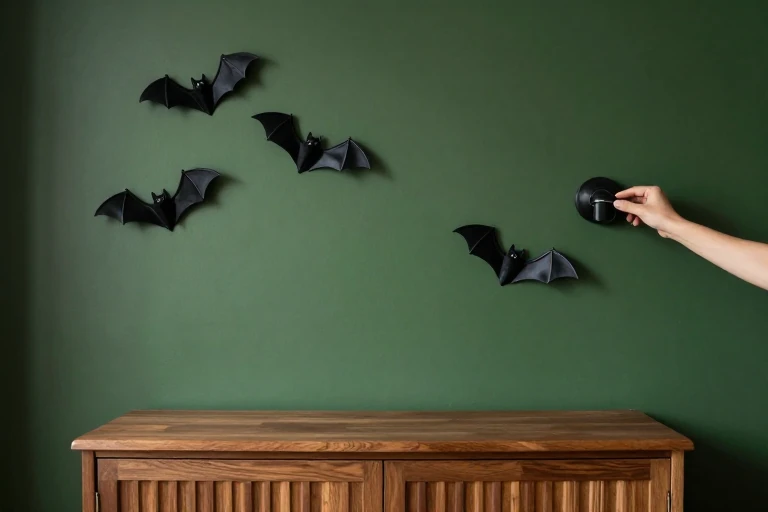
Black bats do not require a white background. On charcoal, navy, or deep green walls, differences in sheen and relief can define the shapes without high contrast.
Pair a matte wall with satin bats, or use folded silhouettes so side lighting creates shadows. Test the display at night as well as during daylight; low contrast may disappear under flat overhead lighting.
This approach feels quieter and can remain up longer, but it sacrifices instant visibility from across a large room.
8. Try an Unexpected Bat Color
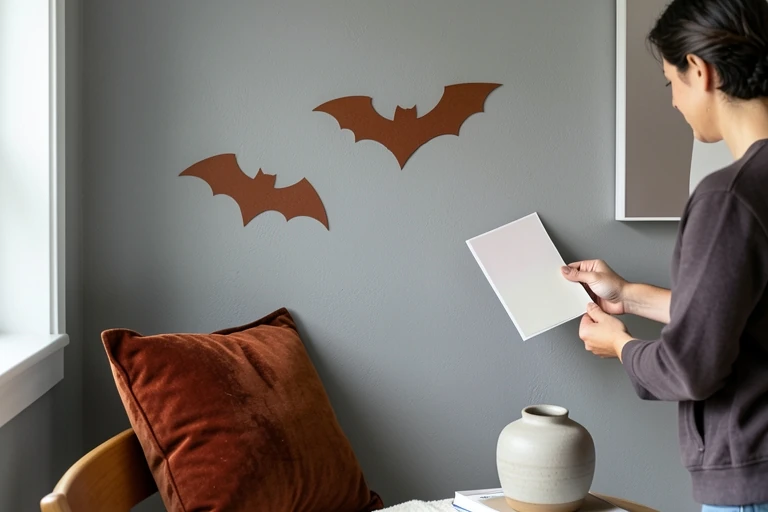
Black is not the only workable choice. Rust, burgundy, muted gold, or bone-colored bats can coordinate with an existing autumn palette while preserving the recognizable silhouette.
Repeat the selected color elsewhere in one or two small objects, such as a pillow or vase. This makes the wall display feel connected rather than randomly bright.
Avoid mixing many unrelated colors unless the room already supports a playful palette. Cut sample shapes first because paint and paper colors often shift against the wall.
9. Frame a Fireplace Without Crowding It
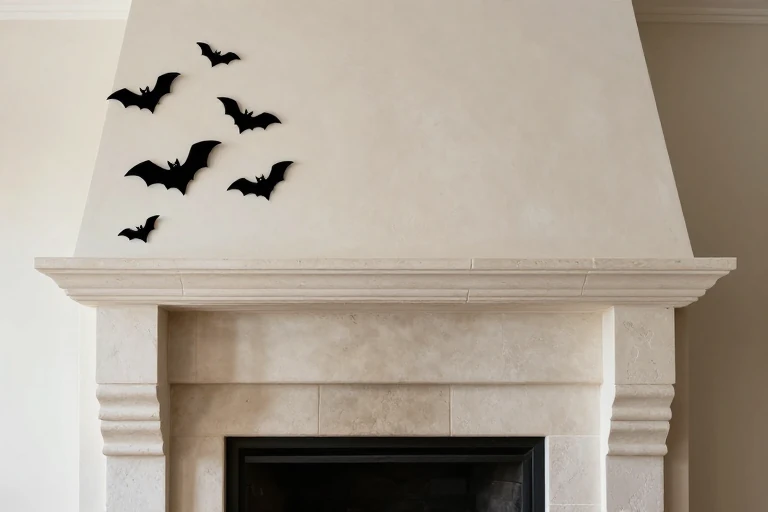
Let bats rise from one side of the mantel and travel onto the wall instead of centering a rigid row above the firebox. The asymmetry creates movement and leaves room for a mirror or artwork.
Keep paper, felt, adhesives, and other combustible decorations away from flames, hot surfaces, vents, and doors. Follow the fireplace and mantel manufacturers’ clearance instructions.
Use fewer objects on the mantel when the wall is active. Too many pumpkins, candles, branches, and bats compete for the same focal area.
10. Follow the Rise of a Staircase
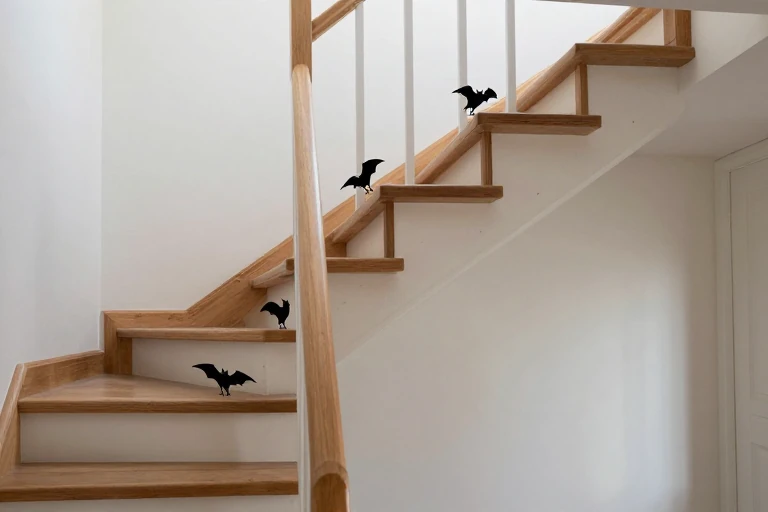
A staircase naturally supplies a diagonal guide. Position the bats above the trim or stringer, gradually increasing their height as the stairs rise.
Keep silhouettes away from the handrail and the space where hands, shoulders, or carried objects may brush them. Loose pieces on stairs create an avoidable maintenance problem.
View the arrangement from both the lower landing and upper hall. A cluster that works from below may reveal awkward gaps when seen from the opposite direction.
11. Wrap the Display Around an Archway
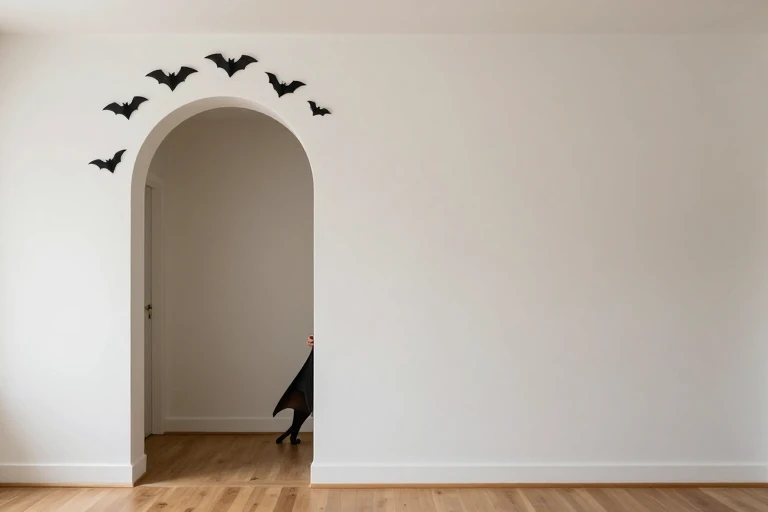
An arch or doorway can become part of the flight path. Begin with a dense group on one side, carry a few bats over the top, and finish with scattered silhouettes on the adjacent wall.
Do not place projecting wings where people may brush them while passing through. Flat shapes are safer along the opening; reserve deeper folds for the open wall.
Keep the transition irregular. A perfectly outlined arch resembles a border, while selective overlap makes the bats appear to move through the architecture.
12. Blend Bats Into a Gallery Wall
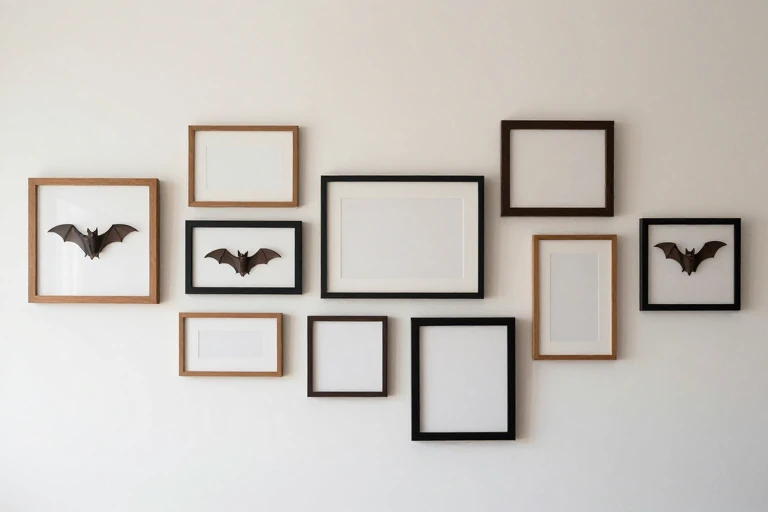
Use bats to bridge gaps between frames rather than covering artwork. Begin with the gallery wall’s existing outer boundary, then let a few silhouettes break beyond it.
Keep bats off frame glass, canvas, and valuable finishes. Adhesive residue and uneven fading can turn a temporary detail into permanent damage.
Choose silhouettes that contrast with both the wall and frames. If the gallery already contains many dark outlines, lighter or dimensional bats may remain more visible without adding another heavy black shape.
13. Pair Bats With a Moon Shape
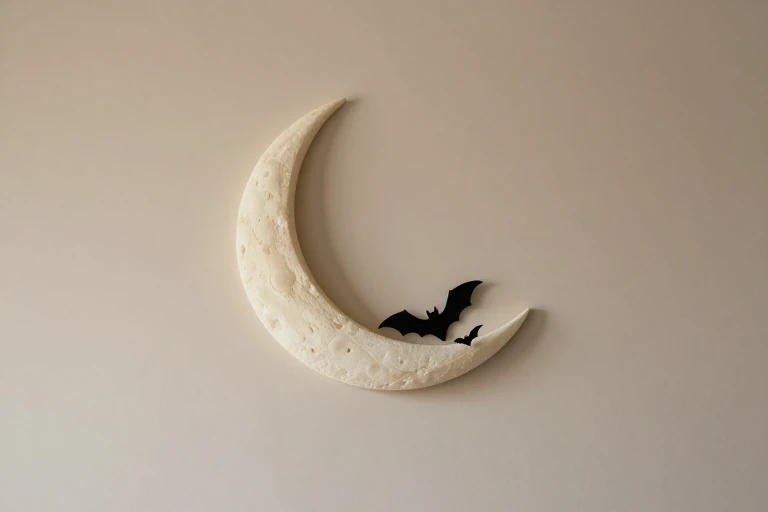
A simple moon gives the swarm a destination and establishes a clear focal point. Use one plain disk or crescent rather than several celestial motifs competing across the wall.
Place some bats across the moon’s edge to create depth, but preserve enough uninterrupted shape for it to remain recognizable. A warm off-white finish is less stark than bright white.
Before mounting, check whether the moon becomes the dominant feature. Reduce its diameter or shift it off-center if the bats start to feel secondary.
14. Build Depth With Shadow Boxes
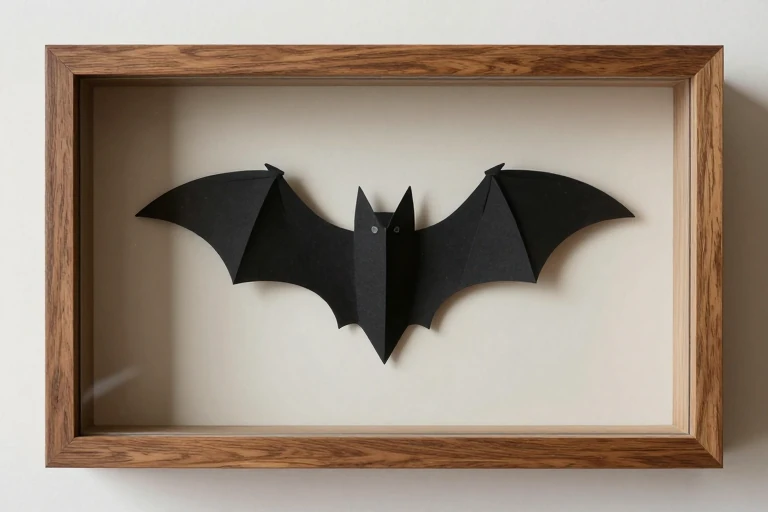
Shadow boxes protect delicate paper bats while creating a display that can be stored and reused as one piece. Mount folded silhouettes at different depths against a neutral backing.
Leave open space around each bat; crowding flattens the layered effect. Nonreflective glazing reduces glare but may soften contrast compared with clear glass.
Choose a box deep enough that the wings do not touch the front. If it is heavy, use wall hardware suitable for the frame, wall material, and installation conditions.
15. Make a Child-Friendly Soft Display
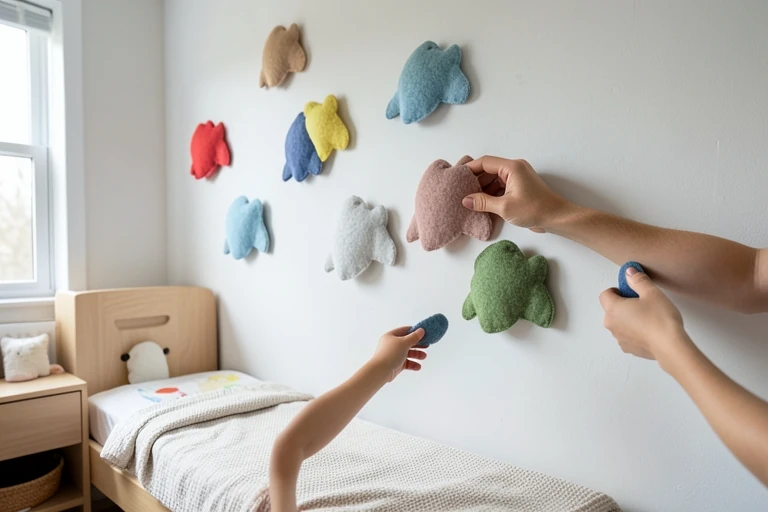
For children’s rooms, favor lightweight felt or paper with rounded wing tips and a friendly, simplified silhouette. Place the display above adult eye level only when every component is securely attached.
Avoid loose small parts, sharp edges, dangling cord, and heavy objects over beds or play areas. Decorations are not toys unless designed and tested for that use.
Invite children to choose the flight direction or colors, then let an adult handle cutting and mounting. This preserves participation without compromising placement.
16. Use a Renter-Friendly Mounting Plan
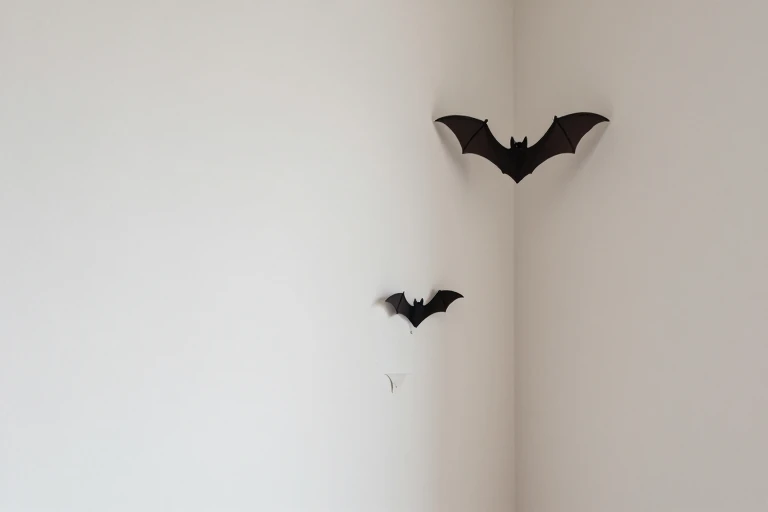
Removable adhesive is convenient, but no product is risk-free on every paint or wall finish. Test one concealed spot and wait for the manufacturer’s recommended period before decorating the full wall.
Clean only as directed for the surface. Dust weakens adhesion, while aggressive cleaners may dull paint. Use the least adhesive necessary for lightweight pieces.
When removing, follow the product instructions and work slowly rather than pulling outward. Renters should also review lease restrictions before using hooks, putty, tape, or fasteners.
17. Weatherproof a Sheltered Porch Display
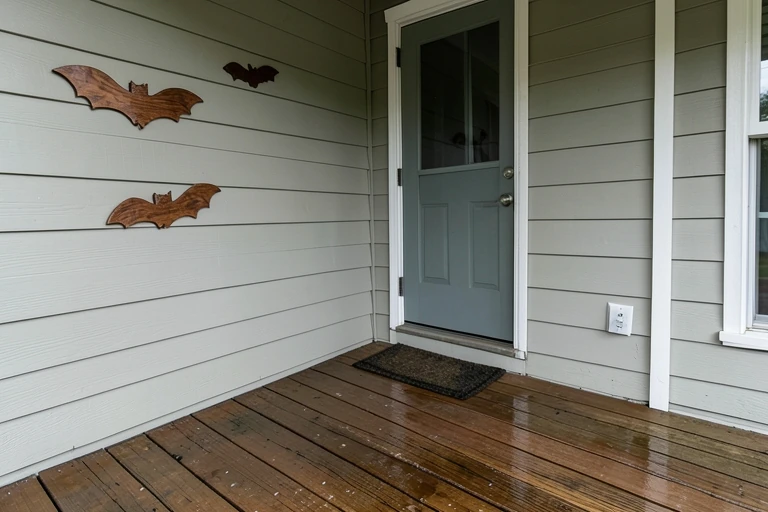
Paper and indoor felt deteriorate quickly outdoors. For a sheltered porch, choose sealed exterior-rated wood, coated metal, or weather-resistant plastic suitable for the exposure.
Wind matters even under a roof. Avoid loosely taped wings that can detach, and use attachment methods appropriate for the siding or masonry without blocking drainage or ventilation details.
Inspect the display after storms and remove damaged pieces promptly. Installation requirements vary with the surface, weather exposure, building assembly, and local rules, so permanent penetrations deserve professional guidance.
18. Store Bats to Prevent Damage
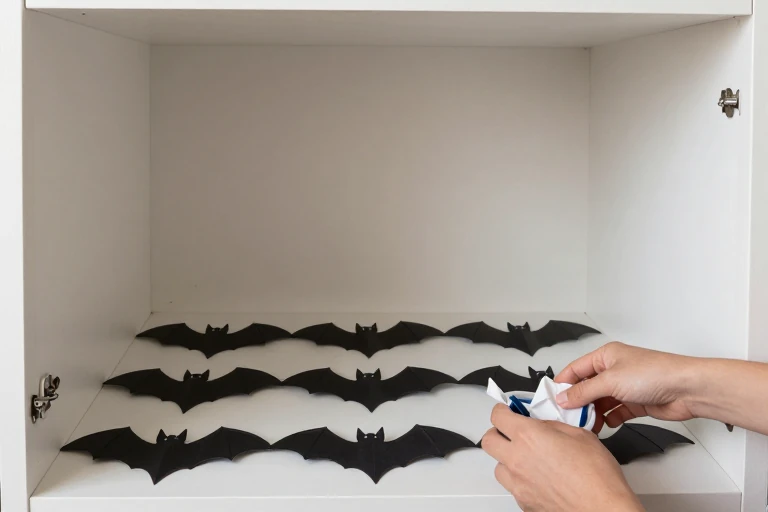
Good storage determines whether reusable bats survive until next season. Remove adhesive residue according to the material’s care instructions, then let every piece dry before packing.
Store paper silhouettes flat between sheets of clean tissue or cardstock. Keep folded wings in a shallow rigid box without weight on top; wrap metal pieces so edges cannot scratch neighboring finishes.
Group mounting supplies separately instead of leaving adhesive attached. Labeling the container is useful, but keep any written label outside decorative photographs and away from the display itself.
19. Common Bat Wall Decor Mistakes
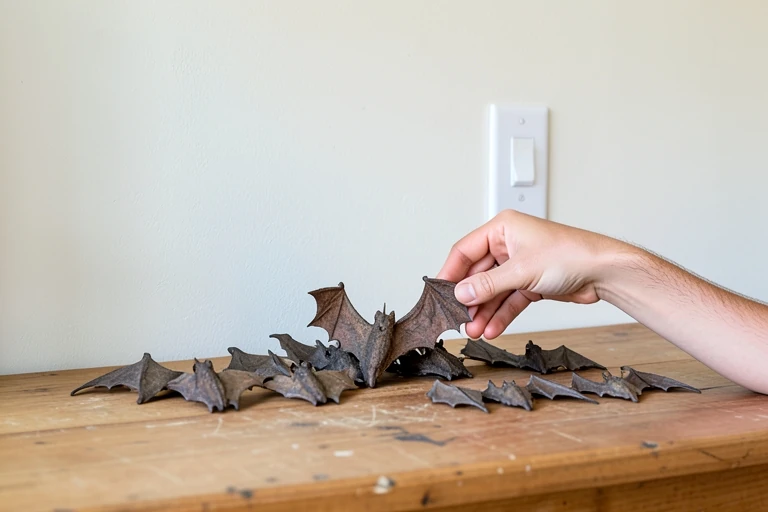
The most frequent mistake is even spacing. Identical gaps and repeated angles make the display resemble wallpaper rather than a moving flock. Build small clusters and deliberate pauses instead.
Also avoid using pieces that are too small for the wall, mixing unrelated materials, or covering switches, vents, trim, and artwork. Decorative movement should not interfere with the room’s function.
Finally, distinguish decoration from wildlife. If a live bat enters the home, do not handle it as a prop; keep people and pets away and seek appropriate local wildlife or public-health guidance.
Effort & Cost Snapshot
| Topic | Effort | Cost Note |
|---|---|---|
| 1. Build a Clear Flight Path | Low | Often achievable with existing furnishings or simple updates |
| 2. Match the Scale to the Furniture | Low | Often achievable with existing furnishings or simple updates |
| 3. Fold Paper Bats for Gentle Dimension | Low | Often achievable with existing furnishings or simple updates |
| 4. Choose Felt for Softer Rooms | Low | Often achievable with existing furnishings or simple updates |
| 5. Use Wood for a Reusable Display | Medium | Varies by materials, scope, and local labor |
| 6. Add Metal Bats as Sparse Accents | Medium | Varies by materials, scope, and local labor |
| 7. Create a Tonal Dark-Wall Display | Medium | Varies by materials, scope, and local labor |
| 8. Try an Unexpected Bat Color | Medium | Varies by materials, scope, and local labor |
| 9. Frame a Fireplace Without Crowding It | Low | Often achievable with existing furnishings or simple updates |
| 10. Follow the Rise of a Staircase | Low | Often achievable with existing furnishings or simple updates |
| 11. Wrap the Display Around an Archway | Low | Often achievable with existing furnishings or simple updates |
| 12. Blend Bats Into a Gallery Wall | Low | Often achievable with existing furnishings or simple updates |
| 13. Pair Bats With a Moon Shape | Low | Often achievable with existing furnishings or simple updates |
| 14. Build Depth With Shadow Boxes | Medium | Varies by materials, scope, and local labor |
| 15. Make a Child-Friendly Soft Display | Low | Often achievable with existing furnishings or simple updates |
| 16. Use a Renter-Friendly Mounting Plan | Medium | Varies by materials, scope, and local labor |
| 17. Weatherproof a Sheltered Porch Display | Medium | Varies by materials, scope, and local labor |
| 18. Store Bats to Prevent Damage | Low | Often achievable with existing furnishings or simple updates |
| 19. Common Bat Wall Decor Mistakes | Low | Often achievable with existing furnishings or simple updates |
Frequently Asked Questions
What is the best material for temporary bats on wall decor?
Matte cardstock offers the easiest balance of clean edges, low weight, and simple storage. Felt is softer but attracts lint, while thin wood is more durable and requires stronger mounting. Choose based on wall finish, desired dimension, and how long the display will remain installed.
How do I arrange wall bats so they look intentional?
Establish one directional path, vary the bat sizes, and use uneven spacing. Place tighter clusters near the apparent starting point and open the spacing toward the destination. Photograph the layout before mounting; the smaller view makes weak proportions and distracting gaps easier to identify.
Can removable adhesive damage painted walls?
Yes. Results depend on the adhesive, paint condition, finish, preparation, and removal technique. Test a concealed location, follow product directions, and avoid freshly painted or unstable surfaces unless the manufacturer allows them. Renters should check lease terms before attaching decorations.
What should I do if an actual bat is on the wall?
Keep people and pets away, close interior doors if that can be done safely, and avoid bare-hand contact. A possible bite, scratch, or uncertain contact warrants prompt public-health guidance. Contact local animal control or a wildlife professional for location-specific removal advice.
A successful bat wall display relies on editing more than quantity. Choose one flight path, relate its scale to nearby furniture or architecture, and select a material that fits the room, exposure, and expected reuse. Test colors and adhesives before committing, then step back often while mounting.
For the easiest installation, photograph the wall, arrange the bats on the floor, and attach the largest focal pieces first. Fill with smaller shapes only where they strengthen movement. That sequence prevents overfilling and produces bats on wall decor that feels integrated with the home rather than temporarily scattered across it.
Sources & Further Reading
Continue Your Home Transformation
Explore the full collection of step-by-step eBooks and get the guide that fits the room you're working on.