Bathroom window treatments have to work when the lights are on and the room is being used. A shade that looks softly private in a daytime photograph may reveal silhouettes after dark, while a beautiful fabric can be a poor choice for the exposure beside a shower.
Begin with two questions: who can see the window, and what conditions will the covering face? Include a neighboring upper floor, a garden path and the reflection in a vanity mirror. Then distinguish a dry powder-room window from one close to bathing splash or repeated condensation. Those differences matter more than a style name.
These 25 concepts combine practical window decisions with finishes that belong in the bathroom. Treat the images as original decor illustrations, not evidence of privacy, moisture resistance or installation compliance. Check the exact material, operating system, mounting requirements and care instructions for the product you choose.
The images are original AI-generated decor concepts, not installation diagrams or photographs of completed client projects.
Browse These 25 Bathroom Window Treatments
Jump to an idea
- Start with a plain roller shade chosen for the required privacy
- Compare a suitable faux-wood blind for adjustable light
- Use full-height shutters as a clear window feature
- Consider lower-window shutters only after checking higher views
- Test a top-down shade against the actual overlooking angle
- Use a flat Roman shade in a dry powder-room setting
- Let fuller Roman folds soften a restrained dry bathroom
- Use a lined woven look where the location is suitable
- Give paired windows matching coverings with individual fit
- Divide a wide opening into deliberate working sections
- Keep a narrow bathroom window visually simple
- Resolve operation at a high window before choosing the style
- Let an arched window guide a properly fitted treatment
- Reveal attractive trim with a suitable recessed arrangement
- Plan an outside arrangement for a shallow frame
- Keep operation practical beside a freestanding tub
- Specify the actual exposure beside a shower
- Check what the vanity mirror reveals about the window
- Keep white-on-white finishes coordinated rather than identical by name
- Use a warm neutral with stone and timber finishes
- Repeat a muted blue from the bathroom palette
- Let a small pattern lead in a quiet dry powder room
- Coordinate the window with a stronger shower curtain
- Assess corner windows as one privacy arrangement
- Finish with an easy closing and care routine
Choose bathroom window treatments from the actual privacy view
Make a simple privacy map with the window, normal standing and seated positions, nearby exterior paths and neighboring windows. Include views from above as well as straight across. Decide what must remain covered during ordinary use, then test the proposed material with the bathroom lights on after dark. A product sample helps compare appearance, but the complete installation, edges, gaps and exterior viewpoints determine the useful result.
| Setting | Direction to compare | What needs checking |
|---|---|---|
| A window with a direct exterior view | A covering specified for the required privacy | Nighttime view, edge gaps and normal room use |
| A window near bathing moisture | A product approved for that exact exposure | Material, hardware and care requirements |
| A dry powder room | A suitable Roman shade or restrained fabric detail | Actual opacity and access to the window |
| A window overlooked from above | Coverage based on the higher sightline | Whether an open upper section exposes the room |
| A shallow frame | A complete mounting arrangement suited to the opening | Handle movement, projection and coverage |
| An awkward-to-reach window | An appropriately specified operating system | Reach, maintenance and the real daily routine |
Do the privacy check after dark
Hunter Douglas’s opacity FAQ explains that privacy varies with the actual fabric and color. Blinds.com’s solar-shade guide also warns that screen-style solar fabrics do not provide nighttime privacy when the room is illuminated. Use those distinctions when choosing a bathroom covering: filtering daylight and concealing the occupied room are separate requirements. Check the complete lowered or closed treatment from the relevant exterior viewpoints, including gaps and reflections, before relying on it.
Let exposure narrow the material choices
Hunter Douglas’s bathroom guide distinguishes window location, moisture and product type. Its performance claims for a particular polysatin shutter belong to that specified product, not every shutter or faux-wood blind. Describe the actual bathroom conditions to the supplier, including splash, condensation and ventilation. A fabric concept shown in a dry powder room should not be transferred beside a shower merely because the color suits the tile.
Check the window and treatment as a moving assembly
Measure the complete frame and note handles, inward-opening sashes, shutters or screens that need room to move. Include the covering in its raised, lowered and open positions, plus the place you stand to operate it. A window treatment should not turn normal opening or cleaning into an awkward reach across a tub. Have the mounting and operating details resolved for the actual window rather than borrowing a generic bracket position.
Use one finished sample with the bathroom’s fixed surfaces
Take the sample to the window and compare it with the tile, vanity and metal finishes. View a broad enough area to judge a pattern, then repeat the comparison with the bathroom lighting you normally use. A small fabric swatch on a desk can miss an undertone that becomes obvious beside the room’s stone or white fixtures. Choose the color after the privacy and exposure requirements have narrowed the suitable products.
1. Start with a plain roller shade chosen for the required privacy
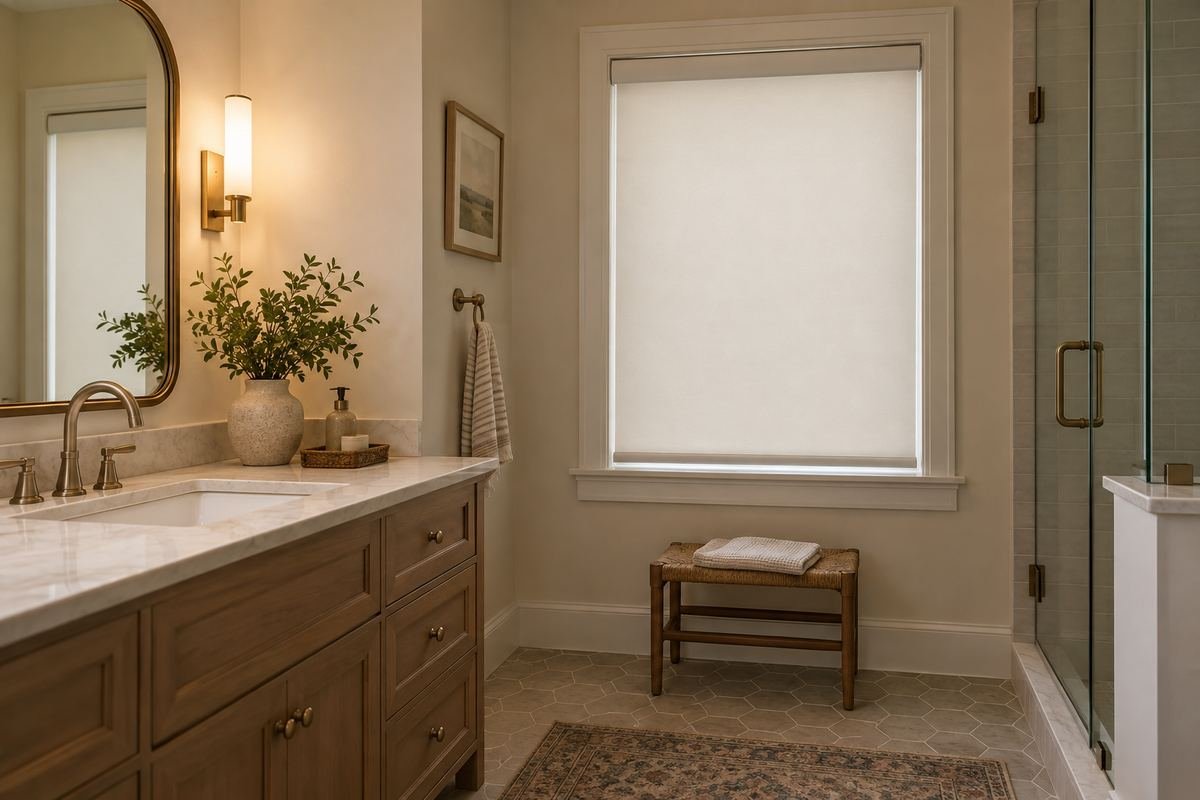
A simple roller shade can keep the window visually quiet while the vanity or tile supplies the decorative interest. It is a useful starting point when the room needs a complete covering with a contained outline rather than an additional layer of folds.
Choose the actual material and closed arrangement by the privacy requirement. An opaque-looking swatch does not account for the sides of the installation or every exterior viewpoint. Compare the full lowered treatment with the room lights on and confirm its suitability for the bathroom’s specific exposure.
Practical tip: Test the complete closed window after dark, including its edges.
2. Compare a suitable faux-wood blind for adjustable light

Horizontal blinds can provide a familiar way to adjust incoming light while keeping a relatively contained window profile. A suitable faux-wood product may fit a bathroom where the ability to change the slat angle is useful throughout the day.
Confirm the exact material and hardware for the actual conditions. Do not treat the term faux wood as proof that every blind can withstand the same moisture exposure. Review the closed slats from the relevant viewpoints and check the clear space needed to operate the window behind them.
Practical tip: Choose the approved product before choosing the slat color.
3. Use full-height shutters as a clear window feature
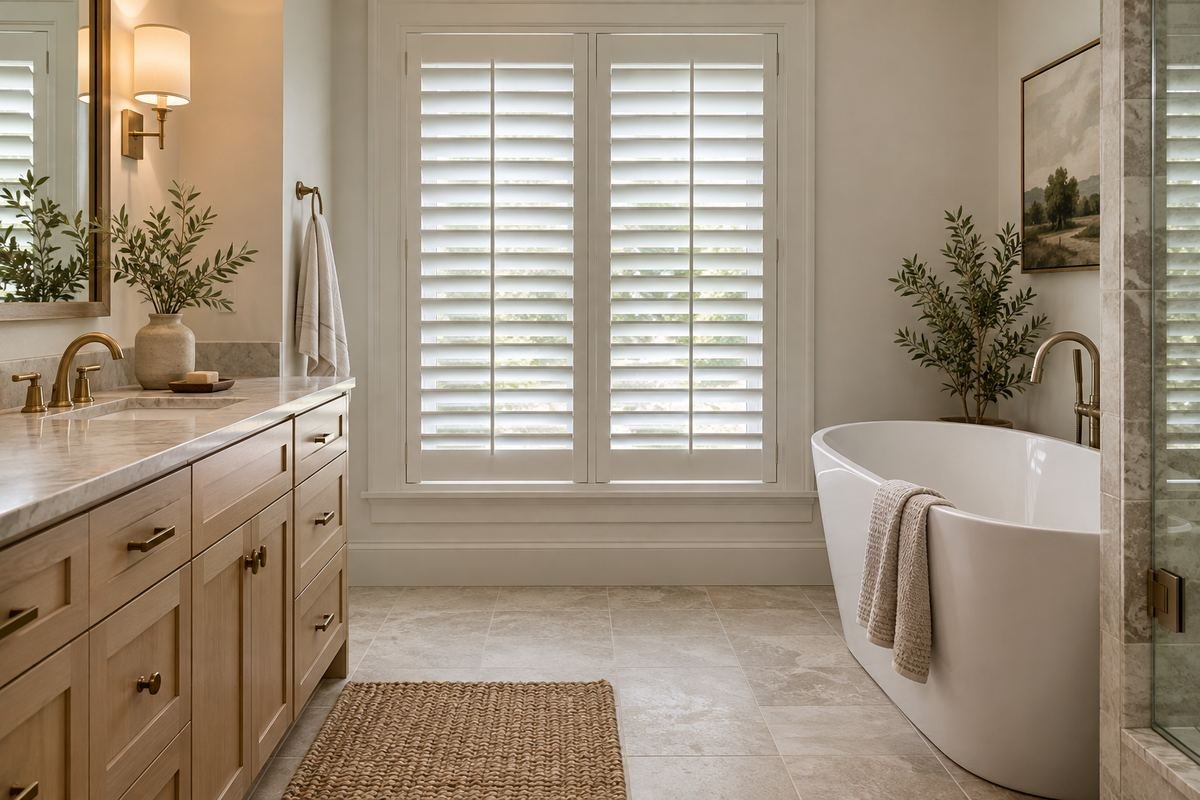
Full-height shutters can give a bathroom window a defined furniture-like outline. They can suit a room with simple tile and a substantial vanity, where the window treatment is intended to feel like part of the architecture.
Check the complete shutter system, panel movement and product suitability. The panels need room to open for access and cleaning, and the louvers must provide the intended coverage in their closed position. A neat photograph does not show whether a panel collides with a faucet, wall light or adjoining cabinet.
Practical tip: Draw the open panels beside the bathroom fittings.
4. Consider lower-window shutters only after checking higher views
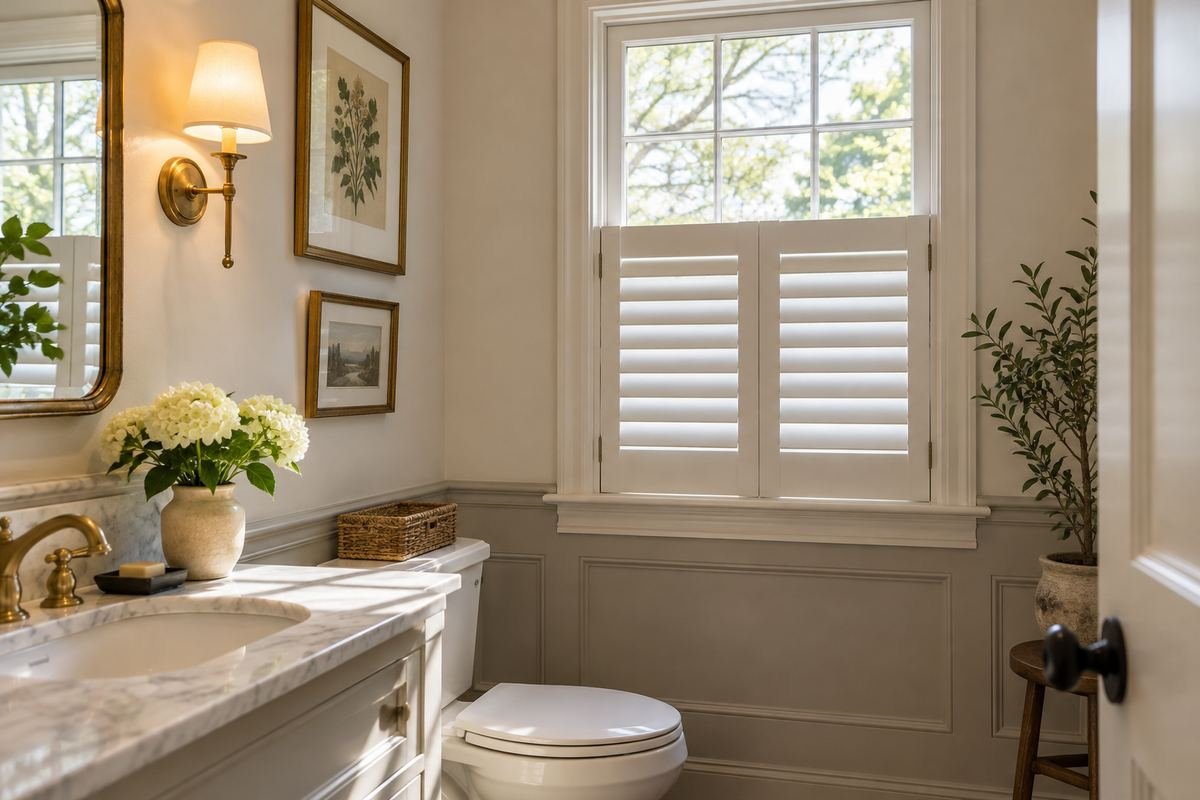
A lower shutter section can create a lighter-looking window while covering a particular sightline. It is a decorative possibility when the open upper glass is compatible with the room’s real privacy needs.
Check views from neighboring floors, stairs and higher exterior positions before approving the partial arrangement. Covering the lower portion alone does not make a bathroom private. If the open area creates an unwanted view, choose a complete treatment that resolves it instead of relying on the height of the lower panel.
Practical tip: Map the upper-floor view before leaving the top glass open.
5. Test a top-down shade against the actual overlooking angle
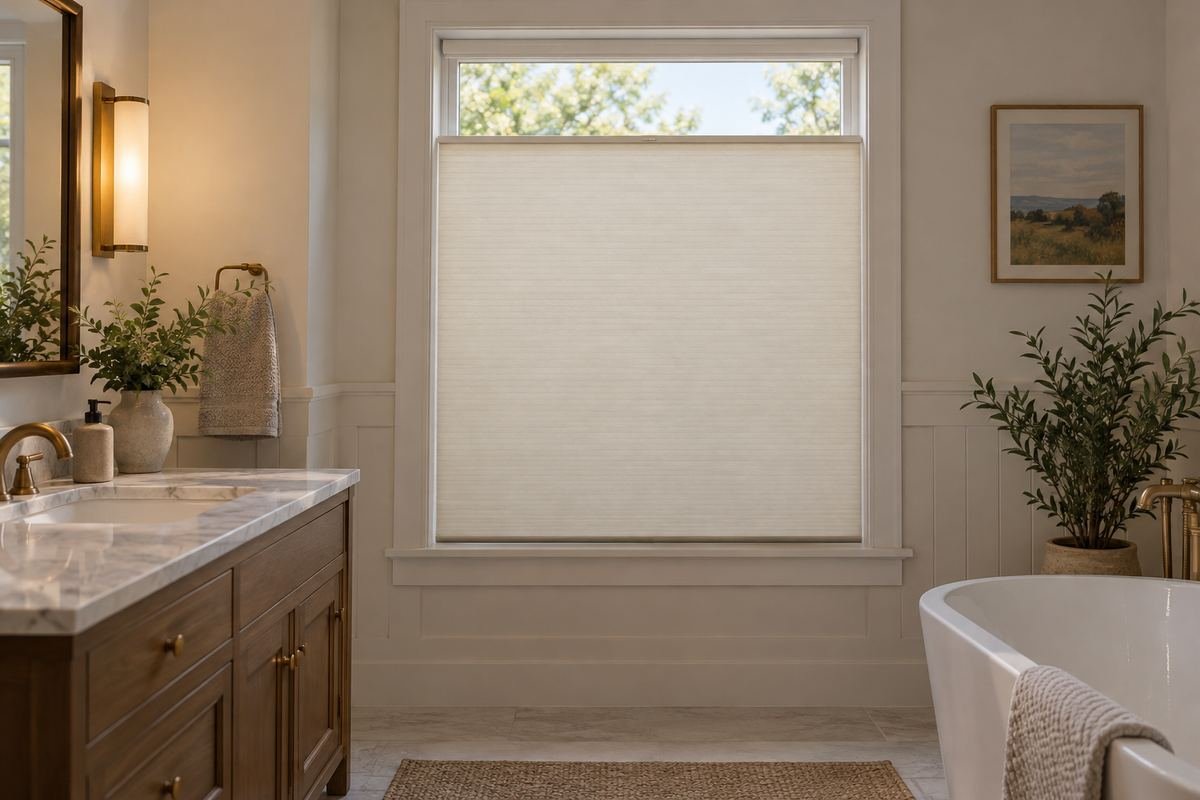
A top-down arrangement can change where daylight enters while retaining coverage over another part of the window. The useful opening depends on the window position and the views outside, rather than on a standard amount of exposed glass.
Include views down into the room. A window that seems concealed from a garden path may still be overlooked by an adjacent upper floor. Test the proposed system and its material as a complete privacy arrangement, and keep the control routine simple enough that the required coverage is actually used.
Practical tip: Choose the uncovered area from the sightline map, not a photograph.
6. Use a flat Roman shade in a dry powder-room setting
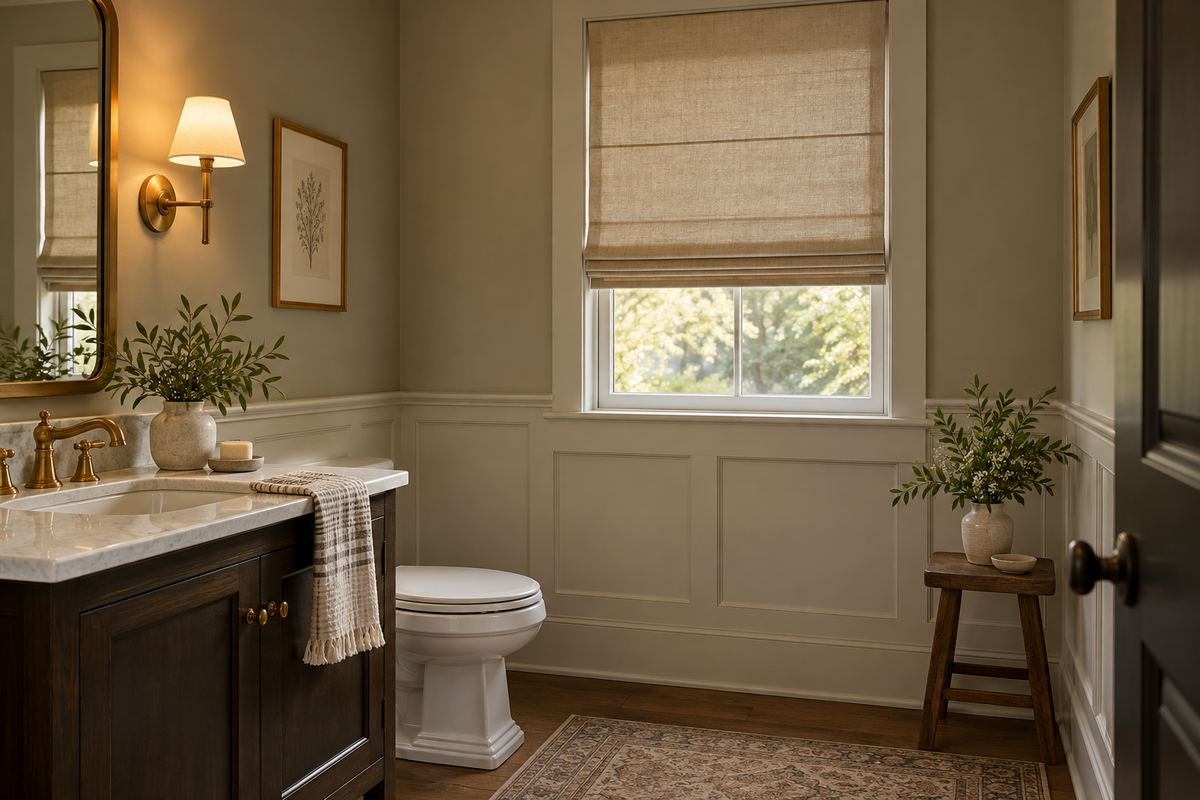
A flat Roman shade can add softness to a powder room where there is no shower and the window is away from regular splash. Its fabric surface can balance porcelain and tile without introducing a large quantity of curtain material.
Confirm the fabric, lining and care requirements for the actual room. The decorative weave and the privacy specification are separate choices. Keep the fold stack clear of the opening you need to use, and compare the lowered shade with the lights on before depending on its coverage.
Practical tip: Keep this fabric concept tied to a suitable dry location.
7. Let fuller Roman folds soften a restrained dry bathroom
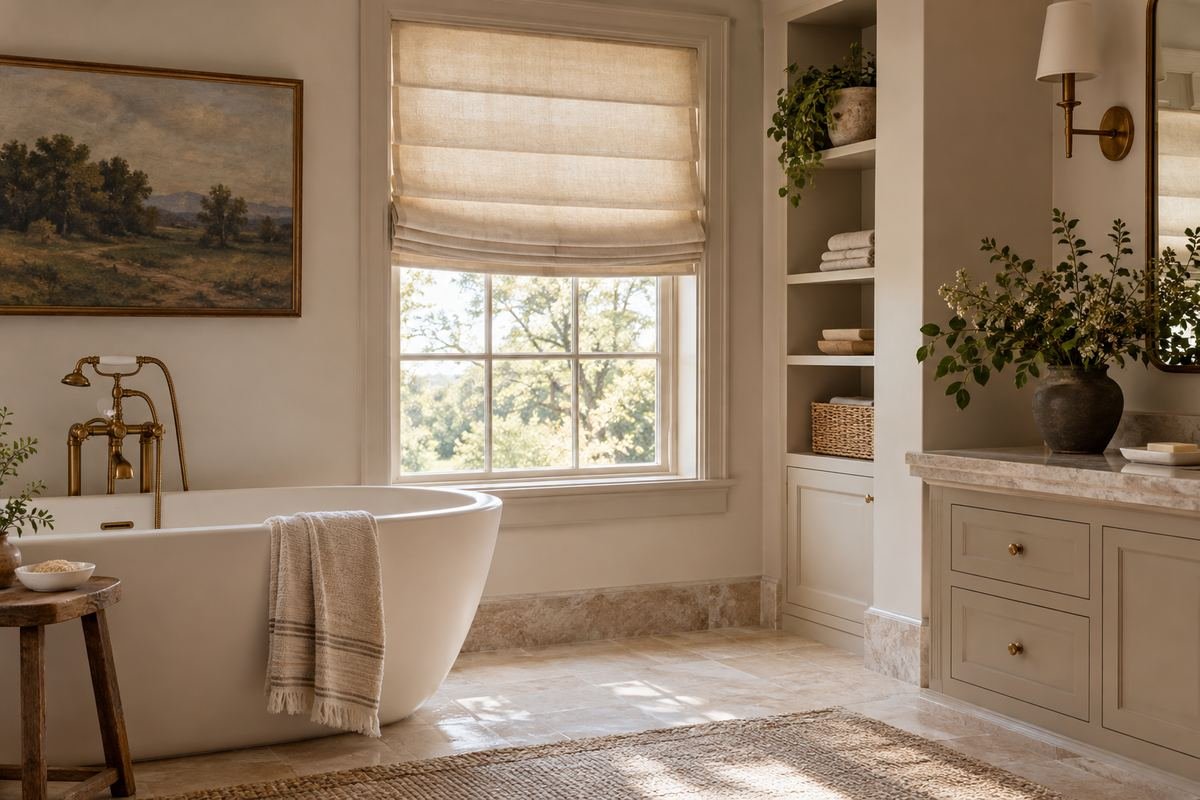
A Roman shade with fuller folds can bring a little depth to a dry window setting dominated by plain hard surfaces. It can be effective when the fabric is the room’s main soft detail and the rest of the decor remains simple.
The folded appearance adds bulk, so compare it with nearby mirrors and wall lights. Check that the raised stack and lowered fabric have an appropriate place within the window arrangement. Product suitability and privacy still determine the usable fabric; fuller folds alone do not establish either performance.
Practical tip: Compare the raised stack with the room’s surrounding fittings.
8. Use a lined woven look where the location is suitable
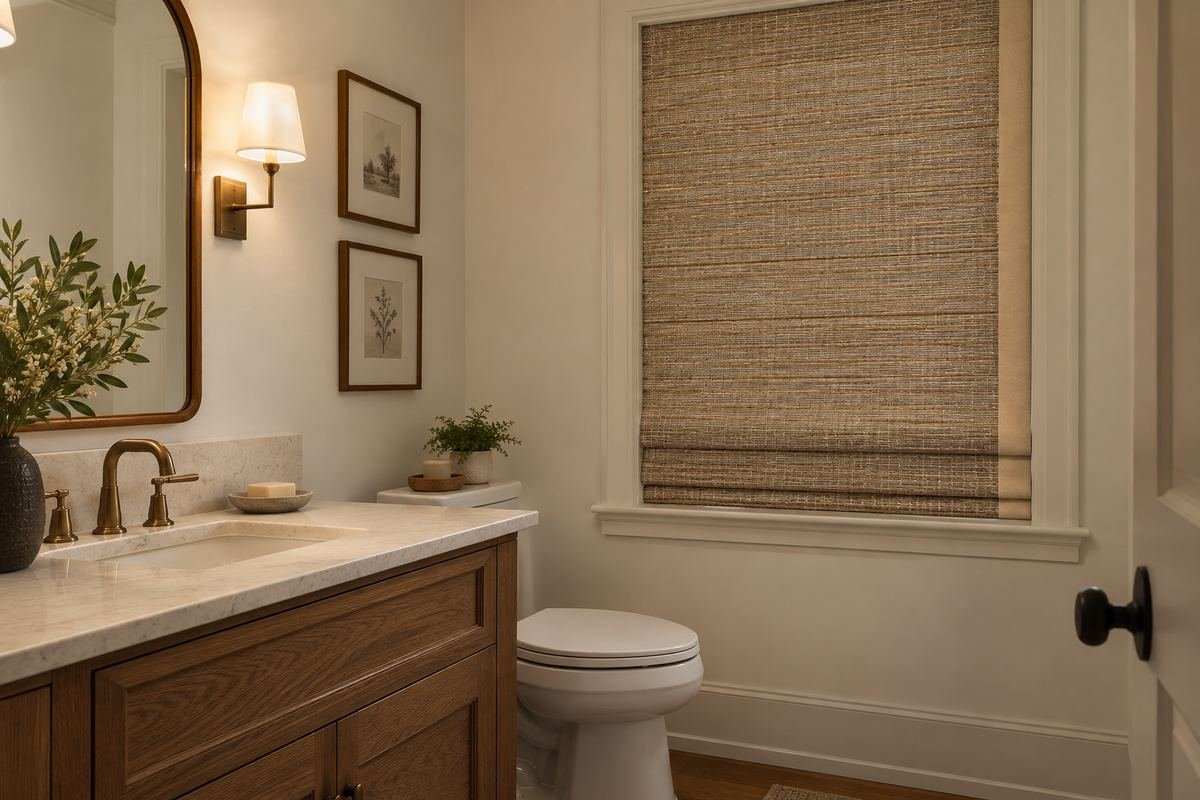
A woven-looking shade can connect a bathroom with warm timber or natural textures. It is most useful as a considered material choice in a suitable dry location, rather than a reason to place an unsuitable natural weave close to bathing moisture.
Check the actual weave, backing or liner and closed-window privacy. Small gaps in a decorative material can be easy to overlook in daylight. Confirm the complete product’s conditions of use and upkeep, then decide whether the texture still provides value once the required privacy layer is included.
Practical tip: Review the actual lined assembly with the room lights on.
9. Give paired windows matching coverings with individual fit
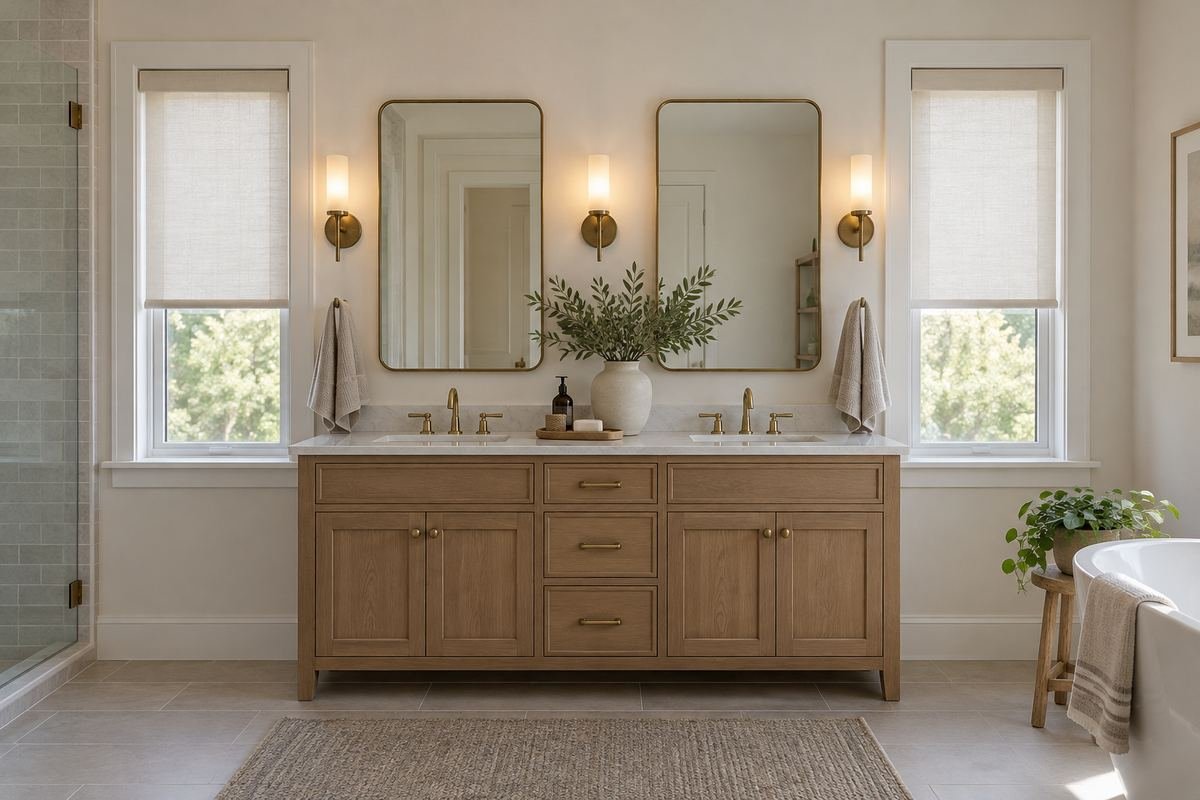
Two bathroom windows can look coordinated with the same material while each receives the correct size and operating arrangement. This is useful where matching external appearance matters but the openings or surrounding fittings differ slightly.
Measure each opening separately and check both privacy views. A small width difference or a nearby mirror can change the useful mount and access. Keep the visible finish related without forcing one window to use an unsuitable arrangement merely to copy its neighbor exactly.
Practical tip: Specify each window separately while coordinating the material.
10. Divide a wide opening into deliberate working sections
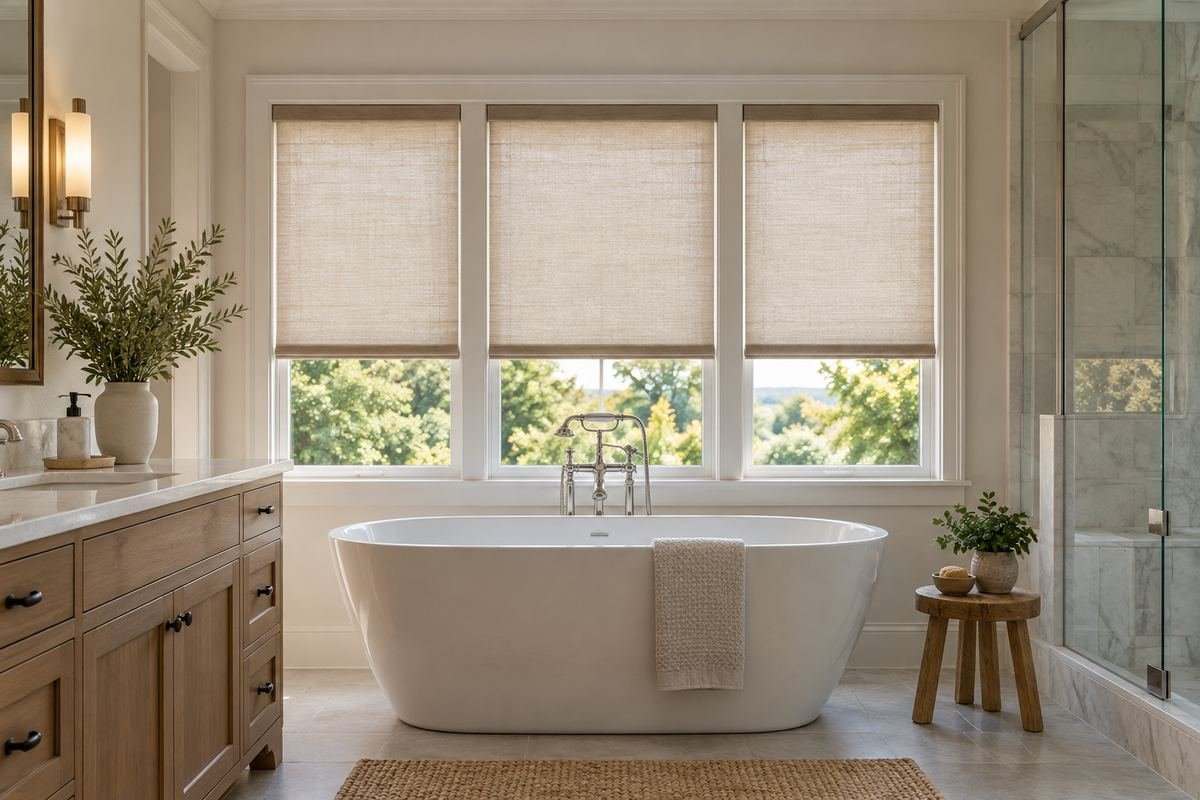
A wide bathroom window may be easier to plan as several coordinated sections when the actual frame supports that approach. Separate coverings can relate to the window divisions and allow a more specific operating arrangement.
Review the joins and coverage as carefully as the main surfaces. Dividing a window adds edges that can affect privacy and light control. Confirm what the chosen system permits and how each section is reached, then compare the full closed elevation rather than judging one sample panel in isolation.
Practical tip: Check the complete closed view across every division.
11. Keep a narrow bathroom window visually simple
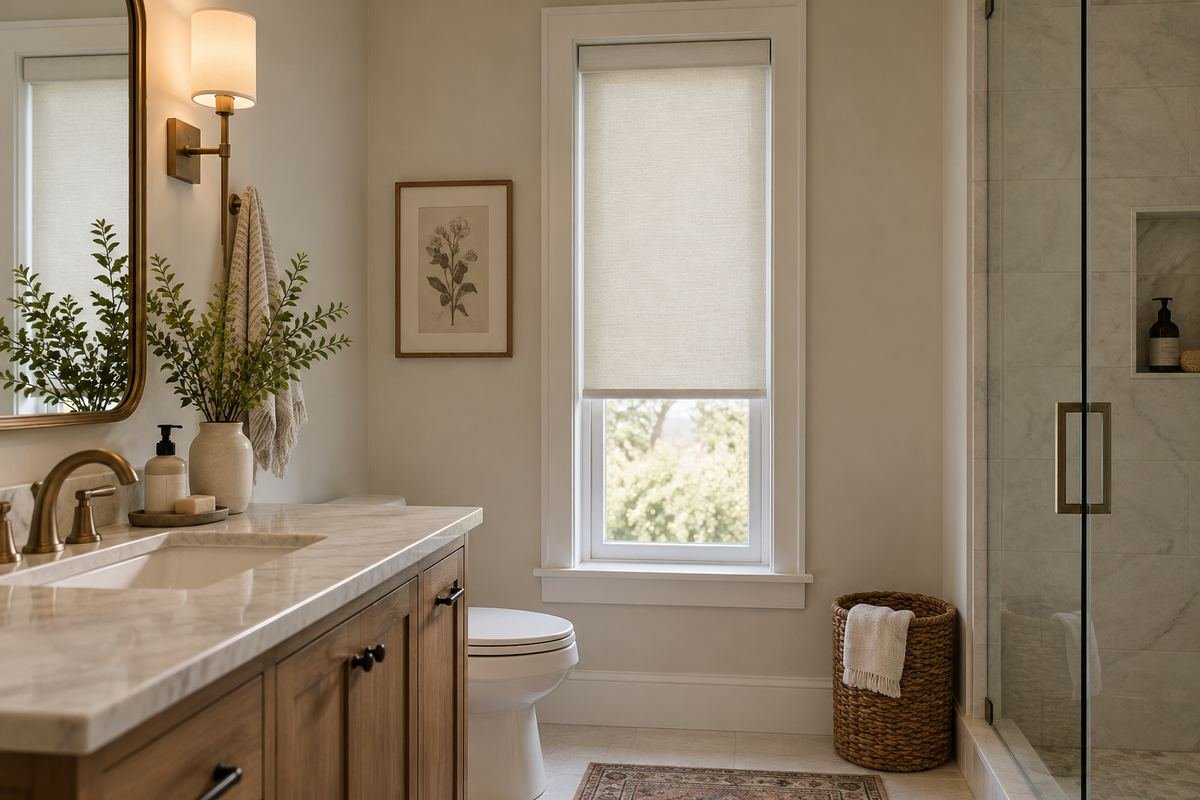
A narrow window can become crowded by a heavy valance or oversized fabric stack. A restrained covering suited to the opening often lets the window proportions remain clear while still resolving the privacy requirement.
Check whether the mechanism and available recess leave enough room for the actual sash and handle. A treatment advertised as compact may still project into an awkward place beside a vanity or cabinet. Choose the complete arrangement first, then keep its color related to the surrounding wall or trim.
Practical tip: Compare the mechanism size with the narrow opening.
12. Resolve operation at a high window before choosing the style
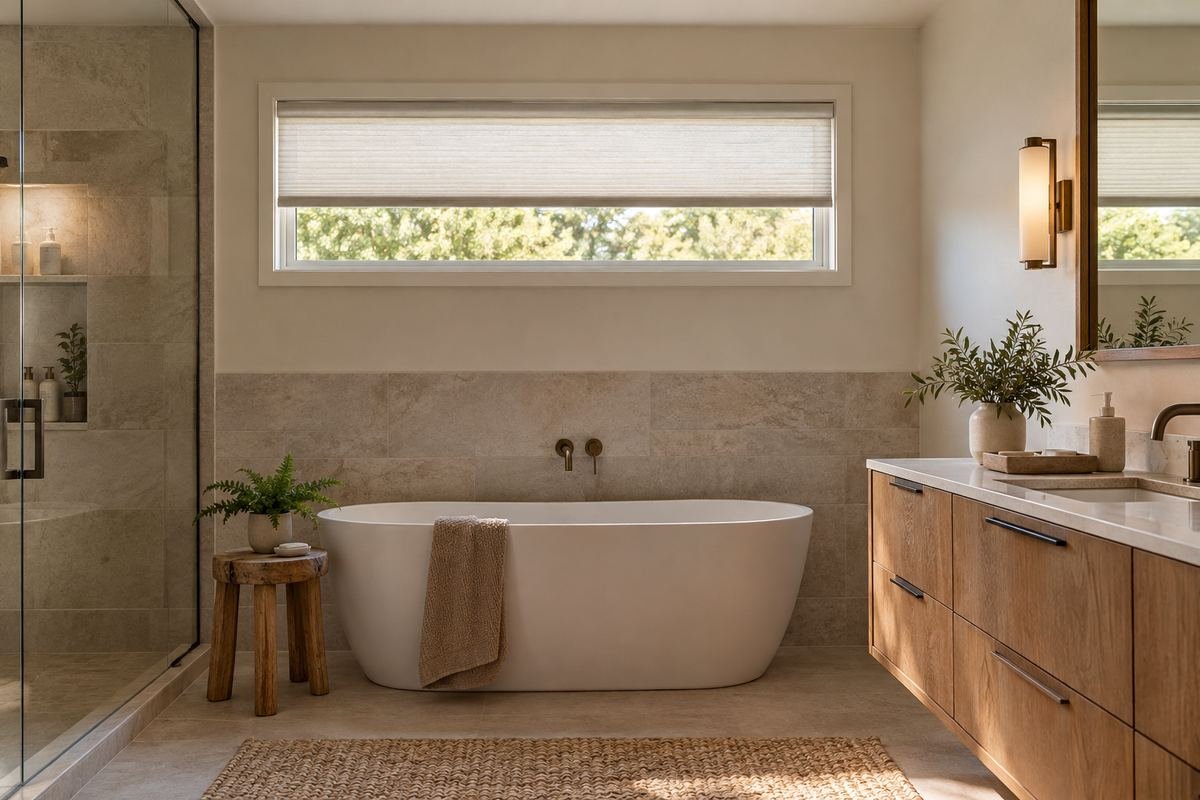
A high bathroom window can bring useful daylight while being difficult to reach. The treatment needs an operating method that suits the real location and can be maintained without turning an everyday adjustment into an awkward climb or stretch.
Consider the exact system, access and service requirements with the supplier. Do not assume a high window is automatically private or that every shade can be motorized later. The surrounding exterior heights and the complete operating arrangement still need to be assessed for the actual room.
Practical tip: Plan reach and maintenance as part of the window specification.
13. Let an arched window guide a properly fitted treatment
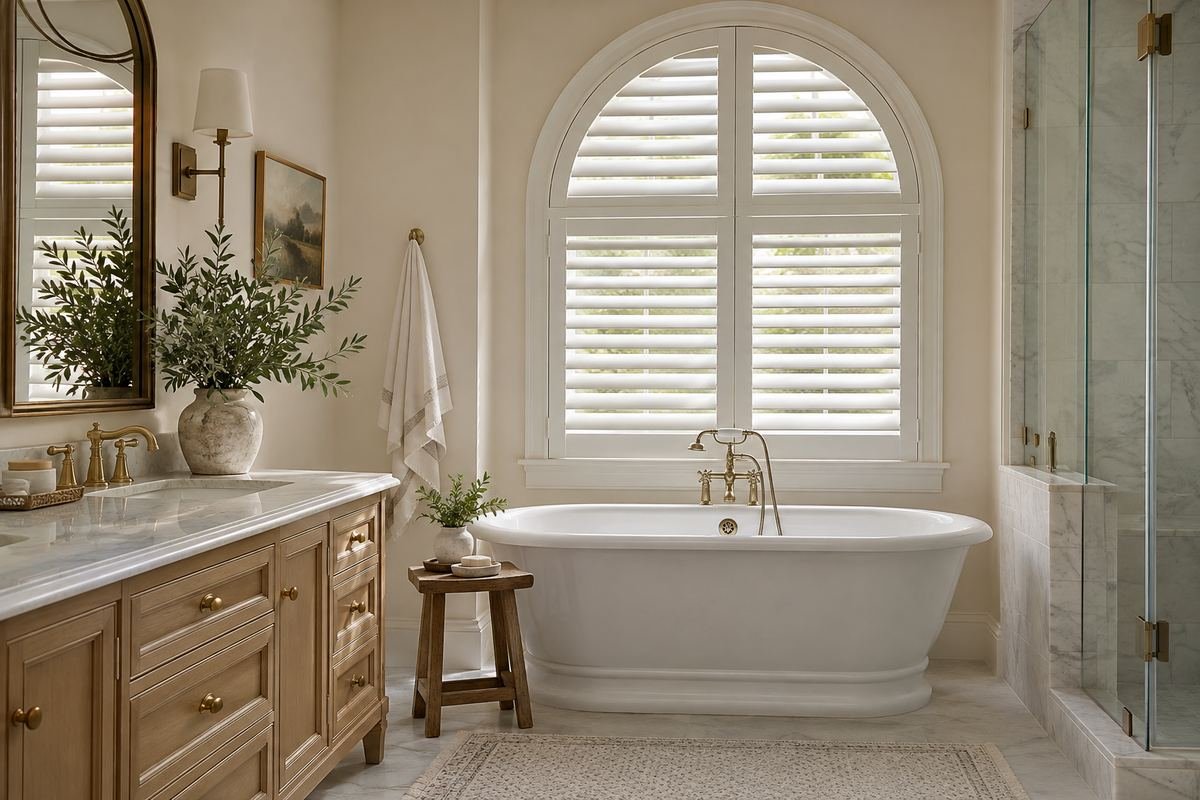
An arched opening can remain a strong bathroom feature with a treatment designed for its shape. A coherent fitted shutter or other suitable complete system can relate to the curve more naturally than an improvised covering that leaves unresolved sections.
Ask how each portion provides coverage and how it operates. The arched top may be fixed or behave differently from the lower panels, depending on the chosen product. Include privacy, cleaning access and the full frame in the specification instead of approving the shape alone.
Practical tip: Check the operation and coverage of the arch as well as the lower window.
14. Reveal attractive trim with a suitable recessed arrangement

A treatment fitted within an adequately deep recess can let attractive bathroom trim remain visible. The quieter outline can be useful when the frame already contributes detail and an extra valance would make the window feel overdecorated.
Use the actual product depth requirements and check the handle and sash movement. An inside position can leave edge gaps that need to be assessed for privacy; it is not automatically the best choice because it looks tidy. Confirm the complete fit rather than choosing the mounting style from the finished appearance alone.
Practical tip: Evaluate recess depth and privacy gaps together.
15. Plan an outside arrangement for a shallow frame
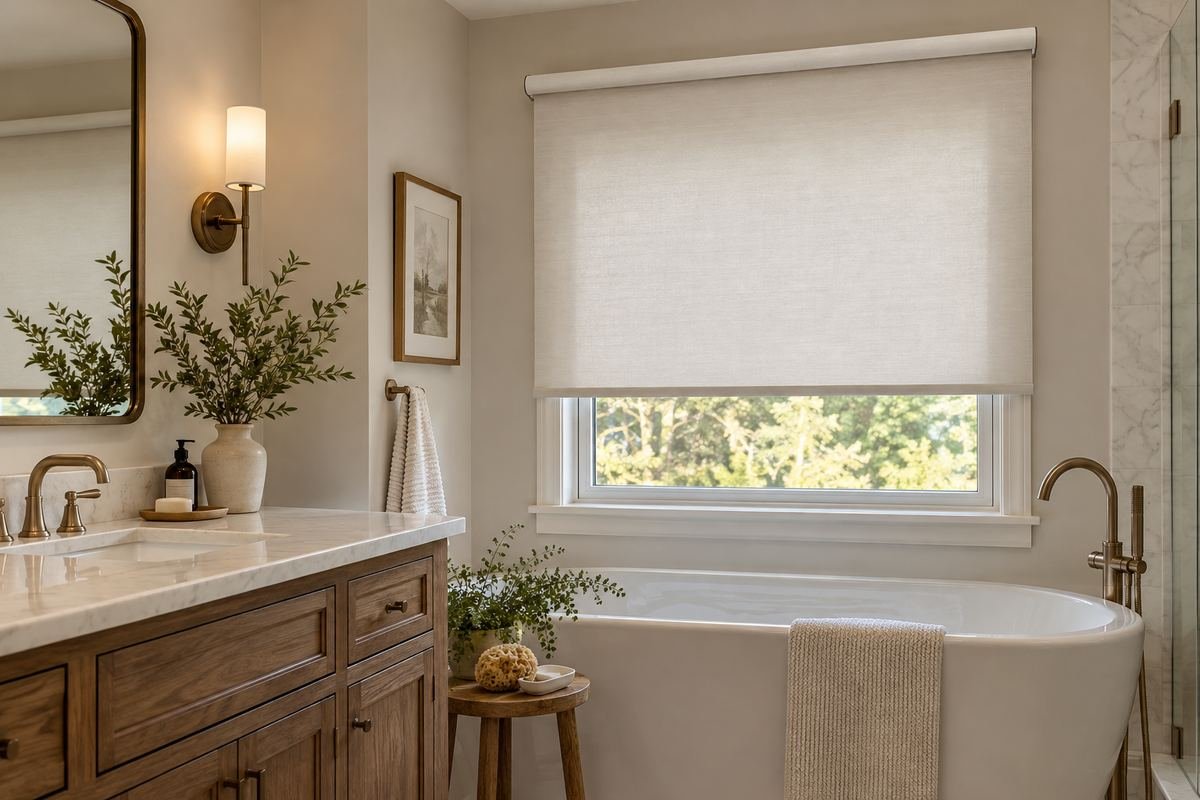
A shallow window frame may need a covering mounted beyond the recess, depending on the exact product. A deliberate outside arrangement can give the mechanism a workable place while preserving a coordinated bathroom elevation.
Resolve the actual projection and coverage with the supplier’s measuring requirements. Include nearby mirror edges, lights and shelves so the treatment does not overlap a fitting or obstruct normal window use. A broader fabric surface can also change the room’s color balance, so compare the complete size before ordering.
Practical tip: Check nearby fittings before choosing the wider outside composition.
16. Keep operation practical beside a freestanding tub
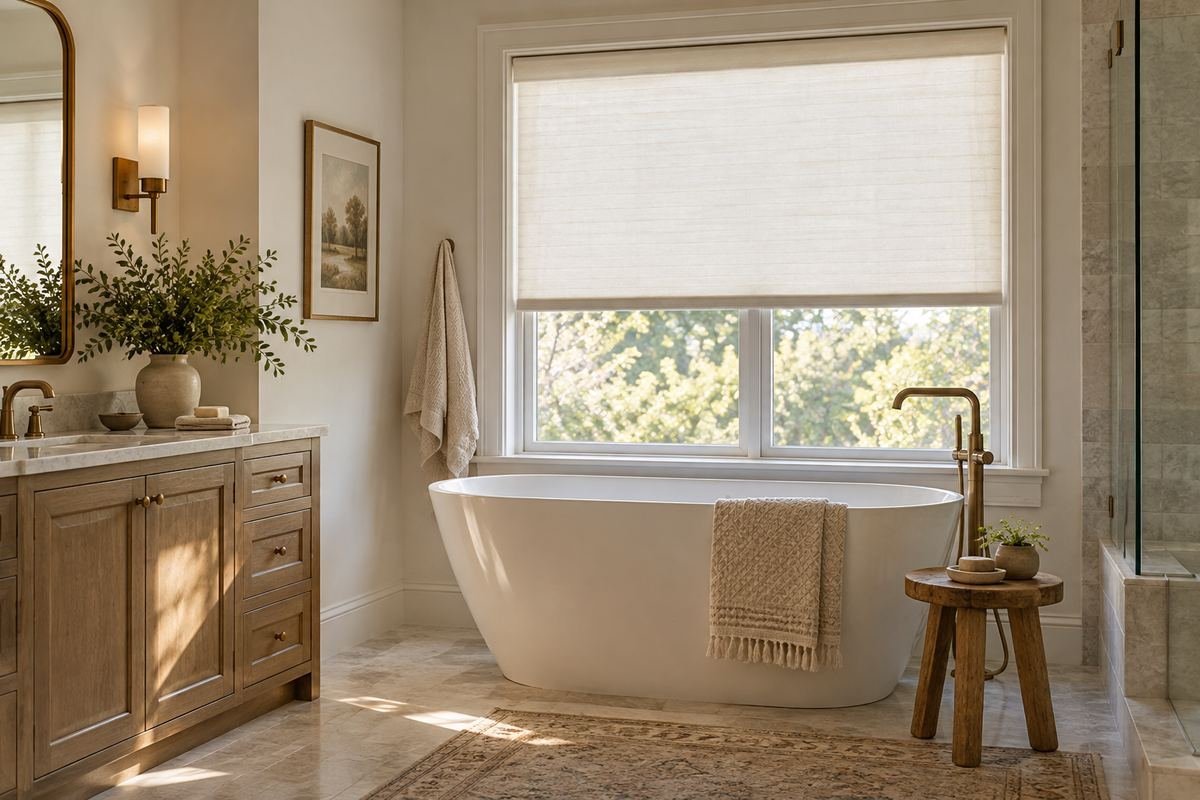
A window beside a freestanding tub can be visually important while being inconvenient to reach. Choose the treatment with the way you enter, leave and clean around the tub in mind, rather than treating the window as a backdrop alone.
Avoid a fabric arrangement that depends on gathering material around the tub or reaching over it every day. Confirm the location’s exposure and the complete operating method. The finished treatment should have an appropriate place to sit in both its open and closed positions without crowding normal tub access.
Practical tip: Test the operating position from the floor beside the tub.
17. Specify the actual exposure beside a shower
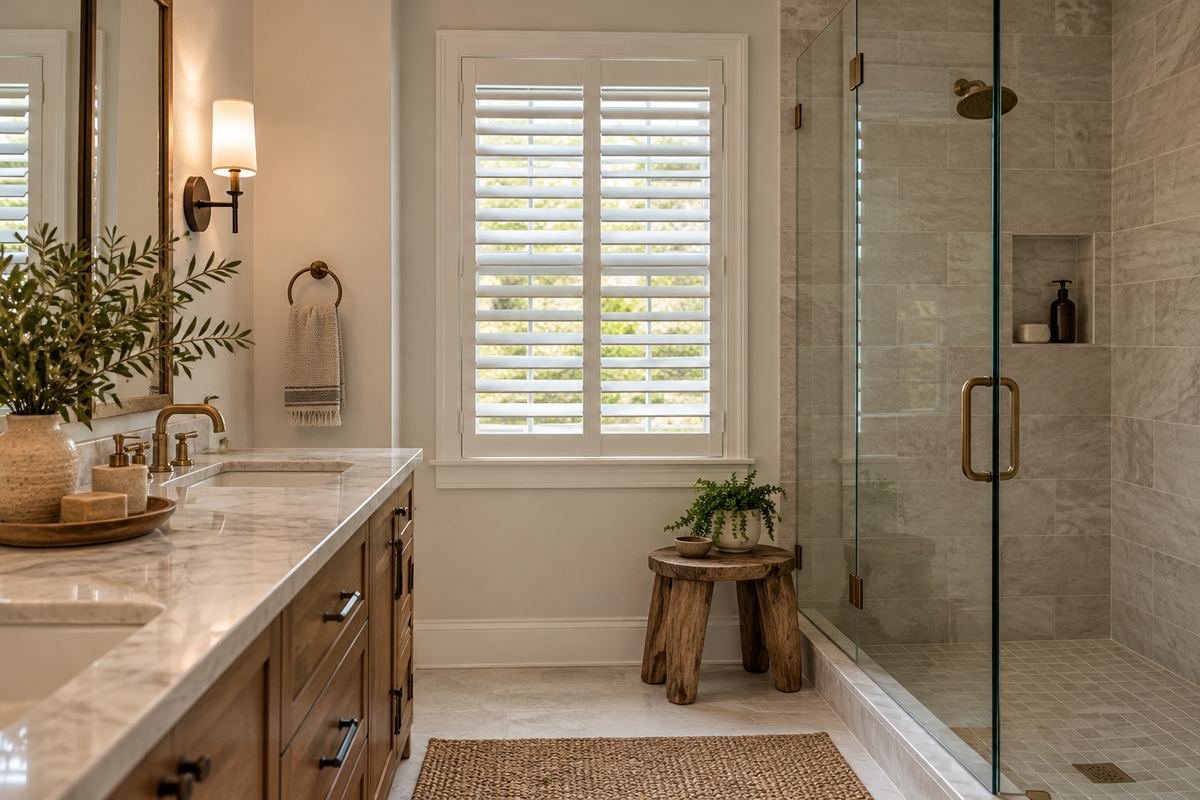
A window near a shower needs a product assessment tied to its real exposure. A decorative category such as shutters, blinds or shades does not establish that every material and operating part can tolerate the same conditions.
Describe the location clearly to the supplier and resolve the window assembly and any applicable bathroom requirements with the appropriate professional. Choose the visual finish only from products suitable for that setting. Do not copy a soft fabric shown elsewhere in this guide into a repeatedly wet zone because the window dimensions match.
Practical tip: Use location-specific product approval rather than a style label.
18. Check what the vanity mirror reveals about the window
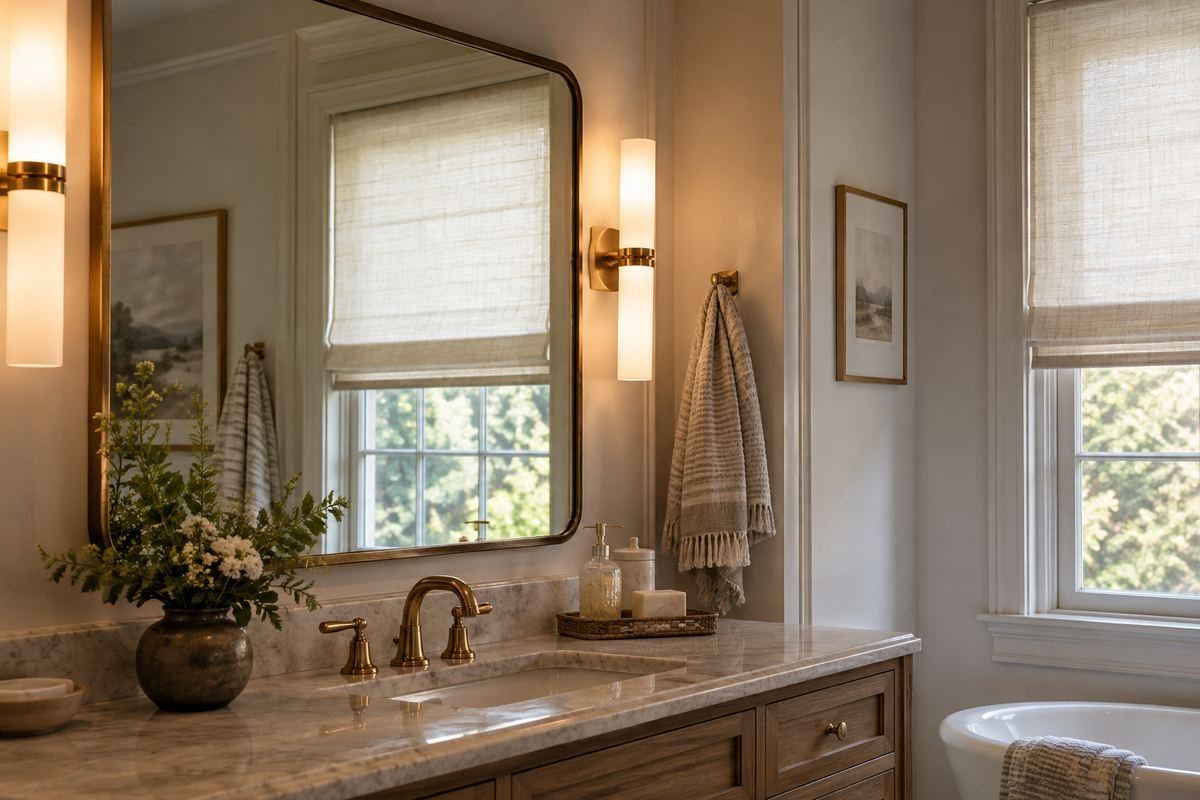
A vanity mirror can bring an unexpected view of the window into the room. A covering may look calm straight on yet appear visually busy or expose an unwanted angle when reflected from a normal standing position.
Include the reflection when choosing the treatment and privacy coverage. A broad patterned shade or bright exposed mechanism can become more prominent when seen twice. Keep the window finish simpler if the vanity already has strong mirrors or lights, and test the actual closed arrangement during the nighttime privacy review.
Practical tip: Review the window from the mirror as well as directly.
19. Keep white-on-white finishes coordinated rather than identical by name
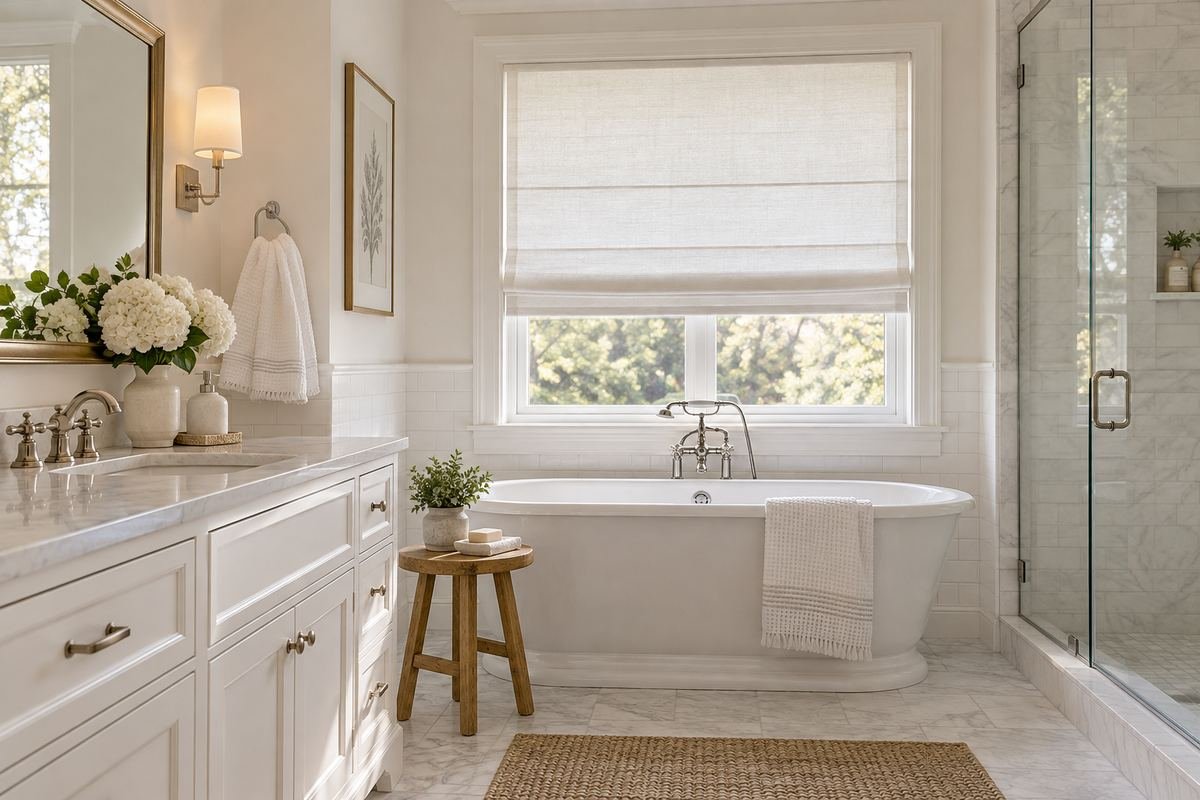
A pale covering can support a bathroom with white fixtures and tile when its undertone belongs with the fixed surfaces. The window can remain quiet while the vanity shape or an architectural detail leads the room.
Compare a real sample at the window. A white that appears neutral elsewhere may look blue, yellow or gray beside the actual tile. The treatment’s texture and finish also affect the impression, so select from suitable privacy and exposure options before narrowing the final shade of white.
Practical tip: Compare the sample with both tile and porcelain in the room.
20. Use a warm neutral with stone and timber finishes
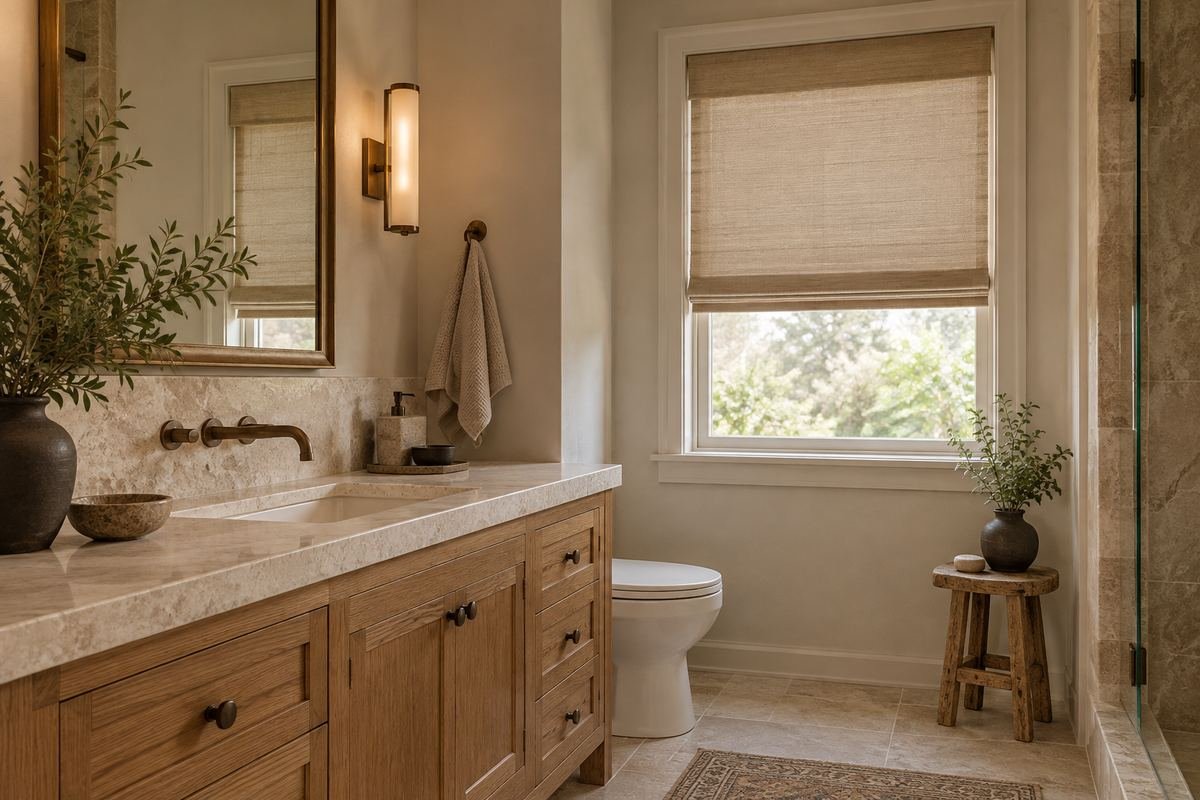
A warm neutral treatment can connect a stone surface and a timber vanity without introducing another strong color. It is useful where the bathroom already has varied natural tones and the window needs to support them quietly.
Choose the neutral from the actual room rather than a generic beige palette. A sample can reveal whether the fabric or blind finish relates to the stone’s undertone or conflicts with it. Keep the texture restrained when the stone has pronounced movement, and confirm that the selected product suits the window location.
Practical tip: Test the neutral beside the most permanent bathroom material.
21. Repeat a muted blue from the bathroom palette
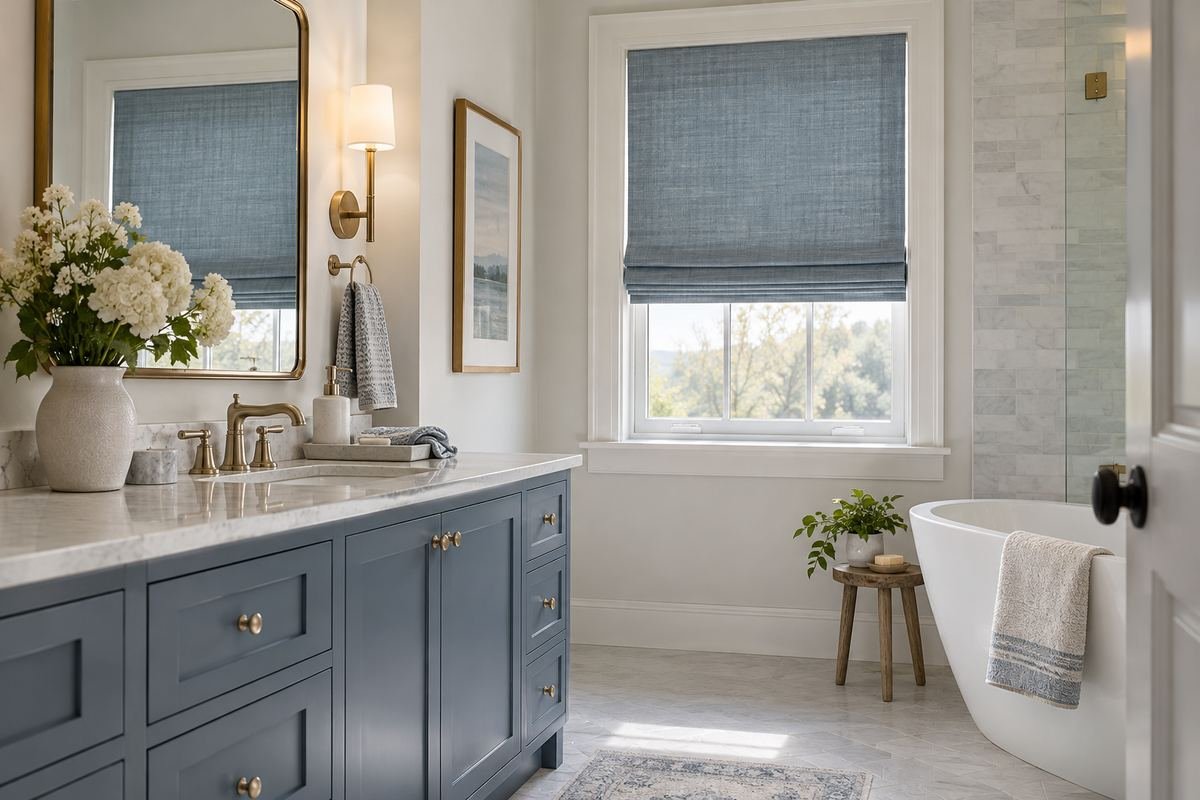
A muted blue window treatment can connect with a small tile detail, painted vanity or other established color in the room. Repetition makes the window feel considered without requiring every accessory to match.
Compare the blue in daylight and under the bathroom’s usual lighting. A cool tone can shift noticeably beside warm stone or off-white fixtures. If the window is the stronger color feature, simplify the surrounding towels and patterns so the room keeps one clear visual hierarchy.
Practical tip: Use the window to repeat one color already present.
22. Let a small pattern lead in a quiet dry powder room
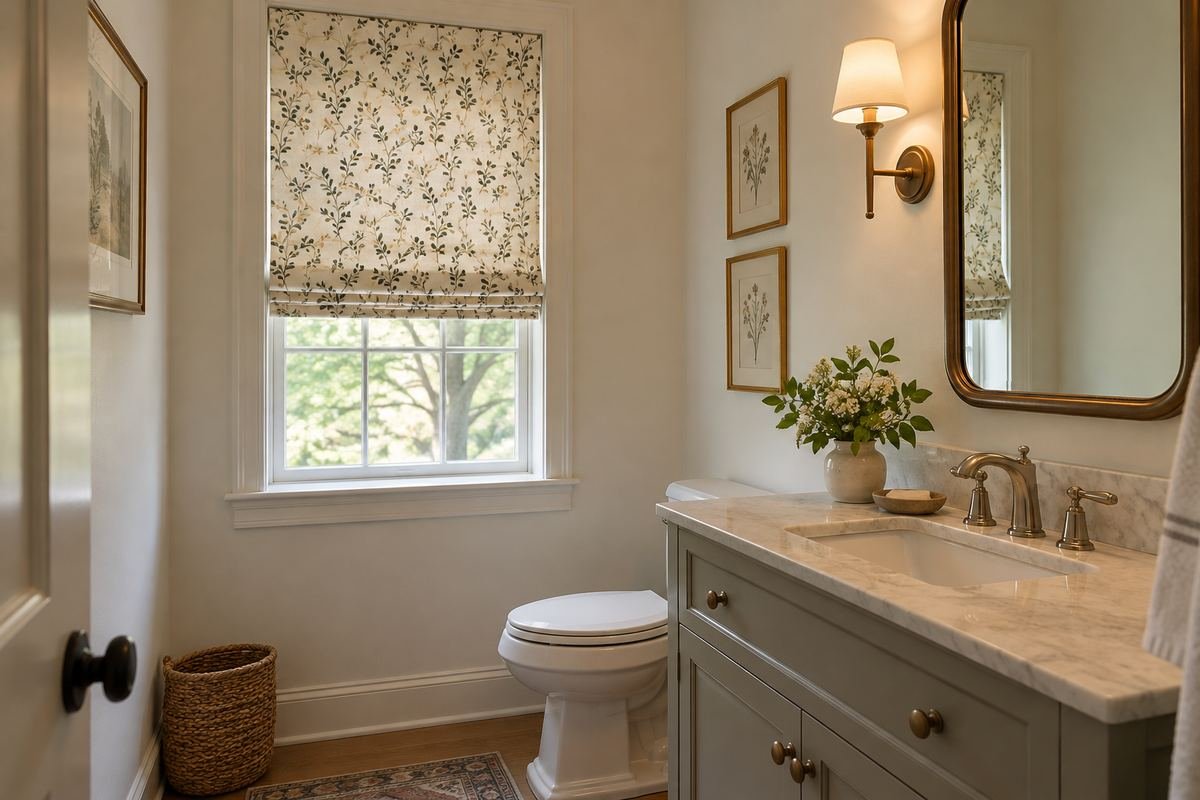
A small patterned shade can give a plain powder room an intentional focal point. It is most effective when the wall, vanity and mirror are simple enough to let the fabric surface provide the main decorative rhythm.
View enough of the pattern to judge it at the finished window size and in its folded or lowered position. Select the required lining and verify privacy independently from the print. Keep this fabric concept in a suitable dry setting rather than transferring it to a location with repeated bathing moisture.
Practical tip: Check a broad sample and the finished pattern placement.
23. Coordinate the window with a stronger shower curtain
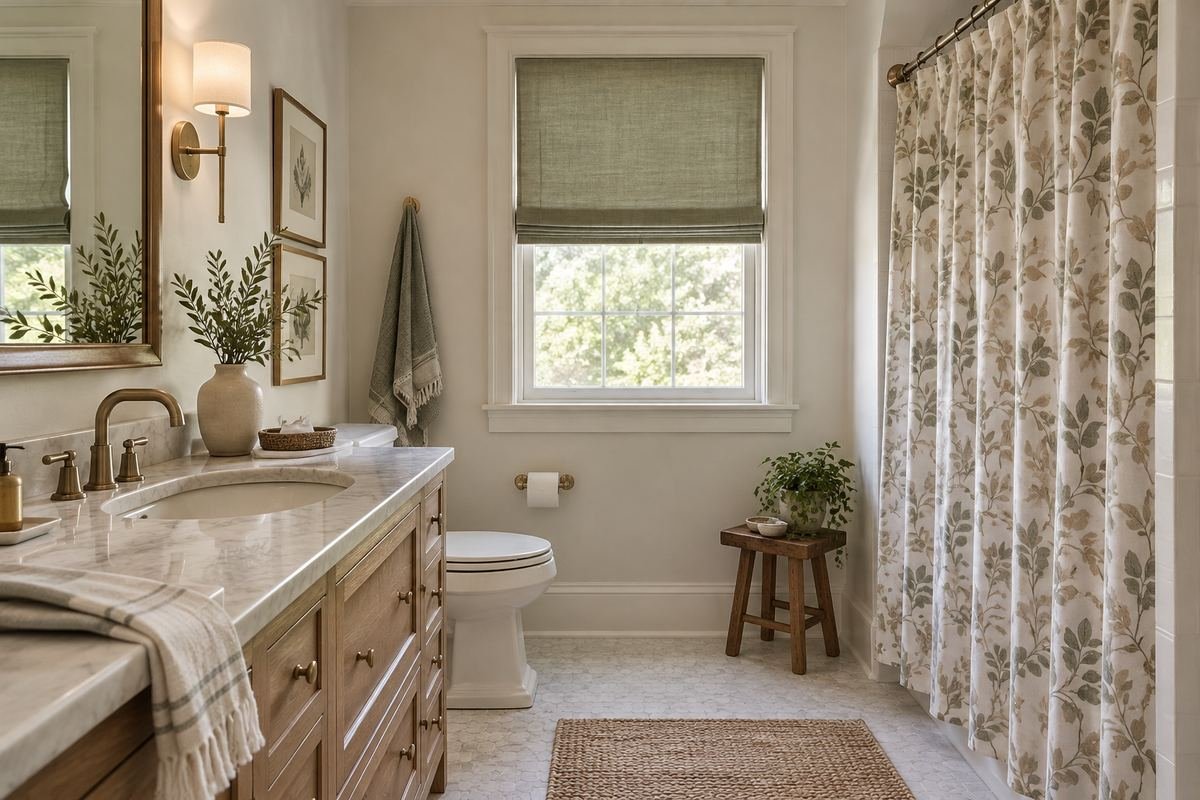
When a shower curtain supplies the main pattern, a quieter window covering can make the bathroom feel more coherent. Repeat one background tone or a restrained texture rather than using two equally active prints.
The window and shower curtain have different practical roles. Choose each for its actual use and care requirements, then coordinate their appearance. Keep the window treatment contained and review the room with the shower curtain both open and closed, since its visible area can change the overall balance.
Practical tip: Let one textile carry the pattern while the other supports it.
24. Assess corner windows as one privacy arrangement
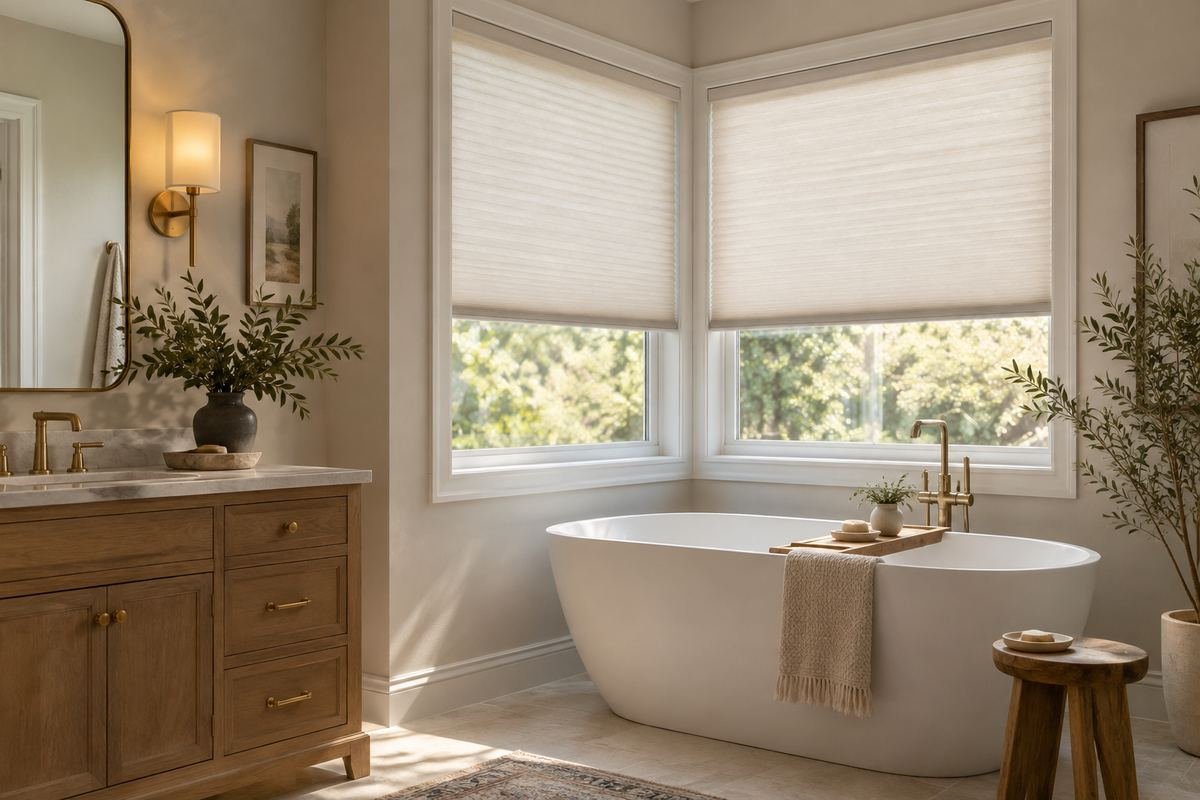
Corner windows can bring light from two directions, but they also create more than one exterior view into the bathroom. Coordinated coverings can make the corner feel intentional when each window still receives the right fit and coverage.
Check the meeting point, mechanisms and both viewing angles. A treatment that projects beyond one frame may conflict with the adjacent covering or leave an awkward uncovered junction. Review the complete lowered arrangement and the room’s normal use from both exterior directions before approving the coordinated appearance.
Practical tip: Resolve the corner junction and each outside sightline together.
25. Finish with an easy closing and care routine
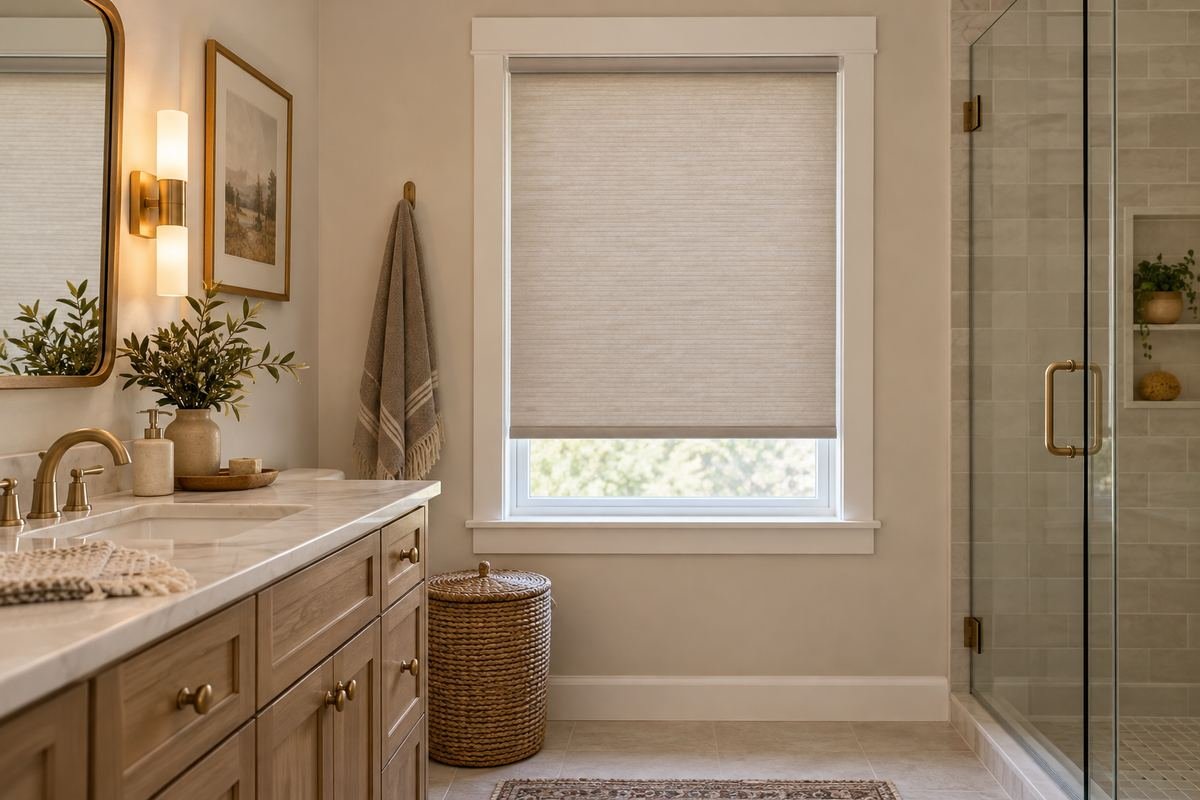
The right treatment is one you can close for privacy and care for as directed without rearranging the bathroom. A simple routine can matter more than an extra decorative layer or operating feature that makes the window inconvenient.
Walk through an ordinary morning and evening. Check the actual control position, the window access and the manufacturer’s cleaning instructions for every material. Keep surrounding counters and shelves clear enough to use the treatment normally, and reassess the privacy view whenever the exterior conditions or room lighting change.
Practical tip: Choose the complete routine before adding another window layer.
Frequently Asked Questions
What are the best bathroom window treatments for privacy?
Choose a complete covering specified for the level of privacy you need, then check it with the bathroom lights on after dark. Include edges, gaps, neighboring upper-floor views and reflections. A decorative fabric, daylight view or product photograph cannot establish the result in your own room.
Can I use Roman shades in a bathroom?
A suitable Roman shade can be considered for a dry bathroom or powder-room location. Confirm the exact fabric, lining and care requirements with the supplier. Avoid assuming that a fabric treatment suitable away from moisture will perform beside a shower or a splash-prone tub.
Do solar shades provide bathroom privacy at night?
Screen-style solar shades should not be relied on for nighttime privacy. Their ability to preserve a daytime view is a different function. If you use a solar layer, resolve the separate privacy covering and the complete closed arrangement before treating the window as concealed.
Are all faux-wood blinds moisture-proof?
No general style label establishes performance for every product. Confirm the material, hardware and manufacturer’s approved use for the exact bathroom exposure. Product-specific durability or warranty statements should not be applied to an entire category.
Is a top-down shade private enough for a bathroom?
Only if the exposed part of the window does not create an unwanted view from the relevant outside positions. A neighboring upper-floor window can overlook an opening that appears private from ground level. Map and test those sightlines before choosing partial coverage.
Should bathroom window treatments match the shower curtain?
They can share one color or texture without matching exactly. Keep the window covering’s privacy and exposure requirements separate from the shower curtain’s role. A related quiet window finish often works well when the curtain or tile already provides the main pattern.
Choose the Details That Work in Your Home
Choose privacy and exposure first, resolve the opening and operating details, then refine the color and texture. The most useful bathroom window treatments let the room feel finished while remaining dependable during ordinary use. A real nighttime view and a suitable product specification are more valuable than an attractive daytime impression.
For related ideas, explore Roman shade ideas, shower curtain ideas, bathroom decor ideas.
Planning References
Hunter Douglas: bathroom window covering choices and location; Hunter Douglas: opacity, privacy and light-control FAQ; Blinds.com: solar shades and nighttime privacy. Follow the instructions for the exact products you choose.
Optional digital guide for this topic
If you prefer a structured workbook, explore this related paid guide.