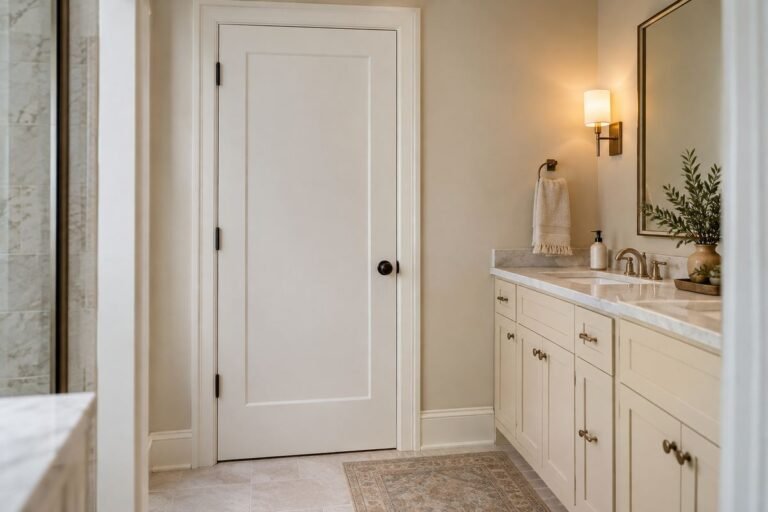
Bathroom counter organization ideas should make the sink easier to use and the surface easier to wipe. Start with the items you reach for every morning, then give the rest a home in a drawer or cabinet. A tidy counter can still contain the things that make your routine comfortable.
Clear the surface and walk through handwashing, toothbrushing and getting ready. Notice where your hands naturally reach, which containers must stay upright and what gets wet. The right organizer respects those movements instead of making you work around a decorative display.
The following layouts suit different counter shapes and households. Choose the few that solve your actual problem; you do not need every tray, jar and stand in the same bathroom. Check organizer care instructions and keep electrical items and their cords away from water as their manufacturers require.
The images are original AI-generated decor concepts, not installation diagrams or photographs of completed client projects.
Test Bathroom Counter Organization During Handwashing and Cleanup
Arrange only the products normally used at this sink, then wash and dry your hands without moving the display. Next, lift the groups and wipe the surface beneath them. For example, a turntable can bring bottles forward while its widest container still strikes the faucet. Keep product labels and required storage guidance intact and choose fewer accessible groups when another tier makes the routine harder.
Jump to an idea
- One lift-out tray for the daily bottles
- A narrow soap station beside the faucet
- An open toothbrush holder with separate spaces
- A small daily skincare group
- Separate zones for a shared vanity
- A shallow corner organizer for a deep counter
- A rotating organizer with room to turn
- A riser that creates a useful second level
- An open basket for washcloths
- A shallow dish for jewelry during handwashing
- A dedicated cup for makeup brushes
- A clear organizer for a few small cosmetics
- One compact guest group
- A low tray under an existing wall shelf
- Matched holders that do different jobs
- A tray that follows the counter depth
- A contained station for contact-lens supplies
- A small bin that collects temporary items
- One accessible daily grooming tool
- A clear landing area for the morning routine
- Original packaging inside a coordinated tray
- A low open arrangement for a small powder room
- A reset-friendly arrangement with fewer pieces
Map a dry storage footprint before choosing containers
Draw the counter from above and mark the basin, faucet, handle movement and the space you use at the front. For an illustrative 30-inch-wide counter, suppose the sink and its working area occupy 20 inches, leaving a 10-inch strip at one side. An 8-inch-wide tray might fit that strip, but its depth still has to clear the faucet handles and leave room to grasp its contents. These are example measurements rather than bathroom planning standards. Test a paper footprint and your normal routine before ordering.
| Daily friction | A useful option | Fit check |
|---|---|---|
| Bottles spread across the counter | One lift-out tray | Base dimensions plus hand access |
| Two people mix their products | One small zone each | Both users can reach the faucet |
| Very little landing space | A narrow edited group | Soap and toothbrushes still have usable homes |
| Deep unused back corner | A compact raised or rotating organizer | Full height and movement stay clear of fittings |
Leave toothbrushes room to air-dry
The American Dental Association recommends storing toothbrushes upright and allowing them to air-dry. If more than one brush shares a holder, keep the heads separate. A closed damp container is not a better everyday storage solution simply because it hides the brushes. Choose a holder you can clean and position it where it will not be repeatedly splashed.
1. Begin Bathroom Counter Organization With One Lift-Out Tray

Gather the bottles you use every day on one tray beside the basin. A contained footprint helps the group look settled and makes it easier to move the whole set for cleaning.
Choose a tray that leaves space between containers so you can lift the rear bottle without disturbing the front one. A low edge can catch small drips, but the tray still needs regular cleaning and drying.
Practical tip: Test the tray with the bottles in their usual order.
2. A narrow soap station beside the faucet
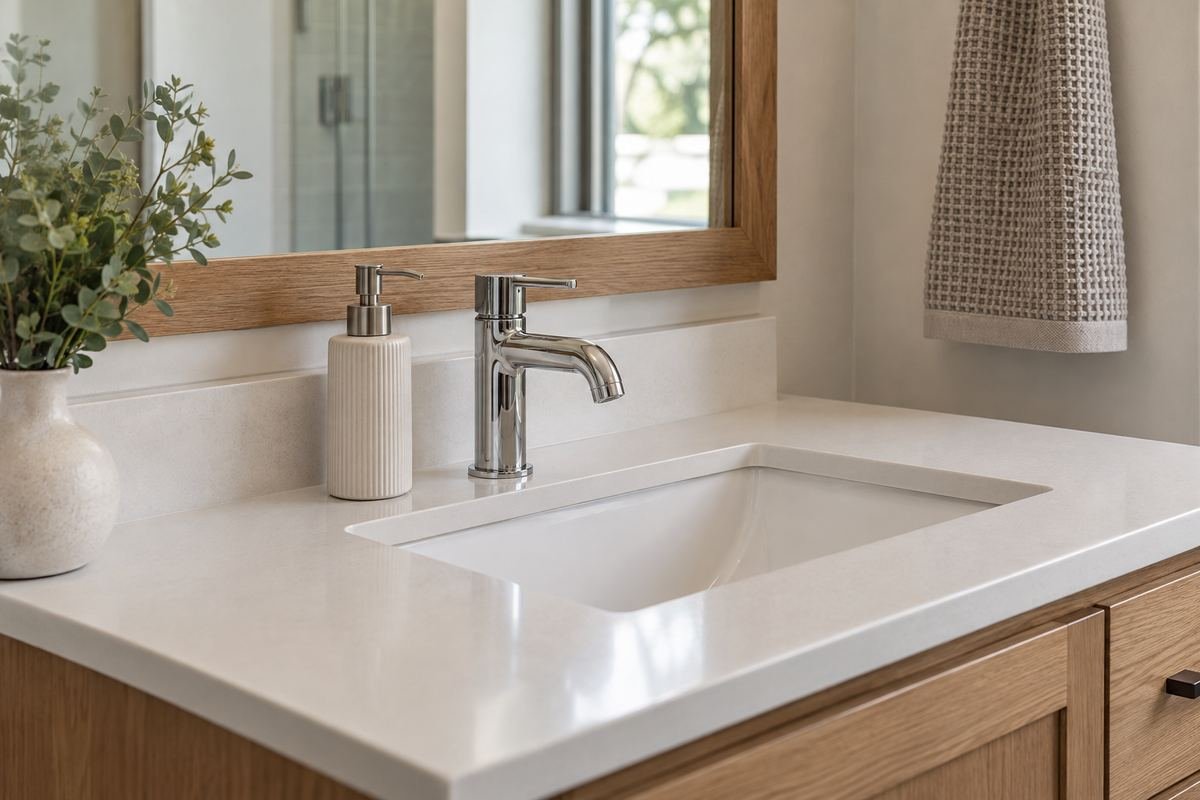
Give the hand soap a defined place within comfortable reach. One stable dispenser can do the job without a large arrangement around the faucet.
Try washing and rinsing your hands before settling its position. Leave the handle movement clear and avoid a location that makes water drip across the entire counter every time the soap is used.
Practical tip: Choose reach before symmetry.
3. An open toothbrush holder with separate spaces

Use an upright holder that gives each toothbrush head space to dry. Keeping the holders visible can be more practical than putting damp brushes into a covered decorative box.
Check how easily the holder comes apart for cleaning and whether its base traps water. Choose the number of spaces from the actual household rather than adding spare brushes to fill a display.
Practical tip: Keep brush heads from touching.
4. A small daily skincare group
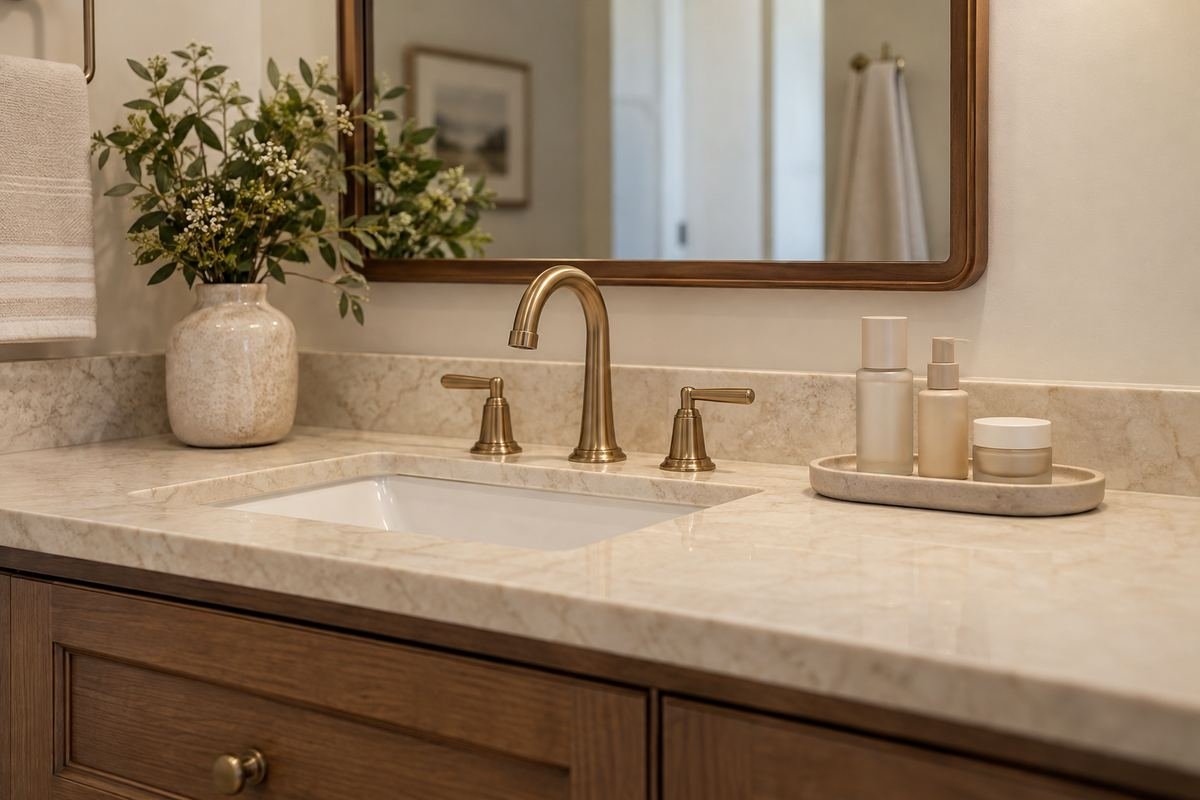
Limit the counter to the products that belong to the current routine. A few upright containers can be easier to use than a large tiered collection of every bottle you own.
Keep each product in suitable packaging and follow its storage instructions. Rotate occasional products into appropriate storage elsewhere rather than leaving a permanent second row behind the daily group.
Practical tip: Keep the labels and directions you need.
5. Separate zones for a shared vanity
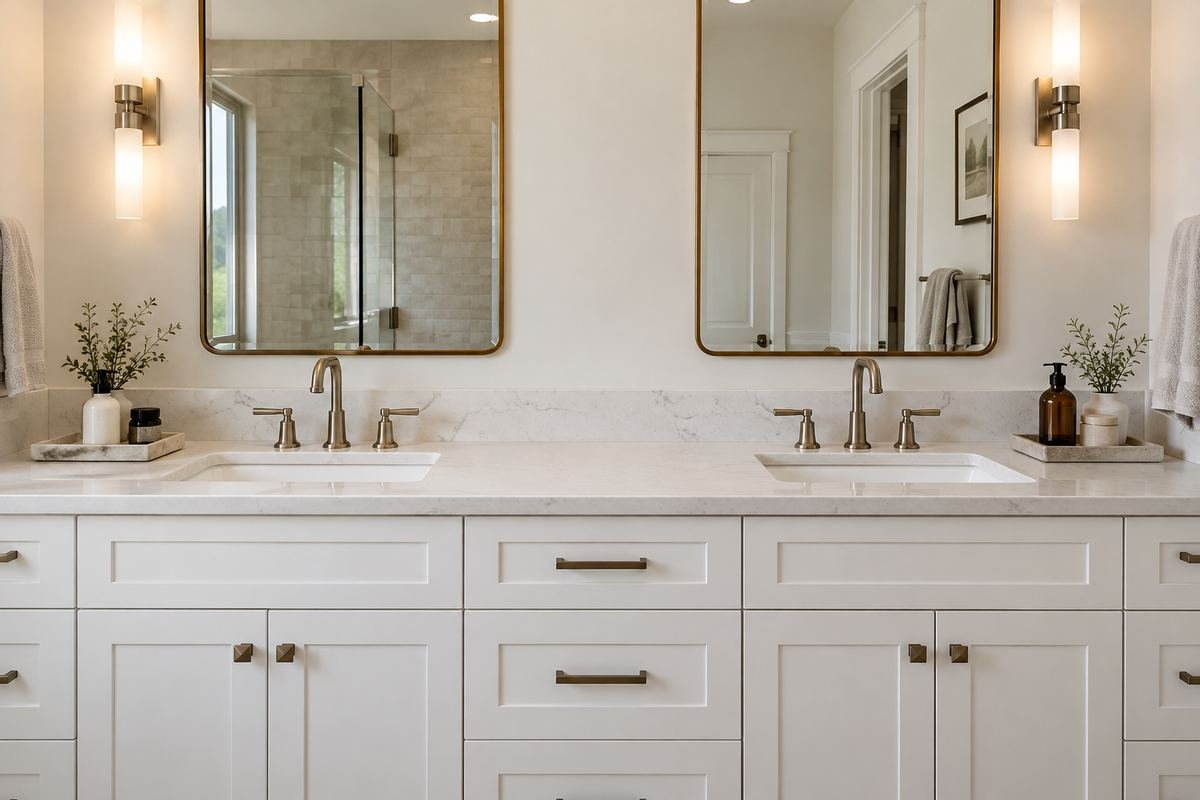
Give each person a modest defined area near their own working position. Two small trays can make it obvious where the daily items should be returned.
Try the layout with both people using the room. A center arrangement should not require reaching through the other person’s space or blocking either faucet, even when it looks balanced in a photograph.
Practical tip: Assign the zones around actual routines.
6. Fit Corner Bathroom Counter Organization to Reach

A compact organizer can make a back corner useful when the ordinary front edge is needed for washing. Keep the most-used item on the easiest-to-reach side.
Measure the base and the space above it, including any medicine-cabinet door. Avoid filling a deep corner with layered bottles that disappear behind one another.
Practical tip: Test the cabinet door with the organizer in place.
7. A rotating organizer with room to turn

A small turntable can bring a rear bottle forward without unloading a whole row. It suits a counter that has enough clear space for the organizer’s full rotating footprint.
Check the widest bottle as it turns, not just the diameter of the empty base. Keep the group stable and avoid placing a rotating item where it can strike the faucet or fall toward the basin.
Practical tip: Rotate it through a complete turn during the fit test.
8. A riser that creates a useful second level

A small freestanding riser can separate a few short items from taller bottles beside them. Choose it only when the lower area remains easy to reach and clean.
Check the legs for stability on the actual counter surface. Leave enough space above the lower containers to lift them out normally instead of pulling the whole riser forward.
Practical tip: Count the removal space as part of the height.
9. An open basket for washcloths

A small basket can hold a limited stack of clean dry washcloths near the sink. It adds texture while giving the cloths a clear home.
Choose a basket that can be cleaned according to its material and keep it outside the routine splash area. Store damp used cloths elsewhere in a suitable laundry arrangement.
Practical tip: Display only the number used between refills.
10. A shallow dish for jewelry during handwashing
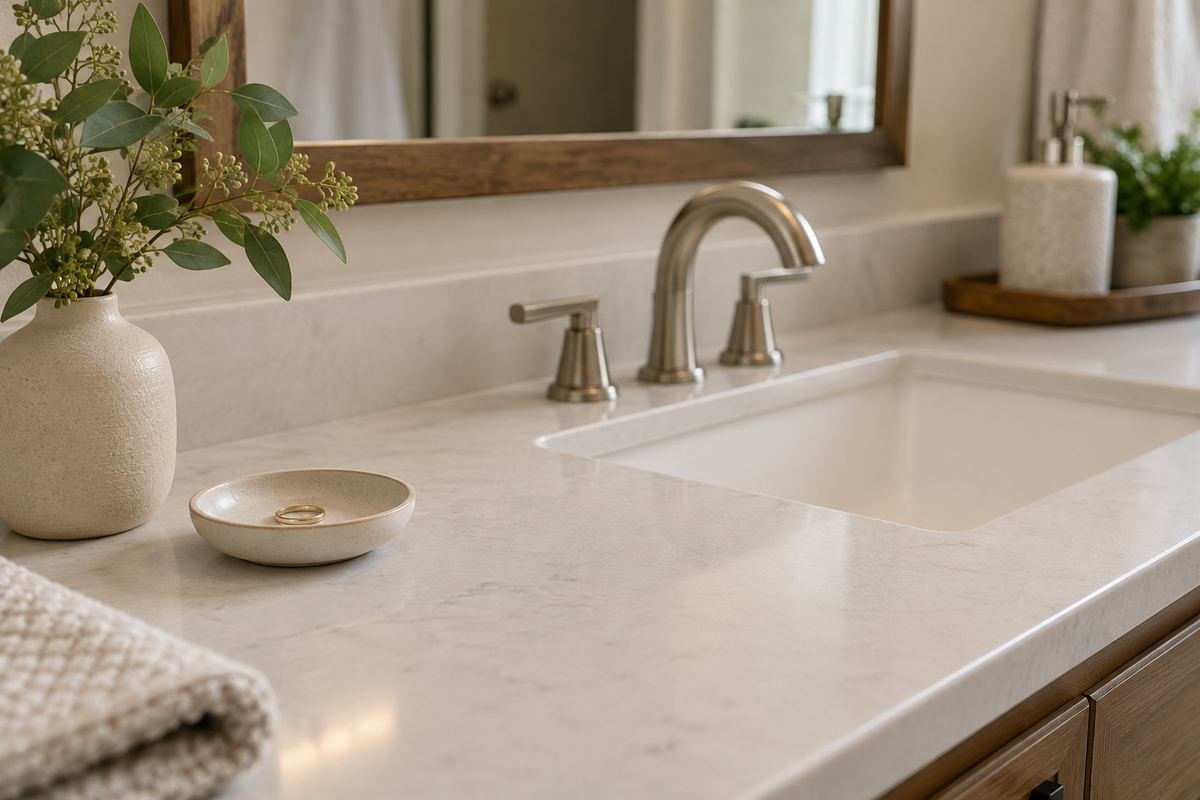
A low dish can provide a temporary landing place for a ring or watch while you wash. Place it where it will not be knocked toward the drain.
Use this as a short pause in the routine rather than storage for valuable collections. If the counter is too narrow to offer a secure position, choose a suitable location outside the bathroom instead.
Practical tip: Keep the dish well away from the basin edge.
11. A dedicated cup for makeup brushes

Keep clean dry brushes upright in a washable cup when countertop storage suits the household. A stable base and comfortable spacing make the group easier to lift from.
Do not crowd wet brushes into a closed container or treat decorative filler as a substitute for cleaning. Follow the brush care instructions and keep the cup away from the sink’s splash path.
Practical tip: Choose a cup that stands securely when nearly empty.
12. Keep Cosmetic Bathroom Counter Organization Shallow
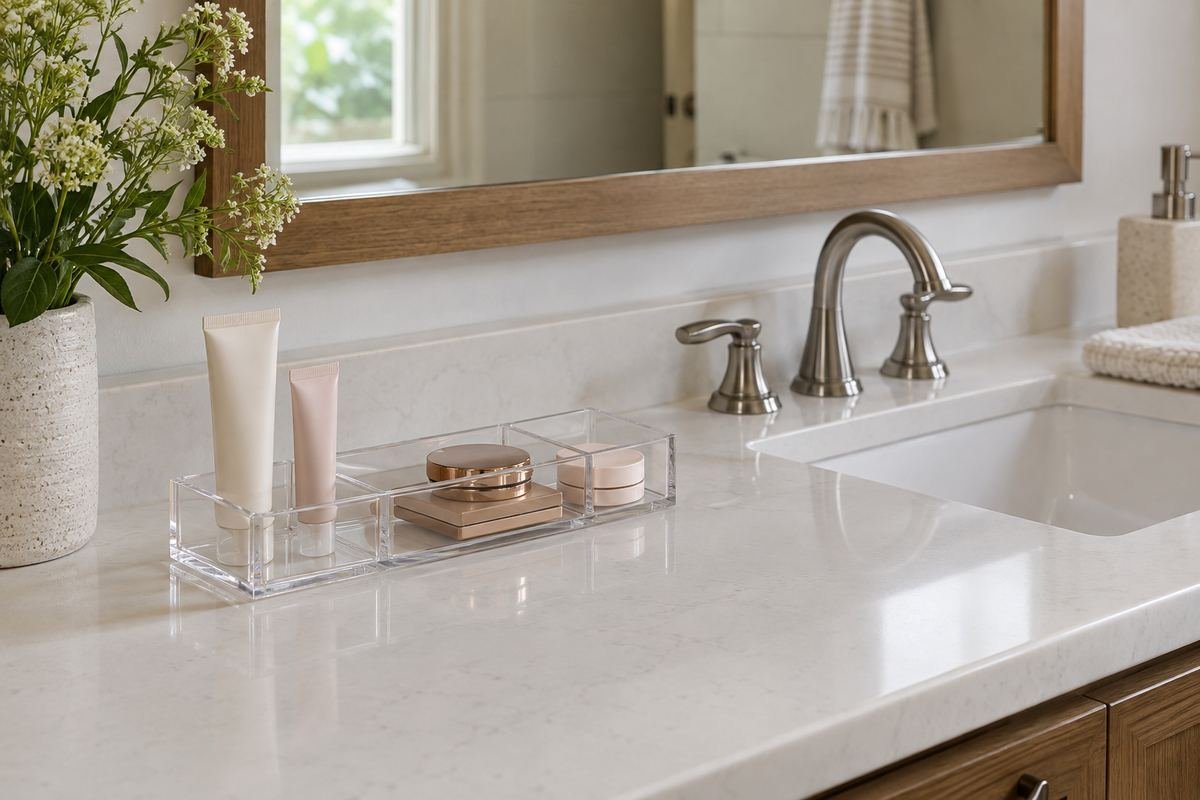
A shallow transparent organizer can make small daily cosmetics visible without a pile of tubes. Assign one compartment to each useful group rather than filling every opening.
Check that the material can tolerate the products and cleaning method used nearby. Tiny deep slots may look neat but can collect residue and make short pieces difficult to retrieve.
Practical tip: Prefer reachable shallow sections for small items.
13. One compact guest group
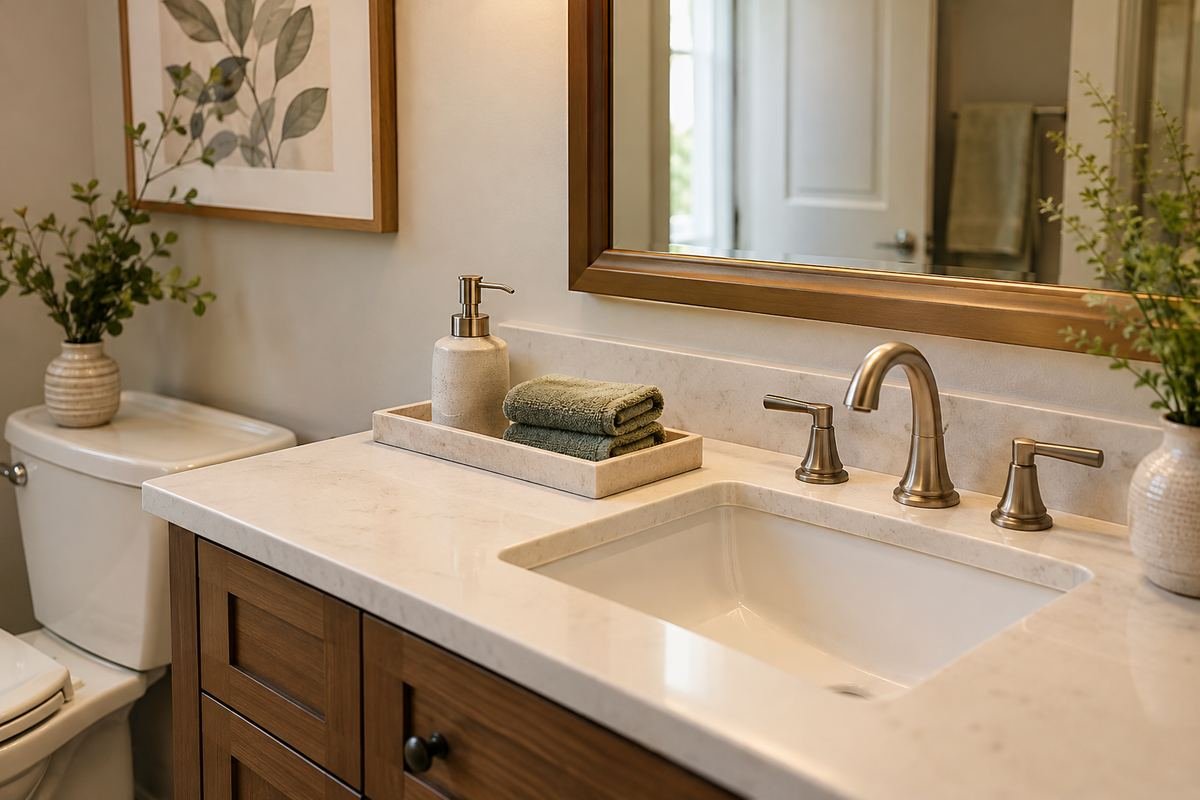
A guest bathroom can use a small defined station for soap and clean hand towels. Keep the arrangement simple enough that visitors can recognize what is available to use.
Avoid storing unnecessary personal products in the guest station. Check it between visits so empty dispensers and damp towels do not remain in an otherwise attractive display.
Practical tip: Make the usable items obvious.
14. A low tray under an existing wall shelf
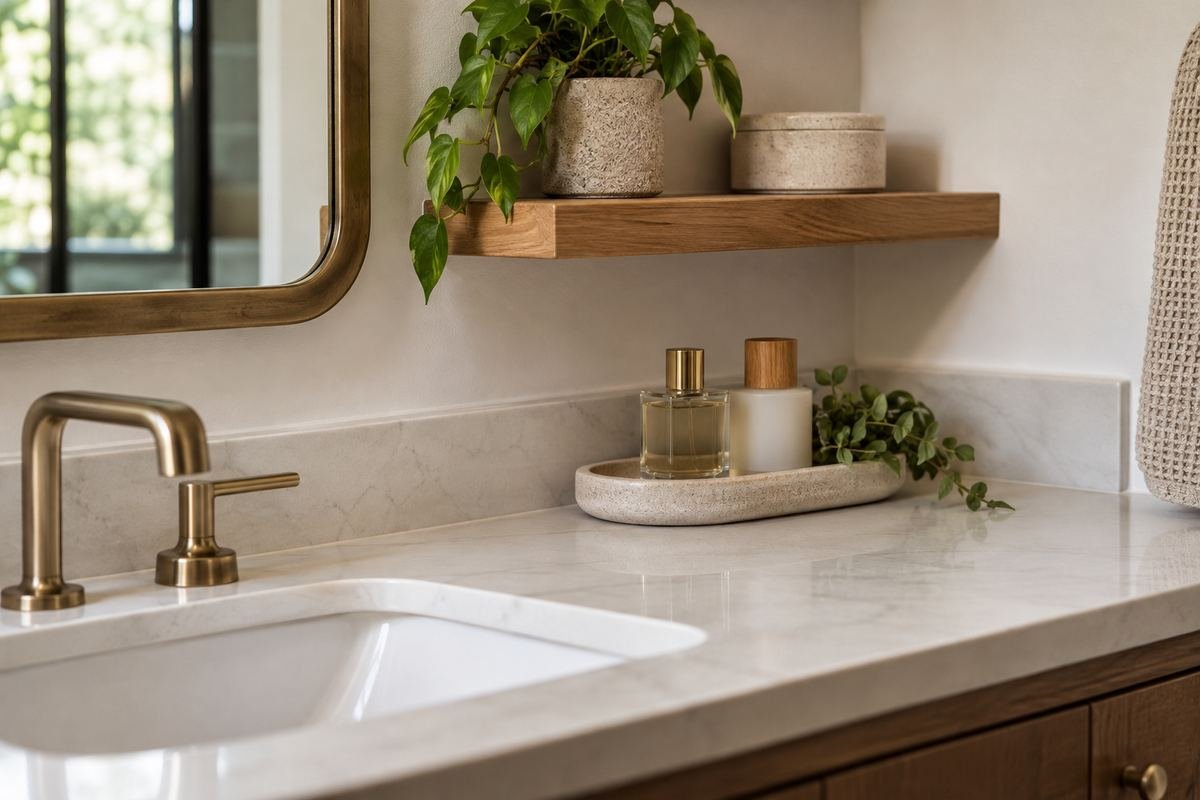
If there is already a suitable wall shelf, keep the counter group low beneath it. This can create a calm vertical composition without adding another tall freestanding stand.
Check headroom for the bottles and the hand that lifts them. The shelf should be securely installed for its intended contents; the counter organizer does not compensate for an unsuitable fixing.
Practical tip: Keep tall bottles outside the shelf overhang.
15. Matched holders that do different jobs

Repeat a material or color across the soap dispenser and toothbrush cup to give mixed daily tools a coherent home. The pieces can coordinate without being identical in shape.
Choose each piece for its actual job. A narrow decorative cup may not dry brushes well, and a large dispenser may overwhelm a small basin even when the set is sold together.
Practical tip: Buy for function before completing a set.
16. A tray that follows the counter depth

A long narrow tray can suit a shallow counter better than a broad square one. Align it with the usable dry strip rather than automatically centering it against the mirror.
Include the tray rim and bottle overhang in the footprint. Leave room to wipe behind it without awkward reaching and make sure the rear items can be lifted straight out.
Practical tip: Measure the whole loaded arrangement.
17. A contained station for contact-lens supplies

If your care routine uses contact lenses, a small washable station can keep the required supplies together in their original containers. Keep the actual care instructions visible and follow your eye-care professional’s advice.
Choose the storage conditions required by the products and keep the arrangement away from splashes. A decorative jar is not a replacement container for lens solution or a reason to change the prescribed cleaning routine.
Practical tip: Organize the supplies without changing their care instructions.
18. Limit Temporary Bathroom Counter Organization to a Small Bin
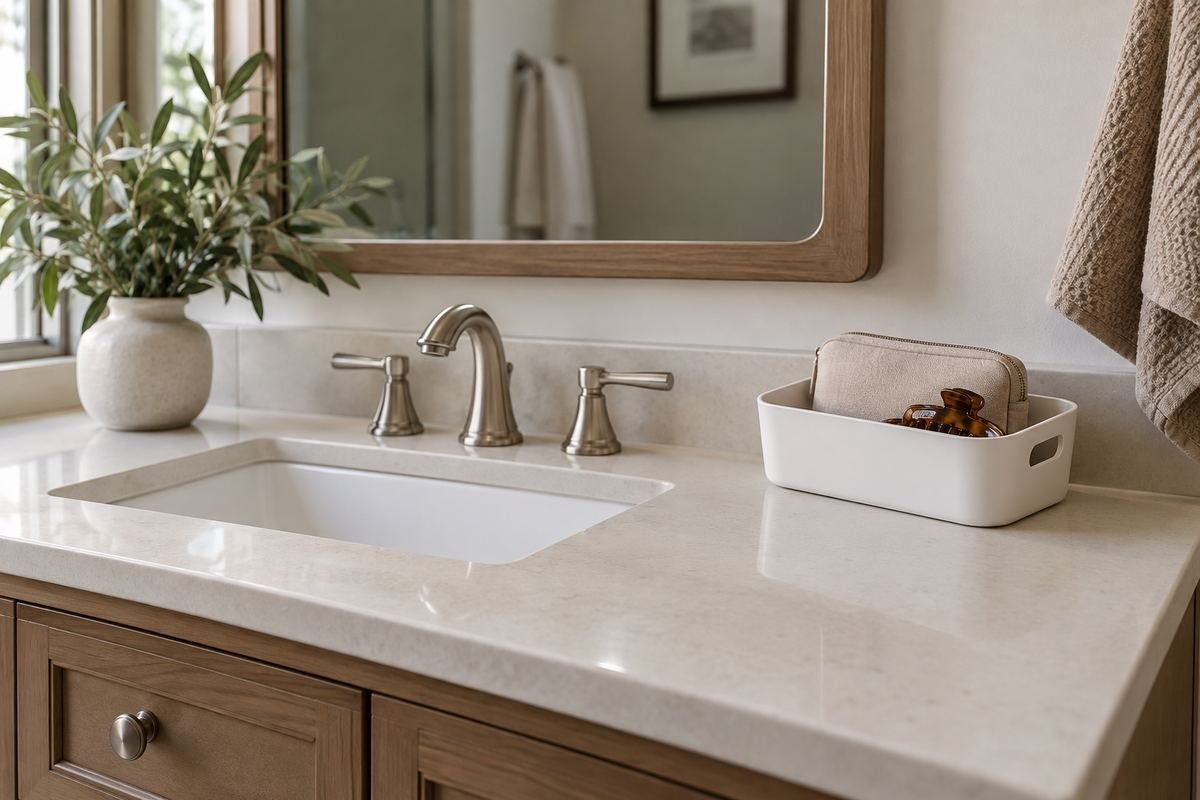
A compact open bin can hold a few items waiting to be returned to another room. It prevents those objects from spreading across the sink area during a busy morning.
Empty the bin regularly and keep its role temporary. If it repeatedly holds the same group, give those items proper storage instead of allowing a catch-all to become a permanent second cupboard.
Practical tip: Keep the temporary bin small.
19. One accessible daily grooming tool
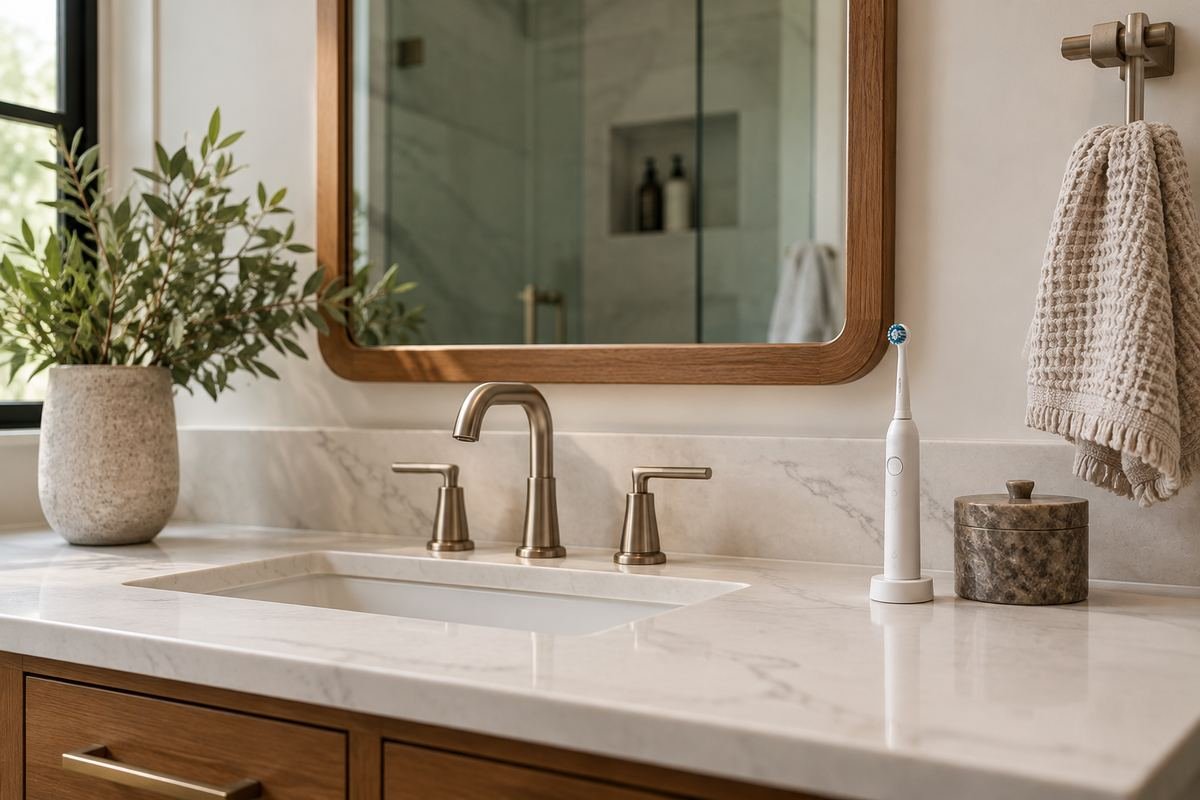
When a grooming tool must stay on the counter, give it a suitable stable holder and a clear return position. Keep its accessories together in appropriate nearby storage.
Follow its instructions for use, charging and separation from water. Do not add a power strip or hide a cord behind a tray to create a cleaner-looking photograph.
Practical tip: A tidy cord still needs the correct safe location.
20. A clear landing area for the morning routine
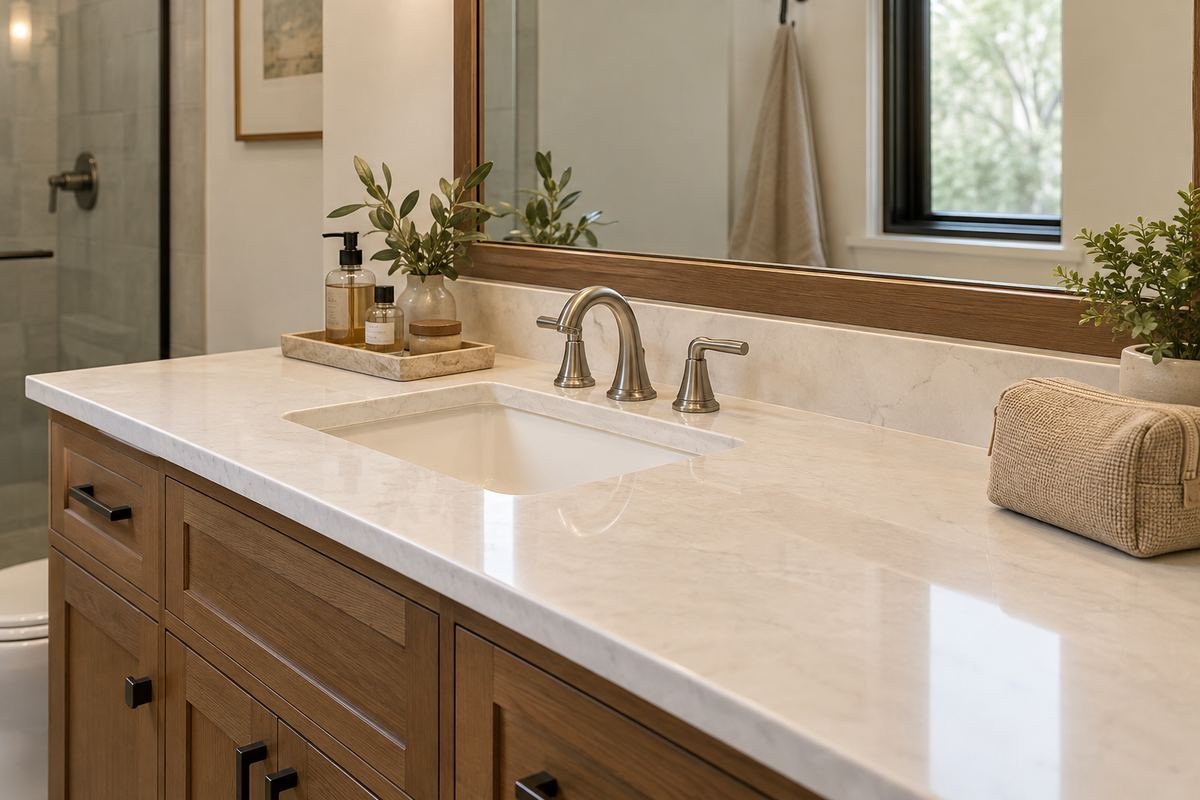
Leave one patch of counter intentionally empty for the items you are using right now. This temporary working space can be more useful than another permanent organizer.
Try opening a cosmetic bag or setting down a folded hand towel in that area. If the only available spot is the basin rim, reduce the stored items before adding containers.
Practical tip: Reserve space for the action, not only the storage.
21. Original packaging inside a coordinated tray

A tray can visually connect different bottle shapes while preserving their original labels and closures. This is useful when products should remain in their supplied packaging.
Select the tray from the actual group rather than buying bottles to match it. Keep tall and short containers arranged so directions can still be found and leaks are easy to notice.
Practical tip: You can coordinate the base without decanting the contents.
22. A low open arrangement for a small powder room

A powder room often needs only soap and a usable hand-towel arrangement at the sink. Keep the counter group low so a small surface feels open.
Avoid importing a full skincare routine into a room used mainly for handwashing. Check whether a wall-mounted towel position already serves the room before adding a countertop towel stand.
Practical tip: Store for the room’s real purpose.
23. Reset Bathroom Counter Organization With Fewer Pieces
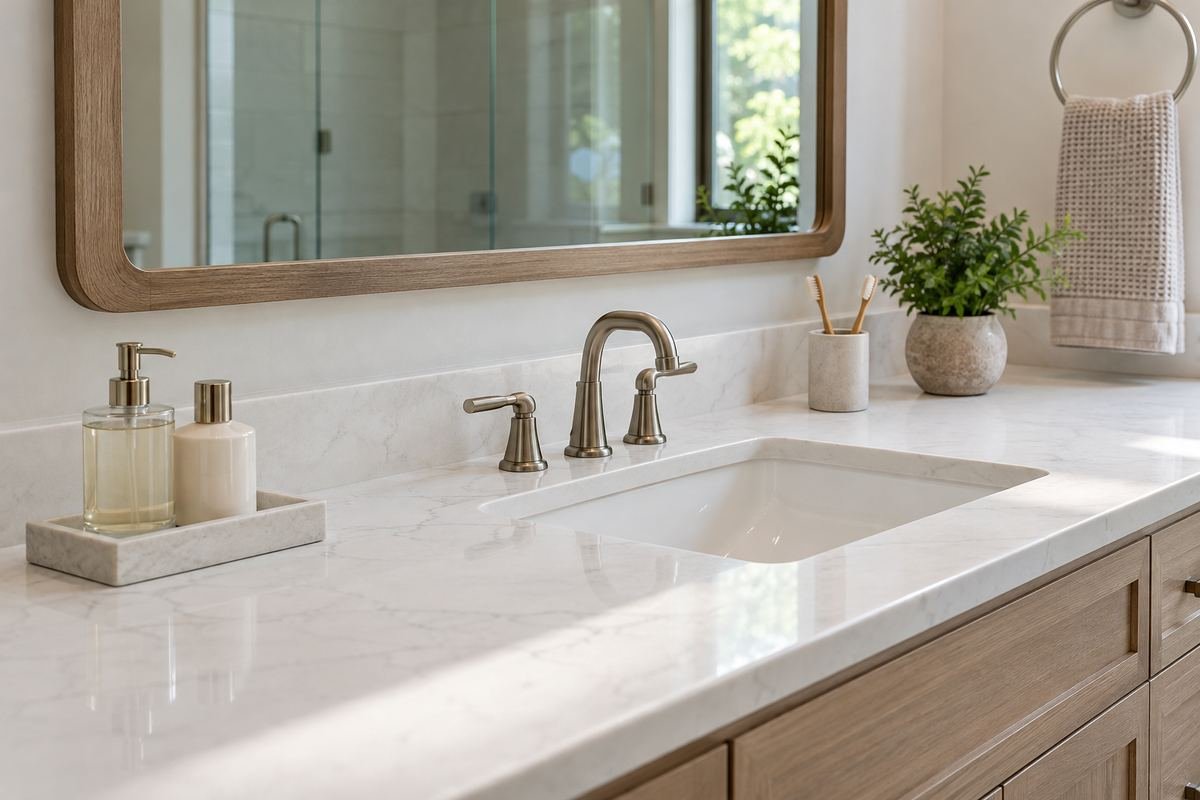
Choose a final layout that can be restored in one short pass: return the daily items, remove temporary pieces and wipe the exposed surface. A small number of movable groups makes that easier.
Use the layout for several ordinary mornings before buying more storage. Keep the pieces that reduce handling and revise the ones that require constant rearranging.
Practical tip: Make the tidy version easy to repeat.
Frequently Asked Questions
How do I organize a very small bathroom counter?
Keep only the items used at the sink and choose their positions before buying an organizer. A narrow soap dispenser and an easy-to-clean toothbrush holder may be enough. Move occasional products to suitable nearby storage rather than stacking more containers above the basin.
Should all bathroom products be decanted into matching bottles?
No. Keep original labels, directions and safety information, especially for medicines and products that need specific storage. A matching tray can make mixed packaging feel intentional without transferring the contents. If you do refill a suitable dispenser, follow its cleaning and product compatibility guidance.
How do I keep the counter easy to clean?
Use a small number of lift-out groups, avoid deep overlapping layers and leave enough room to reach the surface behind them. Choose materials that tolerate the bathroom conditions and the cleaning method specified by their manufacturers. Return containers dry and deal with leaks before they damage the counter.
Choose the Details That Work in Your Home
Begin with the objects that earn their place beside the sink. Test one small organizer during the morning routine, check that the counter can still be wiped easily, and add another zone only when there is a clear job for it.
For related ideas, explore Bathroom vanity ideas, Under-sink bathroom storage, Bathroom shelf decor.
Planning References
American Dental Association: toothbrush storage and care. Follow the instructions for the exact products you choose.
Optional digital guide for this topic
If you prefer a structured workbook, explore this related paid guide.