Bathroom drawer organization ideas should make it easy to find an item, use it and put it away again. A fitted grid can look orderly while hiding the things you reach for most often at the back. Begin with the daily routine and the actual drawer instead of a matching set of empty containers.
Measure the usable interior and the space available when the drawer is closed. Include caps, handles, dividers and any basin or plumbing obstruction above the drawer. Then sort the contents into small useful groups. Not everything used in a bathroom belongs in a closed vanity drawer, so keep storage requirements and the needs of the household in view.
These 25 arrangements focus on dry drawer interiors and ordinary toiletries, cosmetics, textiles and accessories. They complement countertop and cabinet storage rather than trying to move every bathroom item into one drawer. Choose appropriate products, preserve original instructions and make the finished system easy to reset.
The images are original AI-generated decor concepts, not installation diagrams or photographs of completed client projects.
Browse These 25 Bathroom Drawer Organization Ideas
Jump to an idea
- Start bathroom drawer organization ideas with a small daily group
- Lay long grooming accessories in one clear direction
- Give hair ties and clips their own small removable cup
- Stand suitable makeup compacts in a readable row
- Use a single visible layer for small cosmetic tubes
- Store clean dry makeup brushes in a suitable separate case
- Fit a bottle group through its full closed height
- Compare bathroom drawer organization ideas for two users
- Keep a compact guest group separate from daily supplies
- Build one lift-out kit for a routine performed at the counter
- Use deep bins for items that benefit from depth
- Work with an existing shaped drawer around the basin
- Give a narrow side section one simple task
- Compare fitted and modular bathroom drawer organization ideas
- Use an adjustable divider for one changing boundary
- Choose broader compartments when tiny cells slow you down
- Plan layered bathroom drawer organization ideas around access
- Keep reserve products in one bounded section
- Give the travel pouch a clear home after unpacking
- Use a compatible liner as a removable layer
- Keep clean dry washcloths in a separate textile compartment
- Keep identifying packaging easy to see
- Move tall products to a genuinely suitable lower drawer
- Test the finished drawer through a complete closing cycle
- Leave a small flexible section for the next reset
Measure bathroom drawer organization ideas with the contents included
Record clear width, front-to-back depth and usable closed height for each drawer. Inspect the rear and any shaped areas separately. Measure the outside of each proposed organizer and the complete stored item, including its cap or handle. Arrange the groups without fastening anything permanently, open and close the drawer gently, and check that nothing touches the cabinet above or catches the sides.
| Drawer or routine | Arrangement to compare | Check before buying |
|---|---|---|
| A shallow daily drawer | Low trays with a visible single layer | Complete item height and room to grip |
| A deep drawer | Contained upright bins or a specified layered system | Closed clearance, stability and retrieval |
| A shared vanity | Separate user groups plus a small common section | Who uses which basin and drawer |
| A shaped top drawer | Small modular trays within the usable sections | Basin, plumbing and hardware obstructions |
| A mixed accessory group | A few broad compartments | Largest object and changing contents |
| A quick countertop reset | A removable daily kit | A clear place to set it during use |
| A drawer that is hard to clean | Removable compatible inserts | Care instructions and complete drying |
A simple fit calculation for modular bins
As an illustrative example, three bins with outside widths of 6 inches use 18 inches in a drawer with 22 inches of clear internal width. The remaining 4 inches may be distributed around the group or used for a different small item, but first check the bin depths, handles and closed height. These example numbers are arithmetic, not recommended drawer dimensions. A close mathematical fit may still be awkward to use if there is no room to lift a tray.
A bathroom organizer is not a universal drawer fit
IKEA identifies particular vanity series for its VISSLAÅN organizers and lists different component heights within the same set. The compartment box is also a defined size, with removable inserts and its own care directions. Treat those details as product-specific evidence: compare the current measurements with your drawer instead of assuming that a bathroom label establishes compatibility. Check the contents above the organizer as well as the container itself.
Keep the care plan as simple as the layout
Choose inserts whose care requirements you can manage. For example, the cited VISSLAÅN products specify wiping with a damp cloth and mild cleaner, followed by drying with a clean cloth. That is not a dishwasher or soaking instruction. Follow the organizer and vanity makers’ guidance separately, keep the drawer dry, and inspect beneath removable inserts during routine cleaning. A liner does not make an ordinary drawer waterproof.
1. Start bathroom drawer organization ideas with a small daily group
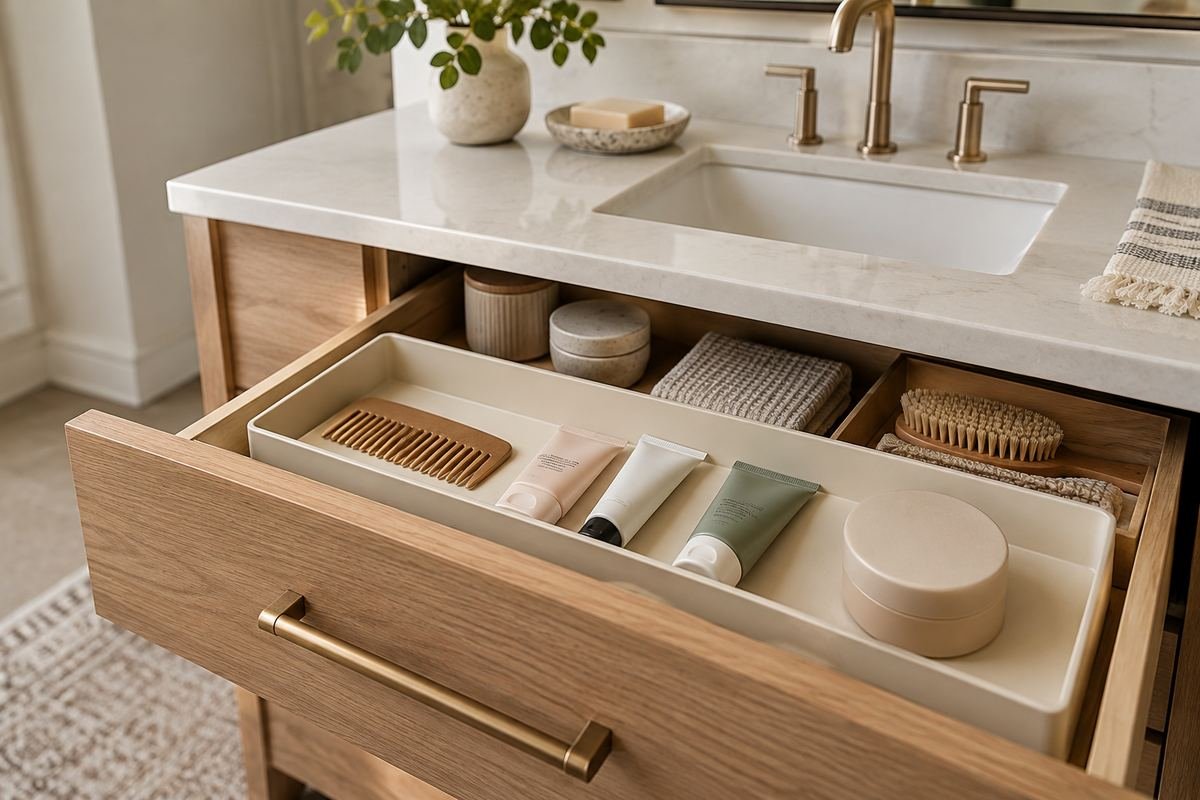
The front of a convenient drawer is valuable space because it is the first area you see. Give it the small dry items used during the routine beside that basin. A low tray can keep the group together without hiding the objects behind tall dividers.
Lay the contents out before choosing the tray. Leave room to grip each item rather than packing every recess. If a product needs a different storage environment, keep it elsewhere even if its shape fits this attractive front section.
Practical tip: Choose the daily group before buying its container.
2. Lay long grooming accessories in one clear direction

Combs and ordinary long-handled accessories can become awkward when placed diagonally across several small compartments. A long channel gives them an obvious home and leaves neighboring groups easier to use. Choose the direction through the actual usable drawer depth.
Include the widest head or handle when measuring. Do not squeeze a long object beneath a divider simply to preserve the grid. A broad compartment that fits the item naturally is often more useful than several smaller boxes that create unused corners.
Practical tip: Measure the whole accessory rather than only its handle.
3. Give hair ties and clips their own small removable cup
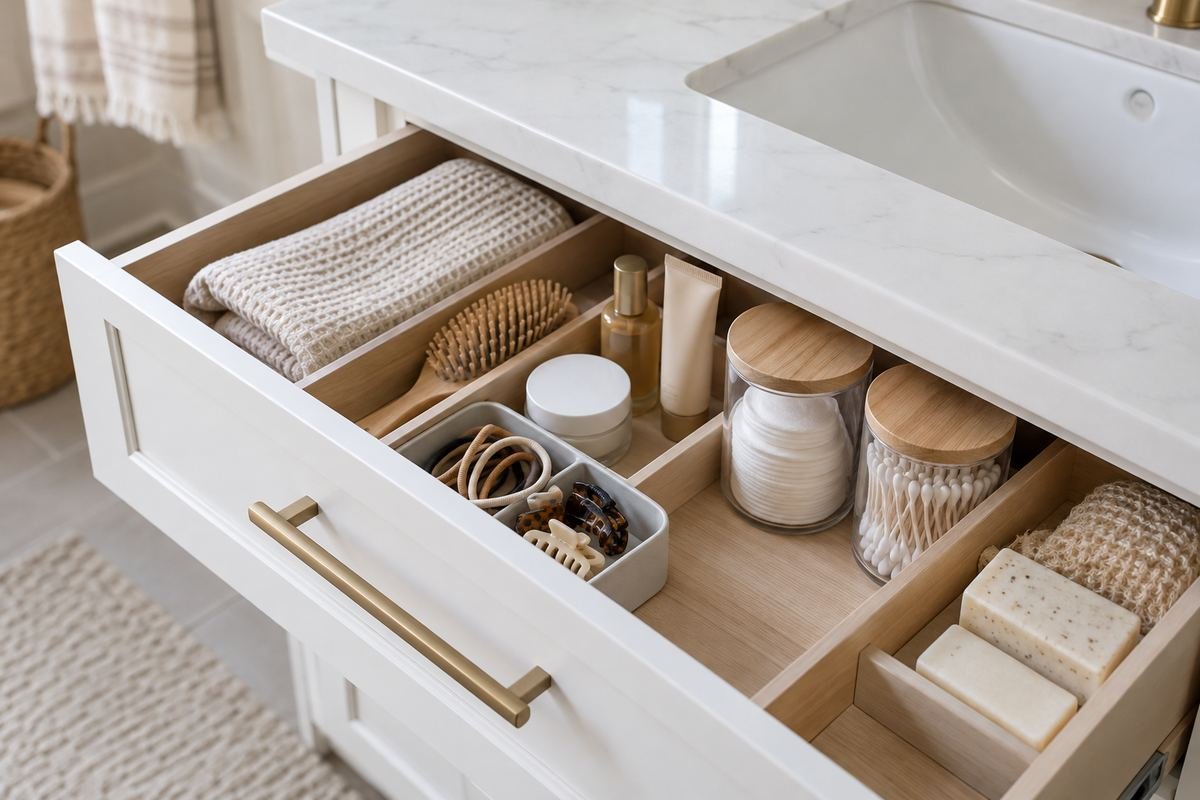
Small hair accessories can disappear beneath larger bottles and tools. A contained removable cup gives them one predictable place without spreading them through every corner of the drawer. Keep the group limited to pieces actually used in this bathroom routine.
Choose a cup low enough for the closed drawer, including any clips standing above the rim. Make sure fingers can reach inside comfortably. If the accessories overflow quickly, review the group rather than adding several more containers across the daily working area.
Practical tip: Check the contents above the cup rim before closing the drawer.
4. Stand suitable makeup compacts in a readable row

Some closed makeup compacts are easier to identify in a supported row than in a tall stack. Compare a suitable shallow compartment that keeps them contained while allowing each one to be removed. Preserve the products’ original labels and care directions.
Check the full compact height and the usable space when the drawer closes. Do not force a product into an orientation its packaging does not support. A shorter row with clear access is more useful than a crowded display where every item must be shifted to reach the last one.
Practical tip: Test the tallest compact in the actual closed drawer.
5. Use a single visible layer for small cosmetic tubes

A shallow drawer can suit a small visible group of appropriate cosmetic tubes or pencils. One layer makes the selection easier to scan and reduces the need to lift objects out of a pile. Keep the product packaging and identifying information intact.
Choose compartment lengths that accommodate the longest piece without bending or wedging it. Group by the way you use the products rather than arranging only by color. Leave room for the item to return easily after use, which matters more than a tightly styled photograph.
Practical tip: Arrange for easy return as well as easy selection.
6. Store clean dry makeup brushes in a suitable separate case
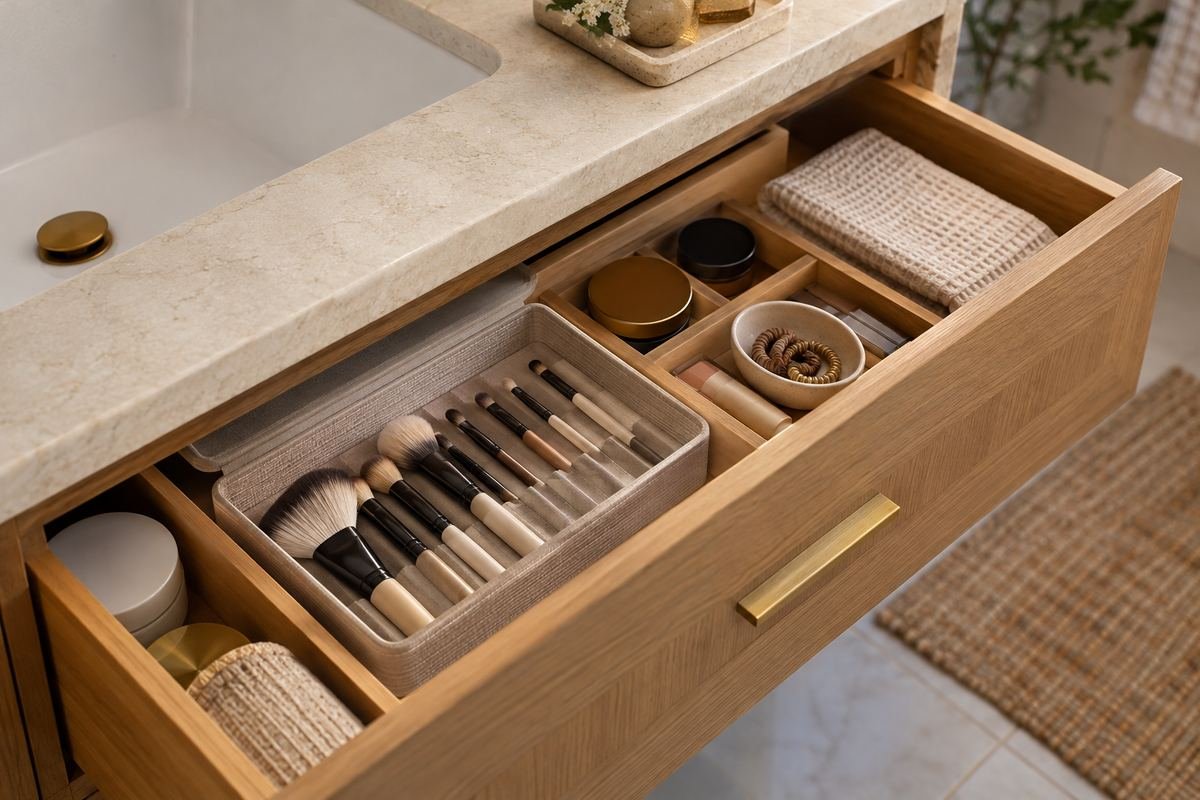
A separate suitable brush case can keep dry makeup tools from becoming mixed with bottles and small accessories. Give the case a clear place within the drawer and enough room to lift it out. Follow the tools’ care and storage instructions.
Do not put damp tools into a closed arrangement simply to make the counter look tidy. Compare the case length with the longest brush and avoid compressing the bristles under the drawer above. If the group does not fit comfortably, choose another appropriate home.
Practical tip: Check brush length and condition before choosing the case.
7. Fit a bottle group through its full closed height
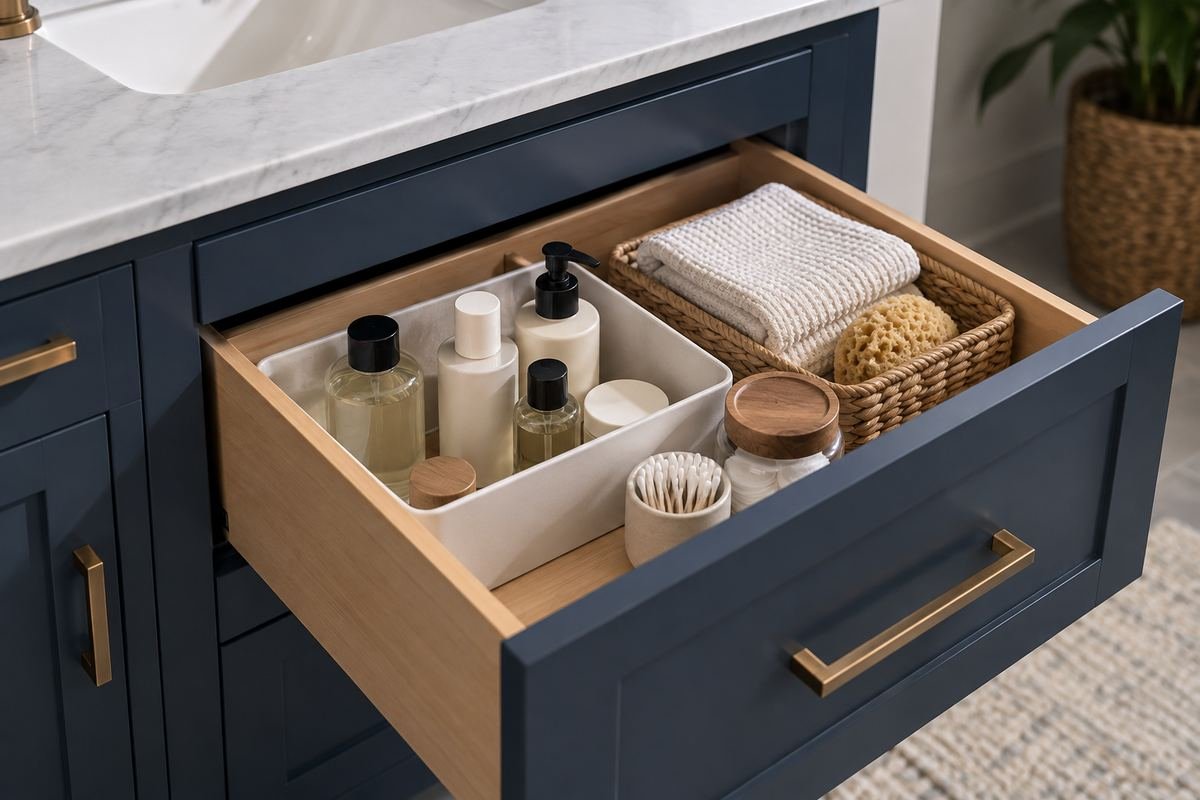
A bottle’s cap can be the detail that prevents a drawer from closing. Measure the complete product in its intended stored position, then compare it with both the organizer and the cabinet above. Keep only appropriate products in the drawer.
Avoid relying on a container’s nominal height when the bottle stands above its rim. Test the tallest real item first and preserve its label. If the drawer is too shallow, move the group to suitable taller storage instead of forcing bottles onto their sides without checking their instructions.
Practical tip: Measure the tallest cap above the organizer base.
8. Compare bathroom drawer organization ideas for two users
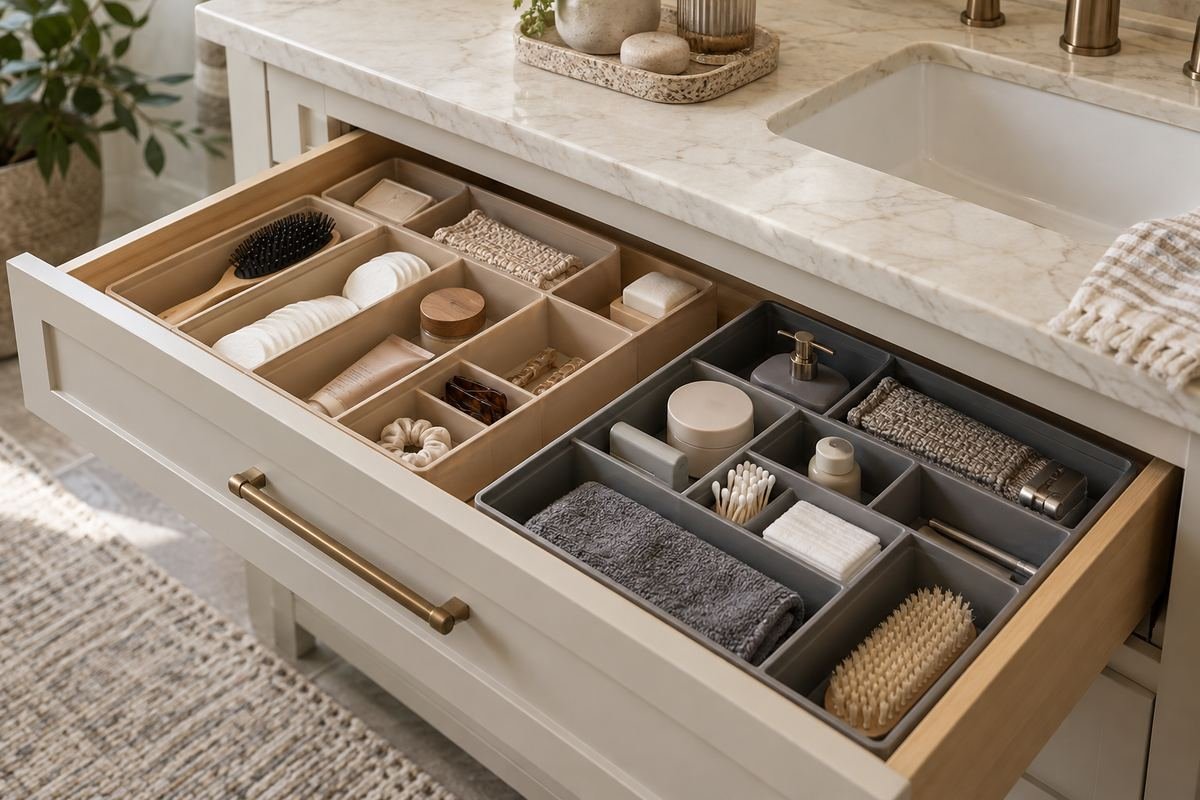
A shared vanity drawer can stay understandable when each person has a defined daily section. The groups do not need to contain identical items or occupy exactly the same space. Assign them through the way the users approach the basin and what they need nearby.
Use simple removable trays or a suitable divider to make the boundary clear. Agree where shared items belong so they do not drift into both sections. If one user needs more space, revise the allocation instead of forcing a symmetrical arrangement that does not fit the routine.
Practical tip: Allocate by real use rather than matching photographs.
9. Keep a compact guest group separate from daily supplies

A small guest group can occupy a defined section without being mixed into the household’s daily toiletries. Choose only the appropriate items actually offered to guests and keep them identifiable in their original packaging. A separate removable tray can simplify preparation and restocking.
Position the group where it is easy to explain and retrieve. Do not let spare packages gradually spread into the drawer’s main working area. Review the contents when preparing for visitors rather than assuming a full-looking organizer is ready for use indefinitely.
Practical tip: Give the guest section a clear limit.
10. Build one lift-out kit for a routine performed at the counter

A lift-out kit can suit a group used together on the counter and returned together afterward. This reduces the number of separate pieces moved at the end of the routine. Choose a manageable container that fits the drawer and the clear landing area above it.
Test the kit when it contains its real items. Handles may add height, and a container that fits empty may become awkward when full. Keep the group focused so it remains easy to carry and does not turn into a heavy mixed basket.
Practical tip: Test the filled kit at both its stored and working positions.
11. Use deep bins for items that benefit from depth
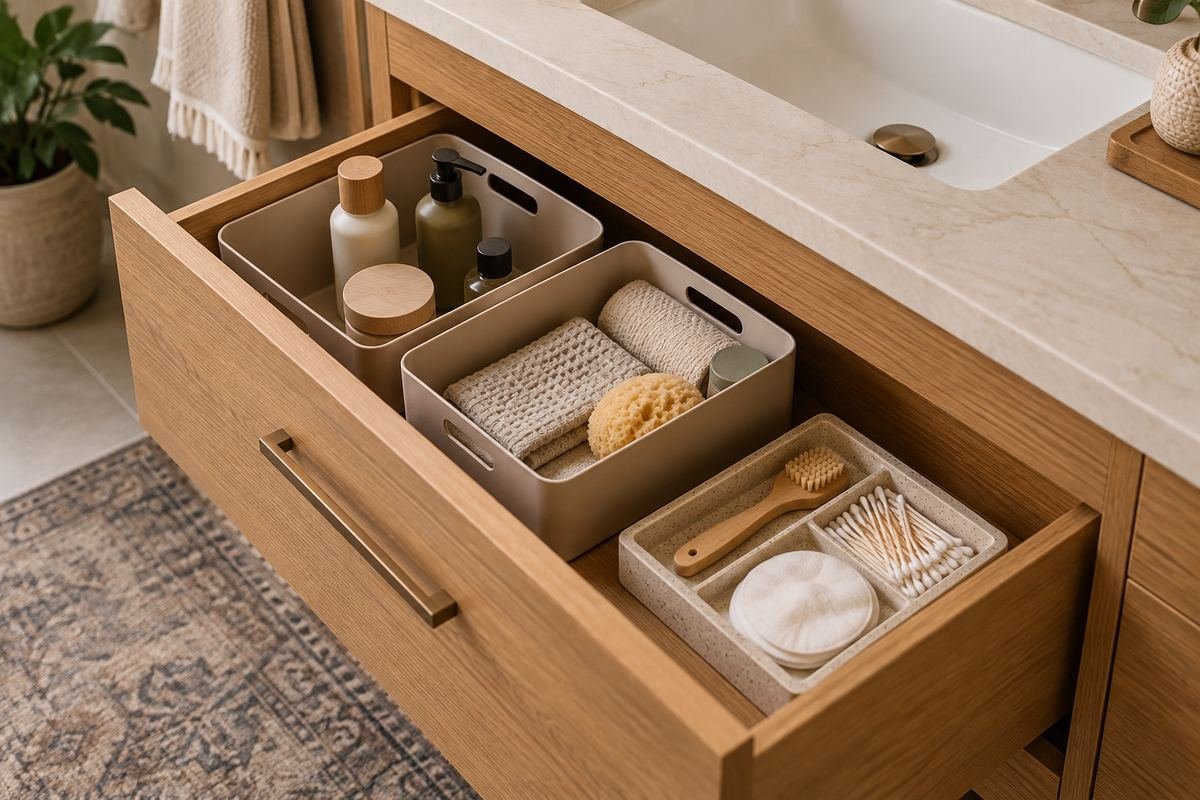
A deep drawer does not need to become a pile of small objects. Contained bins can give suitable taller products a clear home while leaving other sections accessible. Choose the bin height through the closed drawer and the actual contents.
Keep the objects upright only where their storage instructions allow that arrangement. Leave room to grasp the bin if it needs to come out for cleaning. If the contents are mostly tiny accessories, compare a lower-profile grouping rather than buying deep containers simply because the drawer is deep.
Practical tip: Match the bin depth to the contents, not just the available volume.
12. Work with an existing shaped drawer around the basin

Some vanity drawers have a shaped rear section to accommodate the basin or plumbing arrangement. Treat the remaining interior as separate usable areas instead of trying to fit one rectangular insert across the entire space. Small modular trays can help define those areas.
Preserve the original drawer structure and the required service clearances. Do not cut around hidden components or alter the assembly to make a container fit. Measure each side and the front section independently, then test the chosen trays in the actual drawer.
Practical tip: Measure each usable section of the existing drawer separately.
13. Give a narrow side section one simple task

A narrow part of a drawer can be useful when it holds one appropriately sized group. A few long accessories or a compact packet collection may fit naturally where a broad tray would waste the space. Choose the task before adding another tiny container.
Check that the section remains easy to see and reach when the drawer is partly open. Avoid wedging loose objects against the slide or side wall. If the narrow area cannot be used without interfering with the mechanism, leave it clear rather than forcing storage into it.
Practical tip: Keep all contents inside the usable drawer interior.
14. Compare fitted and modular bathroom drawer organization ideas
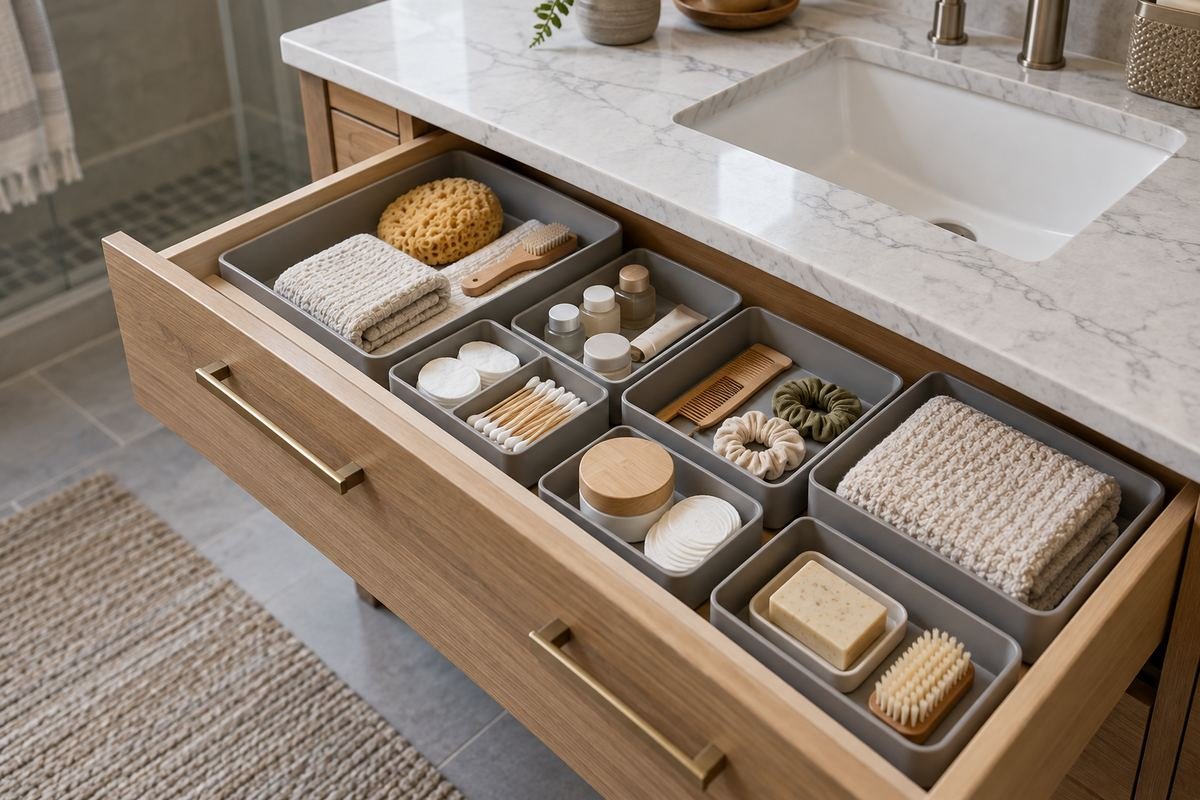
A fitted insert can give a stable visual arrangement when its compartments suit the contents. Modular trays offer more freedom if the groups change or the drawer has unusual proportions. Compare both against a measured inventory rather than choosing only through appearance.
Draw the proposed divisions at full size on paper outside the drawer and place the actual items within them. Notice which compartments become awkwardly small or too long. The better choice is the one that makes the routine easier while remaining compatible with the drawer and its care requirements.
Practical tip: Test the proposed compartment shapes with real items.
15. Use an adjustable divider for one changing boundary
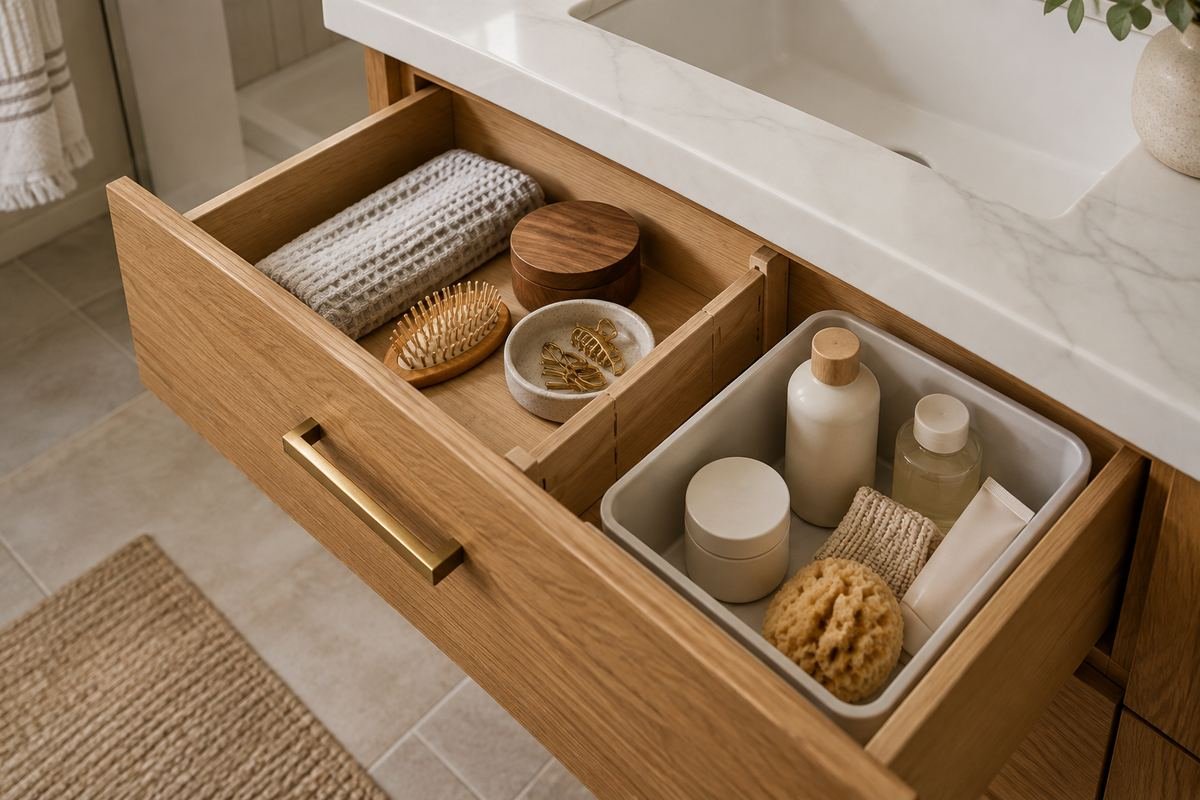
An appropriate adjustable divider can separate two broad groups when a fixed grid would be too restrictive. It works best where the boundary has a clear purpose, such as separating dry accessories from a removable toiletry tray. Choose a product intended for the actual drawer.
Follow its fitting instructions and avoid excessive pressure against delicate sides. Check that it does not obstruct the drawer movement or trap contents beneath it. A divider should simplify the interior, not create several narrow spaces that are difficult to use.
Practical tip: Confirm the divider’s fitting method before applying pressure.
16. Choose broader compartments when tiny cells slow you down

A highly divided organizer can make a drawer look precise while making it harder to return ordinary items. Broader sections may suit a small routine better, especially when products vary in size. Keep enough separation to make the groups understandable without assigning a cell to every object.
Observe which items are usually retrieved together. A group used in one step can often share a suitable tray, while unrelated items need a separate place. Reassess the divisions if the drawer stays neat only when every product is positioned with unusual care.
Practical tip: Use the fewest divisions that keep the routine clear.
17. Plan layered bathroom drawer organization ideas around access

A specified layered organizer can use a deep drawer for a shallow top group and a larger lower group. Its value depends on how easily each level can be reached. Choose the system through the actual drawer construction and the routine, not simply the promise of more compartments.
Check the combined closed height and the movement or removal required to reach the bottom. Keep the upper level manageable when filled. If daily items underneath require unloading the top every morning, a different allocation may be easier to maintain.
Practical tip: Test access to the lower level with the top fully loaded.
18. Keep reserve products in one bounded section
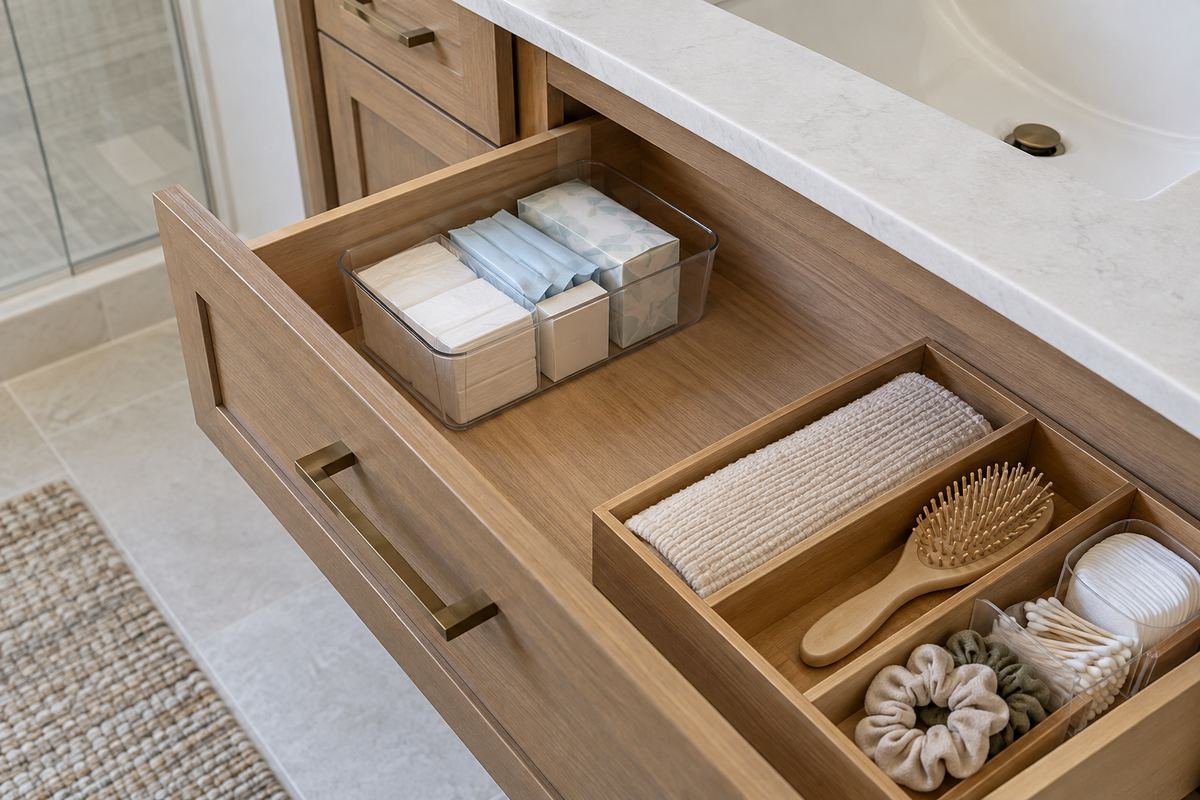
Reserve toiletries can quietly consume the space intended for daily use. Give appropriate spare products one bounded compartment or a separate suitable storage location. Keep packages identifiable and follow their storage instructions instead of decanting them only for a coordinated appearance.
Choose a limit that makes the stock visible without layering it into an inaccessible pile. Before buying more, check this section and use the household’s normal product review routine. If spare packages repeatedly overflow, revise the amount stored here rather than adding bins throughout the vanity.
Practical tip: Keep the reserve section visible enough to check before shopping.
19. Give the travel pouch a clear home after unpacking
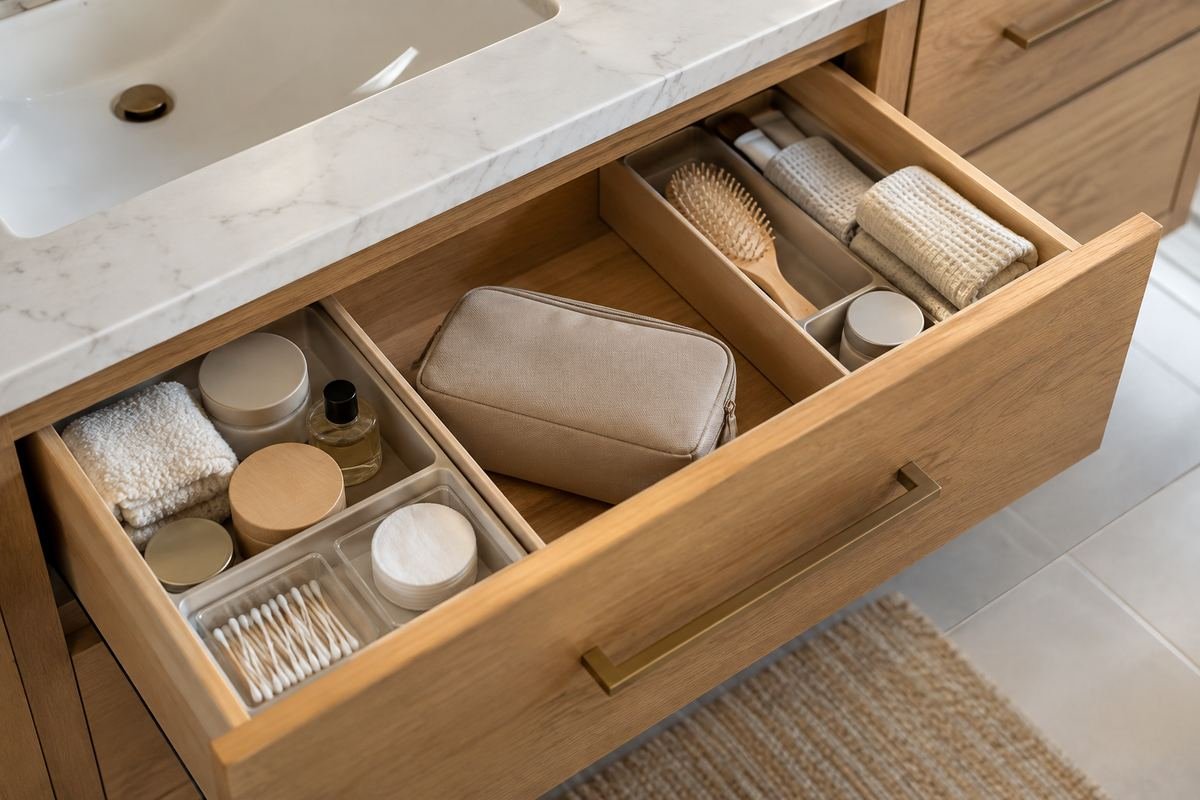
A travel pouch can have a defined place in a vanity drawer without becoming permanent mixed storage. Unpack the items that belong in the daily routine and return the pouch to its own compartment when it is ready to store. This makes the next trip easier to prepare.
Check the pouch’s care needs and store it in suitable condition. Keep the compartment large enough that the zipper and handle do not catch above the drawer. Avoid hiding half-used travel products inside simply because the closed pouch makes the interior look tidy.
Practical tip: Unpack and review the pouch before storing it.
20. Use a compatible liner as a removable layer

A suitable removable liner may make a drawer easier to refresh when its material and fitting method suit the vanity. Choose it through the maker’s guidance and the way the drawer is cleaned. It should lie properly within the usable interior without bunching at the edges.
A liner does not turn the drawer into a waterproof container. Keep the drawer dry and inspect beneath the layer during routine care. Avoid adding several overlapping sheets or a thick material that changes the clearance of an already shallow drawer.
Practical tip: Check the liner and the drawer beneath it during cleaning.
21. Keep clean dry washcloths in a separate textile compartment

A lower drawer can hold a small group of clean dry washcloths when the location suits the household. A separate textile compartment keeps them from being mixed with loose cosmetic accessories. Choose a folding method that fits the real drawer rather than building an unstable tall stack.
Leave room to take out one cloth and return the rest. Do not use this drawer as a destination for damp items after use. If the group fills the entire drawer tightly, move spare textiles to a suitable linen-storage location and keep the everyday quantity manageable.
Practical tip: Separate stored dry textiles from the after-use routine.
22. Keep identifying packaging easy to see
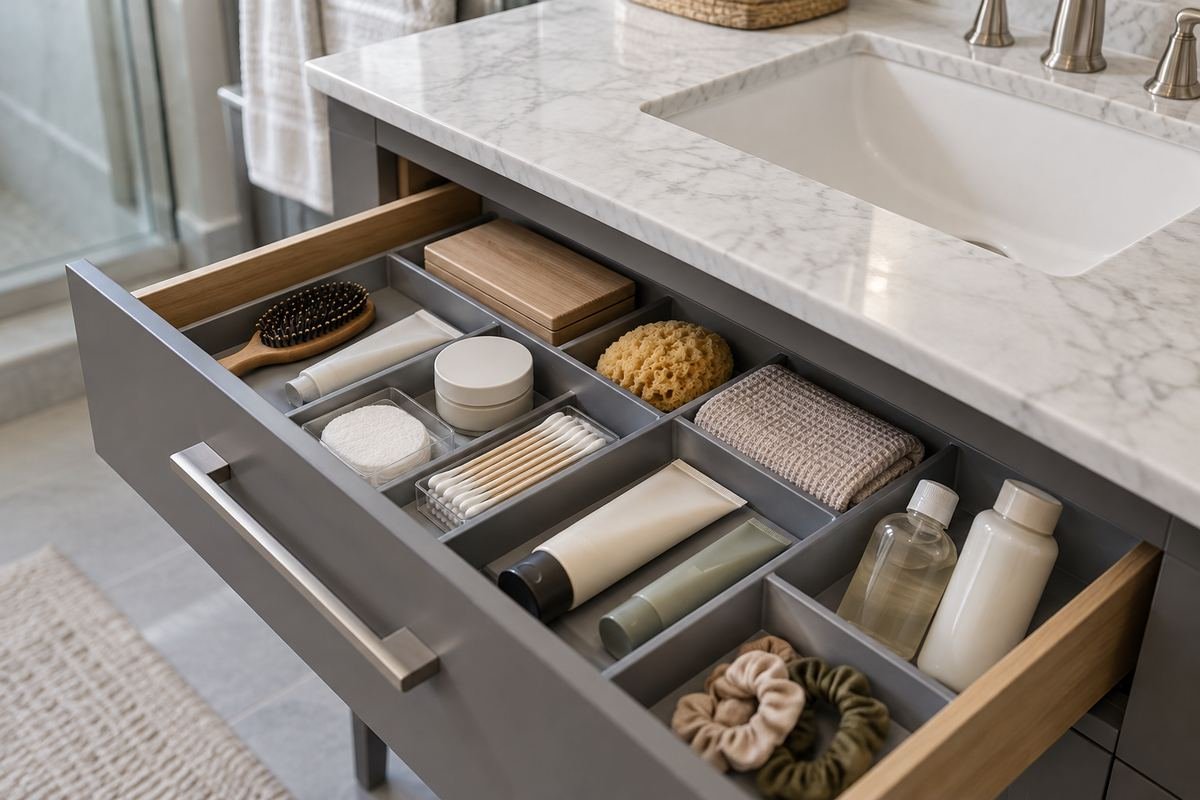
Matching containers can make a drawer look calm, but the original packaging often carries the information needed to identify and use a product correctly. Arrange appropriate products so their labels remain available. Choose the organizer around the package instead of removing it only to fit a visual theme.
A broad shallow bin can hold differently shaped items without hiding every label. Avoid transferring products into unmarked jars for the sake of uniformity. The drawer should make selection clearer, especially when several similar-looking packages belong to different users.
Practical tip: Preserve product identity when choosing the compartment.
23. Move tall products to a genuinely suitable lower drawer
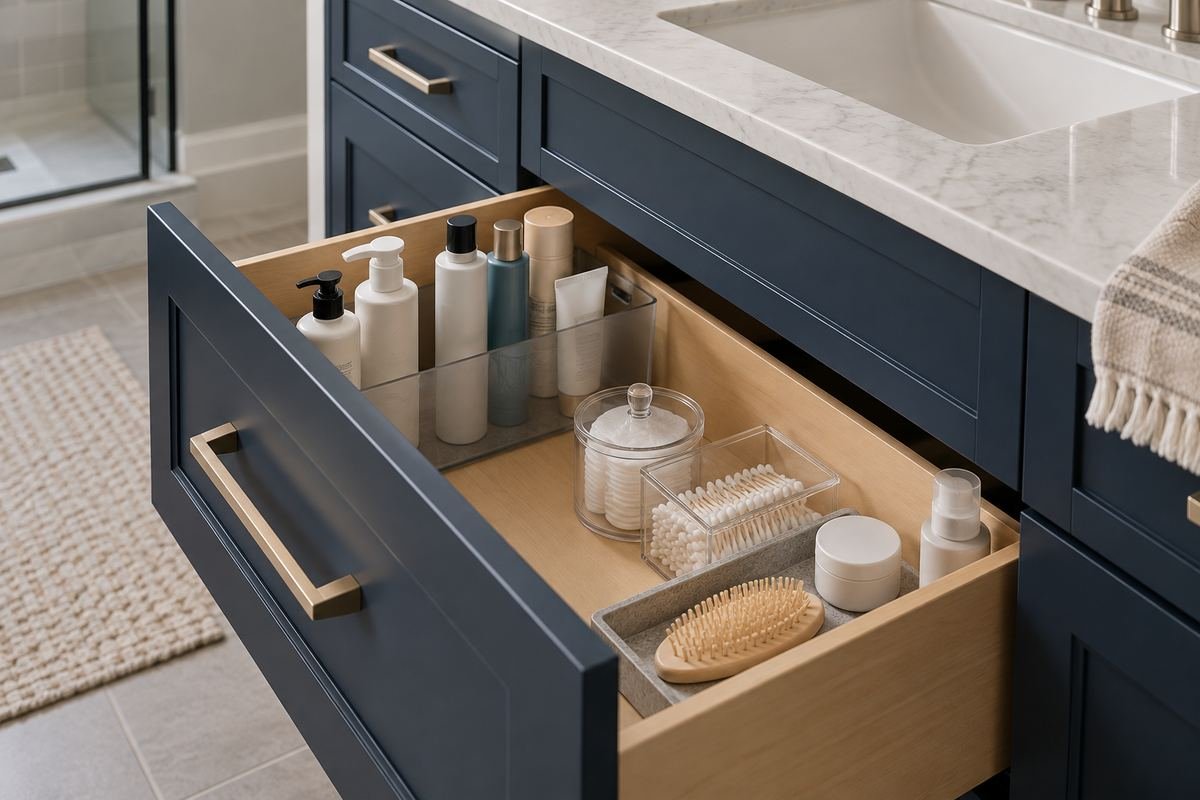
When a tall product is appropriate for drawer storage but does not fit the top level, a suitable lower drawer may provide a better home. Compare its closed height and the effort required to retrieve the bottle. The best location is one the user can reach and reset comfortably.
Do not force every bottle into upright storage if the drawer is still too shallow. Compare another cabinet or location that meets the product’s requirements. Keeping one awkward object elsewhere can make the whole drawer easier to use than designing every divider around it.
Practical tip: Move an unsuitable item rather than forcing the entire layout.
24. Test the finished drawer through a complete closing cycle
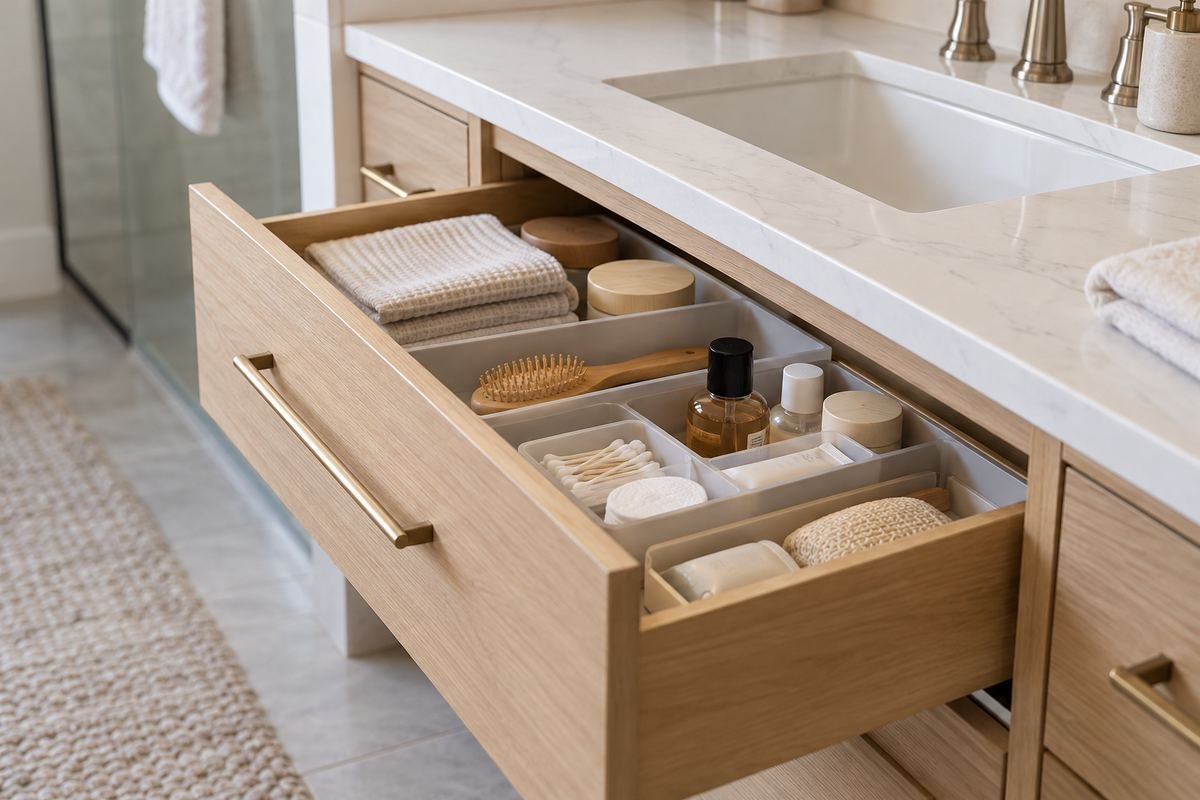
An empty organizer can fit perfectly while the filled arrangement catches the cabinet above. Test the finished drawer gently through its whole movement, with every item in its intended position. Include caps, pouch handles and objects near the rear of the drawer.
If something makes contact, identify the specific conflict instead of pushing harder. Reduce the height, move the item or choose a different organizer. Check again after the first week of use, because a system that depends on exact positioning may not suit the ordinary morning routine.
Practical tip: Check the filled arrangement before declaring the project finished.
25. Leave a small flexible section for the next reset

A finished drawer does not need every inch permanently assigned. One small flexible section can accommodate a changed product or a temporary routine without displacing the entire system. Give it a clear limit so it does not become an unlimited miscellaneous area.
Review the drawer after ordinary use and simplify anything that is hard to return. Remove empty packaging, check the care needs of the organizers and reassess groups that have outgrown their space. A useful final arrangement remains easy to understand without an elaborate sorting ritual.
Practical tip: Keep the reset simple enough to repeat during a normal week.
Frequently Asked Questions
What should go in the top bathroom drawer?
Give convenient space to a small group used in the routine beside that drawer. Compare low trays for appropriate dry accessories or cosmetics, and keep items with different storage requirements elsewhere. The best contents depend on the user and the actual vanity.
How do I organize a deep vanity drawer?
Measure its closed height, then compare contained bins or a compatible layered organizer. Use the depth for items that benefit from it rather than stacking small objects until they disappear. Check that the bottom group can still be removed without emptying everything above it.
Should every organizer fit tightly against the next one?
A contained layout can be useful, but a forced tight fit may make cleaning and retrieval difficult. Leave the room required by the exact containers and the way you lift them. Check that pressure from a divider does not damage or distort the drawer.
Can bathroom drawer organizers go in the dishwasher?
Only if the manufacturer explicitly allows it for that exact product. Some organizers specify wiping and drying instead. Read the current care information rather than inferring a cleaning method from the appearance of the plastic or other material.
How can two people share one vanity drawer?
Assign separate daily groups and a small common section if needed. Position each group through the way the users approach the basin, and agree where shared items return. If the drawer cannot hold both groups comfortably, give one a suitable separate location.
Why does my organized drawer become cluttered again?
The groups may be too detailed, the daily items may be difficult to return, or spare products may be expanding into the working area. Simplify the divisions and observe the routine for a week before buying more containers. Keep one bounded space for changing needs.
Choose the Details That Work in Your Home
Choose the drawer layout from the real contents, closed clearance and routine. A few useful groups, removable inserts and room to put things back can be more effective than a tightly packed organizer system. The strongest bathroom drawer organization ideas remain understandable after the morning rush and straightforward to clean at the next reset.
For related ideas, explore bathroom counter organization ideas, bathroom vanity ideas, medicine cabinet ideas.
Planning References
IKEA: VISSLAÅN compartment box dimensions, removable inserts and care; IKEA: VISSLAÅN organizer set component heights and listed vanity compatibility. Follow the instructions for the exact products you choose.
Optional digital guide for this topic
If you prefer a structured workbook, explore this related paid guide.