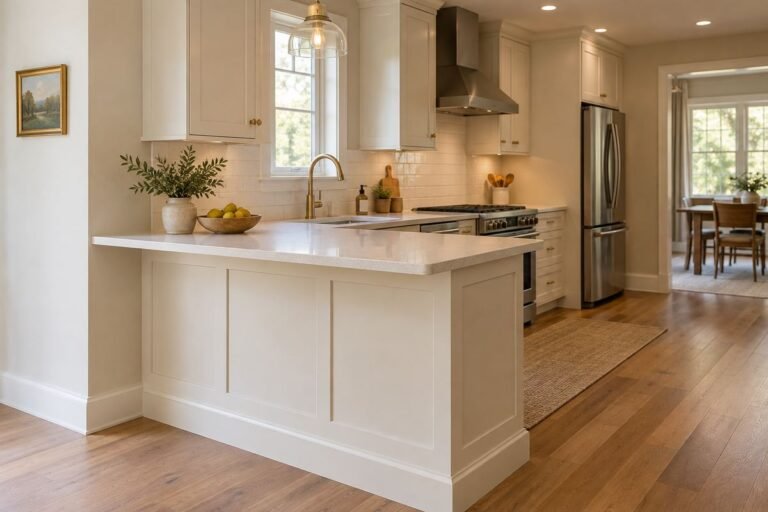
Kitchen island storage ideas should begin with the jobs the island actually does. The cabinet nearest the chopping area may deserve your everyday mixing bowls, while a compartment facing the dining table could hold serving pieces. Filling every face with storage is less useful if the doors cannot open while somebody is seated.
Map the working side, the social side and both ends before choosing hardware. Include appliances, plumbing, electrical components, countertop support and the people moving around them. Storage is part of that complete layout; an attractive insert cannot resolve a conflict between a pullout and an occupied stool.
These 23 concepts help assign useful homes to kitchen equipment and keep the worktop available. Some suit existing cabinets with removable organizers; others belong in a properly designed new island. The images illustrate finished design intent rather than hidden support, service connections or installation details.
The images are original AI-generated decor concepts, not installation diagrams or photographs of completed client projects.
Browse These 23 Kitchen Island Storage Ideas
Jump to an idea
- Give the working face a dedicated preparation zone
- Let the dining-facing cabinet serve the table
- Use one end shelf for the cookbooks you actually open
- Reserve a suitable low compartment for one bulky appliance
- Give flat trays a vertical bay near their preparation route
- Choose a cookware drawer by the largest handle
- Keep the matching lids within the same task zone
- Put table linens in a shallow drawer near the serving end
- Use an inner drawer when it improves a specific two-level task
- Bring a deep cupboard forward with a compatible pullout
- Give an open end cubby one contained basket group
- Place the plate zone along the dishwasher unloading route
- Resolve waste and recycling as a complete pullout zone
- Respect the service space beneath an island sink
- Separate the dry storage face from regular sink splashes
- Keep an outer serving cabinet independent of the cooking drawers
- Compare shallow storage on the second face before making the island deeper
- Use a narrow end compartment for one frequently reached group
- Choose a movable island around its stored contents and parking position
- Improve an existing cupboard before changing the island exterior
- Give grocery unloading a temporary landing space with a clear reset
- Put occasional pieces in a compartment that does not interrupt daily work
- Leave one part of the storage plan adaptable
Map kitchen island storage ideas by task and opening direction
List the items you use at the island during three ordinary tasks: preparing a meal, setting the table and putting clean dishes away. For each group, record its largest item, preferred retrieval direction and how often it is used. Assign the group to a face of the island, then draw every door and drawer fully open. Add occupied seating and the route around the island before choosing the final cabinet arrangement.
| Task group | Possible island zone | Test before committing |
|---|---|---|
| Mixing bowls and prep tools | Working side below the prep surface | Item dimensions, drawer load and room to stand |
| Plates used at the table | Dining-facing or dishwasher-adjacent zone | Unloading route and an occupied seat |
| Flat baking trays | A suitable vertical cabinet compartment | Largest tray, clear opening and retrieval angle |
| Serving platters and linens | A shallow outward-facing cabinet | Door opening and the serving route |
| A bulky appliance stored cold | An appropriately rated accessible compartment | Lifting route, handles and storage instructions |
| Recycling and waste | A specified pullout near the relevant task | Closed footprint, fully open position and cleaning access |
Make an opening-conflict test with your current kitchen
Choose one common task and act it out before purchasing storage fittings. Open the dishwasher as if unloading, pull out the proposed island drawer and place a chair where a person would sit. Check whether the same patch of floor is needed by two users. This is a layout test, not a universal clearance rule. If functions collide, move the stored group to a different face or cabinet; a smaller insert inside the same conflicting drawer will not solve the route.
Measure the actual opening, not the cabinet name
Manufacturer guidance distinguishes cabinet construction, clear opening width, depth and height, with hinges, plumbing and other obstructions included. Product names may also describe a cabinet system rather than the object’s physical dimensions. For example, IKEA lists its 30-inch-frame UPPDATERA pegboard organizer as 25 inches wide. Use the current specification and installation instructions for the exact item, including required space for movement and the intended load.
Decide what belongs in an existing island and what needs redesign
A removable bin or compatible organizer may help an existing compartment without changing the island itself. New openings, appliance compartments, plumbing, electrical work, structural changes and countertop support require a complete project design. Do not cut an end panel or remove a support simply because a concept image shows storage in that location. Preserve the verified function of the existing assembly while comparing the options.
1. Give the working face a dedicated preparation zone
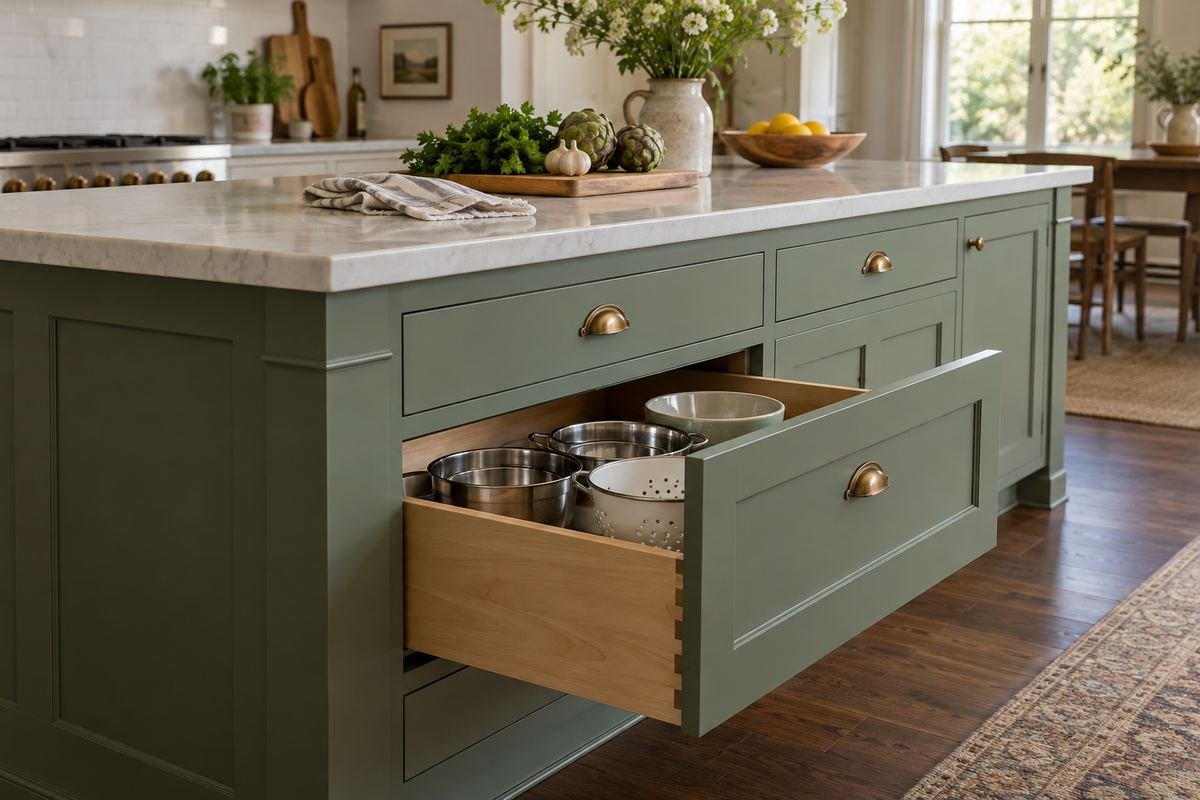
The most useful island storage is often directly below the surface where a task happens. Group the bowls, colander and ordinary prep tools used together instead of assigning every cabinet by object type across the entire room. This can reduce the number of different doors opened for one meal.
Choose a compartment that lets the largest item come out without unloading everything above it. Keep the worktop clear enough to set the item down. If the island is mainly a serving surface, give this zone a different job rather than copying a preparation layout it will rarely use.
Practical tip: Map one ordinary recipe before assigning cabinets.
2. Let the dining-facing cabinet serve the table

An outward-facing cabinet can hold items carried to the dining table, provided it opens without conflicting with seating or the room route. This gives the social face a real purpose while keeping diners out of the main cooking-side drawers. Choose the contents from the way your household sets the table.
Compare shallow shelves for table linens and serving bowls with a deeper cupboard for a specific platter. Test the door with chairs occupied and pulled out. Do not turn a useful knee space into storage without reconsidering the complete seating arrangement.
Practical tip: Check access from the dining side with seats occupied.
3. Use one end shelf for the cookbooks you actually open
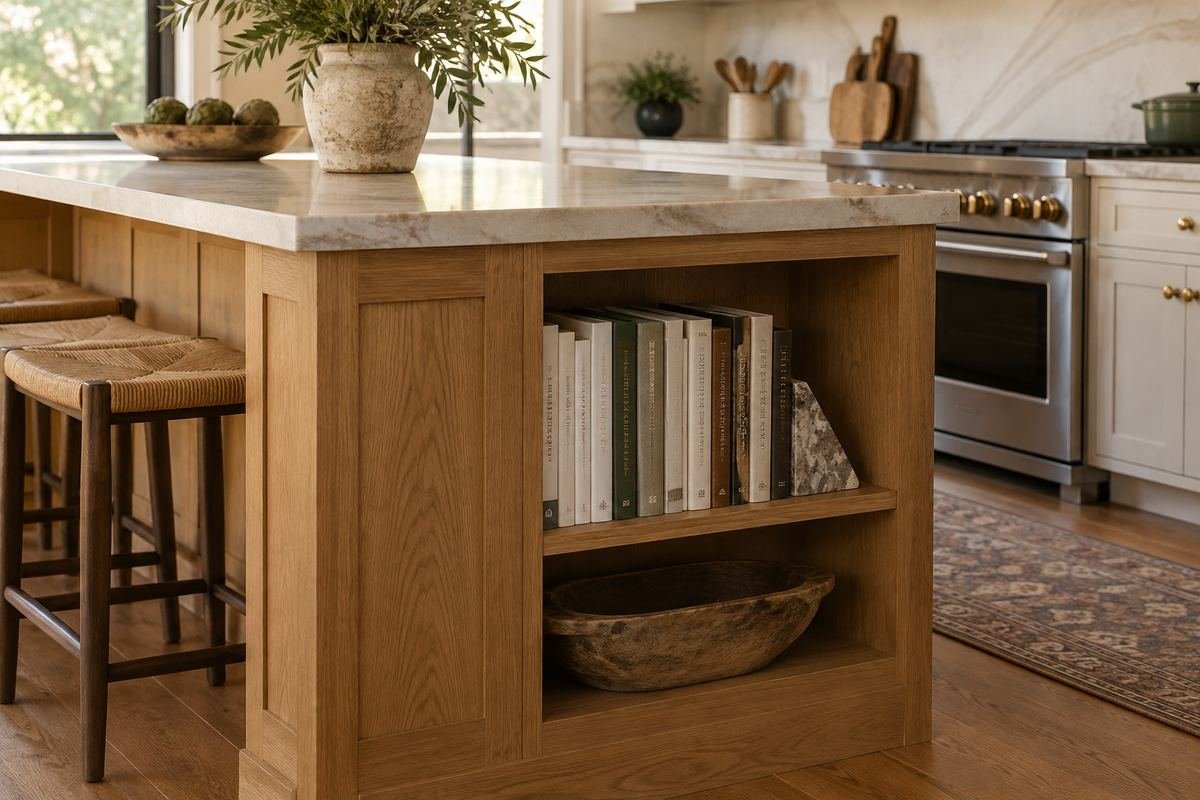
A contained end shelf can be a useful home for a small working cookbook collection. Choose an end that is dry, out of regular splashes and accessible without standing in the main preparation aisle. The shelf should serve real books rather than becoming an unlimited display zone.
Measure the tallest and deepest volume before choosing shelf spacing. Leave room to grip a book and remove it without pulling the whole row forward. Keep the countertop above available for the task, and store occasional volumes elsewhere if the collection grows beyond this footprint.
Practical tip: Measure your largest working cookbook before planning the shelf.
4. Reserve a suitable low compartment for one bulky appliance

A bulky mixer or processor can dominate an island cabinet when it has no assigned place. Choose a compartment around the complete stored appliance, including its handle, attachments and the route used to lift it. A clear destination is more useful than stacking other supplies around it.
Confirm the cabinet and hardware requirements for the actual load. Keep the appliance switched off, cool and stored as its maker directs. If lifting from a low position is awkward for the user, compare another location rather than assuming the island is the best home because it has a spare door.
Practical tip: Test the lifting route with the real appliance.
5. Give flat trays a vertical bay near their preparation route

A vertical compartment can separate baking sheets, chopping boards or suitable platters that are awkward in a deep horizontal stack. Assign it to the face from which the items are used. A tray needed at the prep counter should not require moving around occupied stools every time.
Check the largest piece and the angle needed to pull it through the opening. Choose dividers designed for the cabinet and contents, and avoid wedging items tightly enough that neighboring pieces must come out first. Keep the arrangement compatible with the material and care requirements of the stored items.
Practical tip: Include the retrieval angle in the cabinet measurement.
6. Choose a cookware drawer by the largest handle
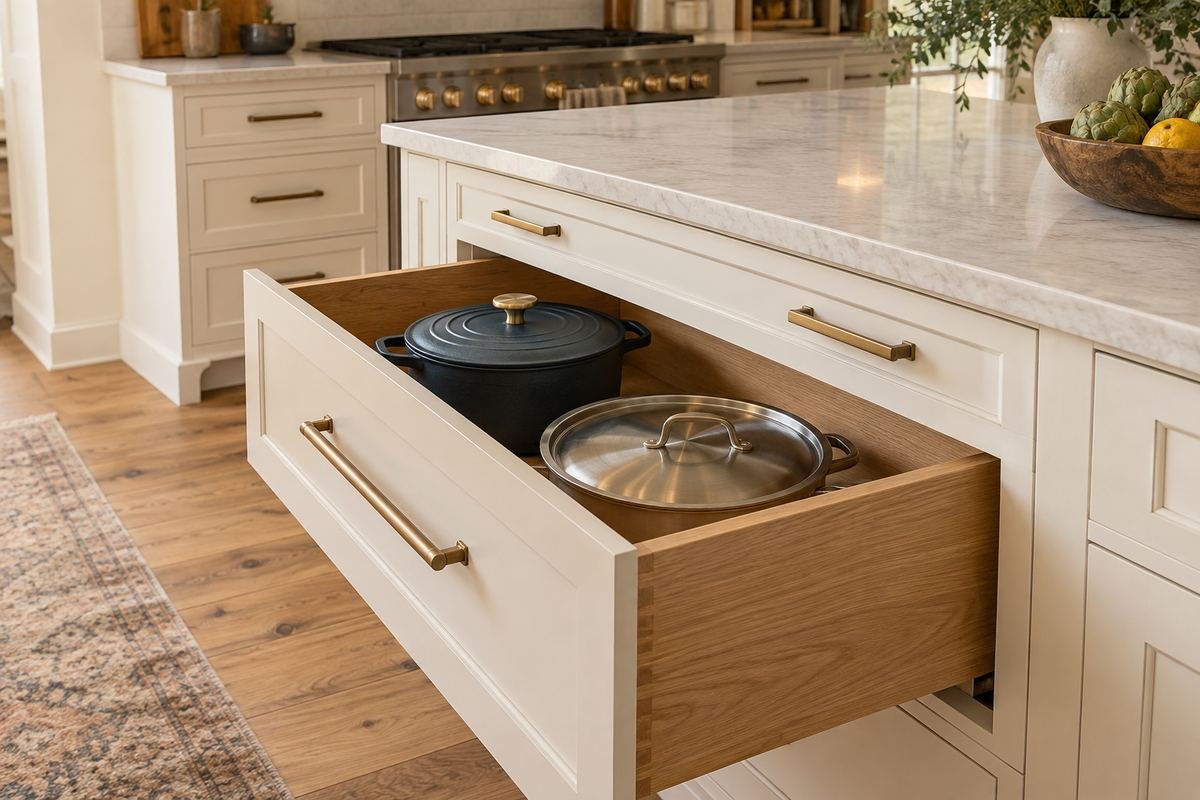
A broad drawer can bring everyday cookware forward on the working side of an island. Its useful size is determined by the whole pan, including the handle, not only the circular base. Compare the group you actually use rather than filling the drawer with every pot you own.
Check the drawer and slide requirements for the intended contents. Leave space to grip and remove the chosen pan without dragging it against adjacent items. If the island is far from the cooking area, storing cookware there may be less convenient than using a cabinet closer to the task.
Practical tip: Lay the complete cookware group out before choosing drawer divisions.
7. Keep the matching lids within the same task zone
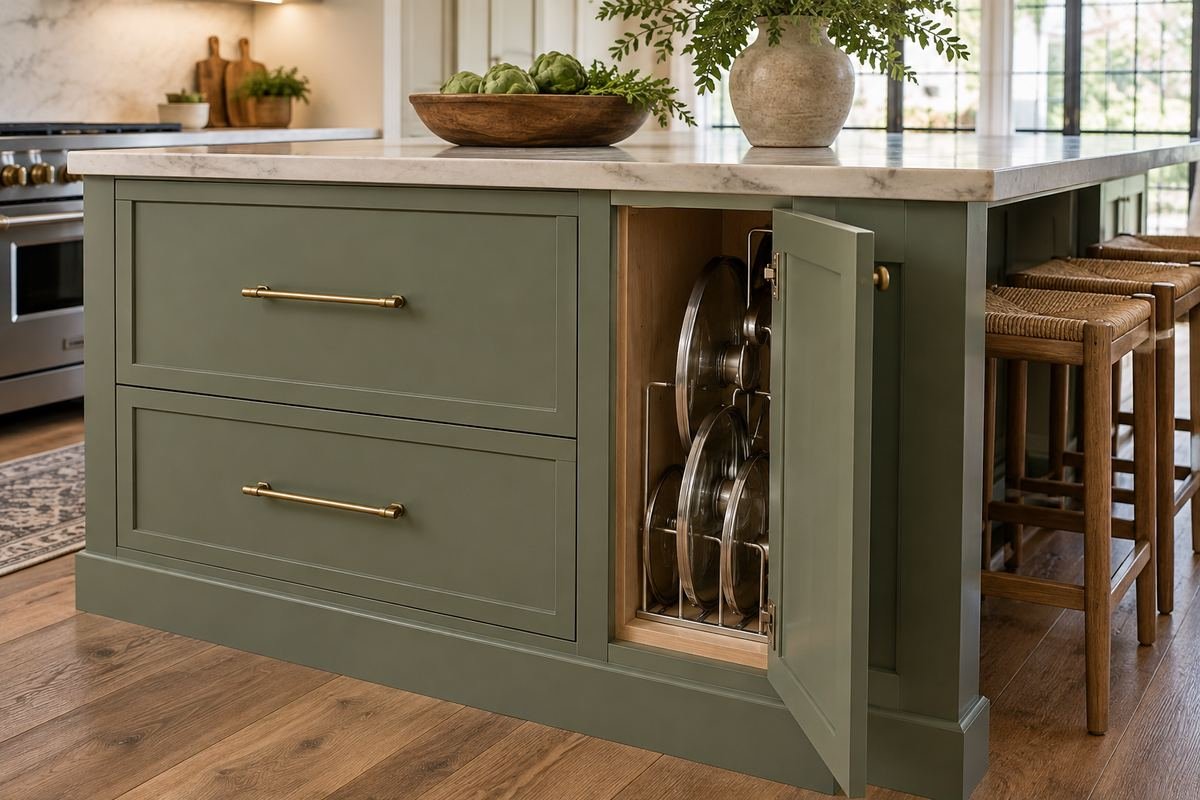
Lids do not have to sit on every pot, but they should have a clear relationship to the cookware they serve. A suitable separate rack or compartment in the same island zone can make the set easier to retrieve. The aim is a predictable pairing rather than a visually perfect row.
Compare the height of knobs and handles as well as lid diameter. Check that the drawer closes without contact and that the rack is intended for the actual items. If a separate compartment consumes space needed for the cookware itself, reassess the whole group before adding another organizer.
Practical tip: Test the tallest lid handle with the drawer closed.
8. Put table linens in a shallow drawer near the serving end
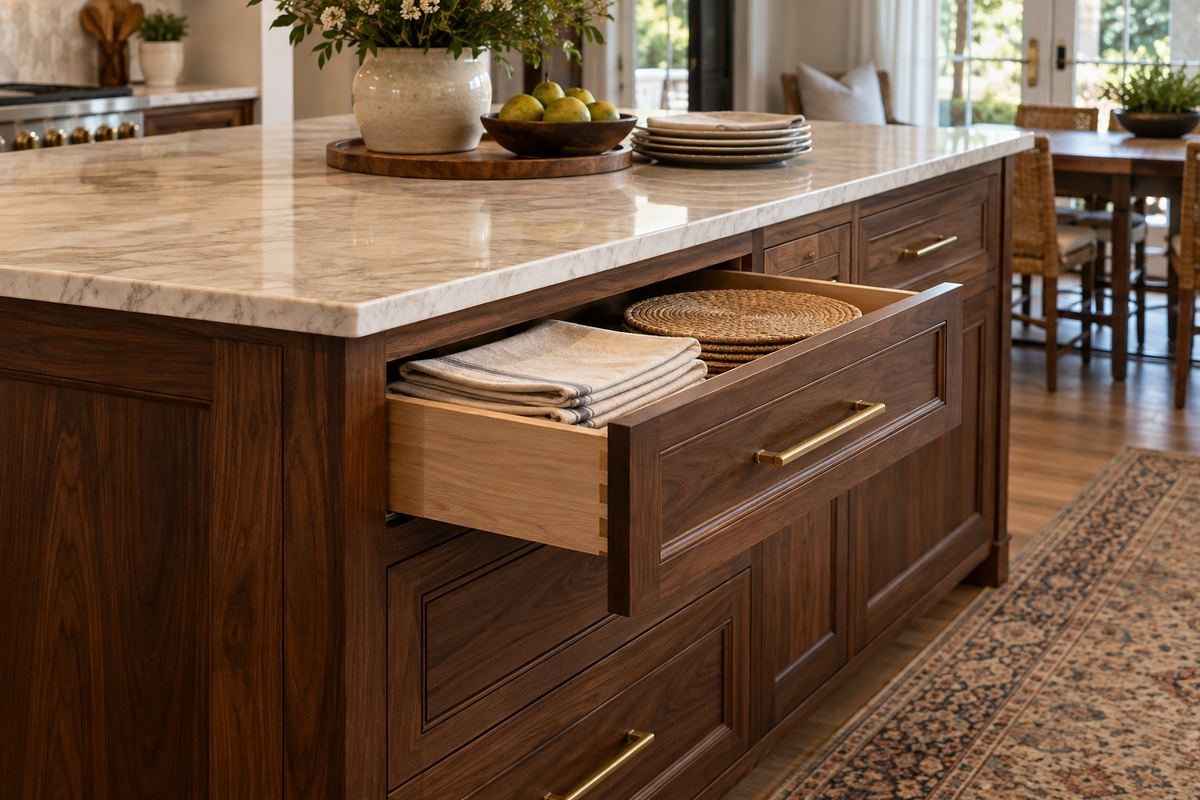
Napkins, placemats and tablecloths can have their own shallow island drawer when the serving route passes nearby. A flatter compartment can make it easier to see a small collection without burying everyday pieces beneath occasional linens. Keep the stored textiles clean and dry.
Choose a folding method that fits the actual drawer depth and leaves space to grasp the pieces. Separate occasional tablecloths if they overwhelm the daily group. The drawer should remain reachable while a serving platter is sitting on the worktop above it.
Practical tip: Assign the drawer from the serving route, not from an empty slot.
9. Use an inner drawer when it improves a specific two-level task
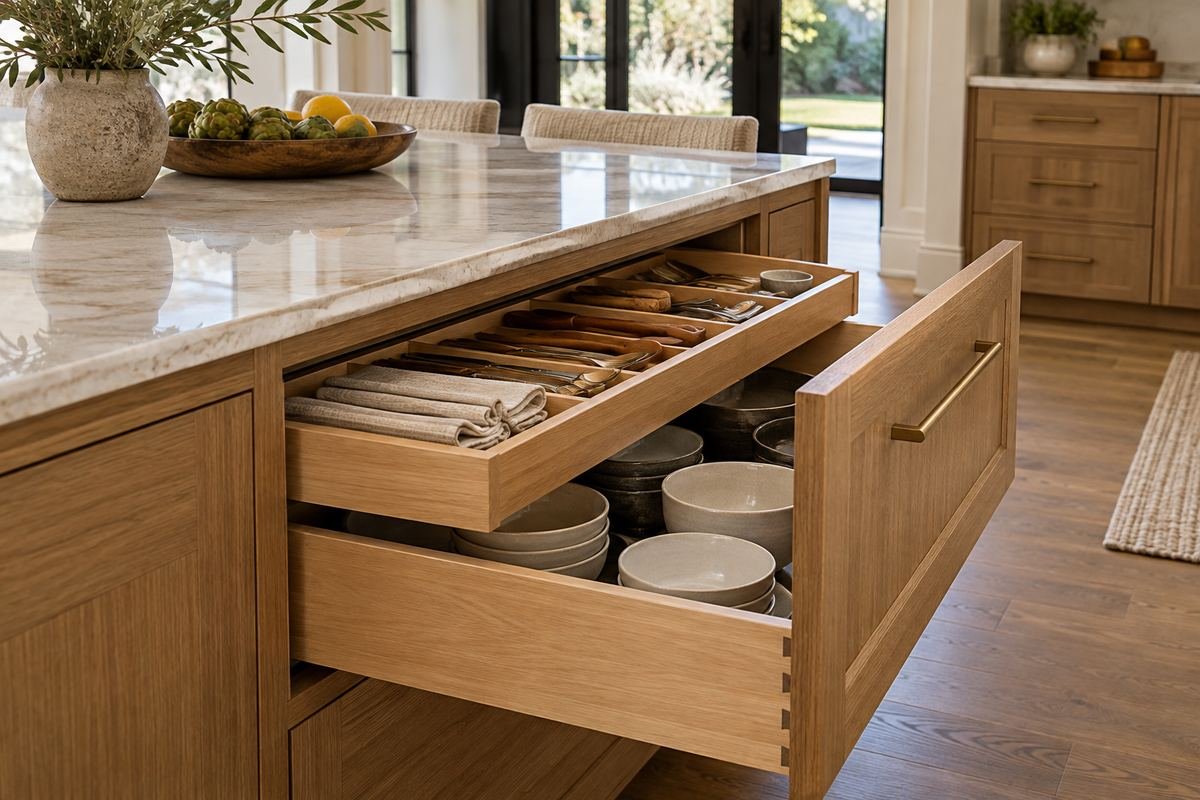
A compatible inner drawer can divide a deep cabinet into two useful levels without changing the exterior rhythm. It may suit a small top group over a larger lower group used in the same task. Decide what each level will hold before selecting the hardware.
Check whether opening two fronts to reach the upper contents feels convenient during real cooking. Include the inner drawer’s height, travel and load requirements in the design. Extra hardware does not automatically produce more useful storage when the task needs quick one-handed access.
Practical tip: Compare the extra opening step before choosing an inner drawer.
10. Bring a deep cupboard forward with a compatible pullout

An island cupboard may have useful depth that is difficult to reach from the front. A specified pullout can bring an appropriate group forward, but only if the clear opening and cabinet construction suit the fitting. Start with the existing cabinet measurements and obstructions.
Check the fully extended position against the working aisle and the person standing there. Include the opening door, hinges and handles in the test. A pullout that fits inside the cupboard can still conflict with an opposite appliance or drawer once it is in use.
Practical tip: Test the extended position as part of the aisle layout.
11. Give an open end cubby one contained basket group
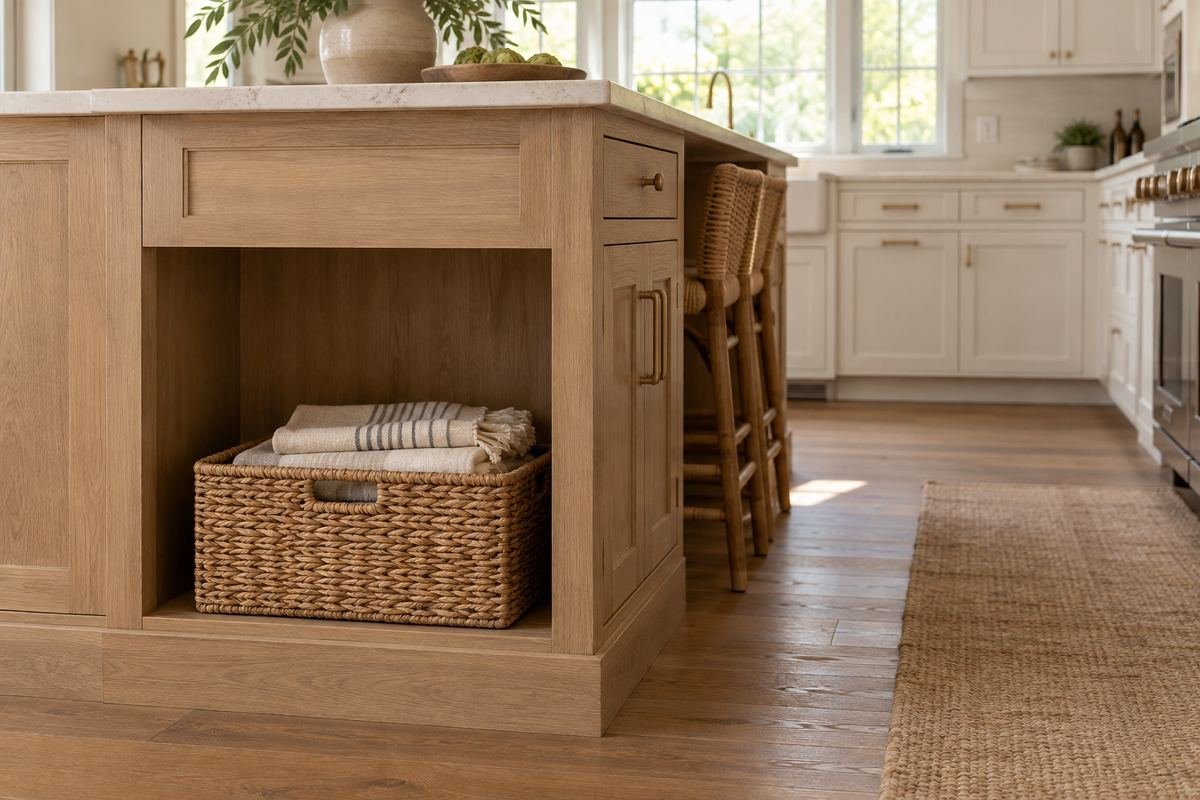
A basket in an existing end cubby can hold a defined group such as clean table linens or lightweight serving textiles. It keeps the contents together while preserving a lighter-looking island end. Choose the basket through the shelf opening and the routine used to remove it.
Leave enough room for fingers around the handles, and keep the basket fully within the shelf footprint. Avoid mixing unrelated objects until the group becomes too heavy or difficult to search. Open storage is easiest to maintain when it has a clear job and a visible limit.
Practical tip: Keep the basket removable without shifting the island accessories.
12. Place the plate zone along the dishwasher unloading route

If the island is the natural destination for clean dishes, give plates a suitable compartment along that route. The best position lets the person put dishes away without repeatedly stepping around an open appliance door. Check the sequence with the dishwasher and island storage open together.
Use an organizer appropriate for the drawer and dishes, and confirm the complete load requirements. Keep the stack height manageable for the user. If the open dishwasher blocks access to the chosen compartment, move the plate zone rather than accepting a daily conflict for the sake of symmetry.
Practical tip: Act out unloading before finalizing the plate drawer.
13. Resolve waste and recycling as a complete pullout zone
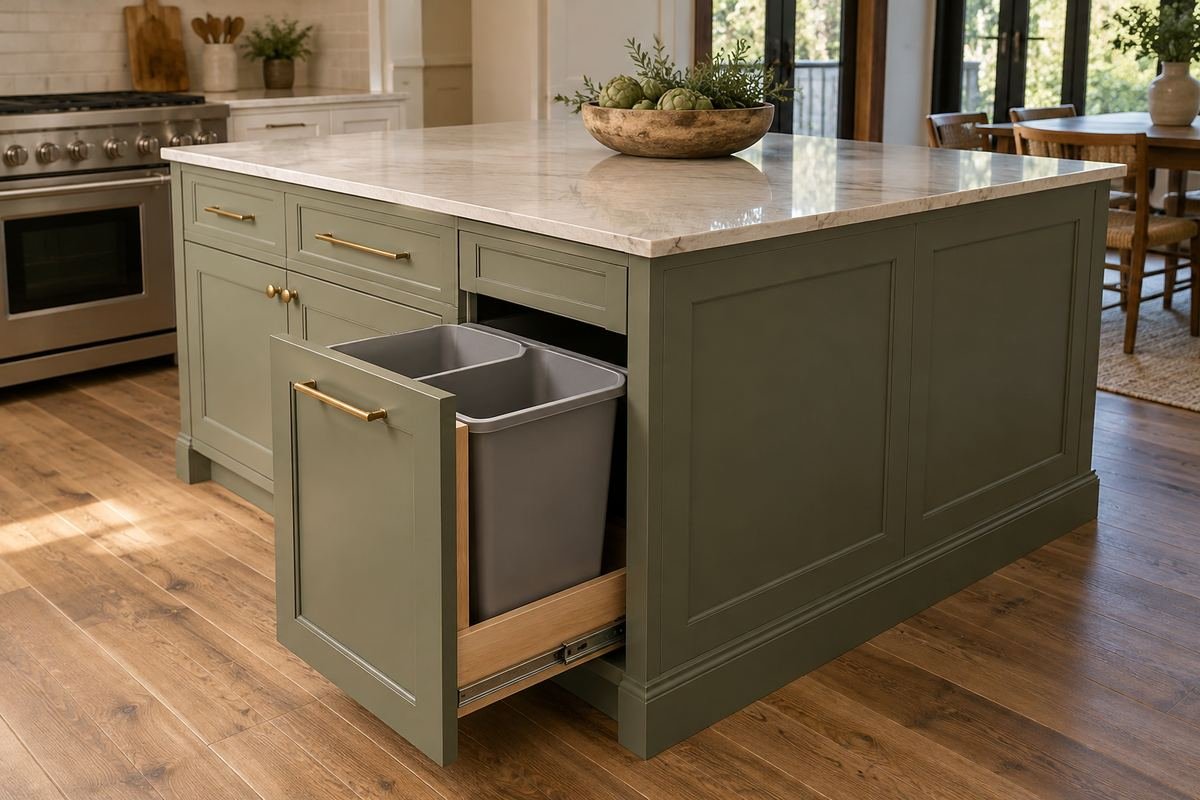
Waste and recycling can work in an island when they are close to the relevant preparation or clearing task. Choose a specified unit that fits the cabinet and the local sorting routine. Consider how the bins are removed, cleaned and returned as well as how the front looks closed.
Draw the pullout fully extended and check that another person can use the surrounding functions appropriately. Keep the storage dedicated to its purpose instead of crowding food supplies into the same compartment. The number and size of bins should follow actual household needs rather than the largest set available.
Practical tip: Check bin removal and cleaning access before choosing the unit.
14. Respect the service space beneath an island sink
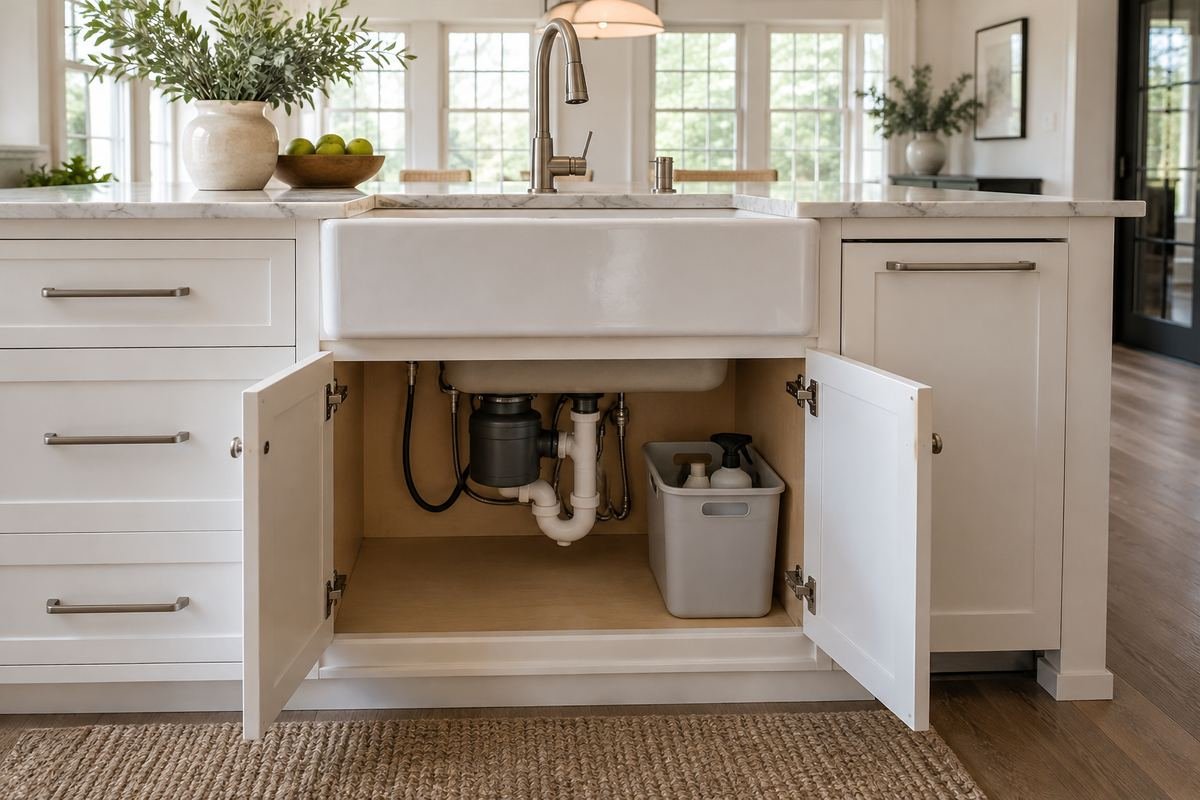
An island sink changes how much cabinet volume is available for storage. Plumbing, valves and other specified components need their own resolved space and access. Organize only the usable area that remains after those requirements have been established.
A compatible removable bin or fitting may help a particular cabinet, but a concept photograph cannot reveal all hidden obstructions. Measure the exact assembly and preserve access for maintenance. Keep unsuitable chemicals, food and household items out of any arrangement where they do not belong.
Practical tip: Record the plumbing and access requirements before choosing organizers.
15. Separate the dry storage face from regular sink splashes
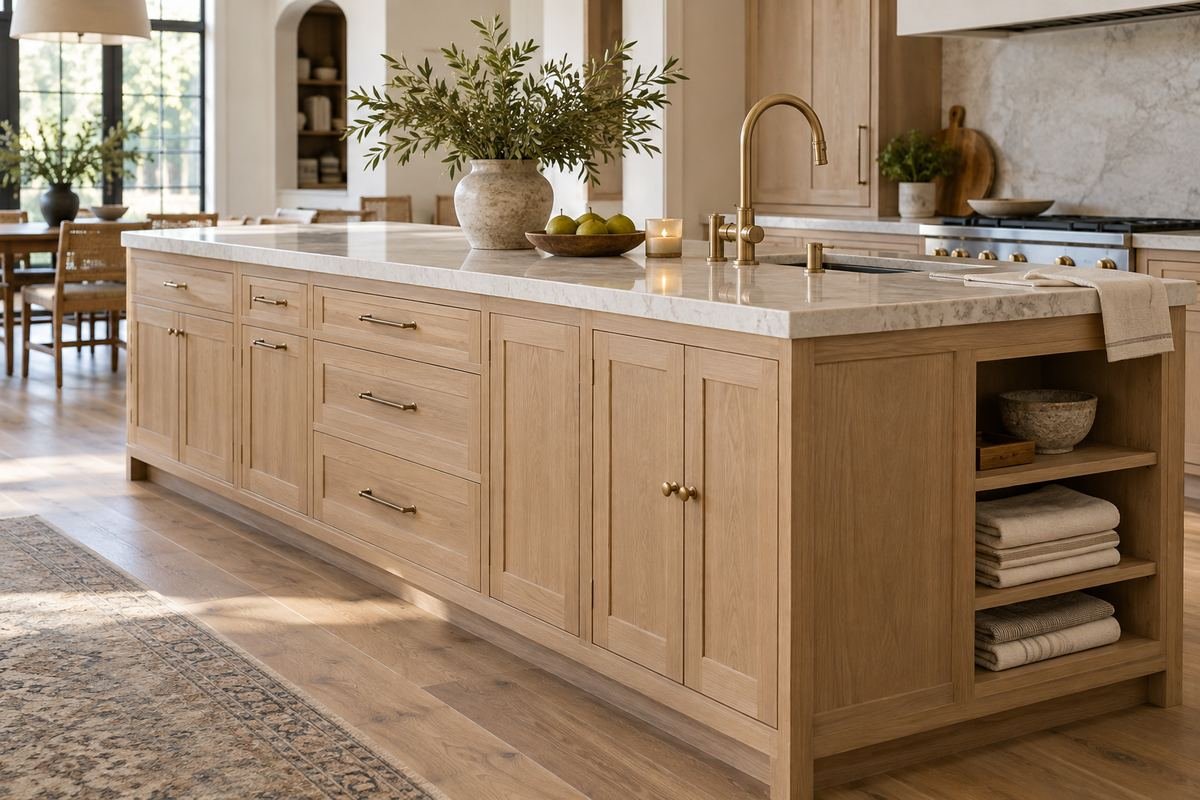
The dry side of an island can be a better home for cookbooks, linens or suitable serving pieces than a compartment directly exposed to a busy sink routine. Think about where water is carried and where damp cloths are set down. The cabinet allocation should support that actual behavior.
Keep wet-use items in an appropriate dedicated arrangement and allow them to be handled according to their care needs. A basket that looks attractive beside the sink may be the wrong material or location for the job. Use the dry face for contents that benefit from staying separate.
Practical tip: Follow the path of water during an ordinary cleanup.
16. Keep an outer serving cabinet independent of the cooking drawers
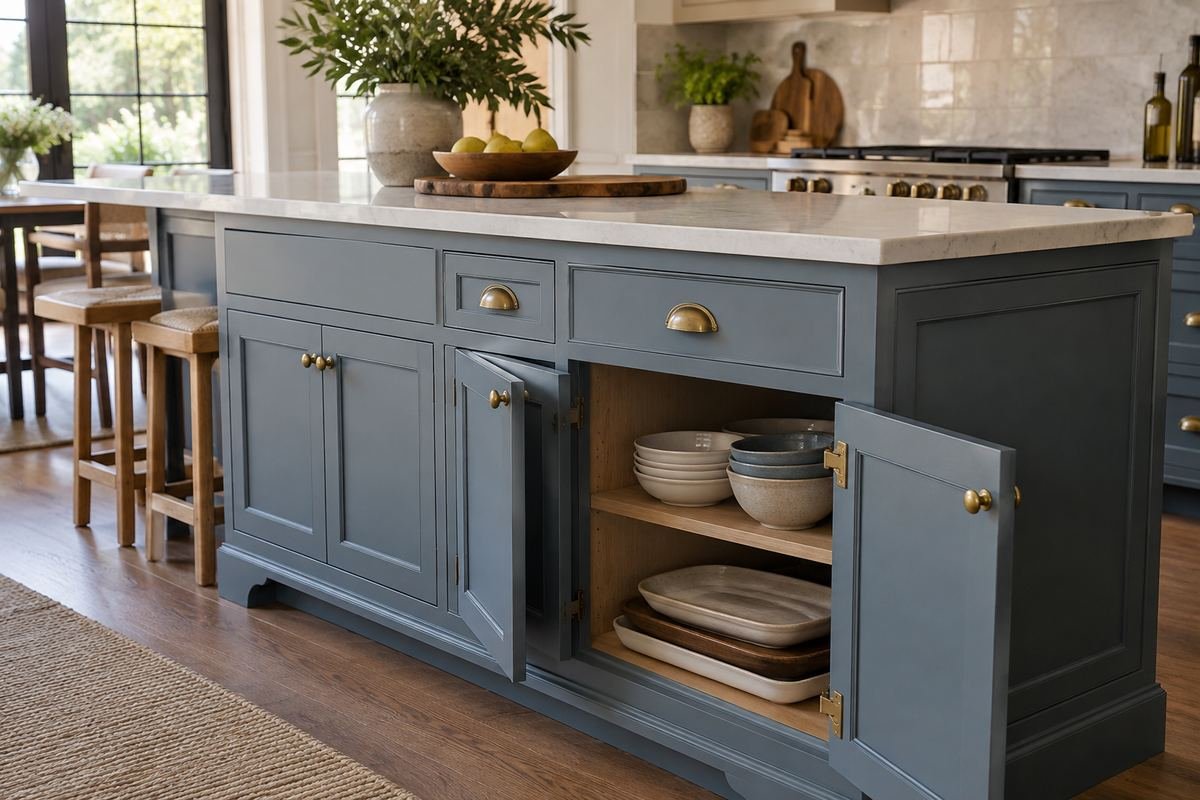
A cabinet facing a dining or living area can hold the pieces used when serving guests without opening the working-side drawers. This separates occasional table access from the cook’s preparation sequence. Choose the face only after checking the complete route around the island.
Store a compact group that can be removed without unloading a stack of unrelated objects. Check large handles and platter depth against the actual opening. If guests must reach through an occupied seating area to use it, a cabinet nearer the table may serve the purpose better.
Practical tip: Choose the serving cabinet from the route guests actually use.
17. Compare shallow storage on the second face before making the island deeper
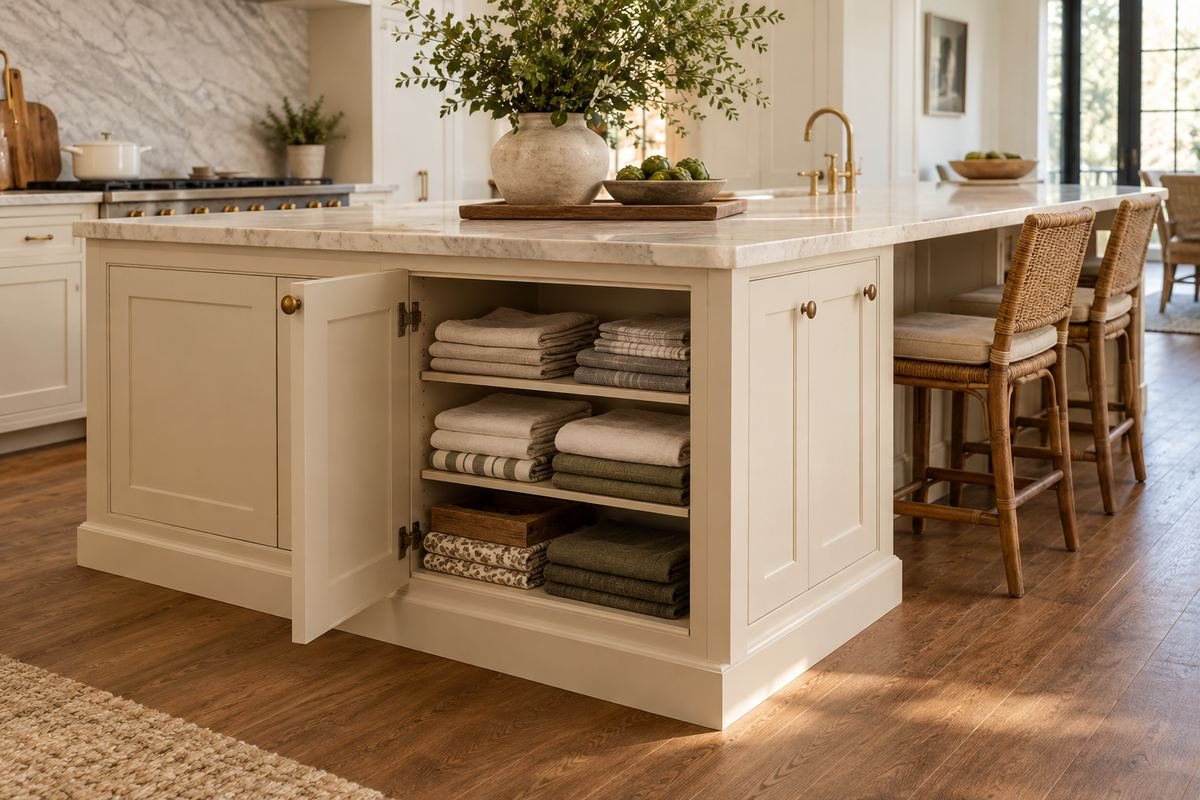
A shallow second-face cabinet may hold linens or selected serving items without requiring the same depth as the working side. This belongs in a complete island design that includes services, support and circulation. Useful storage does not require every compartment to share one depth.
List the exact objects proposed for the shallow side and compare their dimensions. Check that the door opens and that seated users retain the space their arrangement needs. Do not enlarge an existing island simply to add a second row of cabinets without reassessing the whole room.
Practical tip: Choose the second-face depth from the actual contents.
18. Use a narrow end compartment for one frequently reached group
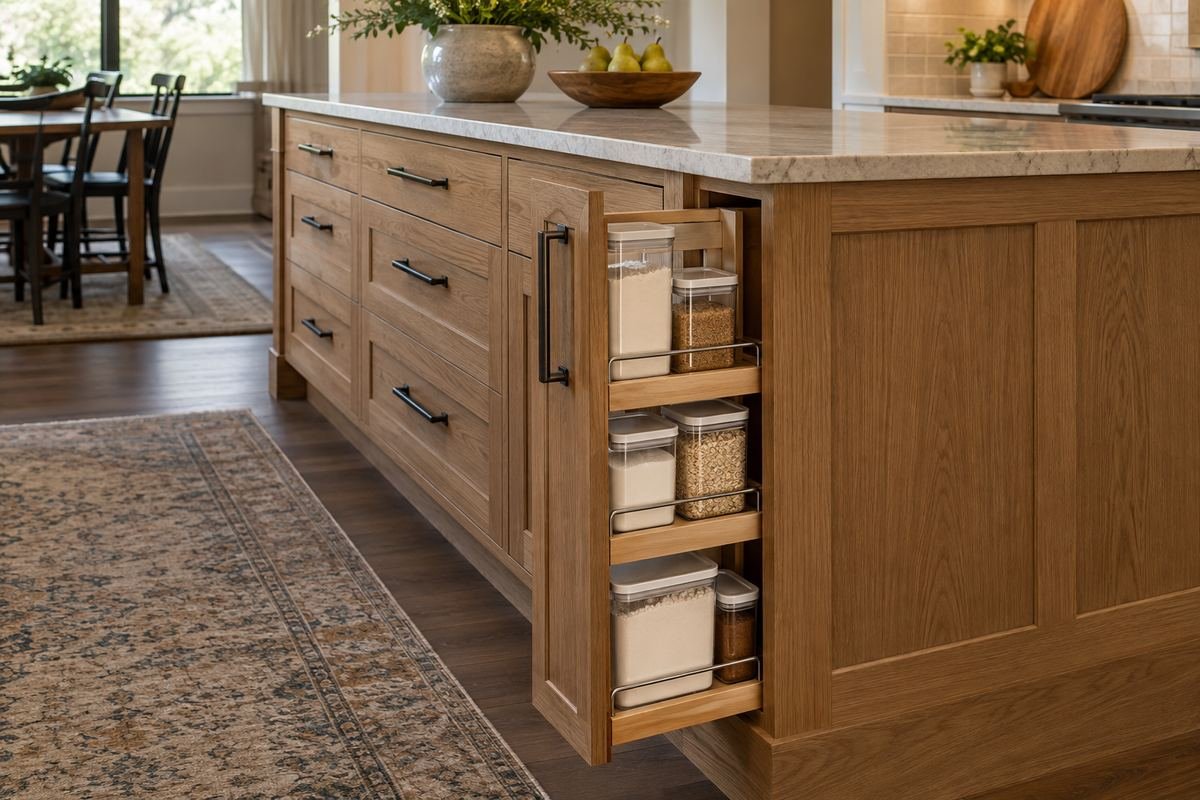
A narrow island end can sometimes serve a small defined group better than a broad mixed cupboard. Consider a suitable location for a few dry baking ingredients or task accessories, away from unsuitable heat or moisture. The compartment should be reachable from the place where those items are used.
Check the container sizes and the fitting’s clear opening rather than relying on a nominal cabinet width. Keep the group small enough to inspect and retrieve easily. A narrow pullout filled with rarely used objects can be less useful than a simple accessible cupboard elsewhere.
Practical tip: Give a narrow compartment one explicit task.
19. Choose a movable island around its stored contents and parking position

A purpose-designed movable island can add storage without a fixed cabinet installation, when the room and product suit that use. Its value depends on where it parks during cooking and how the stored items behave when it is moved. Plan both the working and stored positions.
Follow the maker’s load, wheel and use instructions. Keep heavy or unstable arrangements out of a setup not intended for them, and do not use the cart as an improvised appliance station. Check that the parked unit preserves doors, drawers and the required room routes.
Practical tip: Include the parked footprint in the kitchen plan.
20. Improve an existing cupboard before changing the island exterior
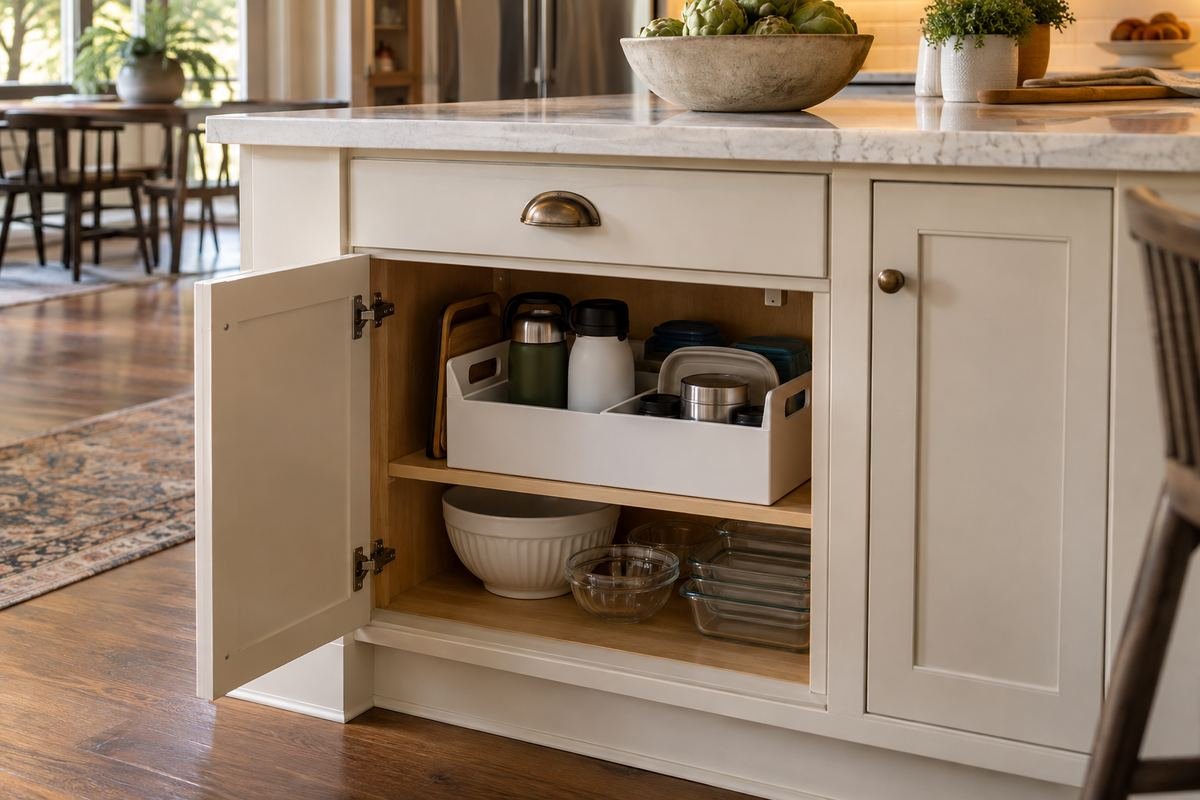
An existing island may need a clearer storage assignment more than new cabinetry. Empty one compartment, identify what is actually used nearby and compare a compatible removable organizer. This can reveal whether the cabinet’s real problem is access, excess contents or a poorly chosen location.
Keep the existing assembly intact while testing the arrangement. Avoid cutting a panel or removing a support to imitate a concept image. If the compartment still cannot serve the task after a sensible reorganization, use that evidence to inform a complete future redesign.
Practical tip: Test a reversible organizer before proposing construction changes.
21. Give grocery unloading a temporary landing space with a clear reset
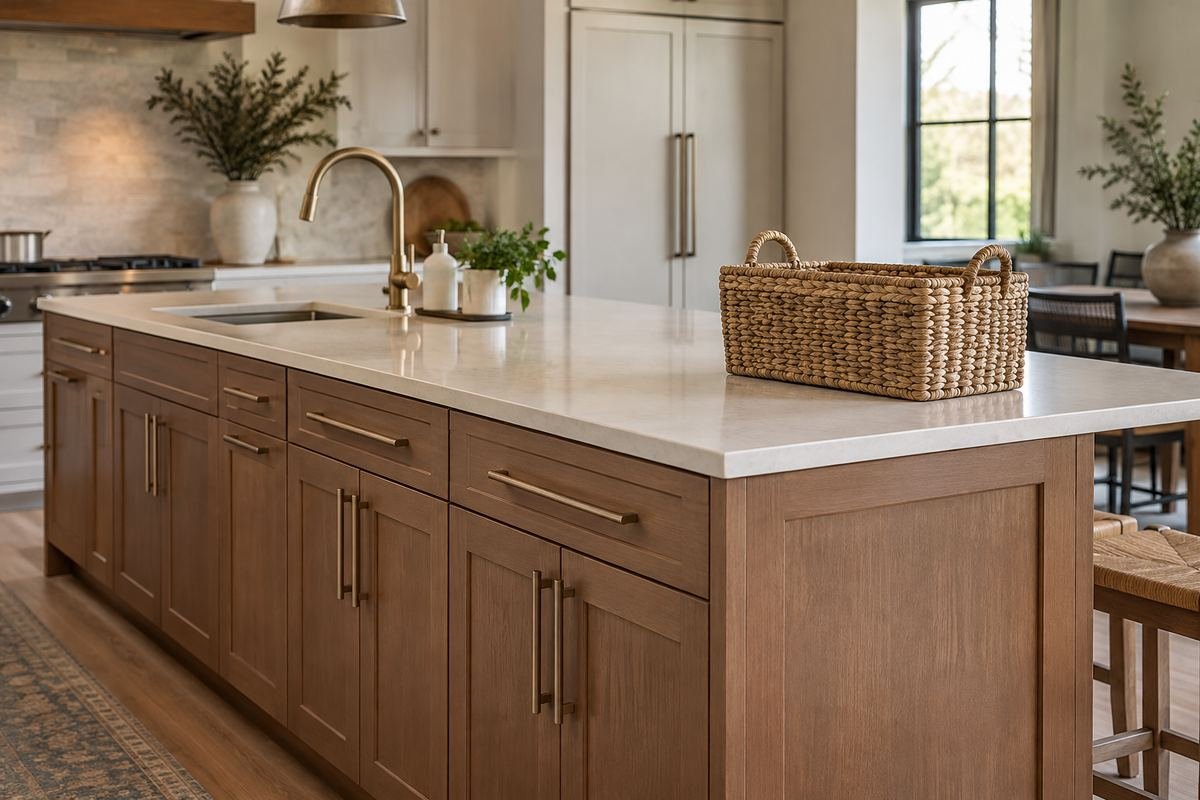
An island often becomes the place where groceries first land. A contained temporary basket can collect items headed elsewhere, provided it does not become permanent mixed storage. Assign the basket a destination after unloading and keep the preparation surface available again.
Choose a clean suitable container for the actual contents and avoid mixing food with unrelated household supplies. If grocery bags repeatedly block the same drawer, relocate the temporary landing zone. The useful part of this idea is the clear end to the task, not another object left on the worktop.
Practical tip: Define where the basket goes when unloading is finished.
22. Put occasional pieces in a compartment that does not interrupt daily work
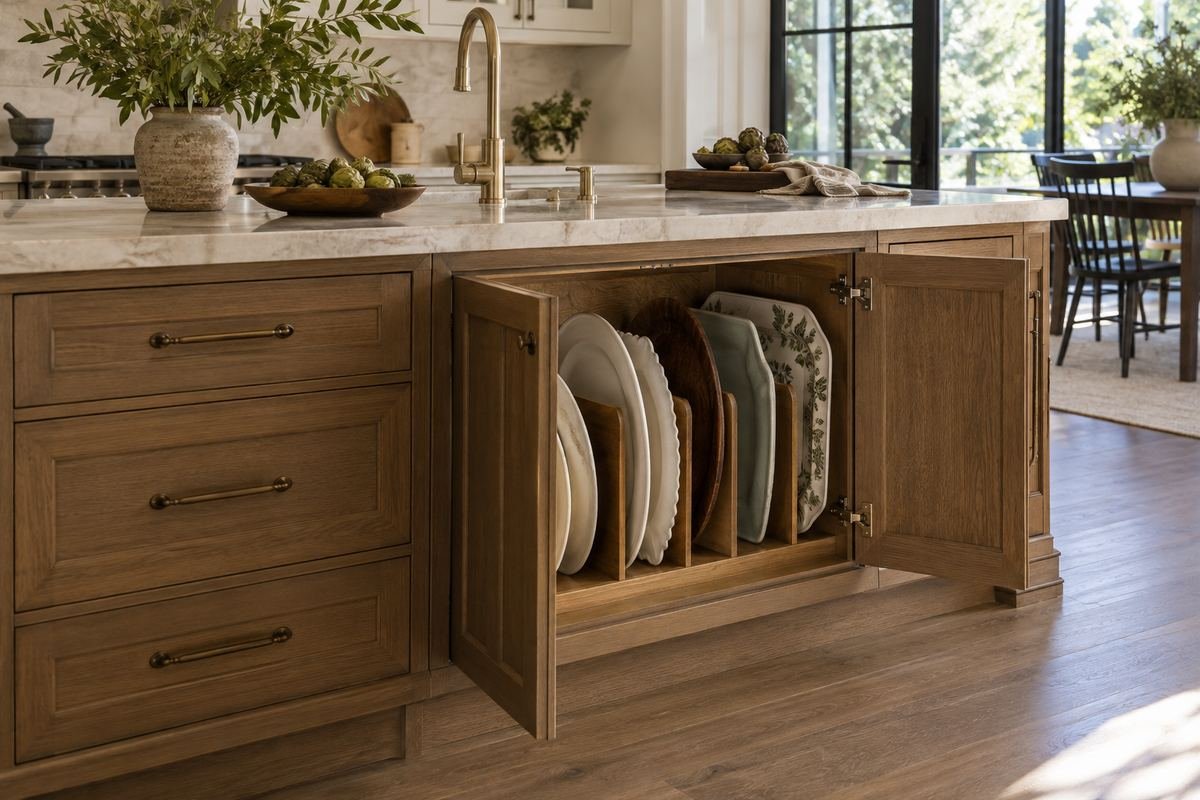
Seasonal platters and occasional serving pieces can use an island compartment that is less convenient for daily preparation. Give prime access to the things used most often, then place the occasional group where it remains identifiable and manageable. Rare use does not justify an unstable or inaccessible stack.
Check the largest piece and the effort needed to remove it. Use suitable support or separation for the stored materials, and do not exceed the cabinet’s specified capacity. If the group keeps growing, review the collection rather than spreading it into the everyday prep zone.
Practical tip: Keep occasional storage clearly separate from the daily task group.
23. Leave one part of the storage plan adaptable

A finished island does not need a permanent specialty fitting in every compartment. One flexible shelf or removable-bin zone can accommodate a changed cooking routine, a different appliance or a new set of serving pieces. Give it a current purpose while preserving the ability to revise it.
Review the arrangement after several ordinary cooking sessions. Notice which groups are retrieved together, which doors collide and which organizers remain partly empty. Adjust the allocation before buying more fittings. The final measure of the plan is whether the island supports the household’s real tasks.
Practical tip: Review the storage after ordinary use before adding more hardware.
Frequently Asked Questions
What should I store in my kitchen island?
Start with the tasks performed there. Put frequently used prep equipment near the prep surface, table-setting items near their route to the table and occasional serving pieces in less frequently accessed compartments. The useful arrangement depends on the whole kitchen, not a universal list.
Can an island have storage on both sides?
It can when the complete cabinet, support, service and circulation design allows it. Compare shallow storage on one face with deeper storage on the other, and check both sets of openings with seating occupied. Do not assume all of the visible island volume is available for cabinets.
Are drawers better than cupboards in an island?
They solve different retrieval problems. A drawer can bring a suitable group forward, while a cupboard may accommodate a tall or unusually shaped item. Compare item size, usable opening, hardware capacity and where the person stands during access.
Can I add a pullout to an existing island?
Check the exact fitting against the clear opening, cabinet construction and obstructions. Read the mounting and movement requirements before buying. A compatible organizer may be possible, but a product’s nominal cabinet size alone does not establish a fit.
Should I store small appliances inside the island?
A suitable compartment can hold an appliance when it is switched off, cool and stored according to its instructions. Operating an appliance inside cabinetry is a different design question involving manufacturer requirements, ventilation, heat and electrical provisions. Do not treat ordinary storage as permission for enclosed operation.
How do I avoid cluttering open island shelves?
Give each shelf one useful group with a defined limit. Keep loose packages and unrelated household objects in appropriate closed storage, and leave enough space to remove the items easily. A small amount of open storage can be easier to maintain than filling every island face with display.
Choose the Details That Work in Your Home
Make the island storage plan a map of tasks and movement, then choose the cabinet forms that support it. Check the largest real objects and the fully open hardware before refining fronts or finishes. Strong kitchen island storage ideas reduce unnecessary searching while preserving the worktop, seating and routes the room needs every day.
For related ideas, explore kitchen island seating ideas, kitchen drawer organization ideas, kitchen island sizing checks.
Planning References
Rev-A-Shelf: measuring a cabinet opening and checking obstructions; IKEA: UPPDATERA product and frame dimensions. Follow the instructions for the exact products you choose.
Optional digital guide for this topic
If you prefer a structured workbook, explore this related paid guide.