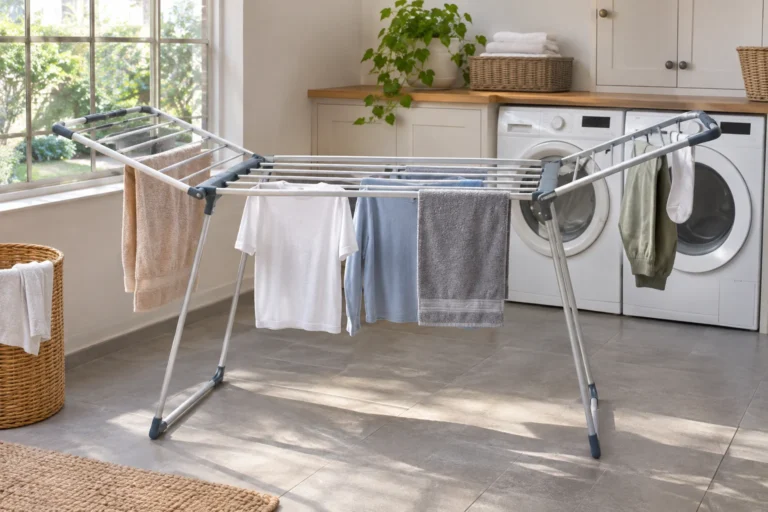
A laundry sorting station is the place where incoming clothes become understandable groups for the next step. It is different from a bedroom hamper that simply collects a day's clothing. Choose the groups you need before buying several identical bins, then plan how each container is lifted, emptied and returned.
Color can be part of the system, but it is not the only decision. The American Cleaning Institute's laundry guidance also considers fabric, care instructions and soil. Build the station around the actual wash routine rather than treating a row of 'light' and 'dark' containers as a complete set of instructions.
Contents
- 1. Start with two broad groups you can explain
- 2. Give uncertain care a separate waiting place
- 3. Use a divided frame when the bags remove independently
- 4. Choose freestanding baskets for a flexible layout
- 5. Use a low cabinet bay with full removal clearance
- 6. Check a pull-out system's intended contents
- 7. Keep the station near the real unloading route
- 8. Give towels their own group when the routine needs it
- 9. Separate special-care pieces without compressing them
- 10. Use a clear flat area for checking pockets and labels
- 11. Keep a small found-items container nearby
- 12. Choose handled bags around the actual carrying load
- 13. Keep hinged lids clear of counters and shelves
- 14. Use open containers when visibility serves the routine
- 15. Make a shared station understandable without constant explanation
- 16. Keep occasional oversized laundry outside the normal bins
- 17. Choose one working height around actual access
- 18. Use a narrow wall position without hiding the rear group
- 19. Keep damp items out of closed long-term storage
- 20. Separate the clean-laundry destination
- 21. Keep laundry products in their appropriate storage
- 22. Give the empty basket a return position
- 23. Review the actual categories before adding compartments
- 24. Keep a short care-based sorting card
- 25. Reset the station after the load moves on
Define the groups before choosing the furniture
Write a simple rule for ordinary compatible items, pieces needing a care check and any separate loads the household actually uses. Keep unknown garments identifiable until their labels are reviewed. Compare the total incoming quantity with the containers, not just the outside cabinet size. Leave a clear working route to the washer and preserve its normal door and service access.
Compare the storage or placement options
- Clear regular loads: Broad groups based on compatible care and actual household use.
- Unknown care: A small visible waiting position until the garment instructions are checked.
- Built-in bins: Check internal size, handle space, lid opening and complete removal.
- Shared routine: A short understandable sorting rule and a separate clean-laundry destination.
1. Start with two broad groups you can explain

A small station is easier to maintain when its categories are clear and relevant to the household. Choose the groups around actual compatible laundry, including care instructions, rather than two attractive colors of baskets alone. Review uncertain items separately. Expand only when the routine repeatedly shows a need for another distinct group.
2. Give uncertain care a separate waiting place
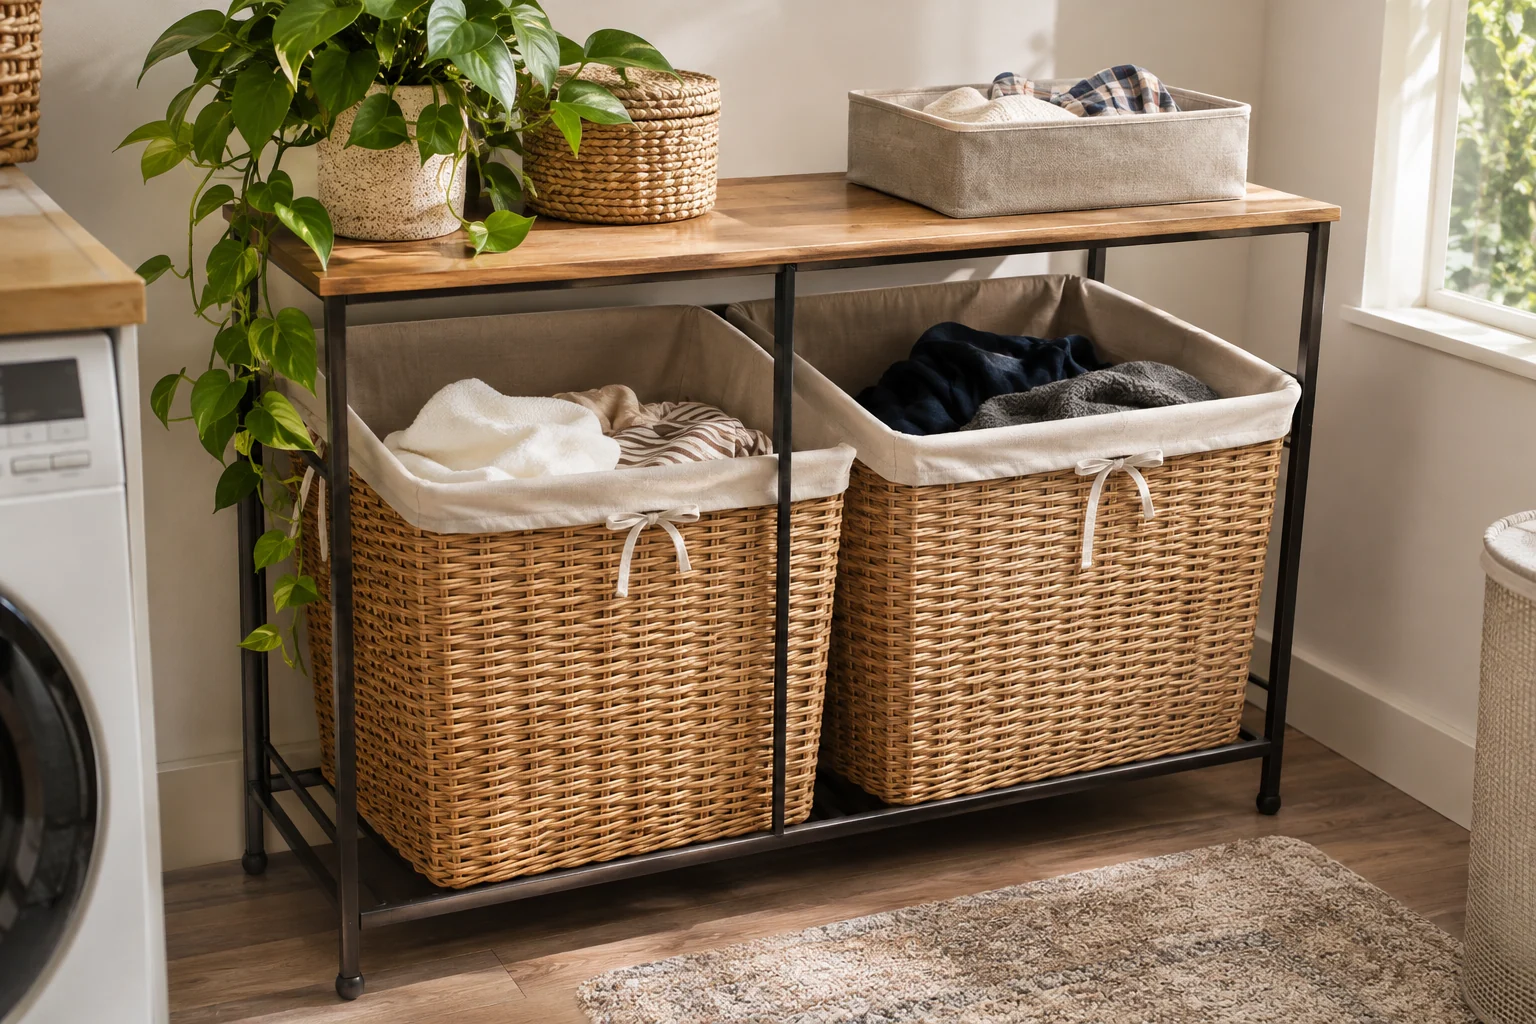
A small defined container can hold items whose labels or treatment need checking. Keep it distinct from ordinary wash groups so uncertainty does not disappear into a large bin. Clear it through a real decision before the next load. The container is a reminder to read the actual instructions, not a new permanent home for every difficult garment.
3. Use a divided frame when the bags remove independently
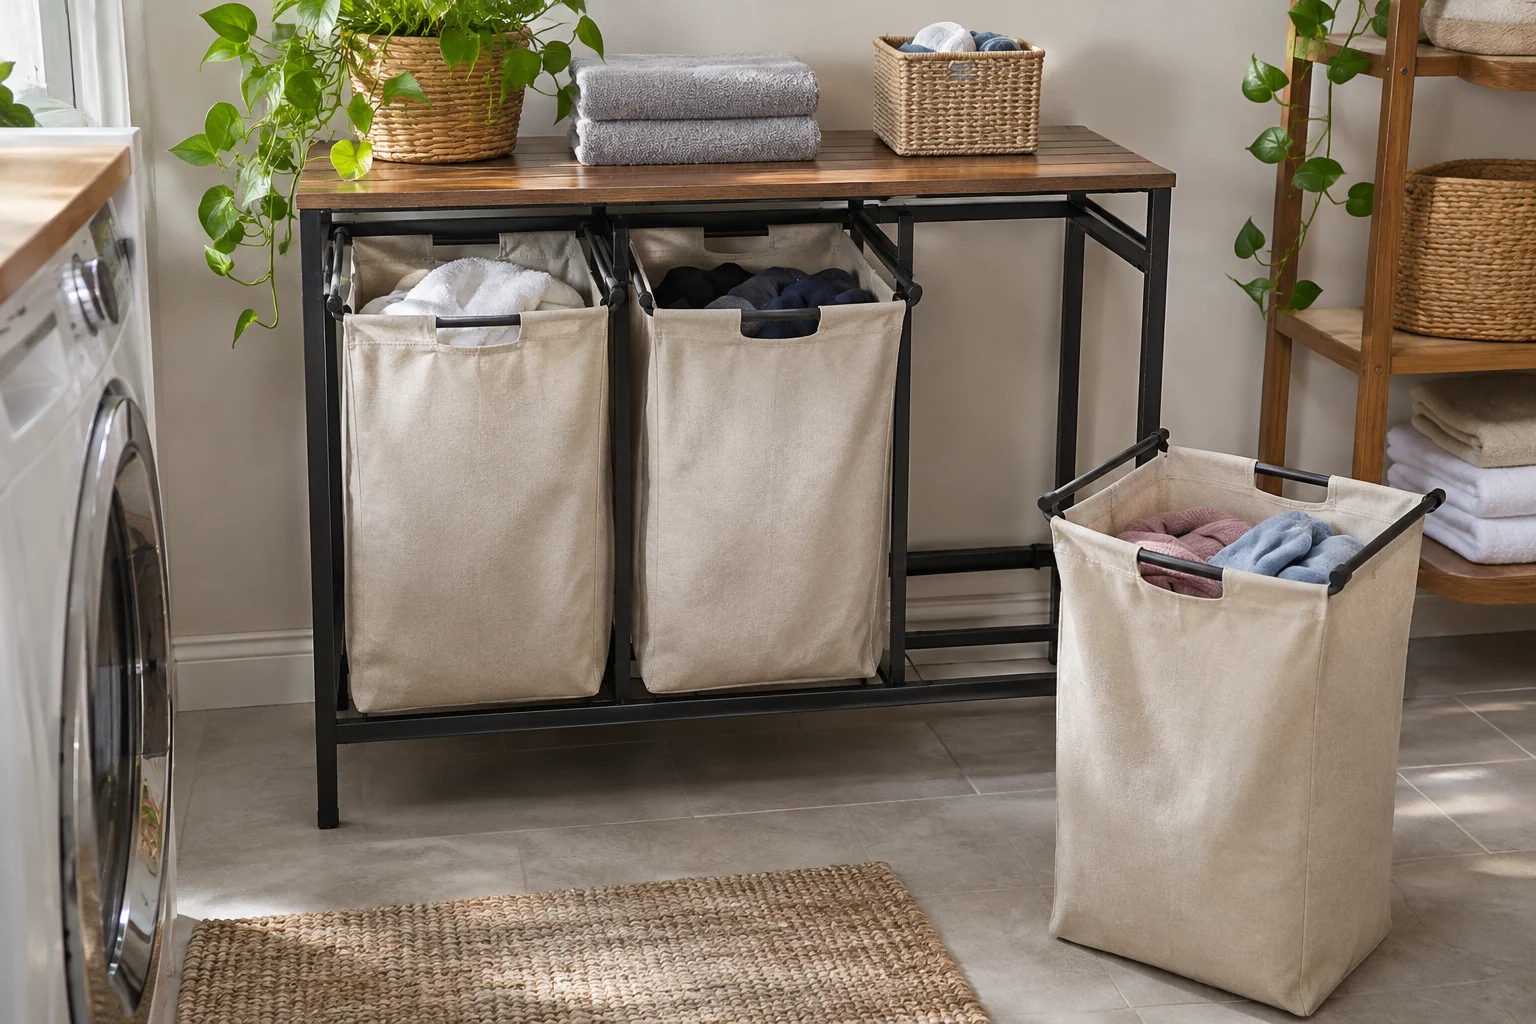
A purpose-designed sorting frame can keep groups together while allowing one bag to be lifted out. Check the complete removal movement with the frame in its actual position. Keep the load within the product's guidance. A divided unit is less useful if each bag catches the counter above or must be dragged past another full compartment.
4. Choose freestanding baskets for a flexible layout
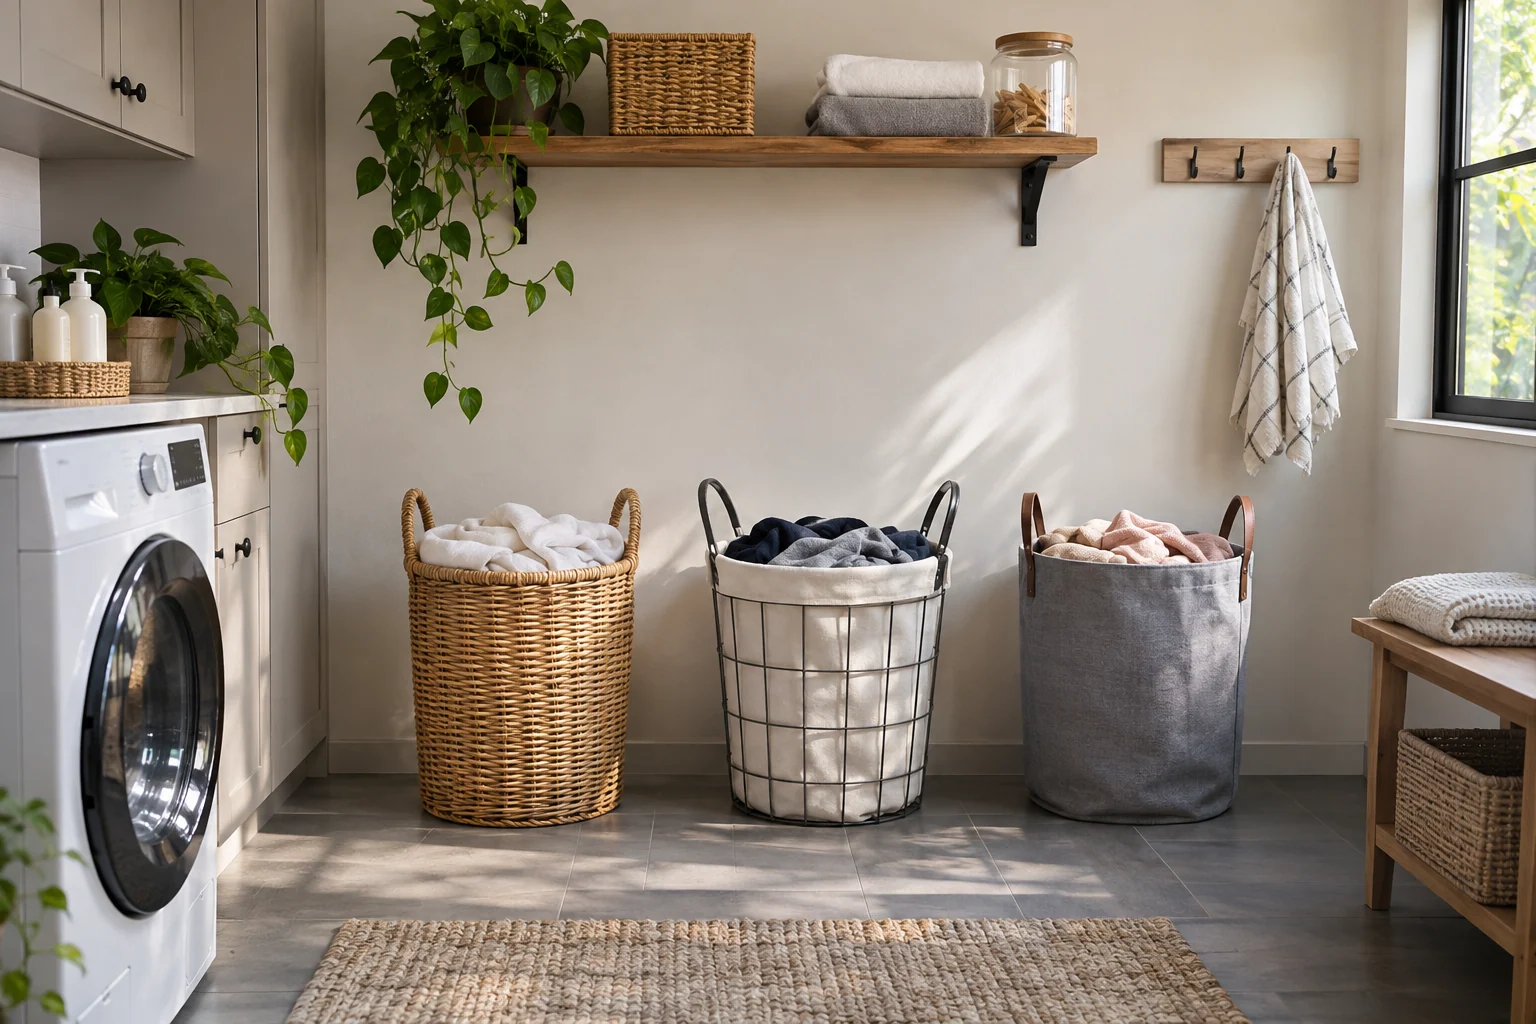
Separate baskets can adapt when the room's routine changes or one group is temporarily larger. Give each a defined place so the station does not spread into the passage. Compare their handles and the actual loaded carrying route. A flexible arrangement should reduce repeated lifting and searching rather than create several indistinguishable containers across the floor.
5. Use a low cabinet bay with full removal clearance
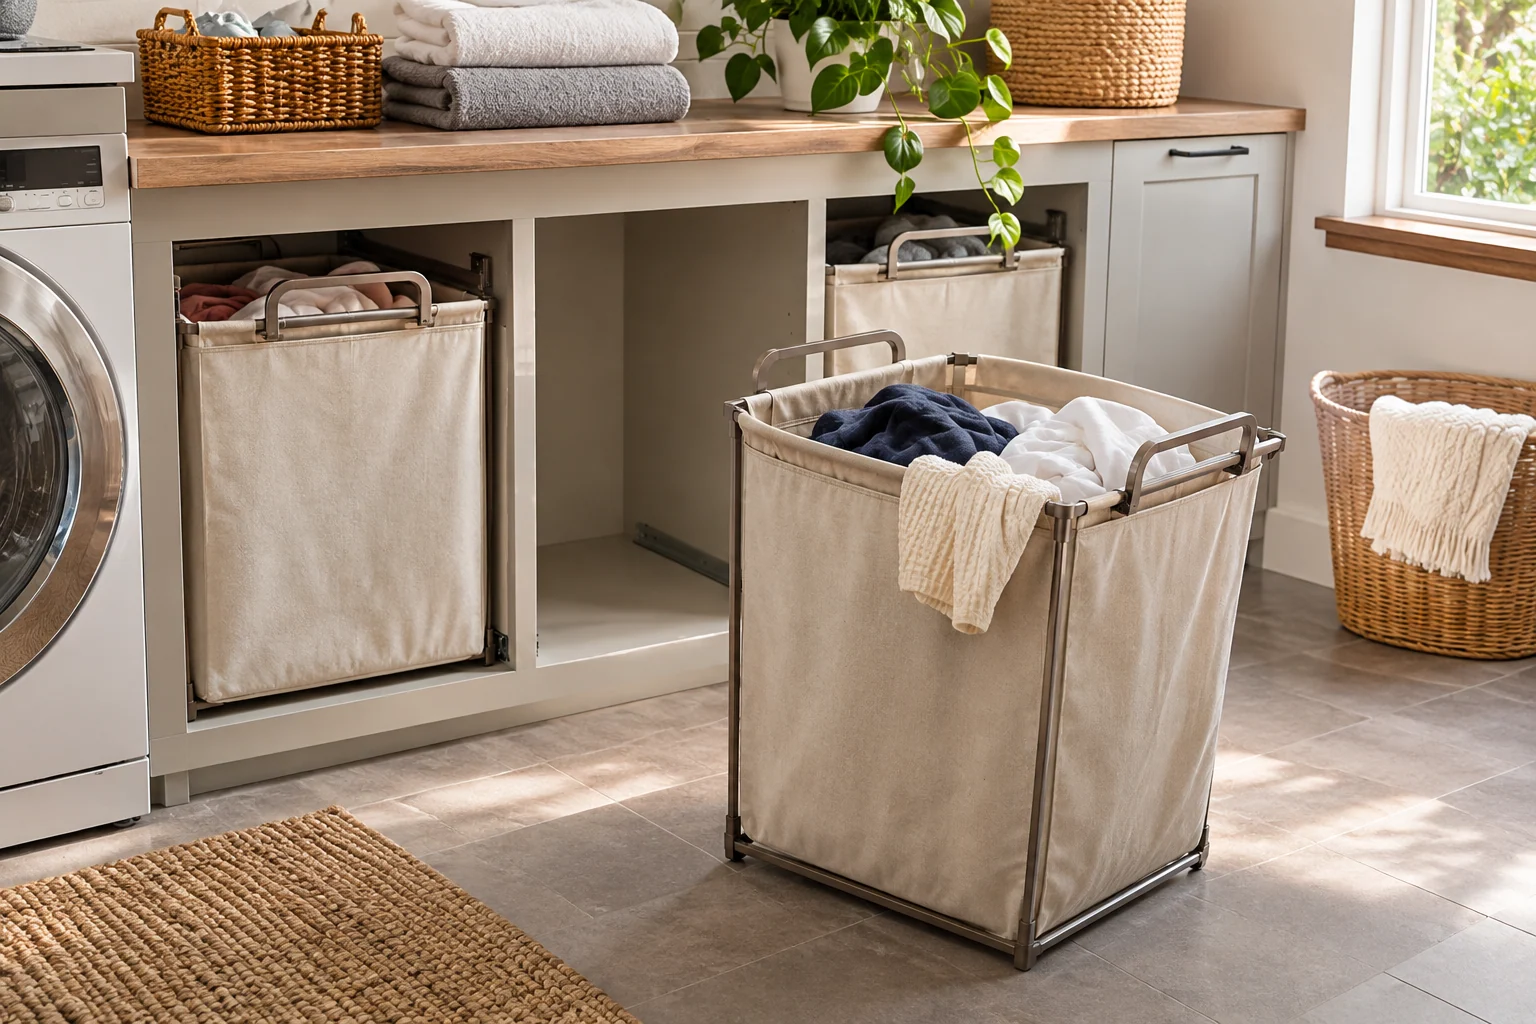
A cabinet can give the sorting area a quieter appearance when the bins fit and come out comfortably. Measure handles, lids and any upper lip. Test the actual container in its loaded position, following product guidance. An outside opening that matches the bin's widest measurement may still be too tight for a useful grip and ordinary removal.
6. Check a pull-out system's intended contents
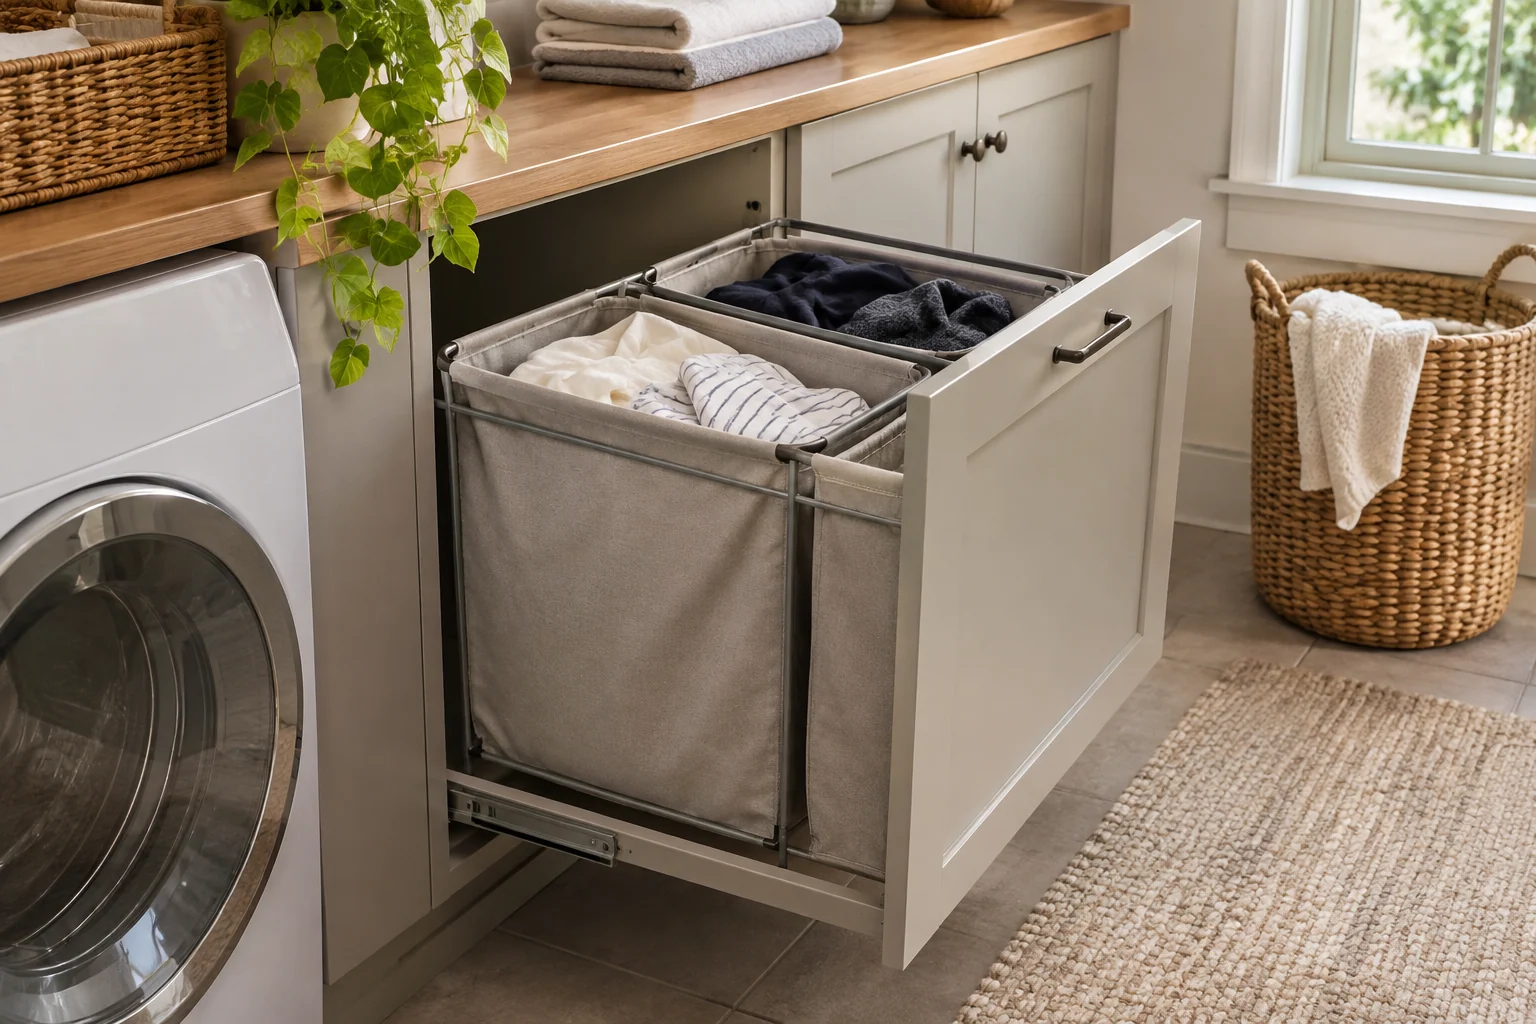
A purpose-designed pull-out can contain suitable laundry groups while clearing the floor. Follow its installation and loading instructions and check the full travel. Keep the basket's top reachable without catching the cabinet frame. A pull-out kitchen accessory or decorative drawer should not be assumed suitable for a laundry load because its dimensions seem close.
7. Keep the station near the real unloading route
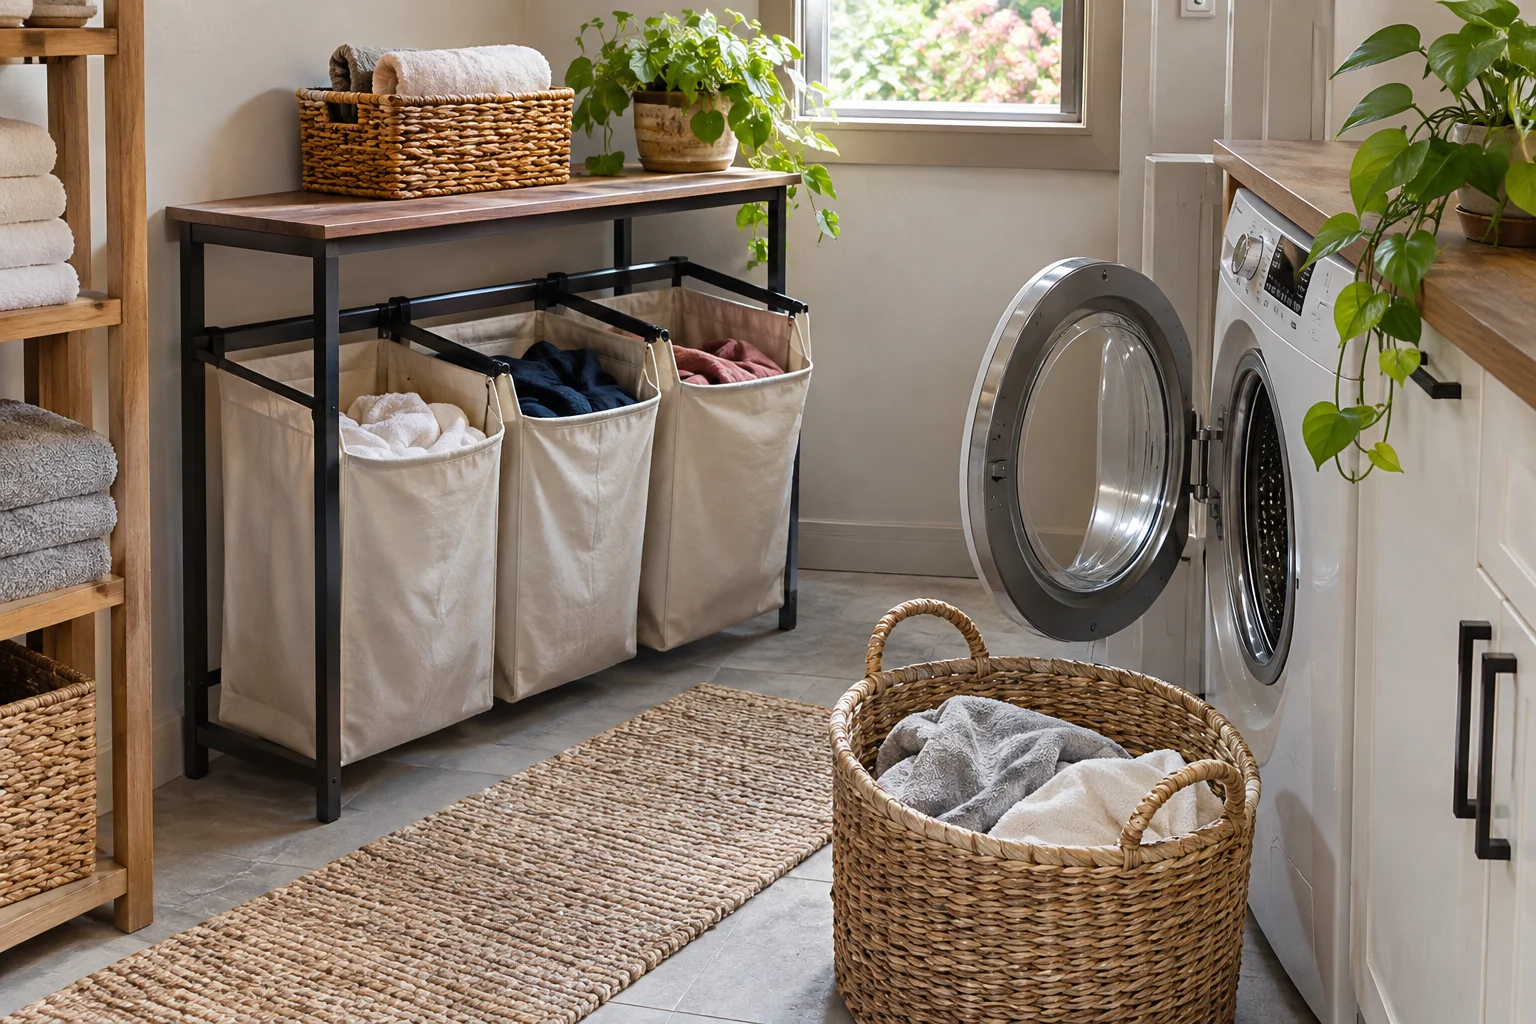
A useful position connects where clothes arrive with where they are prepared for washing. Try that movement with a basket before choosing a permanent cabinet. Keep the washer door and the route past the room clear. The closest wall may be less useful than another position if several doors compete for the same small area.
8. Give towels their own group when the routine needs it
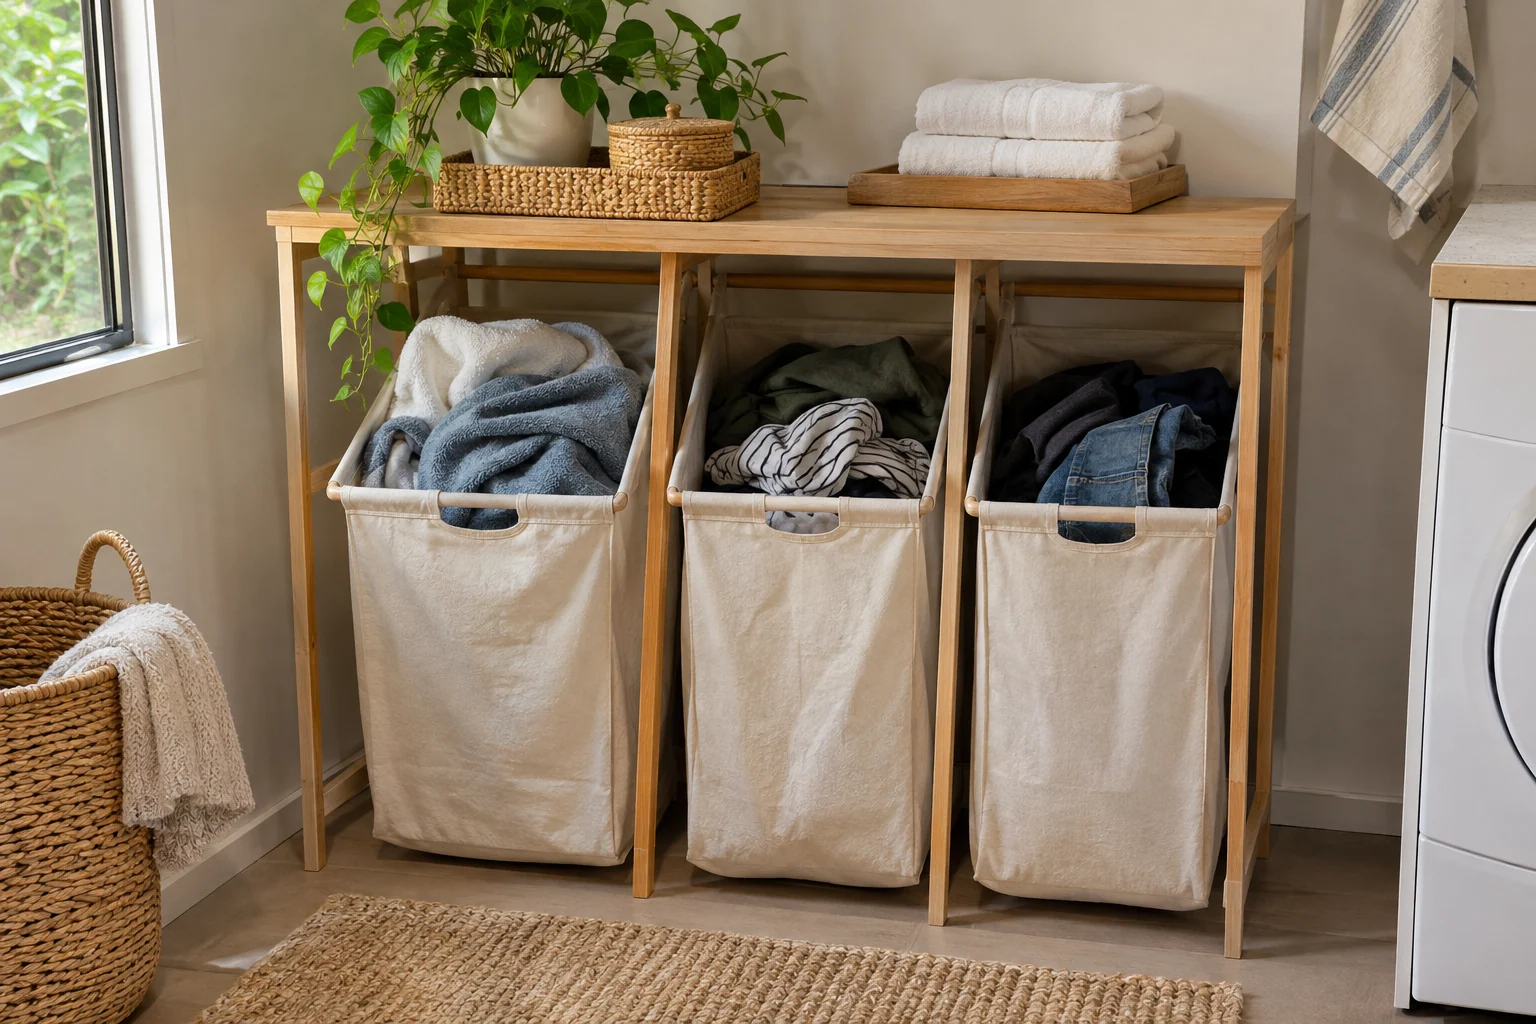
A distinct towel group can make a recurring load easier to identify when the actual textiles' care instructions are compatible. Keep the quantity and container suited to the household rather than reserving a large bin for a small occasional need. Make sure the group remains separate through the next step instead of being recombined simply to fill a basket.
9. Separate special-care pieces without compressing them
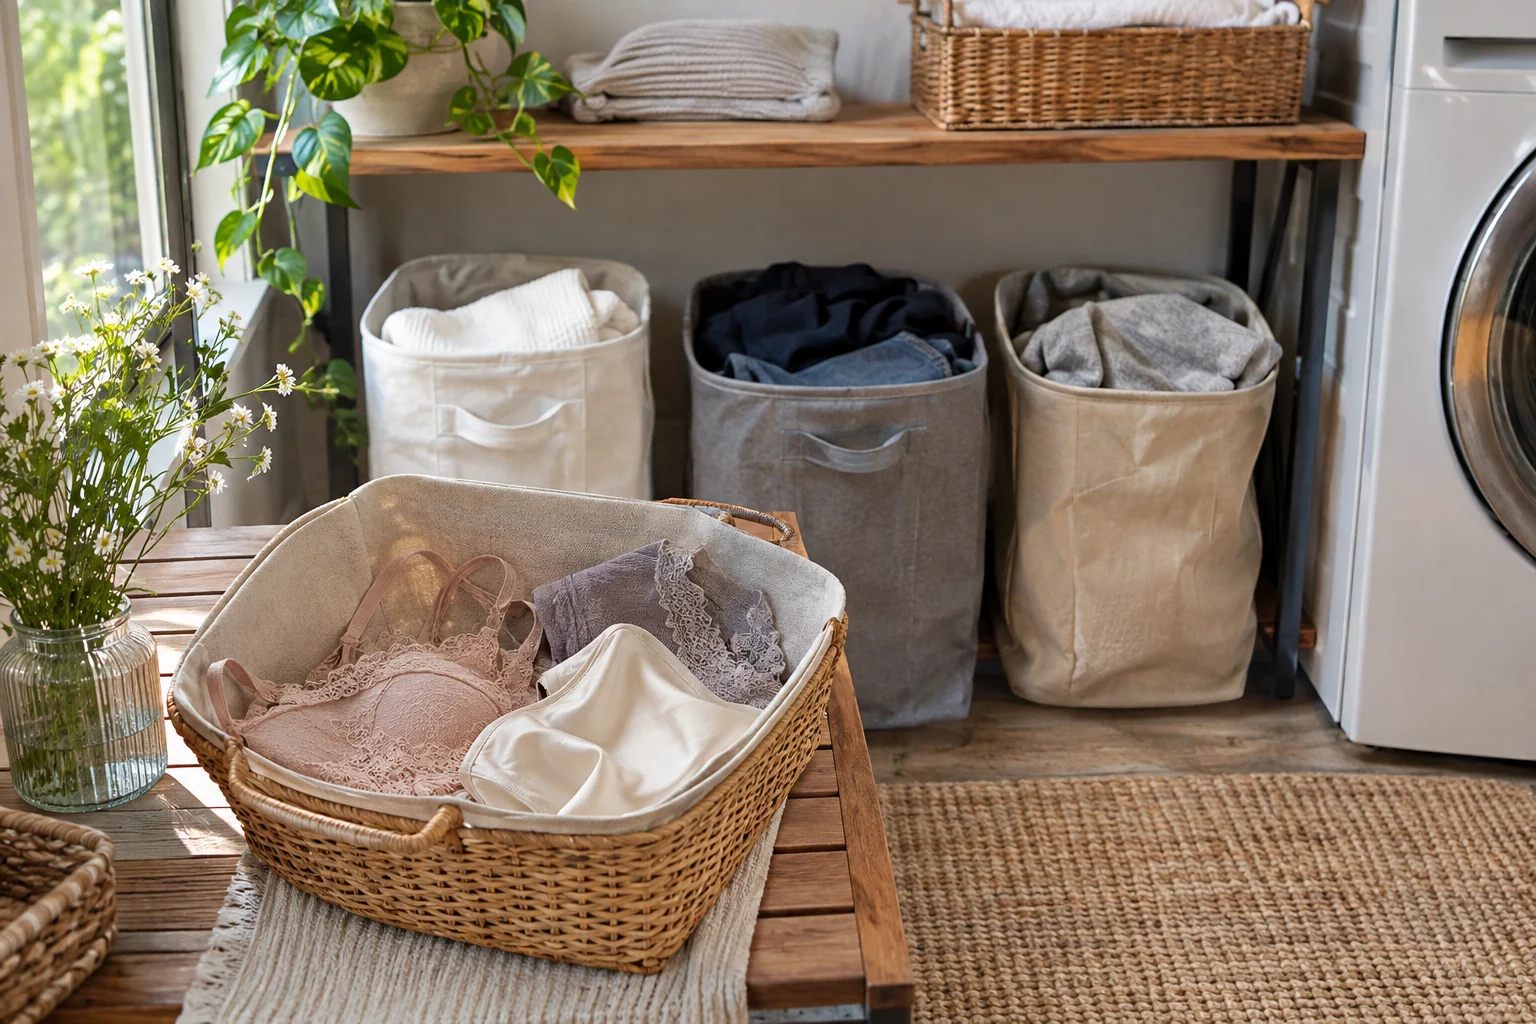
A small suitable container can keep items needing a different care process identifiable. Follow their actual labels and avoid packing delicate construction into a tight corner. Keep the group visible enough to be handled promptly. The station should preserve a clear next step, not imply that one special-care bin means every item inside uses the same treatment.
10. Use a clear flat area for checking pockets and labels
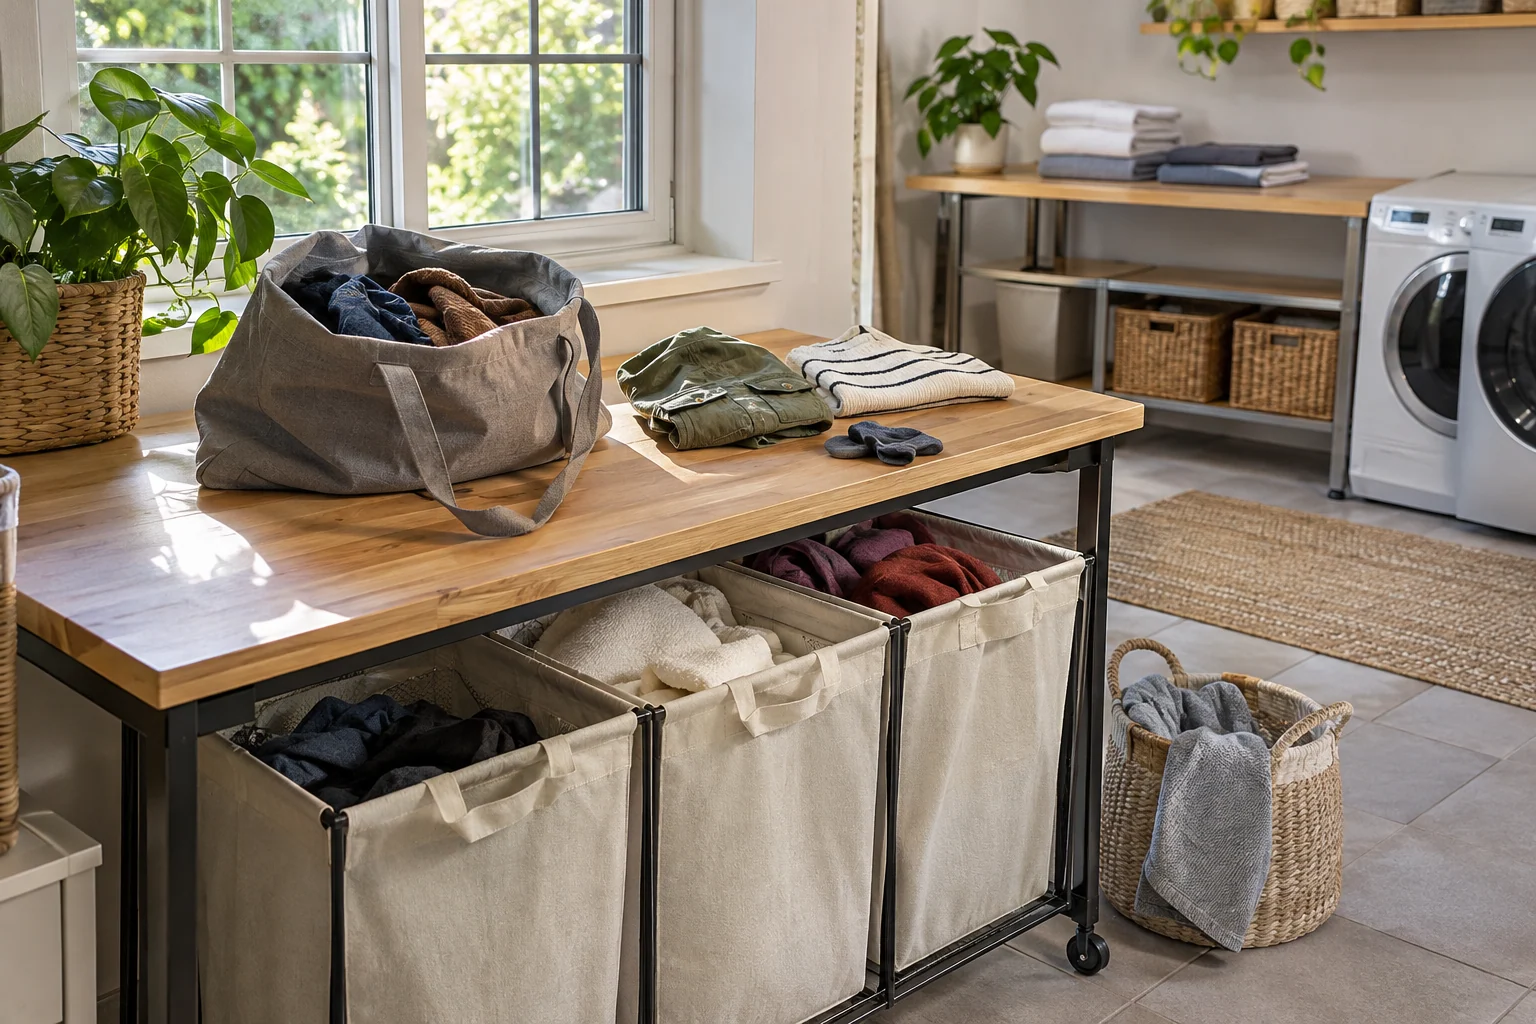
A modest nearby surface can support the decisions that sorting requires. Keep it distinct from the clean-laundry folding area where possible, or follow an appropriate reset routine between tasks. Avoid filling it with decorative containers. Its useful purpose is room to inspect an actual garment without balancing it on top of a full basket.
11. Keep a small found-items container nearby
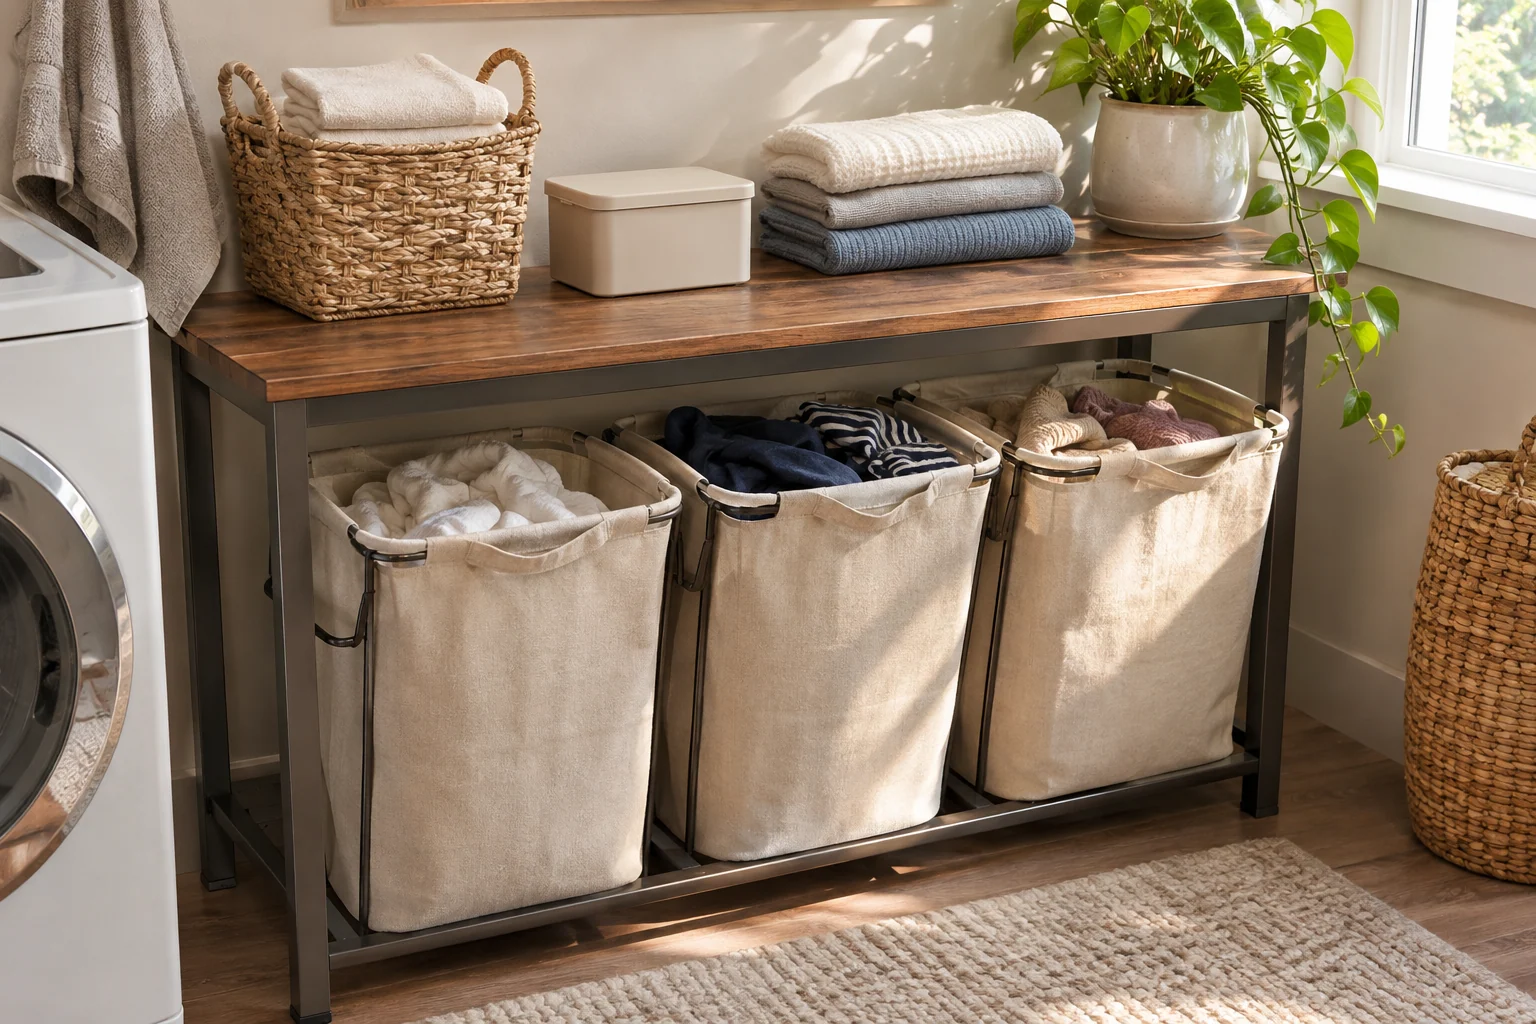
A defined appropriate container can hold ordinary objects removed while checking pockets. Empty it through a regular return routine instead of creating a drawer of unidentified things. Keep it separate from clothes and laundry products. The container's size should support the task, without encouraging every unrelated household item to collect at the washing station.
12. Choose handled bags around the actual carrying load
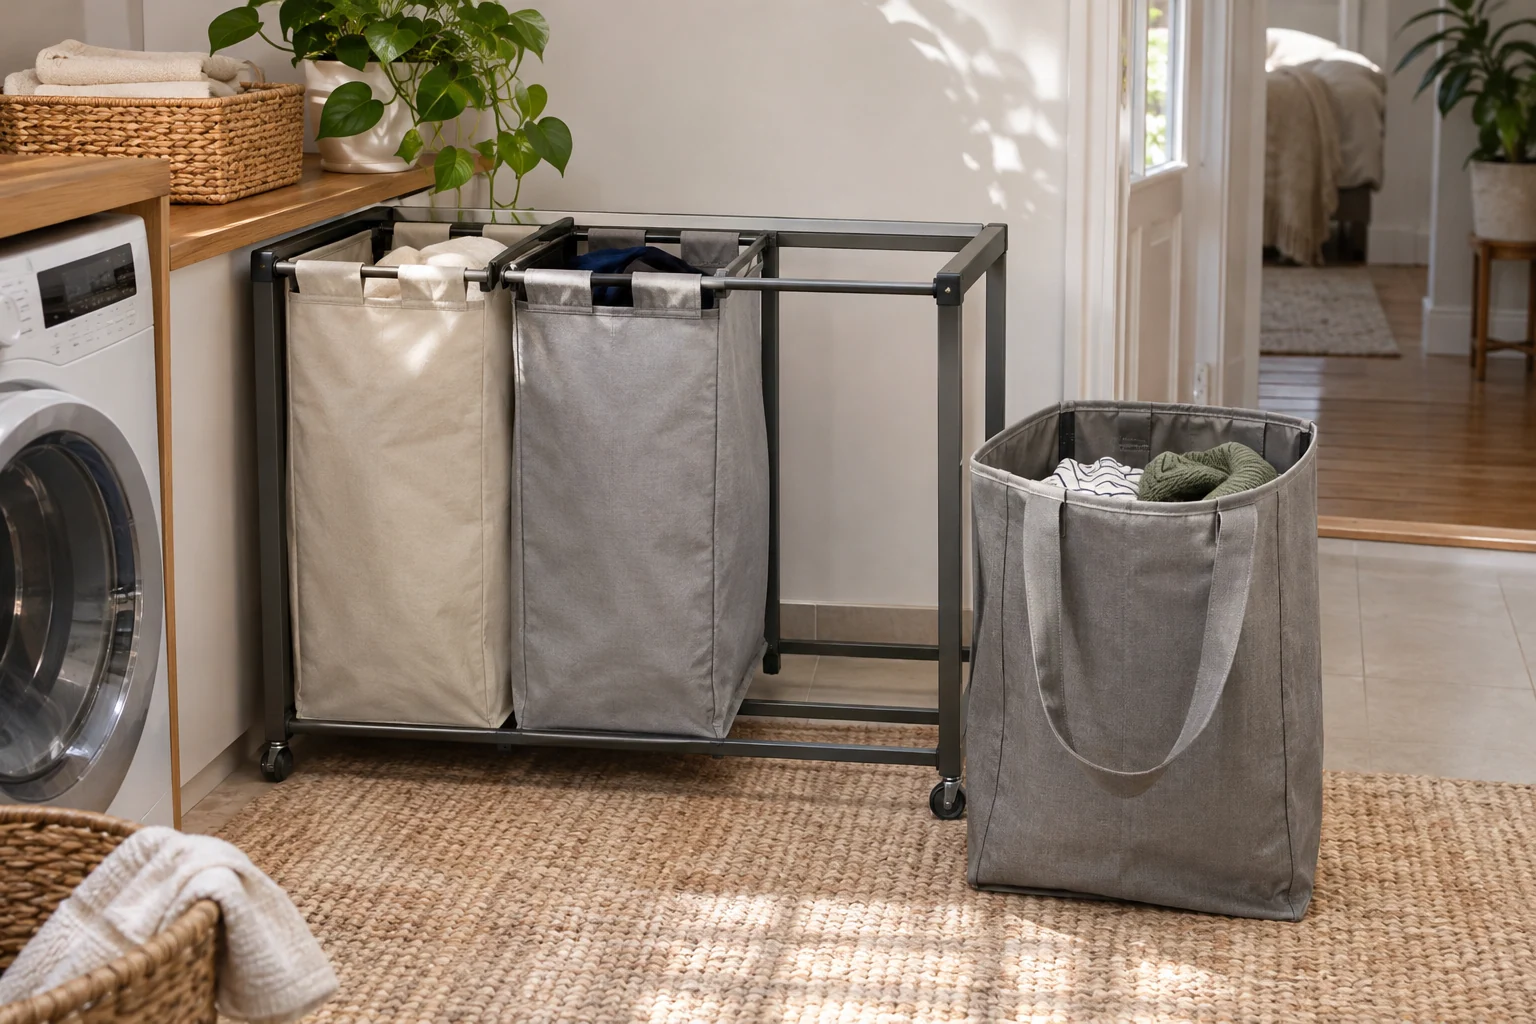
A removable bag needs a comfortable intended grip and a practical route to the washer. Check its size when filled with the quantity the product permits. Do not judge portability only from an empty bag held in a listing photograph. A slightly smaller working group may be easier to carry and return than a large full container.
13. Keep hinged lids clear of counters and shelves
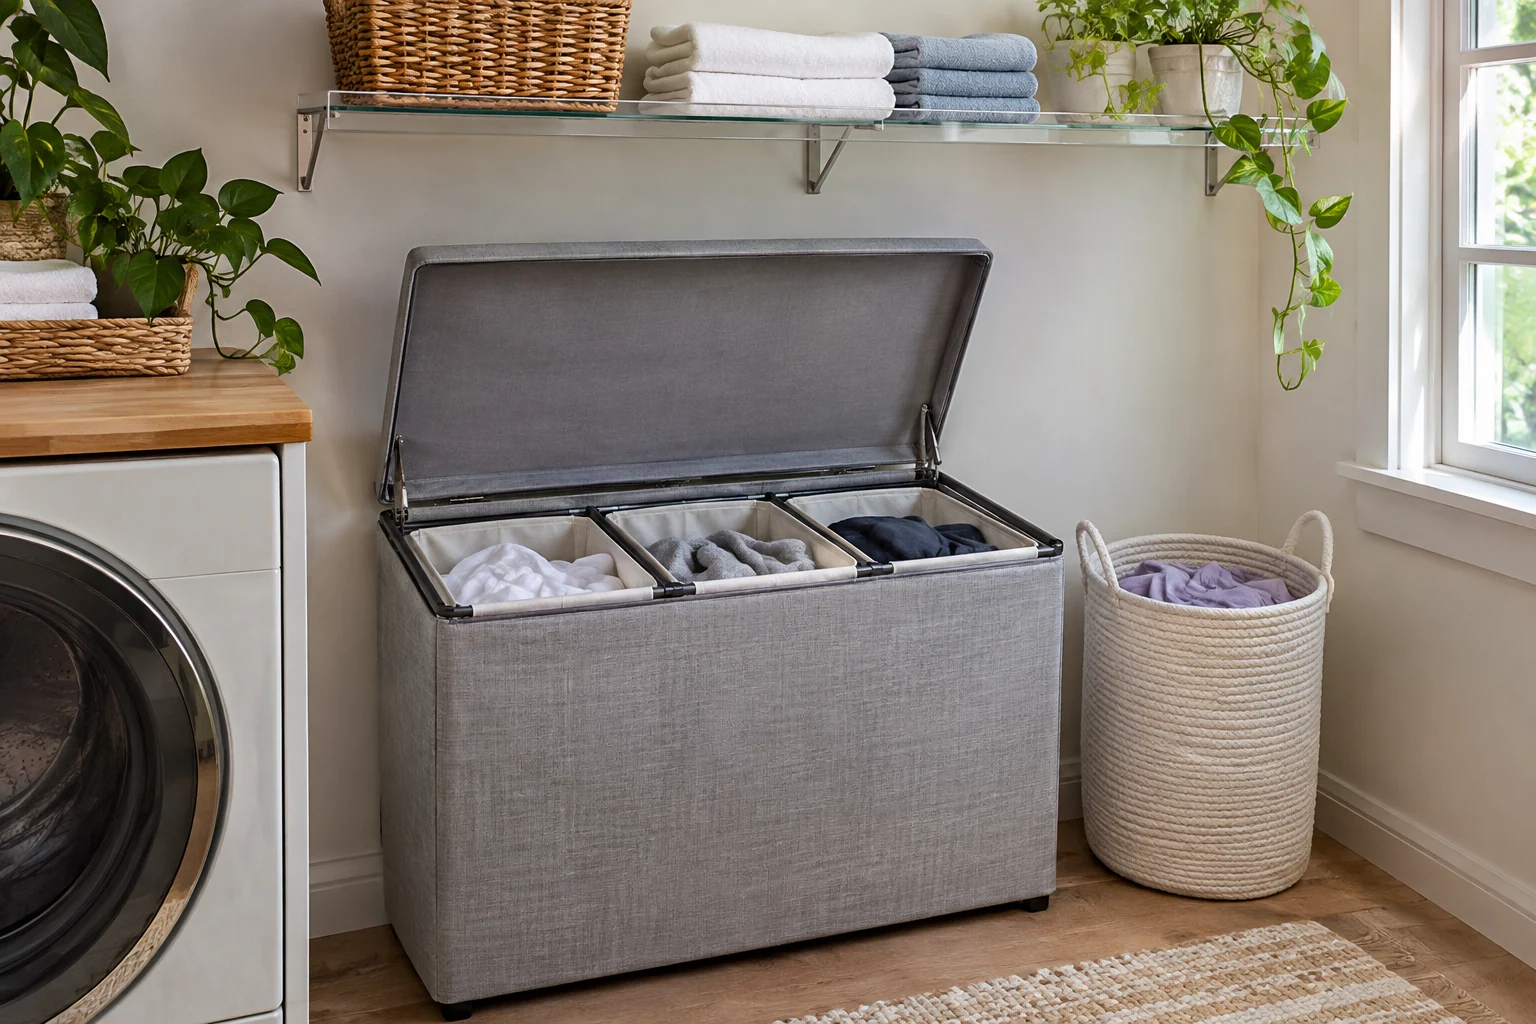
A lidded bin can look tidy while requiring more opening room than its closed outline suggests. Open it in the proposed cabinet or floor position and check access to the whole compartment. Keep neighboring bins independent. A lid that has to be held against a shelf every time clothes are added is a sign to change the arrangement.
14. Use open containers when visibility serves the routine
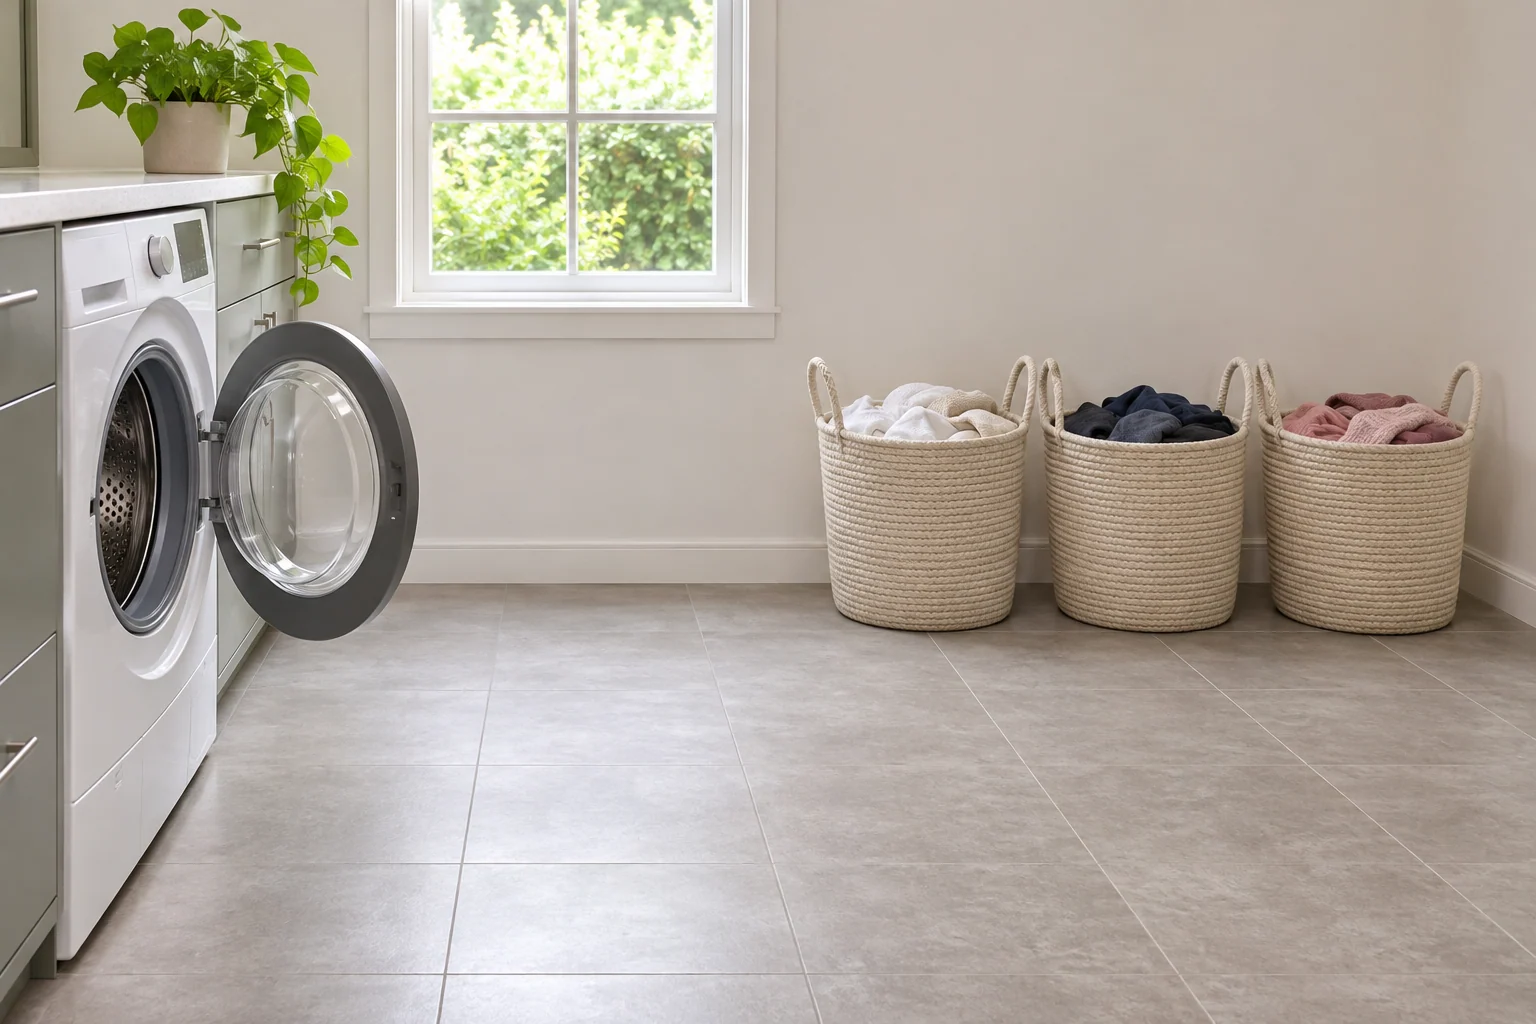
An open group can make it easier to see when a wash category is ready for its next step. Keep the quantity manageable and choose containers appropriate for the contents and environment. The visible arrangement does not need matching decorative fillers. Let clear function and a consistent return place provide the order.
15. Make a shared station understandable without constant explanation
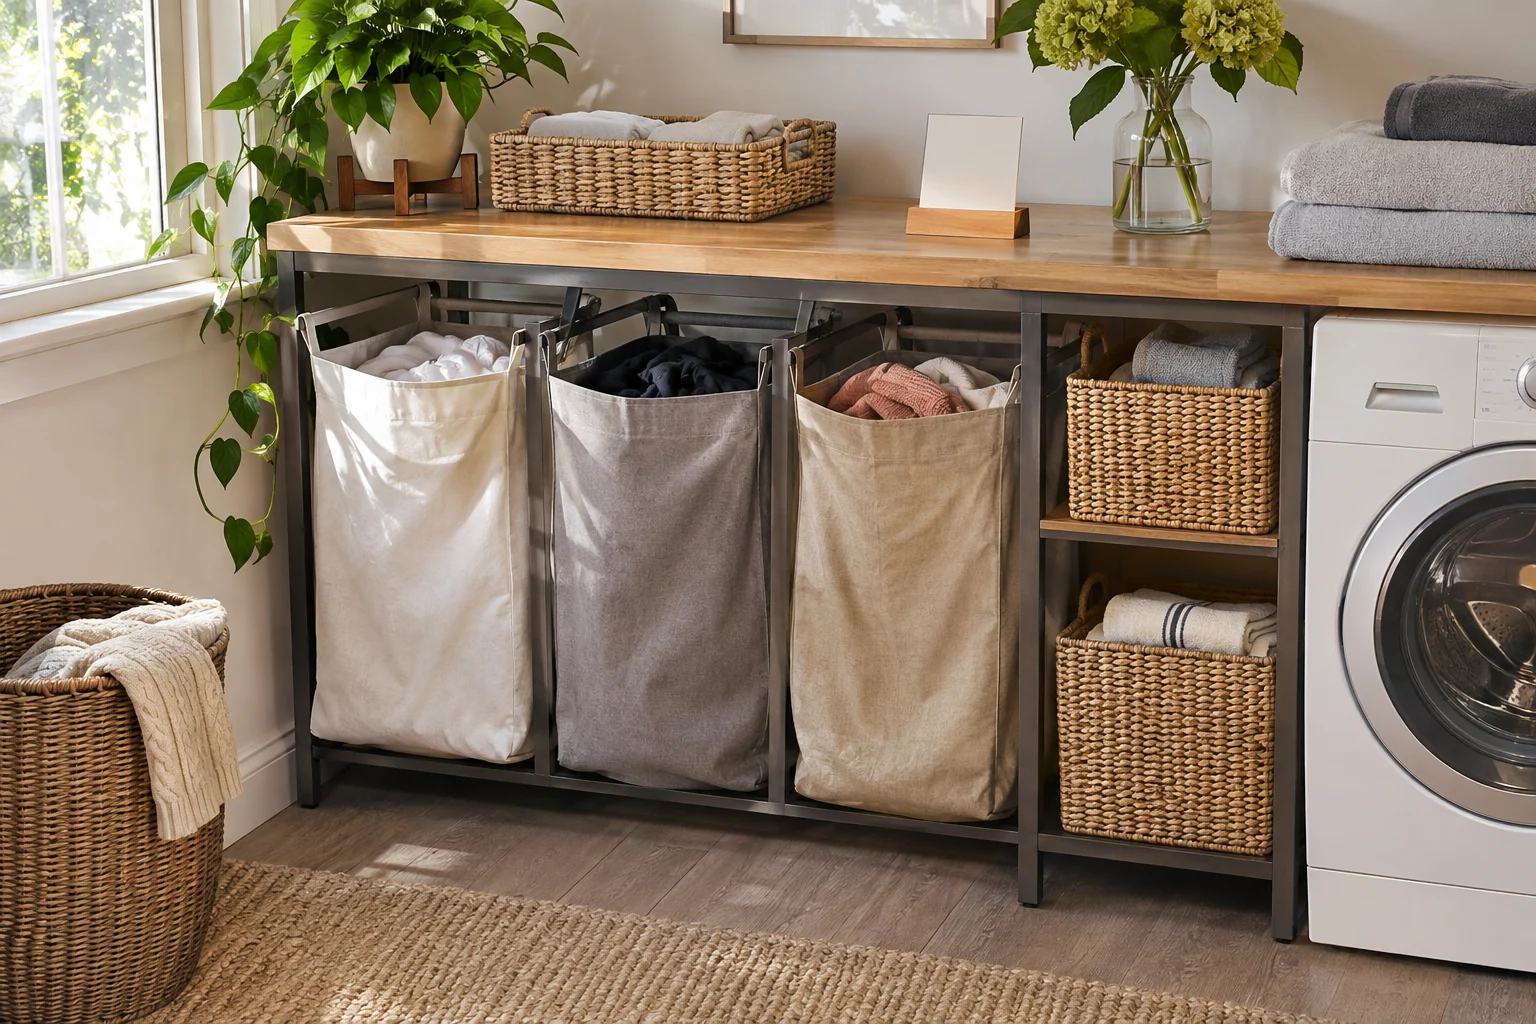
Choose a small number of categories that household members can apply consistently. A simple written reminder can refer to care checks and the agreed groups, while actual garment instructions remain the guide. Avoid a system with several nearly identical exceptions. The useful station reduces decisions at the washer without pretending that a basket color replaces a care label.
16. Keep occasional oversized laundry outside the normal bins
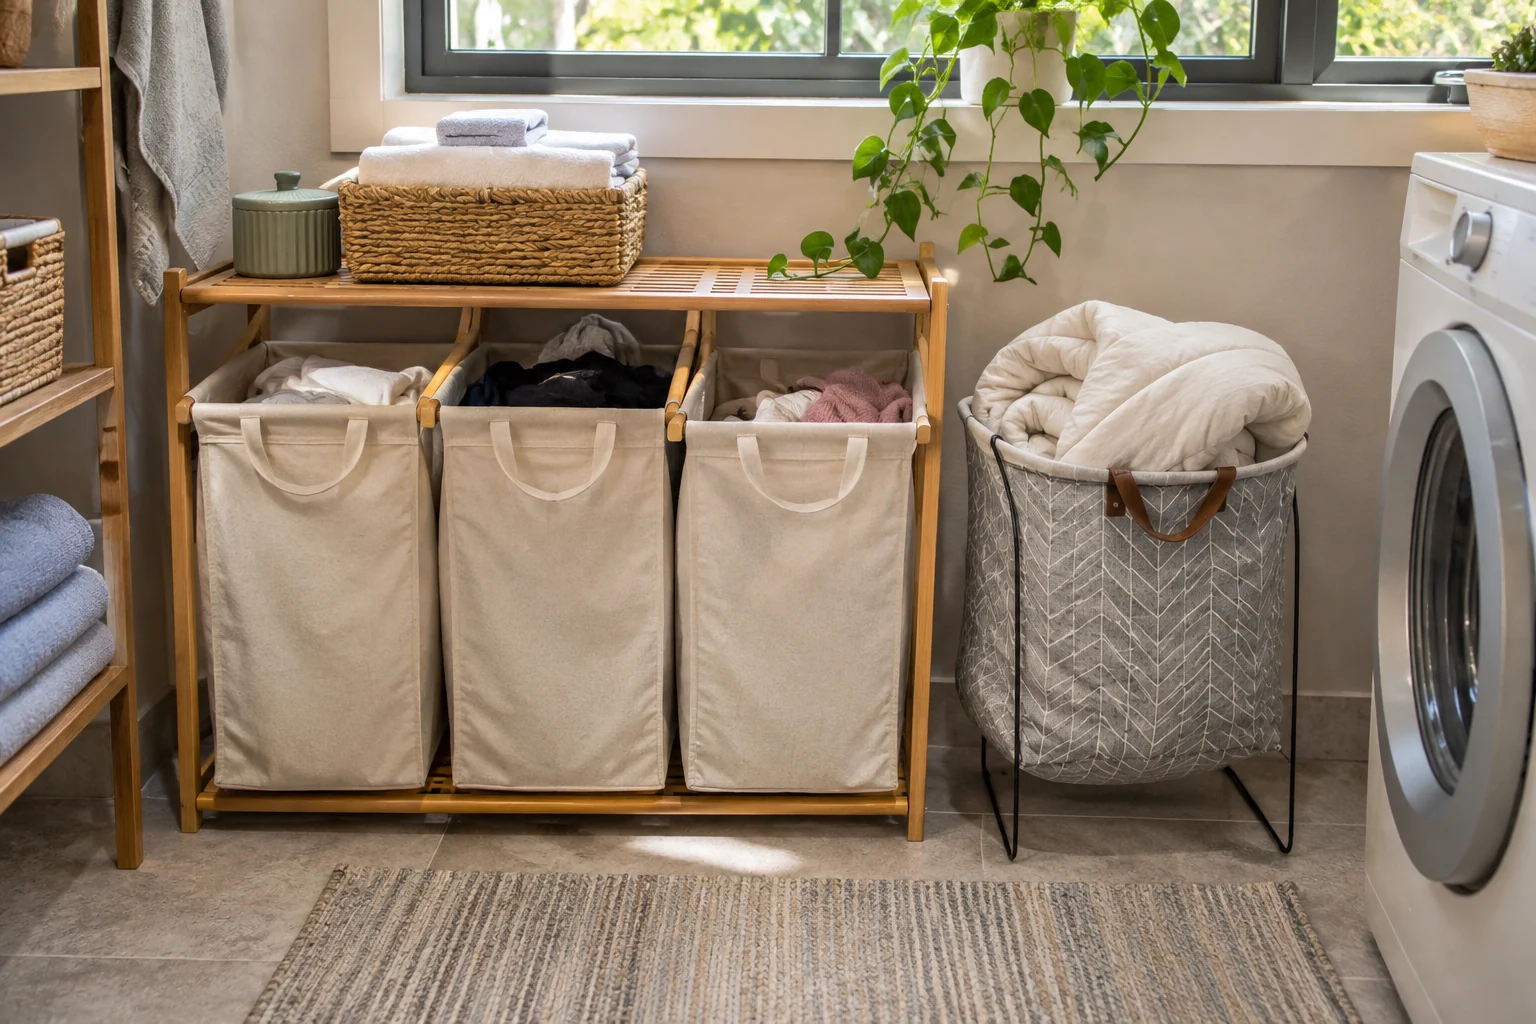
A bulky textile can overwhelm a station designed for everyday clothing. Follow its care instructions and give it a suitable temporary place for its next step. Do not use its size as a reason to overfill the regular containers. Keeping the occasional job distinct can preserve the ordinary sorting system without buying a permanently larger set of bins.
17. Choose one working height around actual access
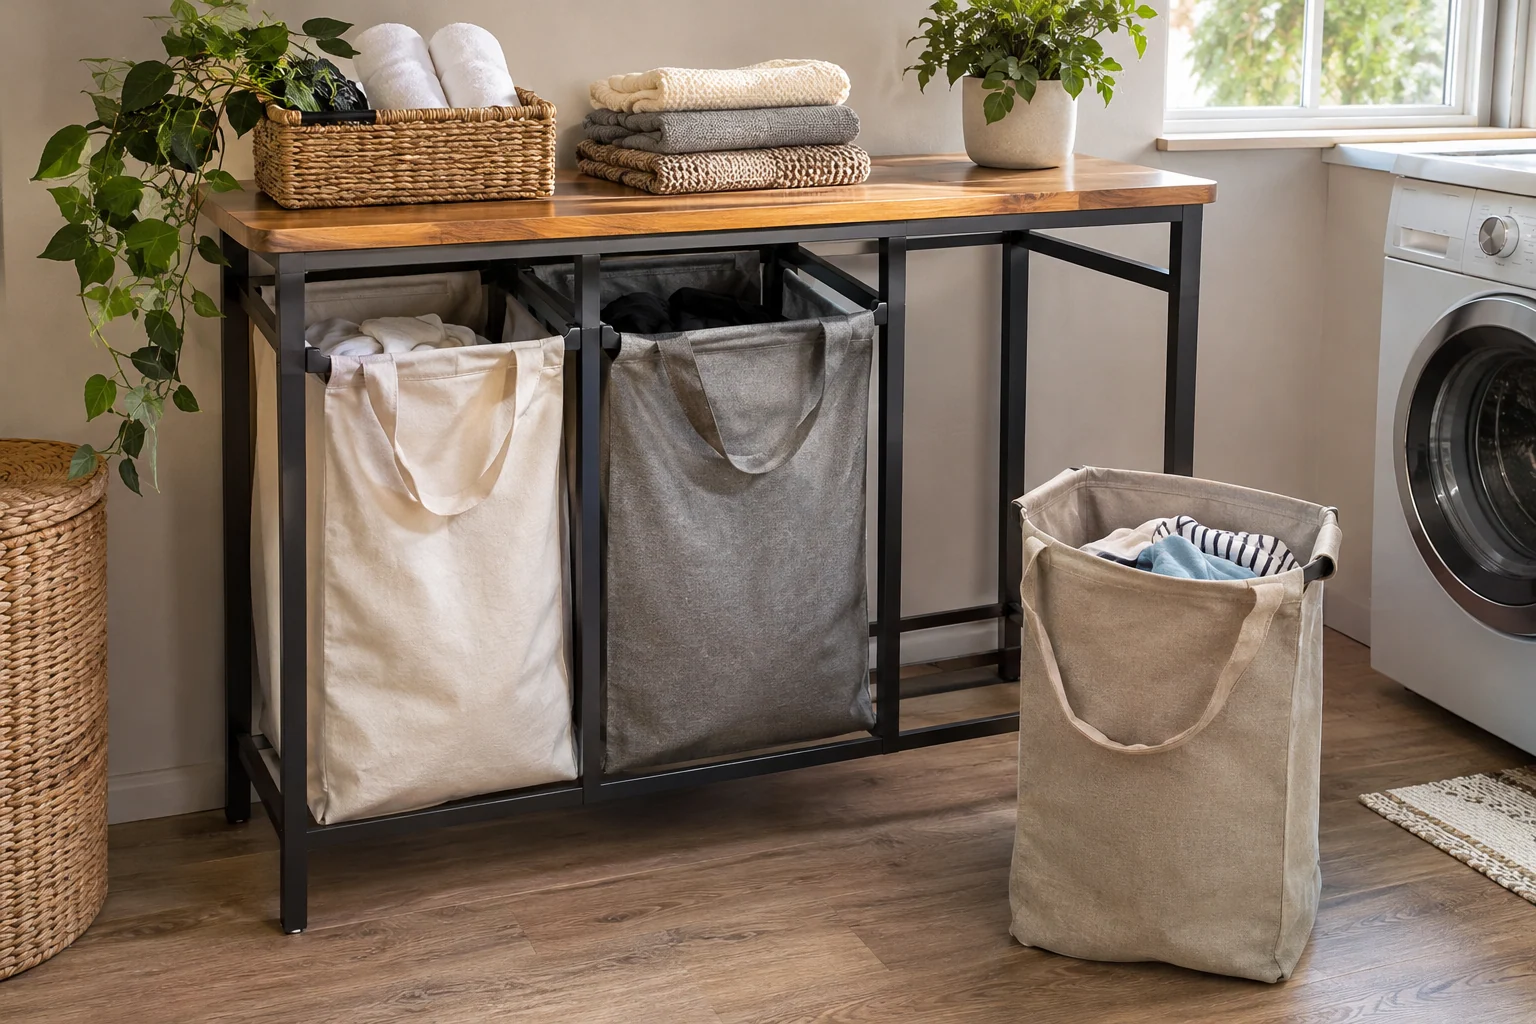
Compare how clothes enter the bins, how the containers are removed and how the household uses the station. A raised frame may suit one routine while floor baskets suit another. Keep the product's intended use and loading guidance central. Do not turn an ordinary shelf into a raised laundry platform without verifying its suitability.
18. Use a narrow wall position without hiding the rear group
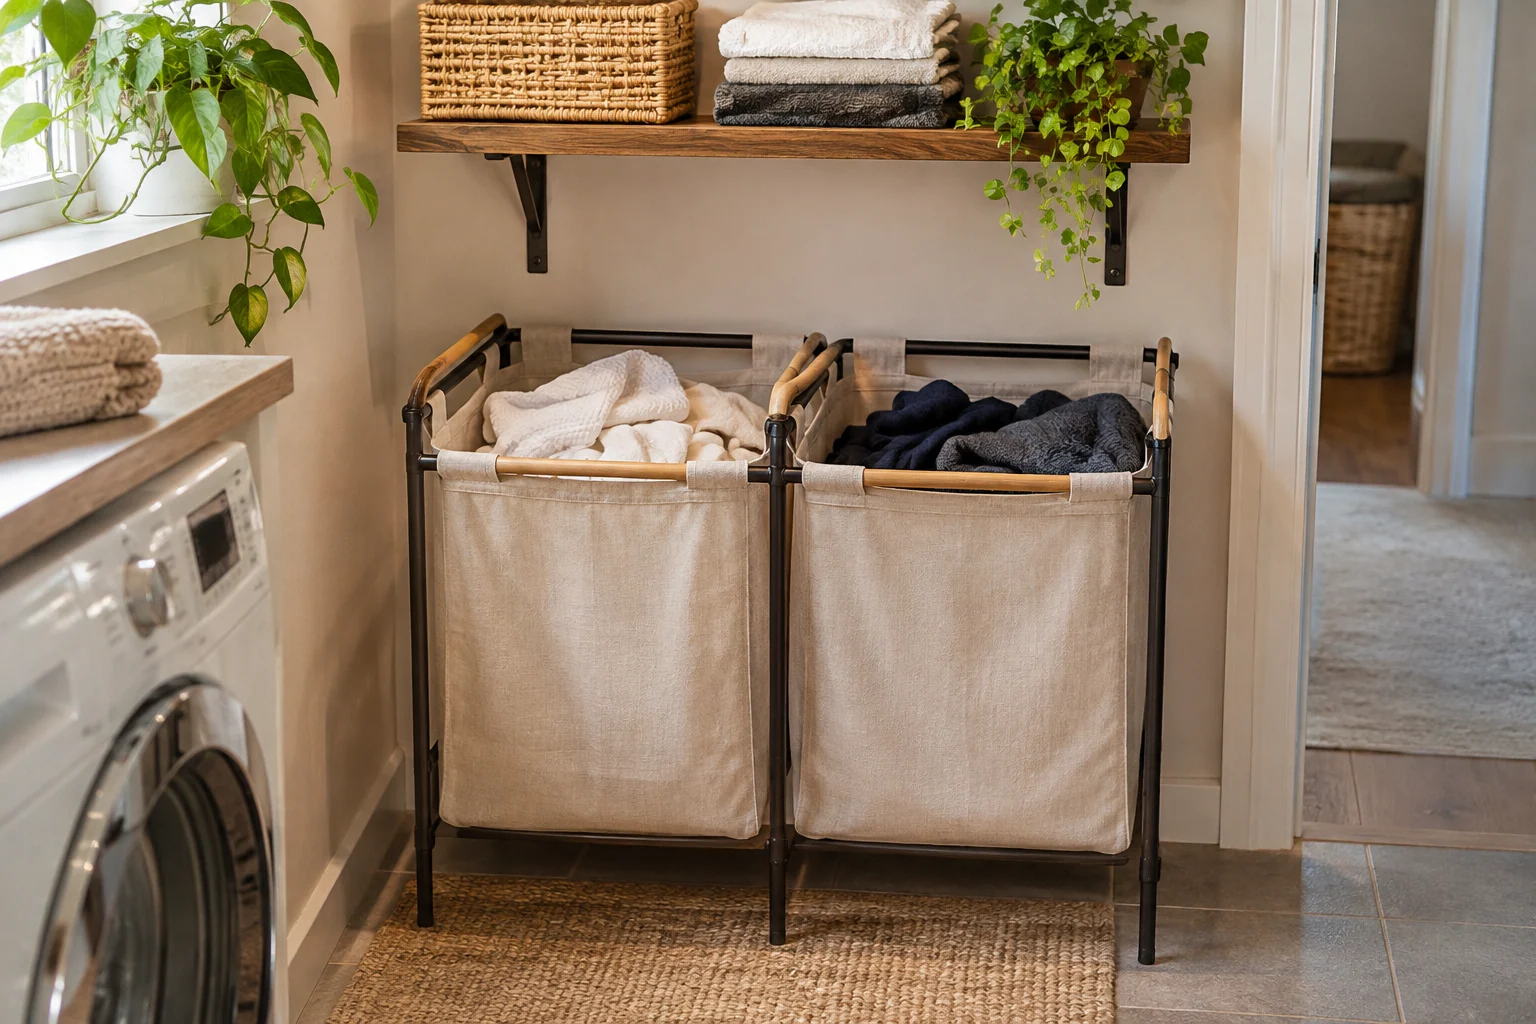
A shallow side-by-side arrangement can keep each category visible when the wall length is available. A front-and-back arrangement may require more repeated movement. Test adding and removing items with the station occupied. Choose the division around retrieval instead of maximizing the number of containers that can physically be pushed into the corner.
19. Keep damp items out of closed long-term storage
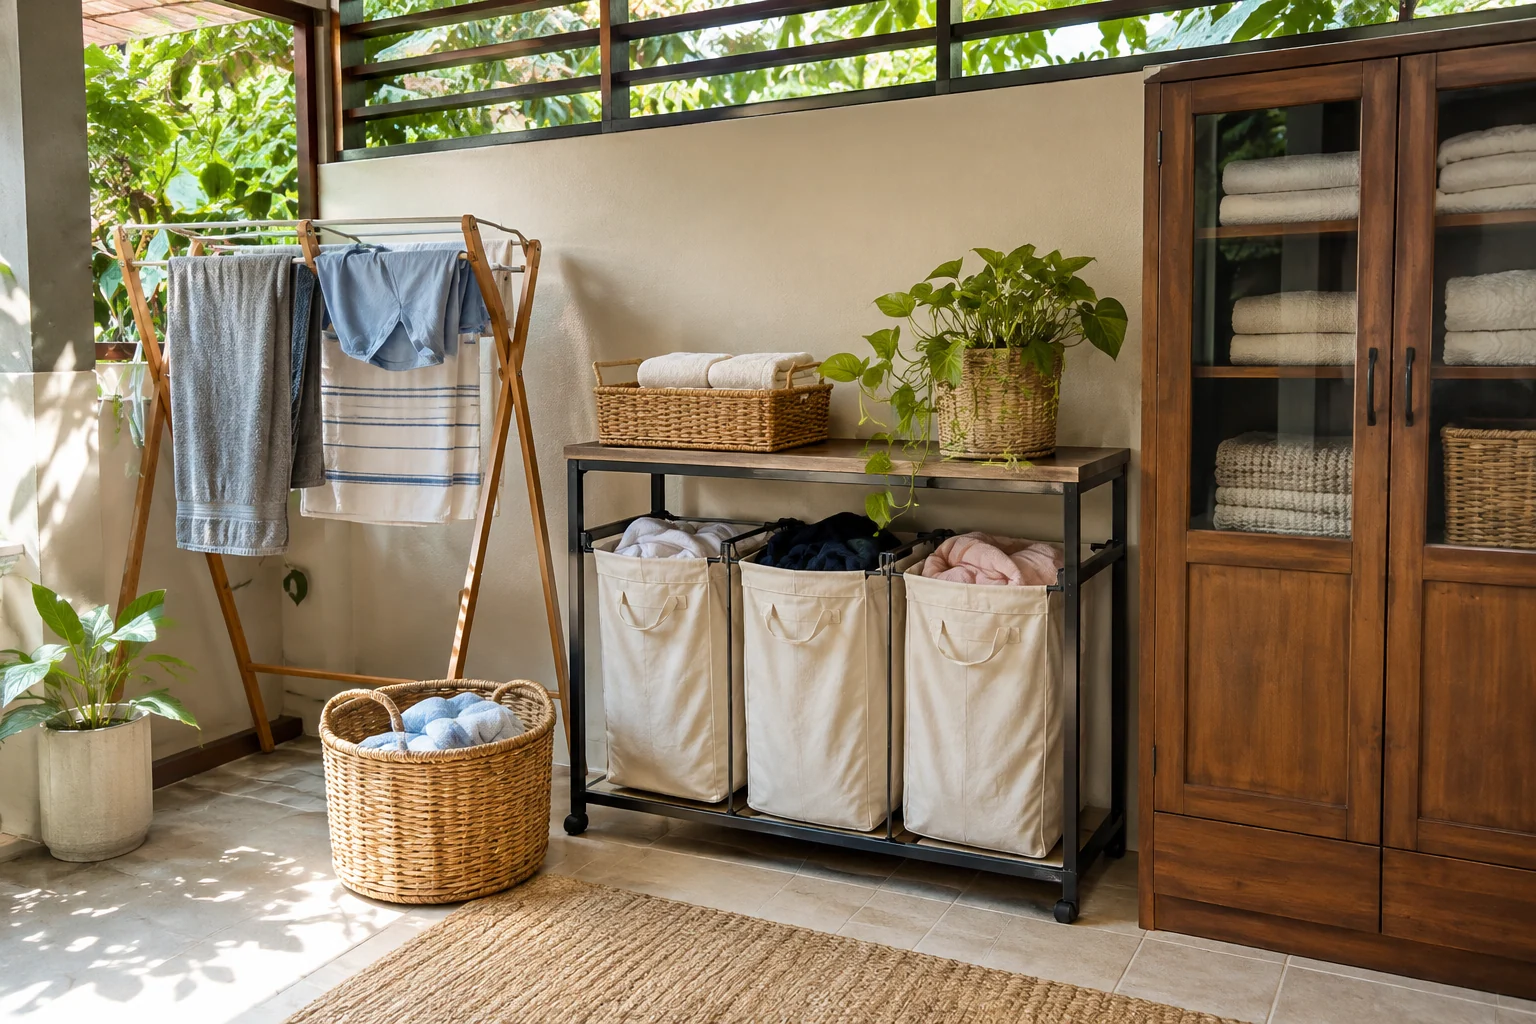
Follow the garments' care and the household's appropriate moisture routine before placing items into an enclosed storage group. Keep the next step identifiable instead of hiding damp textiles beneath an ordinary lid. A sorting cabinet is not a substitute for appropriate drying or handling. Choose a suitable separate arrangement when the routine requires one.
20. Separate the clean-laundry destination
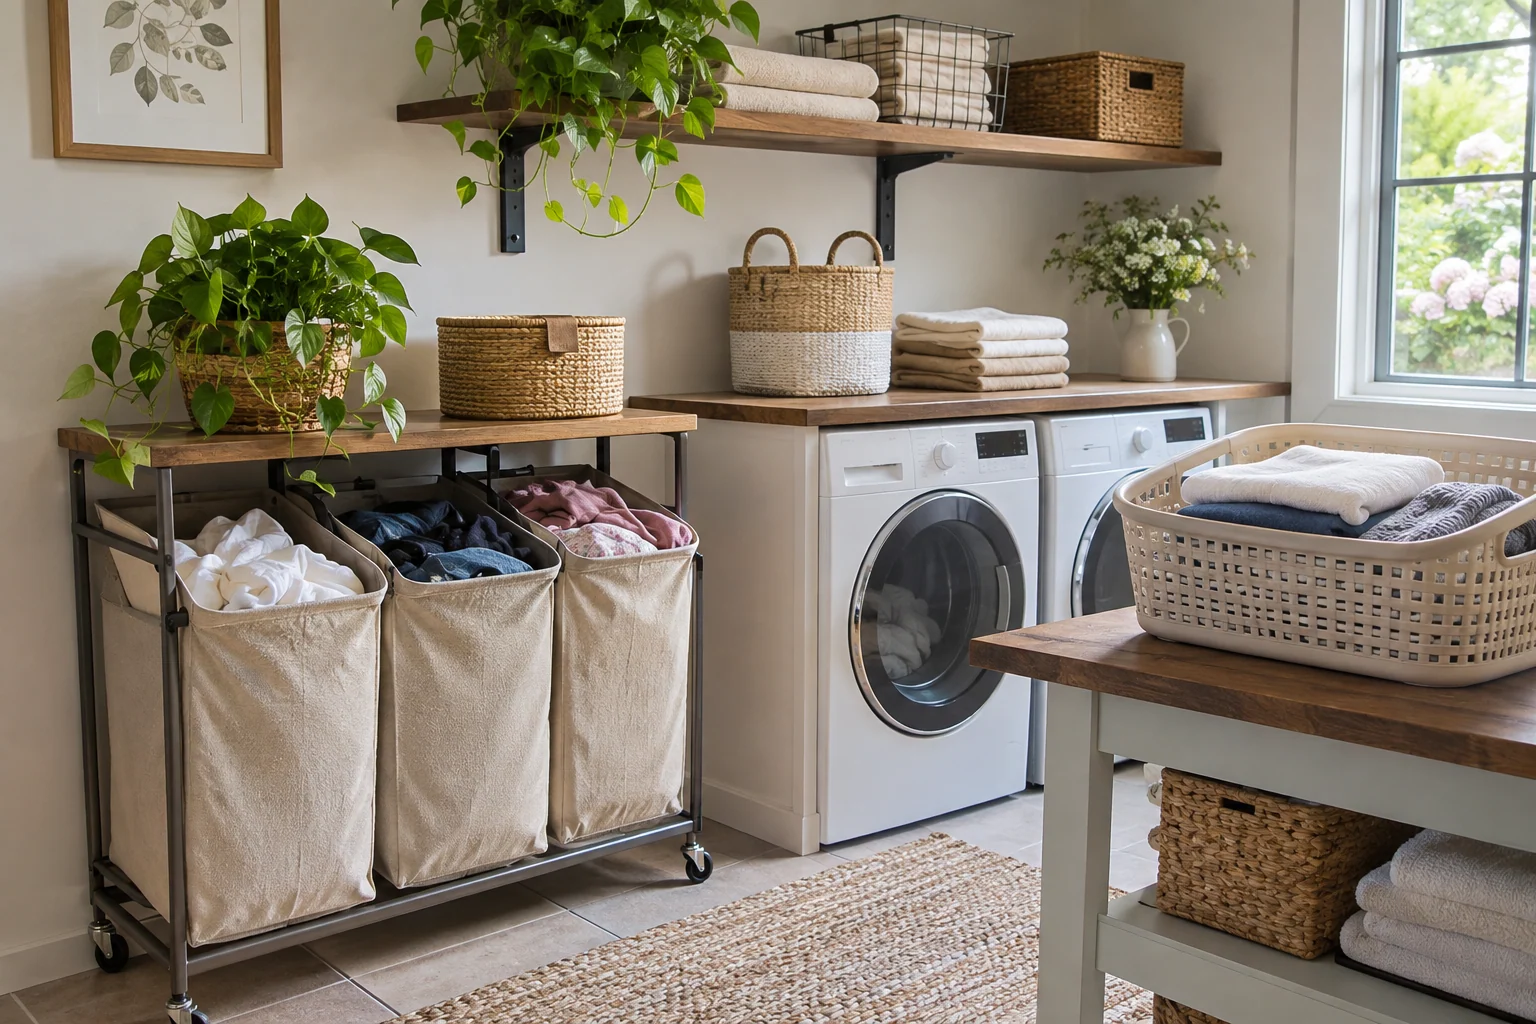
A basket for finished laundry needs a clear role distinct from incoming sorting. Keep it in a defined position and maintain it appropriately for that use. Avoid putting the next unwashed group into it simply because it is temporarily empty. A consistent distinction can make the transition from washing to drying and folding easier to follow.
21. Keep laundry products in their appropriate storage
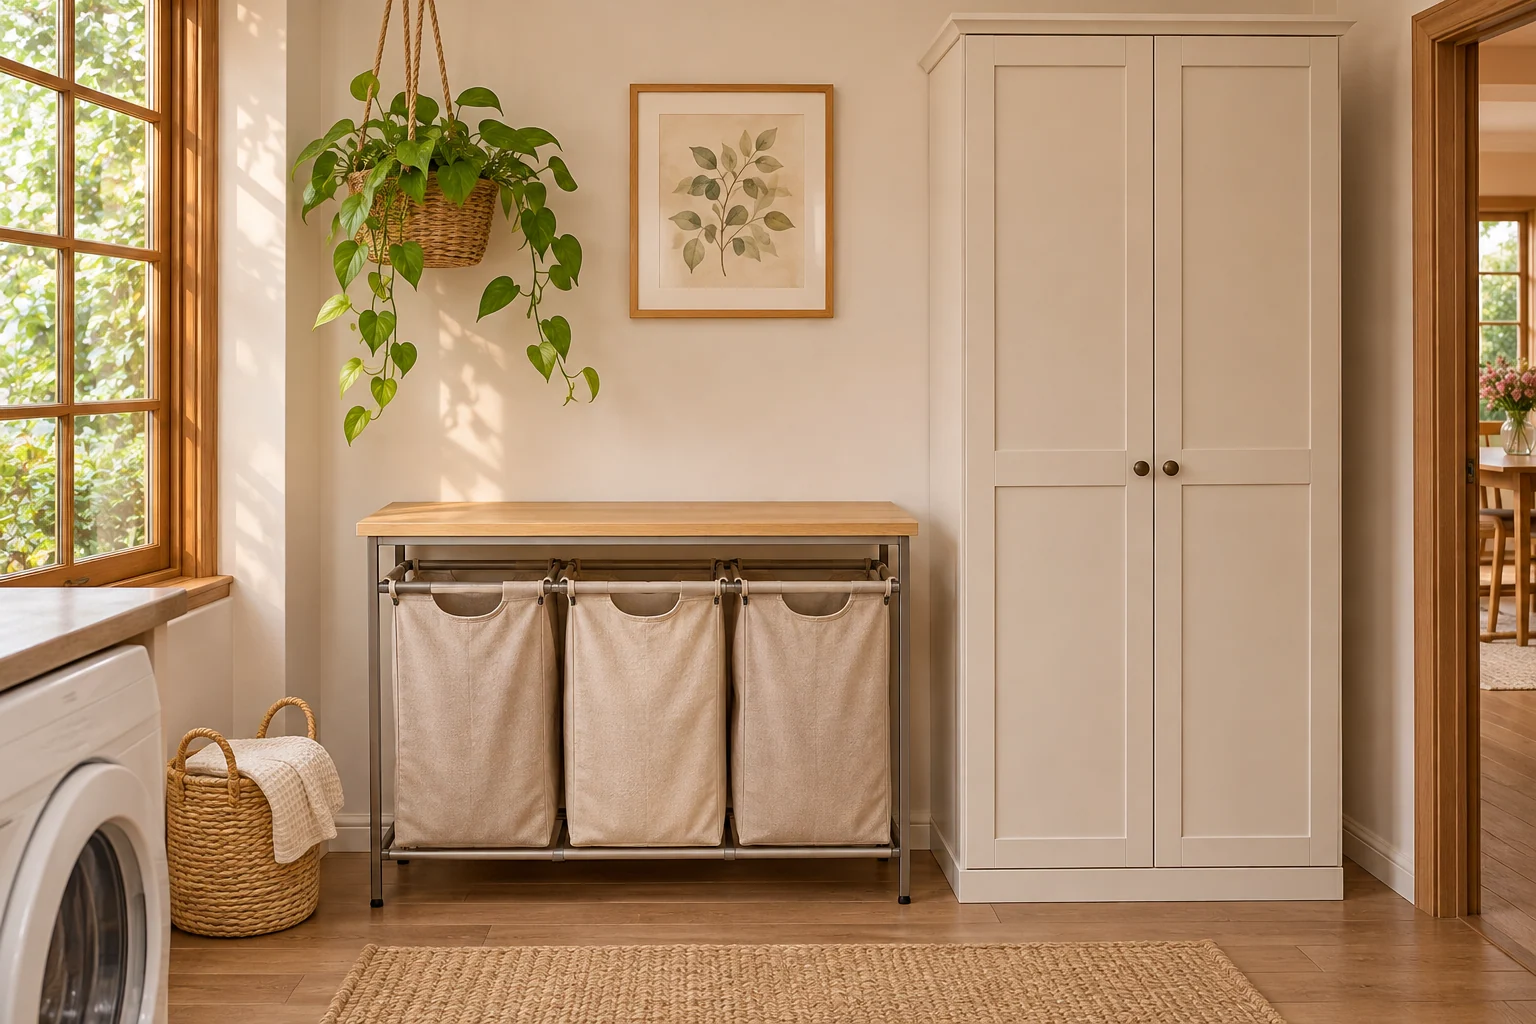
The sorting frame can stay focused on textiles while products remain stored according to their labels and household requirements. Do not crowd loose bottles into a clothing basket or transfer products into decorative unlabeled containers. A separate suitable product location makes the station easier to inspect and preserves the information needed for actual use.
22. Give the empty basket a return position
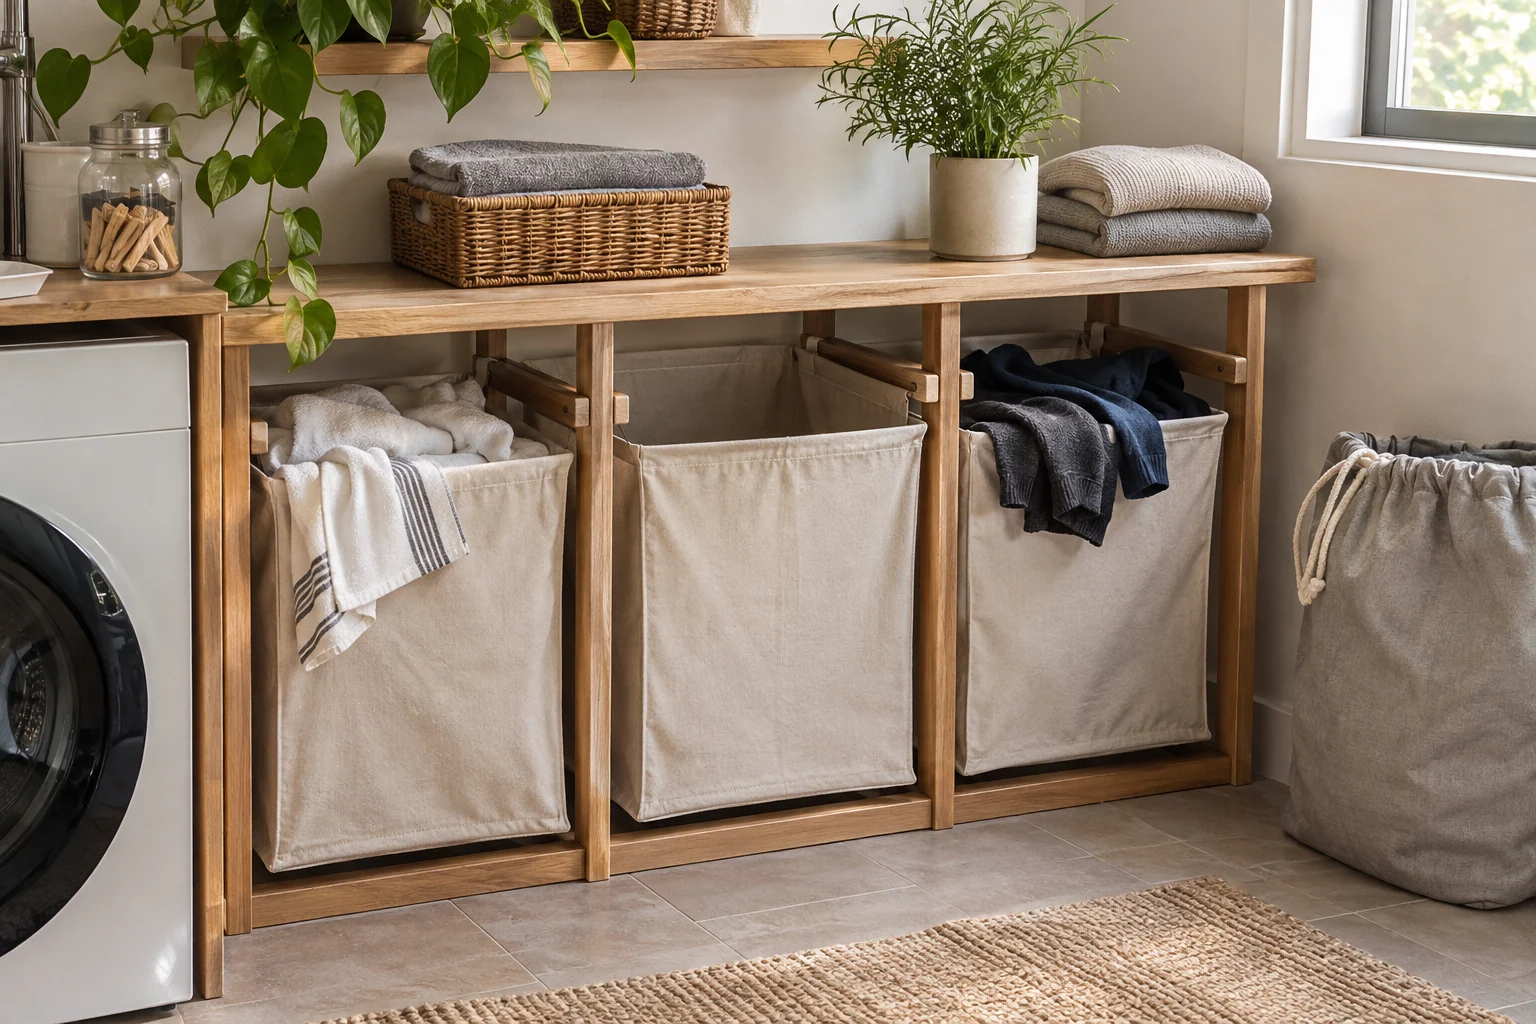
A sorting system includes what happens after a container is emptied. Keep its intended bay clear so it returns without moving another full group. Check the frame or cabinet's normal movement with the basket in place. A defined empty home can prevent the same container becoming general-purpose room storage between laundry sessions.
23. Review the actual categories before adding compartments
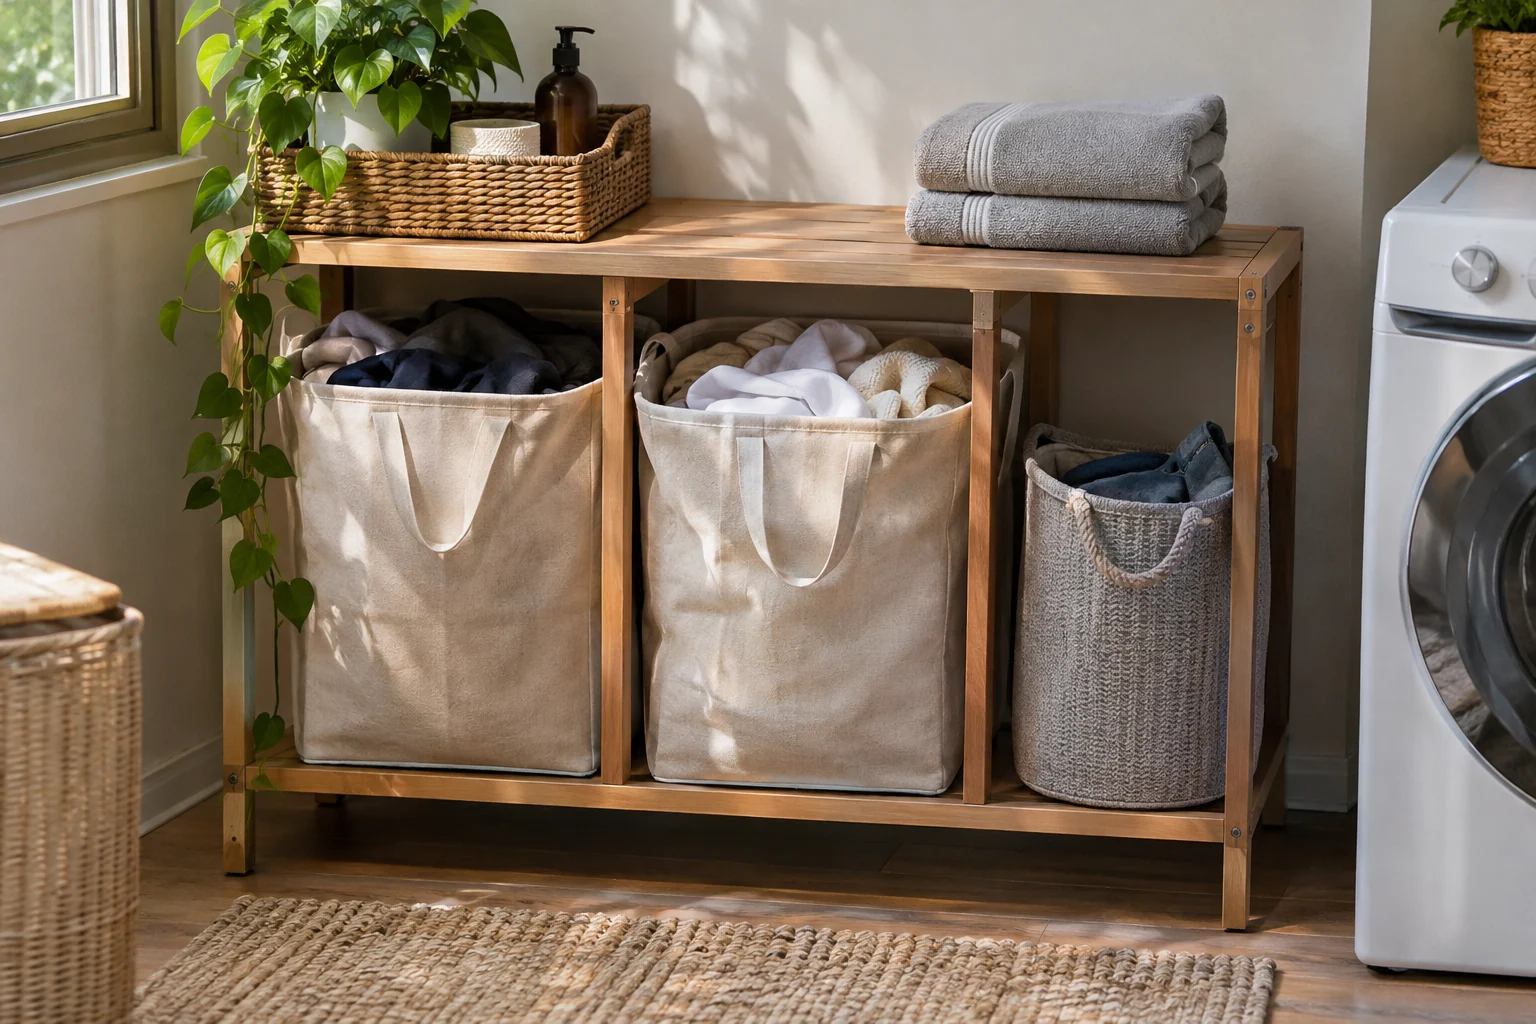
Notice which group repeatedly overflows and which remains empty. Check whether the difference reflects the real laundry routine or an unclear rule. Adjust the division before buying another organizer. More compartments can help a specific repeated need, but they also require space, retrieval and a return routine of their own.
24. Keep a short care-based sorting card
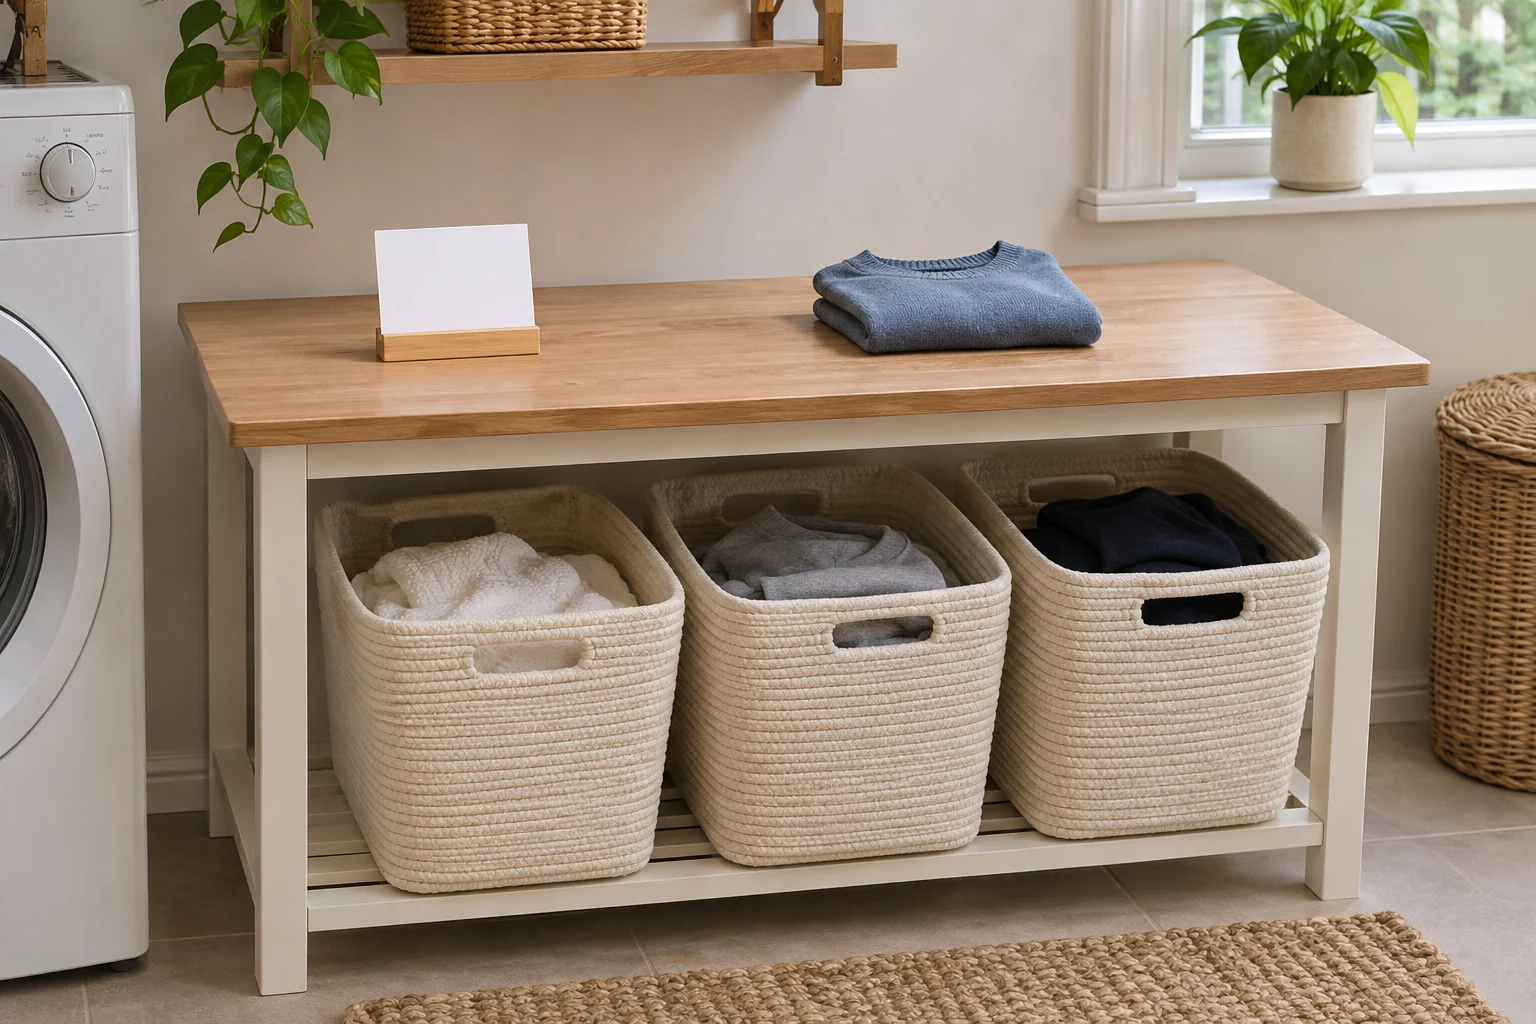
Write the actual household groups, the place for uncertain items and the next step for special-care garments. Keep it brief enough to use. The card should remind someone to read the real label when needed, not supply a universal temperature or treatment for every item. Update it when the routine or textiles change.
25. Reset the station after the load moves on
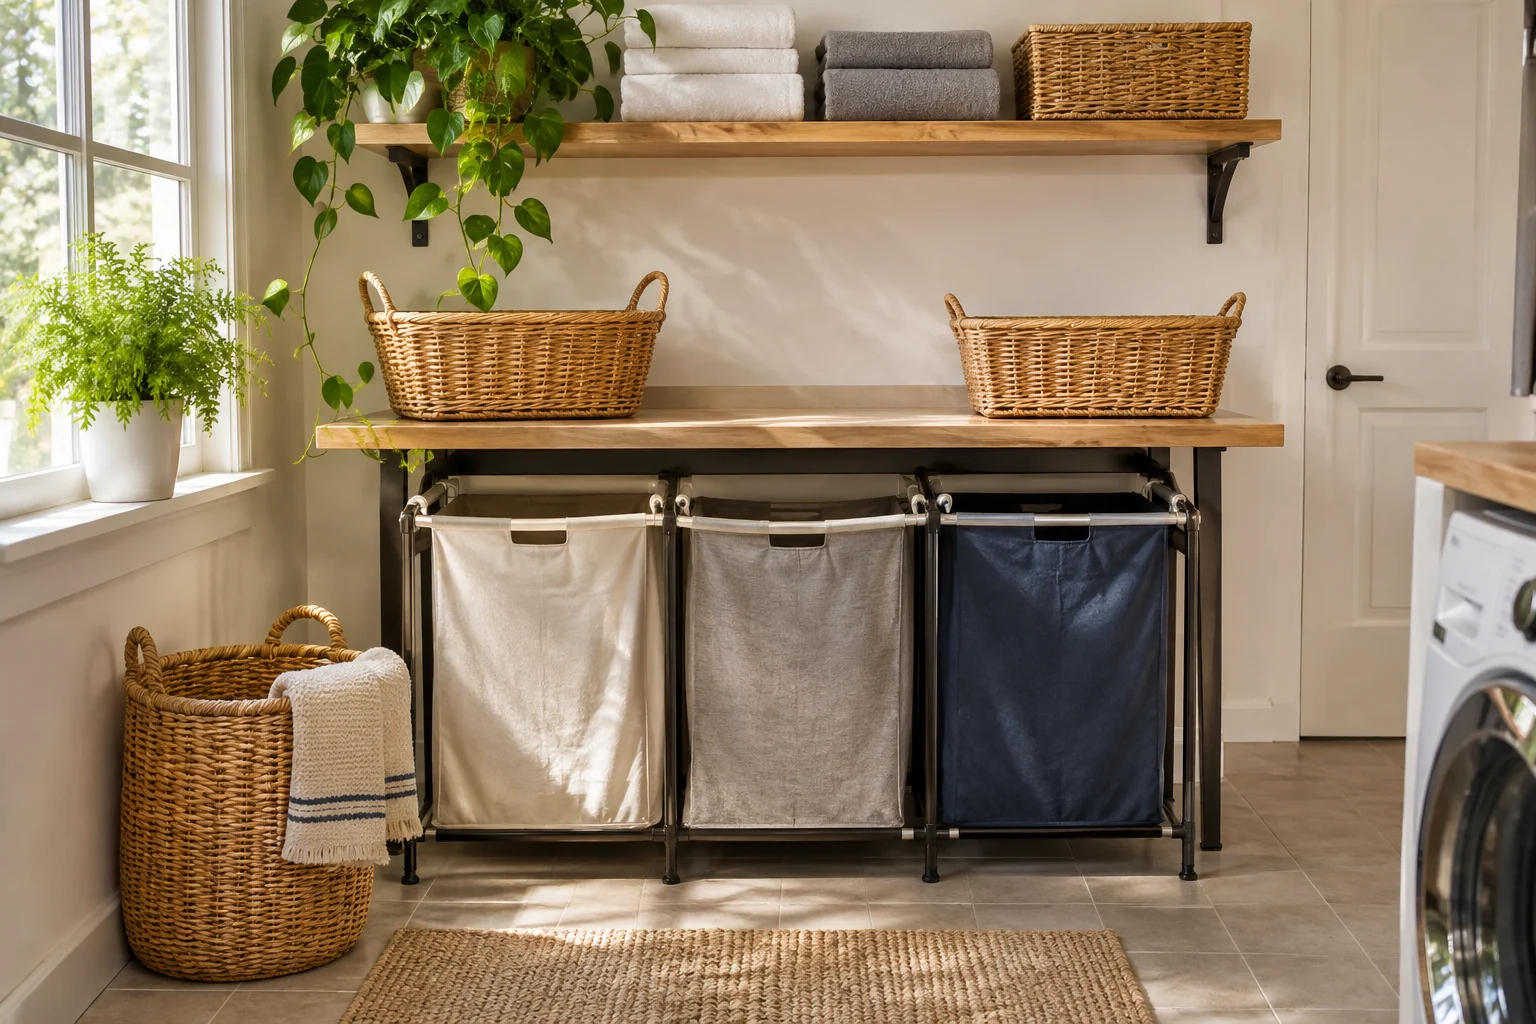
Return emptied containers, clear the checking surface and put found items into their next appropriate place. Notice any repeated obstruction in the route to the washer. Correct that movement before rearranging all the colors and baskets. A useful sorting station remains understandable between loads, not only immediately after a photographed reset.
A sorting card before a shopping list
List each actual group, the rule for adding an item, where uncertain care waits and how the container reaches the next step. Then record the bin's complete size, loaded handling guidance, handle clearance and removal route. Three hypothetical 12-inch-wide bins require 36 inches before allowing for dividers and grip; a 36-inch outside cabinet therefore does not automatically provide that arrangement.
A practical next step
Choose the categories first, then fit the containers and furniture around their movement. A station that makes the next laundry step clear is more useful than a larger matching bin set whose groups nobody can apply consistently.
The images are original AI-generated design concepts. They illustrate arrangements rather than tested products, installations or measured performance.
Sources and care references
Related reading on Nestroxe
Optional digital guide for this topic
If you prefer a structured workbook, explore this related paid guide.