Puzzle storage ideas need to distinguish three different things: a complete boxed set, loose pieces being sorted and an assembly you want to continue tomorrow. A shelf can hold the first, but an unfinished jigsaw usually needs a compatible supported system that preserves its working area and keeps loose pieces with the correct picture.
These ideas focus on jigsaw puzzles at home, with options for a shared dining table, a small living room or a dedicated hobby area. Choose the few arrangements that solve the actual problem. Measure your puzzles and check the storage-product instructions rather than buying from piece count or a tidy photograph alone.
Contents
- 1. Give boxed puzzles a shelf with clear grasping space
- 2. Keep each loose-piece set in its own closed inner bag
- 3. Replace failed packaging with a measured box
- 4. Use flat-bottom pouches for compact disassembled sets
- 5. File small puzzle bags in a supported bin
- 6. Reserve one bay for oversized boxes
- 7. Measure the unfinished puzzle before choosing a board
- 8. Use a rimmed board for a single active puzzle
- 9. Add a fitted cover for the pause between sessions
- 10. Use sorting trays that close for storage
- 11. Keep edge pieces separate until the border is built
- 12. Sort a difficult picture into a few visible groups
- 13. Keep the picture reference upright and separate
- 14. Give a puzzle board its own flat shelf
- 15. Check the full route for under-sofa board storage
- 16. Use a puzzle-table drawer that fits the assembly
- 17. Choose a roll-up mat by actual usable dimensions
- 18. Keep a portable puzzle case complete
- 19. Use upright storage only for a system designed for it
- 20. Give finished unglued puzzles a separate flat position
- 21. Separate two active puzzles completely
- 22. Keep lending and missing-piece checks off the main shelf
- 23. Make a small inventory that matches the return system
Choose puzzle storage ideas by the stage of work
Keep boxed, active and finished projects distinct. Measure the finished puzzle footprint, the board or carrier outside dimensions and the smallest opening on its route. Retain useful original references and product details. Check closures, storage orientation, furniture support and household access before giving the system a permanent place.
Match the puzzle to the storage task
- Disassembled set in good packaging: Original box with a suitable closed inner bag when useful.
- Loose pieces sorted for tomorrow: Compatible lidded trays that stay paired with the active project.
- An unfinished assembly: A correctly sized supported board, mat or carrier used as instructed.
- A completed puzzle kept temporarily: Separate flat supported position, with a decision about disassembly or permanent preservation.
- A narrow vertical storage gap: Only a complete system whose maker explicitly allows upright storage.
1. Give boxed puzzles a shelf with clear grasping space
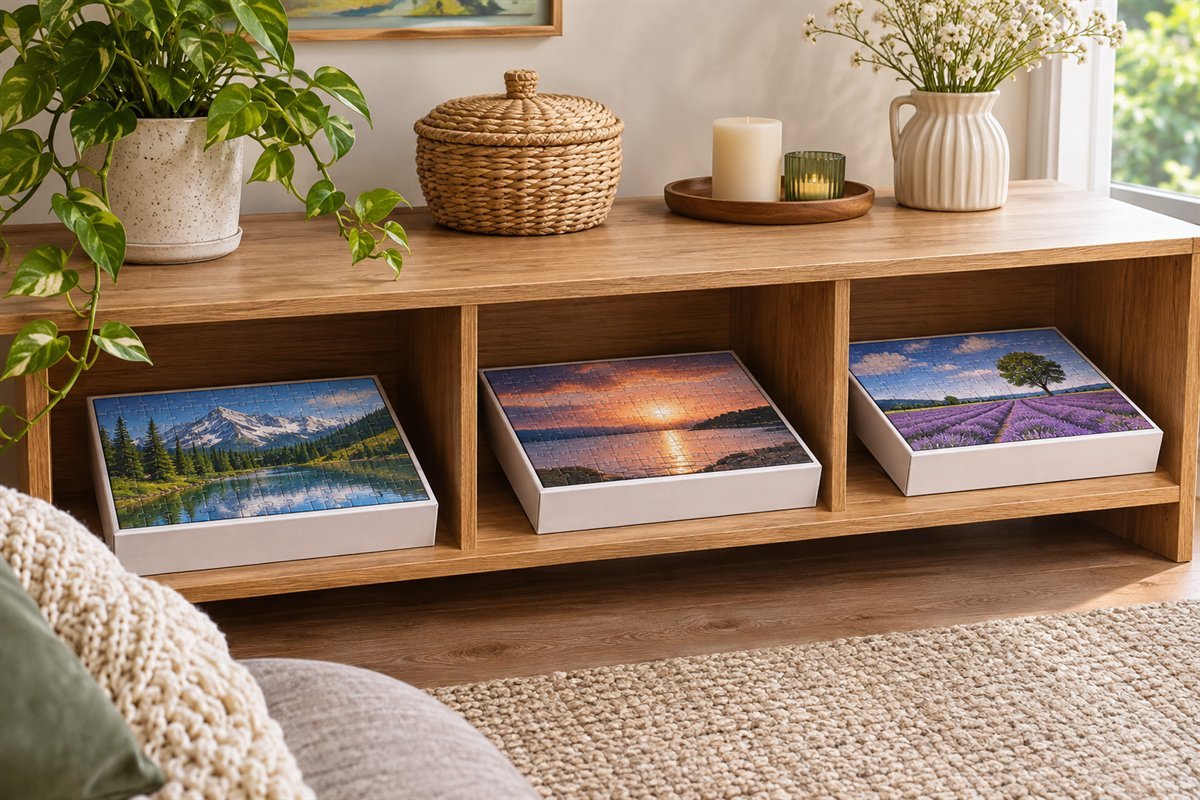
Begin with puzzles still in their original boxes. Group the actual box shapes, then choose a shelf that supports them fully and leaves room to grasp the base as well as the lid. A short, accessible group is easier to return than a tightly packed tower. Keep useful picture references and identifying information with each puzzle.
Try this: Remove a favorite puzzle without lifting several unrelated boxes.
2. Keep each loose-piece set in its own closed inner bag
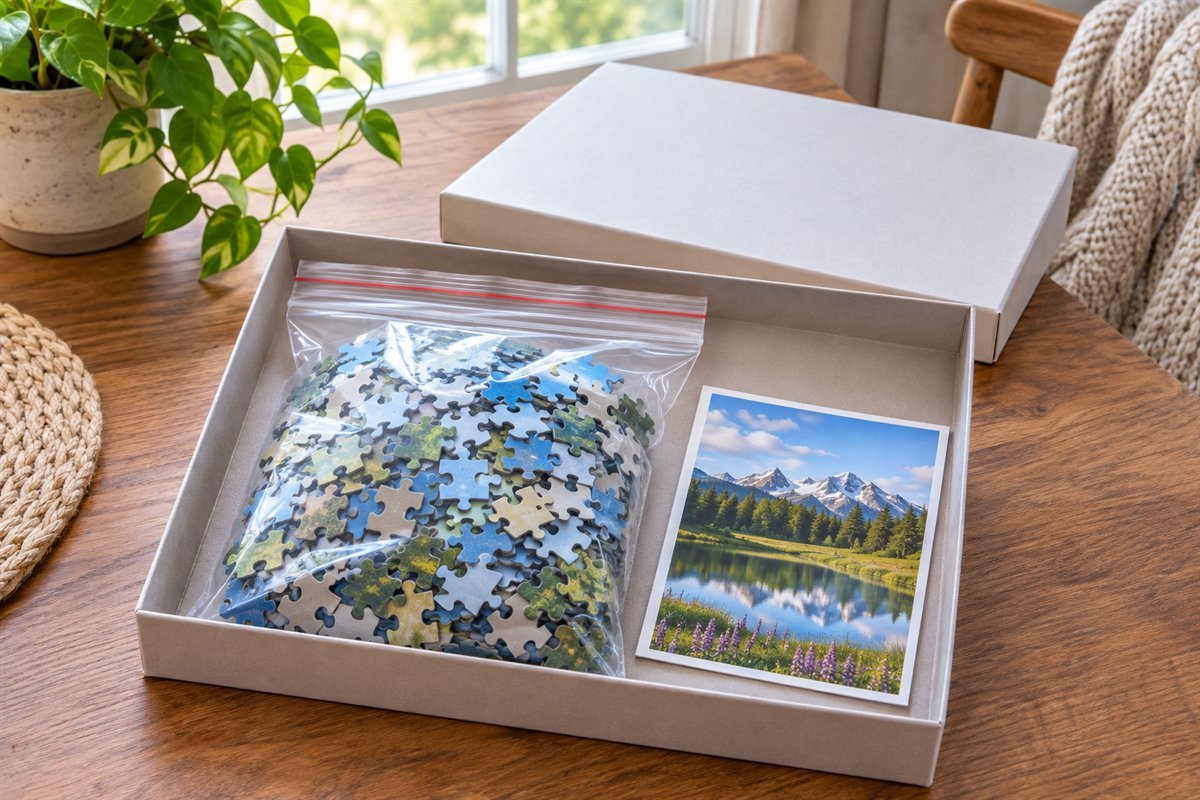
A suitable closed inner bag can keep one disassembled puzzle together inside its own box. Let the pieces sit without forcing the corners into a tight pouch, and check the closure before returning the lid. Keep the box image and the correct set paired. Respect the puzzle’s age guidance and store loose pieces away from children or pets where needed.
Try this: Close the bag before moving the box, rather than relying on a loose lid alone.
3. Replace failed packaging with a measured box

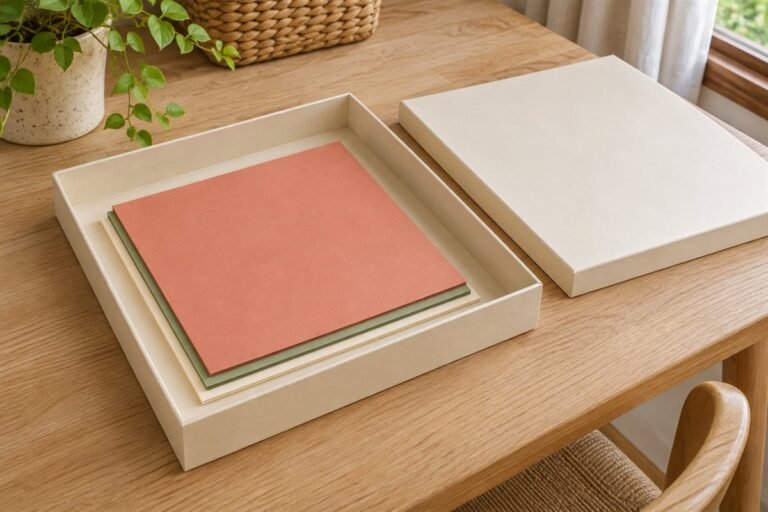
When packaging is damaged, measure the loose pieces and reference material before selecting a replacement. Choose a secure box that can be lifted comfortably without spilling the set. Preserve the puzzle’s identity, maker details and any useful production code. Matching containers are optional; keeping the correct pieces together is the more useful result.
Try this: Transfer one puzzle at a time so two similar sets cannot become mixed.
4. Use flat-bottom pouches for compact disassembled sets

A flat-bottom pouch can reduce bulky packaging for a compact puzzle that is already disassembled. Check the usable opening, closure and contents rather than choosing from an advertised piece count. Keep the picture reference in a protected position and retain useful original information. Leave the pouch loose enough that pieces are not bent against the zipper.
Try this: Open and close the filled pouch on a table before committing the whole collection to bags.
5. File small puzzle bags in a supported bin
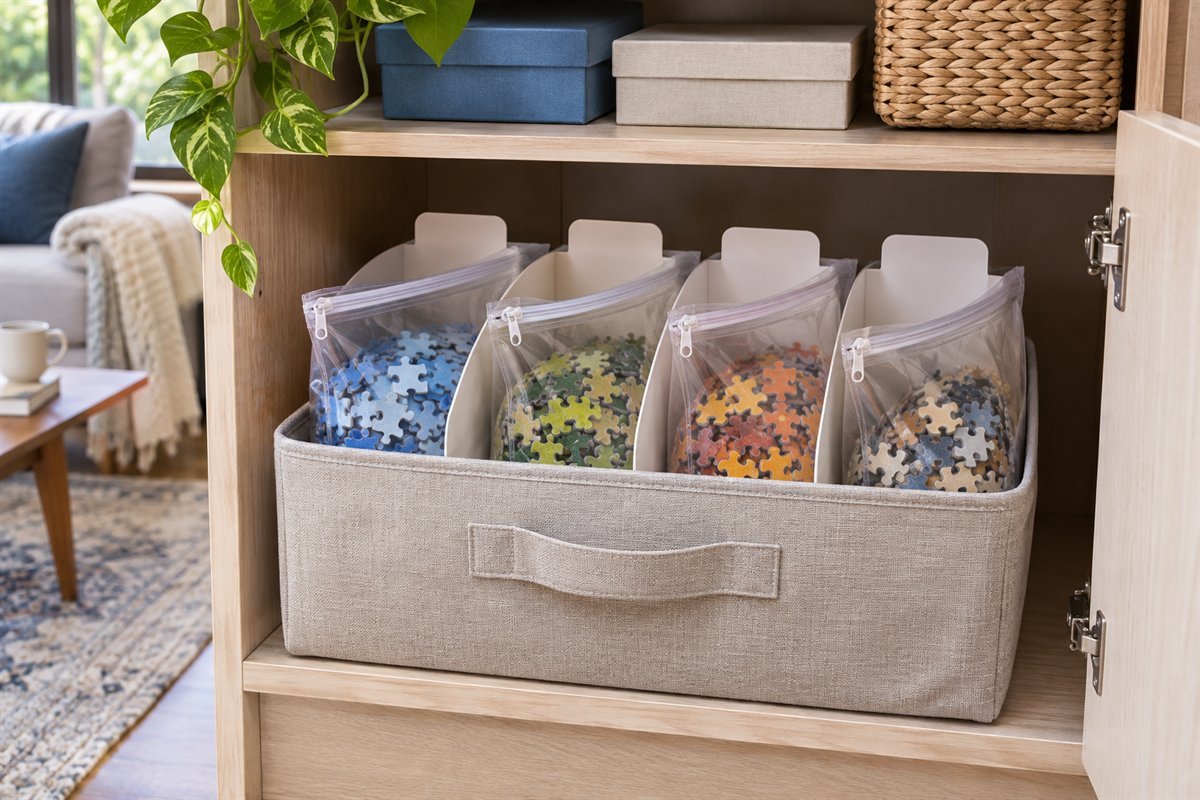
A supported bin can make small bagged sets easy to browse. Give each complete puzzle its own pouch and enough space to be removed without dragging out the next one. Keep the bin at a manageable height and compare its filled weight with the shelf guidance. Avoid deep rows that conceal half the collection.
Try this: Leave a little return space so a loosely closed pouch still fits without force.
6. Reserve one bay for oversized boxes
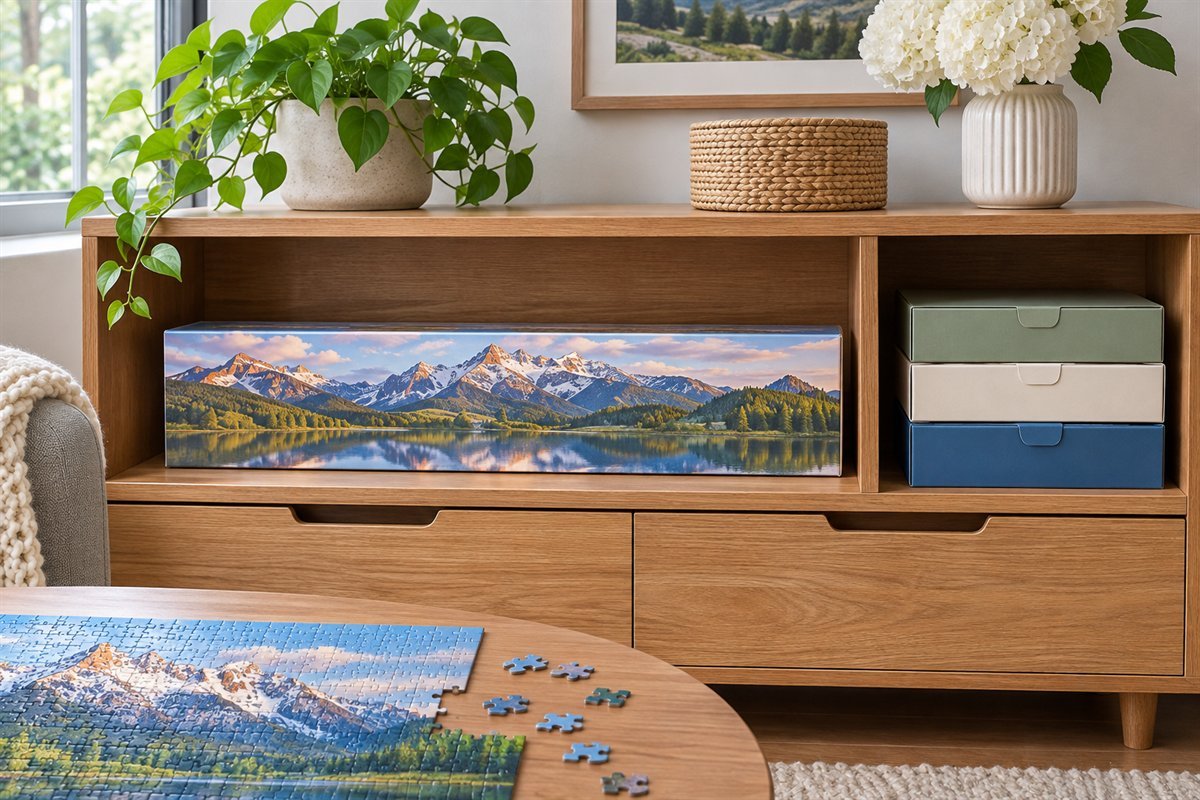
An oversized or panoramic puzzle box may need a different bay from ordinary compact sets. Measure its full footprint and the cabinet opening, including the angle used to remove it. Do not let a wide box overhang a narrow shelf to make the collection appear uniform. Keep its picture reference with the pieces when the box is temporarily open.
Try this: Test the longest retained box before deciding every shelf division.
7. Measure the unfinished puzzle before choosing a board
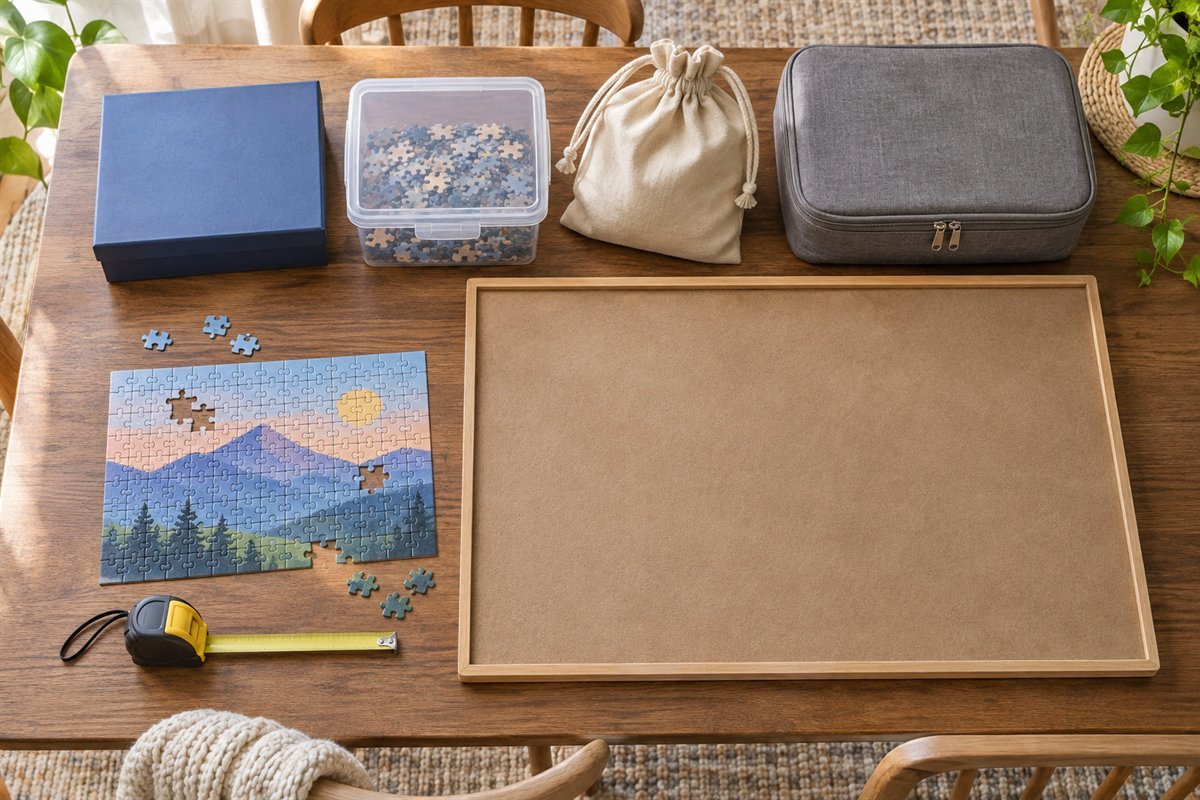
Choose the board from the puzzle’s finished dimensions, then allow usable working space for the way you sort. Piece count alone does not establish fit. Ravensburger explains that its printed puzzle dimensions are approximate because production can affect the final size. Check the particular puzzle and storage system before buying a board or a close-fitting frame.
Try this: Record width and height separately, including an unusually long or circular format.
8. Use a rimmed board for a single active puzzle
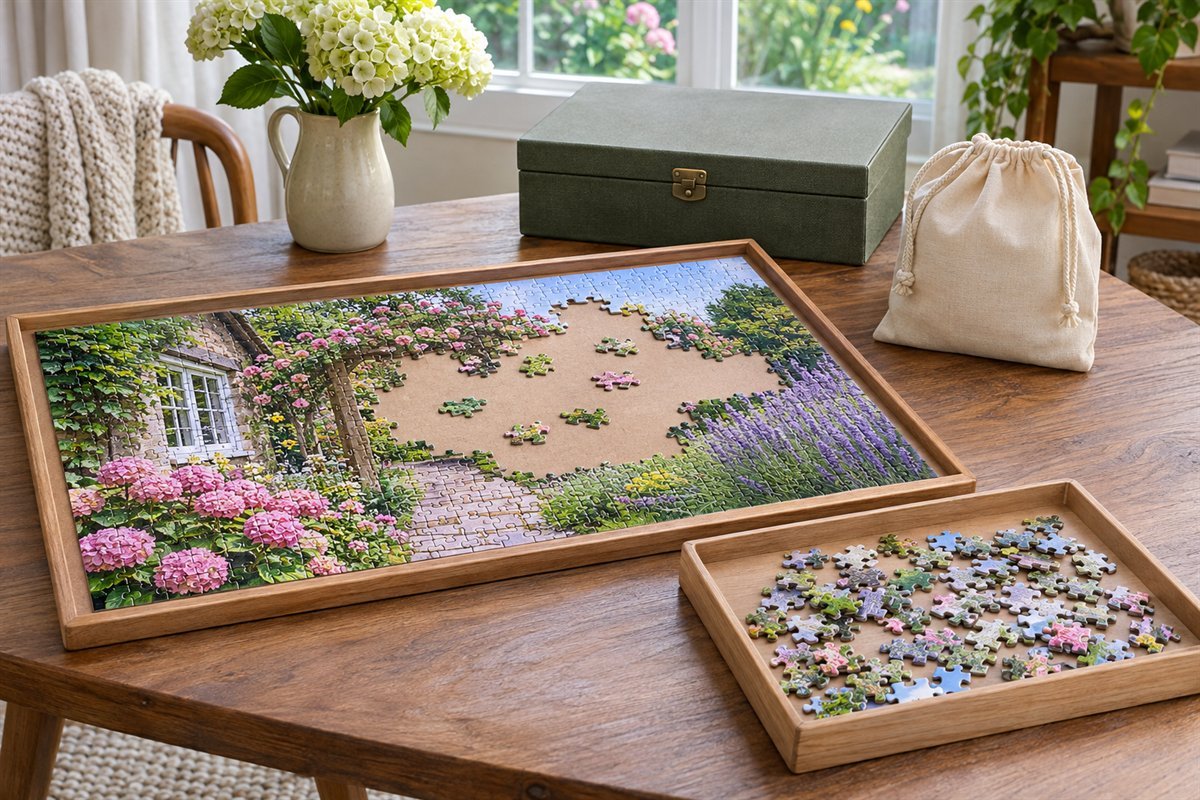
A rimmed board can define the working area and make a single active project easier to keep together. Check that the rim does not reduce the usable surface below the puzzle’s footprint. Support the entire board and follow its movement instructions. A rim is not proof that an unfinished assembly can be carried vertically or tipped without shifting.
Try this: Keep loose pieces in a separate compatible tray when moving the work surface.
9. Add a fitted cover for the pause between sessions
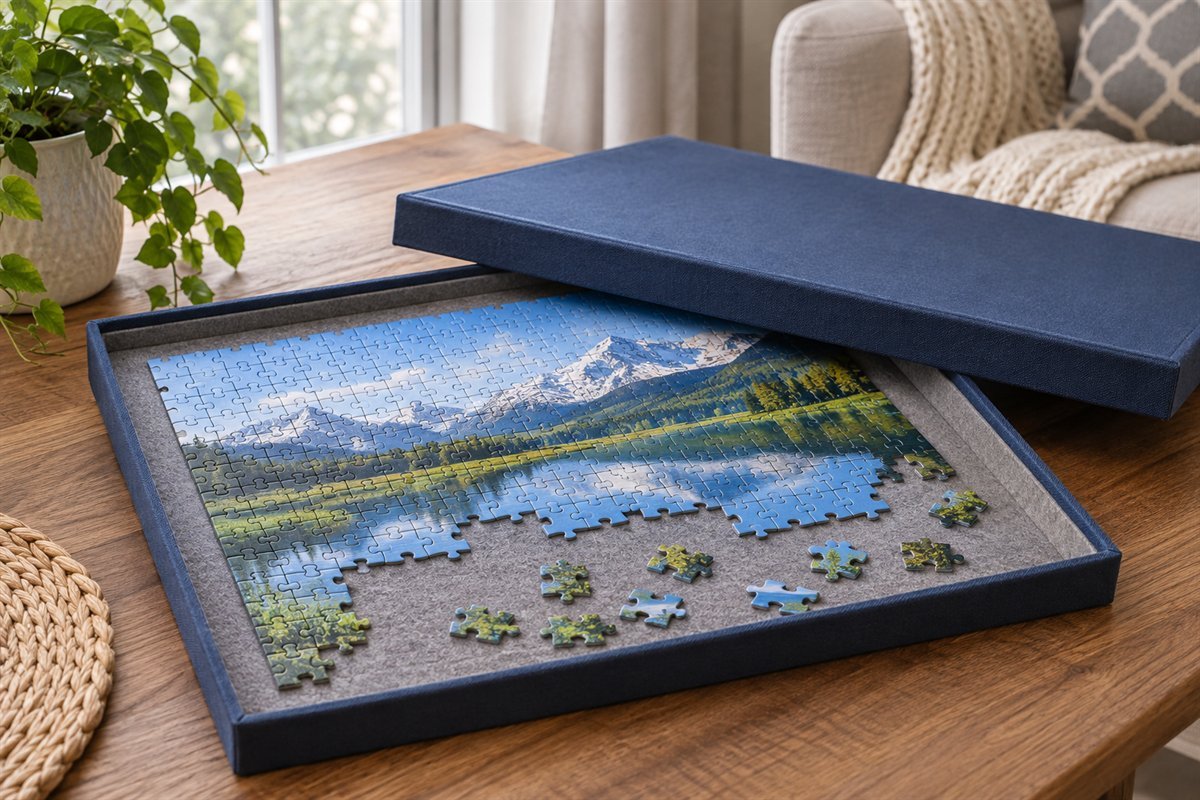
A compatible cover can keep an active puzzle from becoming a surface for unrelated household items. Check the fit with the actual board and pieces in place, using the system’s instructions. Do not substitute a heavy improvised object that presses on raised pieces. Confirm how the covered assembly is meant to be stored and moved.
Try this: Rehearse covering and uncovering before beginning a large puzzle.
10. Use sorting trays that close for storage
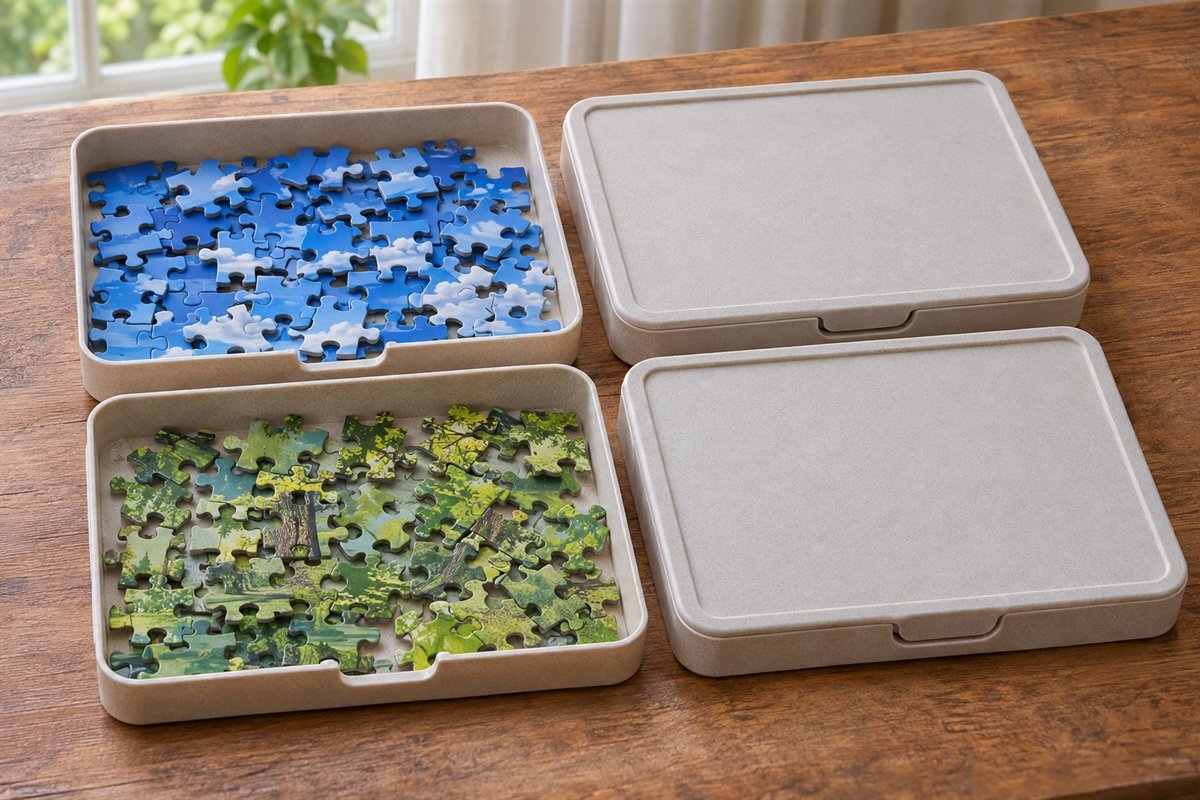
Lidded sorting trays can hold groups between sessions without leaving loose pieces across a shared table. Buffalo Games describes stackable trays with a lid in its sorting system; the closure and permitted stacking are specific to that product. Choose trays by their usable area and the way the group will be stored, rather than assuming any nested dish will secure the contents.
Try this: Check that the lid closes without trapping a piece on the rim.
11. Keep edge pieces separate until the border is built

An edge-piece compartment can make a paused sorting session easier to resume. Keep that group inside the current puzzle’s storage system so it does not become an unidentified cup on another shelf. Check corners and unusual shaped pieces carefully; not every puzzle follows the same rectangular border pattern. Return the divider to the set when the border is complete.
Try this: Use a simple temporary group that disappears once its task is finished.
12. Sort a difficult picture into a few visible groups
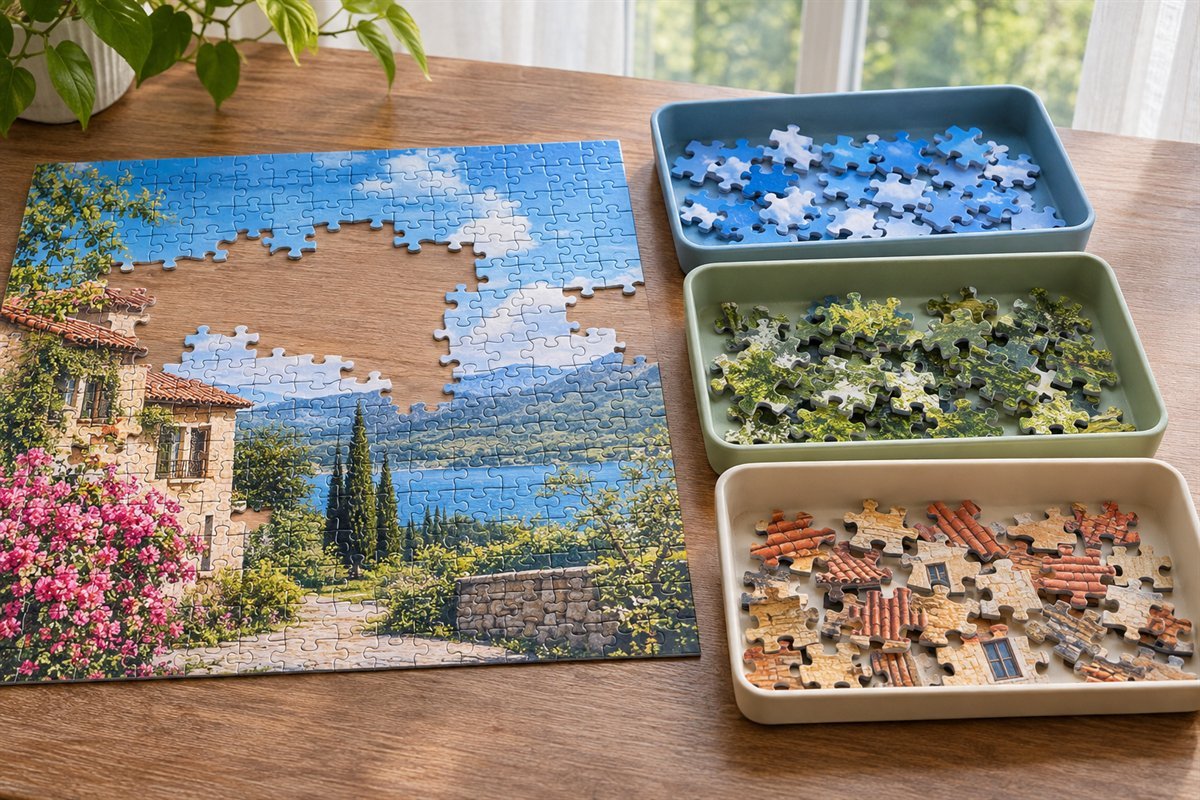
A few broad groups can be easier to manage than many tiny containers. Start with visible differences in the actual picture, such as sky, foliage or a building. Keep the trays shallow enough to see the pieces and limited enough to close away together. Change the groups when the puzzle demands it instead of treating one sorting scheme as a universal rule.
Try this: Keep one unsorted tray so uncertain pieces are not forced into a misleading category.
13. Keep the picture reference upright and separate
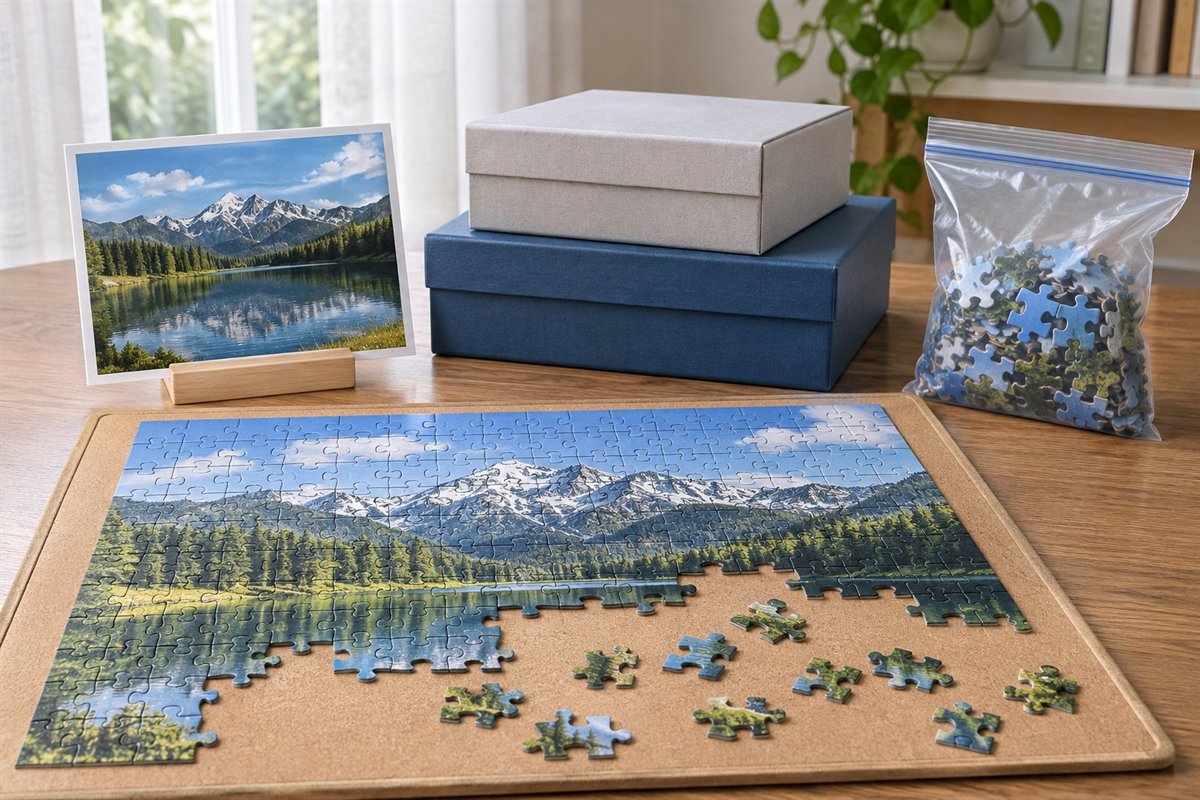
A separate picture stand can prevent the box lid from occupying the working surface. Keep the correct reference with the board when the session pauses, while preserving any useful information on the original packaging. Choose a position that does not cover sorted pieces or invite reaching over an unstable arrangement. Return the reference to the set before shelving it.
Try this: Check the picture and the board together before carrying either away.
14. Give a puzzle board its own flat shelf
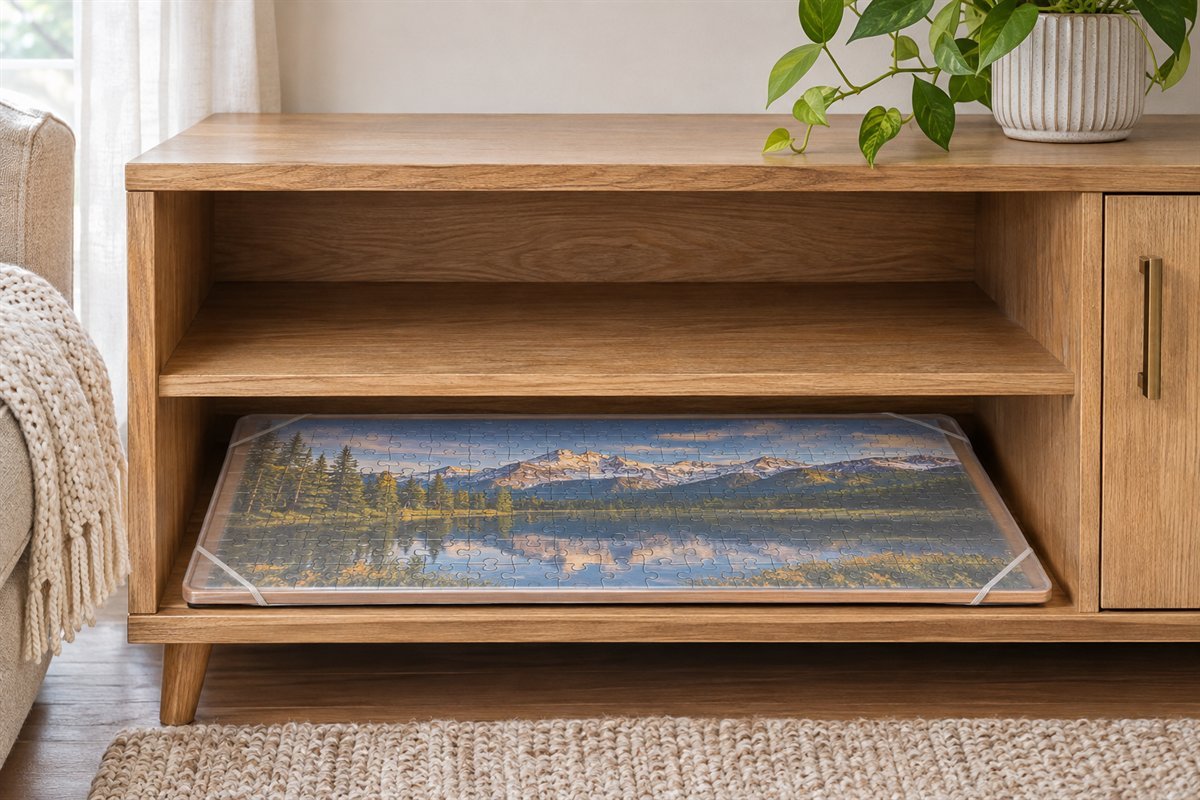
A dedicated flat shelf can be the simplest home for a board between sessions. Compare the board’s outside dimensions, cover height and handhold with the usable cabinet opening. Keep it fully supported without bending or overhang, and avoid stacking unrelated boxes on top. Confirm that the board’s storage guidance allows the chosen position.
Try this: Pull out the complete covered board using the intended grip before filling adjacent shelves.
15. Check the full route for under-sofa board storage
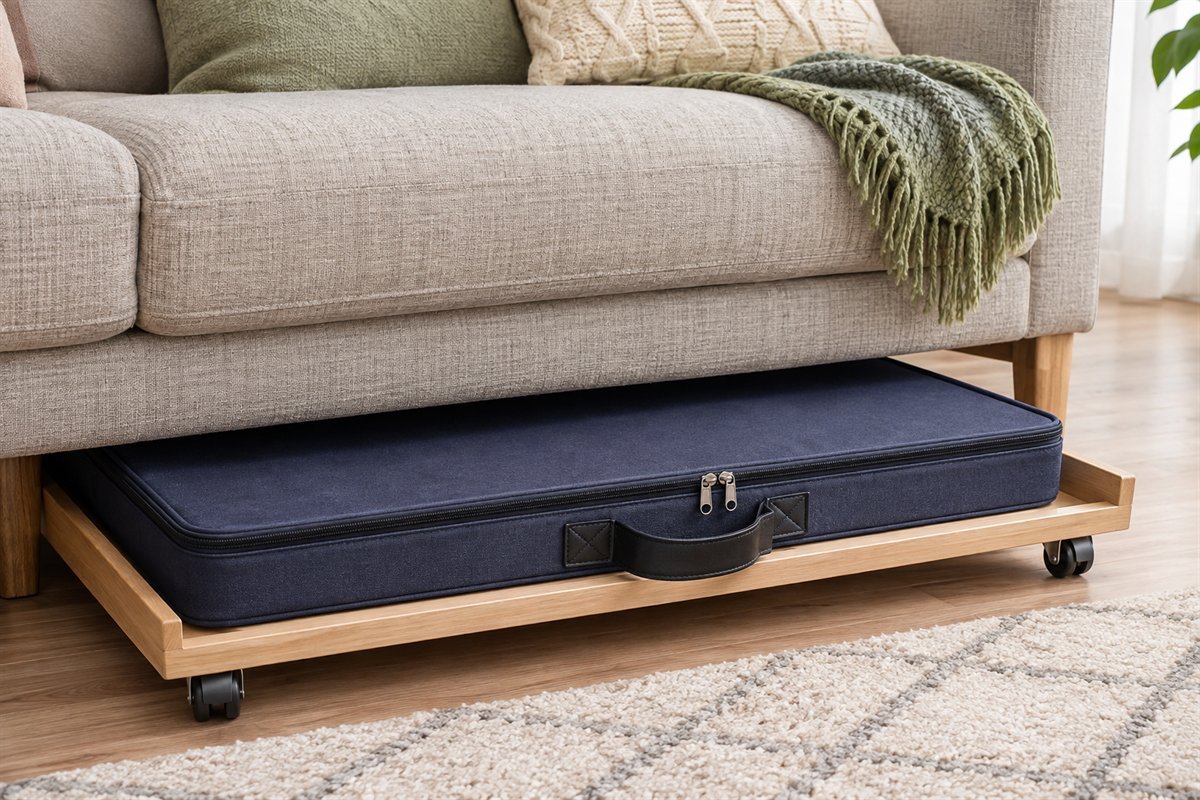
Under-sofa storage can work for a compatible covered board if the whole removal route is clear. Measure the lowest frame part, floor changes and the space needed to pull the board fully out. Keep the contents protected from dust and household access according to the carrier’s design. Do not push an uncovered puzzle into a hidden floor gap.
Try this: Test the arrangement with the sofa in its normal position and neighboring furniture in place.
16. Use a puzzle-table drawer that fits the assembly
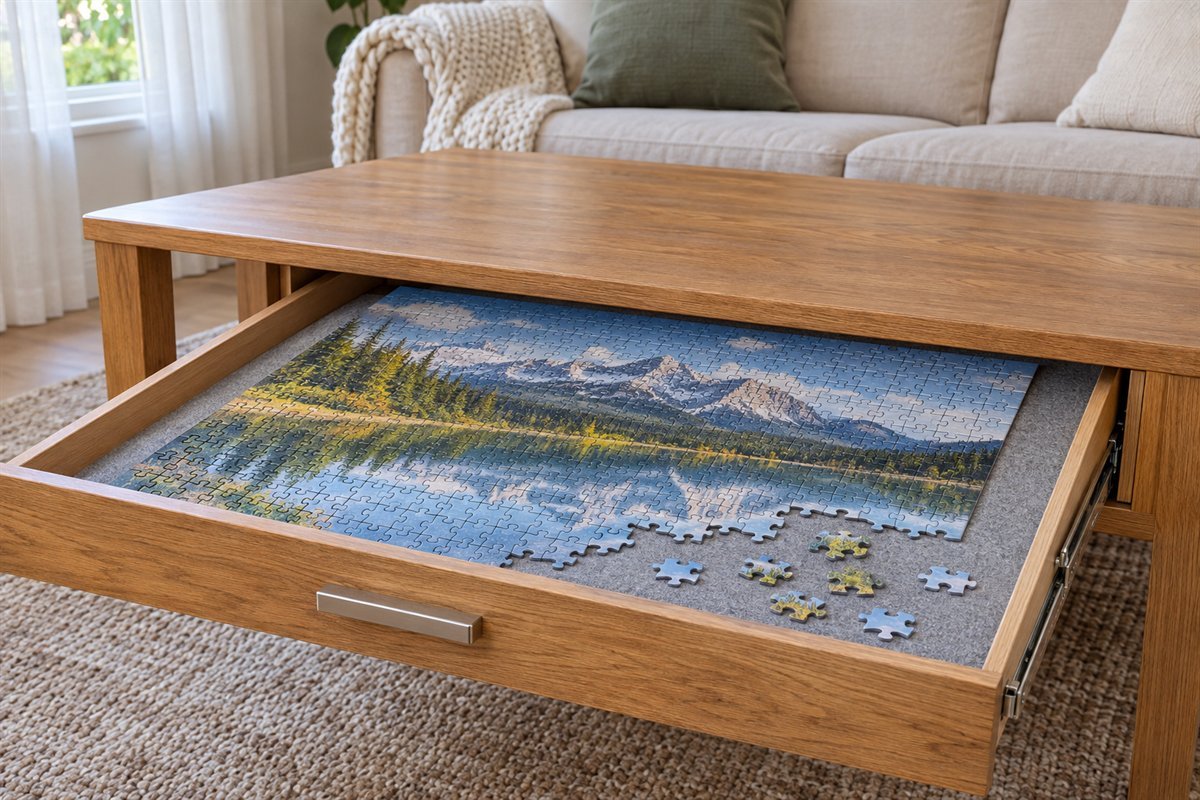
A puzzle-table drawer can leave the upper surface available for everyday use. Verify the interior working area, clear height, drawer load and the distance it opens into the room. A drawer that is wide enough outside may still be too small inside its frame. Check how loose pieces and an unfinished assembly are retained when the drawer moves.
Try this: Open the drawer with the sofa and chairs occupied in their usual positions.
17. Choose a roll-up mat by actual usable dimensions
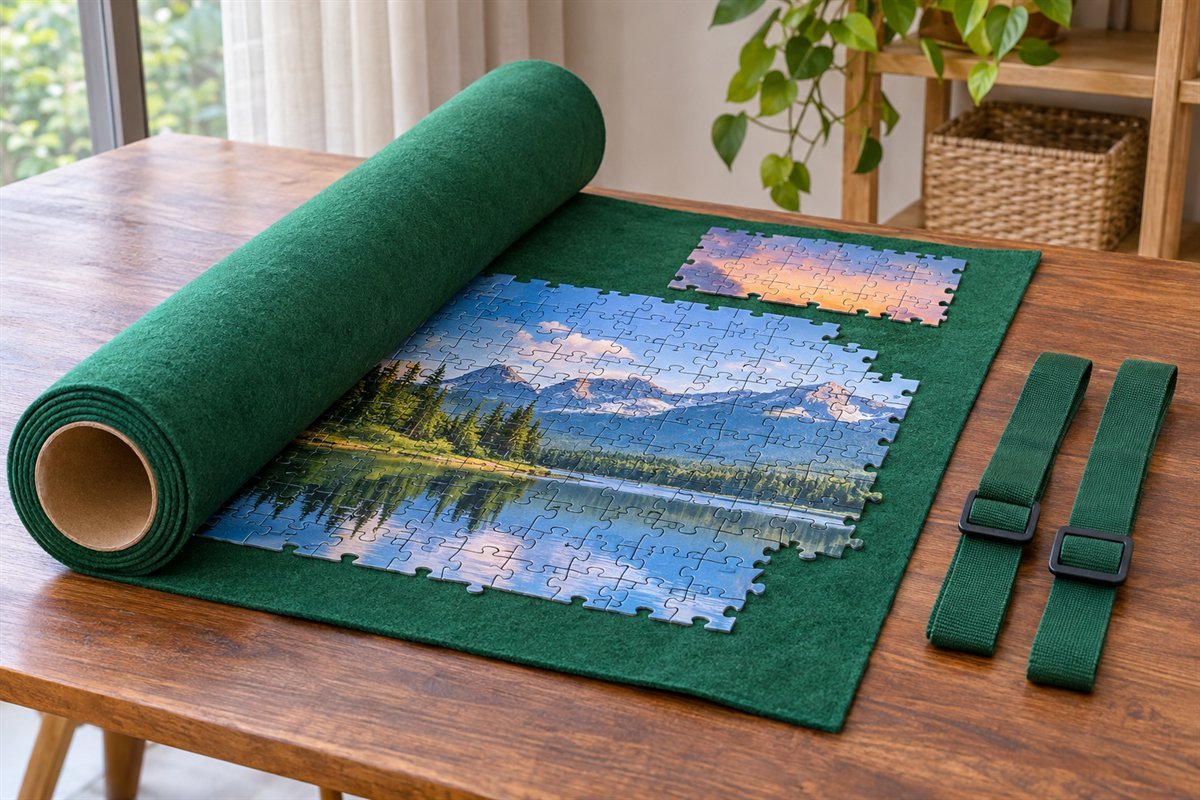
A roll-up system can suit a household that regularly clears the table, provided it is compatible with the puzzle. Buffalo Games lists different capacities for its mats and supplies a firm expandable core with the cited Pro version. Follow the exact rolling, fastening and storage instructions. Do not assume every puzzle with the same piece count has the same footprint or behaves alike when rolled.
Try this: Confirm the usable mat size before starting, and keep every supplied part together.
18. Keep a portable puzzle case complete
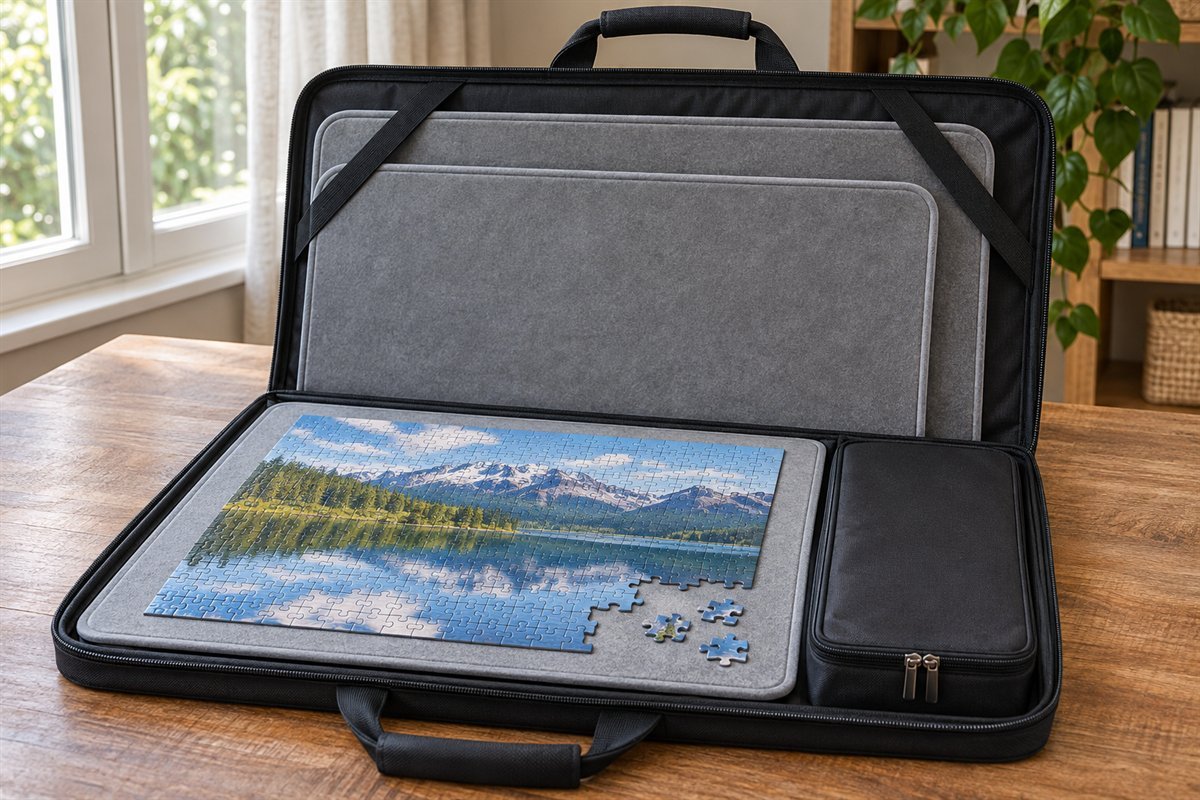
A portable case is useful only when its board, inserts and closures remain together. Compare the supported puzzle area with the real finished dimensions and follow the system’s packing sequence. Keep loose pieces in the compartments intended for them. A carrying handle does not by itself show that an arbitrary board can be stored upright without movement.
Try this: Pack the empty system once before assembling a puzzle inside it.
19. Use upright storage only for a system designed for it
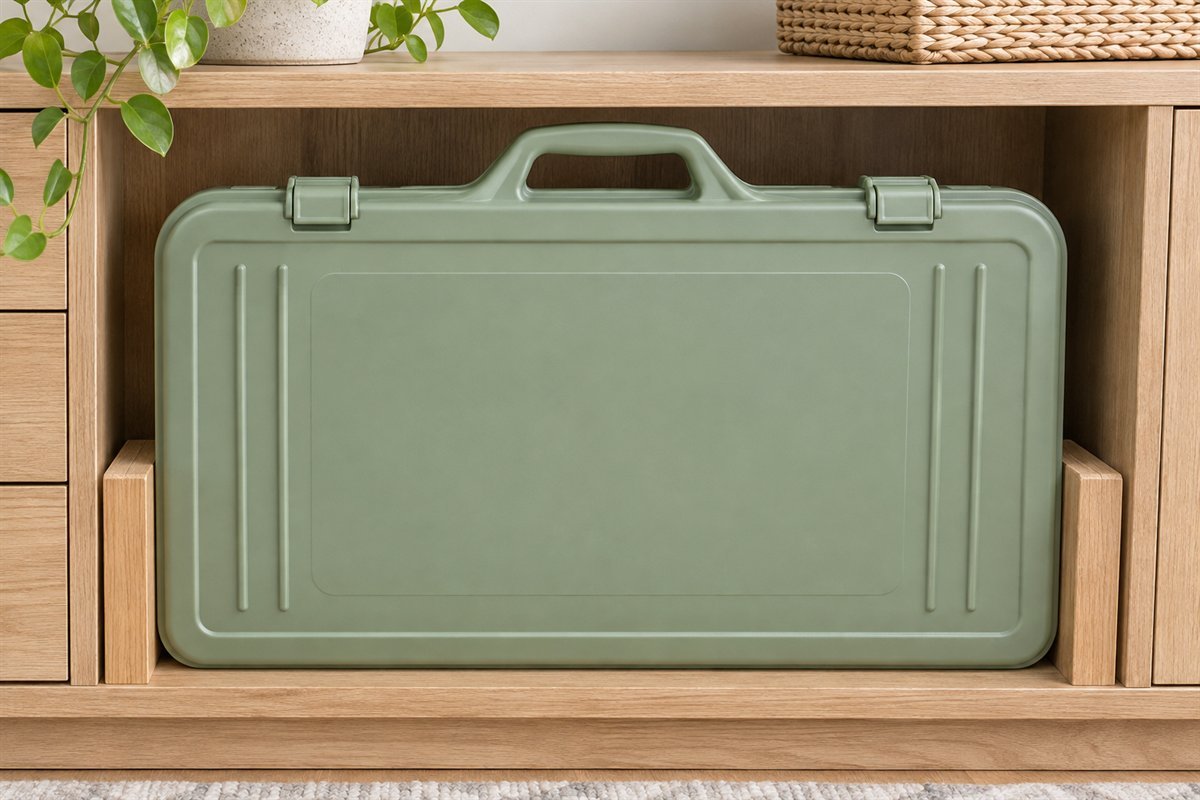
Some purpose-made systems explicitly retain both sorted pieces and the active puzzle when upright. Ravensburger describes that capability for its Puzzle Store & Go after the base, trays and lid are assembled as directed. Treat it as a feature to verify for the exact system, not a property of every puzzle board, portfolio or album.
Try this: Read the permitted storage orientation before planning a narrow vertical cabinet slot.
20. Give finished unglued puzzles a separate flat position
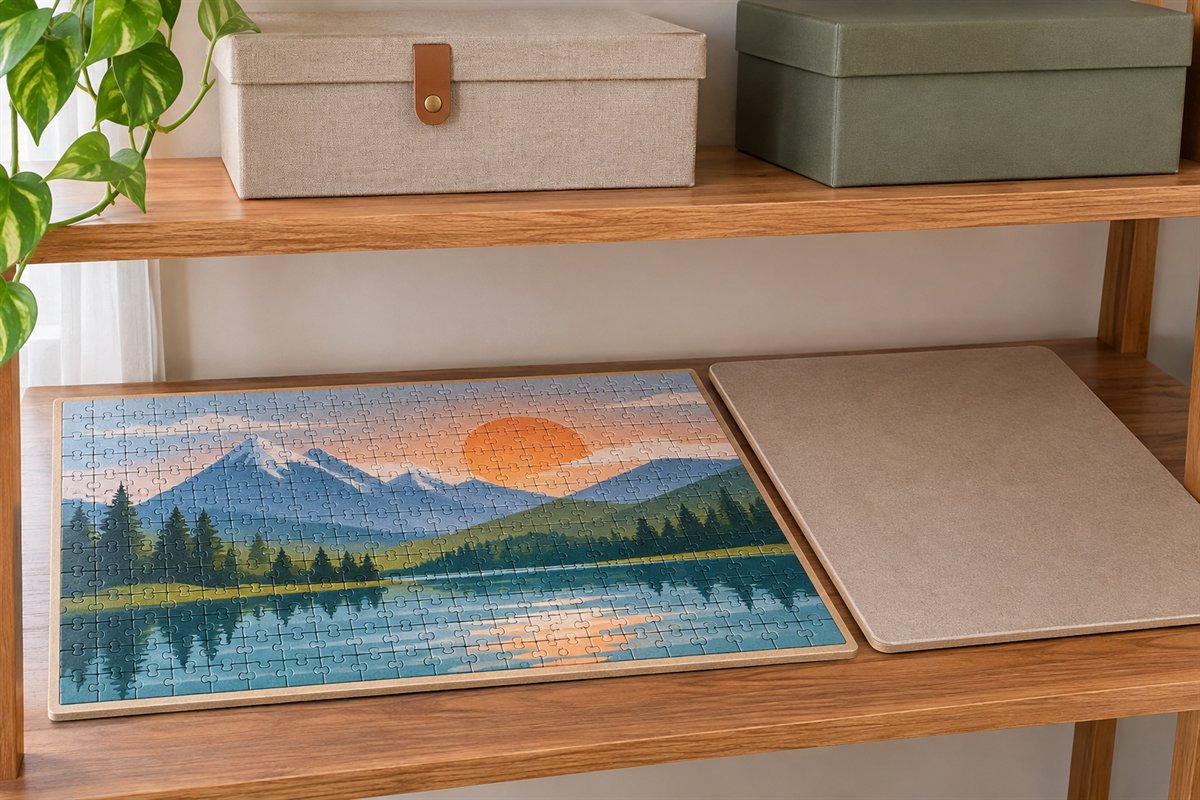
A completed puzzle awaiting a decision needs a different place from loose pieces or an active project. Keep it on a suitable supported board with a compatible cover if the storage system allows. Decide whether to photograph it, disassemble it or preserve it permanently before starting another puzzle in the same spot. Avoid promising that a loose assembly will remain intact inside an ordinary folder.
Try this: Set a review date so the finished-project shelf remains a temporary position.
21. Separate two active puzzles completely

If two people work on different puzzles, give each project its own board, reference and closed piece group. Similar sky or foliage pieces are easy to mix when trays are shared. Use a simple project distinction that remains visible after the covers are fitted. Check that the furniture supports the complete systems without stacking them against their instructions.
Try this: Finish one project’s cleanup before opening the next set of trays.
22. Keep lending and missing-piece checks off the main shelf

A separate temporary position can hold a puzzle being checked or returned to a friend. Keep any loose found piece with a private identification note until it is matched, instead of dropping it into the nearest open box. Retain useful maker and production information if contacting support. Clear this temporary area regularly so unresolved sets do not look ready to use.
Try this: Check the table, trays and nearby floor before declaring a set incomplete.
23. Make a small inventory that matches the return system
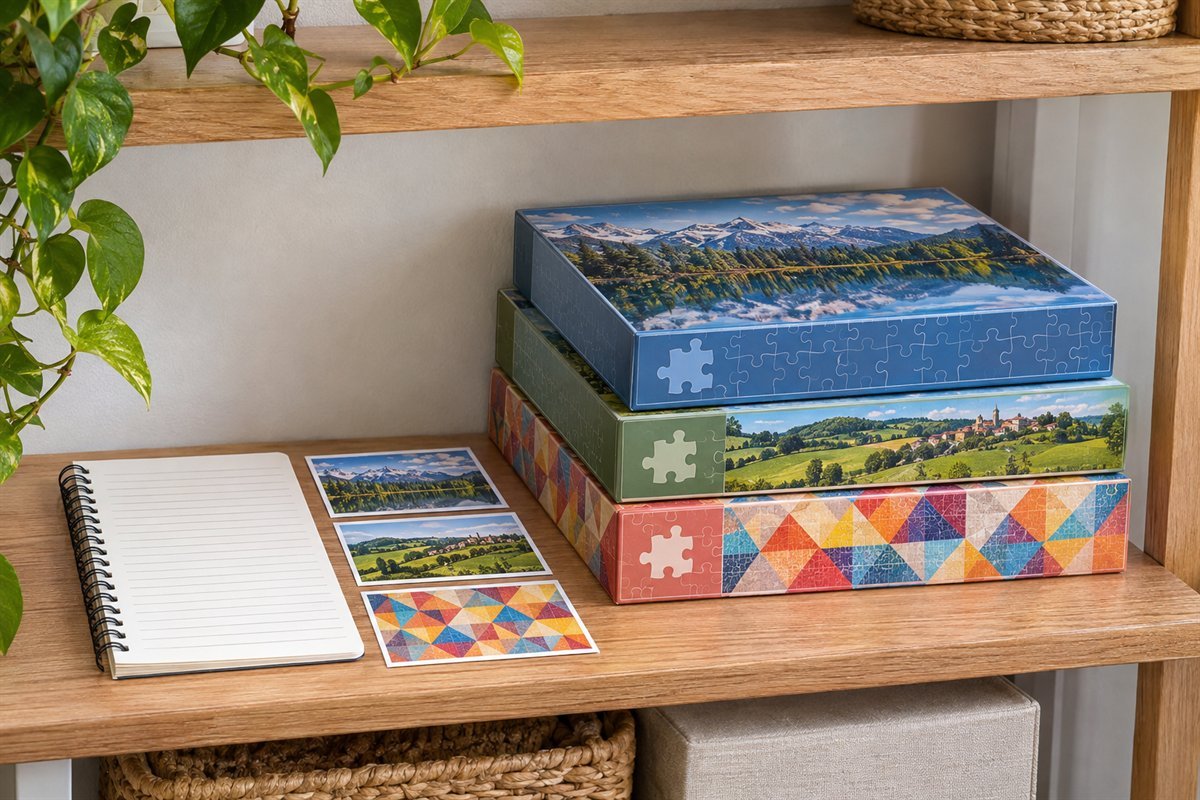
A modest inventory can link each retained puzzle to its actual box, bag or carrier. Record its identity, approximate finished dimensions, location and whether it is complete or awaiting a check. Keep borrowing details private. Review the collection before buying more organizers; the aim is a set that is easy to choose and return, not a cabinet filled beyond comfortable use.
Try this: Ask another household member to find and return one puzzle using the system.
A puzzle-board fit worksheet
Make one line for each puzzle you plan to keep active: title or private identifier; finished width and height; board’s usable surface; board’s full outside size; covered thickness; loose-piece tray requirement; intended storage orientation; clear opening; and the space needed to remove it. Keep the reference image with the project.
For a hypothetical comparison, a 28-inch-long finished puzzle does not fit a board with only 27 inches of usable length, even if the product labels use the same piece count. Those numbers are illustrative, not the dimensions of a recommended product. Compare both axes and the whole route, then check the maker’s requirements for rolling, covering or carrying.
Try the complete pause routine before organizing the entire collection: close the loose-piece trays, secure the active work as directed, clear the shared table and return the system. Start again the next day. The first awkward movement usually gives a more useful correction than another decorative container.
Does every 1,000-piece puzzle fit the same board?
No. Check the actual finished dimensions and the board’s usable surface. Format and manufacturer differ, and Ravensburger notes that its final dimensions can vary from the approximate printed size. Leave the working room the chosen system requires.
Can an unfinished puzzle be stored vertically?
Only when the exact complete storage system is designed and closed for that orientation. A flat board, a rim or a carry handle is not enough evidence. Ravensburger’s cited Puzzle Store & Go description is a specific example; follow the instructions for the product you own.
Should completed puzzles be glued for storage?
Gluing is a separate permanent-preservation choice, not a necessary part of organizing reusable puzzle sets. If you want to build the puzzle again, keep the pieces together after disassembly. For a permanent display, use compatible preservation and framing instructions for that puzzle and material.
A practical next step
Start with the point where the puzzle currently interrupts the room: selecting the box, clearing the table or protecting tomorrow’s work. Keep the correct reference and pieces together, choose a system by real dimensions and make the return movement easy to repeat.
Board game storage ideas for the rest of the collection. Under-bed storage ideas for testing the complete retrieval route.
Images are original AI-generated organization concepts, not photographs of tested puzzle products or verified storage performance. Product-specific claims are limited to the cited manufacturer descriptions.
Sources and care references
- Ravensburger service: approximate finished dimensions and puzzle identification
- Ravensburger Puzzle Store & Go: product-specific packing and storage orientation
- Buffalo Games: lidded sorting trays and their intended use
- Buffalo Games: Pro roll-up mat dimensions and firm-core system
Optional digital guide for this topic
If you prefer a structured workbook, explore this related paid guide.