Rain garden ideas start with a real water-management task. A rain garden is a shallow planted depression designed to collect runoff temporarily and allow it to soak into suitable ground. It is not simply a flower bed beside a downspout, and it should not be confused with a permanent pond.
These 22 concepts help you compare layout, planting and maintenance after the site has been assessed. They are design ideas rather than excavation instructions or a drainage calculation. Confirm local requirements, utilities, soils, groundwater, setbacks, runoff source and overflow with the appropriate local professionals before altering the ground. Keep water away from foundations and avoid assuming that a photograph establishes a safe location.
Contents
- 1. Plan a garden that also looks intentional between storms
- 2. Use a broad kidney shape for a soft lawn relationship
- 3. Compare a simple rectangle with an architectural garden
- 4. Keep a long narrow garden reachable from outside
- 5. Make the inlet easy to recognize and inspect
- 6. Keep the planned overflow separate from normal access
- 7. Give the outside edge a practical maintenance strip
- 8. Route the main path around the planted depression
- 9. Use lower planting beside a front-yard view
- 10. Build a sunny palette from locally suitable plants
- 11. Treat a shaded site as a different planting brief
- 12. Reserve the lowest zone for the wet-and-dry task
- 13. Make a transition band between the basin and rim
- 14. Use the upper rim for a drier garden relationship
- 15. Use grasses and sedges as a repeated framework
- 16. Group flowers into clear masses instead of isolated dots
- 17. Plan flowering periods on a local calendar
- 18. Add shrubs only where their mature size fits
- 19. Choose mulch as part of the functional detail
- 20. Make the garden easy to inspect after rain
- 21. Keep useful winter structure without hiding flow areas
- 22. Keep a fixed observation view and a living plant record
Use a site assessment before choosing rain garden ideas
The University of Minnesota’s rain-garden guidance starts with location, runoff, soil and size. EPA’s bioretention guidance also emphasizes site-specific soil testing and local design standards. Bring those questions together before choosing a shape. A simple infiltration observation alone does not resolve every siting, groundwater, contamination or structural concern.
Questions to settle before the planting palette
- Water source: Which exact roof, paved area or other approved catchment drains here?
- Site suitability: What do soil, groundwater, slope, utilities and required setbacks allow?
- Footprint and levels: What does the site-specific design require, including temporary storage?
- Inlet and overflow: How does water enter, and where does excess water go?
- Planting and care: Which locally suitable plants fit each moisture zone, and who maintains them?
1. Plan a garden that also looks intentional between storms
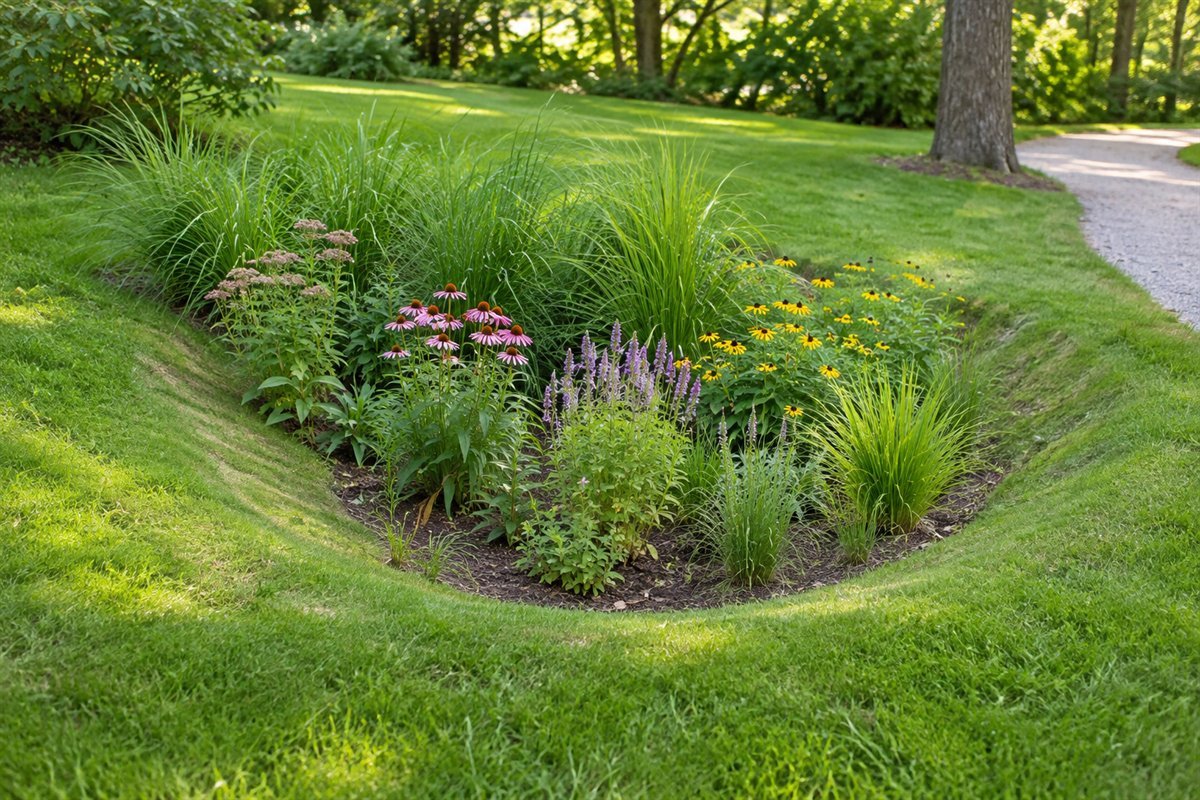
A rain garden should make sense when there is no water visible. Begin with the dry-weather view: a clear outline, repeated planting and a useful relationship with the rest of the yard. EPA distinguishes rain gardens from features intended to hold a permanent pool. Do not judge the design only from a photograph taken just after rain; most daily views will show the planting.
Try this: Include a dry-weather reference view in the design brief.
2. Use a broad kidney shape for a soft lawn relationship
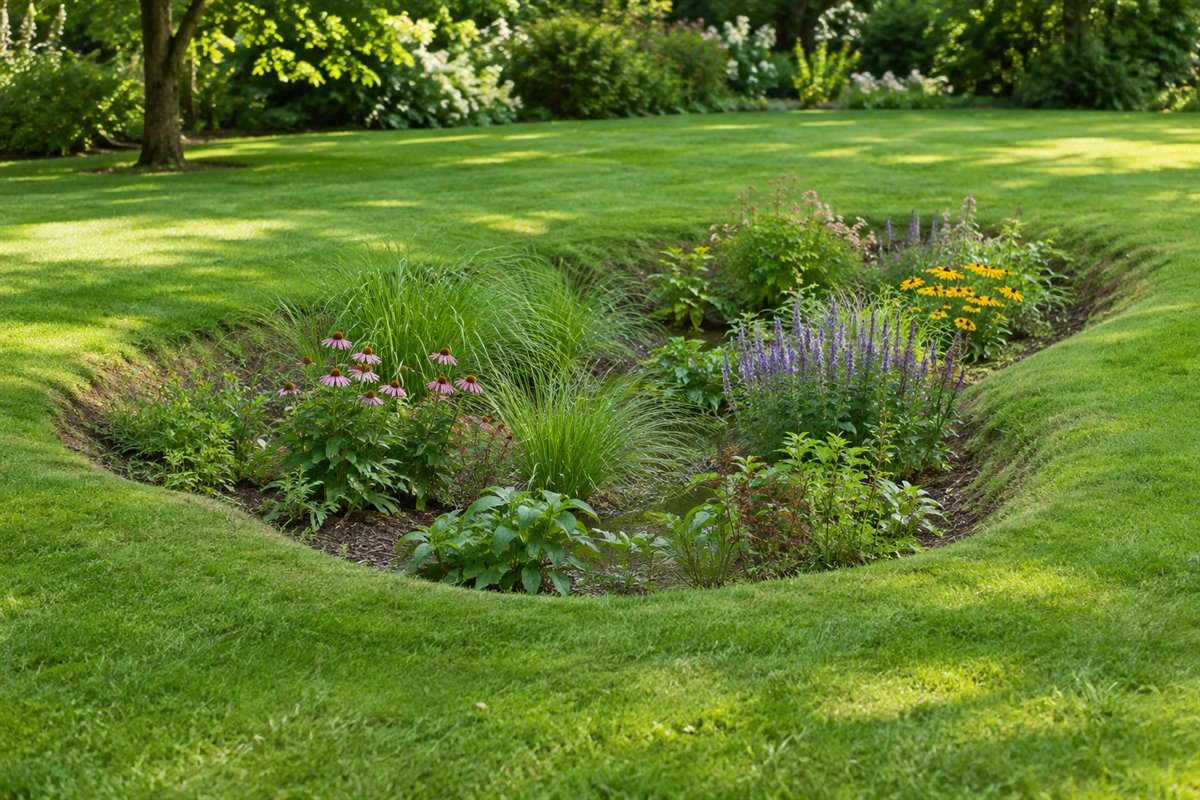
A kidney outline can fit a garden whose existing beds use broad curves. Keep the narrowest part usable for the planting and care rather than drawing an exaggerated pinch. Shape follows the assessed drainage task and available site; it does not determine the garden’s capacity. Compare the whole perimeter with the lawn that will remain around it.
Try this: Review the outline from the house and from the maintenance approach before approving it.
3. Compare a simple rectangle with an architectural garden
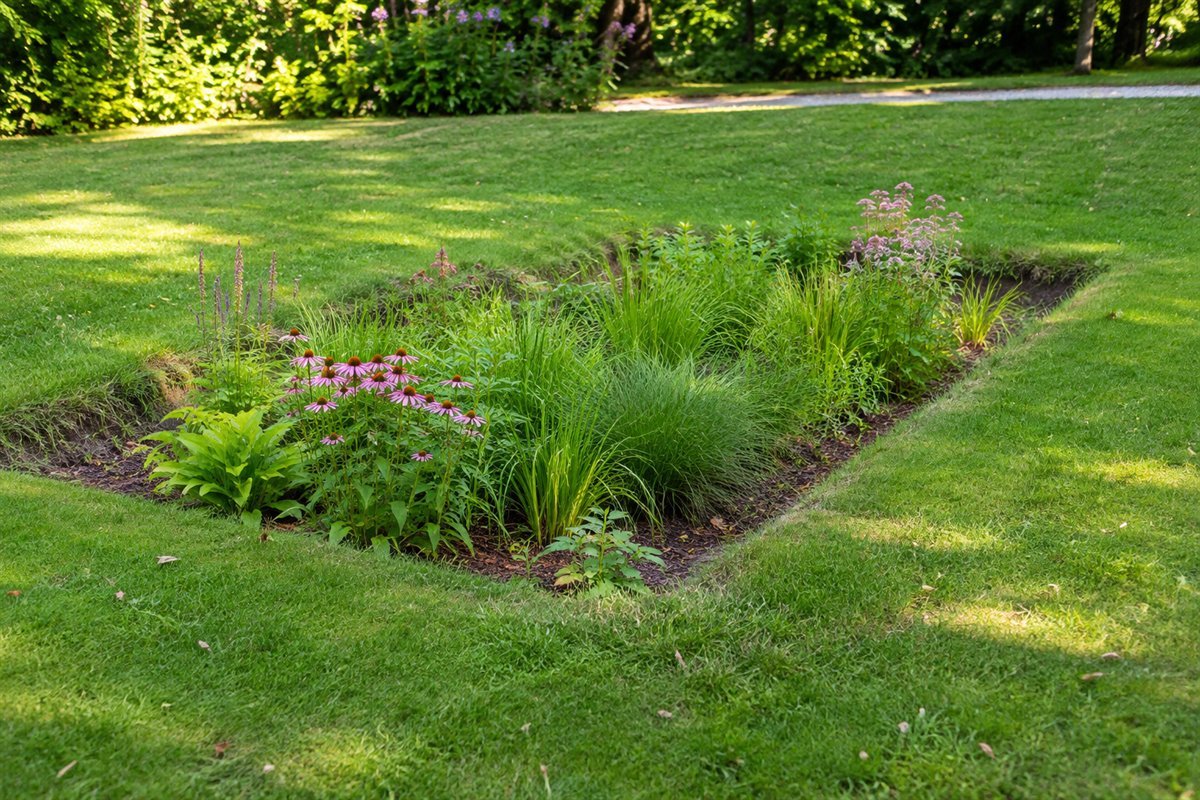
A rain garden does not need an informal outline to look convincing. A simple rectangular form can relate to an existing formal garden, provided the actual levels and water routing are designed appropriately. Keep the distinction between a shallow planted depression and a raised planter clear. Straight sides are a visual choice, not permission to retain water against a wall or foundation.
Try this: Compare the rectangle with the existing path and bed geometry on a scaled plan.
4. Keep a long narrow garden reachable from outside

A narrow form may be worth discussing where the site assessment identifies a suitable strip. The useful width includes room for plants to reach their mature size and for care without routinely stepping into the basin. Do not squeeze the same runoff task into a smaller area simply to keep an attractive outline. Have the proposed footprint checked as part of the complete design.
Try this: Mark the mature plant spread and the gardener’s standing position separately.
5. Make the inlet easy to recognize and inspect

Give the inlet a clear place in the planting plan. A visible, accessible entry is easier to inspect than one hidden beneath a dense ornamental clump. The actual detail must suit the incoming flow and ground; decorative stones alone do not establish erosion protection or treatment performance. Keep the design record so later planting changes do not unknowingly obstruct the entry.
Try this: Ask the designer to identify the inlet on both the drawing and the completed site.
6. Keep the planned overflow separate from normal access
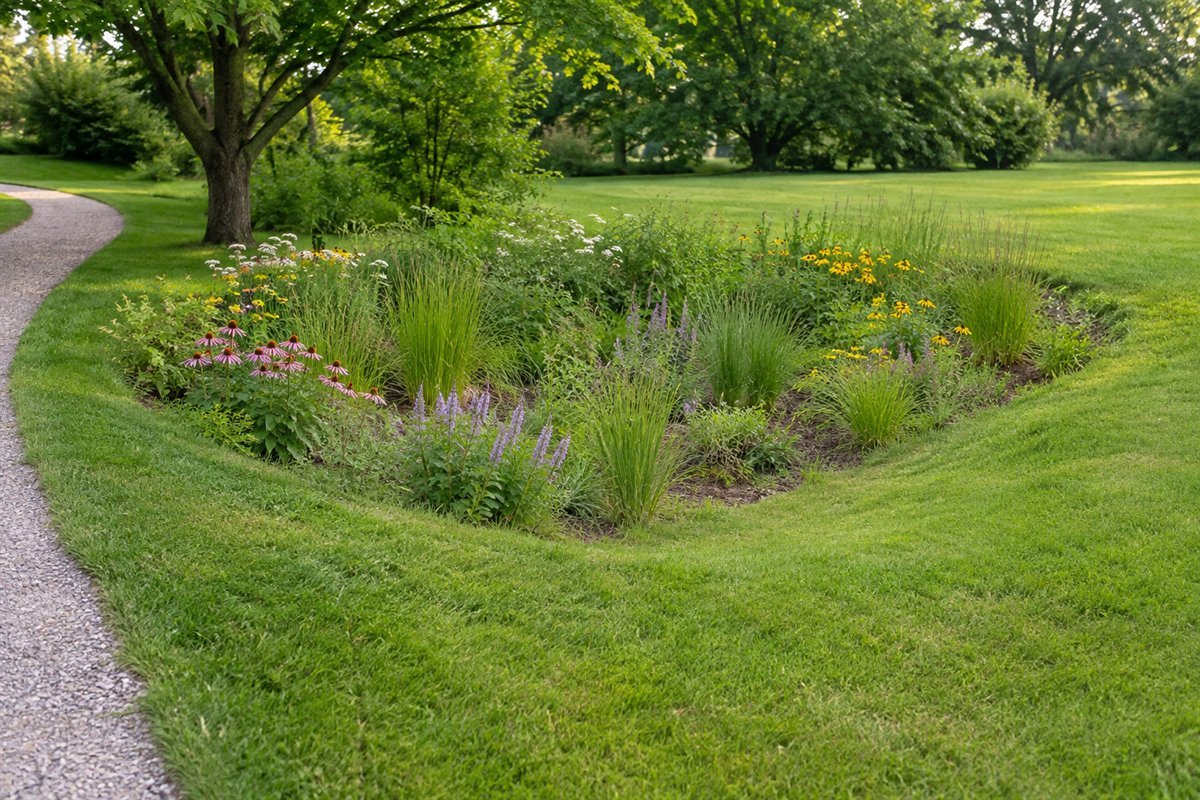
Every design needs to account for water that exceeds its intended capacity. Ask where that water goes and how the route is protected. Keep the approved overflow area clear as planting matures, and do not redirect it toward a building, a neighbor or a frequently used crossing for a visual effect. This question belongs in the design discussion before the garden is built.
Try this: Request a plain-language explanation of the overflow route with the design.
7. Give the outside edge a practical maintenance strip
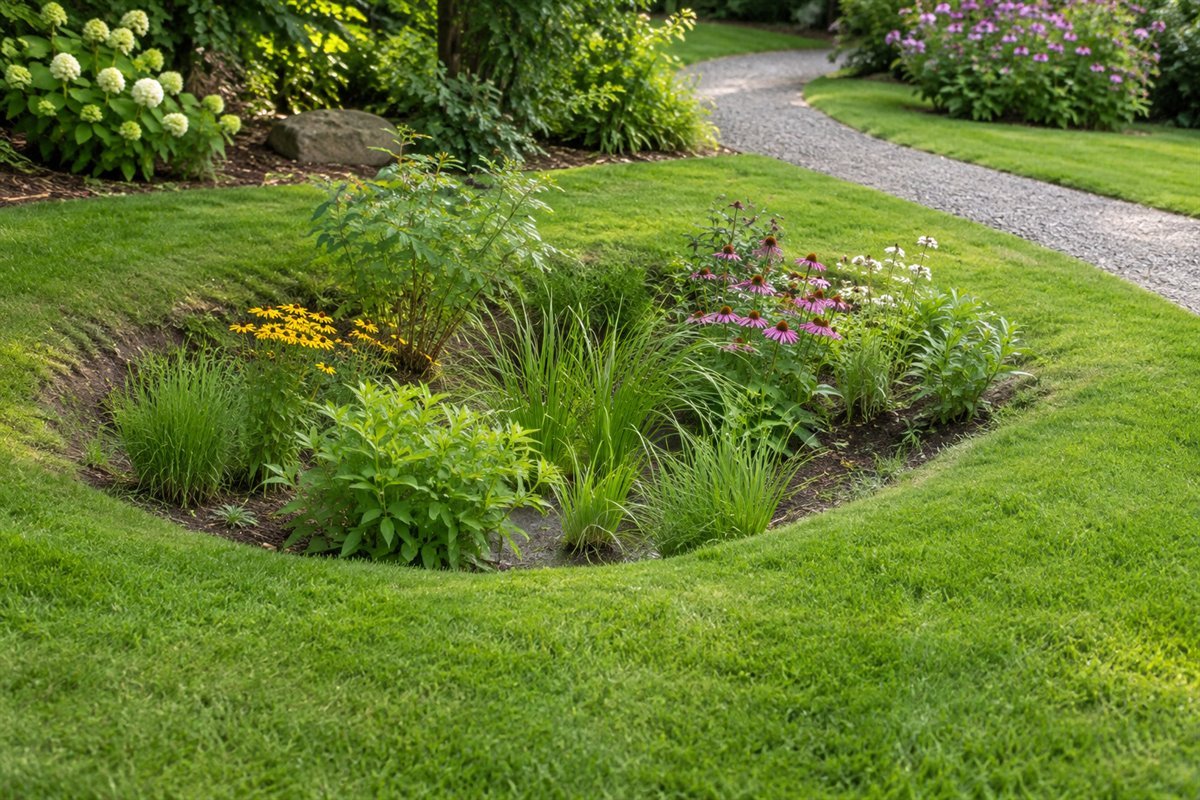
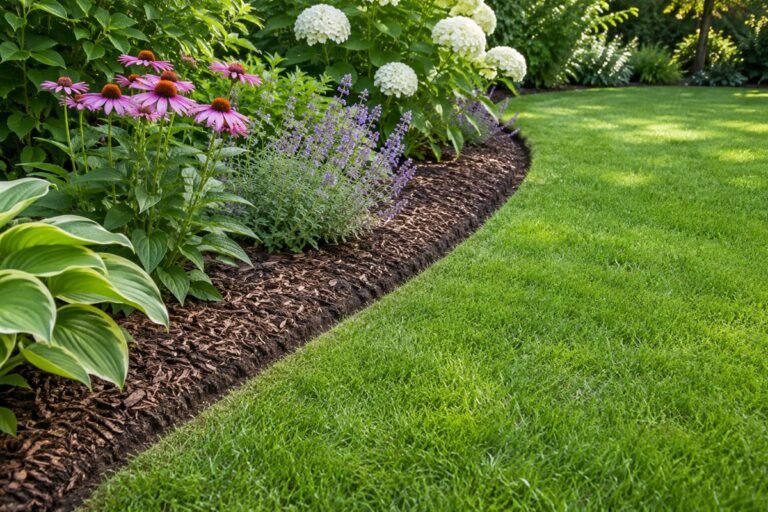
A maintained outer strip can make the garden look deliberate and give you a place to inspect the planting. Choose its surface and width around the real care routine. Keep any edging detail consistent with the designed water entry and overflow; an attractive continuous barrier can create a different water route from the one intended. The visible finish should support the function.
Try this: Walk a full care circuit around the proposed outline.
8. Route the main path around the planted depression
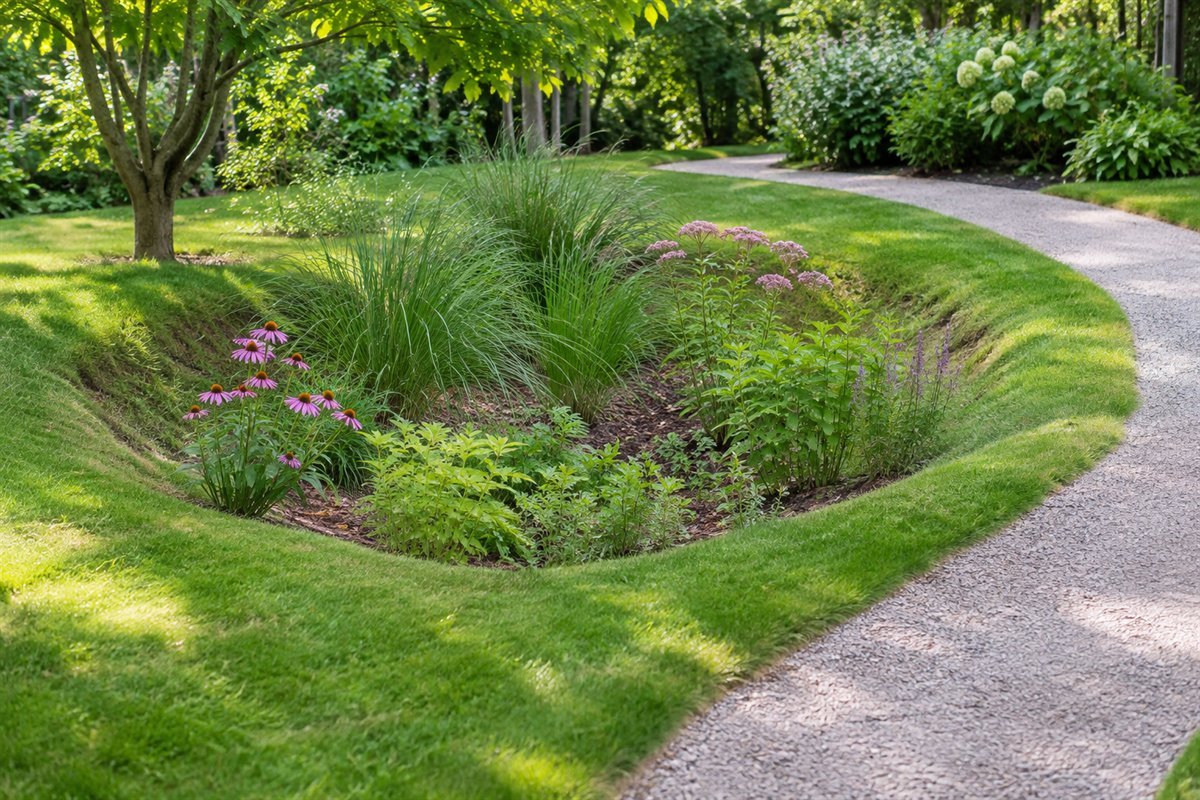
A path can frame the garden while keeping ordinary movement outside the lower planted area. Compare the route during wet conditions as well as dry weather. The main way to a shed, gate or seating area should not depend on crossing the rain garden. Keep the visible distinction between the route and the stormwater feature clear for visitors and maintenance helpers.
Try this: Trace the usual garden trip with the items normally carried there.
9. Use lower planting beside a front-yard view
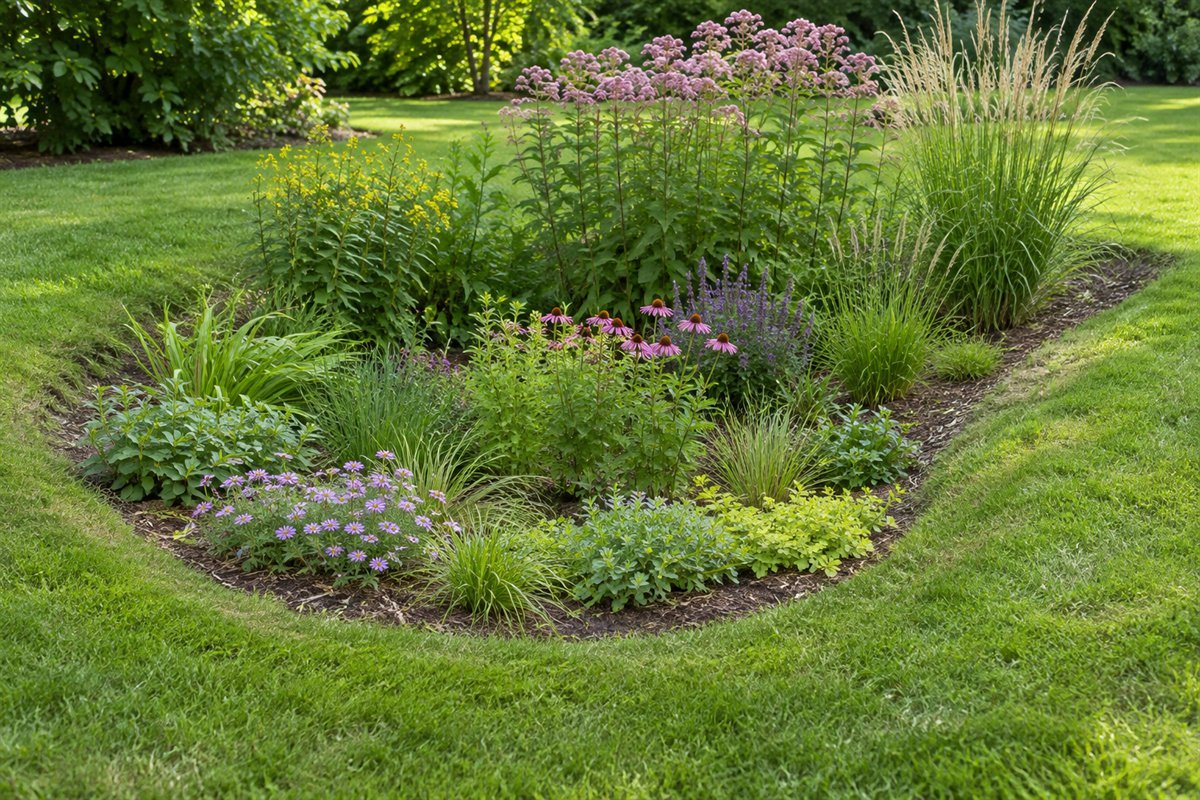
Where the garden is viewed across a lawn or from a public-facing approach, a lower front band can keep the composition readable. Use the actual sightline and local requirements to decide the height. Do not choose a short plant only from its nursery size. Draw its mature spread and height, and keep required access and visibility outside the planting outline.
Try this: Review the view from the ordinary approach before selecting the tallest plants.
10. Build a sunny palette from locally suitable plants

A sunny garden gives you one set of plant choices, but sunlight alone is not enough information. Match the plant to the local climate, soil and its position within the garden’s moisture pattern. Build the list by botanical name and the actual local recommendation rather than calling every colorful perennial a rain-garden plant. Then limit the palette so the composition remains readable.
Try this: Keep a source and moisture-zone note beside every proposed plant name.
11. Treat a shaded site as a different planting brief

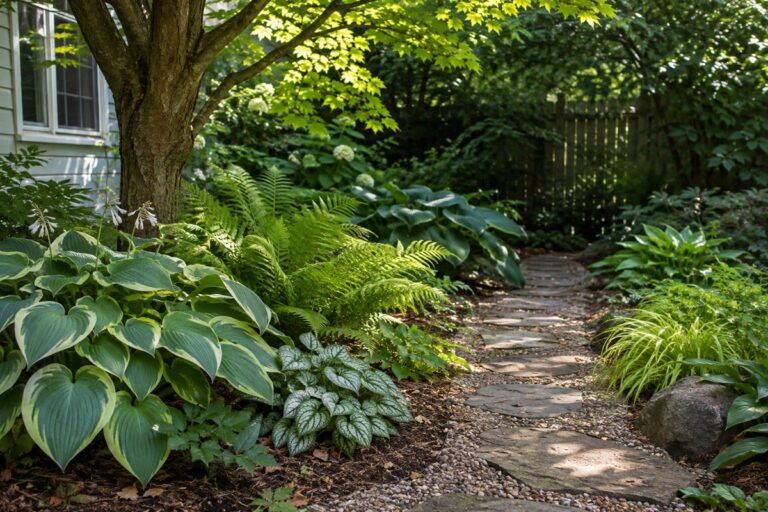
A partly shaded site needs a different plant list from an open sunny one. Record how the light changes through the day and season before choosing plants. Existing tree roots and the site’s drainage constraints must also be assessed before excavation. Shade is a growing condition, not evidence that an unsuitable wet location can be turned into a functioning rain garden.
Try this: Record light and existing roots as separate constraints in the site brief.
12. Reserve the lowest zone for the wet-and-dry task

EPA’s bioretention guidance distinguishes plants in the lower area, which must handle wet and dry conditions, from plants on drier edges. Use that distinction when organizing the list. Do not fill the bottom with plants chosen only for flower color. Have the anticipated water regime established first, then confirm the exact species for that position.
Try this: Label the lower zone on the planting plan before adding plant symbols.
13. Make a transition band between the basin and rim

A transition band gives the change in level a clear planting role. Ask which plants suit the actual moisture conditions there rather than treating the whole bed as equally wet. Repeat a few compatible forms to connect the lower and upper areas visually. The band should remain accessible enough that a failed plant or eroded patch can be noticed.
Try this: Keep the moisture-zone plan with the planting list for later replacements.
14. Use the upper rim for a drier garden relationship

The upper rim can link the rain garden with nearby ordinary borders. Select plants for that drier position and let a repeated texture or color create the connection. Do not move a lower-zone plant to the rim simply to balance a drawing. A visually unified bed can still contain different growing conditions, and replacement planting should respect that difference.
Try this: Repeat appearance where it fits, while keeping species choices tied to the actual zone.
15. Use grasses and sedges as a repeated framework

Fine-leaved plants can give the composition a consistent framework between flowering periods. Choose exact species and varieties suited to the region and their assigned zone. Similar-looking grasses and sedges are not interchangeable, and a photograph cannot verify local native status. Compare mature clump size so the repeated framework does not eventually crowd the inlet or maintenance positions.
Try this: Order by verified plant name rather than only by the look of the leaves.
16. Group flowers into clear masses instead of isolated dots

Groups can make a varied plant list easier to read. Choose a few compatible species for each zone and repeat them in a way that works with mature spacing. One plant of every appealing color often produces a busier result without improving the garden’s function. Keep the list manageable enough that you can identify what belongs when weeds or volunteer seedlings appear.
Try this: Remove one unnecessary species from the draft before adding another color.
17. Plan flowering periods on a local calendar

Build a flowering calendar from the species that actually suit your region and garden zones. Compare when each plant is expected to flower locally, then look for gaps. A picture showing several blooms together is only an illustrative composition. It cannot prove that those plants flower simultaneously in every climate or provide a measured habitat benefit.
Try this: Record observed flowering dates in later seasons and revise the plan from your own garden.
18. Add shrubs only where their mature size fits

A small number of suitable shrubs can provide structure where the complete design allows it. Check mature size, root space, utilities and the moisture zone before adding a woody plant. EPA discusses combining shrubs and herbaceous plants where site conditions permit. A shrub should have a clear role beyond filling a blank part of the drawing.
Try this: Draw the mature shrub outline before choosing the surrounding perennial spacing.
19. Choose mulch as part of the functional detail

Specify mulch with the actual rain-garden design and plant needs in mind. Keep it away from plant bases and from places where it would block the inlet or overflow. Check for displaced material after storms. Do not add more simply to make the surface look uniformly dark if the movement and depth of that material have not been considered.
Try this: Include mulch condition in the post-rain inspection record.
20. Make the garden easy to inspect after rain

Review the garden after rain from the safe outside route. Note where water entered, whether soil or mulch moved and how the feature drained compared with the approved design. An attractive planting display does not prove that the water function is working. Escalate persistent ponding, erosion or an unexpected overflow route to the responsible designer or local stormwater adviser.
Try this: Take dated pictures from the same position after comparable events.
21. Keep useful winter structure without hiding flow areas

The garden can retain a clear winter silhouette through selected stems and plant forms. Coordinate seasonal cutting and debris removal with local habitat guidance and the maintenance plan. Keep inlets, overflow areas and required access identifiable. Leaving useful structure is different from allowing every leaf pile or lodged stem to remain across a functional opening.
Try this: Mark the flow areas on the winter care sheet so helpers know what must stay clear.
22. Keep a fixed observation view and a living plant record

Keep the original plant names, assigned zones, maintenance notes and photographs together. When replacing a plant, identify why it failed before selecting another one. Record changes to the surrounding catchment or garden use, since a later patio or downspout change can alter the original task. Use the record to discuss problems with a qualified local adviser rather than repeatedly changing plants without understanding the cause.
Try this: Update the record after a replacement or a change to the water source.
A rain-garden design brief to take to a local adviser
Start with a simple site sketch showing buildings, paths, property boundaries, utilities, wells, septic components, existing trees and the proposed source of runoff. Record what you actually observe during rain without entering unsafe water or altering its route. Mark uncertain information for verification instead of estimating a buried line or property boundary from appearance.
Keep catchment measurements separate from the proposed garden dimensions. For an arithmetic example, a rectangular surface measuring 20 feet by 15 feet has an area of 300 square feet. That calculation does not determine the required rain-garden area or depth. Design rainfall, soil infiltration, groundwater, levels, storage and local requirements change the design. Ask the adviser to identify the method used and the information still needed.
Request a plan that explains the inlet, basin, overflow and maintenance access, plus a plant list by botanical name and moisture zone. Ask what temporary ponding and drainage time the actual local design expects. The cited Maryland resource describes a well-designed rain garden draining within 24–48 hours, while requirements and systems vary; use the approved local standard for your project. Persistent standing water is a reason to investigate, not to rename the feature a pond.
Keep a care sheet with establishment watering, weeding, plant replacement, mulch management and inspection tasks. The routine should include the water function as well as the planting. A new garden still needs attention while plants establish, and an established one still needs its inlet and overflow kept clear. Follow the plan rather than copying a maintenance calendar from another climate.
Is a rain garden the same as a pond?
No. A rain garden is intended to hold runoff temporarily and then drain according to its design. A permanent pool, wetland or pond has a different water regime and may require a different design and approvals.
Can I put a rain garden anywhere water already stands?
No. Existing ponding can indicate unsuitable infiltration or other site problems. Have the source, soil, groundwater, levels, utilities and setbacks assessed before choosing the location.
Will a rain garden prevent every flood?
No. It is designed for a defined runoff task and capacity. EPA notes that bioretention may not provide flood control during extreme storms. The overflow route and the wider drainage system still matter.
A practical next step
Choose rain garden ideas that fit an assessed site and remain useful between storms. Keep the planting zones clear, the water routes inspectable and the maintenance routine realistic. Resolve the water-management design first, then refine the shape, plant combinations and garden view.
Wildlife garden planning for local plant choices and observations. Garden path ideas for keeping ordinary access outside the basin.
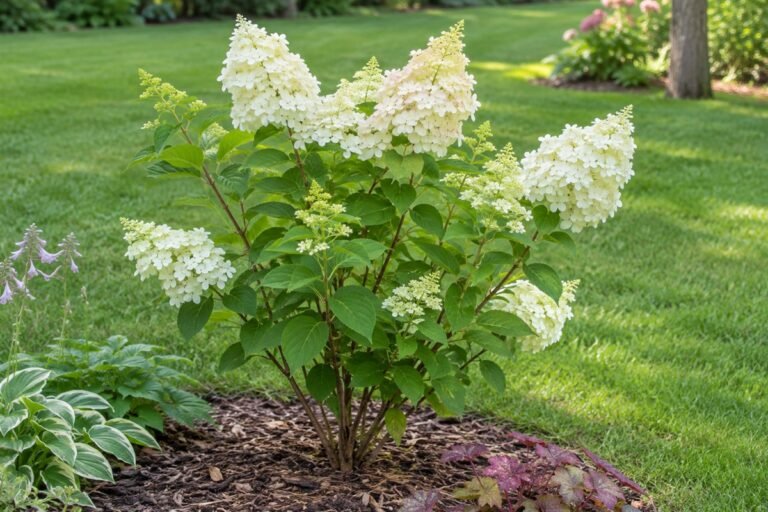
Images are original AI-generated garden concepts. They do not document tested infiltration, verified native plant identities, measured catchment capacity, engineered levels or approved drainage installations.
Sources and care references
- University of Minnesota Extension: rain-garden siting, soil and planting questions
- EPA: rain gardens, bioretention and other green-infrastructure types
- EPA: bioretention site conditions, planting zones, maintenance and limitations
- University of Maryland Extension: current rain-garden definition and drainage context
- University of Maryland Extension: local rain-garden planning resources
Optional digital guide for this topic
If you prefer a structured workbook, explore this related paid guide.