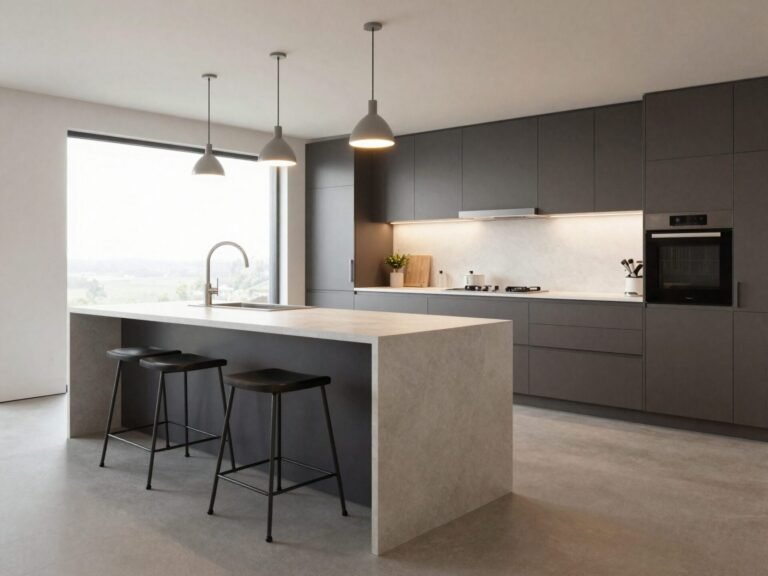
You’ve rearranged the same three appliances twice, and the kitchen still feels like you’re running an obstacle course every time you cook dinner.
Getting the kitchen layout right makes the biggest difference in how the space actually feels day to day. A well-planned kitchen layout balances function and style, and even small tweaks to your kitchen layout can transform the whole area.
In my experience, kitchen layout ideas fail when they focus on how a space looks in photos instead of how bodies actually move through it while cooking. By the end of this article, you’ll know exactly which layout fixes designers rely on most, and which small mistakes are quietly making your kitchen harder to use than it needs to be.
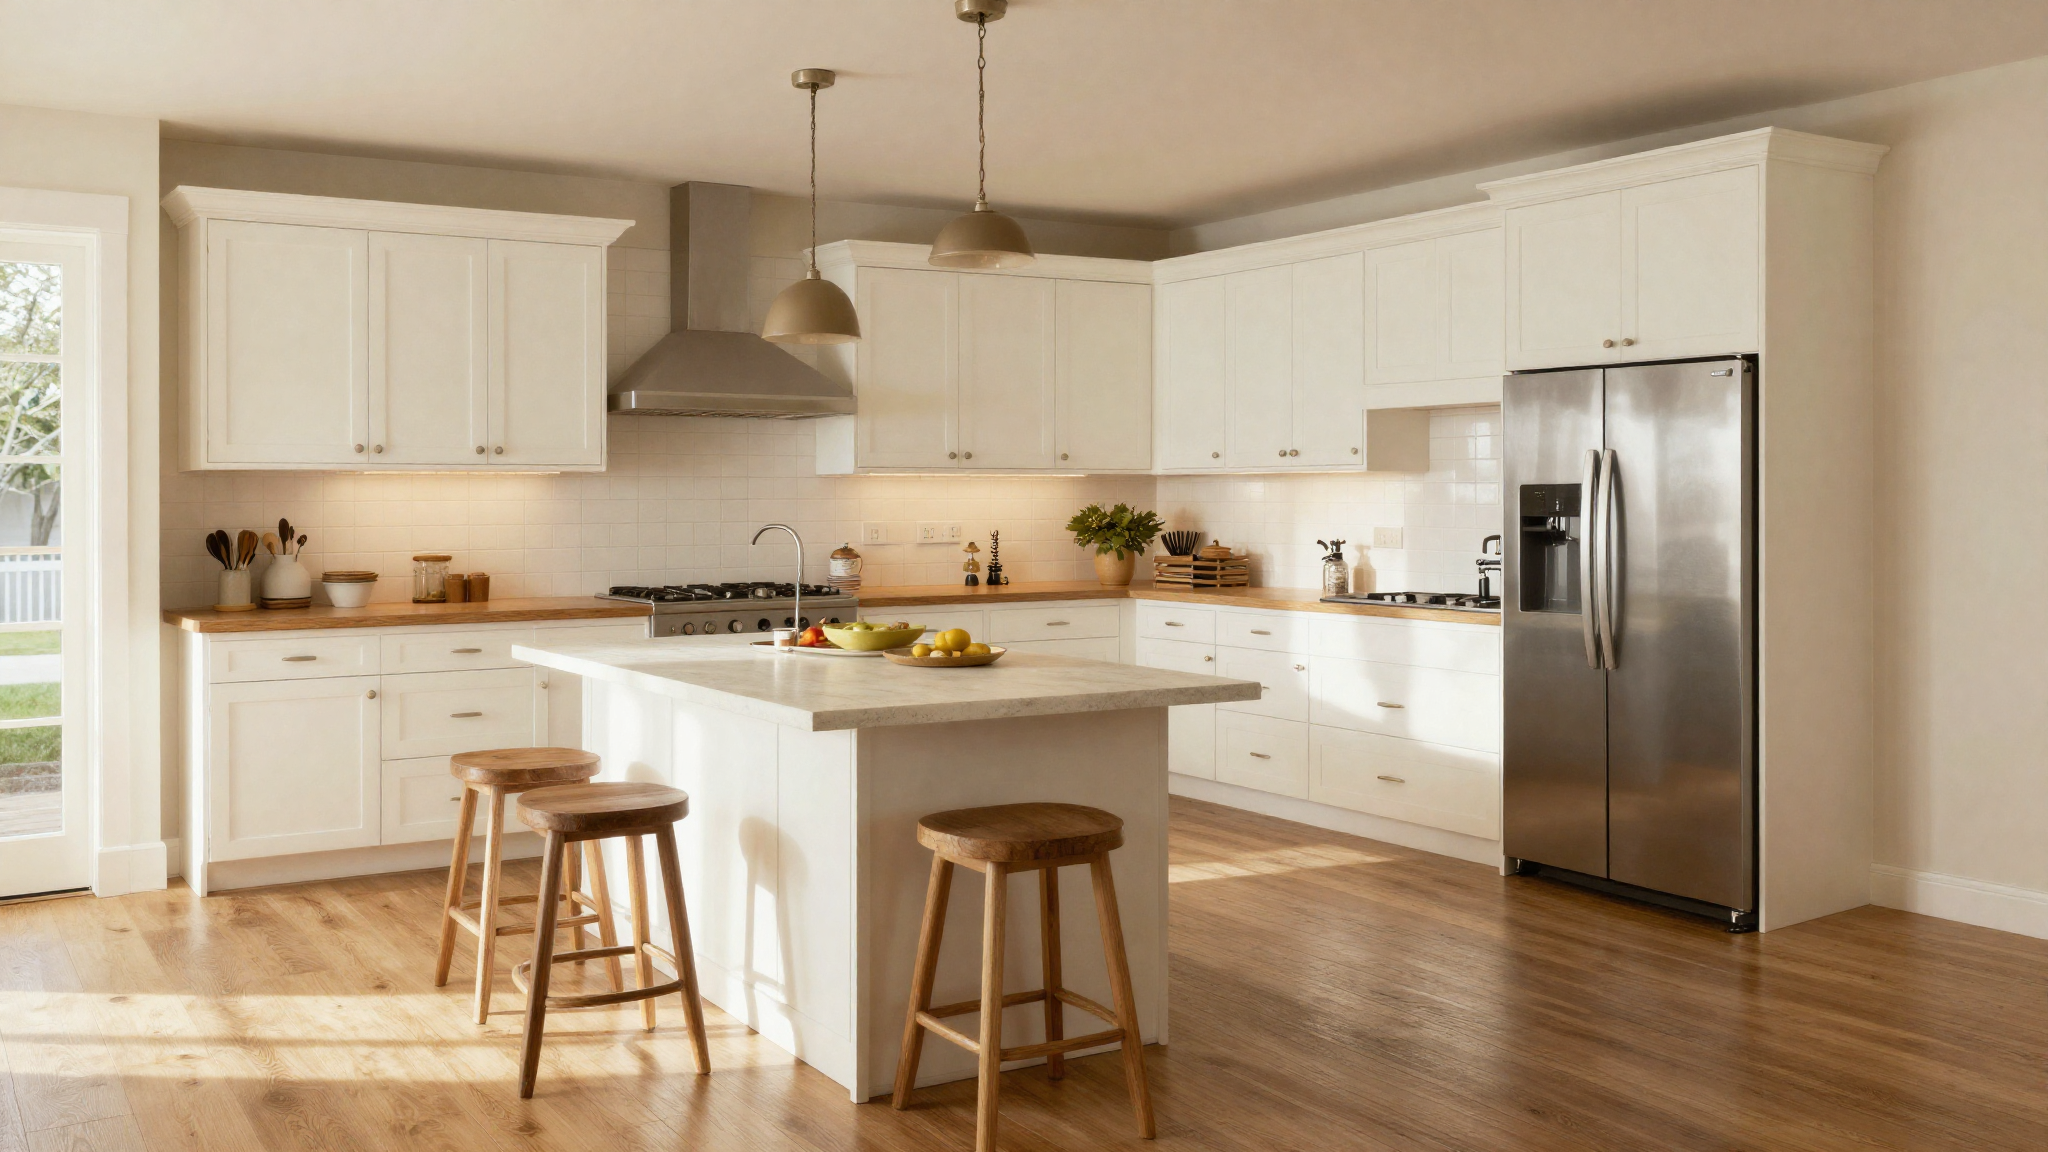
Table of Contents
- 1. Giving Every Walkway Room to Breathe
- 2. Letting the Triangle Do the Thinking For You
- 3. Measuring Before You Fall in Love With an Appliance
- 4. Putting Light Where the Work Actually Happens
- Find the Perfect Digital Product for You
- 6. The Backsplash That Hides a Small Mess
- 7. Giving Produce a Place That Isn’t the Fridge
- 8. Keeping the Dishwasher’s Door Out of the Argument
- 9. Letting One Material Do the Talking
- 10. One Showpiece Instead of Ten Small Decisions
- 11. Labeling the Chaos Away
- 12. Borrowing a Living Room Trick for the Floor
- 13. Small Jewelry for a Tired Kitchen
- Effort & Cost Snapshot
1. Giving Every Walkway Room to Breathe for Your Kitchen Layout
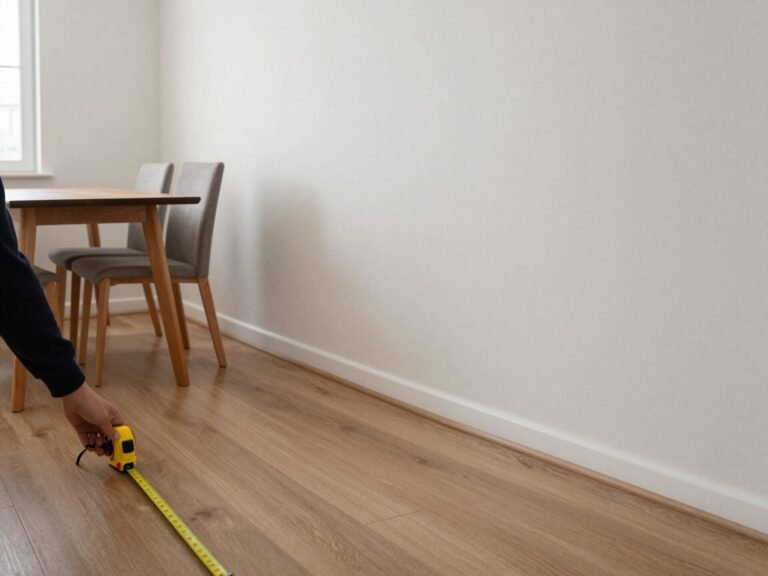
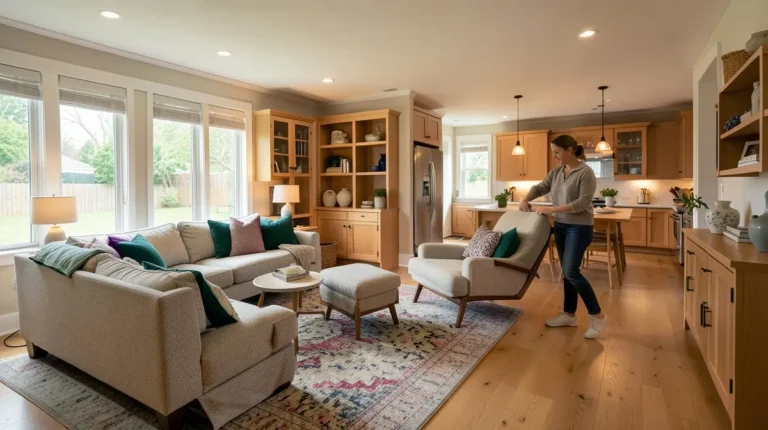
Inadequate circulation space is one of the most common kitchen layout ideas people get wrong without realizing it. Interior designers generally recommend around 4 feet of clearance between countertops, and a bit more if the kitchen doubles as a walkway to another room.
💡 Smart tip: In a small kitchen, aim for a minimum of 39 inches between counters, and push for more wherever your floor plan allows it.
⚠️ Mistake to avoid: Tight circulation makes it hard to open the fridge or dishwasher fully while someone else is working nearby, which turns cooking into a scheduling problem.
2. Letting the Triangle Do the Thinking For You for Your Kitchen Layout
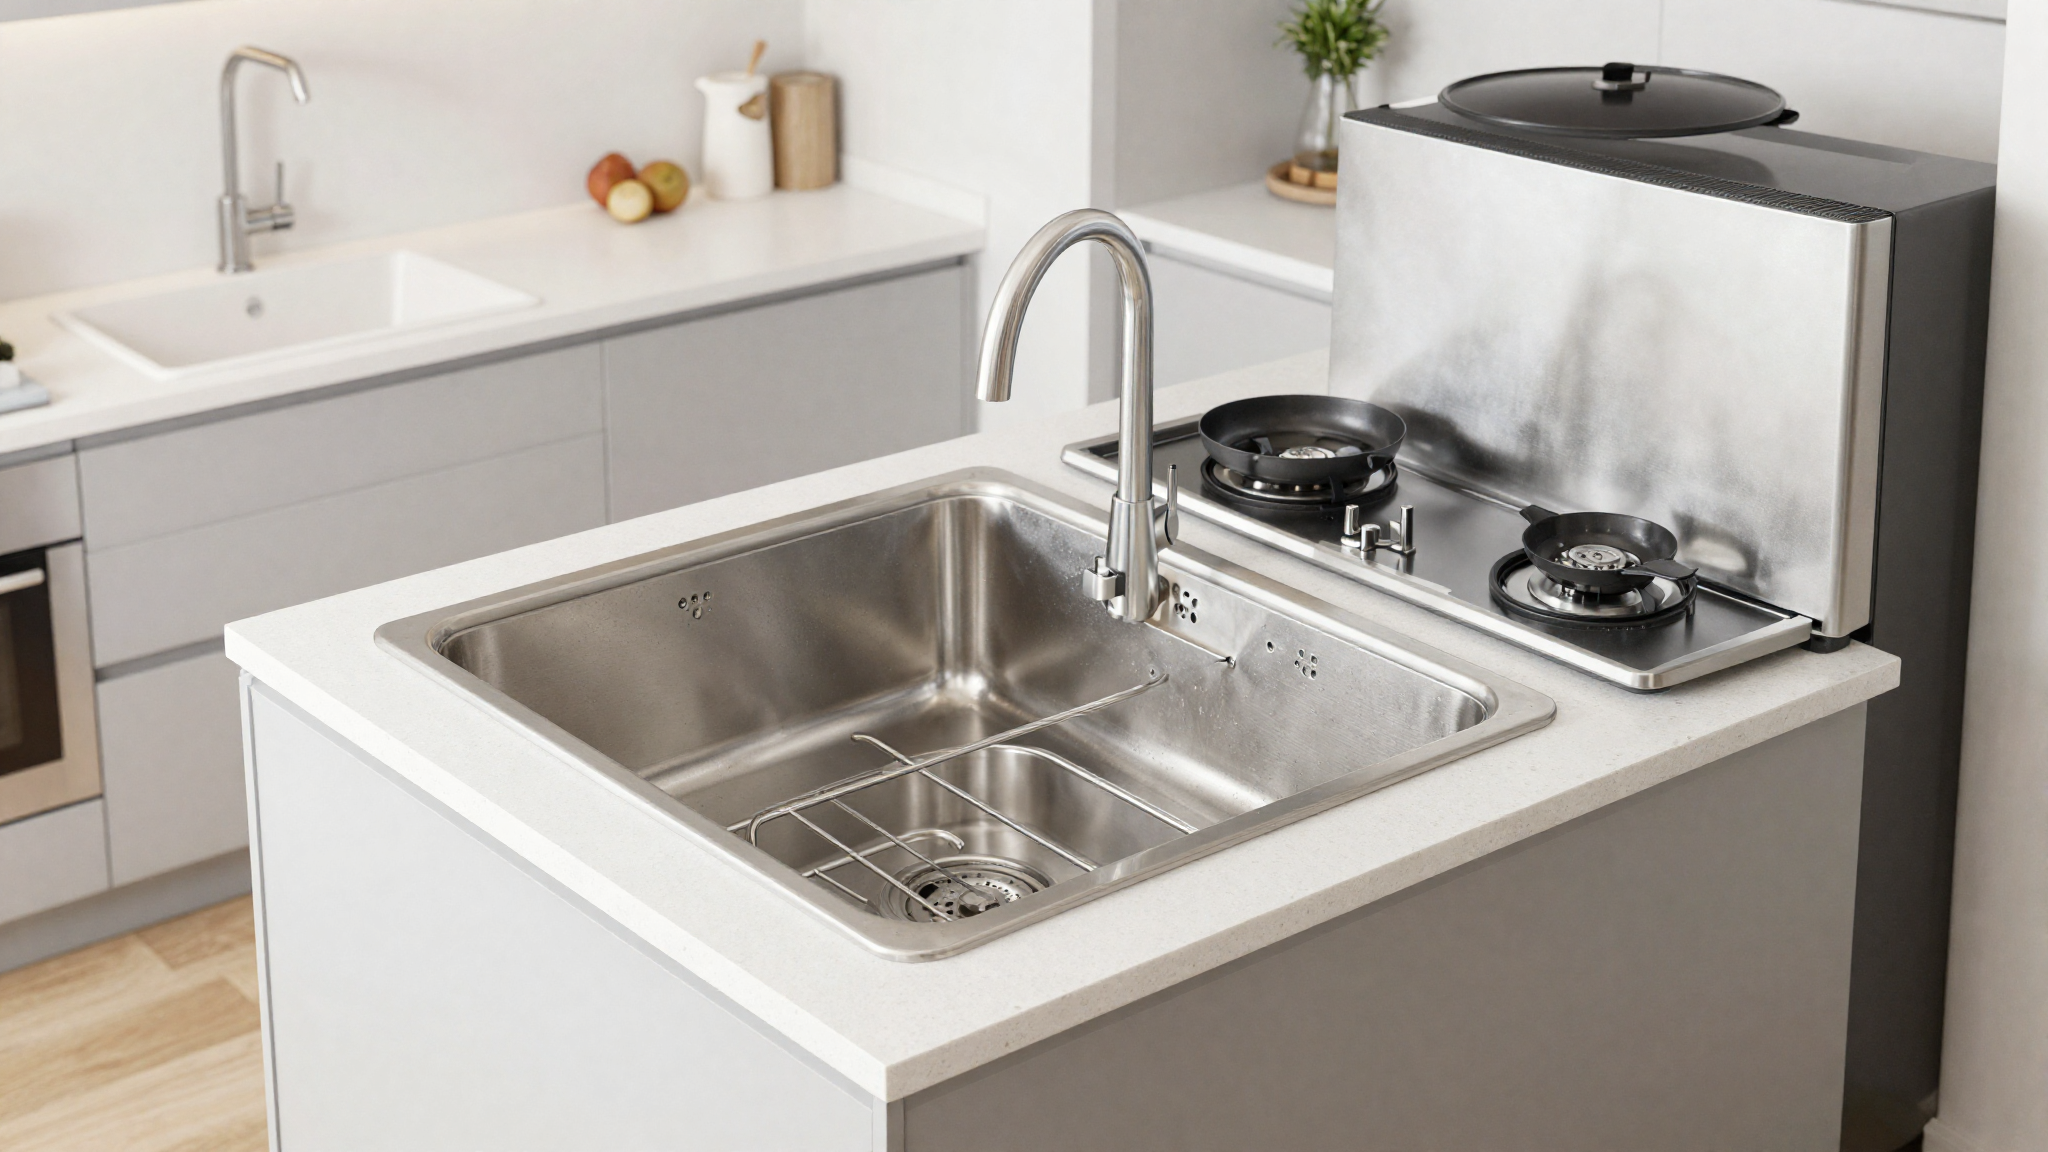
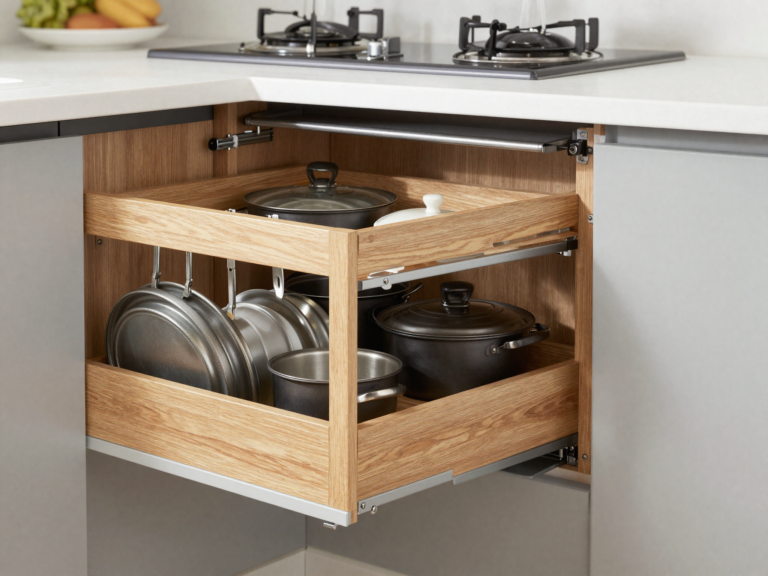
The classic work triangle between sink, stove, and refrigerator still holds up because it mirrors how people actually cook. Storing spices and oils near the cooking zone, and cutlery and dishes near the dishwasher, keeps you from crossing the kitchen for every single step.
💡 Smart tip: Walk through making your most common meal before finalizing a layout — every extra trip across the room is a sign the triangle needs adjusting.
⚠️ Mistake to avoid: A kitchen with no real workflow plan means running back and forth between zones every time you cook, wash, or prep.
3. Measuring Before You Fall in Love With an Appliance for Your Kitchen Layout
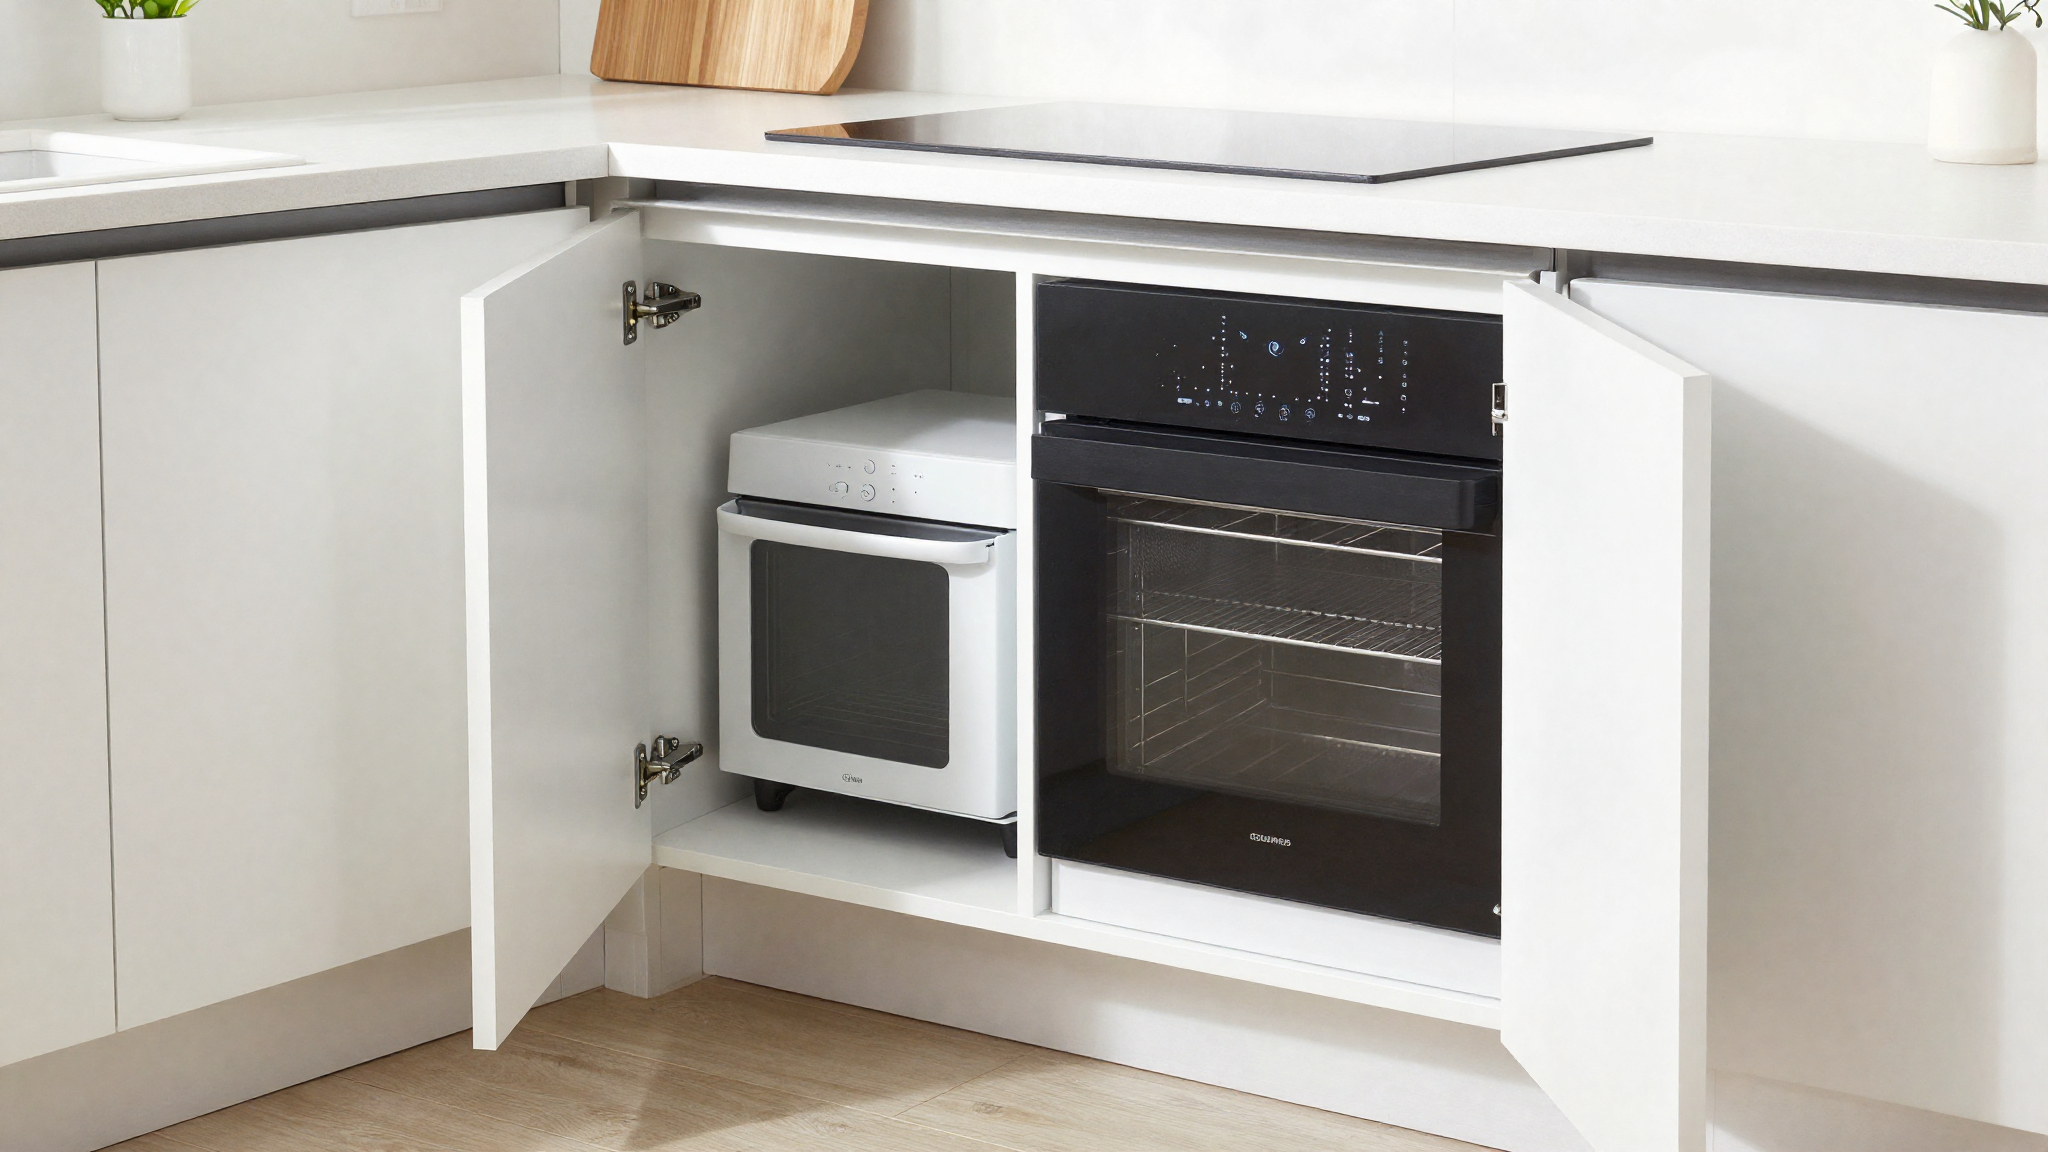
Oversize refrigerators and unmeasured small appliances are a quiet source of frustration — they protrude into walkways and block cabinets from opening fully. A tailored appliance garage solves this by giving microwaves, blenders, and food processors a concealed, measured home.
💡 Smart tip: Select your major appliances early and check both their dimensions and how their doors swing open before finalizing cabinet layout.
⚠️ Mistake to avoid: Skipping a proper home for small appliances means they end up sitting out permanently, creating counter clutter that never goes away.
Loving These Ideas? Get the Step-by-Step Guide
Grab the full 5-day eBook and turn these ideas into a finished room.




4. Putting Light Where the Work Actually Happens
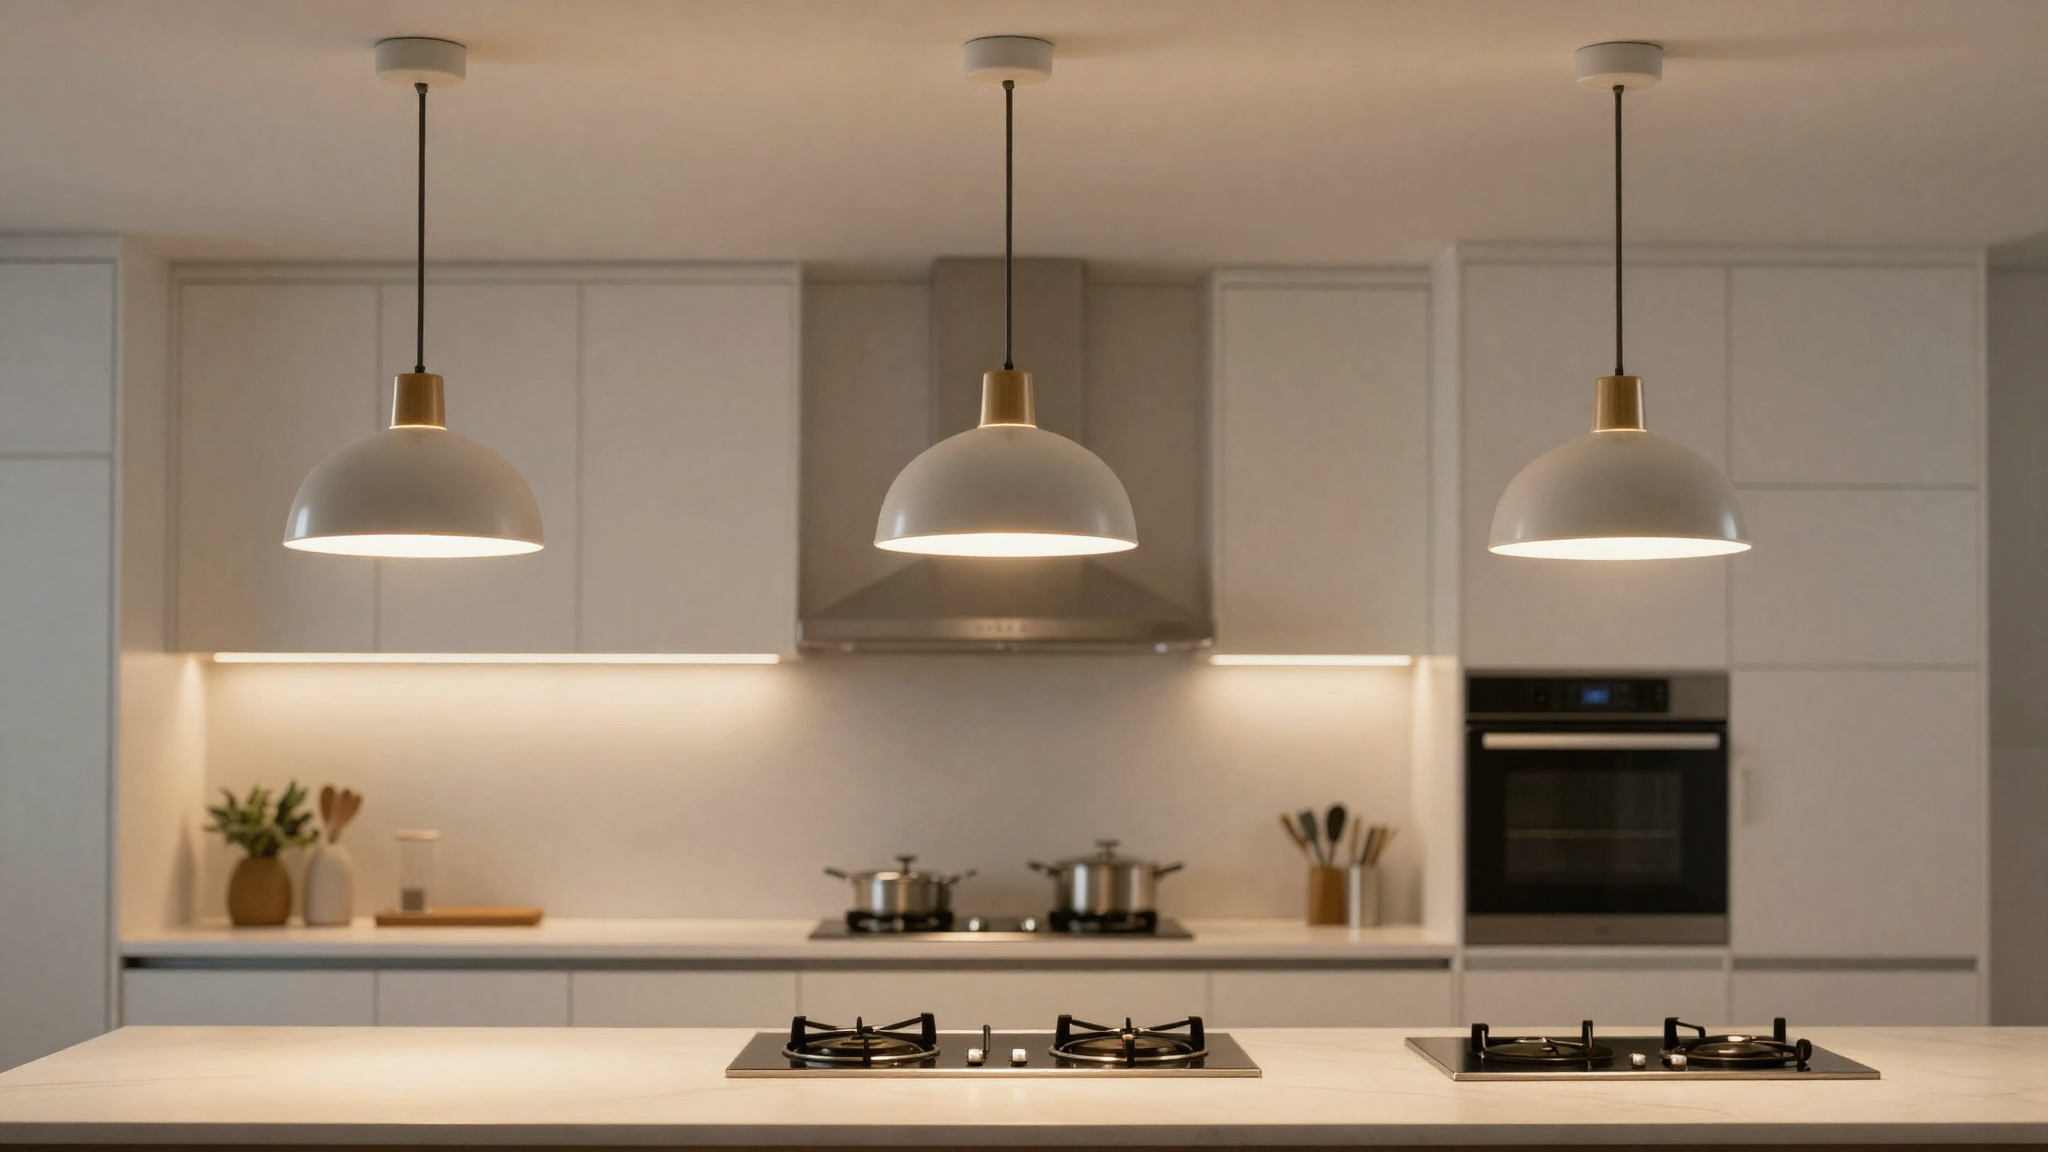
Beautiful pendant lights are wasted if they aren’t actually positioned over your work surfaces. Prepping, cooking, and cleaning up in shadows is a layout failure hiding behind a design choice that looked good on paper.
💡 Smart tip: Prioritize function over pure aesthetics when choosing pendant placement — the fixture should light your hands, not just the ceiling above them.
⚠️ Mistake to avoid: Placing lighting over walkways instead of countertops is one of the most common oversights in kitchen planning, and it’s rarely noticed until the room is finished.
Find the Perfect Digital Product for You
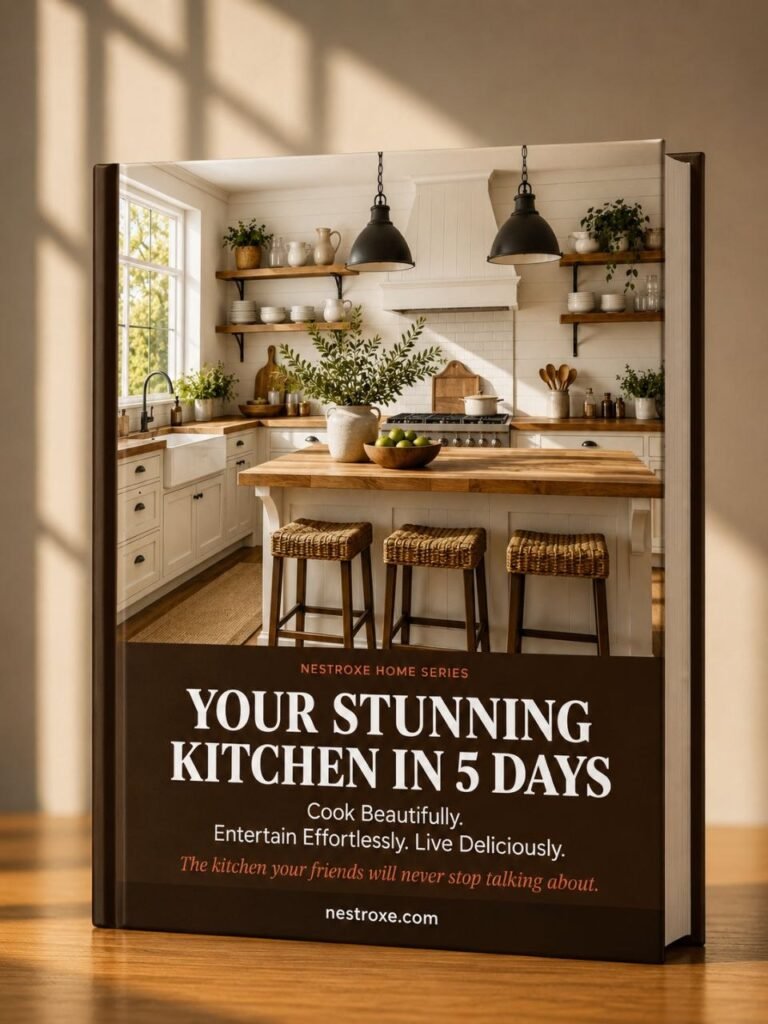
If you’re already picturing which zone of your kitchen needs this kind of rethink, that’s exactly the gap Your Stunning Kitchen in 5 Days was built to close. It walks you through layout, storage, lighting, and workflow decisions — the same ones covered here — mapped into one clear day-by-day plan with real prices attached.

👉 Click here to get your copy of Your Stunning Kitchen in 5 Days
6. The Backsplash That Hides a Small Mess
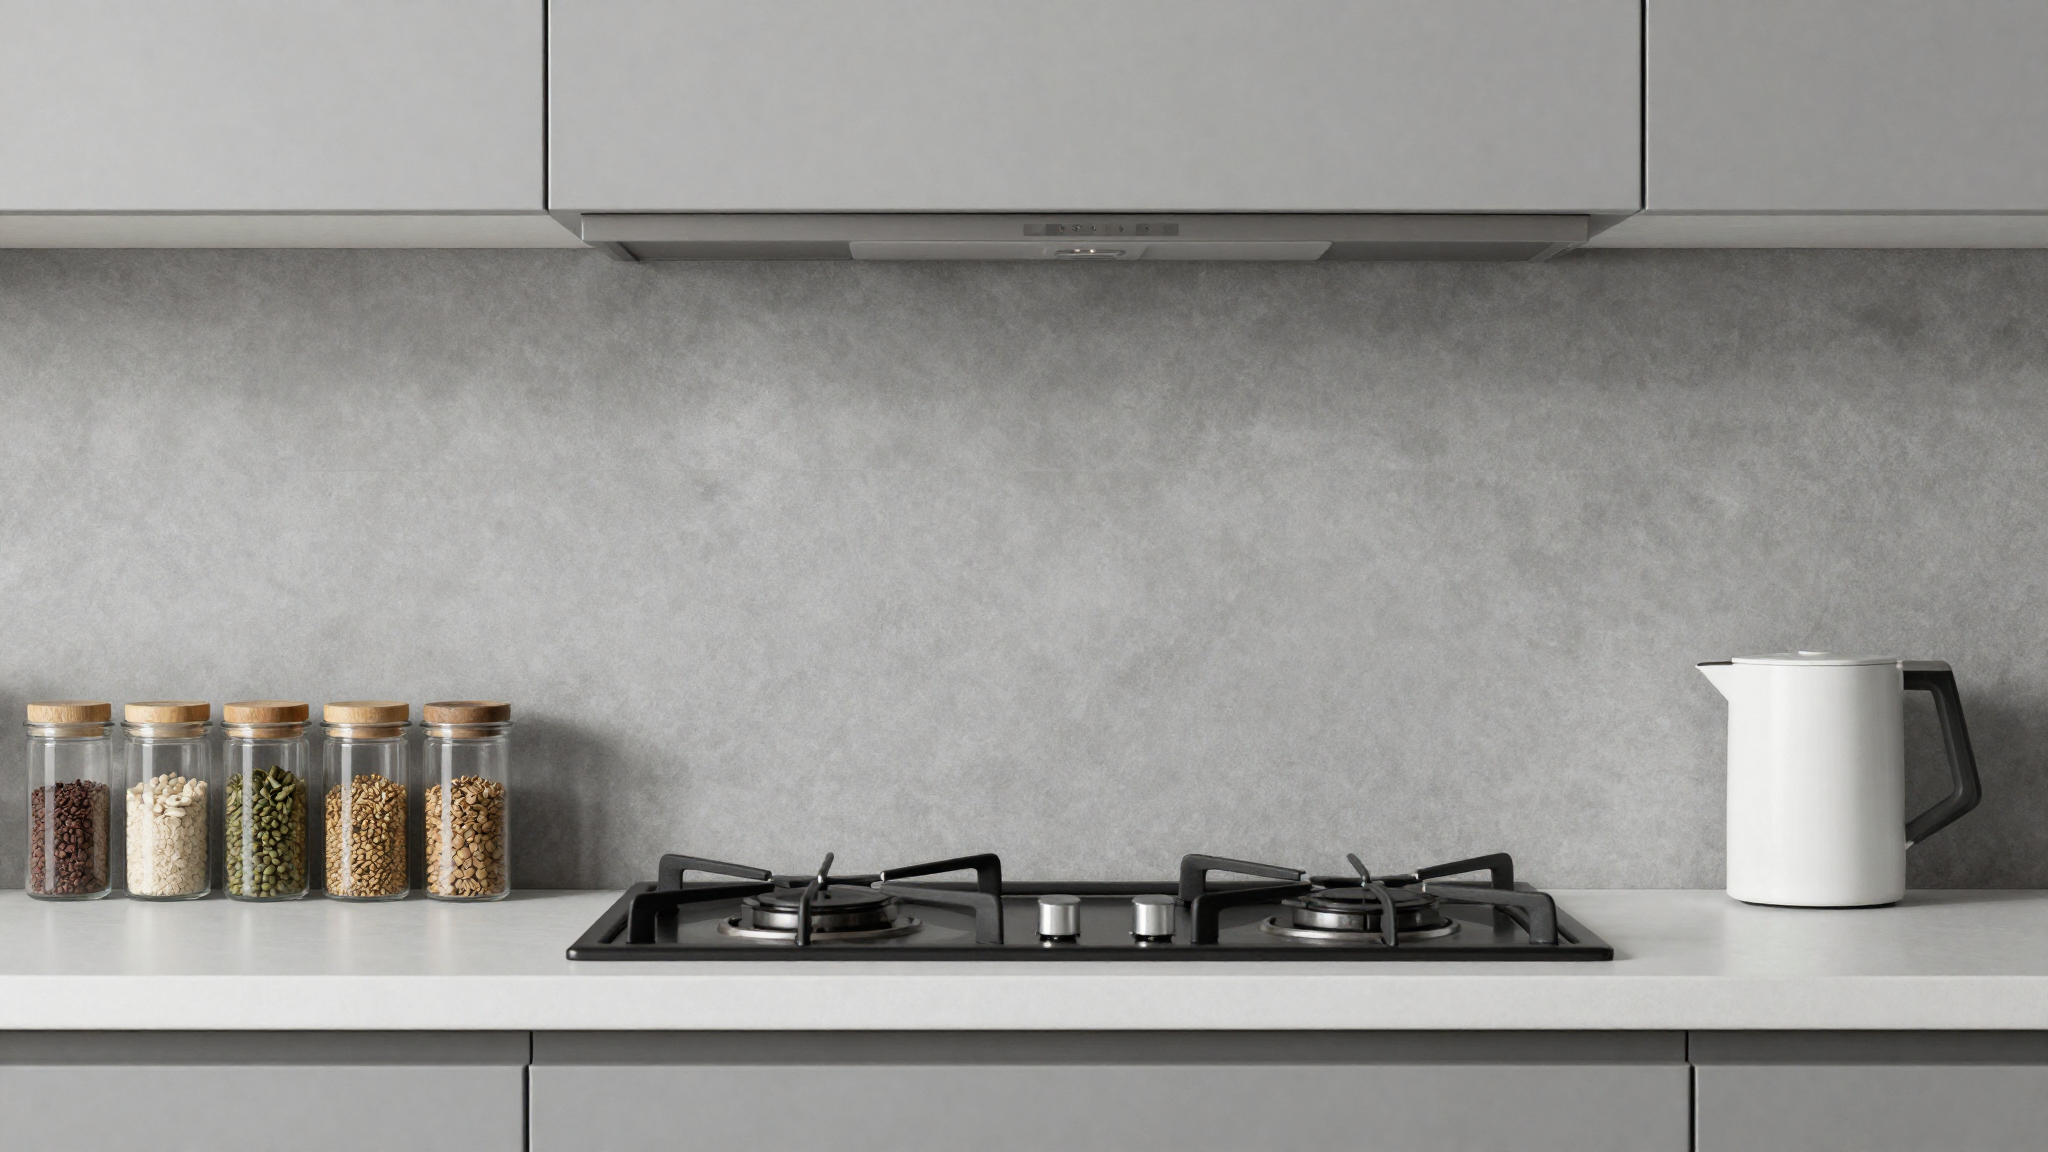
A sliding section of backsplash behind the stove can conceal small jars and bottles the moment you slide it closed, keeping the cooking zone looking seamless even mid-recipe. It’s a small architectural trick that solves a genuinely daily annoyance.
💡 Smart tip: A vertical sliding panel works especially well in tight galley kitchens where a horizontal one would need more clearance to open.
⚠️ Mistake to avoid: Retrofitting this feature after cabinets are installed is far more expensive than planning for it during the original layout design.
7. Giving Produce a Place That Isn’t the Fridge
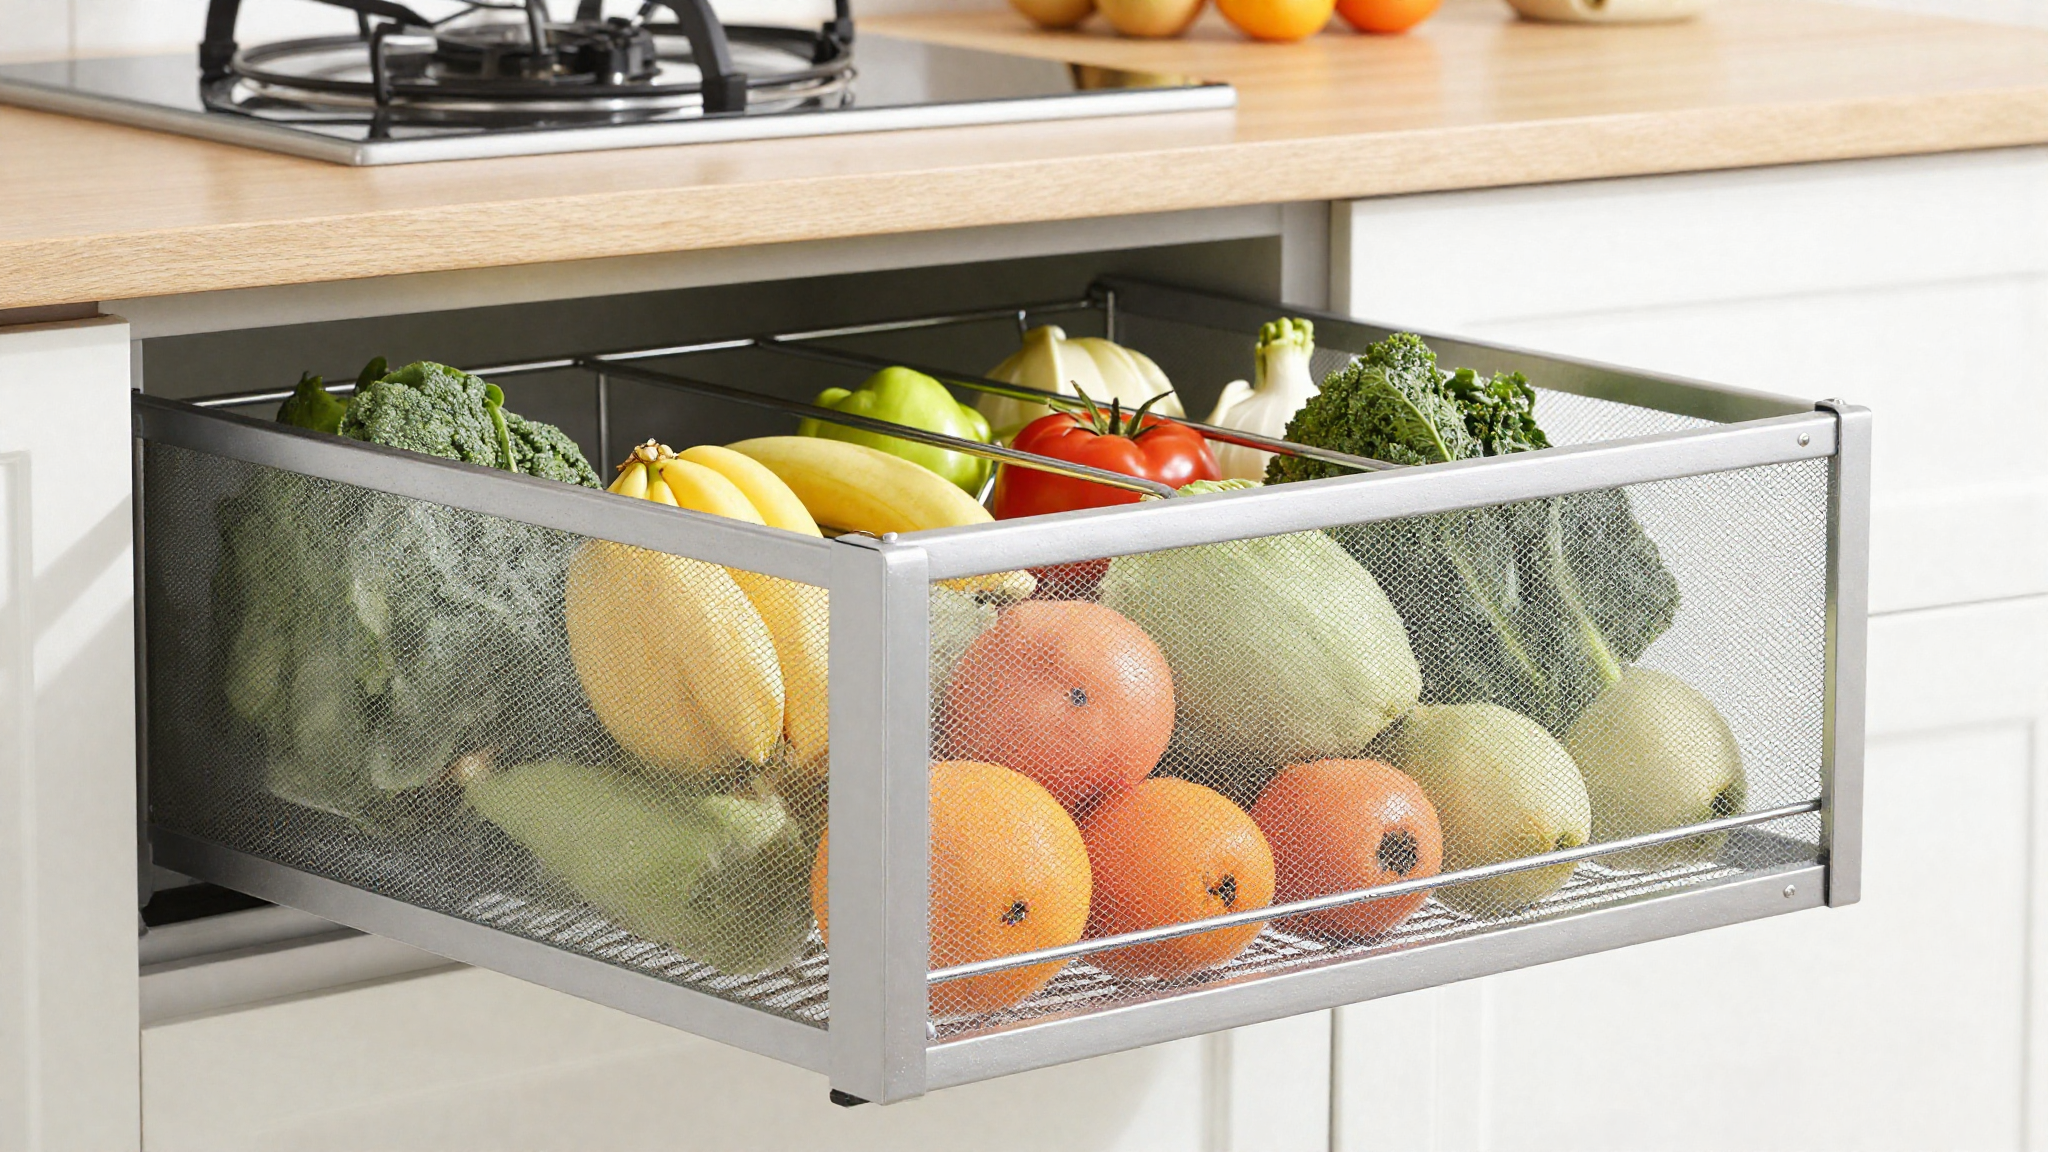
Certain fruits and vegetables actually last longer stored in airy baskets at room temperature rather than crammed into a refrigerator drawer. A basic drawer with basket inserts and a wire mesh front solves this with very little custom woodworking required.
💡 Smart tip: Position this drawer near your prep zone rather than by the entry — it should support cooking, not just storage.
⚠️ Mistake to avoid: Storing all produce in the crisper drawer regardless of type often leads to faster spoilage for items that actually prefer open air.
8. Keeping the Dishwasher’s Door Out of the Argument
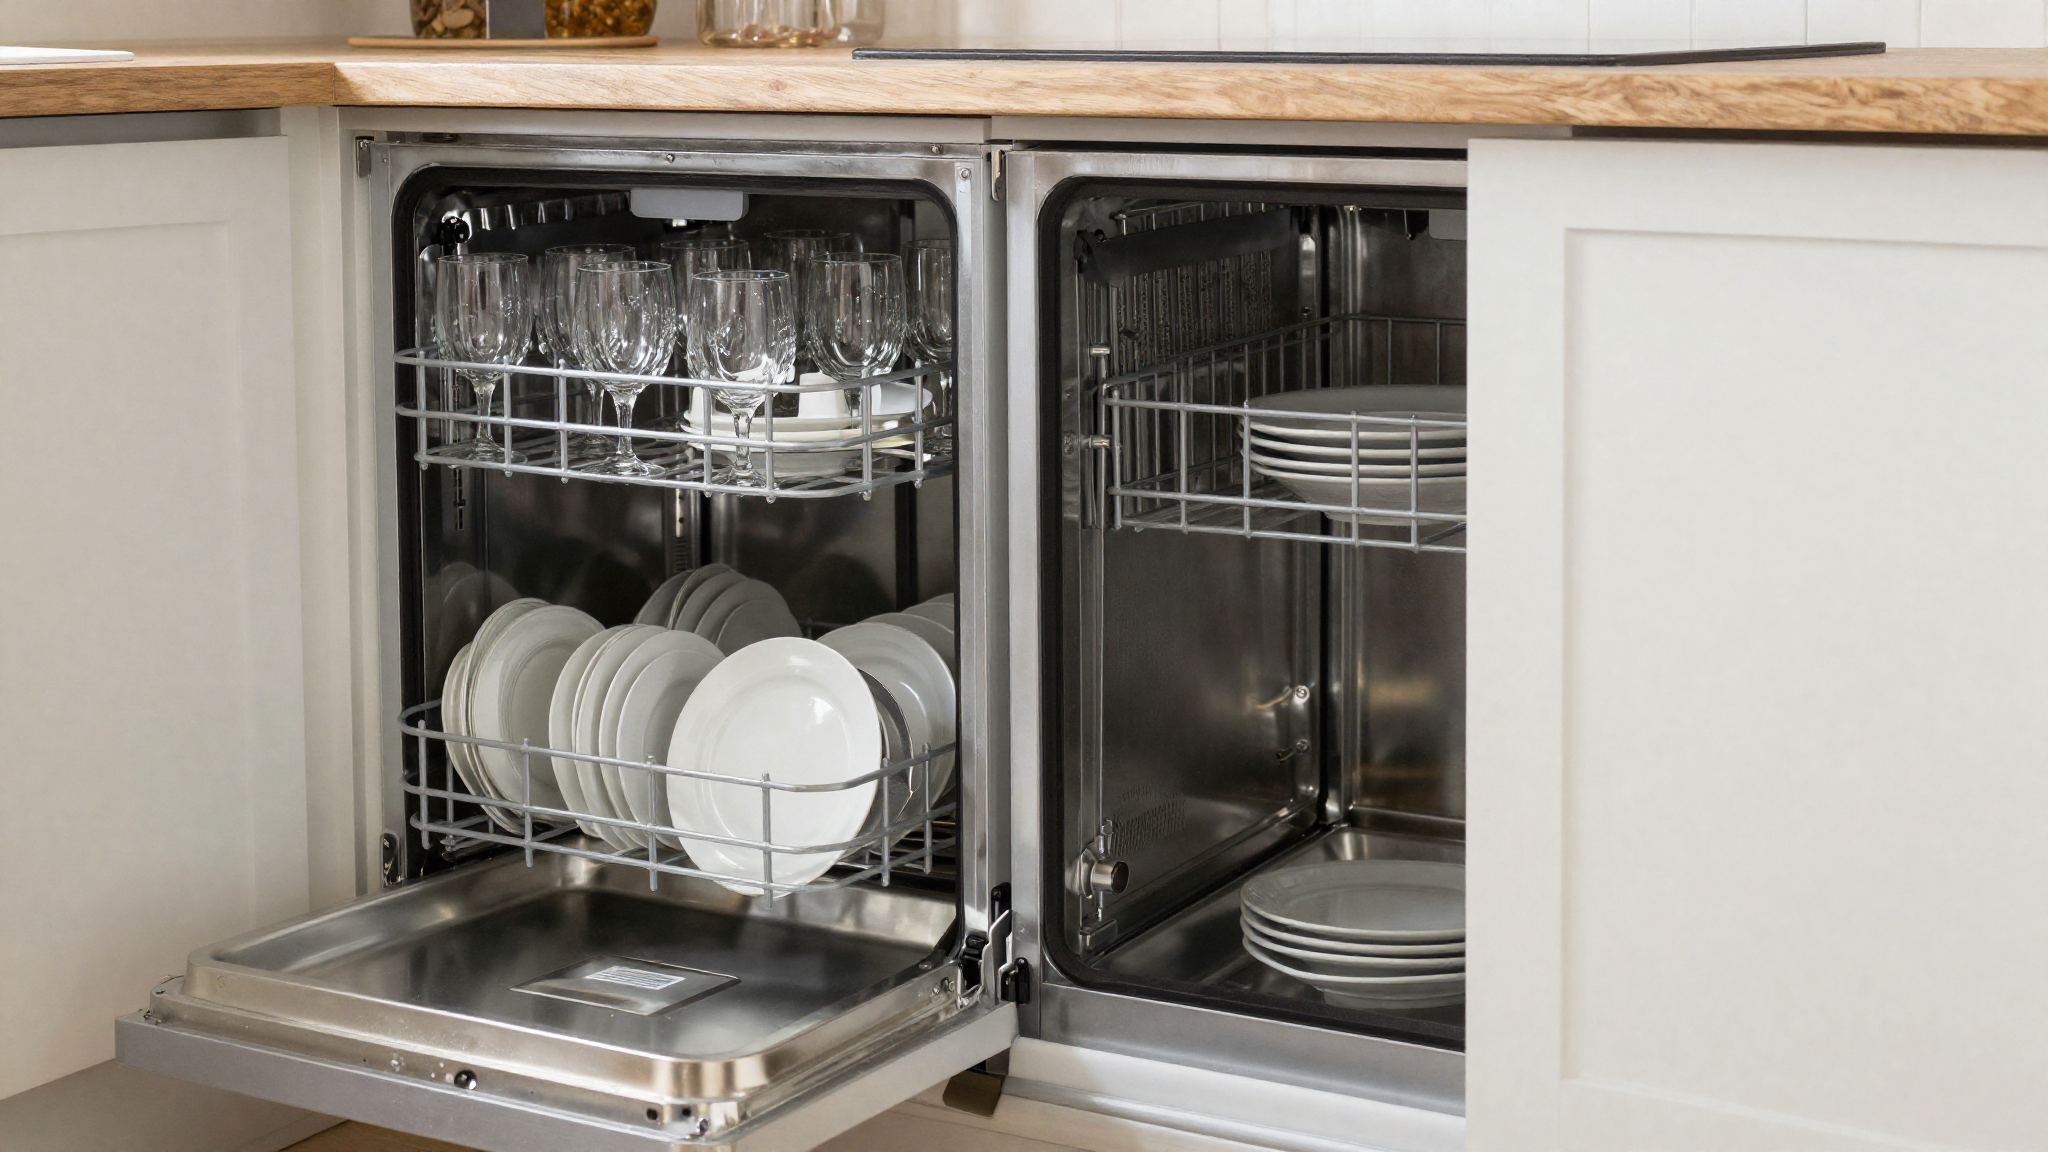
Everyday dishes and glassware belong close to the dishwasher, but not so close that an open dishwasher door blocks the cabinet. If you’re standing at the sink with the dishwasher to your right, the dish cabinet works best to the left.
💡 Smart tip: Test the real-world clearance by opening the dishwasher door fully and reaching for the cabinet before finalizing which side gets the dishes.
⚠️ Mistake to avoid: Placing frequently used dishes directly above or beside the dishwasher on the wrong side means fighting an open door every single time you unload.
9. Letting One Material Do the Talking
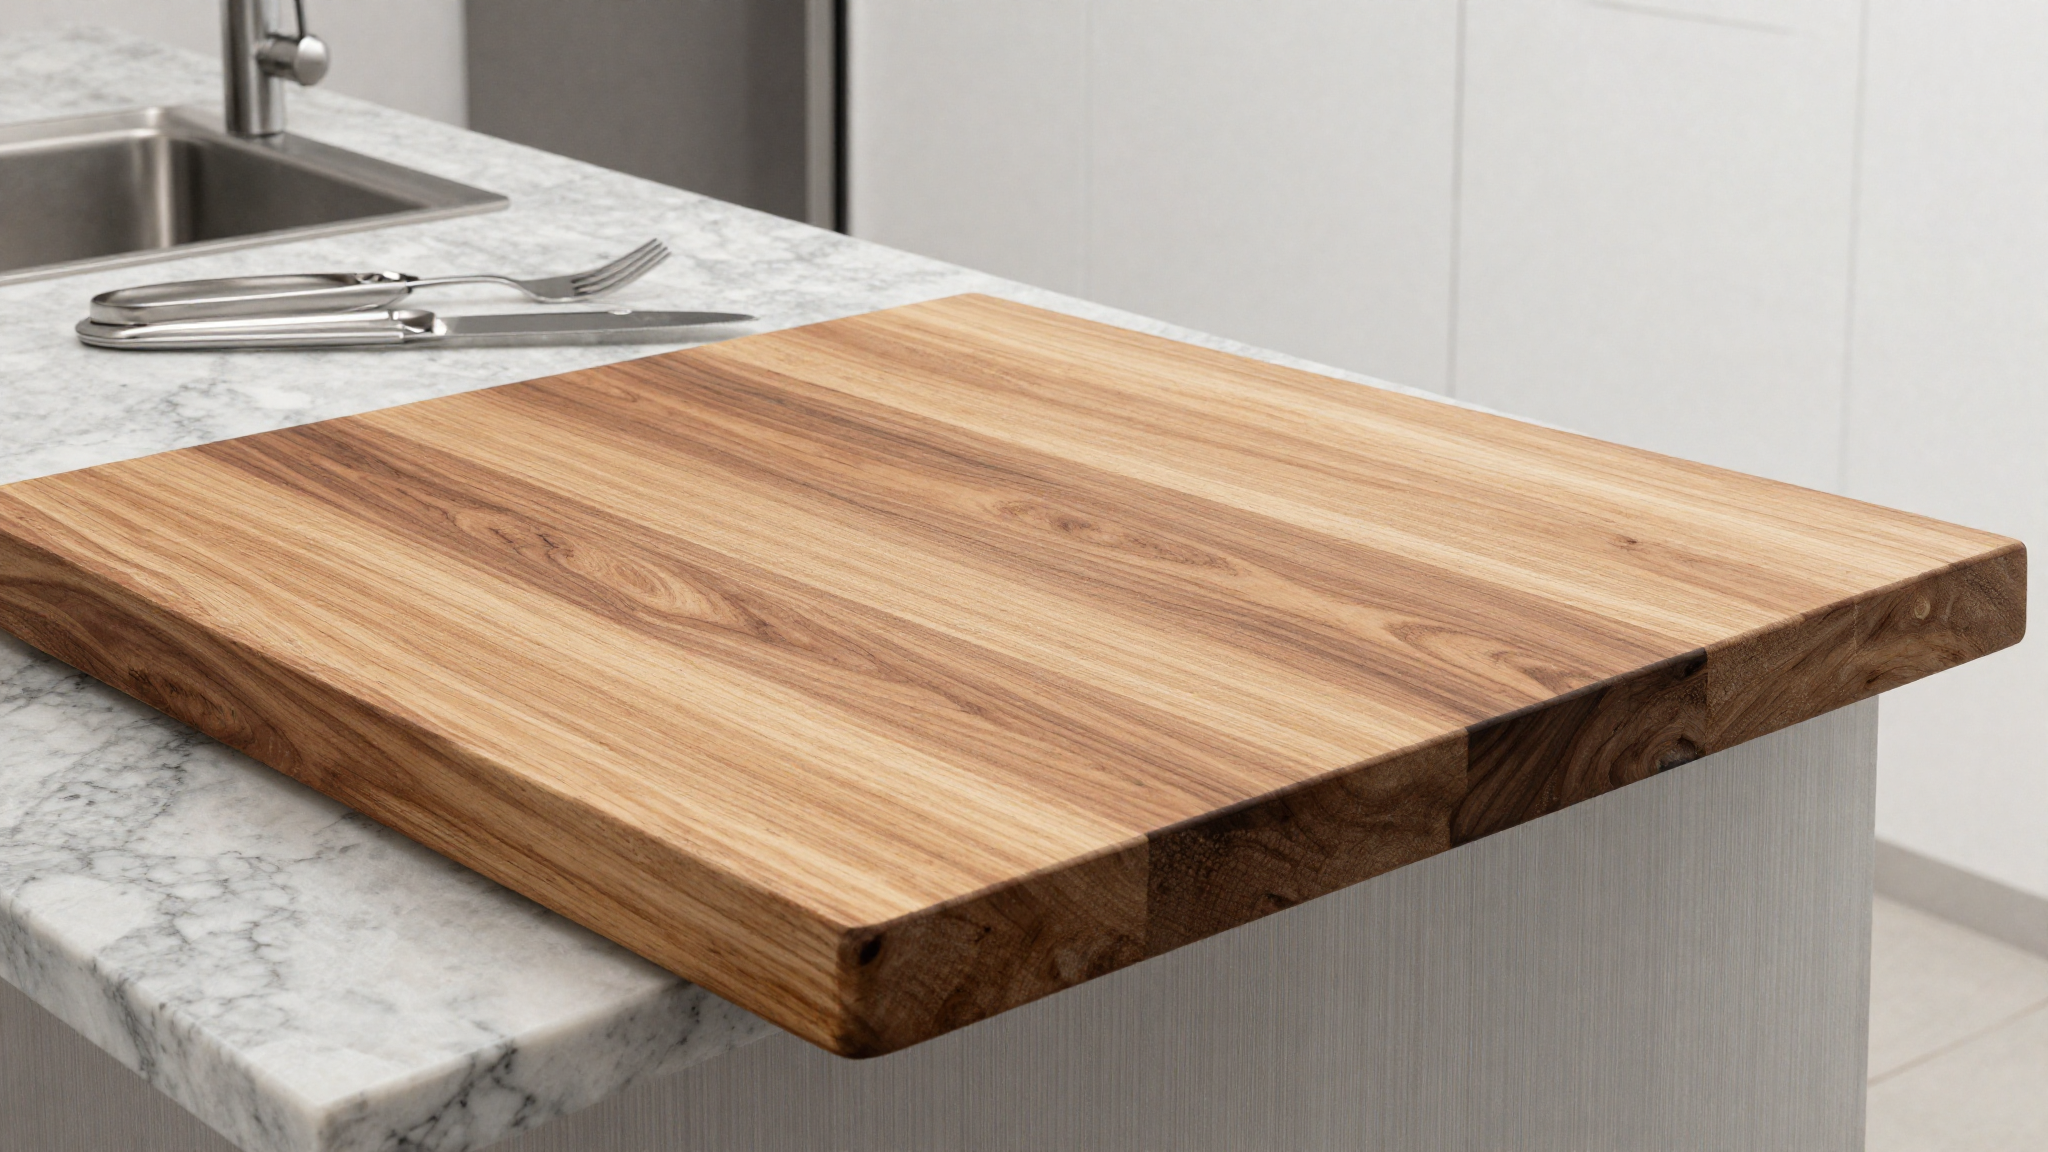
Mixing a warm butcher block chopping station into an otherwise stone island countertop adds both function and visual interest without turning the surface into a busy patchwork. The wood section breaks up what could otherwise look like an uninterrupted slab.
💡 Smart tip: Keep the wood insert to one contained zone — a full chopping station — rather than scattering wood accents across multiple surfaces.
⚠️ Mistake to avoid: A stone island with zero material variation can start to look flat or clinical in photos, even when the stone itself is beautiful.
10. One Showpiece Instead of Ten Small Decisions
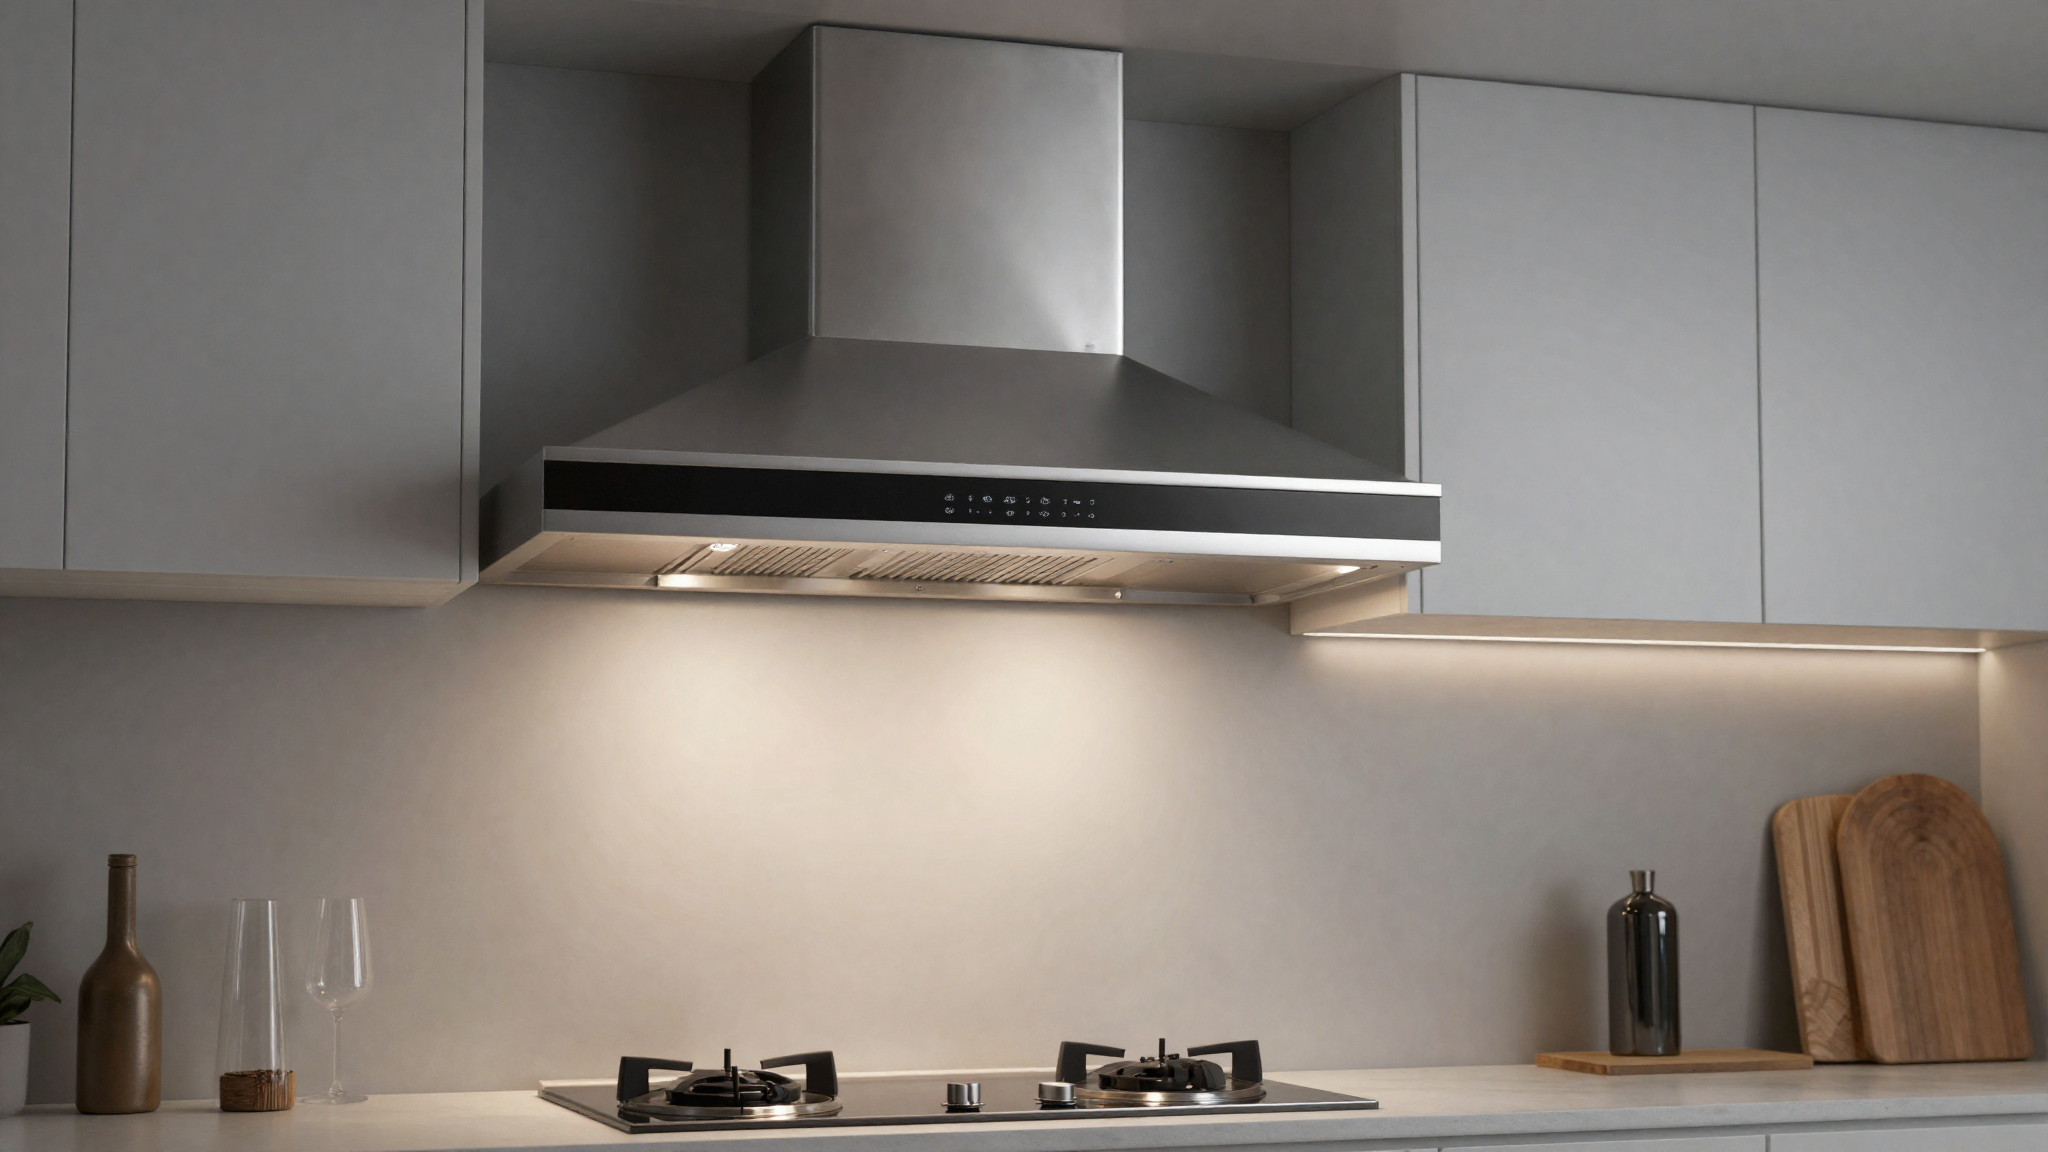
A simple kitchen with straightforward cabinetry gets a huge visual lift from one showpiece feature — usually the range hood. Playing up a single element takes the pressure off every other decision in the room needing to be a statement too.
💡 Smart tip: Choose one feature to be your showstopper and deliberately keep the surrounding elements calm so it actually reads as intentional.
⚠️ Mistake to avoid: Trying to make every element in the kitchen a focal point results in a room where the eye never knows where to land.
11. Labeling the Chaos Away
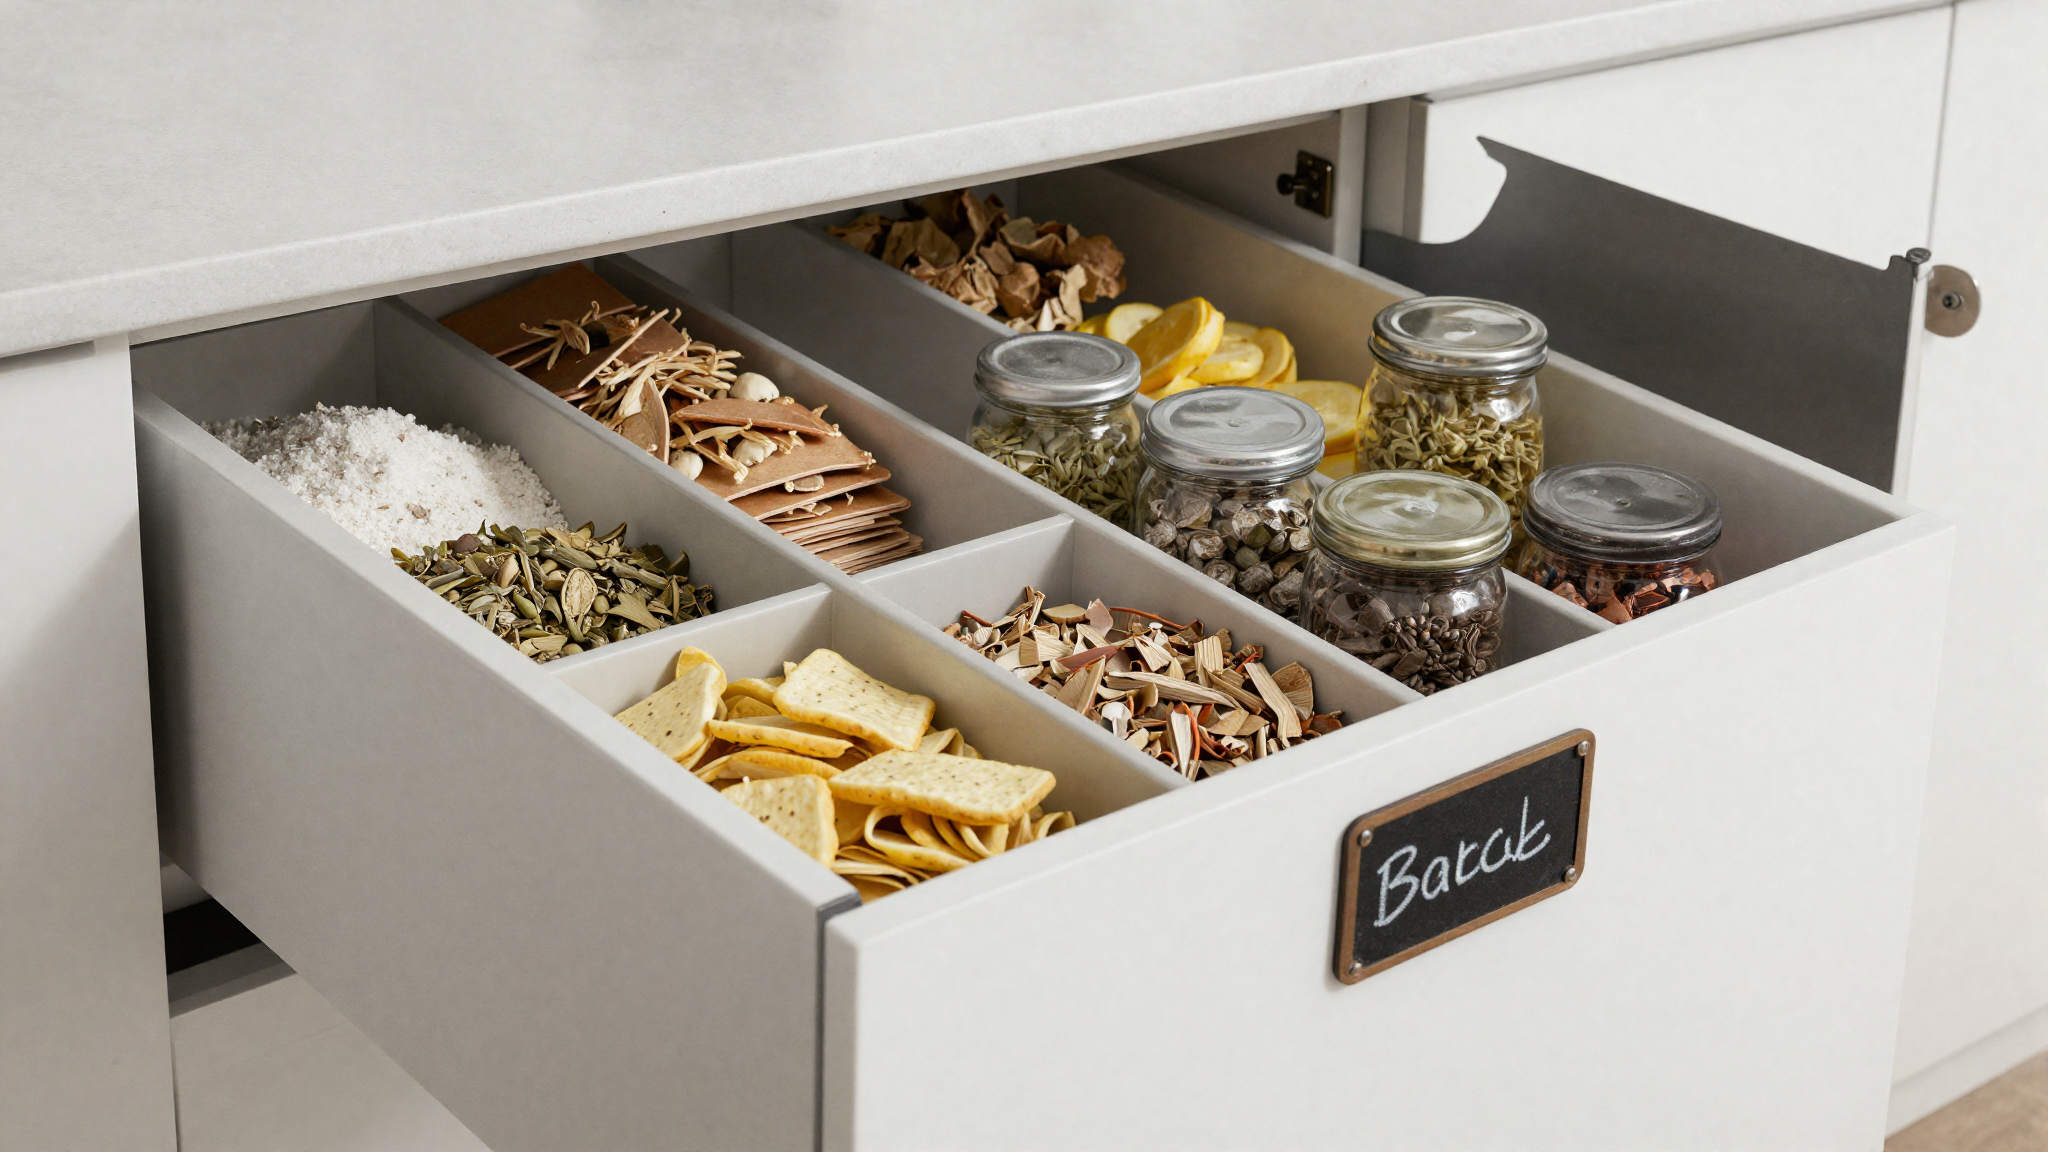
Deep pantry drawers hold an impressive amount, but without dividers and labels they quickly become a guessing game. Drawer dividers paired with reusable labels keep even the deepest storage genuinely usable instead of just full.
💡 Smart tip: Sort ingredients into broad categories — baking, breakfast, snacks — rather than labeling every single item individually; broader zones are easier to maintain long-term.
⚠️ Mistake to avoid: Deep drawers without any dividing system tend to become a single messy pile within a few weeks, no matter how organized the first day looked.
12. Borrowing a Living Room Trick for the Floor
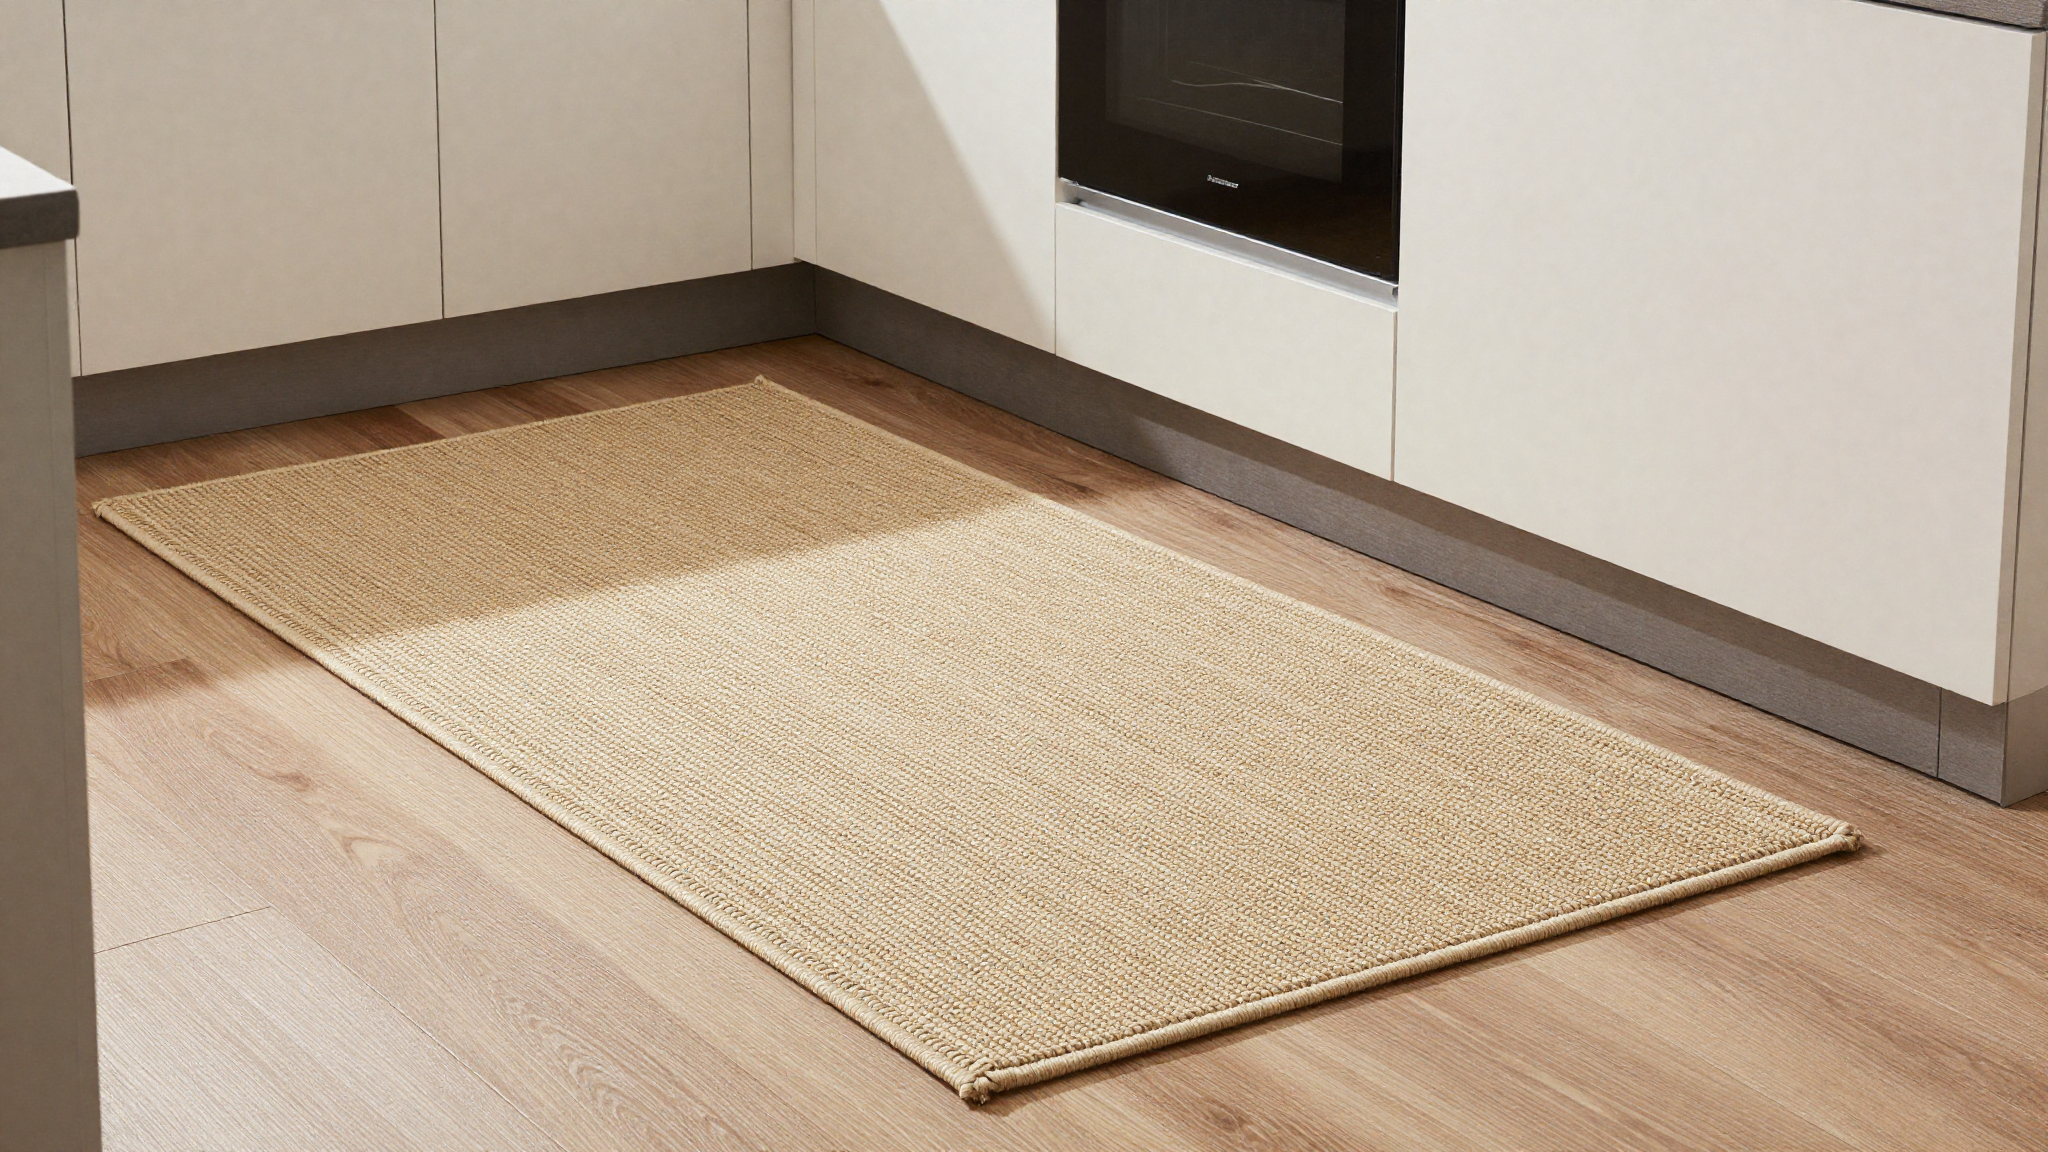
A runner rug is a small addition that brings real coziness to a galley kitchen, a layer most people reserve for living rooms without realizing how well it works underfoot in the kitchen too.
💡 Smart tip: Choose a low-pile, washable runner specifically rated for kitchens — it needs to handle spills without becoming a slipping hazard.
⚠️ Mistake to avoid: A thick, non-slip-backed rug in a high-traffic kitchen zone can bunch or shift underfoot, creating a genuine trip risk near the stove.
13. Small Jewelry for a Tired Kitchen
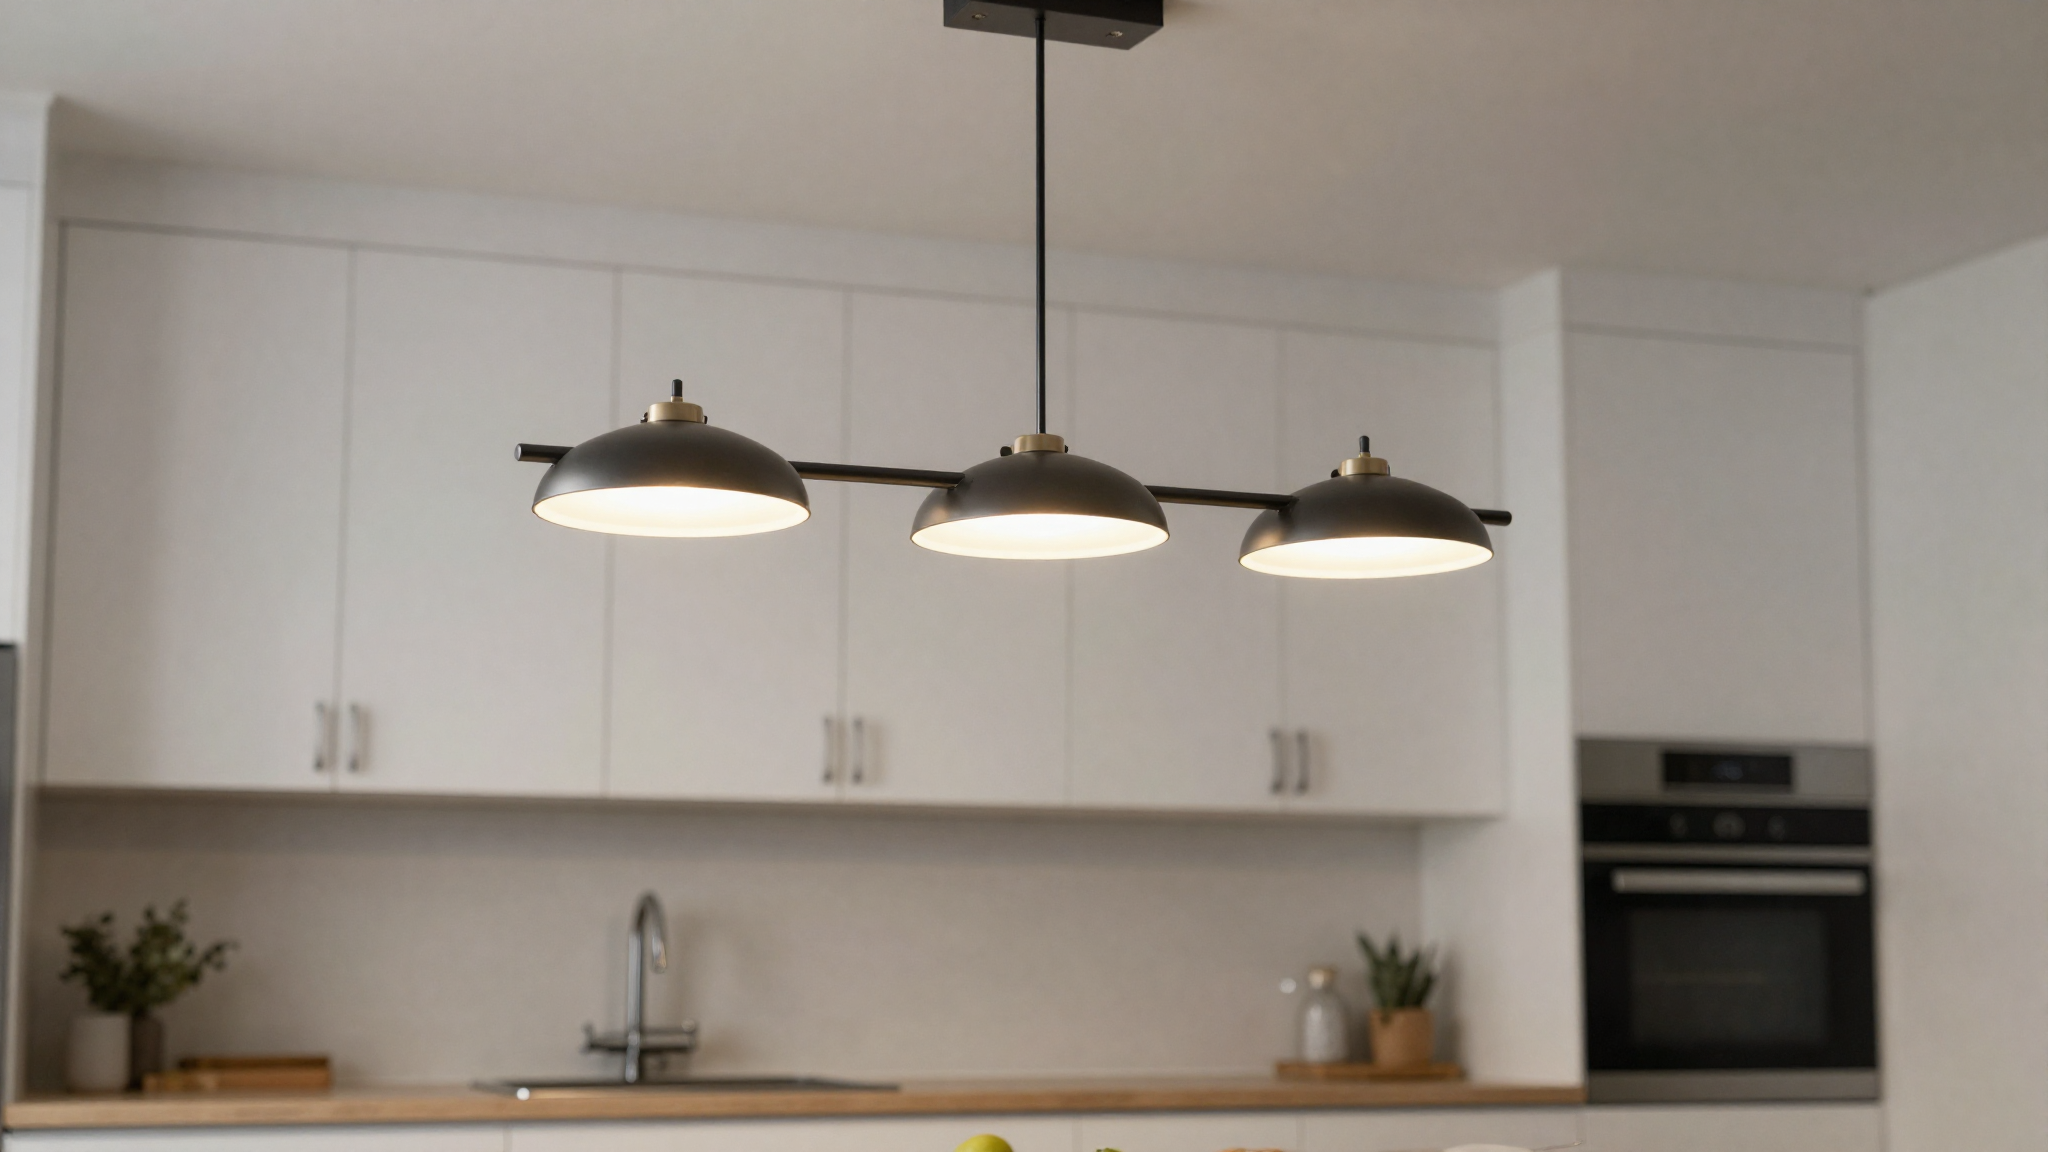
New hardware and a standout lighting fixture function like jewelry for a kitchen that’s structurally fine but visually tired. It’s one of the lowest-effort layout-adjacent upgrades that still delivers a genuinely noticeable difference.
💡 Smart tip: Swap hardware and lighting together rather than one at a time — matching finishes across both makes the upgrade read as a cohesive decision.
⚠️ Mistake to avoid: Mixing several unrelated metal finishes across hardware and fixtures at once can undercut the polish this quick refresh is meant to deliver.
Effort & Cost Snapshot
| Idea | Effort | Approx. Cost |
|---|---|---|
| Runner rug | Low | $50–$150 |
| New hardware + pendant light | Low | $150–$500 |
| Labeled pantry drawer dividers | Low | $60–$200 |
| Produce storage drawer | Medium | $150–$400 |
| Repositioned pendant lighting | Medium | $300–$800 |
| Appliance garage cabinet | High | $600–$1,800 |
| Sliding backsplash panel | High | $800–$2,500 |
| Statement range hood | High | $1,200–$4,000 |
None of these kitchen layout ideas require a full renovation to make a real difference. Save this guide to Pinterest and start with whichever fix solves your most frustrating daily habit — the rest can follow as your budget allows.
Continue Your Home Transformation
Explore the full collection of step-by-step eBooks and get the guide that fits the room you're working on.