Flooring and Walls
If your bathroom tile still feels like a decision you made in a hurry — safe, forgettable, and a little too matched to everything else in the house — 2026 offers plenty of reasons to reconsider. Tile has become one of the most expressive materials in the whole home, capable of adding warmth, texture, and real personality to a room that’s often treated as purely functional.
By the end of this article, you’ll have 13 real, current bathroom tile trends — from handmade zellige to sculptural relief tile — to help you choose a look that feels both current and genuinely yours.
Table of Contents
- 1. Bring In Handmade Zellige Tile
- 2. Try Tile Drenching
- 3. Choose Large-Format Porcelain
- 4. Add a Limewash-Effect Tile
- 5. Bring Texture With Fluted Tile
- 6. Add a Dark Accent Shower Corner
- 7. Line a Niche With Mosaic and LED
- 8. Lay a Herringbone Brick Floor
- 9. Stack Tile Vertically
- 10. Add a Wavy Hex Marble Mosaic
- 11. Wrap Tile Onto the Ceiling
- 12. Warm the Floor With Terracotta
- 13. Choose a Sculptural Wave-Relief Tile
- Effort & Cost Snapshot
1. Bring In Handmade Zellige Tile
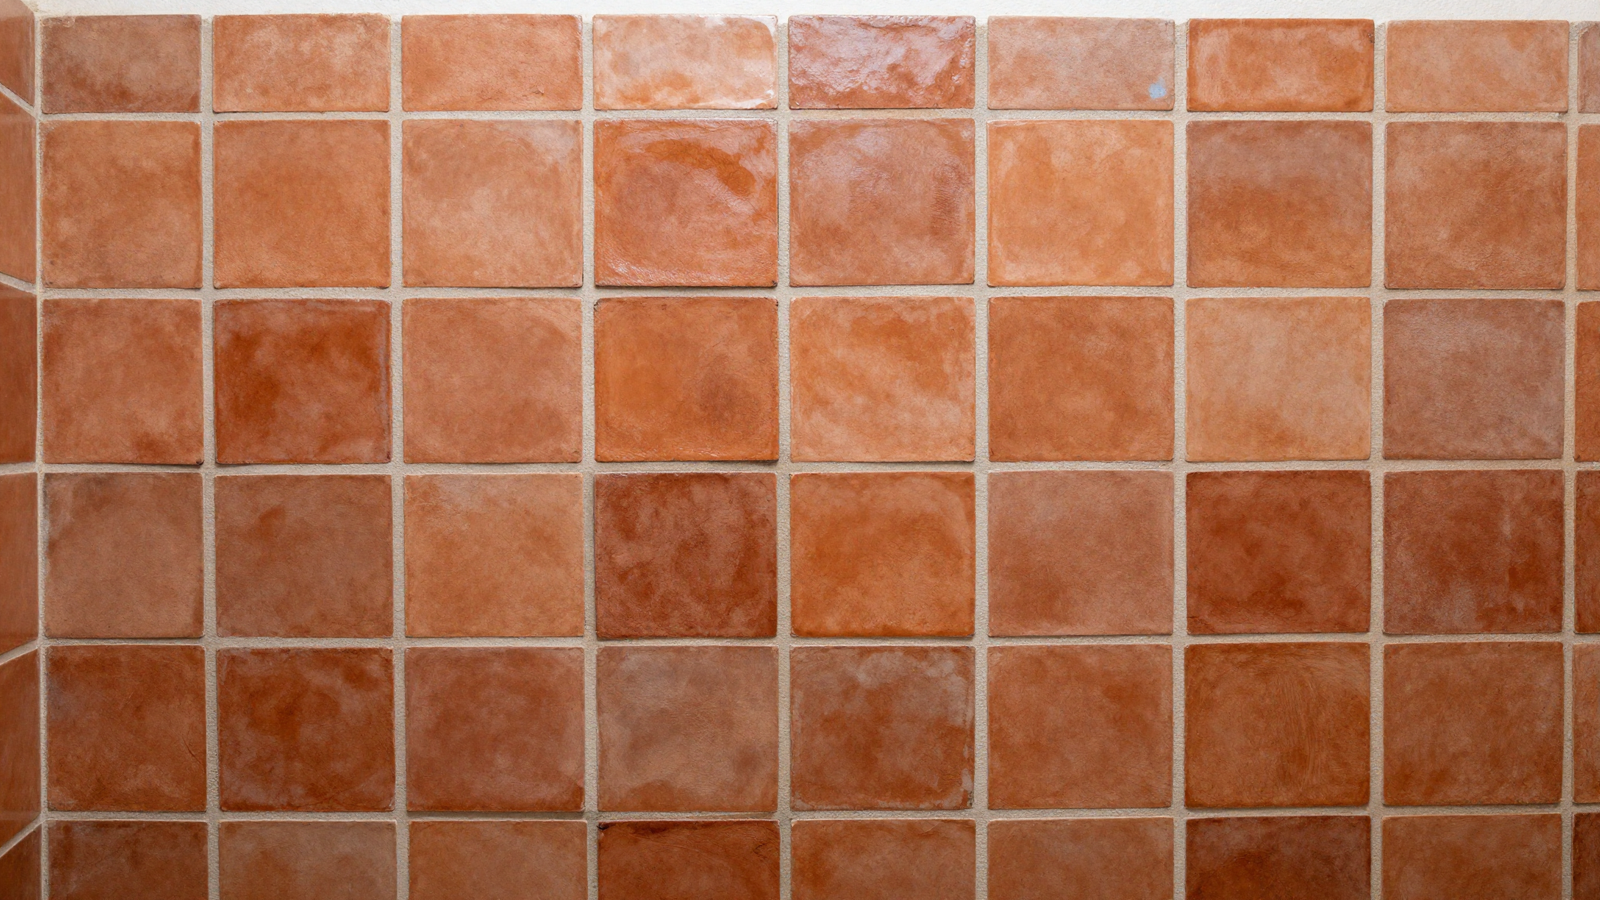
Zellige tile brings a handcrafted quality that mass-produced tile simply can’t replicate, with slightly uneven edges and subtle glaze variation from piece to piece. That imperfection is exactly the appeal — it gives a shower wall a warmth and depth that perfectly uniform tile never quite achieves.
💡 Smart tip: Order a few extra tiles beyond your measured square footage, since zellige’s natural variation means some pieces may need to be set aside or mixed carefully for the best visual balance.
⚠️ Mistake to avoid: Hiring an installer unfamiliar with handmade tile; the irregular shapes require more careful spacing and leveling than standard uniform tile.
2. Try Tile Drenching
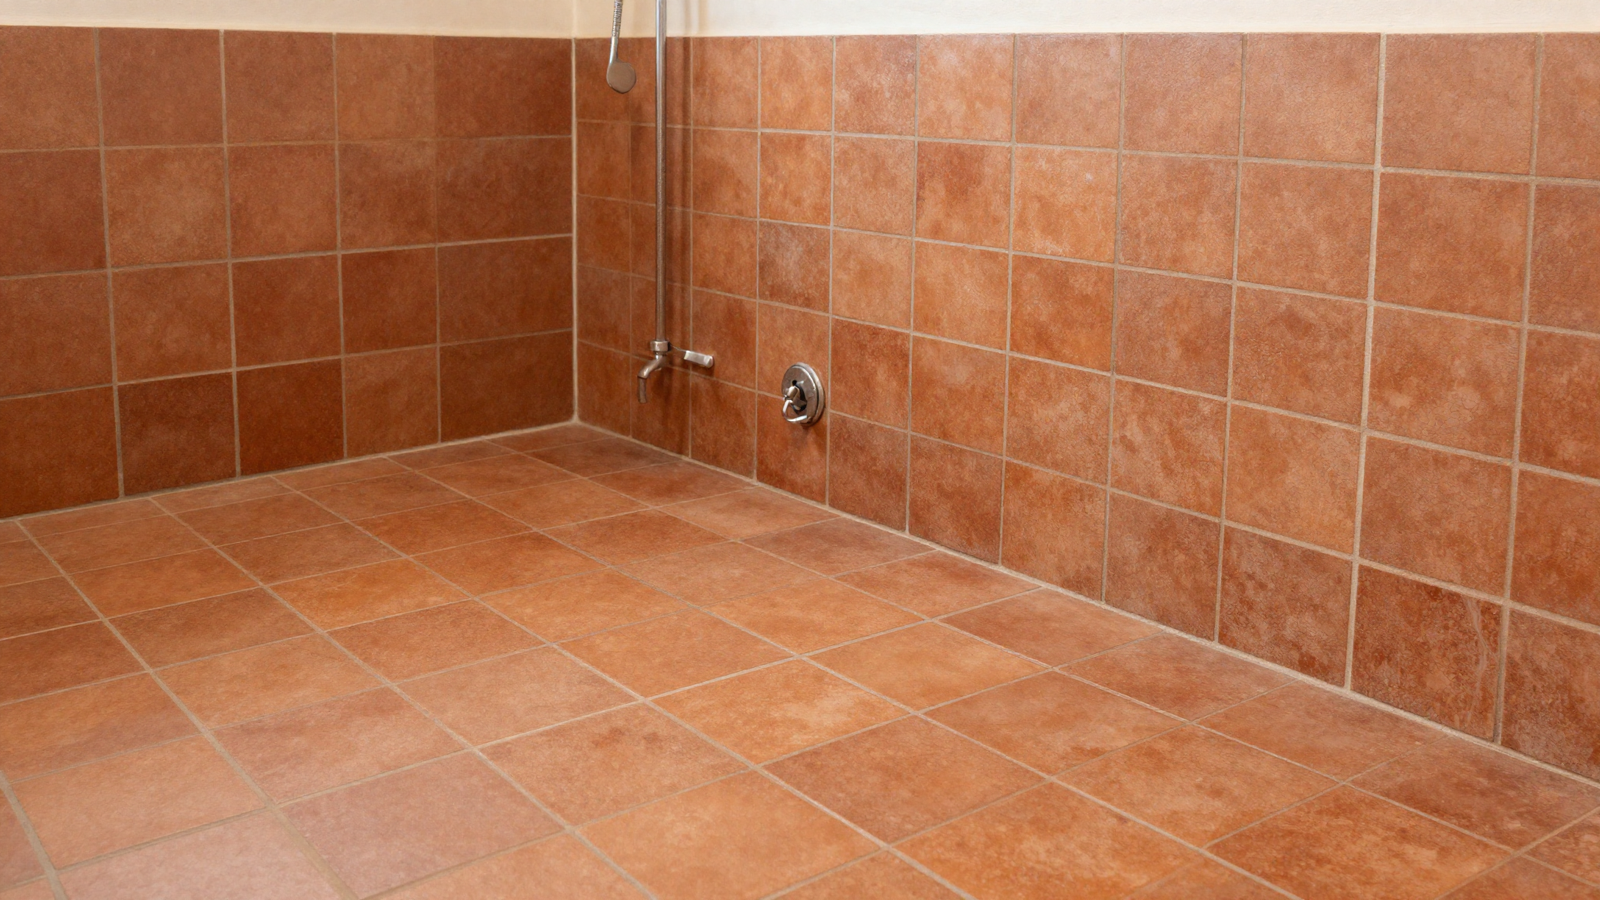
Running the same tile continuously across the floor, walls, and shower area removes the visual breaks that usually chop a small bathroom into segments, creating one cohesive, immersive space. The effect works especially well with warm, earthy tones that wrap the whole room in a single consistent mood.
💡 Smart tip: Match your grout color as closely as possible to the tile itself; a close match reinforces the drenched effect, while contrasting grout breaks it entirely.
⚠️ Mistake to avoid: Choosing a high-gloss tile for a fully drenched room; matte or honed finishes handle this technique far better, since glossy surfaces can feel overwhelming across every plane.
3. Choose Large-Format Porcelain
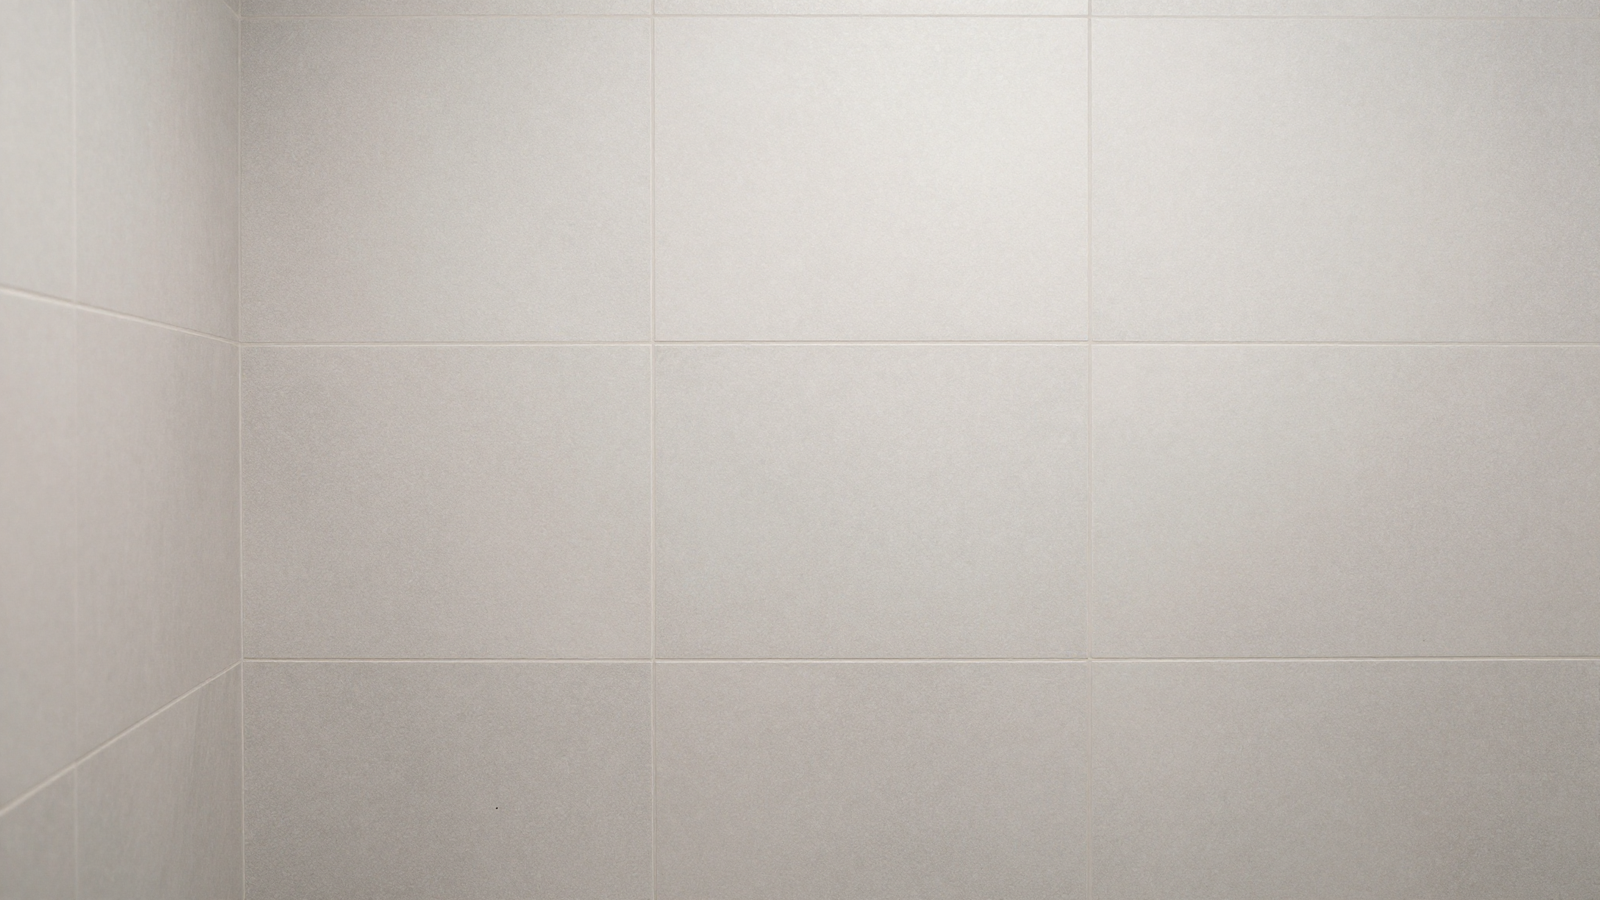
Large-format porcelain, typically 24×24 inches or bigger, remains one of the most popular choices for homeowners who want a bathroom that feels open and refined. Fewer grout lines mean less visual clutter and considerably easier maintenance over time.
💡 Smart tip: Carry the same large-format tile from the shower wall onto the floor for a visually expanded, more seamless-feeling room.
⚠️ Mistake to avoid: Assuming any installer can handle large-format tile without experience; the size and weight require precise leveling that a standard tile job doesn’t demand.
Loving These Ideas? Get the Step-by-Step Guide
Grab the full 5-day eBook and turn these ideas into a finished room.



4. Add a Limewash-Effect Tile
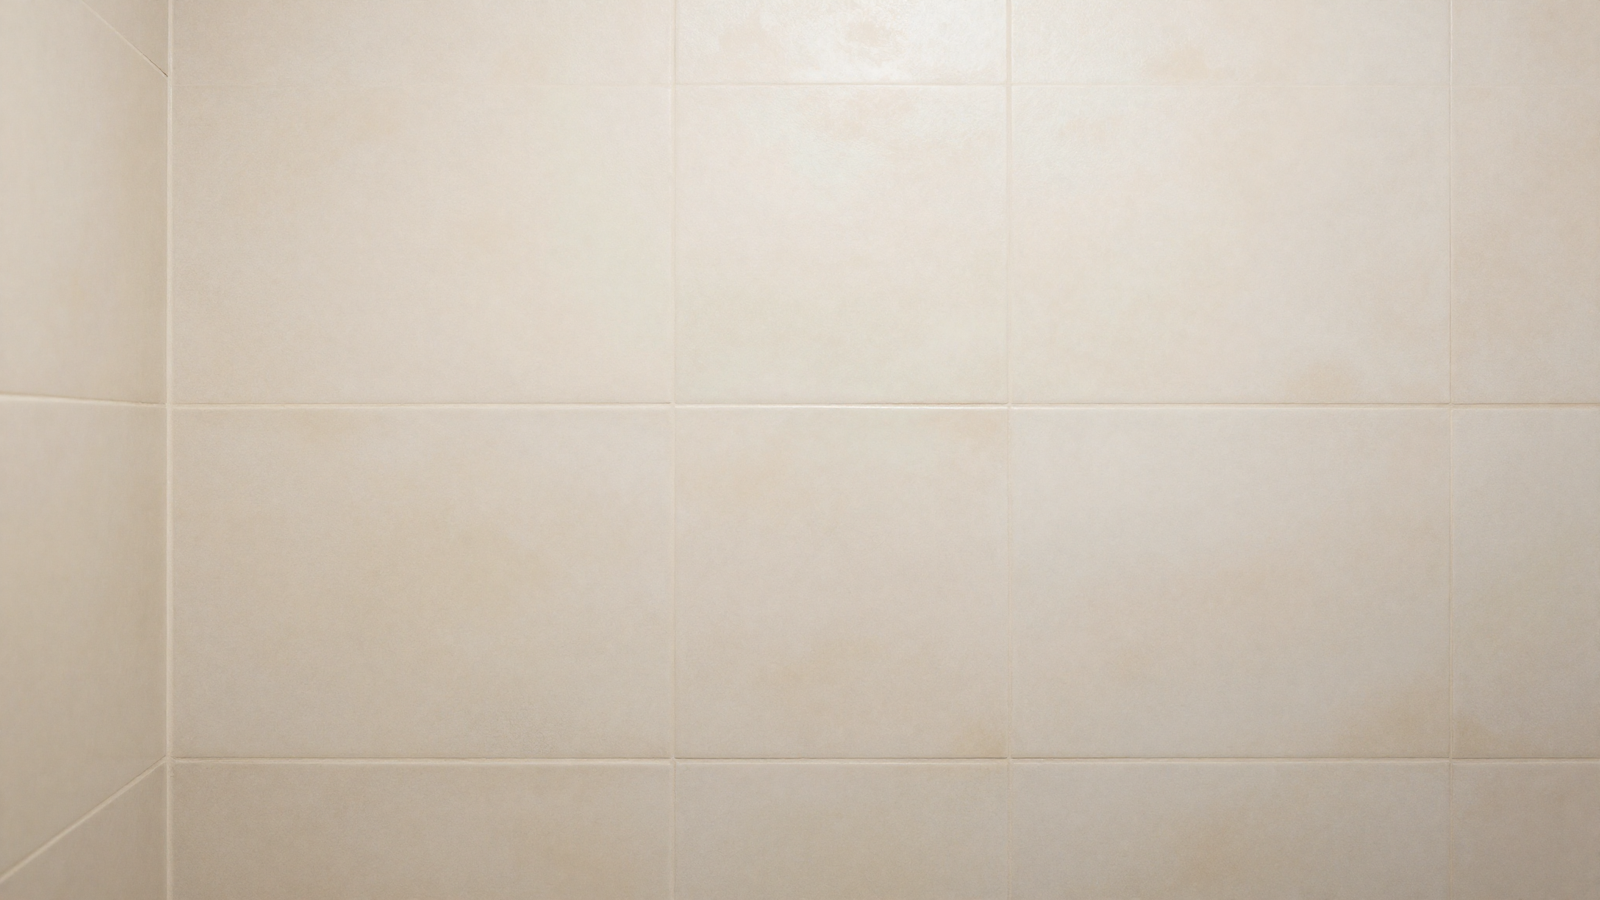
Limewash and plaster-effect porcelain offers the best of both worlds: the soft, mottled depth of a real limewashed wall, combined with the water resistance actual plaster can’t provide in a wet area. Rather than mimicking stone veining, this tile replicates atmosphere — the way light seems to shift subtly across a plastered surface throughout the day.
💡 Smart tip: Choose this tile for a shower wall specifically, where genuine plaster wouldn’t hold up but the organic, textured look is still highly desirable.
⚠️ Mistake to avoid: Pairing limewash-effect tile with very bright, direct lighting; softer, warmer lighting brings out the subtle depth this tile is designed to show.
5. Bring Texture With Fluted Tile
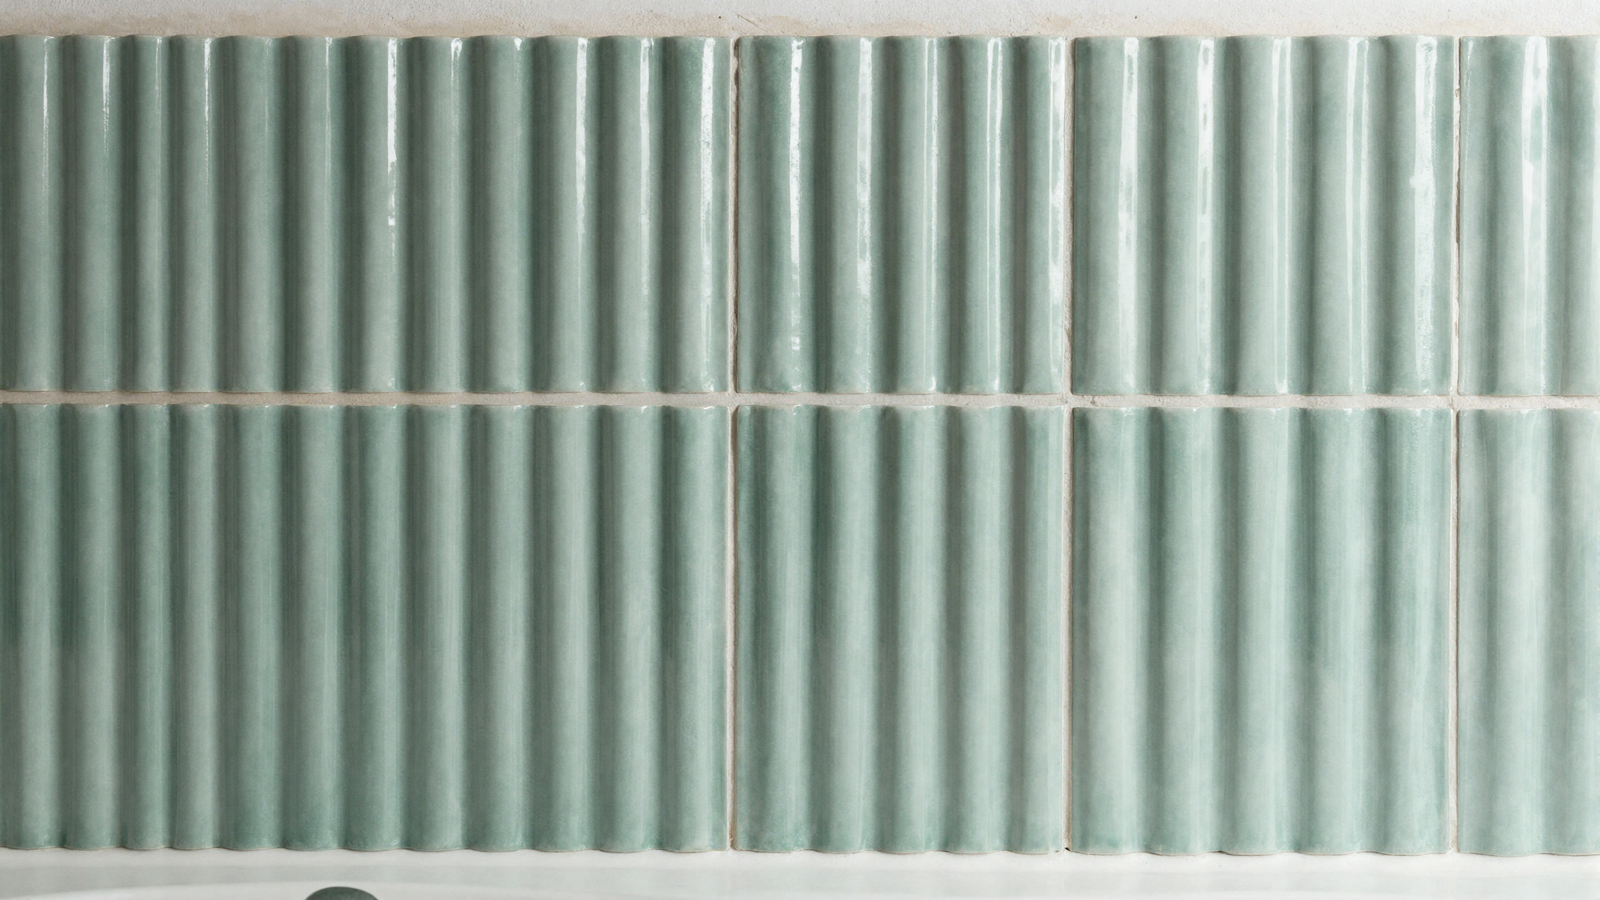
Fluted tile brings three-dimensional ridges to a bathroom wall, catching and reflecting light differently throughout the day in a way flat tile never could. Beyond the visual movement, the raised texture adds a genuinely tactile, spa-like quality that invites touch.
💡 Smart tip: Use natural light to soften the fluted texture’s appearance, or direct lighting for a bolder, more dramatic effect, depending on the mood you want.
⚠️ Mistake to avoid: Overcomplicating the grout or trim around fluted tile; keep those details simple so the sculptural shape stays the clear focal point.
6. Add a Dark Accent Shower Corner
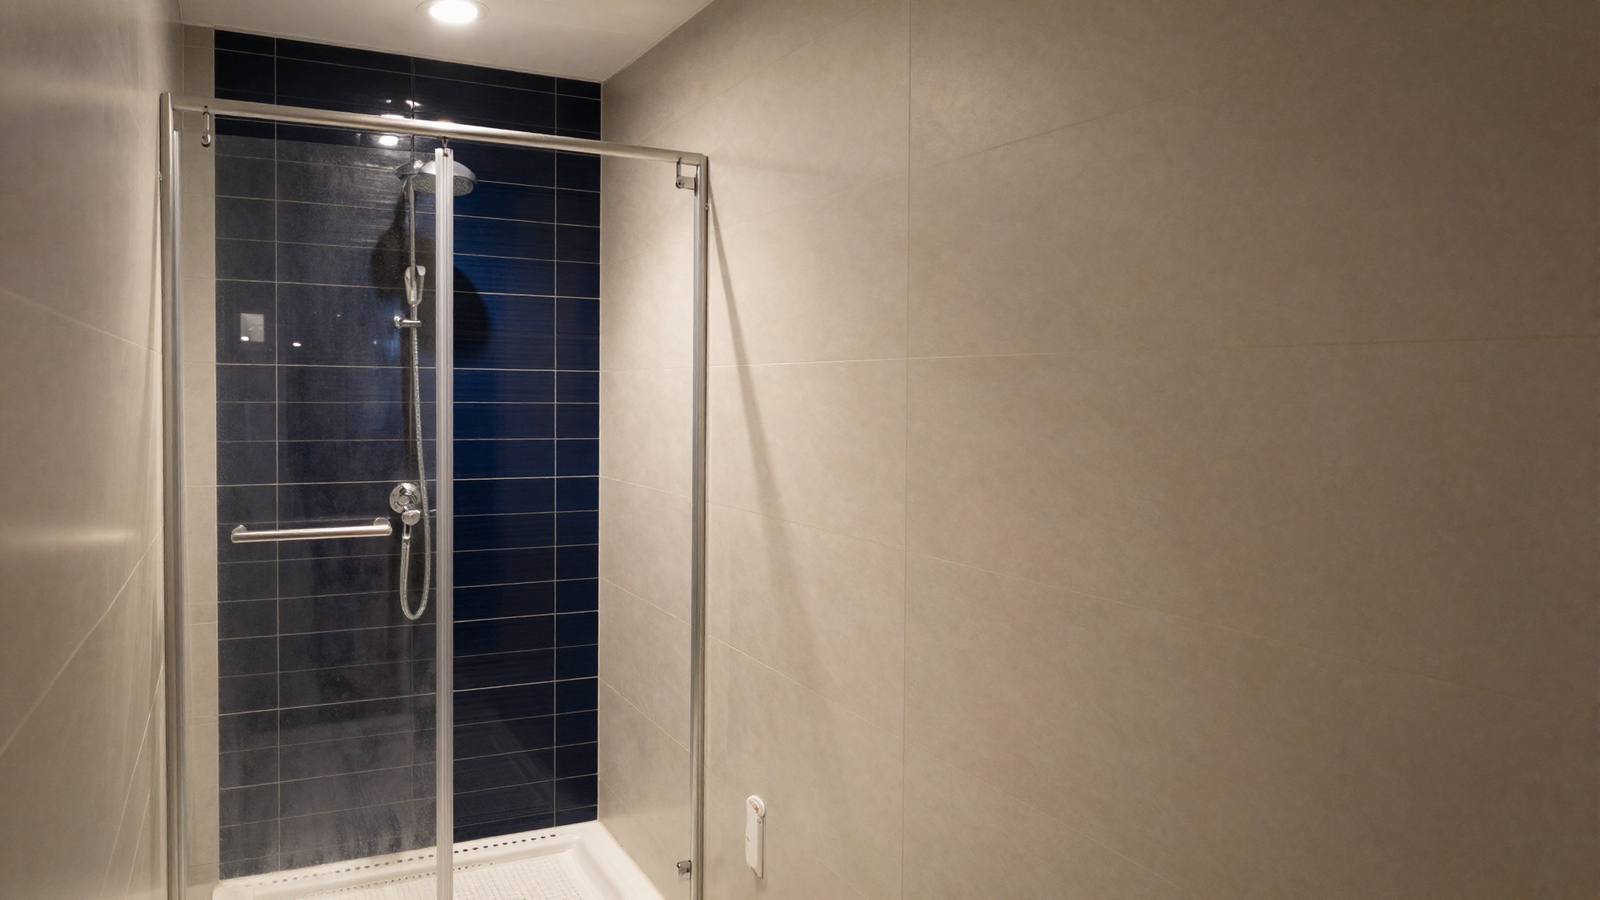
Tiling only the back corner of a shower in a rich, dark tone like midnight blue or charcoal adds drama without overwhelming the rest of the room. The contrast also makes the surrounding lighter tile feel brighter by comparison, deepening the sense of depth inside the enclosure.
💡 Smart tip: Choose a dark tile with a matte or honed finish for this zone, since it hides water spots better than a glossy surface in a wet, frequently splashed area.
⚠️ Mistake to avoid: Placing the dark accent somewhere it blocks natural light from reaching the rest of the shower; the back wall, away from the main light source, typically works best.
7. Line a Niche With Mosaic and LED
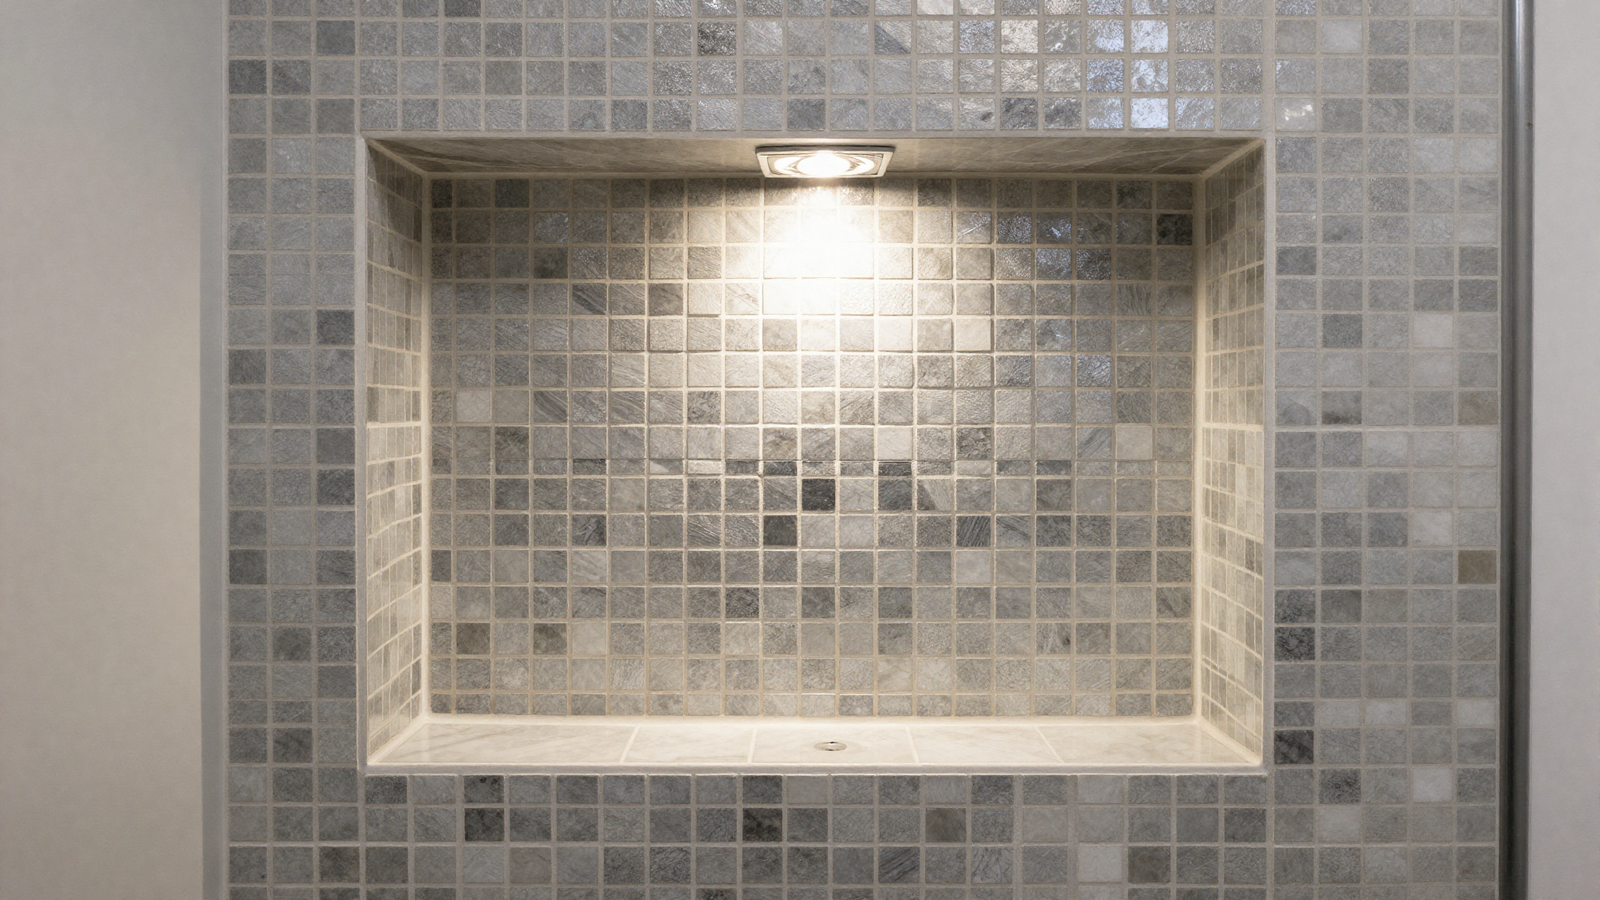
A built-in shower niche is already practical storage, but lining it with small metallic or marbled mosaic tile turns it into a genuine design feature rather than an afterthought. Adding a slim LED strip above transforms the alcove into a soft, glowing accent after dark.
💡 Smart tip: Choose a mosaic that contrasts just enough with your main wall tile to stand out clearly without clashing against the surrounding surface.
⚠️ Mistake to avoid: Skipping a waterproof, prefabricated niche module during construction; improperly sealed niches are a common source of water damage behind the wall.
8. Lay a Herringbone Brick Floor
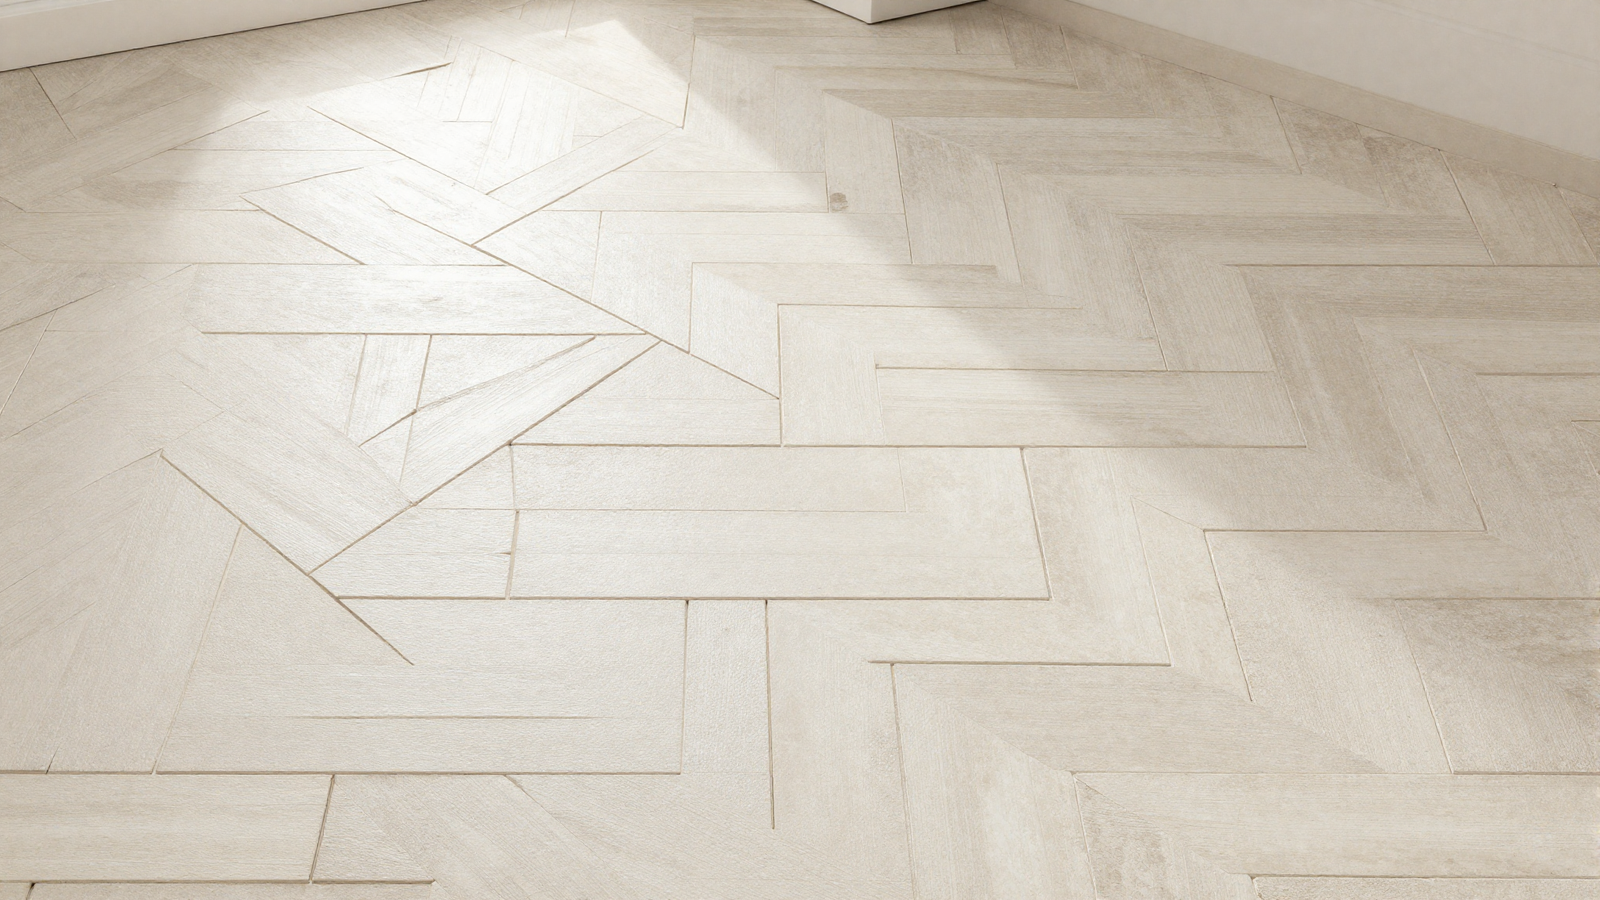
Slim herringbone brick tile brings a rustic, country feel to a bathroom floor while the angled pattern also creates a subtle illusion of extra space. Kept in neutral tones, it stays versatile enough to pair with almost any wall tile or fixture finish above it.
💡 Smart tip: Choose a tile where the width is half the length or less; that proportion is what makes the classic herringbone pattern achievable and visually correct.
⚠️ Mistake to avoid: Underestimating the extra labor time herringbone patterns require; the angled cuts take meaningfully longer to install than a straight-set layout.
9. Stack Tile Vertically
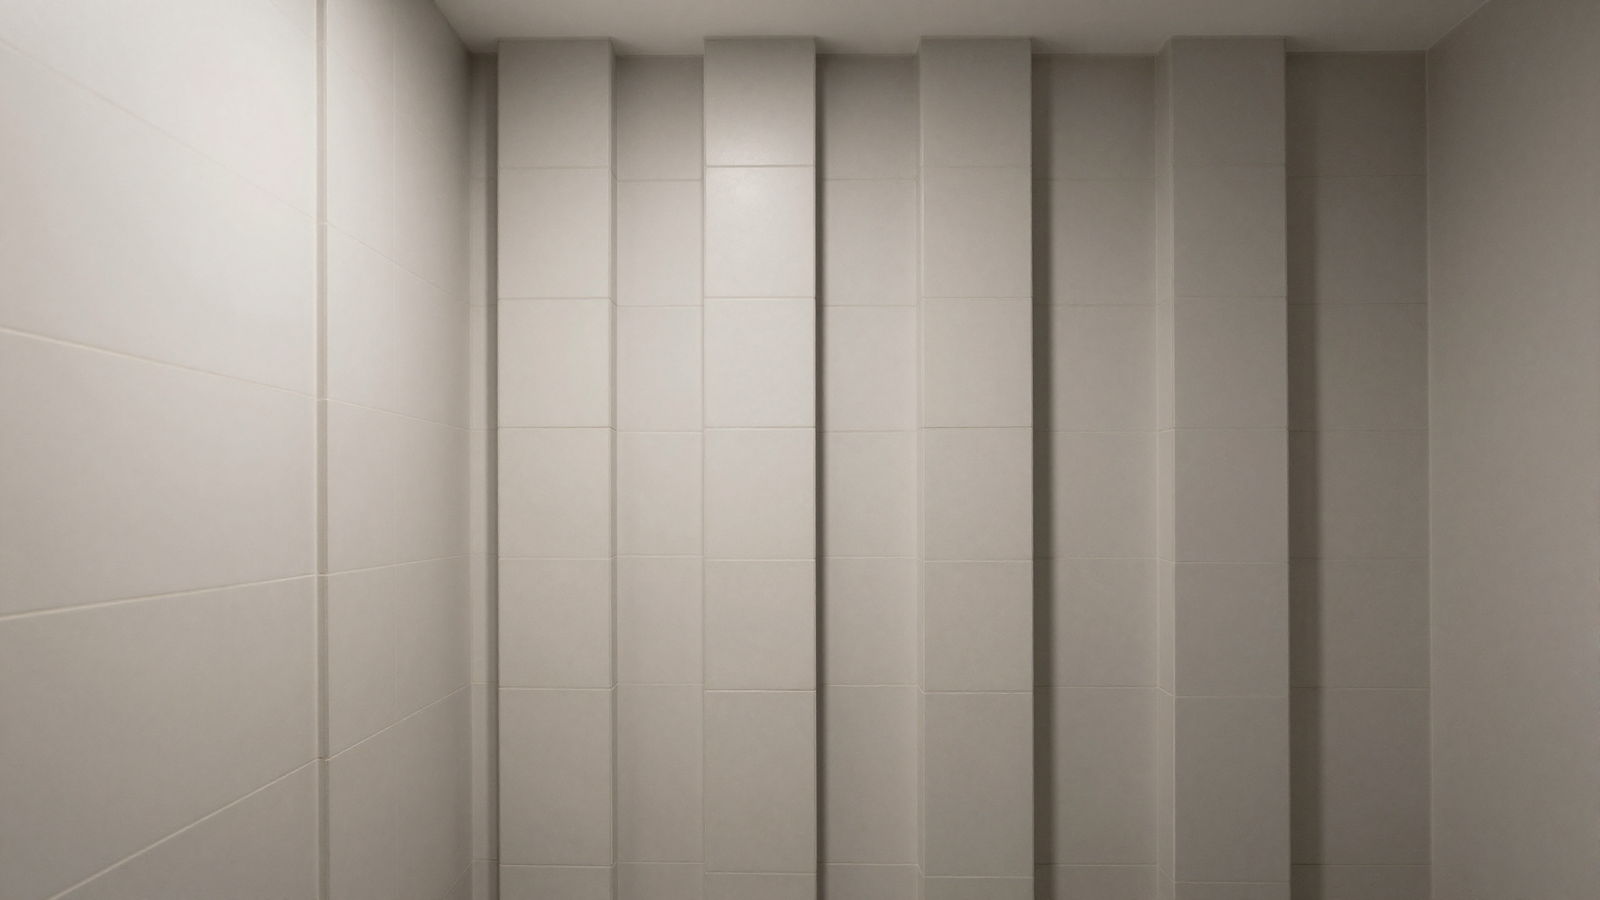
Aligning rectangular tile in straight vertical columns draws the eye upward, making a bathroom with a lower ceiling feel taller and more open than it actually is. It’s a simple layout decision that changes the entire feel of a room without any change to the tile itself.
💡 Smart tip: Use this vertical stacking technique on the narrowest wall in the room for the strongest height-boosting effect.
⚠️ Mistake to avoid: Mixing vertical stacking with a horizontal pattern elsewhere in the same small room; the competing directions can undercut the height illusion you’re going for.
10. Add a Wavy Hex Marble Mosaic
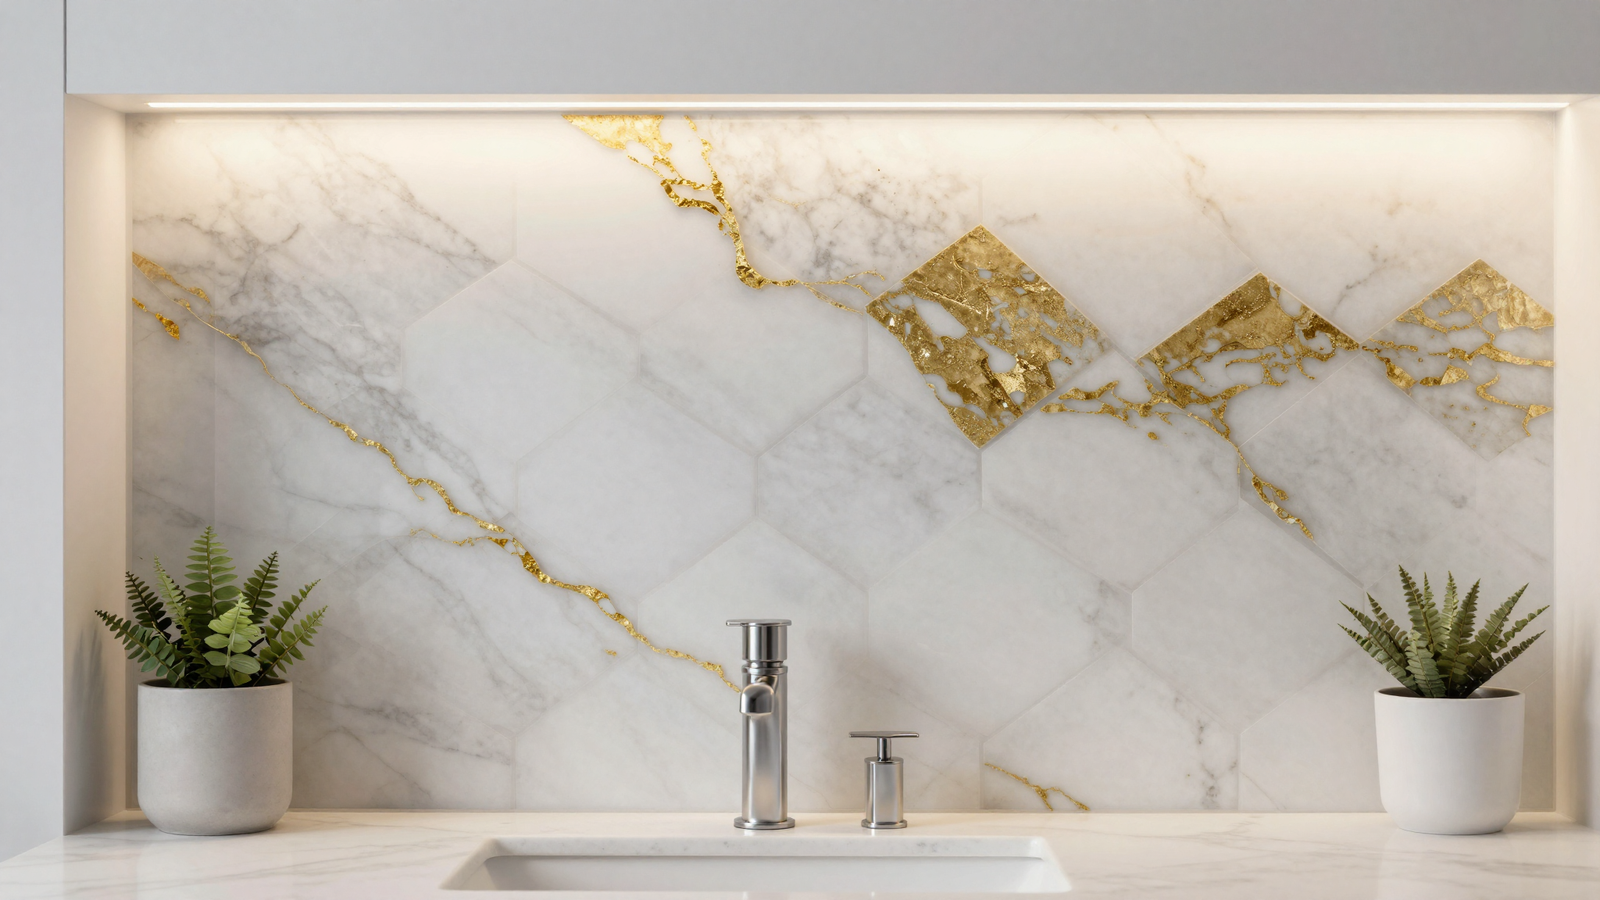
Rather than uniform marble slabs, 2026 favors mosaics that layer multiple marble tones together in a wavy, hexagonal pattern for real movement and contrast. It’s a way to bring a high-end marble statement into a smaller zone, like a vanity backsplash, without covering an entire wall.
💡 Smart tip: Use a wavy hex mosaic on a backsplash specifically, where its intricate detail can be appreciated up close at sink height.
⚠️ Mistake to avoid: Pairing a highly detailed marble mosaic with an equally busy countertop pattern; let one surface carry the visual complexity while the other stays calmer.
11. Wrap Tile Onto the Ceiling
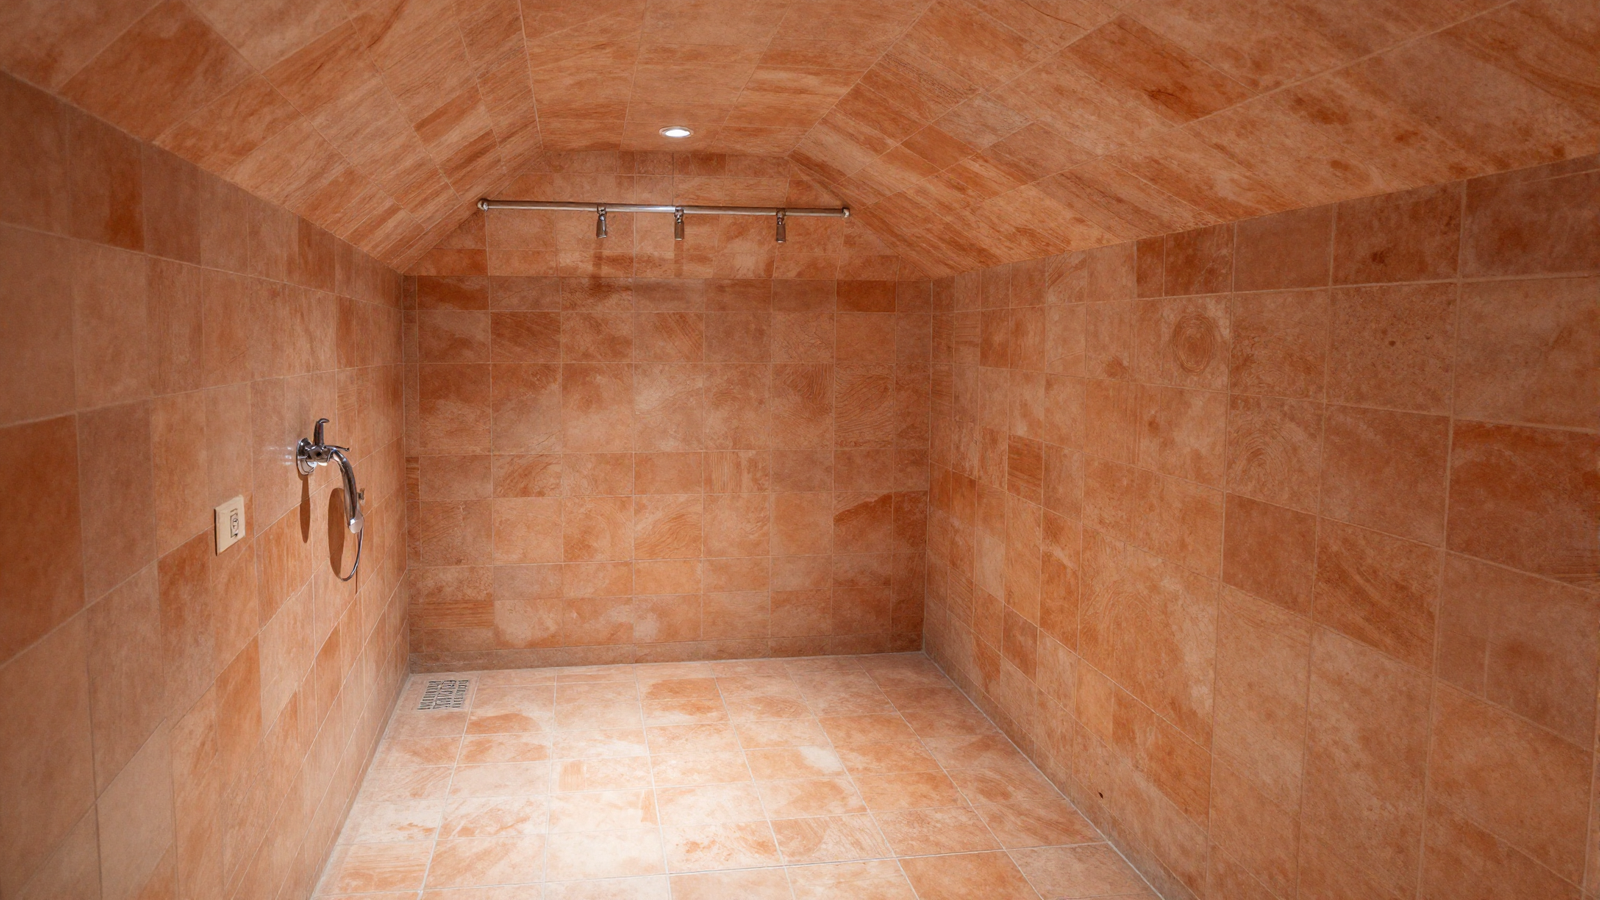
Once overlooked entirely, the shower ceiling is becoming part of the design conversation as tile drenching extends beyond just the walls and floor. Wrapping tile up and over a vaulted or standard ceiling creates a continuous, fully immersive effect that few other techniques can match.
💡 Smart tip: Choose a lighter tile tone for ceiling applications if the shower doesn’t get much natural light, since dark tile overhead can make a small enclosure feel closed in.
⚠️ Mistake to avoid: Underestimating the installation complexity of overhead tile work; ceiling tiling requires different adhesive and support considerations than vertical wall tile.
12. Warm the Floor With Terracotta
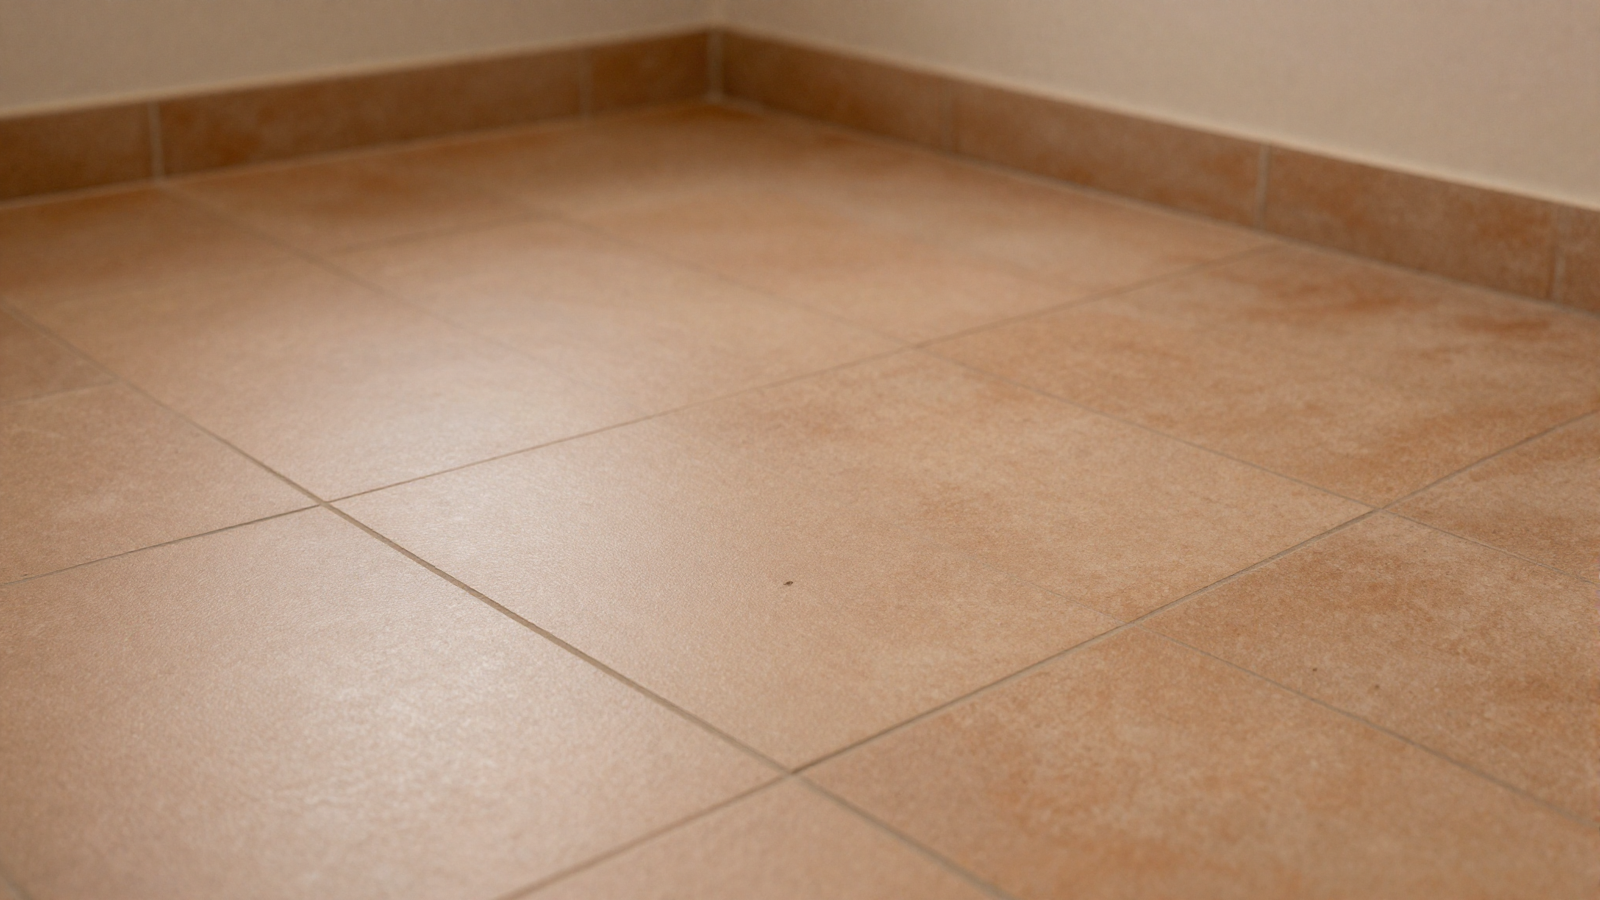
Cool gray bathroom floors are giving way to warmer, earth-inspired tones like muted terracotta, which bring a sense of calm and personality that gray alone rarely achieves. Paired with natural wood vanities and brushed metal fixtures, the warmth grounds the whole room.
💡 Smart tip: Choose a terracotta tile with subtle tonal variation rather than a completely flat color, which adds depth without tipping into an overly busy pattern.
⚠️ Mistake to avoid: Pairing warm terracotta floors with cool-toned gray fixtures; matching the metal and fixture undertones to the floor keeps the room feeling intentional.
13. Choose a Sculptural Wave-Relief Tile
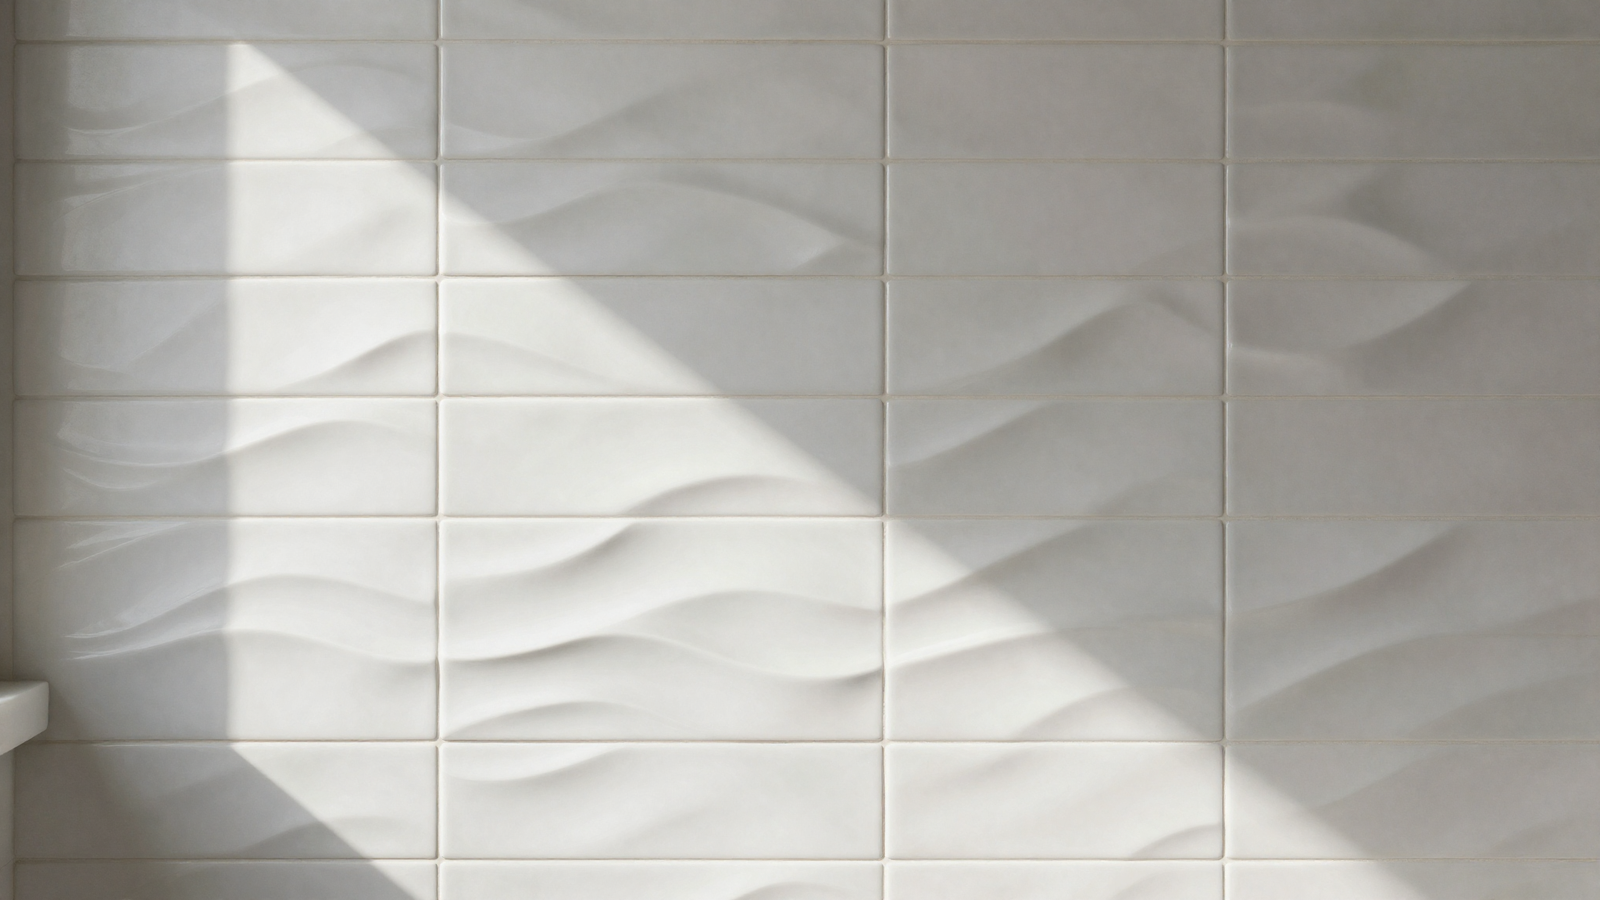
Sculptural tile with wave-like ridges or raised geometric relief turns a plain wall into a genuine statement feature, acting almost like built-in art. The three-dimensional surface catches light differently throughout the day, adding visual movement without relying on bold color or pattern at all.
💡 Smart tip: Keep grout lines as simple and minimal as possible on sculptural tile, letting the raised shape itself do all the visual work.
⚠️ Mistake to avoid: Combining sculptural relief tile with heavy patterned decor elsewhere in the room; the texture alone is enough of a statement and doesn’t need competition.
Effort & Cost Snapshot
| Idea | Effort | Approx. Cost (per sq ft) |
|---|---|---|
| 1. Handmade Zellige Tile | High (pro install) | $15–$40 |
| 2. Tile Drenching | High (pro install) | $8–$25 |
| 3. Large-Format Porcelain | Medium–High (pro install) | $6–$16 |
| 4. Limewash-Effect Tile | Medium–High (pro install) | $8–$20 |
| 5. Fluted Ridged Tile | Medium–High (pro install) | $10–$28 |
| 6. Dark Accent Shower Corner | Medium (pro install) | $8–$22 |
| 7. Mosaic Niche With LED | Medium (pro install) | $150–$600 (per niche) |
| 8. Herringbone Brick Floor | High (pro install) | $10–$25 |
| 9. Vertically Stacked Tile | Medium (pro install) | $6–$18 |
| 10. Wavy Hex Marble Mosaic | High (pro install) | $20–$50 |
| 11. Ceiling Tile Wrap | High (pro install) | $10–$28 |
| 12. Terracotta Floor Tile | Medium (pro install) | $6–$18 |
| 13. Sculptural Wave-Relief Tile | Medium–High (pro install) | $12–$32 |
The best bathroom tile choice isn’t necessarily the boldest one — it’s the one that gives the room texture, warmth, and a little personality without losing its everyday practicality. Save this list to Pinterest so you can weigh your options as your own bathroom plans take shape.
Continue Your Home Transformation
Explore the full collection of step-by-step eBooks and get the guide that fits the room you're working on.