Successful DIY room decor does more than fill an empty wall. It solves a visual or practical problem while fitting the room, your skill level, and the terms of your lease. The ideas below range from removable color and textile projects to compact storage and ceiling details.
Before buying supplies, photograph the room, measure the intended location, and identify what feels unfinished: poor scale, exposed clutter, flat lighting, or too many unrelated colors. Choose one project that addresses that issue first. A controlled material palette and careful installation will usually look more convincing than several rushed crafts competing for attention.
1. Paint a Removable Wall Arch
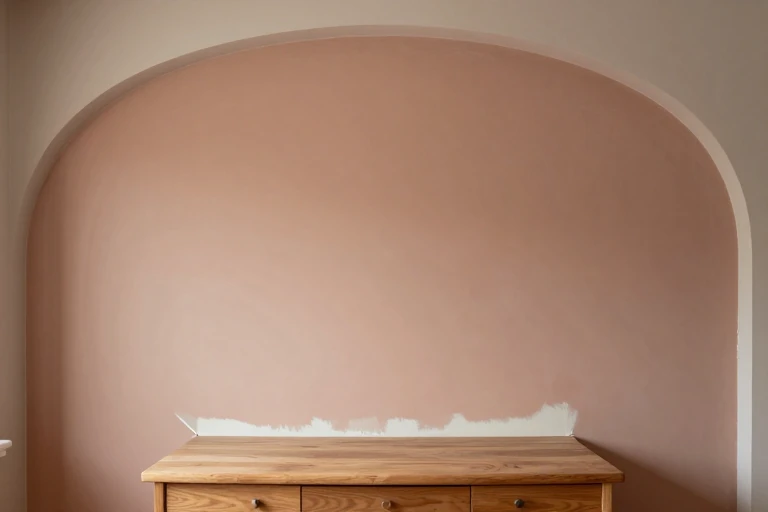
A painted arch can frame a desk, bed, or reading chair without covering the entire wall. Test its width with painter’s tape; the furniture should sit comfortably inside rather than clipping the curved edge.
Draw the curve with a pencil tied to string, then use a small angled brush before rolling the center. Apply thin coats to reduce ridges.
Renters should obtain permission or use removable peel-and-stick material cut into the same shape. Confirm removal instructions and test the surface first.
2. Create Framed Fabric Panels
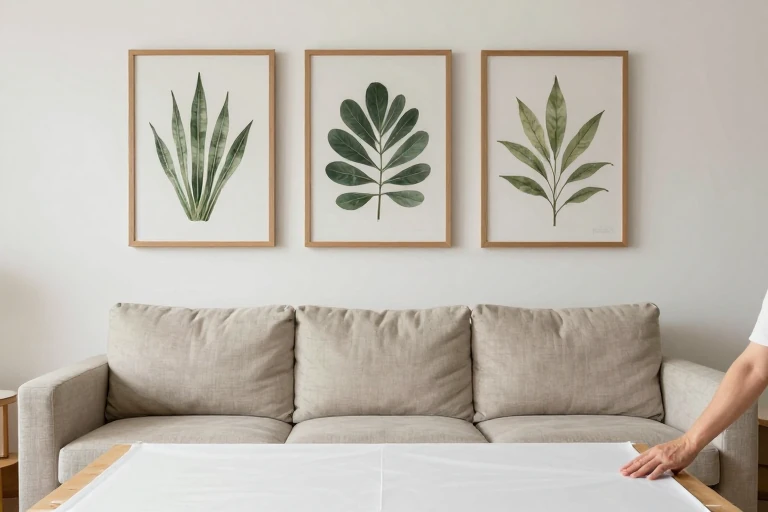
Fabric panels provide pattern without the commitment of wallpaper. Select tightly woven fabric so adhesive or backing does not show through, and repeat one color already present in the room.
Wrap fabric over rigid artist panels or sturdy backing, pulling opposite sides in sequence to keep the weave straight. Finish corners neatly before placing the panels in simple frames.
Hang a paper template first. Equal spacing makes inexpensive panels read as one deliberate installation rather than unrelated scraps.
Loving These Ideas? Get the Step-by-Step Guide
Grab the full 5-day eBook and turn these ideas into a finished room.




3. Build a Shallow Gallery Ledge
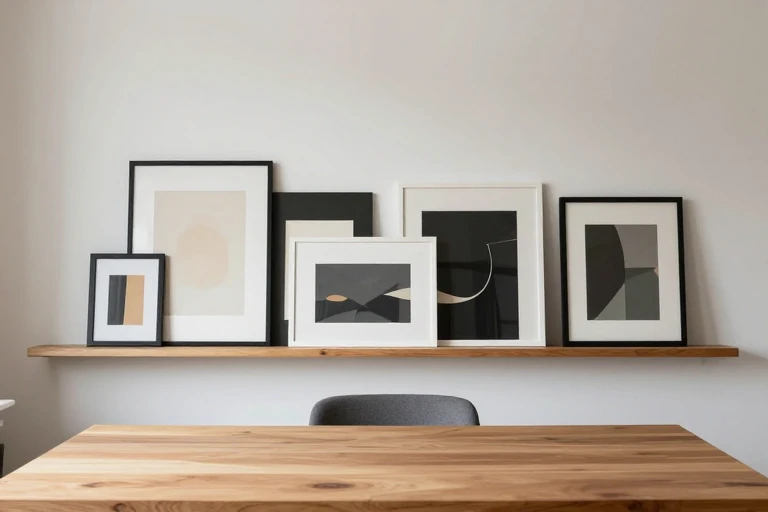
A shallow ledge allows art to rotate without creating a new hole for every frame. Its depth should support frames without projecting into a narrow walkway or catching shoulders near a doorway.
Use straight, dry boards and sand every exposed edge. A front lip keeps frames from sliding, while a consistent paint color visually joins the parts.
Fasten the ledge into suitable framing or with hardware rated for the wall and expected load. Actual attachment requirements depend on the site and local code.
4. Hang an Oversized Textile
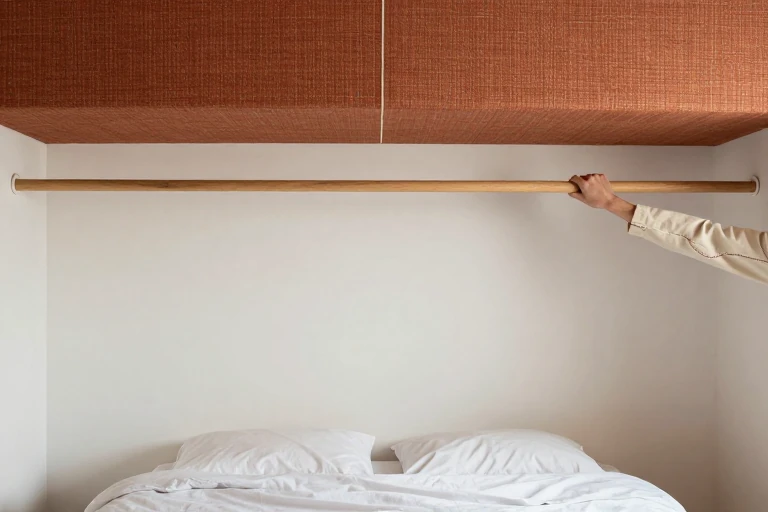
A quilt, woven blanket, or finished fabric panel can soften a large blank wall more effectively than several undersized decorations. Check that the textile’s dimensions relate to the furniture below it.
A stitched sleeve and wood rod distribute weight more evenly than scattered clips. Keep delicate textiles away from strong sunlight, cooking residue, and damp walls.
Use mounting hardware appropriate for the wall and textile weight. Wash or vacuum according to the fabric’s care needs; choosing a washable piece reduces long-term maintenance.
5. Upgrade a Plain Mirror Frame
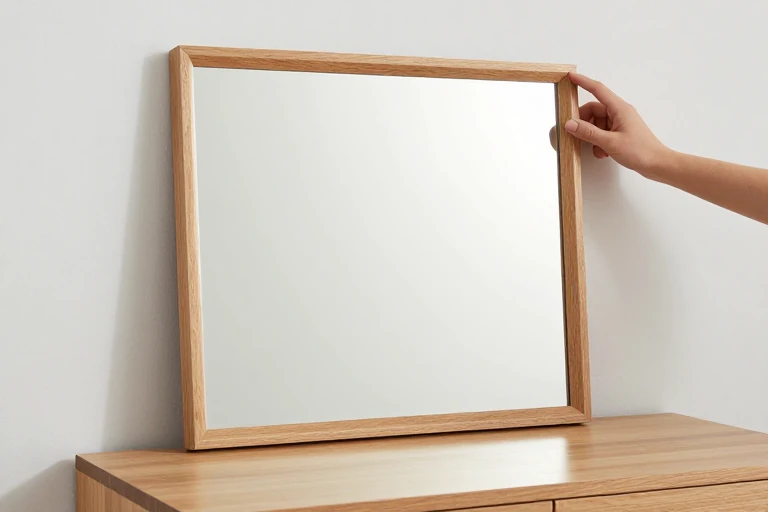
A basic mirror gains presence with a wood surround, painted trim, or lightweight half-round molding. Before adding material, confirm that the finished edge will not cover too much reflective area or interfere with mounting clips.
Dry-fit every piece and align repeated details at the corners. Paint or seal wood before attaching it to prevent messy brushwork on glass.
Use products compatible with mirrors; unsuitable adhesives can damage reflective backing. Heavy additions may require different wall hardware and a reassessment of the total load.
6. Recover a Tired Lampshade
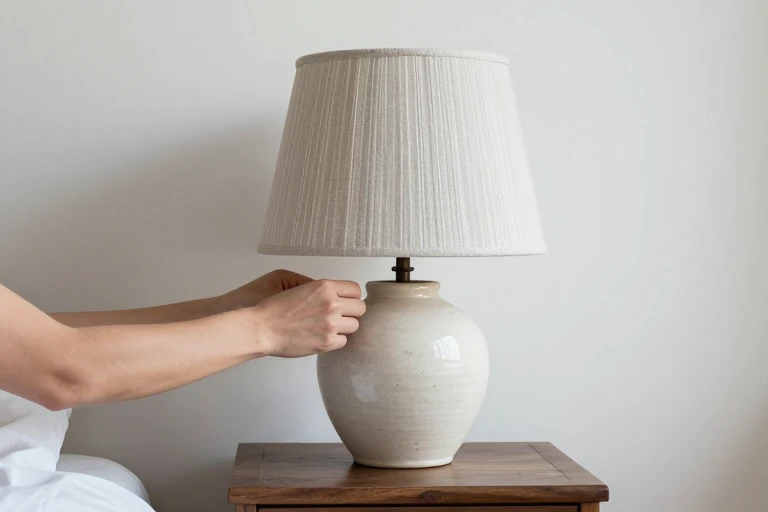
A recovered lampshade can connect mismatched colors on a nightstand or desk. Start with a structurally sound shade and lightweight fabric; heavy material may sag or block too much light.
Make a paper pattern by rolling the shade and tracing its path. Check pattern direction before cutting, then secure clean folded edges rather than leaving frayed seams visible.
Keep fabric and adhesive away from the bulb. Follow the lamp and bulb manufacturers’ limits, and replace damaged sockets or wiring rather than decorating around them.
7. Add Plug-In Accent Lighting
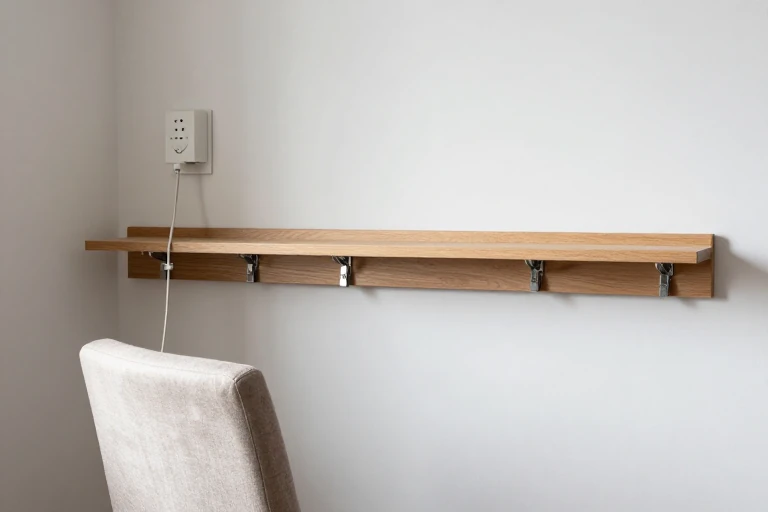
Accent lighting can make shelves, artwork, or a headboard feel more intentional after dark. Choose a listed plug-in fixture with an accessible switch instead of improvising electrical components.
Mock up its location with cardboard and inspect the room from seated and standing positions. The light source should not shine directly into your eyes or reflect harshly in a screen.
Route cords along furniture edges with removable clips, leaving plugs accessible. Any new outlet, concealed wiring, or in-wall electrical work depends on local code and should be handled appropriately.
8. Make a Wrapped Headboard Panel
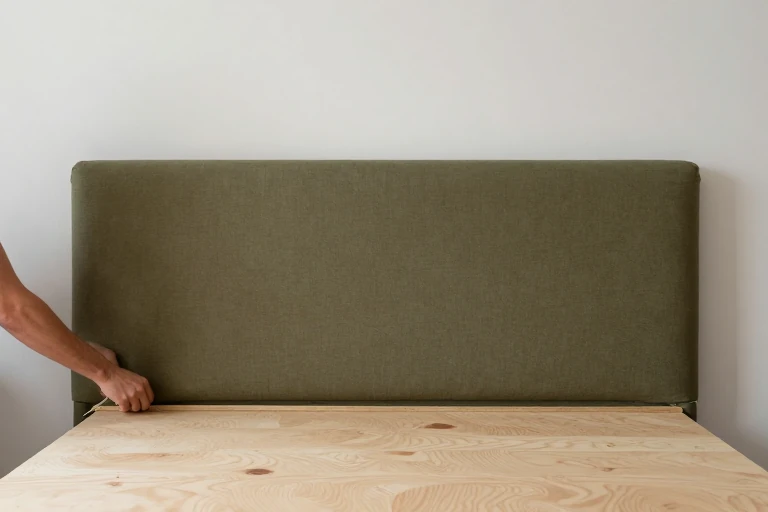
A fabric-wrapped panel introduces softness without requiring a complete bed frame. Determine the width from the mattress and nearby nightstands, then tape the outline on the wall to verify scale.
Layer upholstery foam or batting over smooth plywood, pulling fabric from the center outward. Alternate sides as you staple so stripes stay straight and corners remain balanced.
Use durable upholstery fabric if the headboard will receive daily contact. Mount the panel securely with a system suited to its weight and wall construction.
9. Assemble a Bedside Catchall
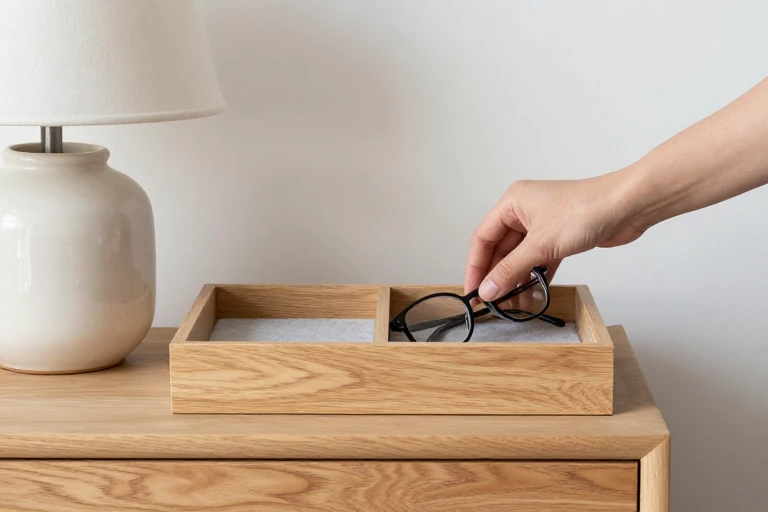
A divided catchall prevents chargers, glasses, and jewelry from spreading across a nightstand. Arrange the objects you actually use on a sheet of paper before deciding the tray’s size and compartments.
Construct it from shallow wood strips or adapt an unfinished tray. Sand corners, conceal fasteners, and line one compartment with felt to quiet hard objects.
Choose a wipeable finish, but allow it to cure fully before use. A catchall works only when it leaves enough open surface for a lamp and drink.
10. Sew Coordinated Pillow Covers
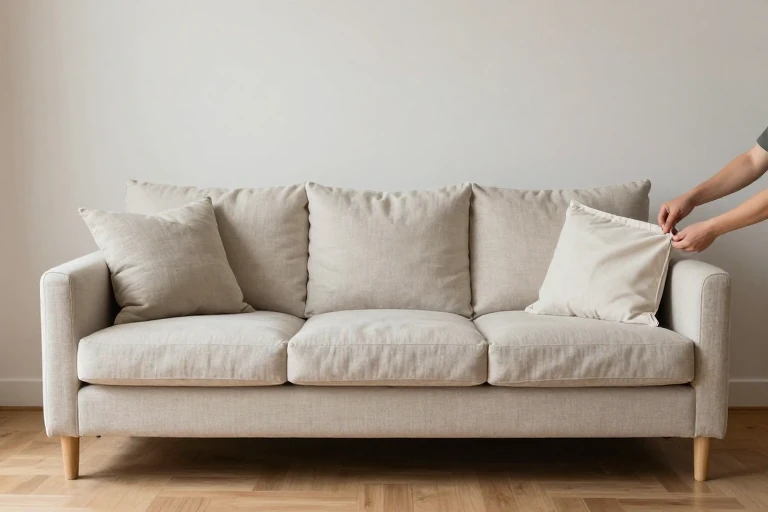
Pillow covers are an efficient way to test room ideas aesthetic enough for daily life. Pull colors from an existing rug or artwork rather than introducing an unrelated palette.
Envelope backs avoid zippers and let beginners remove covers easily. Preshrink washable fabric, align visible patterns at the front, and clip bulky corner seams before turning.
Vary texture more than color for a collected effect. Limit the number to what can remain on the furniture during use; excess pillows quickly become floor clutter.
11. Lengthen Curtains With a Fabric Border
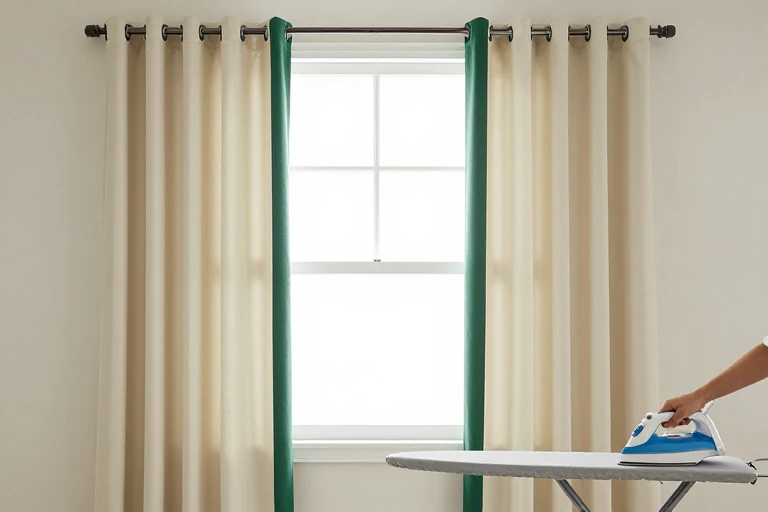
A contrasting lower border can rescue curtains that stop awkwardly above the floor. Hang the rod first, measure each finished drop, and account for any uneven floor before cutting fabric.
Choose a border with similar weight and care requirements. Press seams carefully because a wavering horizontal line will be conspicuous across a window.
Let panels skim the floor or clear it slightly where dust, pets, or heaters make pooling impractical. Never allow fabric to obstruct a heat source or ventilation opening.
12. Apply Removable Window Film

Decorative film can increase privacy while preserving daylight, making it useful for rentals, bathrooms, or street-facing rooms. Hold samples against the glass at different times because patterns and opacity change with backlighting.
Clean the pane thoroughly, cut with a small margin, and follow the product’s wet- or dry-application instructions. Push bubbles toward the nearest edge with a smooth squeegee.
Verify glass compatibility and lease terms first. Film is decorative privacy treatment, not a replacement for required safety glazing or a secure window covering.
13. Build a Compact Plant Stand
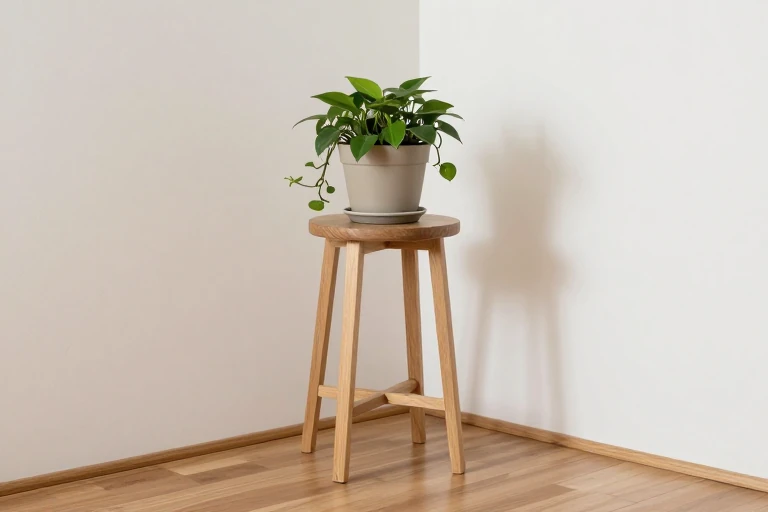
A raised plant can fill a bare corner while keeping foliage clear of furniture. Size the stand to the pot’s base, not its rim, and check that the combined height will not make the arrangement top-heavy.
Use exterior-rated material only if the stand may get wet. Seal cut edges, level the legs, and add a waterproof saucer beneath the pot.
Place it according to the plant’s light needs rather than styling alone. Regularly inspect the floor and stand for trapped moisture, loosened joints, or finish damage.
14. Paint a Set of Cachepots

Coordinated cachepots can unify mismatched nursery pots without disturbing plant roots. Select containers slightly larger than the inner pots so they can be lifted out for watering.
Clean and prime surfaces according to their material, then repeat one shape or color band across the set. Masked edges need firm contact to prevent paint bleed.
Do not treat decorative paint as waterproofing. Empty collected water promptly, protect furniture with saucers, and expect high-contact rims to need occasional touch-ups.
15. Install a Useful Peg Rail
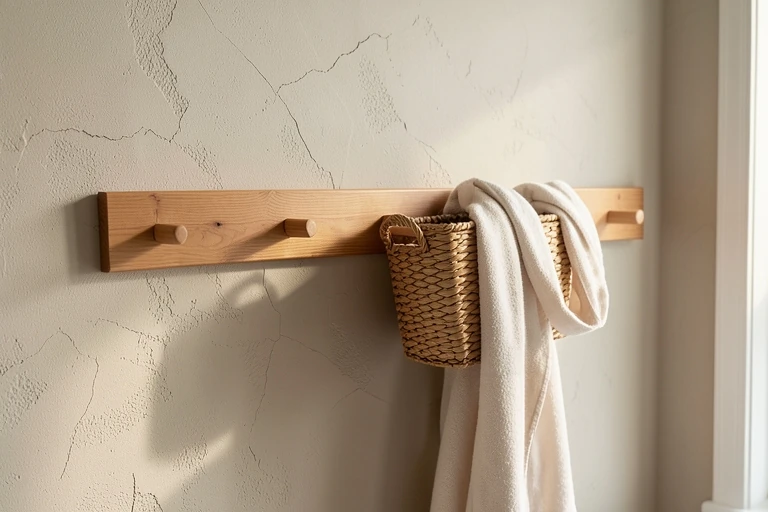
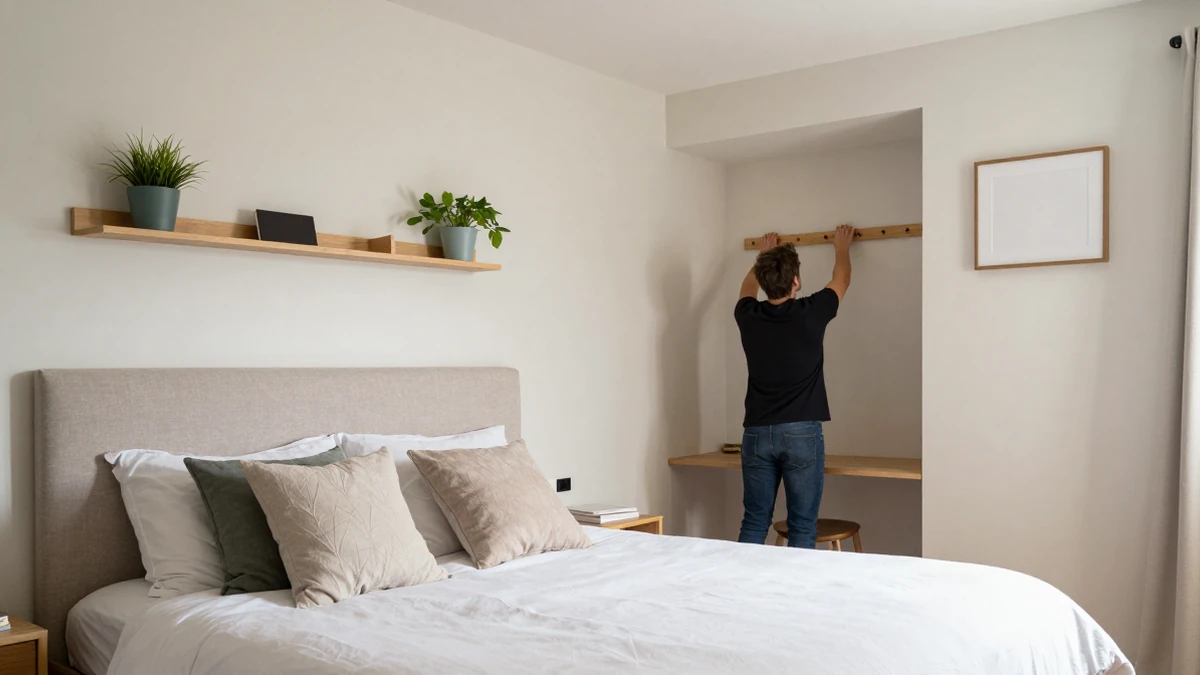
A peg rail earns its wall space by displaying attractive objects while holding everyday items. In an entry, it can carry light accessories; in a bedroom, it can organize tomorrow’s clothing or small baskets.
Lay out pegs according to the objects rather than copying arbitrary spacing. Paint the rail to blend with the wall or use contrasting wood as a deliberate horizontal line.
Fasten it for the anticipated load and wall type. Avoid hanging heavy bags from decorative pegs unless the product and installation are designed for them.
16. Turn a Crate Into a Side Table
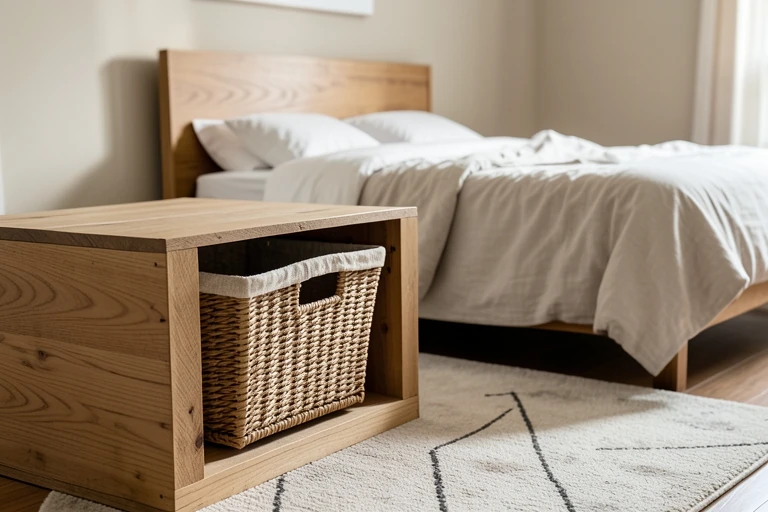
A sturdy wood crate can become an open side table with useful bedside storage. Reject cracked pieces, protruding fasteners, and slats too widely spaced to support the intended objects.
Sand thoroughly, reinforce loose joints, and add a fitted top if a level surface is needed. A back panel can reduce visual clutter but makes the piece feel heavier.
Keep the crate stationary unless properly rated casters and secure attachments suit the load. Open storage looks best when one basket contains the smallest items.
17. Make a Modular Desk Organizer
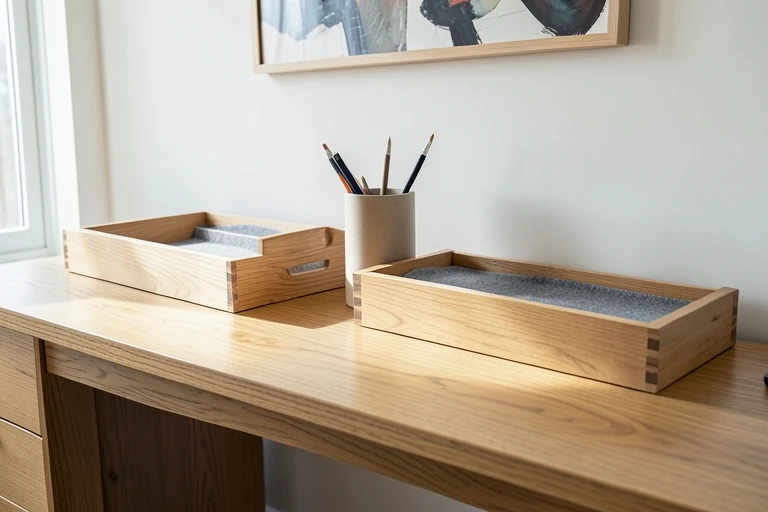
A modular organizer can adapt when study or work supplies change. Inventory the items first, grouping them by height and frequency of use so compartments solve real clutter rather than merely occupying the desktop.
Combine smooth wood blocks, shallow trays, or sturdy boxes with a consistent finish. Keep tall containers toward the back to preserve sightlines and elbow room.
Leave modules unattached if flexibility matters, or secure them when tipping is a concern. Felt pads protect the desk and allow easier cleaning underneath.
18. Add a Laundry Folding Shelf
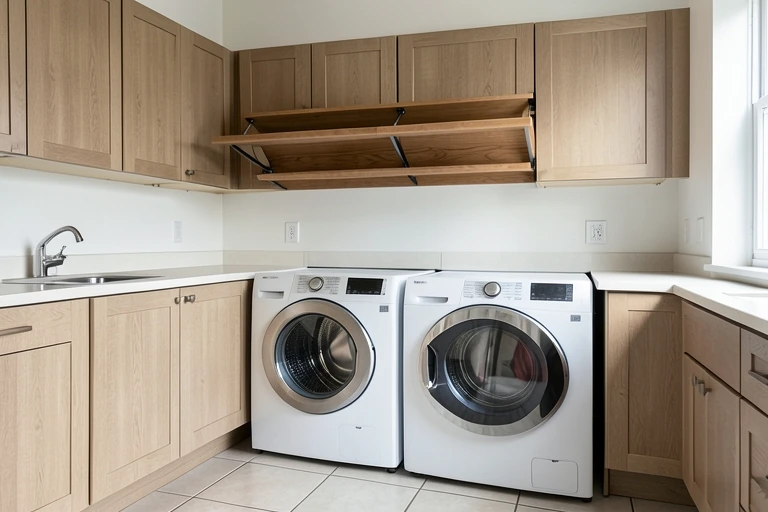
Among practical laundry room ideas, a shallow folding shelf above front-loading machines can recover unused space. Confirm appliance clearances, controls, hoses, doors, and service access before designing anything around them.
Use a moisture-tolerant, wipeable surface with sealed edges. A removable shelf or counter makes maintenance easier than a permanently trapped appliance.
Walls, machines, and ventilation conditions vary. Attachment, plumbing, electrical clearance, and waterproofing requirements depend on the site and local code; consult qualified help where needed.
19. Create a Dorm Pinboard
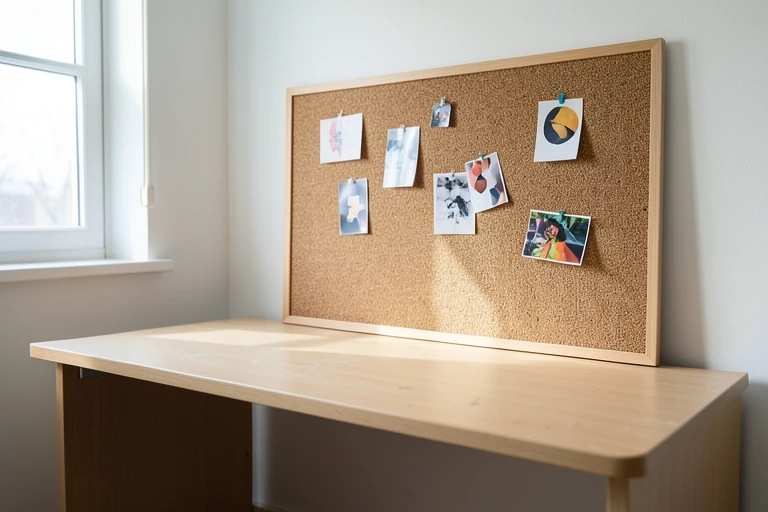
A pinboard consolidates schedules, photos, and small mementos without covering every wall. For adaptable dorm room ideas, use a framed cork or fabric-covered lightweight board sized to fit above the desk.
Wrap the face in durable fabric and keep embellishment shallow so pins remain usable. A neutral base lets changing images supply the color.
Follow residence rules and use only approved hanging methods. Keep the board clear of sprinklers, detectors, heaters, and lights, and remove adhesive slowly when moving out.
20. Customize Storage Box Fronts
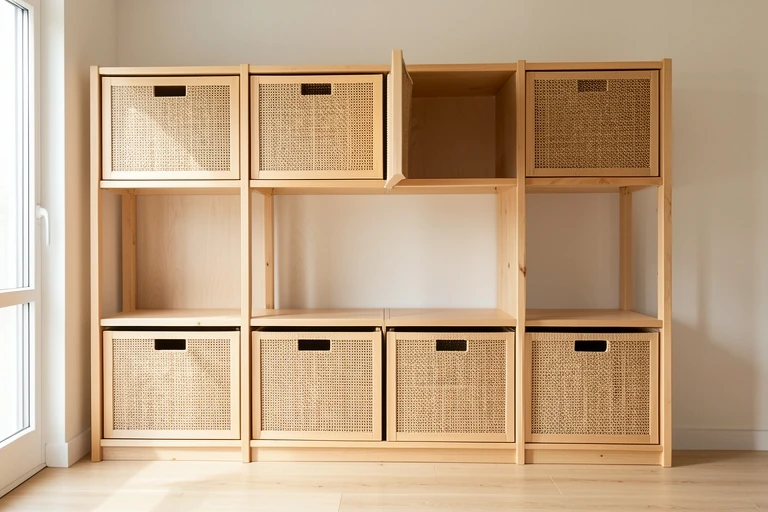
Matching box fronts can make open shelving feel calmer while preserving inexpensive storage. Measure the shelf opening and leave enough finger clearance to remove each container easily.
Apply fabric, thin wood veneer, or paint only to clean, compatible surfaces. Repeat the same front treatment, then distinguish contents through placement or subtle color rather than visible wording.
Decorative fronts add thickness and may reduce wipeability. Use washable materials in laundry areas and avoid covering ventilation holes or structural folds on collapsible boxes.
21. Add a Lightweight Ceiling Medallion
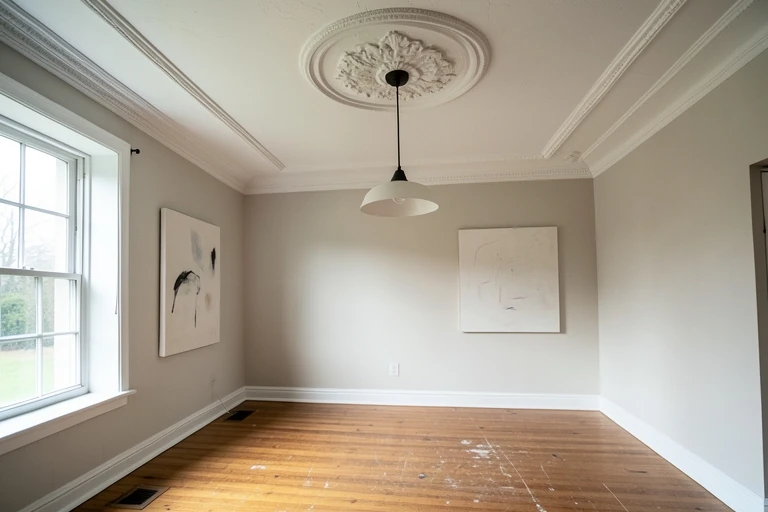
A lightweight ceiling medallion can visually anchor an existing pendant and add architectural detail. Make a cardboard template first to check its scale against the fixture canopy and room dimensions.
Finish the medallion at table height, using thin paint coats that preserve molded detail. The center opening must fit without forcing the fixture or blocking ventilation.
Turning off a switch alone is not sufficient protection for electrical work. Fixture removal, wiring, and attachment requirements depend on the site and local code; use a qualified electrician when needed.
22. Use Faux Beams as a Ceiling Accent
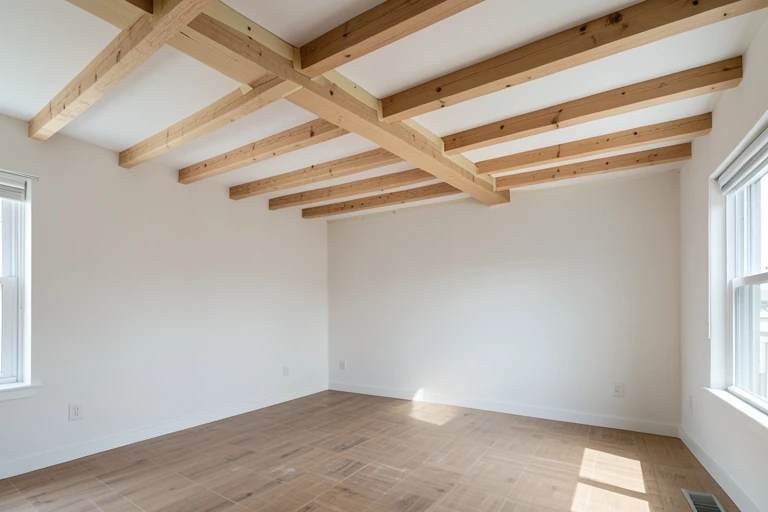
Lightweight faux beams can introduce rhythm or disguise selected ceiling irregularities, but they should look purposeful rather than randomly placed. Map their direction with painter’s tape and relate spacing to walls, windows, or cabinetry.
Compare polyurethane products with real wood: faux material is easier to handle, while wood offers authentic grain but greater weight and finishing work.
Never assume a decorative wrap can conceal an active leak, unsafe wiring, or structural problem. Attachment and clearances depend on the ceiling, site, and local code.
23. Color-Block an Interior Door
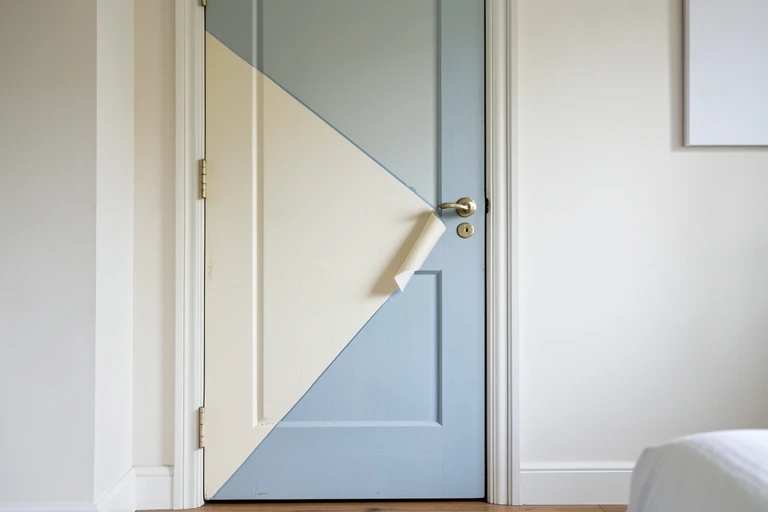
A color-blocked door can carry a room’s palette onto an overlooked surface. Keep the pattern simple and consider how it appears both open and closed before committing.
Remove or carefully mask hardware, clean the surface, and use primer and paint compatible with the existing finish. Score tape edges before peeling to reduce torn paint lines.
A satin or semigloss finish is generally easier to wipe than flat paint, though it highlights surface flaws. Renters need permission, and doors must continue to close freely after painting.
24. Common DIY Room Decor Mistakes
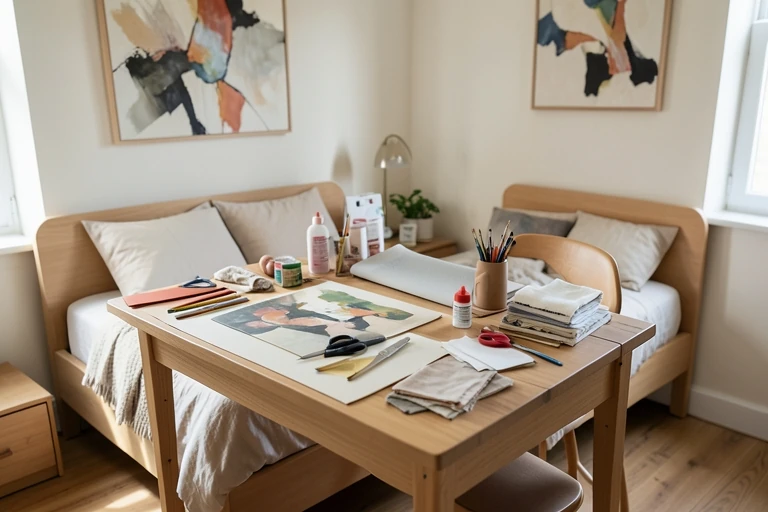
The most common mistake is starting with supplies instead of a room problem. Diagnose what is missing—scale, storage, color, softness, or light—then choose one project with a defined location and purpose.
Avoid undersized art, incompatible adhesives, visible unfinished edges, and too many competing materials. Make samples and inspect them in daytime and evening light before multiplying the treatment.
Finally, do not let decoration override safety, lease rules, maintenance access, or cleaning needs. Stop and seek qualified help when work involves wiring, plumbing, waterproofing, structure, or uncertain wall conditions.
Effort & Cost Snapshot
| Topic | Effort | Cost Note |
|---|---|---|
| 1. Paint a Removable Wall Arch | Medium | Varies by materials, scope, and local labor |
| 2. Create Framed Fabric Panels | Medium | Varies by materials, scope, and local labor |
| 3. Build a Shallow Gallery Ledge | Medium | Varies by materials, scope, and local labor |
| 4. Hang an Oversized Textile | Medium | Varies by materials, scope, and local labor |
| 5. Upgrade a Plain Mirror Frame | Medium | Varies by materials, scope, and local labor |
| 6. Recover a Tired Lampshade | High | Get a project-specific professional quote |
| 7. Add Plug-In Accent Lighting | High | Get a project-specific professional quote |
| 8. Make a Wrapped Headboard Panel | Low | Often achievable with existing furnishings or simple updates |
| 9. Assemble a Bedside Catchall | Low | Often achievable with existing furnishings or simple updates |
| 10. Sew Coordinated Pillow Covers | Low | Often achievable with existing furnishings or simple updates |
| 11. Lengthen Curtains With a Fabric Border | Low | Often achievable with existing furnishings or simple updates |
| 12. Apply Removable Window Film | Medium | Varies by materials, scope, and local labor |
| 13. Build a Compact Plant Stand | High | Get a project-specific professional quote |
| 14. Paint a Set of Cachepots | High | Get a project-specific professional quote |
| 15. Install a Useful Peg Rail | Medium | Varies by materials, scope, and local labor |
| 16. Turn a Crate Into a Side Table | Low | Often achievable with existing furnishings or simple updates |
| 17. Make a Modular Desk Organizer | Low | Often achievable with existing furnishings or simple updates |
| 18. Add a Laundry Folding Shelf | High | Get a project-specific professional quote |
| 19. Create a Dorm Pinboard | Low | Often achievable with existing furnishings or simple updates |
| 20. Customize Storage Box Fronts | High | Get a project-specific professional quote |
| 21. Add a Lightweight Ceiling Medallion | High | Get a project-specific professional quote |
| 22. Use Faux Beams as a Ceiling Accent | High | Get a project-specific professional quote |
| 23. Color-Block an Interior Door | Medium | Varies by materials, scope, and local labor |
| 24. Common DIY Room Decor Mistakes | High | Get a project-specific professional quote |
Frequently Asked Questions
How do I choose the first DIY project for a room?
Photograph the room and name the problem visible in the image. If clutter dominates, begin with storage. If furniture appears disconnected, repeat an existing color through pillows or art. If the wall feels empty, test a large paper template before making decor. Start with the issue that affects everyday use most.
Which DIY room decor projects work best for renters?
Freestanding plant stands, pillow covers, catchalls, fabric panels, and approved removable films generally require less alteration. Lease terms and surfaces vary, so obtain permission where required and test removal in an inconspicuous place. Keep original hardware and document the room before making changes.
How can handmade decor look more polished?
Limit the palette, repeat one material, and finish every visible edge. Dry-fit components before fastening, align patterns carefully, and allow paint or sealant to cure. Scale matters too: one appropriately sized piece often looks more deliberate than a cluster of small, unrelated crafts.
When should I stop treating a project as DIY?
Bring in qualified help when a project affects wiring, plumbing, waterproofing, structural elements, or unfamiliar wall and ceiling conditions. Actual requirements depend on the site and local code. A professional evaluation is also appropriate when you find leaks, damaged wiring, movement, mold, or an attachment surface you cannot identify.
The strongest DIY room decor begins with observation, not a shopping list. Measure the space, identify one functional or visual weakness, and select materials that can withstand the room’s actual moisture, sunlight, traffic, and cleaning routine.
Mock up scale and color before cutting, then prioritize straight alignments, finished edges, and secure installation. Renters should verify alteration rules, while any project touching utilities, waterproofing, or structure may require qualified help. Complete one focused upgrade, live with it for a few days, and let that result guide the next decision.
Sources & Further Reading
- Transform Your Ceiling; Hide Flaws with Affordable Beam Wraps-NARI
- Designing a Bathroom with SketchUp – NKBA
- 14 Unique Ceiling Decor Ideas to Spice Up a Boring Ceiling-NARI
- thespruce.com/diy-home-decor-ideas-7101182
Continue Your Home Transformation
Explore the full collection of step-by-step eBooks and get the guide that fits the room you're working on.