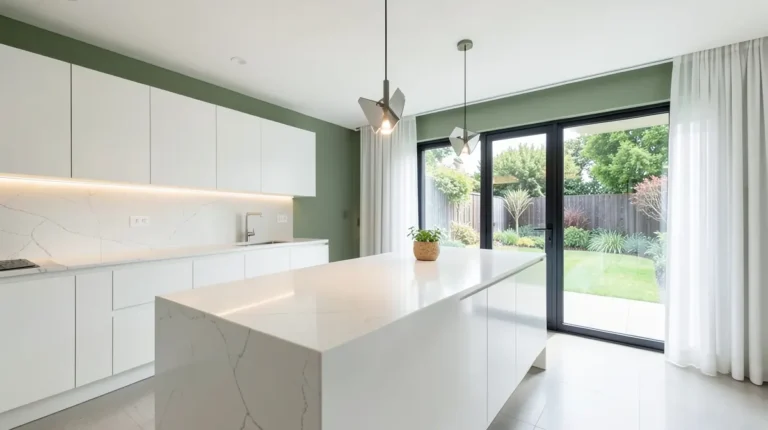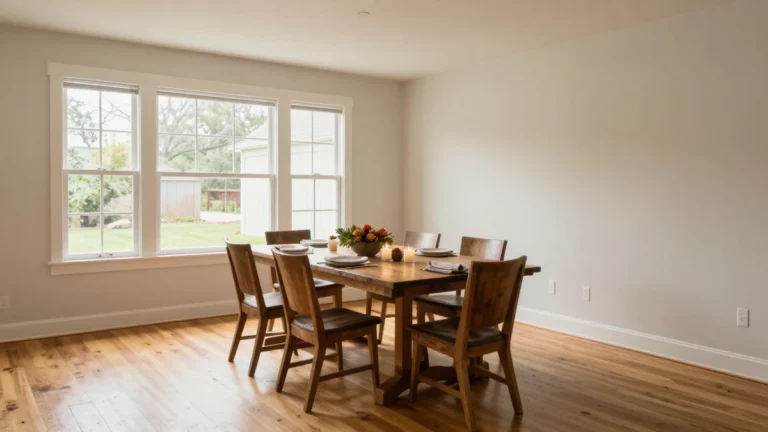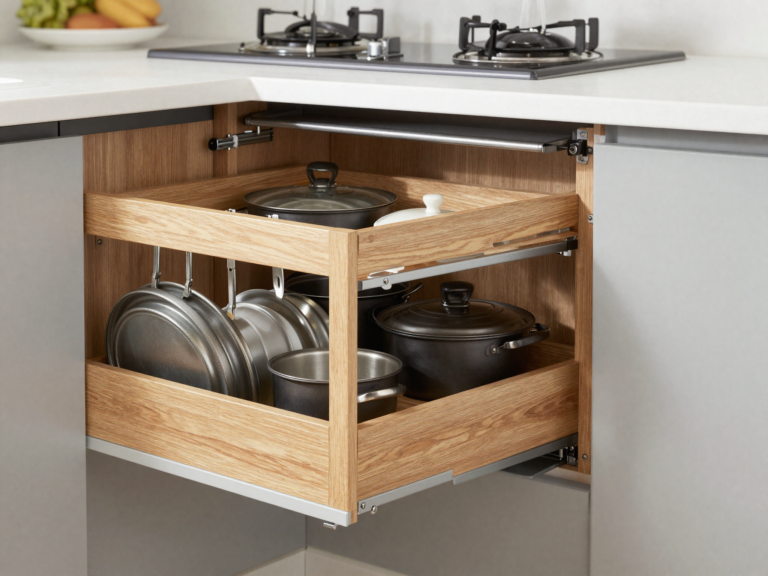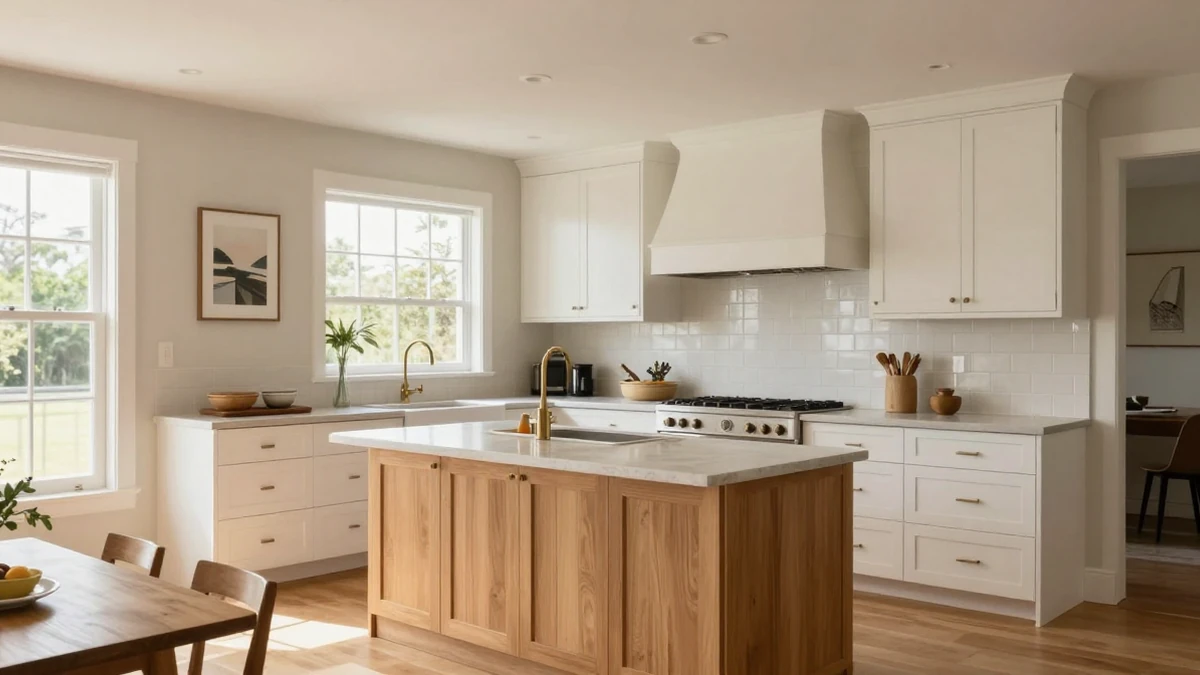
Good kitchen decor does more than fill empty walls. It works around heat, grease, wet hands, grocery unloading, and the appliances you use every morning. The best starting point is not a shopping cart but a clear look at what the room already needs.
These kitchen decor ideas cover color, lighting, art, storage, textiles, and display choices for homeowners and renters. Each one includes a practical test or tradeoff, so you can add personality without sacrificing counter space or creating another surface to clean. Begin with the room’s fixed finishes, then make changes in order of visibility, usefulness, and reversibility.
1. Audit the Kitchen From Its Main Sightline
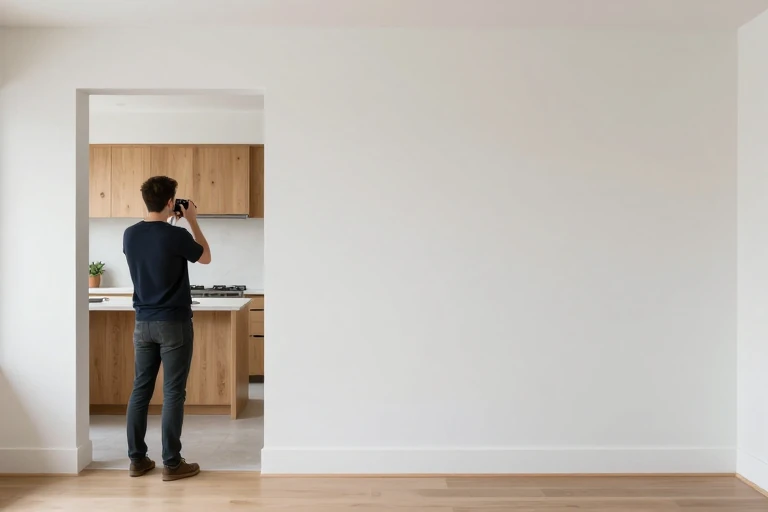
Stand where you first see the kitchen and take a photo. Notice whether clutter, an unfinished wall, or one dominant appliance pulls attention before the room’s better features.
Choose one focal area to improve rather than decorating every surface. A backsplash, island, window, or dining nook usually offers enough visual weight.
Clear counters before evaluating the room. Otherwise, storage problems can masquerade as a need for more decor.
2. Build a Palette From Fixed Finishes
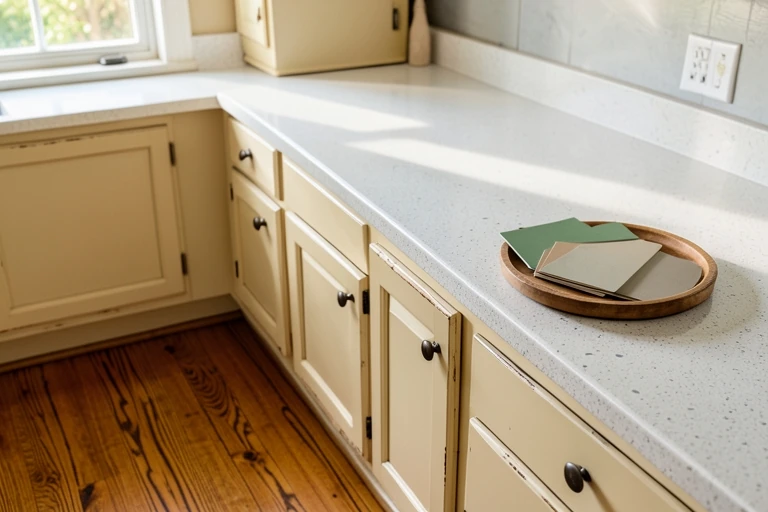
Start with the undertones in countertops, flooring, cabinets, and major appliances. Place paint chips and fabric samples directly beside them in daylight and evening light.
Limit the working palette to a dominant neutral, a supporting material, and an accent color. Repeating the accent in small doses creates connection without making everything match.
Color can live on accessories, an island, wallpaper, or a backsplash. Reserve permanent applications for colors you enjoy beyond a single season.
Loving These Ideas? Get the Step-by-Step Guide
Grab the full 5-day eBook and turn these ideas into a finished room.




3. Give the Backsplash One Clear Job
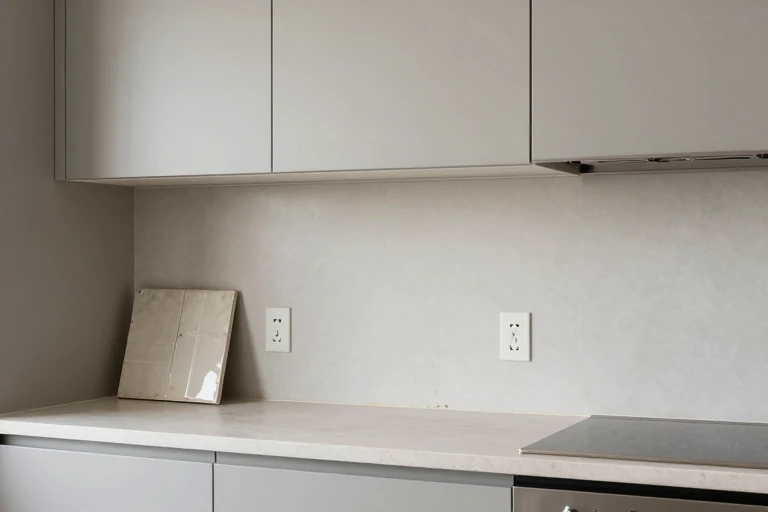
Decide whether the backsplash should blend in, introduce texture, or become the focal point. Asking it to do all three often produces visual noise.
Glossy tile reflects light but reveals splatter; textured or deeply jointed surfaces require more detailed cleaning. Bring samples home and wipe them with a damp cloth before committing.
Test the pattern behind the range and beside outlets. Cuts and interruptions can change how a small-scale design reads.
4. Update Hardware Without Fighting the Cabinets
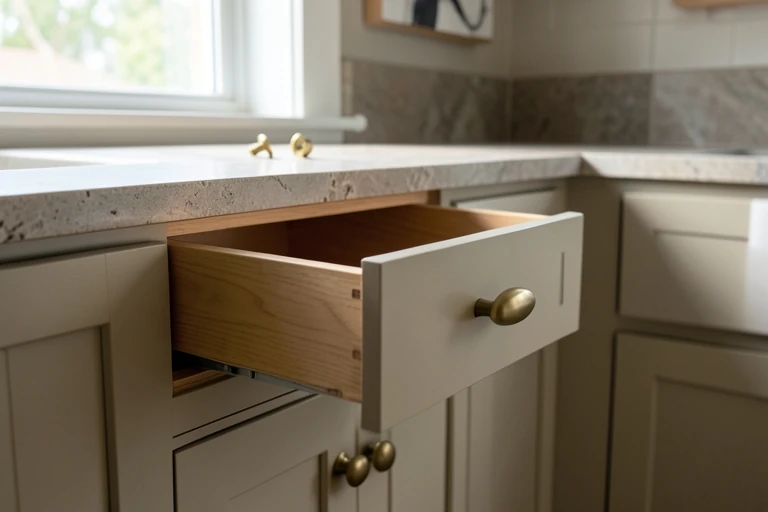
Cabinet hardware should relate to the door style rather than simply follow a finish trend. Simple pulls can calm ornate doors, while shaped knobs add detail to flat fronts.
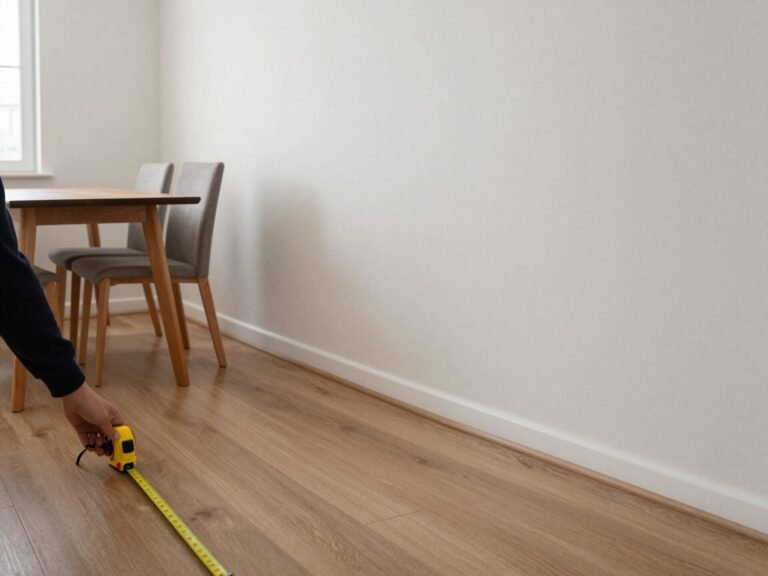
Measure existing hole spacing before shopping. Reusing holes avoids patching and reduces the chance of damaging a cabinet face.
Buy one sample and test its grip with wet hands. Sharp corners, shallow finger clearance, and snag-prone ends become irritating in daily use.
5. Layer Lighting Before Adding More Objects
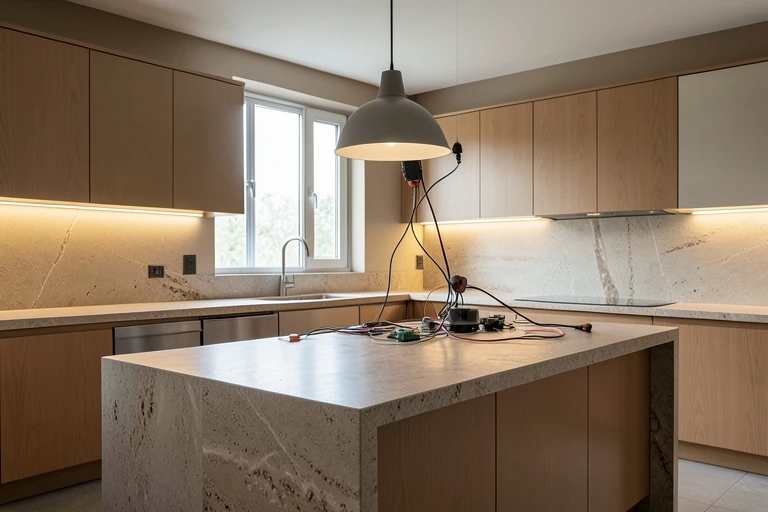
Use ambient light for circulation, focused light over work areas, and decorative light to establish mood. One bright ceiling fixture rarely handles all three roles comfortably.
Check whether pendants block views or cast shadows where food is prepared. Portable lamps belong only on dry, protected surfaces where cords cannot cross work paths.
New wiring, fixture boxes, and outlet changes depend on site conditions and local code. Use a qualified electrician for electrical work.
6. Create a Contained Countertop Zone
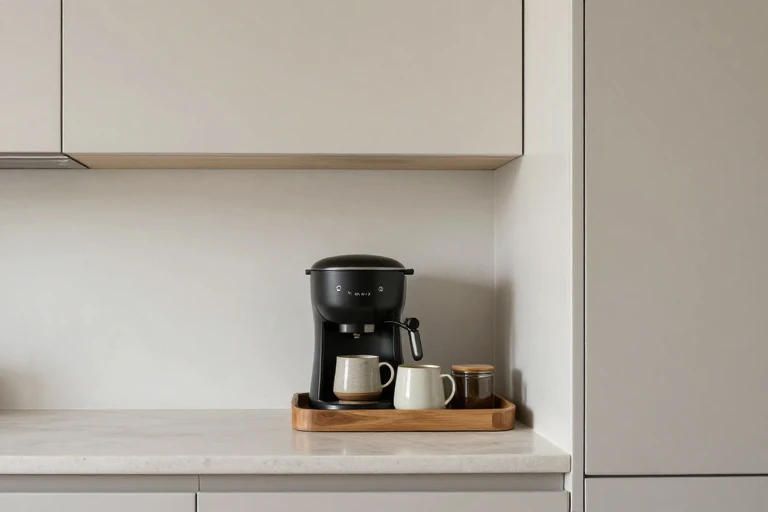
Group items used for one routine: coffee, tea, baking, or breakfast. A tray can define the zone and simplify wiping, but it should not become a parking place for unrelated objects.
Keep the arrangement below upper-cabinet doors and away from range heat and sink spray. Leave elbow room around frequently opened appliances.
If an object is neither useful nor especially meaningful, store it. Empty counter space is part of the composition.
7. Style Open Shelves for Daily Reach
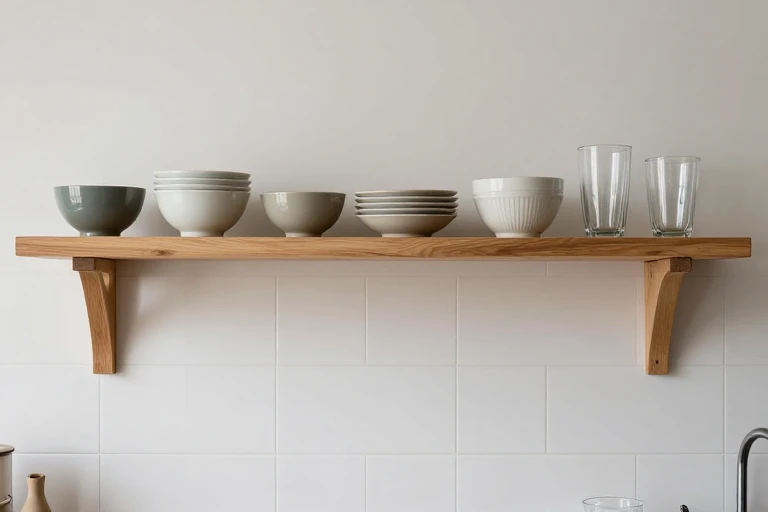
Place frequently used bowls, glasses, and plates on the easiest shelves. Decorative pieces can occupy the less accessible ends without interrupting daily unloading.
Repeat one material or color, then vary object height. Dense rows may maximize capacity, but they can make dusting and retrieval slower.
Before installing new shelves, identify wall construction and expected load. Mounting requirements vary by wall, hardware, shelf depth, and local conditions.
8. Hang Art Beyond the Splash Zone
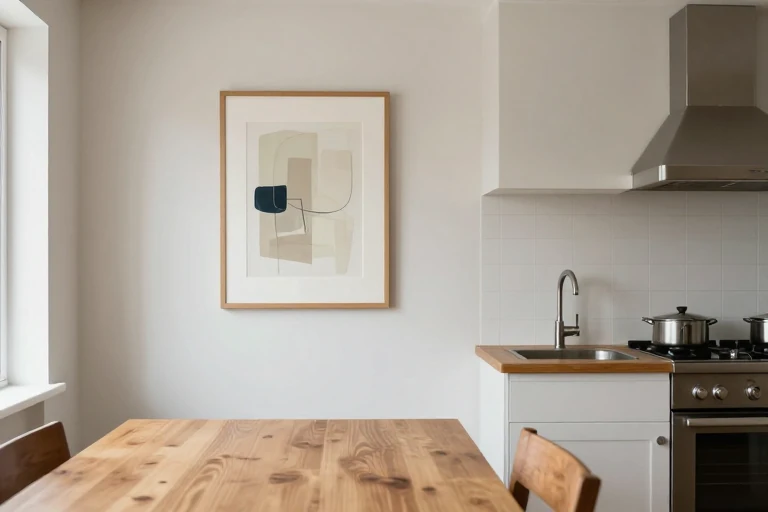
Use art to introduce a color or mood that fixed finishes cannot. Good locations include a breakfast nook, pantry wall, doorway return, or wall beyond active counters.
Avoid placing absorbent paper, unsealed wood, or delicate textiles near steam, grease, or sink spray. Glass-fronted frames are easier to wipe but can reflect task lighting.
Mock up the artwork with plain paper first. Check its scale from both standing and seated positions.
9. Choose a Rug for Spills and Door Swings
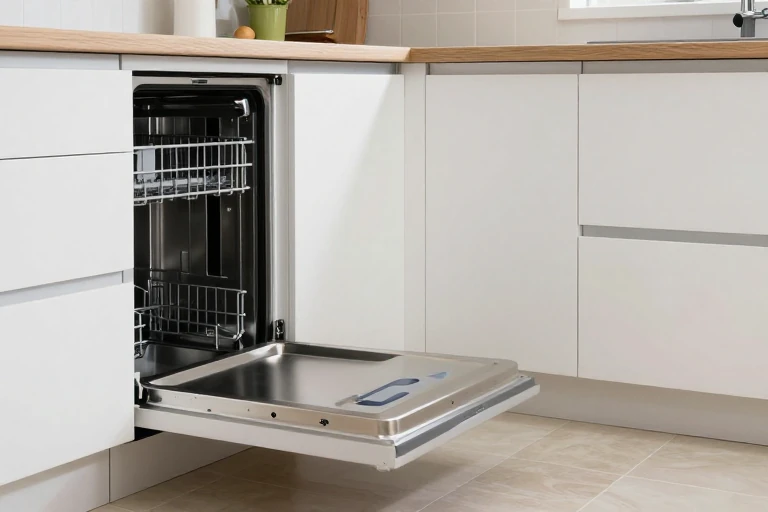
Map cabinet, dishwasher, oven, and refrigerator doors before selecting a rug. Thick piles and curled edges can interfere with openings or create a trip point.
Favor a washable, low-profile construction with a stable backing appropriate for the floor. Pattern can disguise minor crumbs, but it should not conceal spills that need attention.
Use painter’s tape to test the footprint. Keep edges out of the busiest turning paths.
10. Keep Window Treatments Cleanable and Clear
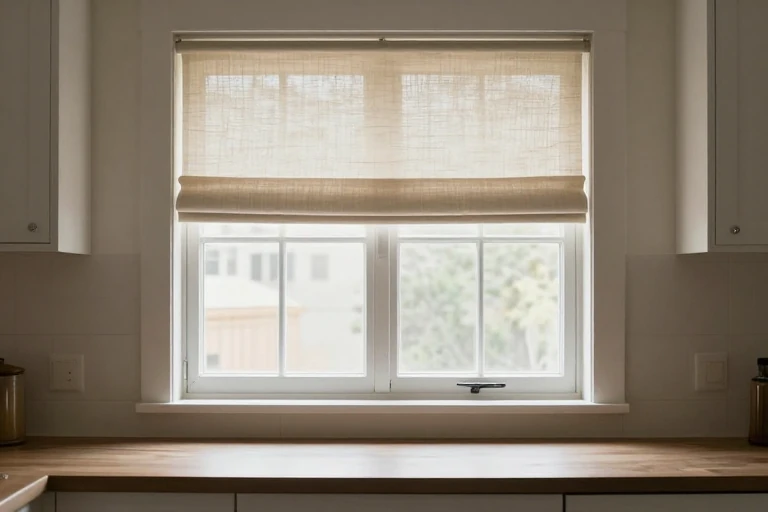
A kitchen window treatment should manage privacy or glare without hovering over flames, wet counters, or food-preparation areas. First identify the exact problem it must solve.
Washable shades and simple café curtains are easier to maintain than layered fabric treatments. Inside mounting preserves trim, while outside mounting can cover light gaps.
Confirm handle clearance and opening movement before ordering. Near a range, follow manufacturer guidance and applicable fire-safety requirements.
11. Scale the Island Centerpiece to the Work
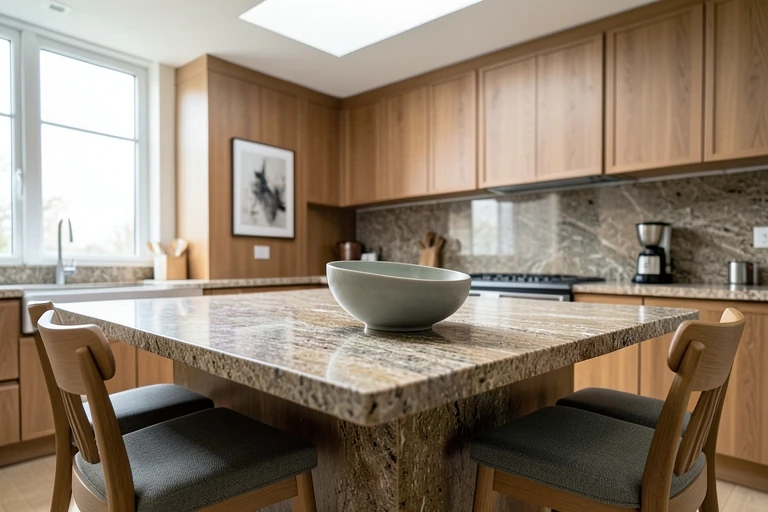
An island centerpiece should move with one hand when the surface is needed for prep, homework, or serving. A low bowl or compact vase is usually easier to relocate than multiple objects.
Keep sightlines open across seating and avoid arrangements that shed petals near food. Felt pads protect vulnerable countertop finishes from abrasion.
Test the arrangement during a full day. If it is repeatedly pushed aside, reduce its footprint or remove it.
12. Add Plants Where They Can Actually Thrive
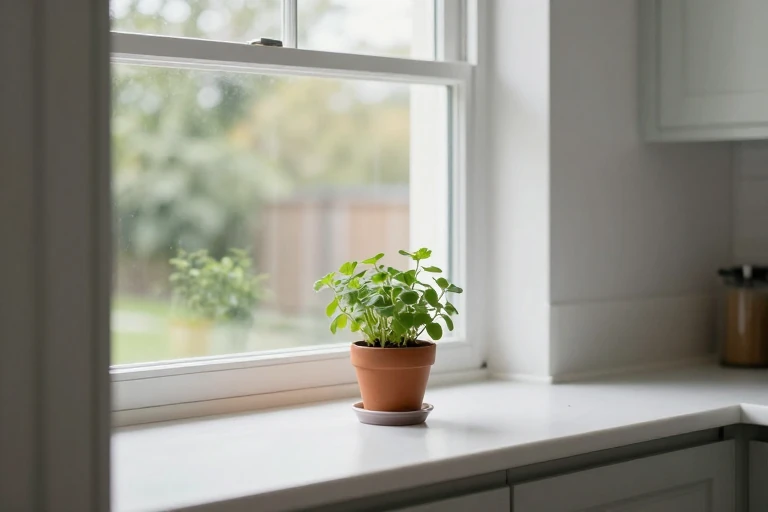
Match plants to available light, temperature changes, and your watering habits rather than choosing by appearance alone. Observe the location through the day before buying.
Use saucers or cachepots to protect shelves and counters. Keep soil, trailing stems, and watering runoff away from food-preparation surfaces and electrical equipment.
If natural light is limited, cut greenery offers a temporary option. Artificial plants avoid watering but still collect airborne dust and grease.
13. Display Cookware Only When It Earns the Space
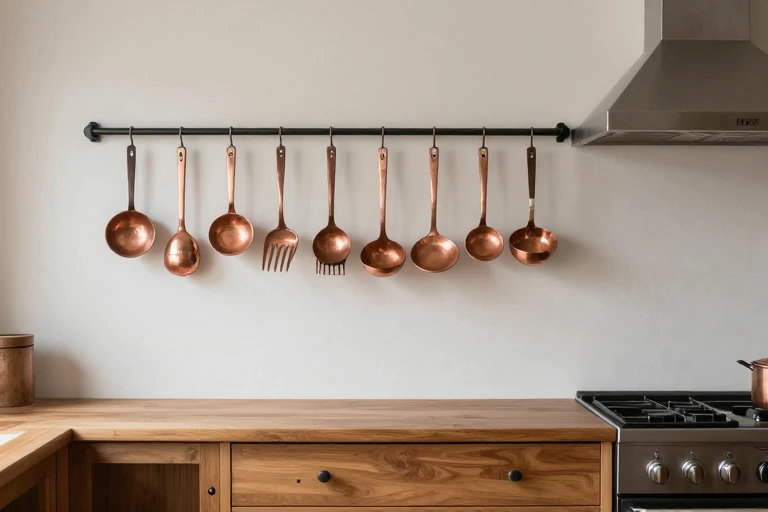
Visible cookware can add color and character, but only display pieces used often enough to justify cleaning them. Grease settles quickly near cooking areas.
A rail works for lighter tools; a ceiling rack needs reliable structural support and enough clearance below. Confirm mounting conditions before installation.
Arrange items by frequency and reach, not symmetry alone. Heavy pans should not require stretching over a hot surface or occupied seat.
14. Treat the Ceiling as a Supporting Surface
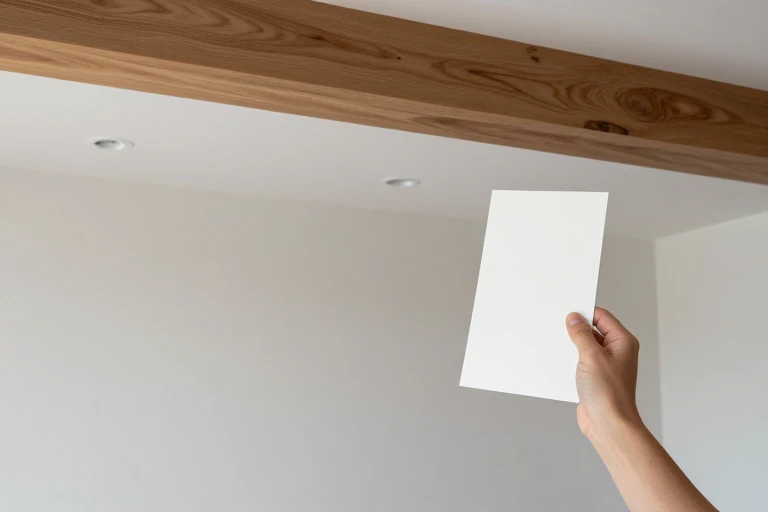
A ceiling can reinforce the room through restrained paint, planking, or beams, but it should support the overall palette rather than compete with the backsplash and cabinets.
Dark or heavily textured treatments may make the ceiling feel more prominent. Test a painted sample overhead because color reads differently on a horizontal plane.
Decorative beams still require appropriate attachment. Verify structure, clearances, lighting conflicts, and local requirements before work begins.
15. Mix Texture Instead of Adding More Color
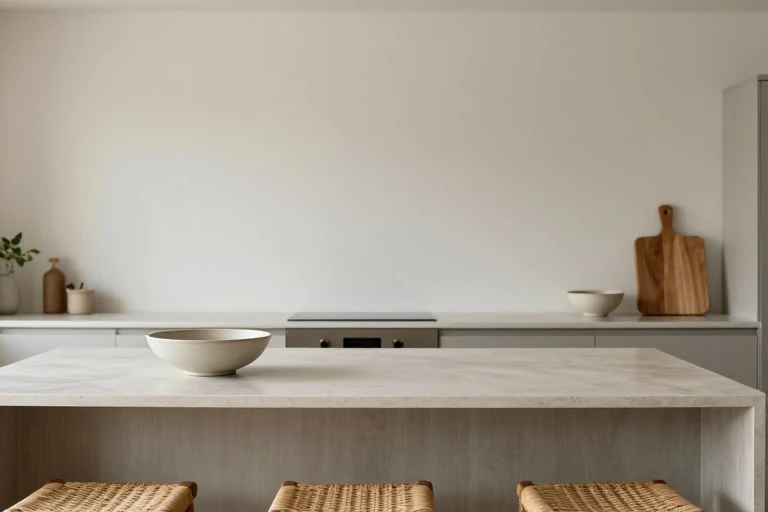
When a kitchen already has several colors, introduce contrast through texture: matte pottery, woven seating, ribbed glass, linen, or warm wood. This adds depth without expanding the palette.
Place porous materials away from heavy splatter. Smooth, sealed finishes are generally easier to wipe in active work zones.
Repeat a texture at least once across the room, such as wood stools echoing a cutting board. The connection can be subtle rather than identical.
16. Make Rental Changes Easy to Reverse
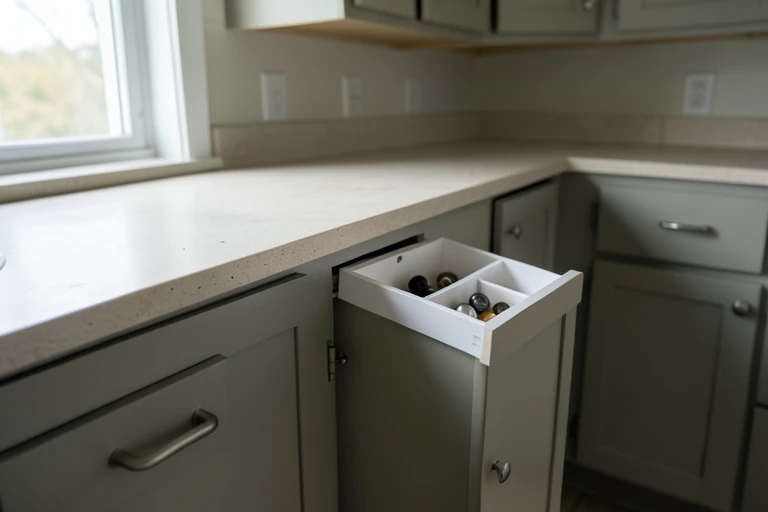
Prioritize freestanding lighting, washable rugs, countertop organizers, removable artwork, and hardware swaps that preserve the original parts. Photograph the kitchen before making changes.
Test removable products in an inconspicuous area. Adhesives can react differently with paint, laminate, tile, and prolonged heat or moisture.
Get written permission before painting, drilling, changing fixtures, or covering permanent finishes. Store labeled original hardware so the kitchen can be restored accurately.
17. Use Vertical Space Without Crowding It
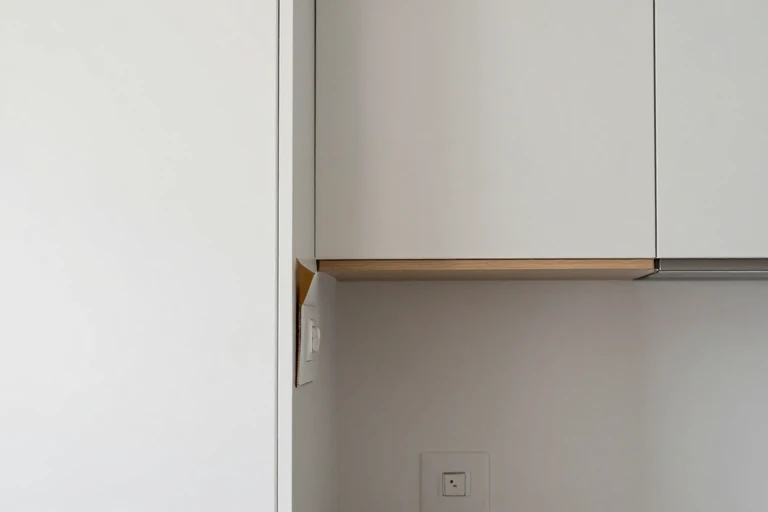
In a small kitchen, first reserve lower storage for heavy and frequently used items. Upper walls can hold lighter objects, but filling every gap may make the room feel busier.
Choose one vertical move: a narrow shelf, rail, peg system, or aligned artwork. Maintain clear access to switches, outlets, doors, and ventilation.
Use a full-size paper template before drilling. Check reach and door movement, not just visual alignment.
18. Connect a Dining Nook to the Kitchen
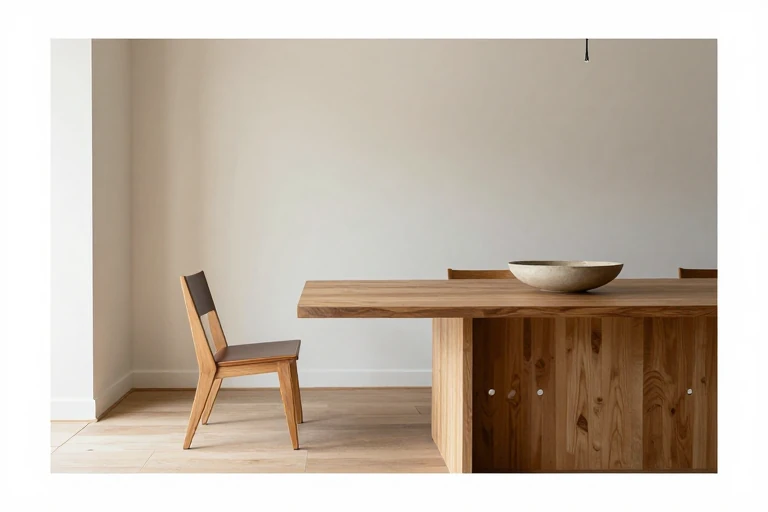
Repeat one kitchen finish in the nook, such as cabinet color on chair cushions or island wood in the table. This creates continuity without purchasing a matching furniture set.
Measure the route around pulled-out chairs before adding a rug, side table, or floor lamp. Comfortable circulation matters more than a fully layered look.
Use a pendant or artwork to define the nook visually, while keeping table decor low and easy to move.
19. Integrate Everyday Utilities Into the Plan
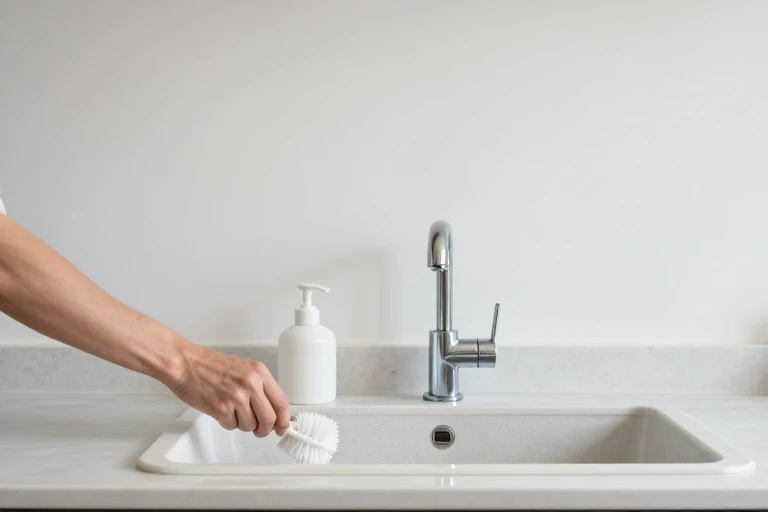
Soap dispensers, paper towels, dish brushes, and charging cords remain visible because they serve real routines. Choose coordinated containers only after deciding where each task happens.
Keep sink tools on a drainable holder rather than a decorative tray that traps water. Leave ventilation around countertop appliances and follow their placement instructions.
Decant only products that can be identified safely. Never move household chemicals or unfamiliar ingredients into ambiguous decorative containers.
20. Rotate Seasonal Decor Instead of Accumulating It
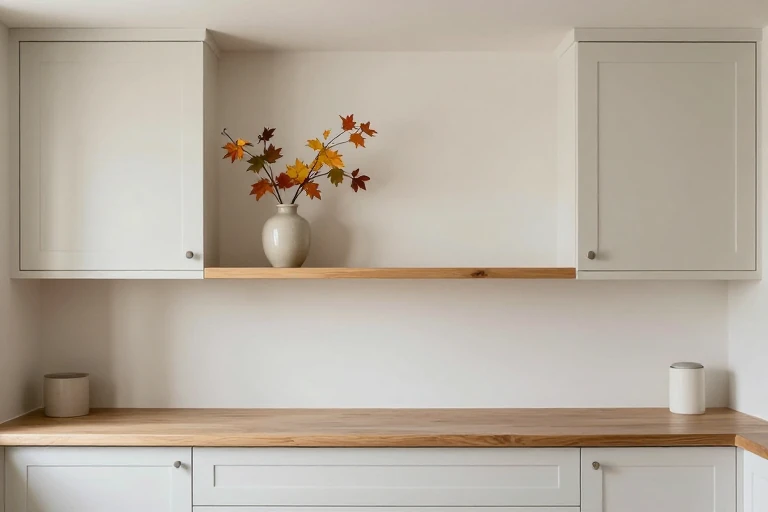
Choose one seasonal zone, such as the table, window ledge, or a single shelf. Limiting the footprint prevents holiday objects from spreading into preparation areas.
Swap colors and natural materials rather than buying complete themed sets. A branch, bowl, textile, or candleholder can change the mood while remaining easy to store.
At the season’s end, inspect each item. Donate duplicates and discard anything damaged, stained, or difficult to clean.
21. Common Kitchen Decor Mistakes
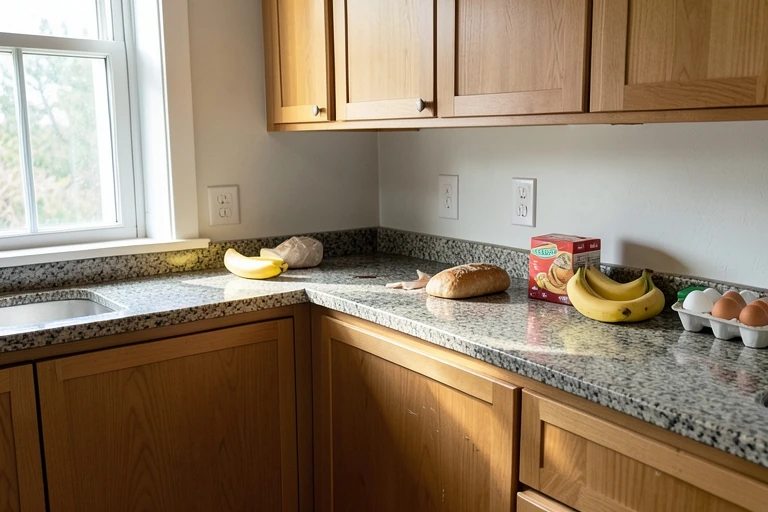
The most common mistake is decorating before solving storage and lighting problems. If counters constantly refill, identify what lacks a practical home before adding accessories.
Avoid placing fragile art near steam, rugs across door swings, or decorative objects beside burners. Also resist matching every metal and wood; controlled variation often looks more natural.
Finish by removing one item from each styled area. The room should still support unloading groceries, cooking, cleaning, and conversation.
Effort & Cost Snapshot
| Topic | Effort | Cost Note |
|---|---|---|
| 1. Audit the Kitchen From Its Main Sightline | Low | Often achievable with existing furnishings or simple updates |
| 2. Build a Palette From Fixed Finishes | Medium | Varies by materials, scope, and local labor |
| 3. Give the Backsplash One Clear Job | Medium | Varies by materials, scope, and local labor |
| 4. Update Hardware Without Fighting the Cabinets | Medium | Varies by materials, scope, and local labor |
| 5. Layer Lighting Before Adding More Objects | High | Get a project-specific professional quote |
| 6. Create a Contained Countertop Zone | Medium | Varies by materials, scope, and local labor |
| 7. Style Open Shelves for Daily Reach | Medium | Varies by materials, scope, and local labor |
| 8. Hang Art Beyond the Splash Zone | Medium | Varies by materials, scope, and local labor |
| 9. Choose a Rug for Spills and Door Swings | Medium | Varies by materials, scope, and local labor |
| 10. Keep Window Treatments Cleanable and Clear | Low | Often achievable with existing furnishings or simple updates |
| 11. Scale the Island Centerpiece to the Work | Low | Often achievable with existing furnishings or simple updates |
| 12. Add Plants Where They Can Actually Thrive | High | Get a project-specific professional quote |
| 13. Display Cookware Only When It Earns the Space | High | Get a project-specific professional quote |
| 14. Treat the Ceiling as a Supporting Surface | Medium | Varies by materials, scope, and local labor |
| 15. Mix Texture Instead of Adding More Color | Low | Often achievable with existing furnishings or simple updates |
| 16. Make Rental Changes Easy to Reverse | Medium | Varies by materials, scope, and local labor |
| 17. Use Vertical Space Without Crowding It | Low | Often achievable with existing furnishings or simple updates |
| 18. Connect a Dining Nook to the Kitchen | Medium | Varies by materials, scope, and local labor |
| 19. Integrate Everyday Utilities Into the Plan | Low | Often achievable with existing furnishings or simple updates |
| 20. Rotate Seasonal Decor Instead of Accumulating It | Medium | Varies by materials, scope, and local labor |
| 21. Common Kitchen Decor Mistakes | Medium | Varies by materials, scope, and local labor |
Frequently Asked Questions
Where should I start when decorating a kitchen?
Start by clearing the counters and photographing the room from its main entrance. Identify the fixed finishes, the strongest sightline, and any unresolved storage problem. Then choose one high-impact area—often lighting, the backsplash, or a dining nook—before buying smaller accessories.
How can I decorate a small kitchen without creating clutter?
Keep work surfaces mostly open and use one intentional vertical feature, such as a narrow shelf or rail. Group daily-use objects by routine, limit the color palette, and test door movement before adding rugs, carts, or wall storage.
Which kitchen decor changes are best for renters?
Try washable textiles, freestanding organizers, portable lighting, removable artwork, and hardware swaps that reuse existing holes. Test adhesives discreetly, retain every original part, and obtain written permission before painting, drilling, altering wiring, or covering permanent finishes.
Does every metal finish in a kitchen need to match?
No. A controlled mix can look deliberate when each finish repeats or has a clear role. For example, use one finish for cabinet hardware and another for lighting. Compare undertones together, and avoid adding a third finish through numerous small accessories.
A well-decorated kitchen is not the one with the most accessories. It is the one where color, lighting, useful objects, and meaningful pieces support the room’s daily workload. Start with fixed finishes and sightlines, solve storage conflicts, and then add one intentional layer at a time.
Test scale with samples and templates, consider cleaning before choosing materials, and keep permanent work separate from reversible styling. If a decorative choice blocks a door, crowds preparation space, or demands constant maintenance, revise it. Practical limits do not weaken a design; they help make it livable.
Sources & Further Reading
- NKBA | KBIS Releases Annual 2026 Kitchen Trends Report – NKBA
- 12 Small Kitchen Backsplash Tile Ideas for 2024-NARI
- 14 Unique Ceiling Decor Ideas to Spice Up a Boring Ceiling-NARI
- countryliving.com/home-design/decorating-ideas/g4263/rustic…
Continue Your Home Transformation
Explore the full collection of step-by-step eBooks and get the guide that fits the room you're working on.