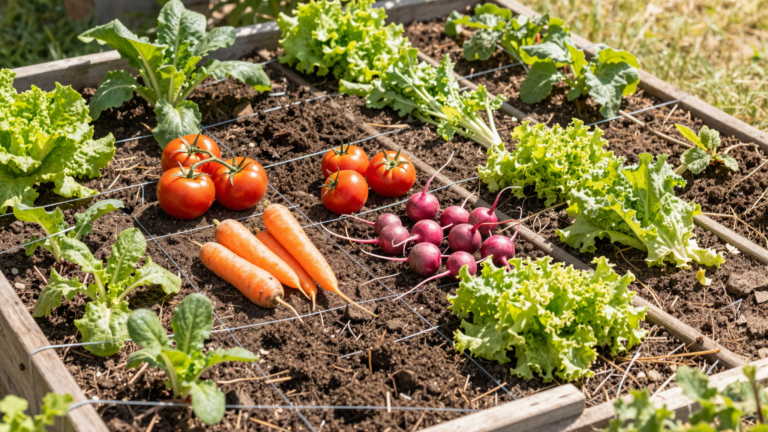
Garden path ideas should connect places you actually use. The route to a shed, vegetable bed or seating area has a different job from a short decorative stroll through a border. Start with that purpose before choosing the surface.
Walk the proposed route with the objects normally carried there, such as a watering can or garden cart. Notice gates, turns, muddy areas and plants that spread into the passage. A beautiful curve is less useful if everyone takes a shortcut across the lawn.
These 28 original concepts compare materials, shapes and garden relationships. The AI-generated images illustrate appearance, not verified construction details. Have the actual ground, drainage, access needs and selected products assessed before installation.
The images are original AI-generated decor concepts, not installation diagrams or photographs of completed client projects.
Browse These 28 Garden Path Ideas
Jump to an idea
- Start with warm gravel garden path ideas
- Use gray aggregate beside a pale house
- Give a gravel route a brick border
- Use stone edging for a quieter material relationship
- Choose running-bond brick for a clear rhythm
- Try herringbone garden path ideas as one focal detail
- Use a basketweave pattern beside simple planting
- Keep large rectangular pavers visually quiet
- Choose square pavers for a simple repeated module
- Mix rectangular units within one restrained palette
- Explore natural-looking flagstone with a planned walking surface
- Use cut stone for a more formal route
- Try pale limestone-look garden path ideas
- Use a darker slate-like surface with simple edges
- Choose earth-toned pavers beside warm brickwork
- Set a secondary stepping route through lawn
- Place stepping surfaces within a gravel field
- Use a mulch-like path in an informal planted area
- Consider a low timber walkway as a complete project
- Keep the main route direct between useful destinations
- Use a gentle curve when it improves the garden view
- Let a bend reveal a place to sit
- Plan side-garden path ideas around real access
- Connect vegetable beds with a clear working route
- Frame a path view with a simple garden opening
- Keep border planting clear of the walking surface
- Include evening visibility in the route plan
- Finish with a deliberate transition to the patio
Compare garden path ideas by route, surface and daily use
Separate visual style from the complete path system. RHS guidance on permeable paving explains that the underlying construction matters as well as the visible surface. Do not assume that pale gravel or open-looking joints establish a suitable drainage solution. For a US project involving excavation, contact 811 and follow the requirements and responses for your state before ground is disturbed.
| Main use | Compare carefully | Resolve in the actual plan |
|---|---|---|
| Frequent trips to a door or shed | Directness, gates and usable passage | A route that suits ordinary movement |
| Cart or mobility-related access | Continuous surface, joints, turns and gradients | An assessed route for the actual users and equipment |
| Occasional garden stroll | Views, destination and planting edges | A deliberate route with manageable maintenance |
| Vegetable-bed access | Reach, hose routes and cart movement | Space to work without stepping into beds |
| Wet or sloping ground | Existing runoff, ground conditions and levels | A site-specific drainage and construction assessment |
| Connection to an existing patio | Level, surface transition and visual relationship | A coherent, usable junction rather than a decorative seam |
Compare two routes before comparing two paving colors
Sketch one direct route and one gently curved alternative between the same starting point and destination. Mark the gate opening, a cart turn and the plants that remain. If the curve adds an awkward turn without improving the garden view or use, simplify it. A route comparison can prevent a costly material decision around the wrong shape.
Use an area estimate only as the start of a quotation
A straight rectangular route 20 feet long and 3 feet wide has a simple surface area of 60 square feet. This arithmetic does not recommend that width or calculate a complete order. Curves, edges, cuts, base preparation, drainage and product allowances change the project. Ask the supplier or installer for a quote based on the actual measured design and intended use.
Keep decorative stepping routes separate from essential access
Separated stepping surfaces can create an attractive garden rhythm, but they should not be assumed suitable for every user or wheeled item. Identify the essential route first and have its surface, width, joints and levels assessed for the people who use it. A secondary decorative path can then be considered without replacing that needed access.
1. Start with warm gravel garden path ideas

Warm-toned gravel can create a quiet route through green planting. Its small-scale surface texture gives the path a different character from a broad paved terrace.
Compare an actual material sample with the house and nearby paving. Select the aggregate and complete path system for the intended traffic rather than appearance alone.
Practical tip: Ask to see the chosen aggregate at useful sample scale.
2. Use gray aggregate beside a pale house

Gray aggregate can connect a path with pale siding or a contemporary garden wall. The color provides a quieter contrast than a strongly golden surface.
Check the sample in both dry and wet conditions when possible. The surface color and the relationship with surrounding materials may change noticeably.
Practical tip: Compare the actual material in realistic conditions.
3. Give a gravel route a brick border

A brick border gives a loose-looking surface a defined visual edge. Its warm color can relate to a house wall or an existing garden feature.
Have the edging arrangement chosen for the actual path construction. A decorative row in an image does not specify the support or junction details needed on site.
Practical tip: Plan the border as part of the whole system.
4. Use stone edging for a quieter material relationship

Stone edging can frame a gravel route without the stronger color of red brick. Repeating a nearby stone tone can connect the path with a patio or low wall.
Check the border’s position against usable passage. A broad edge takes space and should be included in the measured layout.
Practical tip: Measure the walking surface separately from the full footprint.
5. Choose running-bond brick for a clear rhythm

Running-bond brick gives the route a familiar repeated pattern. It can work with an ordinary rectangular path without needing a strong curve or elaborate border.
Confirm the actual paving product’s suitability for the site and use. A brick-like appearance alone does not establish exterior walking-surface performance.
Practical tip: Choose paving specifications before the pattern layout.
6. Try herringbone garden path ideas as one focal detail
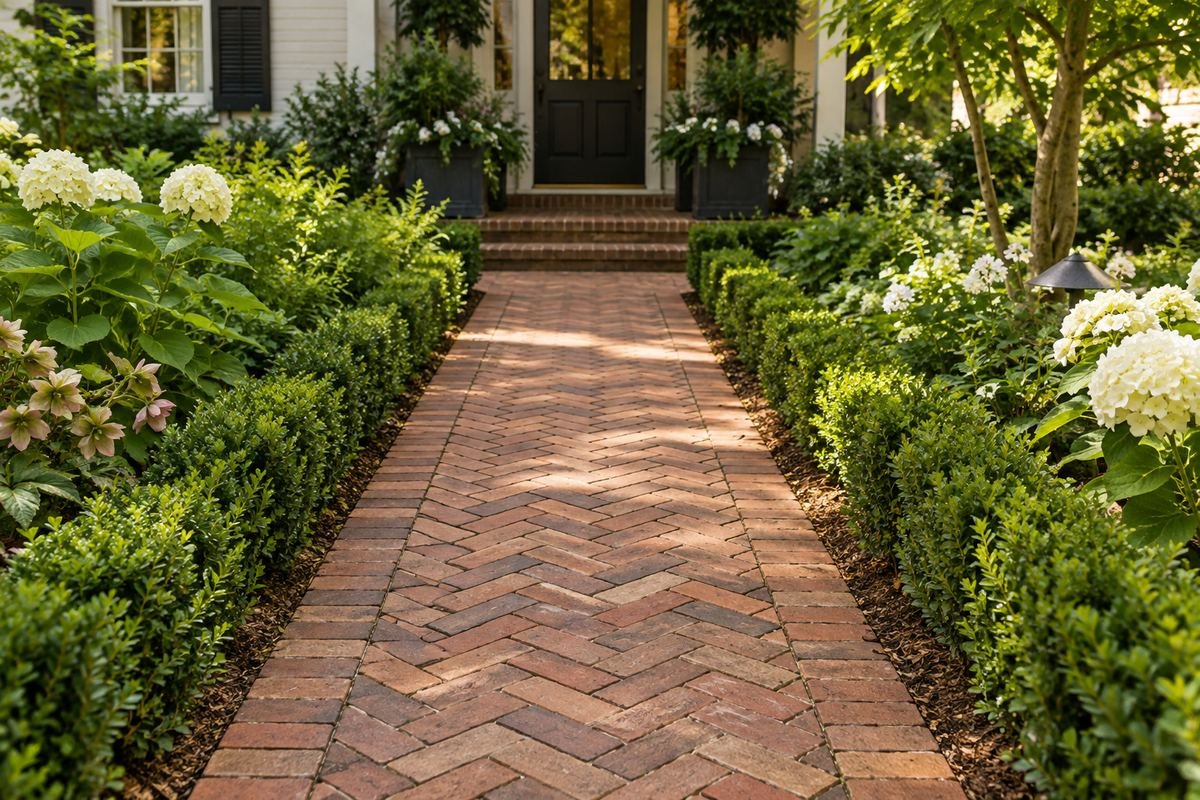
Herringbone creates a more active paved surface than a simple straight bond. Keep nearby planting and edging restrained if the pattern should be the main decorative feature.
Ask the installer to show the intended alignment and edge treatment. The pattern needs a complete layout, especially where the path changes direction.
Practical tip: Approve the full pattern field rather than one small sample.
7. Use a basketweave pattern beside simple planting

Basketweave introduces a repeated block rhythm to a path. It can provide detail in a relatively plain garden without adding several different paving colors.
Compare the pattern with nearby brick walls or terraces. Two similar but slightly different rhythms may be more noticeable than a deliberate material contrast.
Practical tip: View adjoining paved and vertical surfaces together.
8. Keep large rectangular pavers visually quiet

Large rectangular pavers create fewer visible units across a route. They can connect a contemporary patio with a garden destination while leaving the planting to supply texture.
Confirm the actual finish and joint arrangement for outdoor use. A smooth-looking concept image cannot establish grip or suitability when wet.
Practical tip: Review the product’s outdoor surface information.
9. Choose square pavers for a simple repeated module
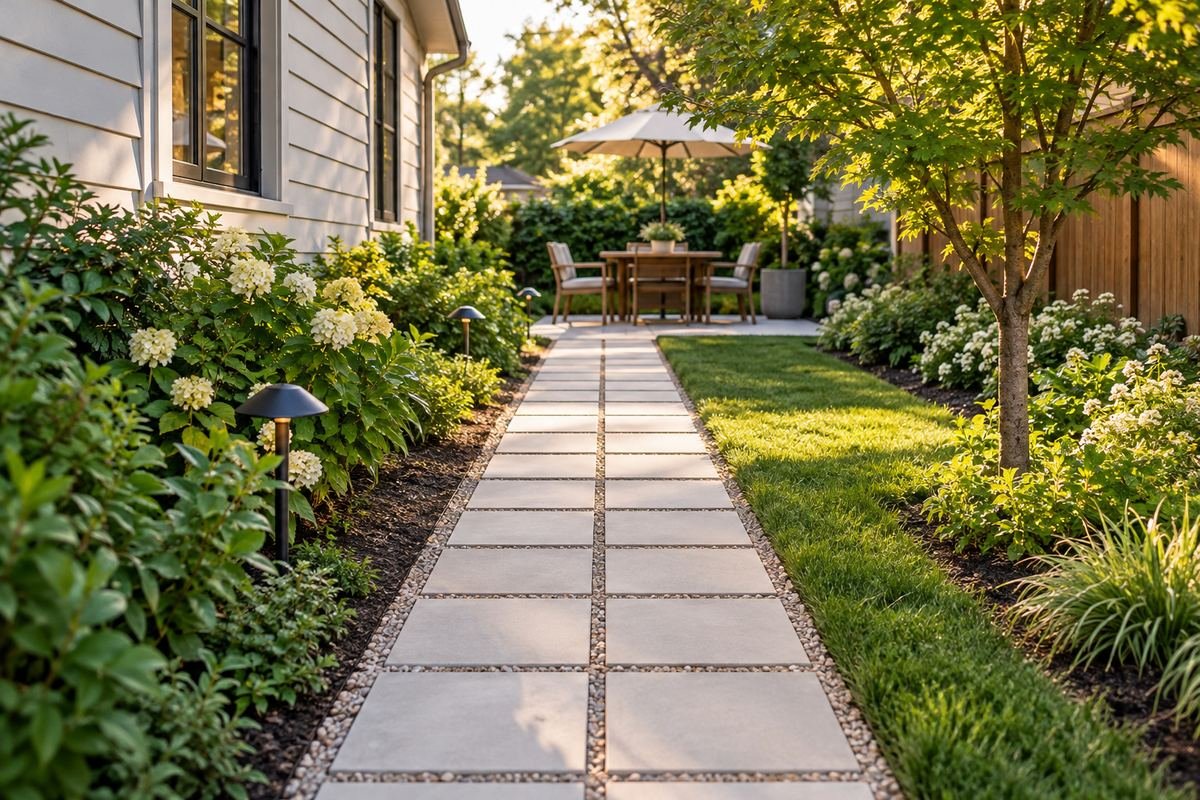
Square pavers can give a short path a clear module without an elaborate laying pattern. Their repetition works best when the route has deliberate edges and stopping points.
Compare the unit size with the planned width and turns. The number of cuts and the visual balance depend on the actual dimensions.
Practical tip: Ask for a measured layout using the selected unit.
10. Mix rectangular units within one restrained palette

Different rectangular units can add variation while staying within one material family. A limited color range keeps the surface from competing with a colorful border.
Use a product-specific laying plan rather than improvising several unrelated sizes. Confirm joints, edges and quantities with the supplier or installer.
Practical tip: Resolve the module arrangement before ordering.
11. Explore natural-looking flagstone with a planned walking surface

Flagstone-like shapes create a more irregular visual pattern than manufactured rectangles. They can suit a garden with informal planting and a less rigid outline.
Distinguish irregular outlines from uneven walking levels. Have the actual surface, joints and edges assessed for the intended users.
Practical tip: Choose a usable finished surface, not only an appealing outline.
12. Use cut stone for a more formal route
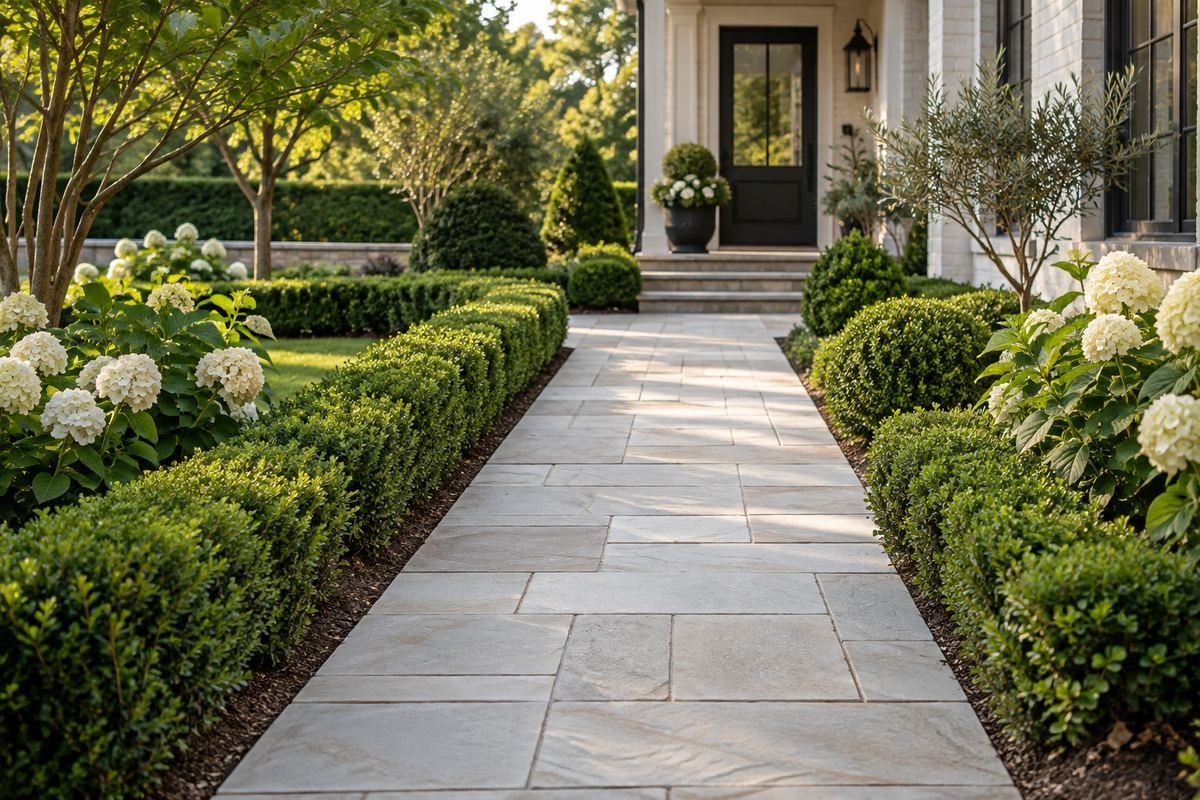
Cut-stone paving gives a route defined rectangular lines. It can connect a simple terrace with a garden seat while keeping the overall design restrained.
Compare the real stone sample and surface finish. Color, texture and suitability vary between materials that may look similar in a photograph.
Practical tip: Review the exact selected stone specification.
13. Try pale limestone-look garden path ideas

A pale limestone appearance creates a light route through deeper green planting. It can relate to cream exterior walls without using exactly the same tone.
Treat the image as a color concept. Confirm the actual material, exterior suitability and care requirements with the supplier before choosing it.
Practical tip: Separate the desired appearance from the product specification.
14. Use a darker slate-like surface with simple edges

A darker slate-like appearance can make pale foliage and flowers stand out along a path. Keeping the border simple lets the dark route remain a clear shape.
Check the actual product’s texture and intended use. A dark stone name does not establish consistent performance across all finishes and climates.
Practical tip: Compare the exact outdoor finish in person.
15. Choose earth-toned pavers beside warm brickwork
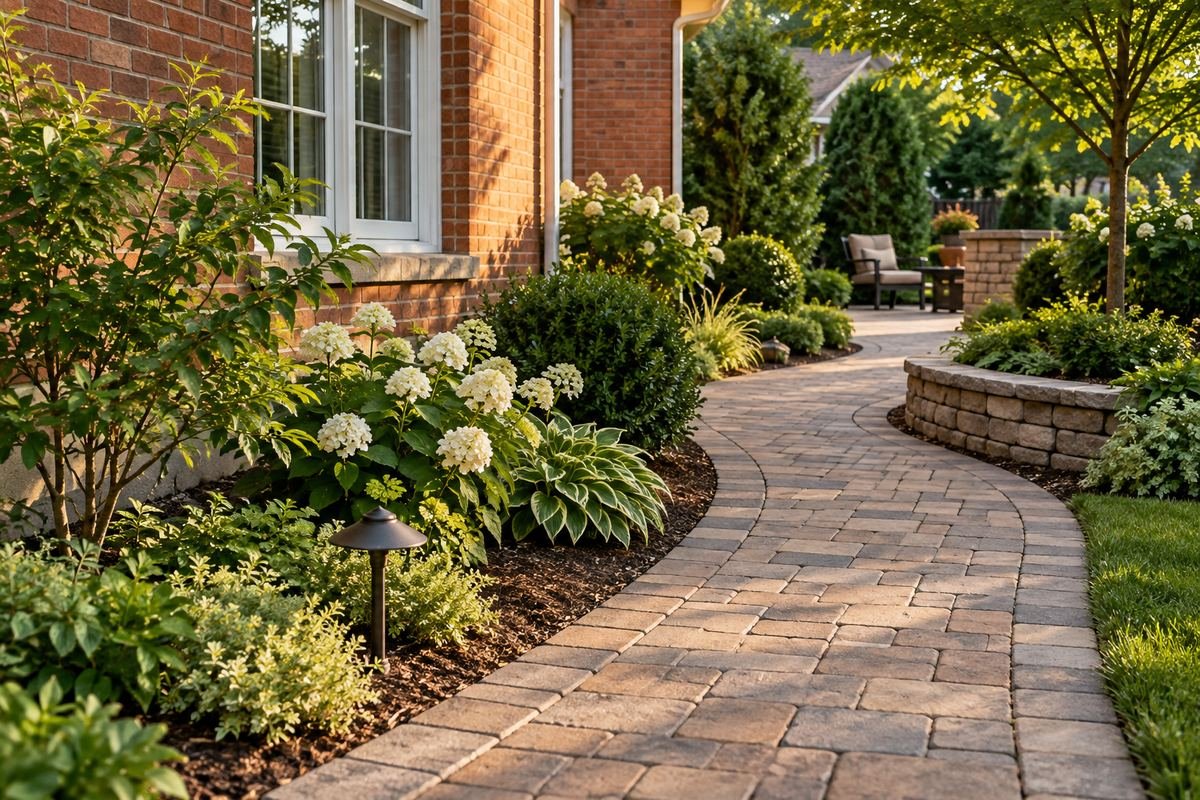
Earth-toned pavers can connect a route with warm brickwork without copying its exact color. A slightly different tone keeps the horizontal and vertical surfaces distinguishable.
Test the paver against the actual wall. A product that appears brown on screen may reveal more red, gray or yellow outdoors.
Practical tip: Compare samples beside the house in daylight.
16. Set a secondary stepping route through lawn

Separated stepping surfaces can mark an occasional route through grass. The lawn remains a major part of the view while the repeated shapes indicate a direction.
Keep essential access needs separate. Review maintenance and the actual user’s movement before choosing a decorative stepping arrangement.
Practical tip: Identify which route must remain continuous.
17. Place stepping surfaces within a gravel field

Pavers within gravel create a different rhythm from a fully paved path. The broad units and smaller surrounding texture remain visually distinct.
Have the complete arrangement assessed for use and maintenance. Gaps and transitions affect movement; the image does not establish a suitable spacing.
Practical tip: Choose the route for its users before choosing the gaps.
18. Use a mulch-like path in an informal planted area

A mulch-like surface can make an occasional route feel connected to an informal planted area. Its quieter outline suits a garden where the planting provides most of the detail.
Compare the maintenance and traffic expectations with the actual material. An organic-looking surface should not be described as a permanent no-maintenance solution.
Practical tip: Include replenishment and upkeep in the comparison.
19. Consider a low timber walkway as a complete project

A timber walkway creates a strong linear surface through planting. It can relate to a nearby deck when the route and levels are designed as one complete arrangement.
Have support, drainage, surface finish and maintenance assessed for the actual project. This visual concept is not a structural or fixing plan.
Practical tip: Choose the complete system before the board appearance.
20. Keep the main route direct between useful destinations

A direct route can be the most considered choice when it connects a door and shed used often. The planting and materials can provide interest without adding unnecessary turns.
Walk the route with the objects normally carried there. Check the gate, door and turn at the destination as part of the same journey.
Practical tip: Test the whole trip rather than only the middle section.
21. Use a gentle curve when it improves the garden view

A gentle curve can reveal a seating area gradually or follow the edge of a planted border. It works best when the shape has a visible reason in the garden.
Avoid adding a curve that makes ordinary use awkward. Compare a direct route before committing to a more decorative outline.
Practical tip: Draw the destination and daily movement first.
22. Let a bend reveal a place to sit

A path bend can give a garden seat a deliberate arrival point. The seat becomes the destination rather than an object placed beside an unrelated walkway.
Leave usable space at the end of the route for sitting and movement. A focal point still needs a practical surrounding arrangement.
Practical tip: Plan the destination area with the path.
23. Plan side-garden path ideas around real access

A path beside the house may serve gates, storage or maintenance access. Its usable space matters more than squeezing a full border into every narrow section.
Include door openings, service access and mature planting in the plan. The empty gap between the house and fence is not the final walking width.
Practical tip: Measure the route with all projections included.
24. Connect vegetable beds with a clear working route

Paths between vegetable beds should support ordinary watering, harvest and maintenance. A simple surface can connect the beds without turning the area into a decorative maze.
Check cart movement and the space needed to work. Plant spread and bed edges can reduce usable passage as the season develops.
Practical tip: Plan for working space as well as walking.
25. Frame a path view with a simple garden opening
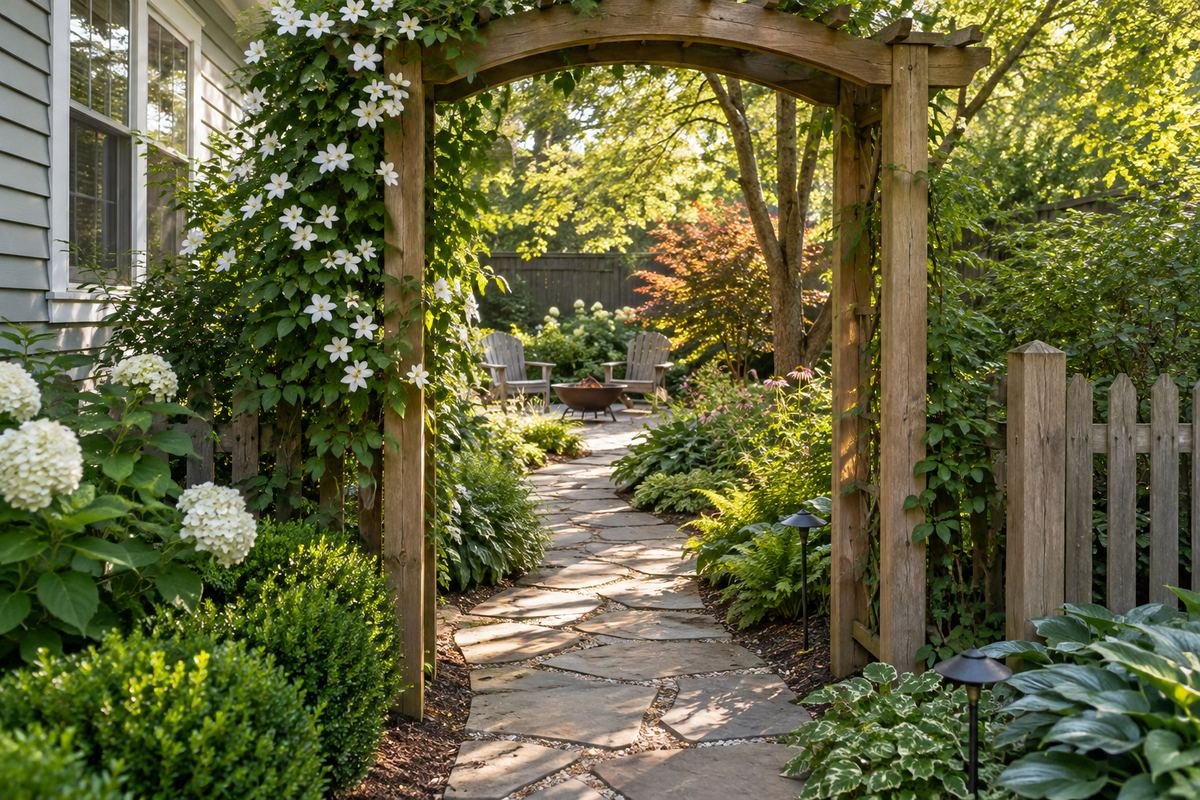
An opening in a hedge or a restrained garden arch can mark a transition along the route. It gives the next area a visible frame without requiring an elaborate structure.
Confirm the opening and any structure suit the actual route. Plant growth and projecting supports need to be included in the usable passage.
Practical tip: Keep the frame clear of the intended movement.
26. Keep border planting clear of the walking surface

Plants can soften the edge of a route while still leaving its intended surface usable. A repeated border color can connect the path with the rest of the garden.
Choose plants for the actual site and expected mature spread. A newly planted photograph does not show how much space established foliage may occupy.
Practical tip: Allow for the grown plant rather than only the nursery size.
27. Include evening visibility in the route plan
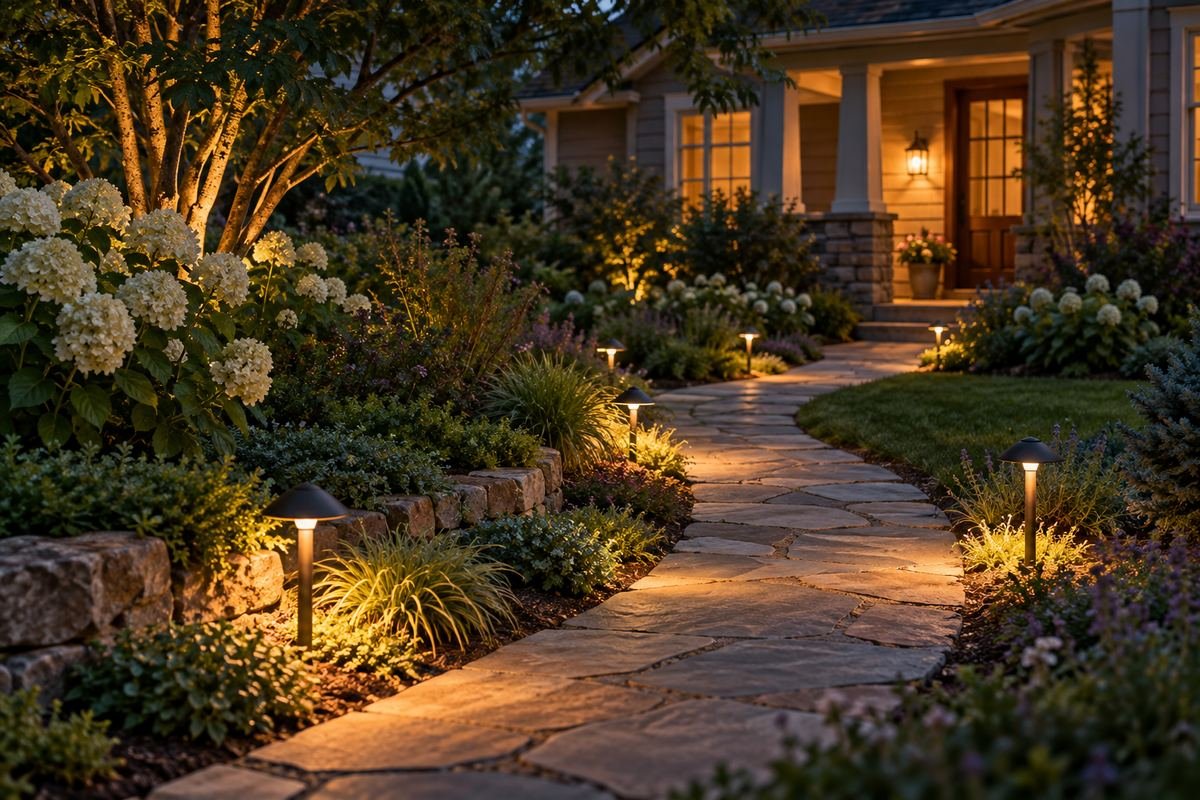
A route used after dark needs to be considered under the actual evening conditions. Lighting can become part of that plan without turning every edge into a bright decorative line.
Have the appropriate outdoor equipment and installation planned for the site. This concept does not provide wiring details or a lighting-performance calculation.
Practical tip: Evaluate the destinations and transitions after dark.
28. Finish with a deliberate transition to the patio
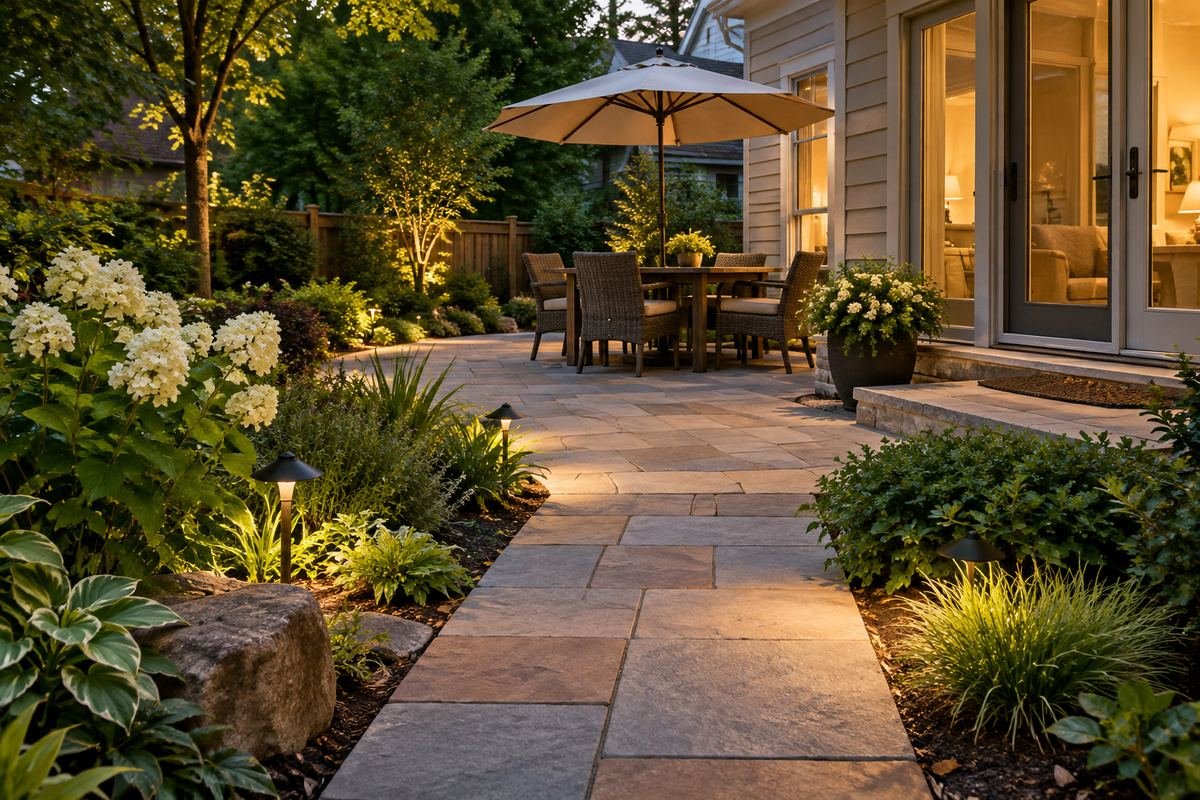
The meeting between path and patio should look intentional and work in daily use. Repeating one material or edge color can connect surfaces with different patterns.
Have the levels, joints and drainage at the transition resolved in the actual design. A visually neat line alone does not establish a usable finished junction.
Practical tip: Review the physical connection before the color match.
Frequently Asked Questions
What is the best material for a garden path?
Choose according to the route, users, site conditions and maintenance plan. Compare the actual product and complete construction rather than deciding that all gravel, brick or stone performs the same way.
How wide should a garden path be?
Plan the usable passage around the actual users, gates, turns and equipment. Accessibility and local requirements may affect the design. A surface-area example or a photograph is not a universal width recommendation.
Is a gravel path automatically permeable?
The complete system and ground conditions matter. Have the proposed surface, base and drainage arrangement assessed together instead of treating the visible material as proof of performance.
Can stepping stones replace a regular walkway?
Consider them as a decorative route only if appropriate for the intended use. Essential access needs a separate assessment of continuity, surface, joints and levels for its users.
Should the path match the patio?
Repeating a material or color can connect the two, but a deliberate contrast can also work. The physical junction and levels are as important as the visual match.
Choose the Details That Work in Your Home
A useful garden path begins with a clear destination and a route that suits everyday movement. Choose its material after those decisions, then resolve the complete surface, edges, drainage and maintenance plan for the actual garden.
For related ideas, explore small garden design ideas, backyard patio ideas, garden ideas for beginners.
Planning References
RHS: permeable paving and the importance of complete construction; Common Ground Alliance: 811 before digging in the United States. Follow the instructions for the exact products you choose.
Optional digital guide for this topic
If you prefer a structured workbook, explore this related paid guide.