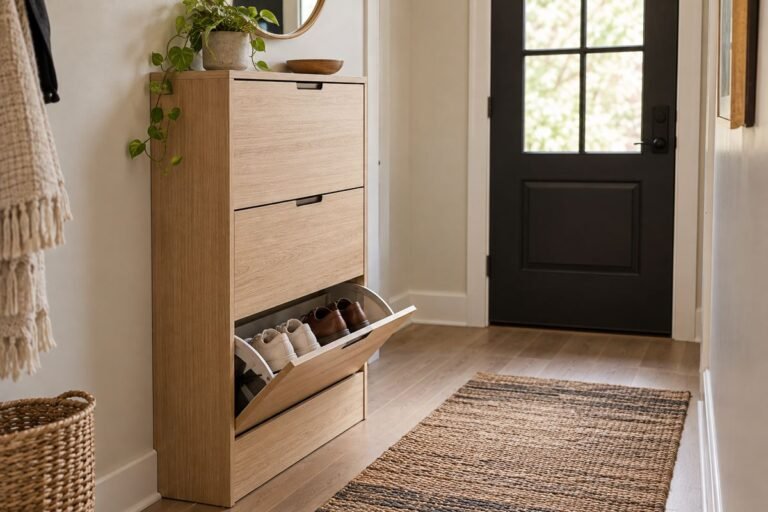
Useful craft room storage ideas start with the things you actually make. A paper crafter needs flat, readable sheet storage; a sewer needs room for fabric and the pieces of an unfinished project. The same attractive set of deep baskets may be awkward for both tasks.
Review one ordinary project from choosing materials through clearing the work surface. Notice which supplies need to stay flat, which tools need a secure position and what happens to the work between sessions. Then choose compartments for those shapes and movements before buying a coordinated collection of containers.
These 22 concepts focus on everyday adult craft storage, including small rooms and shared spaces. They are design examples rather than machine, electrical or construction instructions. Follow the exact requirements for furniture, organizers, equipment and materials, and provide appropriate secure storage for sharp tools and small parts.
The images are original AI-generated decor concepts, not installation diagrams or photographs of completed client projects.
Browse These 22 Craft Room Storage Ideas
Jump to an idea
- Give full sheets a genuinely flat storage position
- Use separate trays for the paper formats you actually buy
- Keep rolled materials in distinct readable compartments
- Store small scraps by material before refining the color groups
- Use a front-facing file for flat patterns and templates
- Give cutting mats their own supported return place
- Fold fabric into groups that reveal one usable choice
- Choose a drawer for small fabric pieces used together
- Keep yarn groups visible without overfilling each cubby
- Use a secure divided case for small findings
- Give a hand-tool group a portable home
- Choose a pegboard for a few suitable lightweight accessories
- Give ribbon rolls a visible shallow compartment
- Keep a gift-wrap group in one suitably sized bay
- Give one unfinished flat project its own tray
- Use a project box for pieces that need to stay together
- Give finished work a separate temporary holding shelf
- Use one rolling cart with a defined parked position
- Use shallow shelf containers that leave the back visible
- Keep heavier supply groups in a suitable accessible position
- Use closed storage to define the craft zone in a shared room
- Leave a deliberate return space at the end of the session
Plan craft room storage ideas around material formats
Make a short inventory by material type, actual size and frequency of use. Measure the largest sheet, roll, mat and project container, including the space needed to remove it. Draw the occupied shelves and drawers rather than empty boxes. Keep a clear working surface, a direct return place and any equipment operating space required by the manufacturer.
| What needs a place | Arrangement to compare | Check before choosing |
|---|---|---|
| Flat paper and card | Shallow trays or full-size drawers | Complete sheets fit without forced bending |
| Rolled sheet material | Separate suitable roll compartments | Edges and identification remain readable |
| Fabric and yarn | Readable groups suited to actual care guidance | One choice can be removed without disturbing the rest |
| Small findings | Secure divided containers | Parts stay contained and the correct size is visible |
| Frequently used hand tools | A modest removable group | The complete group leaves the work surface useful |
| Unfinished work | One suitable project tray or box | Pieces remain together between sessions |
Identify the material before organizing its color
Cricut’s scrap-storage guide distinguishes paper, vinyl, iron-on and other materials. Keep that identity clear before grouping attractive colors together. Preserve the information needed to use the material correctly; a pretty color arrangement should not make different products indistinguishable.
Give a container a job before decorating it
Cricut’s craft-room examples include labeled bins and portable tool groups. Use the underlying retrieval question: what will you take out, and where will it return? A decorative label is useful only when the container’s size, access and contents already work.
Separate storage from equipment operation
Keep the room plan consistent with the exact equipment instructions, including required clearance and suitable storage conditions. This guide does not propose operating machines inside closed cabinets, placing hot equipment in drawers or changing electrical installations. Have any fitted furniture or alterations planned appropriately.
Make the return routine part of the design
Choose a few understandable homes for the supplies used most often. If an organizer requires several other boxes to be moved after every session, reconsider its location or depth. Follow furniture fastening and shelf-loading requirements, and keep sharp tools and small parts secured appropriately for the household.
1. Give full sheets a genuinely flat storage position

Paper and card are easier to compare when a complete sheet can rest flat in its compartment. Choose a shallow tray or drawer from the actual sheet dimensions rather than the cabinet’s outside width. The storage should support the material without forcing its corners into a curve.
Review the opening with a small real stack inside. You should be able to lift one sheet without dragging it around a projecting drawer edge. Follow the paper and container requirements for storage conditions; a flat drawer alone does not establish archival protection or long-term preservation.
Practical tip: Test the largest complete sheet before choosing the drawer.
2. Use separate trays for the paper formats you actually buy

Different paper formats can share a storage unit without sharing one untidy pile. Give each regularly used size a suitable tray so the smaller sheets do not disappear beneath larger stock. Keep the grouping related to actual projects rather than buying a tray for every imagined future category.
Compare the tray depth with the quantity normally stored. Very deep stacks can make the bottom colors difficult to see or remove. Leave enough access to lift the tray or take a sheet directly, and preserve the material identification and care information needed for its use.
Practical tip: Choose tray groups from real sizes and quantities.
3. Keep rolled materials in distinct readable compartments

Rolled craft materials need a storage position suited to their actual form and manufacturer guidance. Separate the rolls so the outer edges remain recognizable instead of wedging a mixed bundle into one deep basket. A few readable compartments can be useful beside flat sheet storage.
Include the roll length and diameter when checking the opening. Keep different material types and relevant identification clear even when their colors look alike. The goal is to retrieve the correct product without unrolling several others, not to make every kind of sheet material fit the same display.
Practical tip: Preserve material identity before arranging rolls by color.
4. Store small scraps by material before refining the color groups

A modest scrap collection can be useful when its material is still identifiable. Separate the types you actually reuse before making smaller color groups. Keep the system simple enough that a new offcut can be returned without opening several nested containers after every project.
Retain relevant product identity and avoid mixing visually similar materials with different uses. Review the quantity against the projects you make; a container overflowing with tiny unusable fragments can hide the useful pieces. Choose a suitable storage method rather than assuming every plastic pocket protects every material.
Practical tip: Keep the scrap system smaller than the main material collection.
5. Use a front-facing file for flat patterns and templates

Flat patterns and templates can have a readable storage position separate from decorative paper stock. A suitable file lets the full pieces stay together without disappearing among rolls and tool boxes. Group them by the way you retrieve them during a project rather than by a complicated filing scheme.
Test the actual template dimensions and the space needed to lift the file out. Keep fragile or irregular pieces supported according to their own requirements. A full compartment should remain useful when neighboring storage is occupied, including any cabinet door that crosses the retrieval path.
Practical tip: Review the file with the largest pattern inside.
6. Give cutting mats their own supported return place

A cutting mat needs a position suited to its dimensions and the manufacturer’s storage guidance. Give it a clear return place so it does not become a loose panel leaning across several drawers. Its storage job is different from the small compartments used for tools and findings.
Compare the complete mat with the proposed bay or drawer, including removal past the worktop. Avoid bending or hanging it unless the exact product permits that method. Keep the surrounding tools organized so the mat can be returned without pressing against a crowded collection of sharp or protruding objects.
Practical tip: Choose the storage method from the actual mat instructions.
7. Fold fabric into groups that reveal one usable choice

Folded fabric can be easier to use when the visible group relates to the projects and quantities you own. Choose a suitable shelf or drawer that lets each piece be recognized. Keep the arrangement restrained enough that selecting one fabric does not collapse several neighboring piles.
Follow the fabric’s storage and care requirements, and preserve information needed to identify it. Review the folded depth against the actual shelf, including the door. A neat-looking stack that projects across the opening can make daily retrieval harder than a smaller, more deliberate group.
Practical tip: Check one complete fabric removal with the adjacent groups in place.
8. Choose a drawer for small fabric pieces used together

Small fabric pieces can have a shallow drawer distinct from larger folded lengths. Group the pieces that are useful for the same kind of work without compressing everything into a dense mixed box. The drawer should make comparison easier when planning a small project.
Review the actual pieces and their care requirements before choosing divisions. Keep different materials identifiable when that matters for their use. If several layers hide the contents, reduce the drawer depth or the quantity rather than relying on a carefully arranged top layer that conceals the rest.
Practical tip: Judge the drawer from the complete contents rather than the top layer.
9. Keep yarn groups visible without overfilling each cubby

A yarn shelf can make color and texture choices readable when each compartment holds a modest group. Choose a suitable arrangement for the actual yarn and its storage guidance. Leave enough room to remove one item without pulling several others from the same opening.
Review the depth as well as the attractive front view. A second hidden layer can make duplicates easy to overlook. Keep the information needed to identify the yarn, and avoid treating an open display as universally suitable for every material, household or long-term storage condition.
Practical tip: Compare the full cubby contents before adding another row.
10. Use a secure divided case for small findings

Buttons and other small findings are easier to compare in a suitable divided case than in a mixed deep jar. Keep the divisions related to the items you actually need to distinguish. A compact case can leave more of the work surface available while keeping small pieces together.
Choose the exact closure and compartment sizes for the contents, and provide appropriate secure storage for the household. A decorative lid does not establish child resistance. Review the case’s opening and carrying movement so small pieces are not easily displaced when the box is removed from a shelf.
Practical tip: Check closure and containment as well as the visible divisions.
11. Give a hand-tool group a portable home

A small portable group can suit hand tools used at more than one work position. Keep the collection limited to what is normally needed together. A suitable caddy then becomes one object to remove and return rather than a reason to cover the table with several separate holders.
Choose compartments that support the actual tools and allow appropriate secure storage when the session ends. Review the loaded carrying arrangement rather than the empty caddy. Avoid crowding in sharp tools or equipment that needs a different storage method simply because an opening happens to be available.
Practical tip: Test the tool group as a complete removable set.
12. Choose a pegboard for a few suitable lightweight accessories
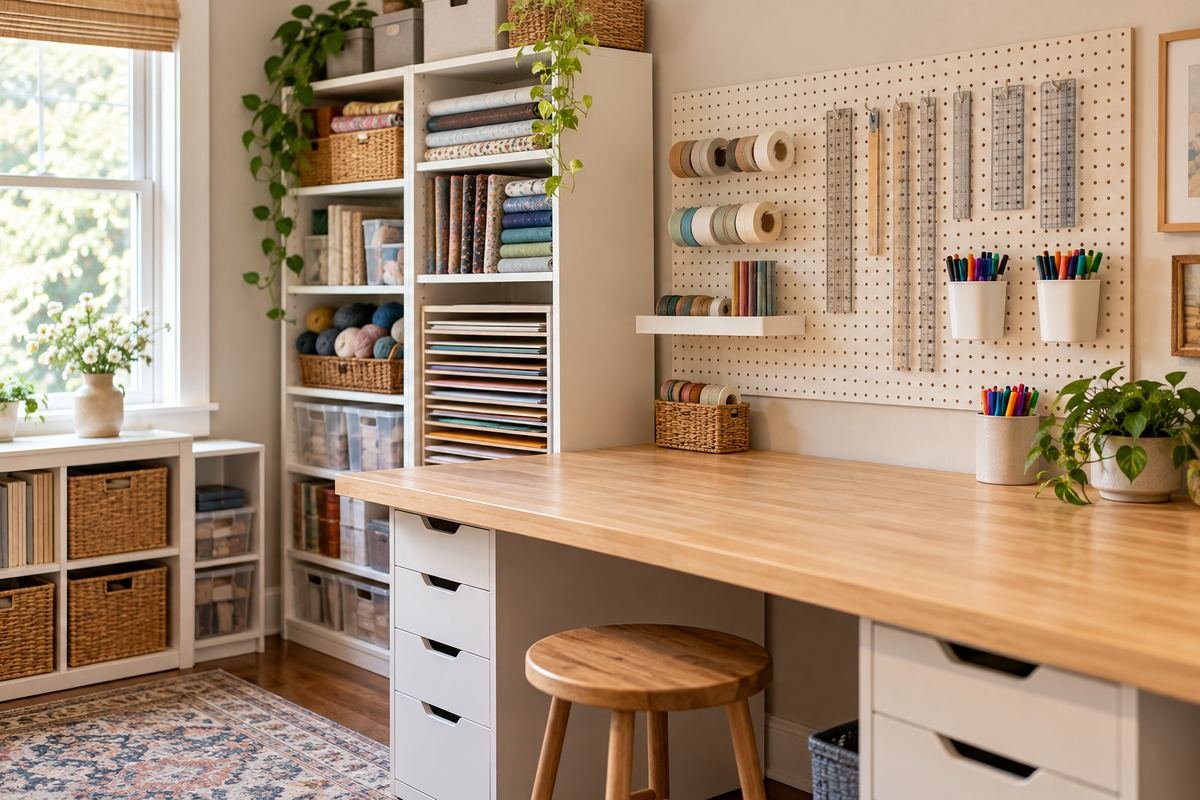
A suitable pegboard can make a modest group of frequently used accessories easy to read near the work area. Let the arrangement follow actual reach and retrieval. Keep the board from becoming a dense decorative wall that competes with the clear space needed for the project.
Follow the exact board, accessory, mounting and loading requirements. A similar-looking hook in a photograph does not establish compatibility. Secure tools appropriately when the room is shared, and check the complete occupied board rather than assuming every open hole should be filled.
Practical tip: Plan the occupied board with the real accessories and permitted loads.
13. Give ribbon rolls a visible shallow compartment

Ribbon is easier to select when the rolls can be seen without emptying a large basket. A shallow compartment can keep a modest collection readable beside gift or paper supplies. Choose an arrangement that supports the roll shape and allows one item to be removed directly.
Compare the actual roll widths and storage requirements. Keep loose ends contained using a suitable method so they do not tangle around neighboring supplies. A decorative dowel arrangement may require several rolls to move before the middle one comes off, so review that retrieval before choosing it.
Practical tip: Test removing the middle roll with neighboring rolls in place.
14. Keep a gift-wrap group in one suitably sized bay

Long wrapping-paper rolls need an opening related to their full length. Give them a distinct suitable bay with the related dry accessories nearby. Keeping that project group together can make the room easier to clear after a wrapping session without taking over the main craft-material shelves.
Check the real roll dimensions and removal movement, including any shelf above. Avoid forcing taller rolls diagonally across another compartment. Follow the materials’ storage guidance and keep accessories appropriately contained; the image illustrates organization rather than a guarantee that every roll remains undamaged in the same position.
Practical tip: Include full roll length in the storage drawing.
15. Give one unfinished flat project its own tray
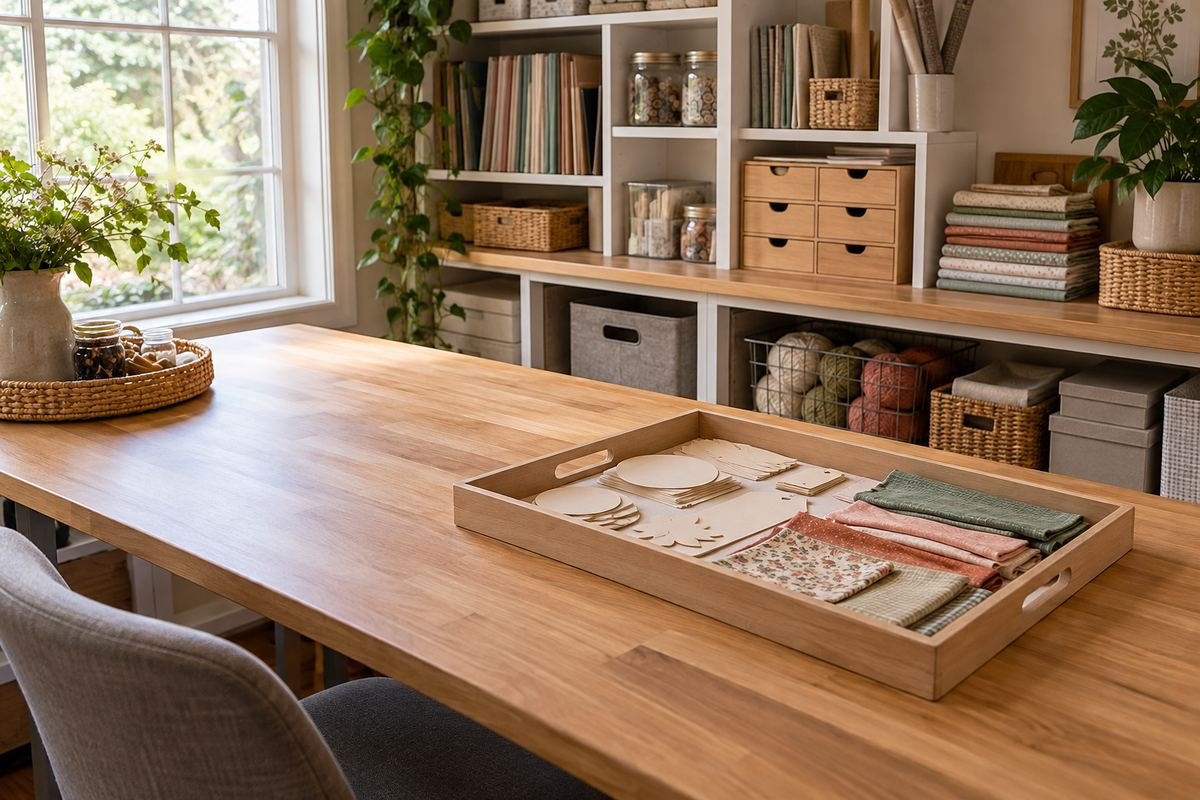
A suitable project tray can hold related flat pieces between work sessions without turning the table into permanent storage. Choose the tray from the project’s actual dimensions and storage needs. A clear return place makes it easier to resume the work and restore the room’s ordinary use.
Keep the pieces supported and avoid stacking them in ways that could mark or compress the work. Review the tray with its real contents before choosing the shelf opening. If a project needs different storage conditions, follow those requirements rather than assuming one universal tray suits every craft.
Practical tip: Test the occupied tray in its actual return opening.
16. Use a project box for pieces that need to stay together

A suitable project box can collect a modest set of related loose components between sessions. Keep the group tied to one recognizable piece of work rather than mixing several unfinished projects into a general overflow bin. The box should make restarting easier, not merely hide the materials.
Compare the closure, inside dimensions and storage requirements with the complete project. Preserve any information needed to identify the materials, and secure small parts appropriately for the household. A stack of matching boxes is useful only when each one can be removed without moving a difficult tower.
Practical tip: Limit the box to a project group that remains understandable.
17. Give finished work a separate temporary holding shelf

Finished cards or small dry craft pieces can have a defined holding area while you decide their next destination. Separating that stage from raw supplies helps the main storage stay readable. Keep the shelf modest so completed work does not quietly become an expanding layer in front of the materials.
Use the actual craft’s care and storage requirements. This is a holding position for appropriate finished dry work, not a drying station or instruction for freshly coated pieces. Review the shelf’s depth and clear access so the finished items do not have to lean across tools or unfinished work.
Practical tip: Distinguish finished dry work from supplies and work in progress.
18. Use one rolling cart with a defined parked position

A suitable rolling cart can serve supplies used at more than one work position. Keep its contents limited to a useful craft group rather than treating every shelf as general overflow. Plan a parked position so the room remains orderly when the cart is not in use.
Follow the cart’s exact loading and use requirements. Review the occupied route, floor conditions and nearby furniture before choosing a model. Keep tall or projecting items from making retrieval awkward, and do not assume a narrow cart will fit a gap merely because its empty frame looks small.
Practical tip: Test both the working route and the parked position.
19. Use shallow shelf containers that leave the back visible

Shallow containers can suit a small supply group when the shelf is deeper than the contents need. Keep the arrangement readable from the normal approach. One accessible row can be easier to maintain than two layers of identical bins with the useful materials hidden behind the front set.
Review the occupied shelf at its actual height and depth. If a rear area is intentionally used, make its retrieval a deliberate part of the plan. Avoid filling every gap simply because an empty shelf looks unfinished; unused depth can be preferable to an inaccessible supply collection.
Practical tip: Judge the shelf with every ordinary container in place.
20. Keep heavier supply groups in a suitable accessible position
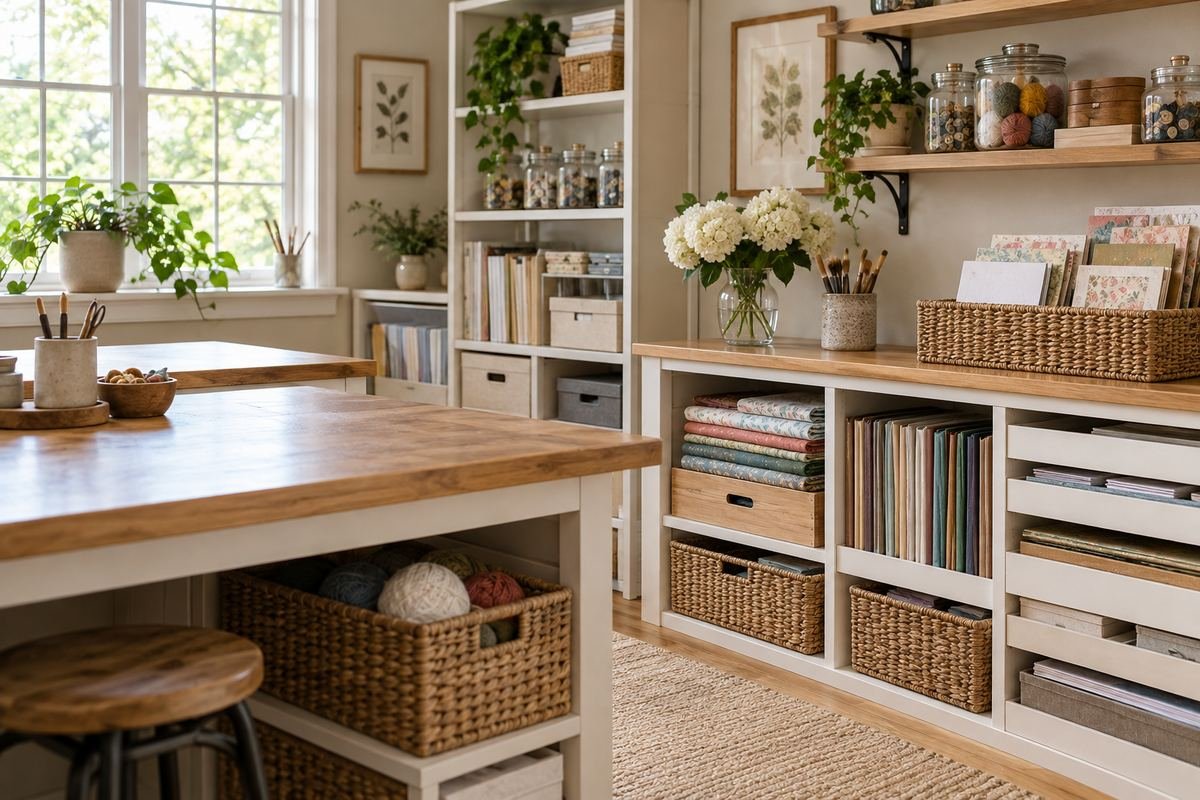
A heavier collection needs storage selected for its actual load and the furniture’s requirements. Give it a position that suits a straightforward lifting movement without placing it in front of everyday hand tools. The room should remain useful when that container is fully occupied.
Follow the shelf and container loading instructions and the furniture fastening requirements. A low position alone does not establish safe capacity. Review the actual filled item rather than an empty decorative basket, and avoid creating a stack that requires moving several heavy groups to reach one.
Practical tip: Plan from the full container and the permitted furniture load.
21. Use closed storage to define the craft zone in a shared room

Suitable closed compartments can give craft supplies a clear home in a room with another purpose. Keep the interior organized by the actual materials rather than relying on the door to conceal a mixed pile. A portable project group can then leave the main storage without spreading every supply across the room.
Review both uses of the space, including seating and the route past the open cabinet. Secure tools and small parts appropriately for the household. Follow furniture fastening and loading requirements, and keep equipment operation consistent with its instructions rather than assuming a closed cupboard is also a work enclosure.
Practical tip: Test the room in its ordinary non-crafting use too.
22. Leave a deliberate return space at the end of the session
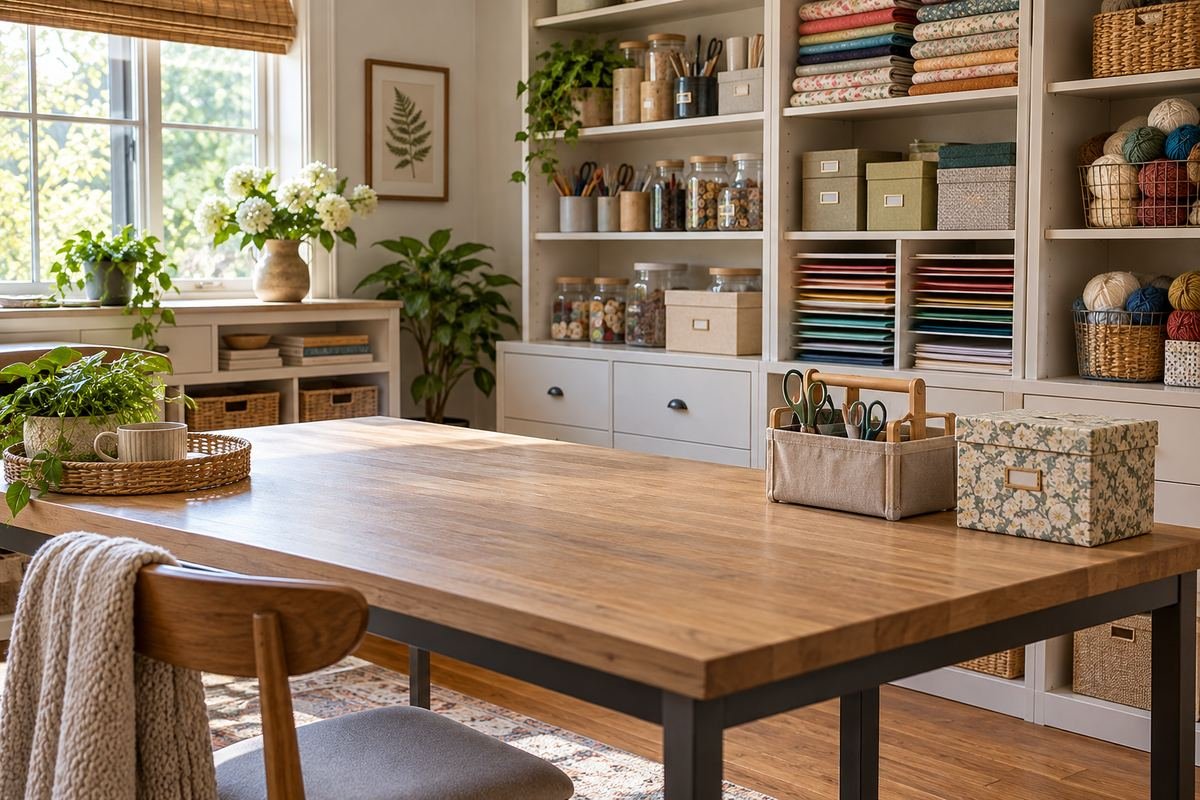
A small clear return area can make the room easier to put away when a project ends. Give the portable tools and active project an obvious destination, with the main work surface available again. The final arrangement should work after a normal session rather than only before a photograph.
Notice which supplies repeatedly end up outside their assigned compartments. That pattern can reveal an opening that is too small, a group that is too deep or a category that no longer matches the work. Adjust those practical decisions before buying more containers to fill the remaining empty space.
Practical tip: Test the full put-away routine before adding another organizer.
Frequently Asked Questions
How do I organize craft supplies in a small room?
Begin with the materials used regularly and their full stored shapes. Choose a few suitable shallow compartments, a portable tool group and one place for unfinished work. Check the occupied layout and removal path before adding more furniture.
Should craft supplies be sorted by color?
Color can help retrieval after material type and relevant product identity are clear. Keep different materials identifiable, preserving original packaging and instructions where needed. Do not mix visually similar products simply to create a continuous rainbow.
What is a useful way to store unfinished projects?
Choose a tray or box suited to the project’s actual size and storage requirements. Keep related pieces together without compressing or folding them inappropriately. A direct return position is more useful than an unlabeled pile of partly filled containers.
Can I use any plastic bin for paper storage?
No container should be assumed to provide archival protection or suitable long-term conditions merely because it is clear or has a lid. Follow the material’s storage requirements and choose the actual container for its intended use. Test the complete sheet size and retrieval too.
How should I plan storage for a cutting machine?
Follow the exact machine’s operating and storage instructions. Include required working space and access for the full material movement. A cabinet photograph does not establish that a machine can operate safely or correctly inside that cabinet.
How can a shared room keep craft supplies contained?
Use a defined storage zone, suitable closed compartments and one removable project group. Review the room in both uses so the normal furniture and route remain workable. Secure tools and small parts appropriately rather than relying on a decorative lid alone.
Choose the Details That Work in Your Home
Choose craft room storage ideas by following a project through the room. Give each material a suitable format, keep the useful tools accessible and provide a clear place for unfinished work. Once those movements are simple, a restrained mix of drawers, trays and containers can make the room easier to use and put away.
For related ideas, explore home office organization ideas, bedroom desk ideas, dresser organization ideas.
Planning References
Cricut: identifying and organizing different craft scraps; Cricut: craft-room containers and portable tool groups. Follow the instructions for the exact products you choose.
Optional digital guide for this topic
If you prefer a structured workbook, explore this related paid guide.