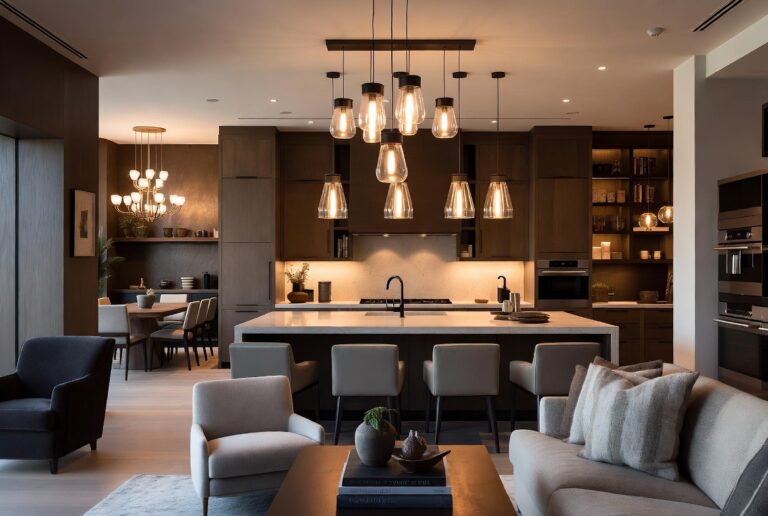
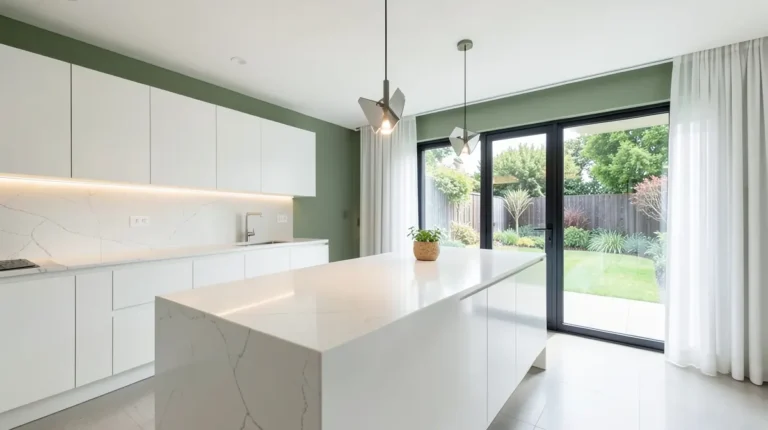
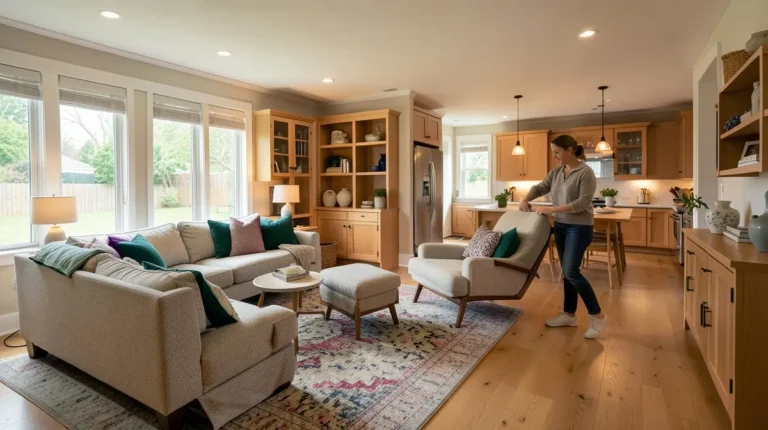
A kitchen island looks like the centerpiece every kitchen needs, right up until it’s installed and someone can’t open the dishwasher without moving a stool first.
Sizing an island wrong is one of the most expensive kitchen mistakes to fix after the fact, since it usually involves cabinetry and plumbing, not just furniture you can return.
The good news is that the numbers behind a well-planned island are well established and consistent across most professional kitchen designers.
This guide walks through those numbers: clearance, seating overhang, and the layout details that separate an island people actually use from one that just sits in the way.
1. Leave 36-42 Inches of Clearance on All Sides
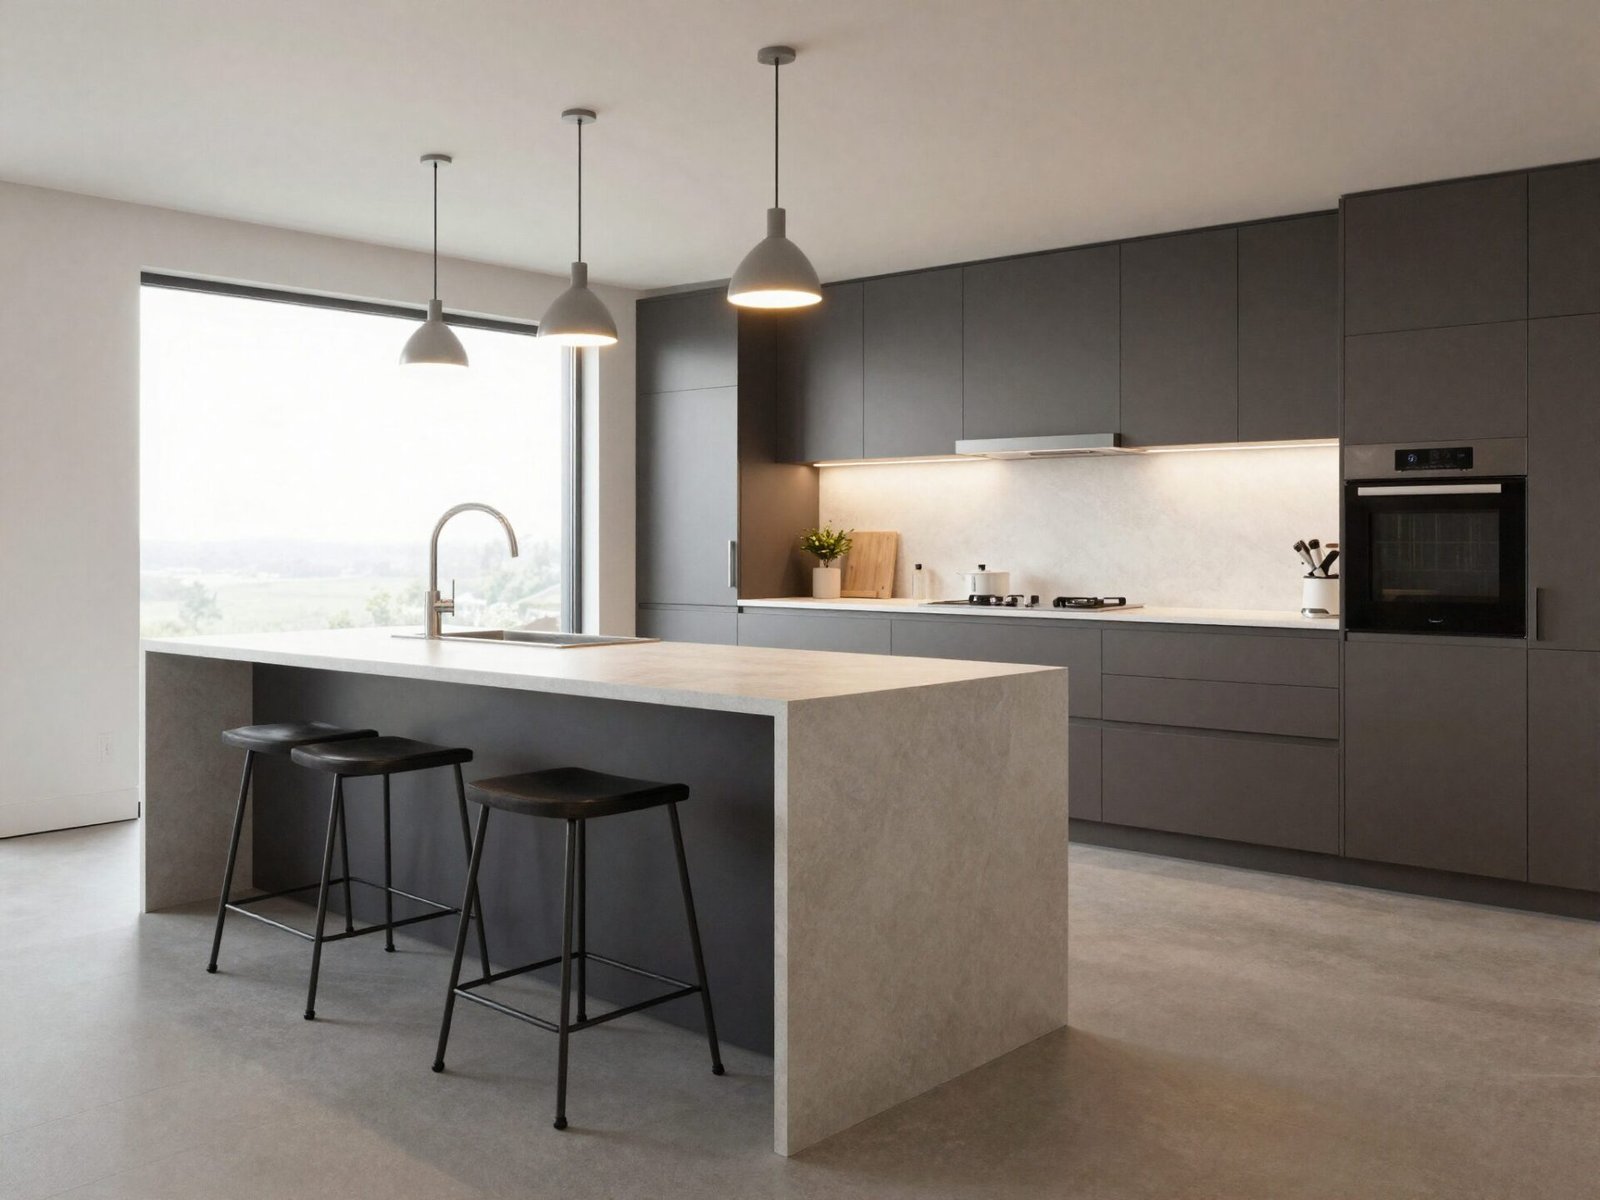
Thirty-six inches is the absolute minimum clearance around any kitchen island, enough for basic movement and access to nearby appliances.
If your kitchen can’t maintain at least 36 inches on every side, the island itself is too large for the space, not the other way around.
This is the single number to check first before falling in love with a specific island size or style.
💡 Smart tip: Measure your smallest available side first, since that’s the true limiting factor on how large your island can actually be.
⚠️ Mistake to avoid: Don’t measure clearance from the cabinet base alone. Include handles, knobs, and any protruding hardware in your calculation.
2. Increase to 42-48 Inches for Multiple Cooks
If more than one person regularly cooks at the same time, bump your clearance target up to 42-48 inches rather than settling for the bare minimum.
This extra margin accounts for two people working simultaneously, plus room for appliance doors like the dishwasher or oven to open without a collision.
High-traffic, open-concept kitchens where guests naturally gather benefit from the wider end of this range, sometimes even 54 inches or more.
💡 Smart tip: Think honestly about how your kitchen actually gets used, not just how many people live in the house — a household with frequent guests needs the wider clearance even with just one regular cook.
⚠️ Mistake to avoid: Don’t assume the 36-inch minimum is “good enough” if you know multiple people cook together often. It technically works, but it won’t feel comfortable in daily use.
3. Give the Work Aisle Behind the Island 42-48 Inches
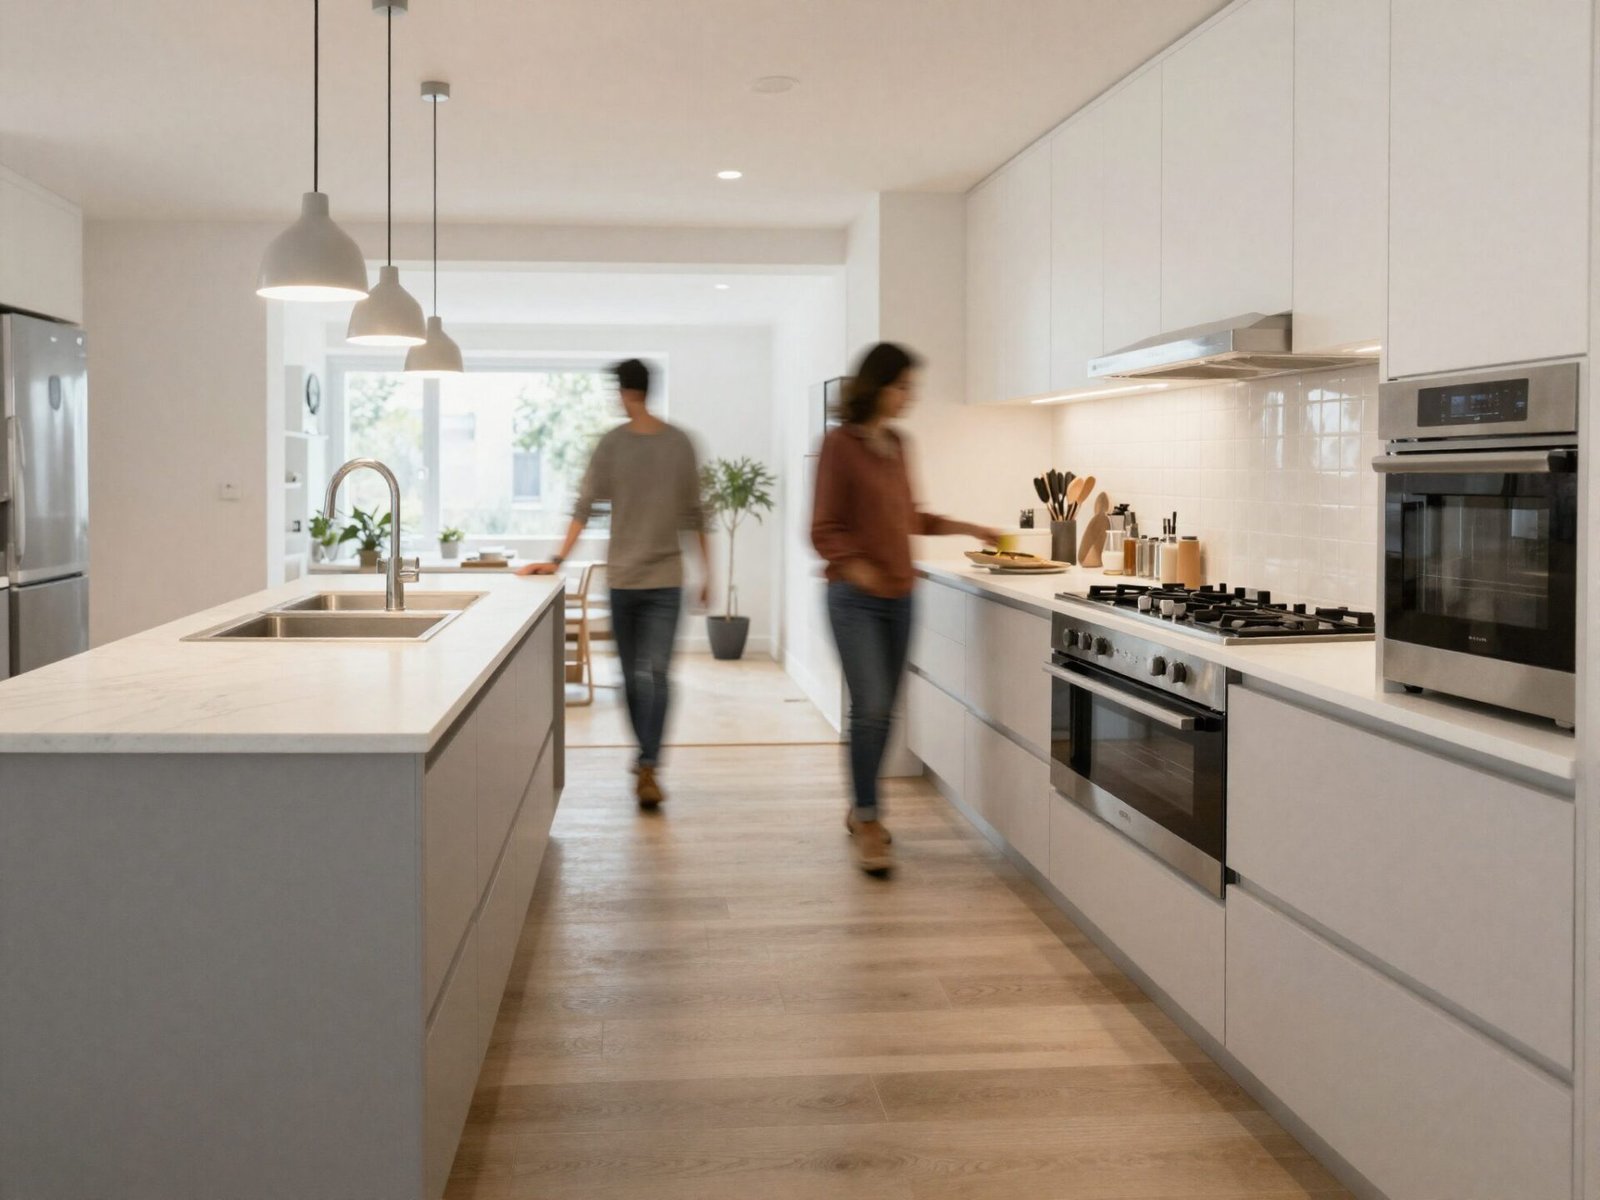
The path between your island and the counter holding the stove or sink deserves special attention, since it’s usually the busiest route in the whole kitchen.
This work aisle should measure at least 42 inches, allowing two people to pass each other and appliance doors to open without bumping the island.
This is distinct from a simple pass-through walkway, since it needs to accommodate standing, working postures, not just walking.
💡 Smart tip: If your kitchen has one especially busy work zone, like the stretch between the stove and sink, prioritize extra clearance there over other sides of the island.
⚠️ Mistake to avoid: Don’t treat every side of the island equally. The work aisle facing your main cooking zone needs more clearance than a side that mostly sees pass-through traffic.
Loving These Ideas? Get the Step-by-Step Guide
Grab the full 5-day eBook and turn these ideas into a finished room.




4. Choose the Right Island Width for Prep Space
For a basic prep-focused island with no seating, 30 inches of width is functional, though most designs land closer to 36-42 inches for real usability.
Length varies more with kitchen size, but islands generally top out around 10-11 feet due to standard countertop slab dimensions.
Wider islands offer more prep space, but they also make the center of the island harder to reach for cleaning and cooking tasks.
💡 Smart tip: If your island is wider than about 48 inches, plan for a prep sink or second workstation on it — the center becomes genuinely hard to reach otherwise.
⚠️ Mistake to avoid: Don’t maximize island width just because your kitchen has the floor space. An oversized island can disrupt the natural cooking work triangle and make cleaning harder.
5. Size the Overhang for Counter-Height Seating
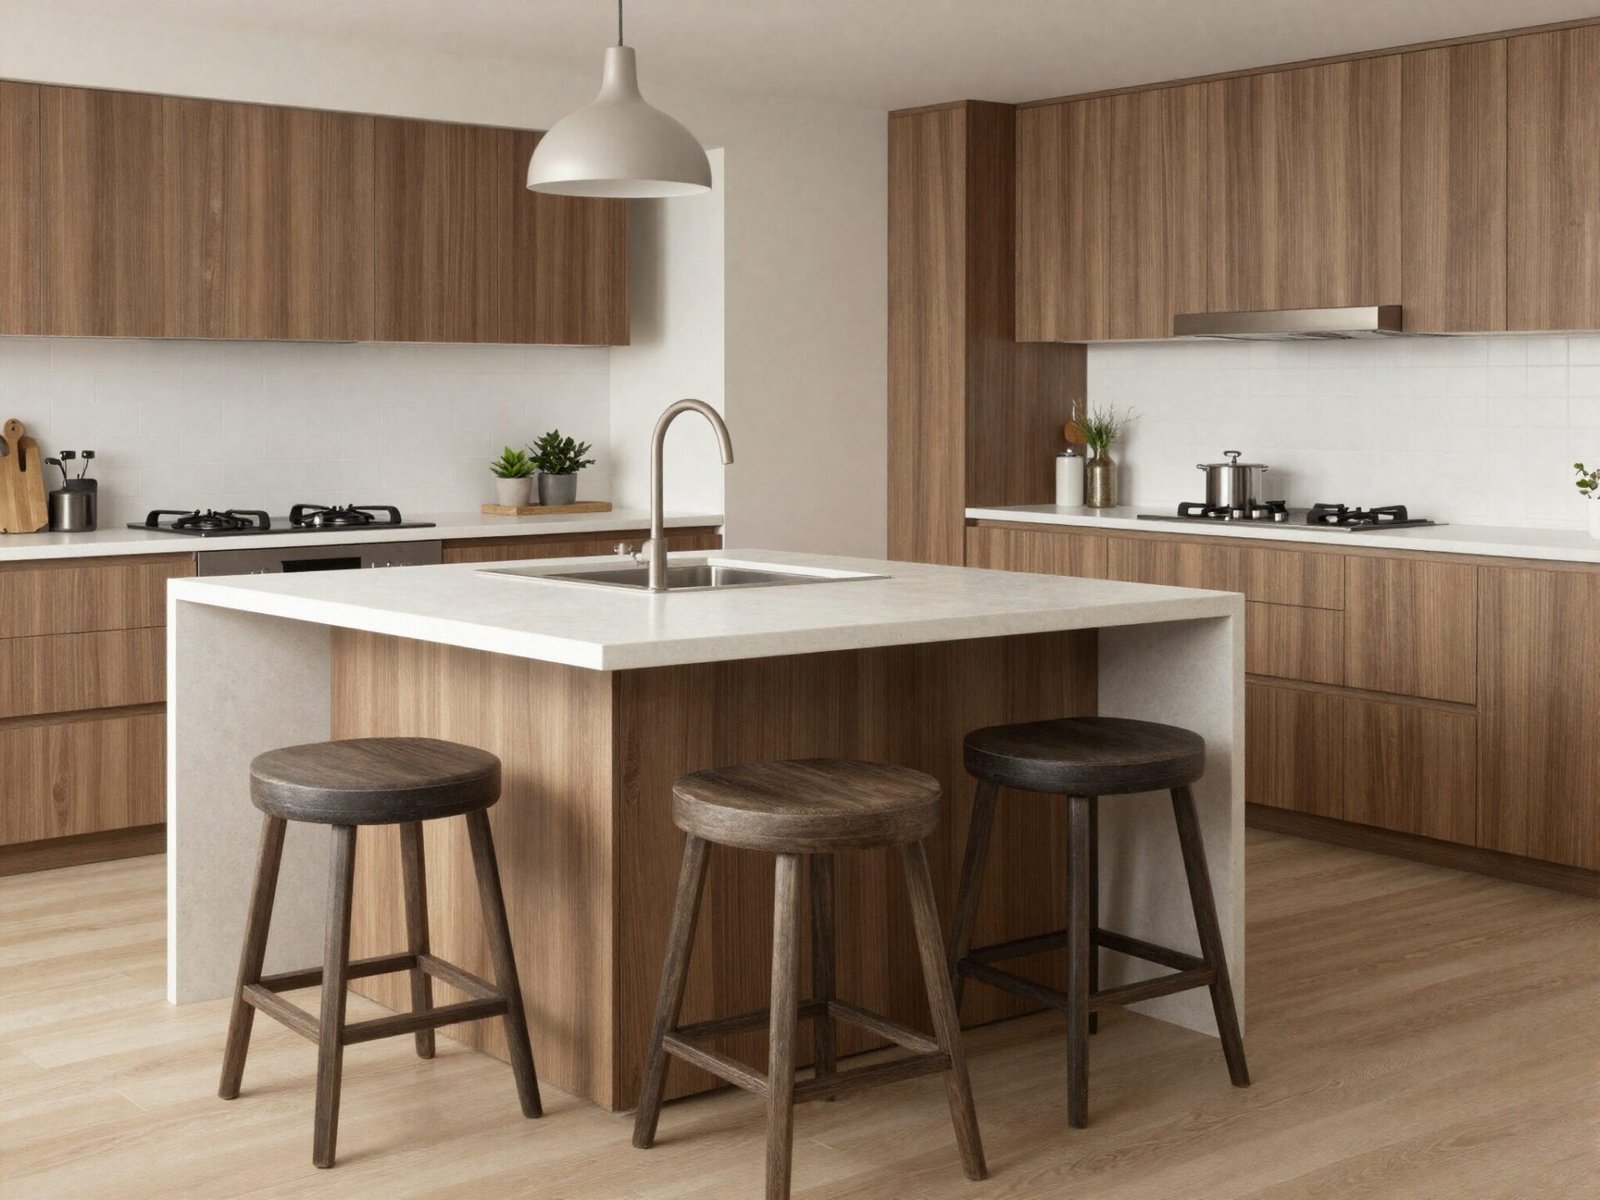
At standard 36-inch counter height, plan for a 12-15 inch overhang to give seated guests genuine knee clearance.
Going shorter than 12 inches leaves knees bumping the cabinet base, which quietly discourages people from actually using the seating.
This overhang applies specifically to counter-height seating, which is the more common choice for family and casual dining setups.
💡 Smart tip: Test the overhang measurement with your actual stools before finalizing the countertop order — different stool designs need slightly different clearance.
⚠️ Mistake to avoid: Don’t assume any overhang beyond a few inches is automatically safe without support. Overhangs past 10-12 inches on stone or quartz need structural bracing underneath.
6. Size the Overhang for Bar-Height Seating
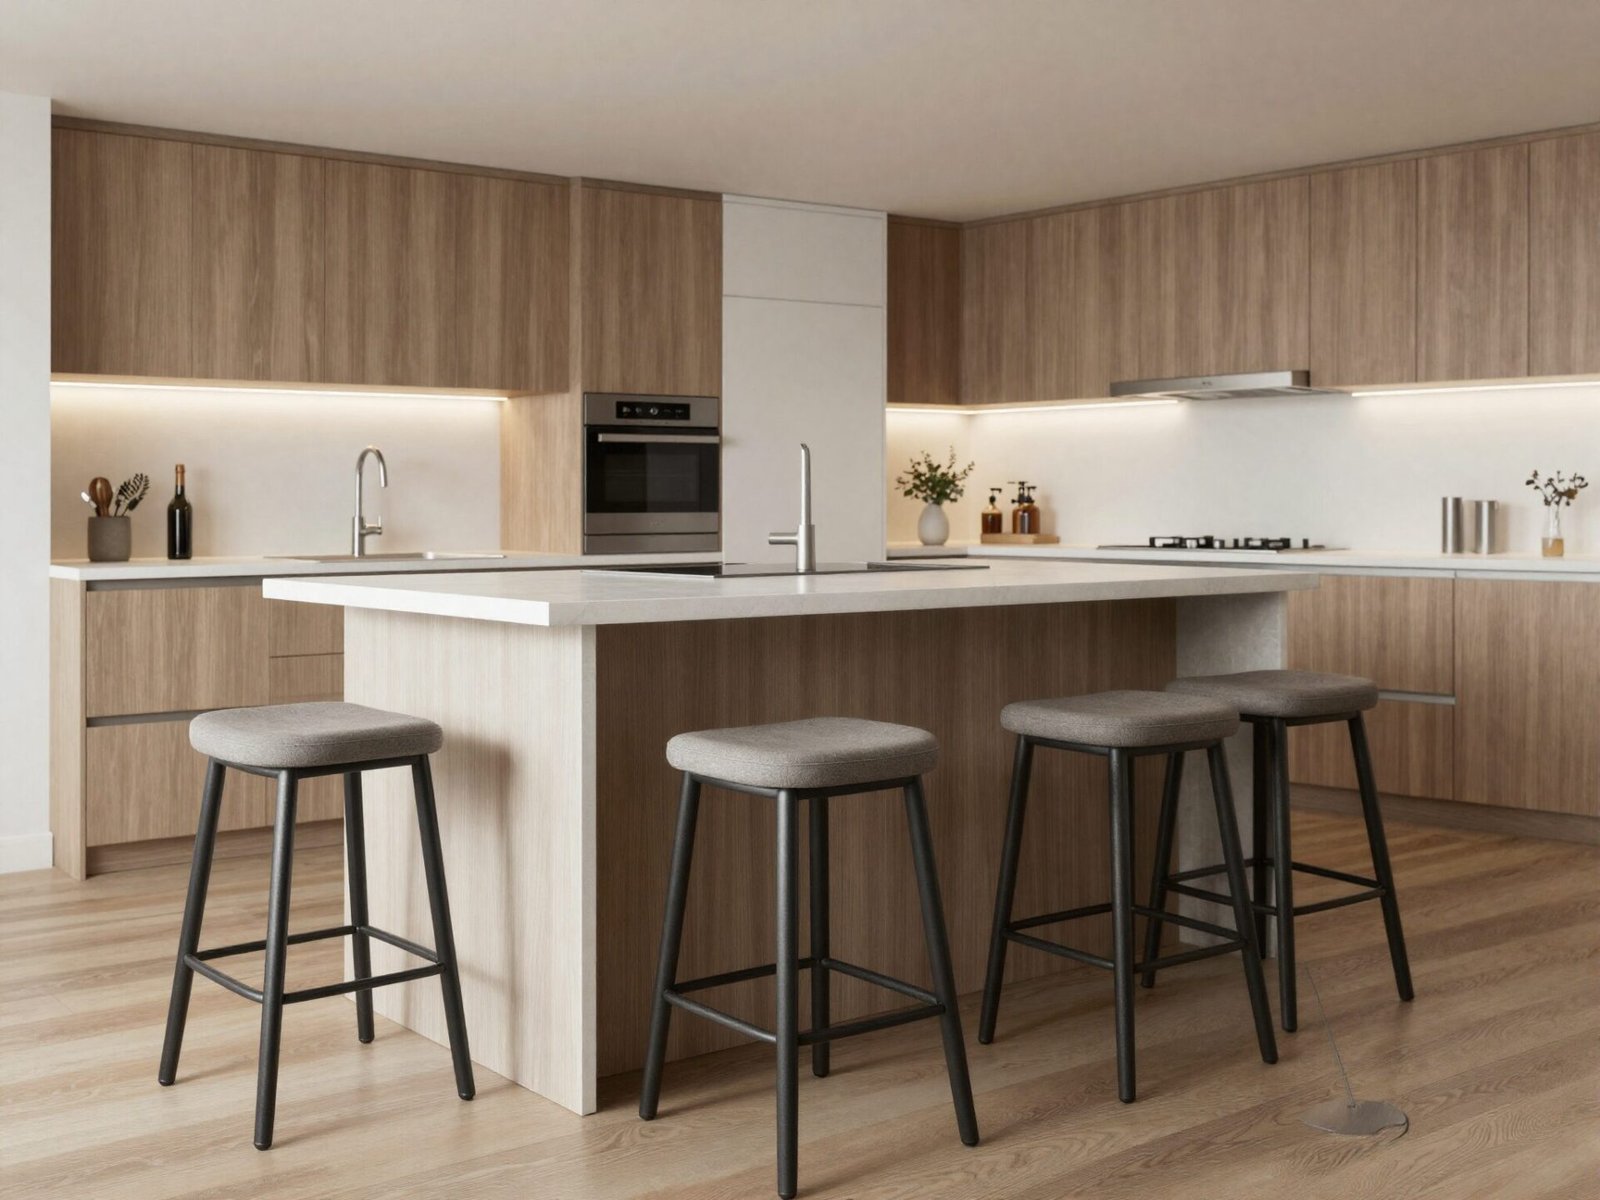
Bar-height seating, at roughly 42 inches, actually needs a slightly deeper overhang than counter height, typically 15-18 inches.
The elevated seating position changes leg angle, which means stools need more room to tuck comfortably beneath the counter’s edge.
Bar-height islands also tend to feel more casual and social, which makes them a popular choice for open-concept entertaining spaces.
💡 Smart tip: Bar-height seating pairs especially well with backless stools, since they’re easier to tuck fully under the counter when not in use.
⚠️ Mistake to avoid: Don’t apply the counter-height overhang measurement to a bar-height island. The extra leg angle at that elevation genuinely needs more depth to stay comfortable.
7. Allow 24 Inches of Width Per Seat
Just like a dining table, kitchen island seating needs roughly 24 inches of width per person for standard chairs, or 22-24 inches for counter stools.
Backless stools can squeeze slightly tighter, down to around 21 inches, since there’s no armrest or chair back to account for.
A 6-foot island with seating along one side comfortably fits three stools spaced at 24 inches each.
💡 Smart tip: If you’re unsure how many seats will actually fit, divide your island’s seating-side length by 24 rather than guessing based on how it looks in a showroom photo.
⚠️ Mistake to avoid: Don’t cram in one extra stool by shrinking spacing below 21 inches. Tight elbow room discourages people from actually sitting there.
8. Leave Room Behind Seated Guests to Walk Past
The space behind seated guests needs its own clearance, separate from the general walkway rule: at least 32 inches if nobody walks behind them, or 44 inches if people need to pass comfortably.
This distinction matters because a stool pushed back from the counter to sit down takes up real space beyond the counter’s edge.
Skipping this consideration is a common reason island seating ends up crowding a nearby walkway more than expected.
💡 Smart tip: Measure clearance with a stool pulled fully out, not pushed in, since that’s the space it actually occupies while someone is seated.
⚠️ Mistake to avoid: Don’t calculate seating clearance using the stool’s resting position. Account for the extra space it needs once someone sits down and pushes back.
9. Match Countertop Support to Overhang Depth
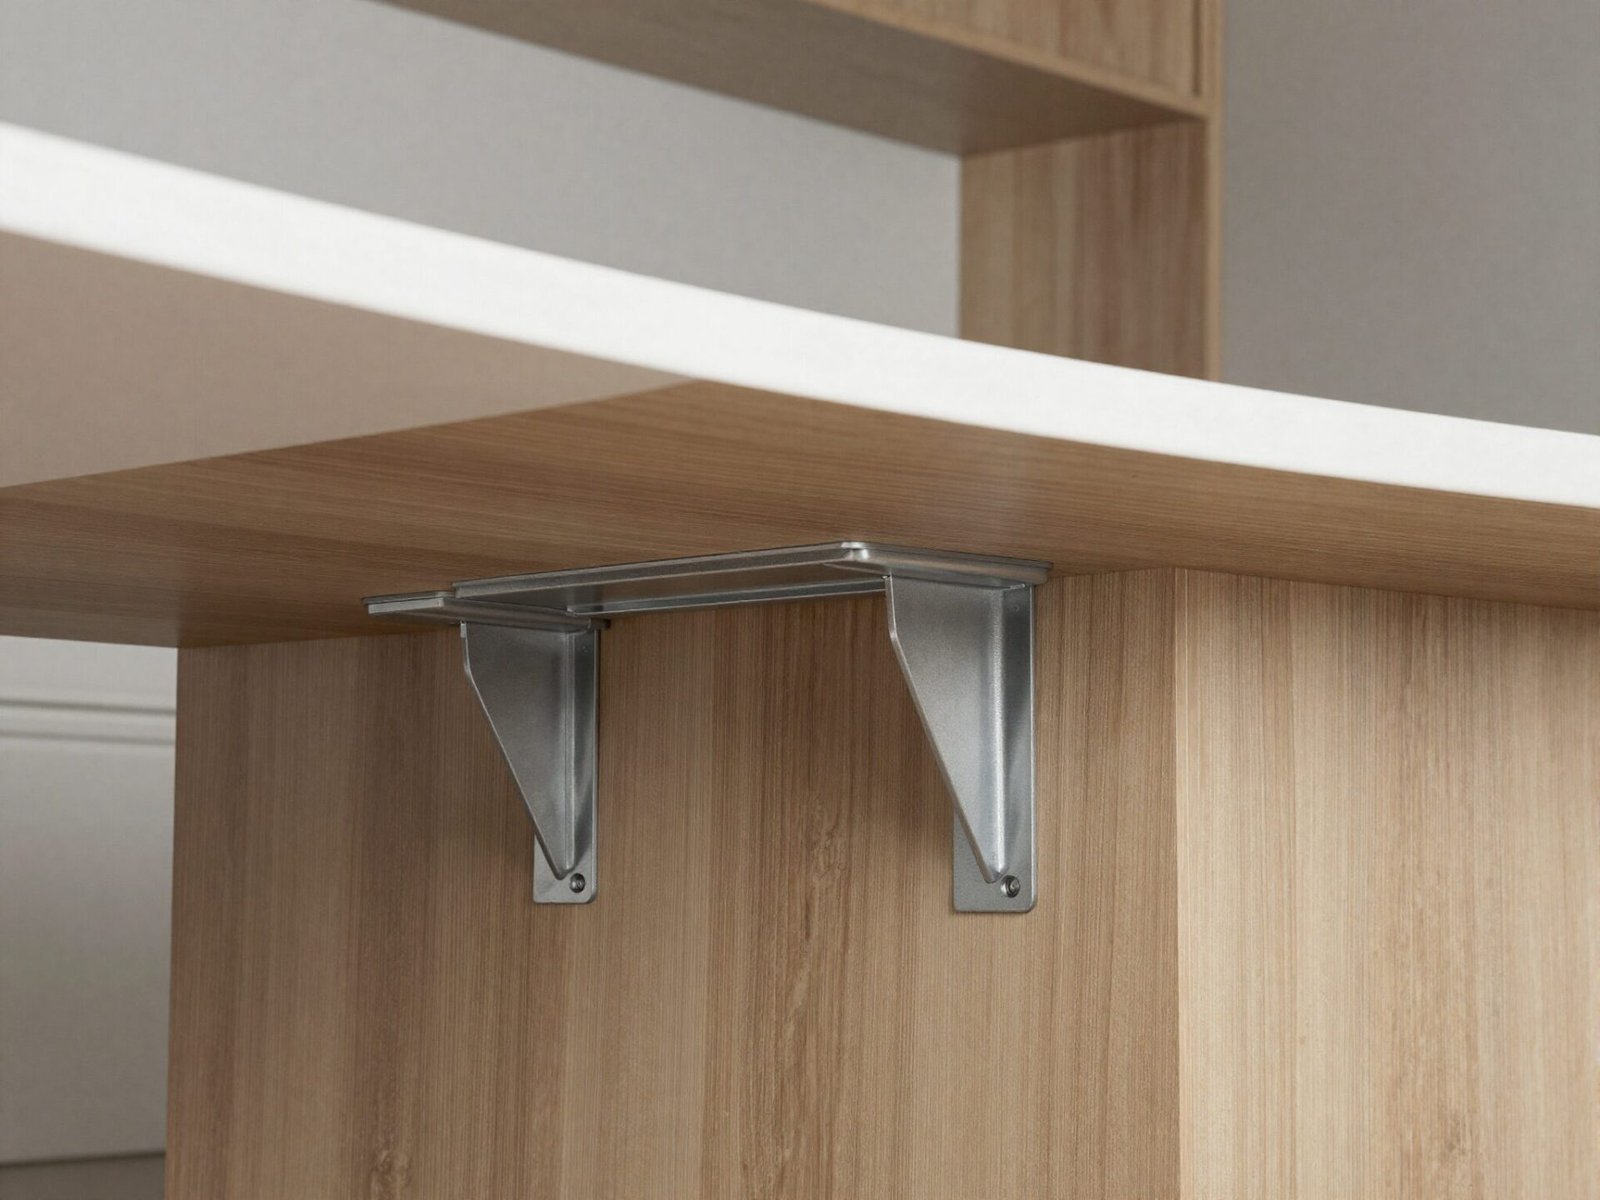
Stone and quartz countertops need structural support once the overhang extends past roughly 10-12 inches, since the material can crack under sustained weight.
Corbels, metal L-brackets, or a knee wall all serve this purpose, and the right choice depends on your island’s overall design and budget.
Budget roughly $150-400 for this kind of support, depending on the material and style you choose.
💡 Smart tip: Discuss overhang support with your countertop fabricator before finalizing the design — they can confirm exactly what your specific material and thickness require.
⚠️ Mistake to avoid: Don’t skip support brackets on a large overhang just because the counter looks sturdy in the showroom. Cracking often happens gradually, after repeated stress, not immediately.
10. Check Appliance Door Swing Before Finalizing Size
Dishwasher and oven doors need their own clearance allowance, separate from general walkway width, since an open door can extend well into the aisle.
This is one of the most common oversights in island planning — the numbers work on paper until someone tries to load the dishwasher while the island blocks the door.
Check your specific appliance’s door swing measurement rather than assuming a standard distance applies universally.
💡 Smart tip: Add your appliance’s door swing distance to the base clearance requirement for that specific side of the island, rather than treating all sides the same.
⚠️ Mistake to avoid: Don’t finalize island placement without physically opening every nearby appliance door, even with tape marking the floor. Some swing distances are larger than expected.
11. Consider a Multi-Level Island for Mixed Use
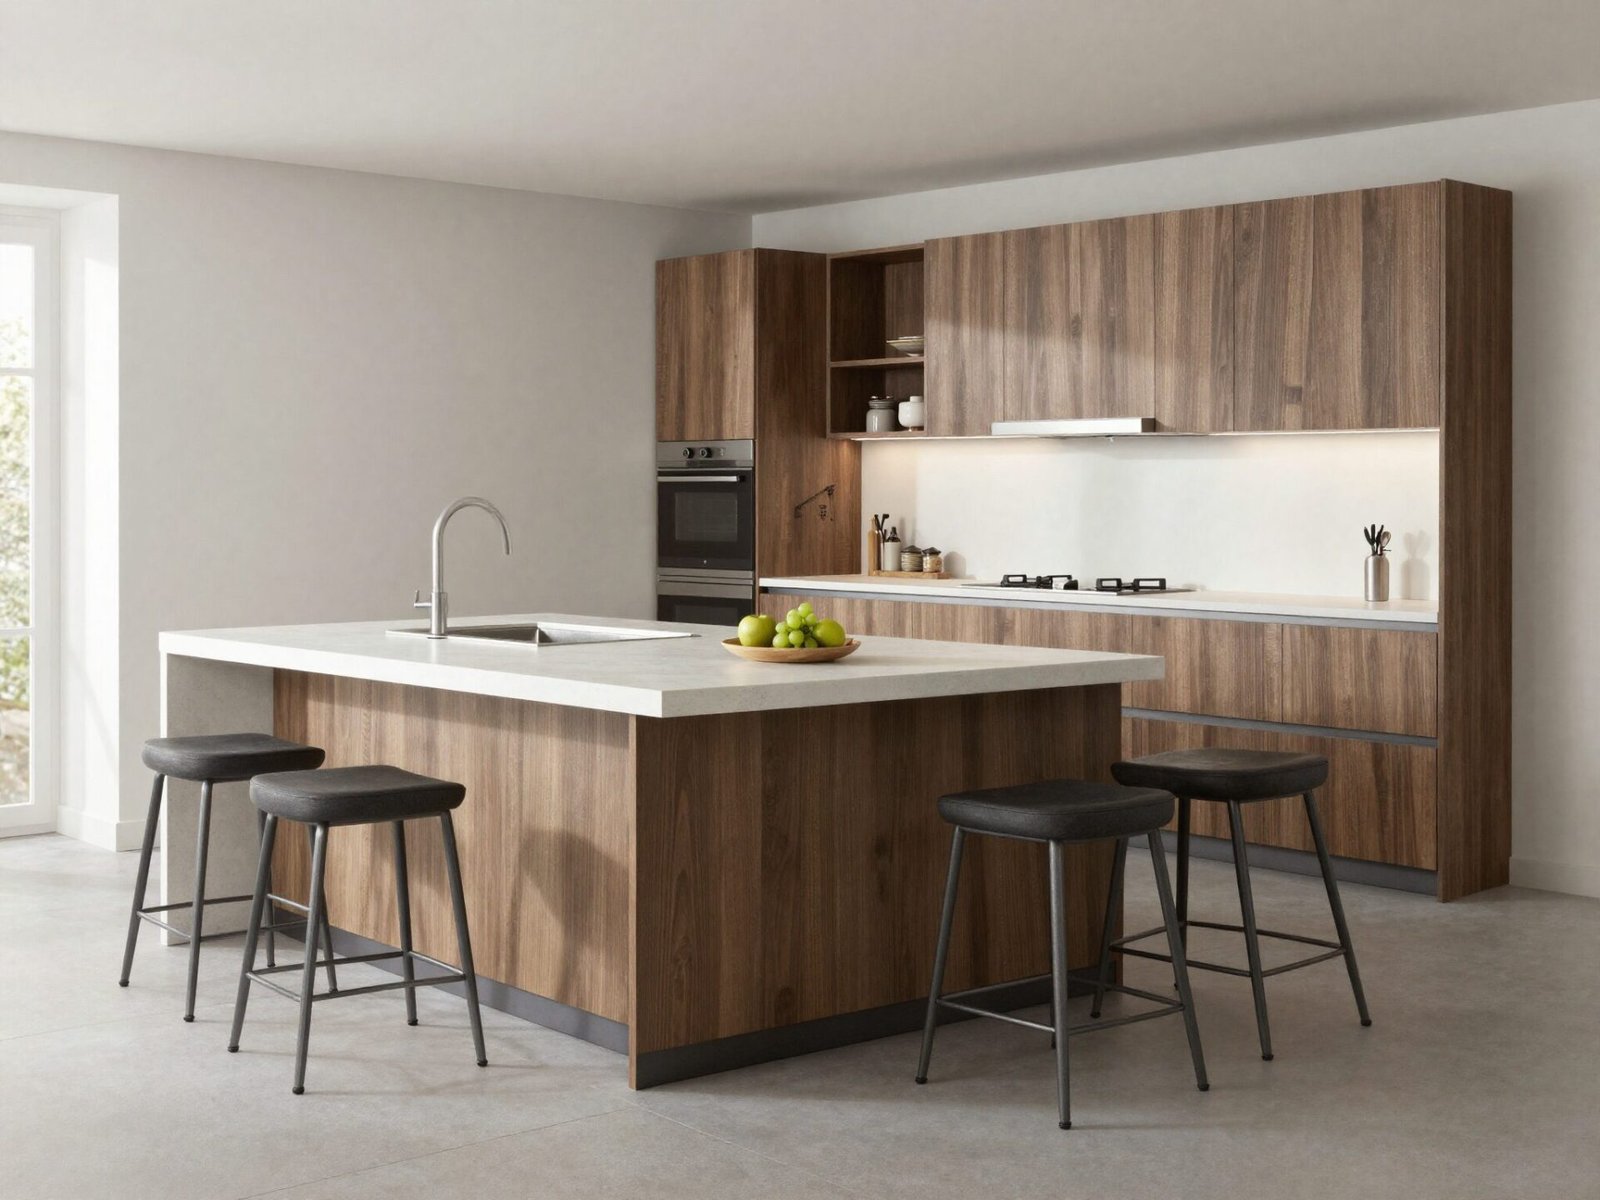
A multi-level island, with a standard-height prep zone and a raised bar-height seating section, creates clear physical boundaries within one piece.
This design keeps splashes and flour from a baking project away from a laptop or homework happening at the seating end.
It’s a particularly good option for households that use the island for both serious cooking and casual, everyday gathering.
💡 Smart tip: Plan the seating section on the side facing the main living space, so guests feel included without standing directly in the cooking zone.
⚠️ Mistake to avoid: Don’t add a height change without planning clearance for both levels separately — each section still needs its own appropriate overhang and legroom.
12. Adjust Island Size for a Small Kitchen
In a compact kitchen, a full fixed island may not be realistic once clearance requirements are honestly applied to the available floor space.
A small, portable island or butcher block cart offers similar prep benefits without permanently committing floor space you can’t spare.
A peninsula, extending directly from existing cabinetry, is another strong alternative that sidesteps the clearance issue of a freestanding island entirely.
💡 Smart tip: Roughly 11 square meters, or about 10×11 feet, is the general minimum room size for a standard fixed island with proper clearance on all sides.
⚠️ Mistake to avoid: Don’t force a fixed island into a kitchen that can’t support the clearance minimums. A portable cart or peninsula will feel far more functional than a cramped fixed island.
13. Watch for Pinch Points at Corners
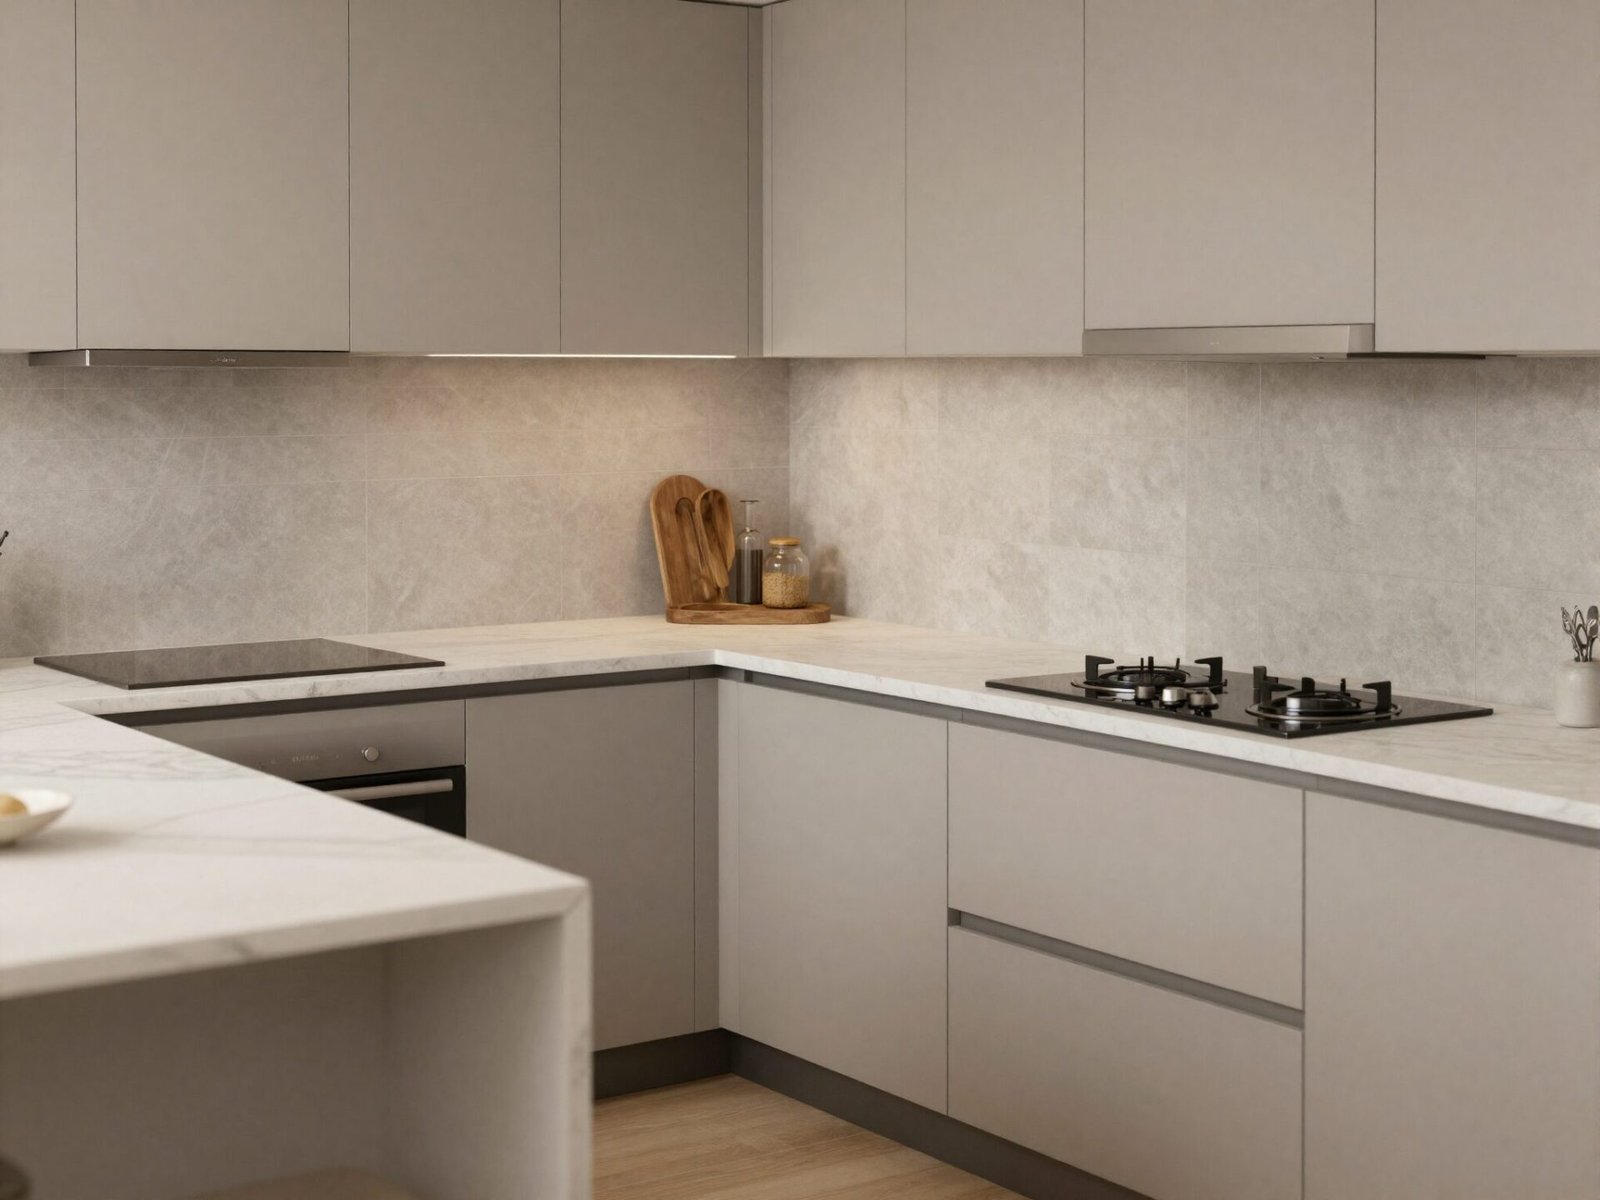
Corner placements deserve careful planning, since tight angles can create pinch points that feel cramped even when the straight-line clearance measures adequately.
A corner where two 36-inch clearances meet doesn’t automatically feel like 36 inches — the angle itself can make the space feel tighter than the raw number suggests.
This is easy to miss when planning purely with a tape measure rather than physically walking the space.
💡 Smart tip: Walk diagonally through any corner clearance zone during your layout test, not just straight across, to catch pinch points the straight measurement misses.
⚠️ Mistake to avoid: Don’t assume adequate clearance on two adjoining sides automatically means the corner between them feels equally open.
14. Test the Layout with Tape Before Committing
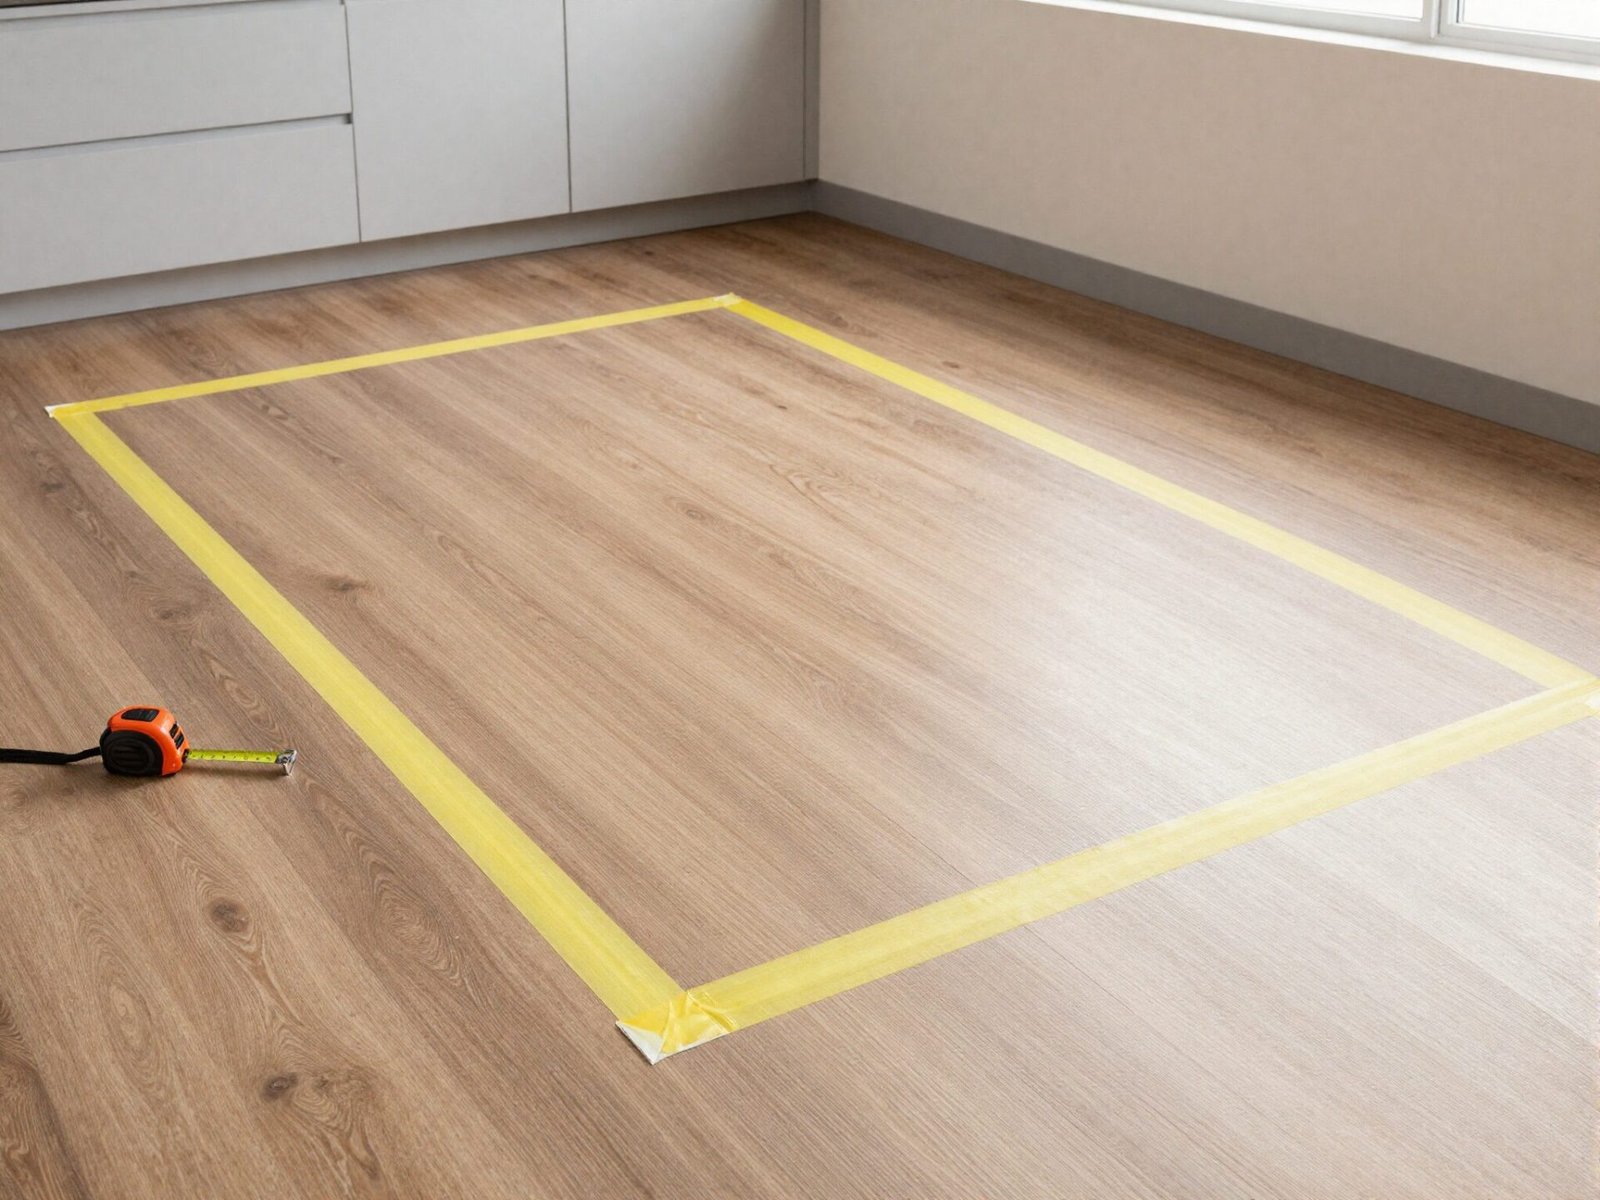
Before finalizing island size or ordering cabinetry, outline the exact footprint on your kitchen floor using painter’s tape.
Walking the taped-out aisles, opening imaginary appliance doors, and testing corner clearances catches problems no floor plan on paper can reveal.
This step takes maybe twenty minutes and can prevent a mistake that costs thousands of dollars to correct after installation.
💡 Smart tip: Recreate your actual daily kitchen routine within the taped layout, not just a single walkthrough, to catch issues specific to how you use the space.
⚠️ Mistake to avoid: Don’t skip this step for a kitchen renovation just because the plans came from a professional designer. Physical space always reveals details a drawing can’t.
15. Common Kitchen Island Sizing Mistakes
A handful of sizing mistakes show up repeatedly, even in kitchens planned by people who did significant research beforehand.
Choosing an island size based purely on available floor space, without separately confirming seating overhang and appliance door clearance, tops the list.
Underestimating how much space a pulled-out stool actually occupies, and forgetting to check corner pinch points, round out the most common errors.
💡 Smart tip: Revisit every measurement in this guide as a connected system rather than checking them one at a time in isolation — they all interact with each other.
⚠️ Mistake to avoid: Don’t finalize an island purchase or custom build without physically testing the full layout, including seating and appliance clearance, in your actual kitchen.
Effort & Cost Snapshot
| Idea | Effort | Approx. Cost |
|---|---|---|
| 1. All-Sides Clearance | Low | $0 |
| 2. Multiple-Cook Clearance | Low | $0 |
| 3. Work Aisle Clearance | Low | $0 |
| 4. Island Width Planning | Medium | $1,500–$6,000 |
| 5. Counter-Height Overhang | Low | $0 (design spec) |
| 6. Bar-Height Overhang | Low | $0 (design spec) |
| 7. Seat Width Planning | Low | $0 |
| 8. Behind-Seating Clearance | Low | $0 |
| 9. Overhang Support Brackets | Low | $150–$400 |
| 10. Appliance Door Swing Check | Low | $0 |
| 11. Multi-Level Island | High | $500–$2,000 extra |
| 12. Small Kitchen Alternatives | Medium | $200–$1,000 |
| 13. Corner Pinch Point Check | Low | $0 |
| 14. Tape-Testing the Layout | Low | $5–$10 (tape) |
| 15. Avoiding Sizing Mistakes | Low | $0 |
Every clearance number in this guide costs nothing to check beyond time and a tape measure, and catching a sizing problem now is far cheaper than fixing it after installation.
Start with your tightest side and your busiest work aisle — those two measurements usually determine everything else about how large your island can be.
Continue Your Home Transformation
Explore the full collection of step-by-step eBooks and get the guide that fits the room you're working on.