Organization and Storage
If opening your pantry feels like a small act of chaos management every single time, the problem usually isn’t a lack of space — it’s a lack of system. A pantry holds more categories of items than almost any other spot in the house, and without some structure, everything from cereal boxes to spice jars ends up competing for the same shelf.
By the end of this article, you’ll have 14 real, practical ways to organize a pantry so everything finally has a clear, logical home.
Table of Contents
- 1. Divide the Pantry Into Zones
- 2. Add Pull-Out Shelving
- 3. Swap Plastic Bins for Woven Baskets
- 4. Build a Hidden Counter Pantry
- 5. Decant Dry Goods Into Glass Jars
- 6. Add a Lazy Susan for Bulk Items
- 7. Use a Tiered Can Riser
- 8. Mount a Pegboard for Small Tools
- 9. Add Clear Acrylic Snack Drawers
- 10. Install Frosted Sliding Doors
- 11. Build a Wood-Lined Spice Drawer
- 12. Hide Small Appliances in a Garage
- 13. Add Tiered Shelf Risers
- 14. Create a Monthly Reset Zone
- Effort & Cost Snapshot
1. Divide the Pantry Into Zones
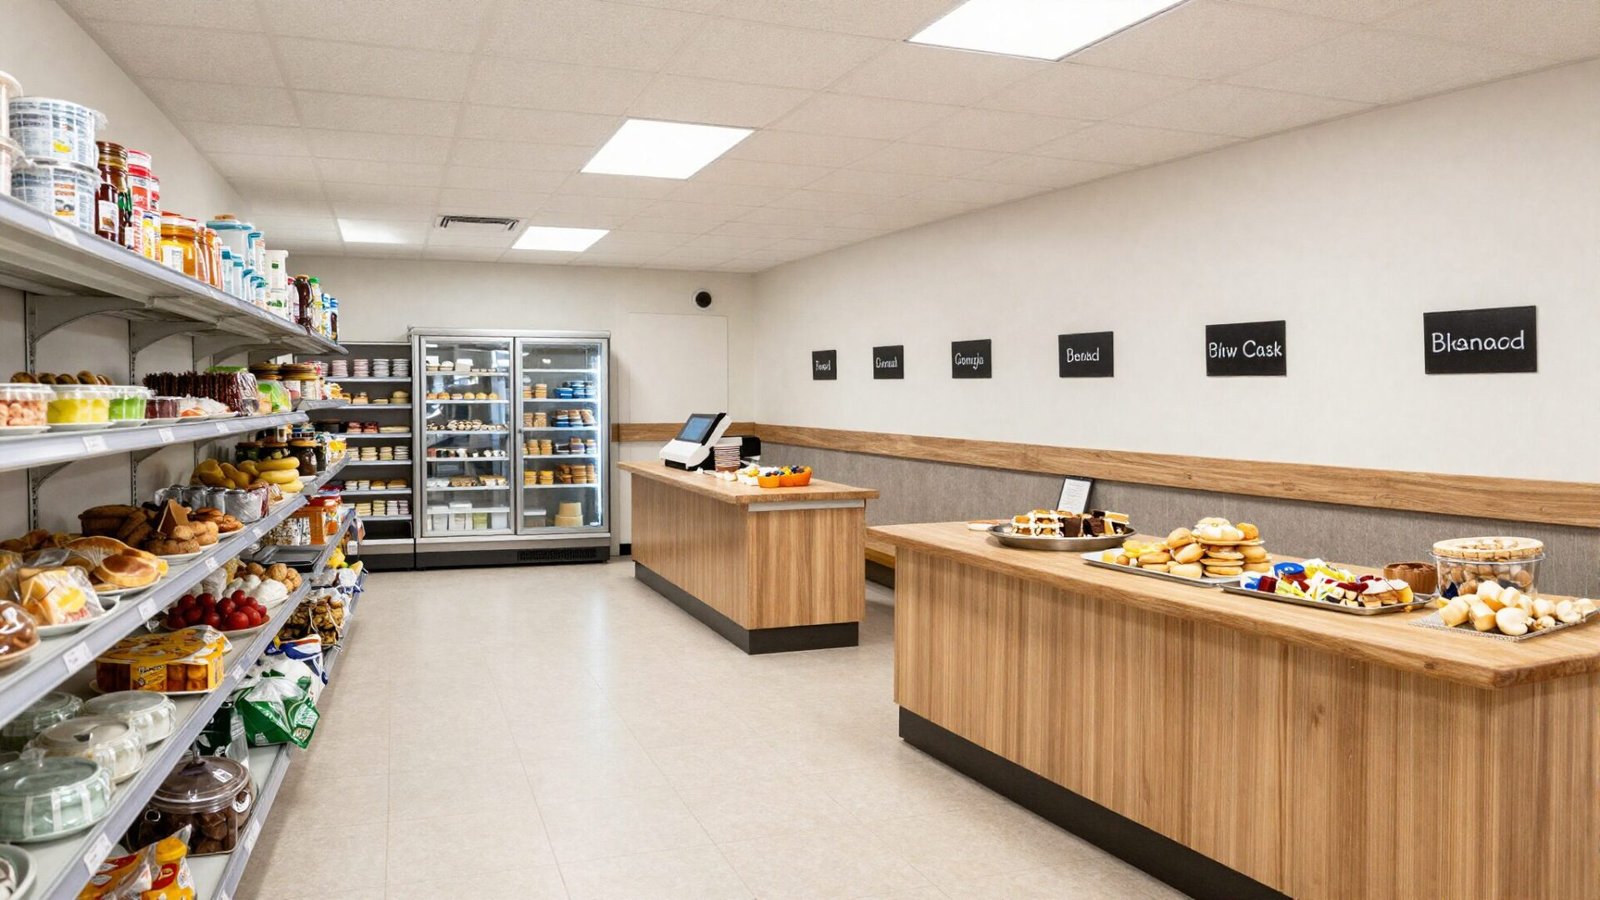
Grouping items by purpose — breakfast, baking, snacks — rather than by category alone makes the whole pantry function more like a small, efficient store. Once every zone has a clear identity, everyone in the household knows exactly where to look without asking.
💡 Smart tip: Place your most-used zone, like breakfast items or everyday snacks, at eye level and within easy reach for the whole family.
⚠️ Mistake to avoid: Creating too many narrow, overly specific zones; a handful of broad categories works better day to day than a dozen tiny ones that are hard to remember.
2. Add Pull-Out Shelving
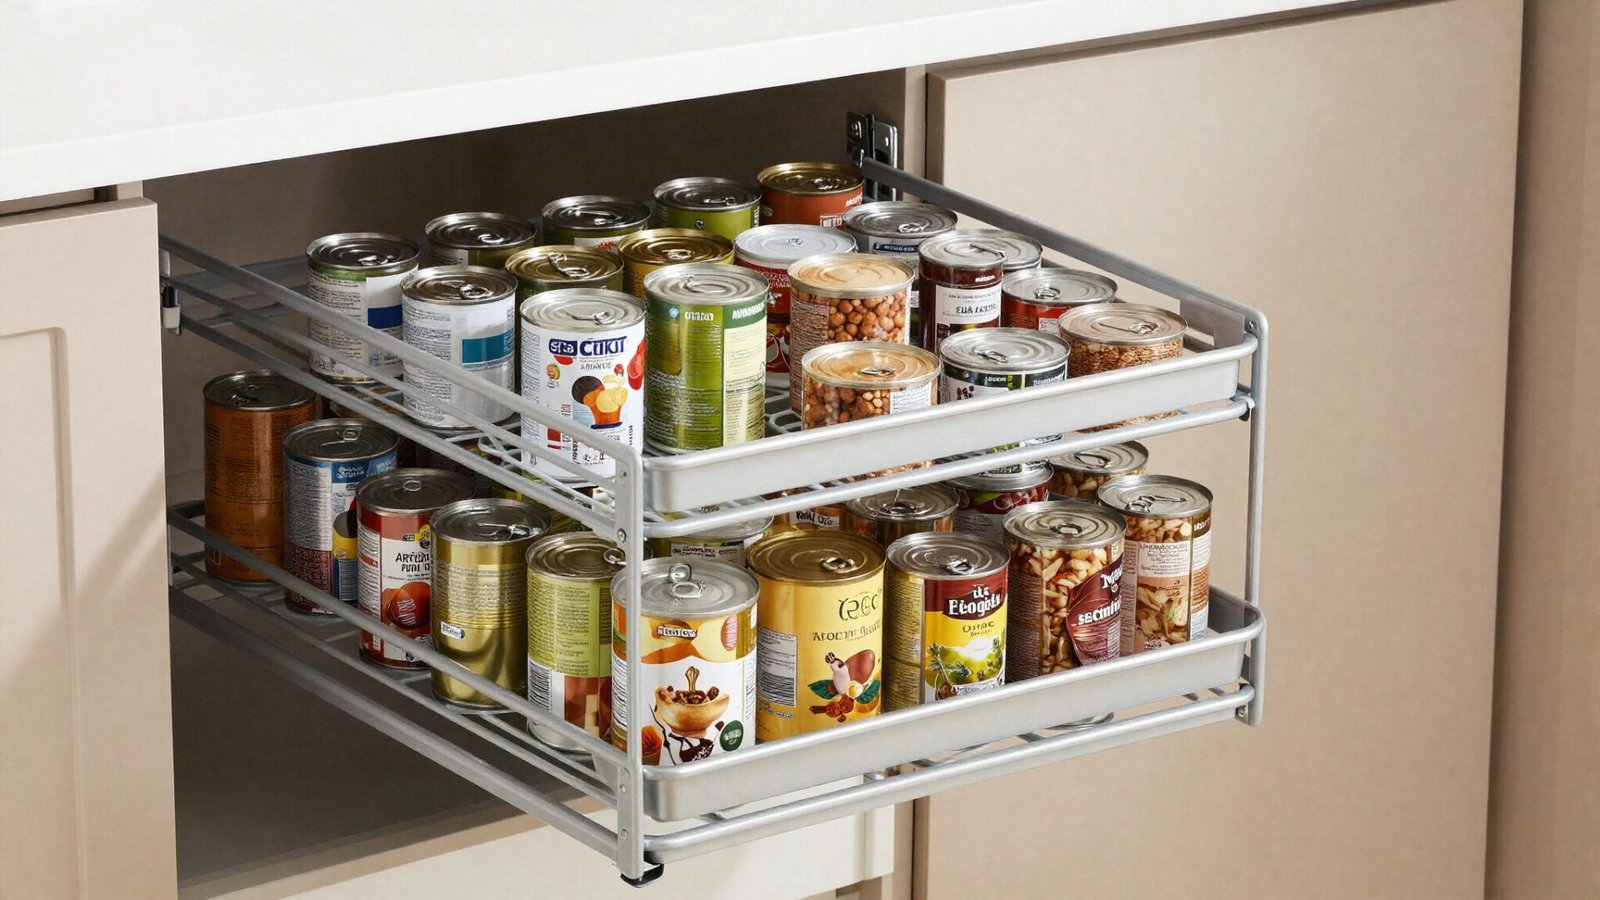
Pull-out shelves eliminate the need to dig through the back of a deep cabinet, since the entire shelf slides forward and puts every item in view. It’s one of the single biggest functional upgrades a pantry can get, especially for deep, narrow closet-style pantries.
💡 Smart tip: Measure the full depth of your pantry cabinet before ordering pull-out shelves; deeper cabinets benefit the most from this upgrade.
⚠️ Mistake to avoid: Overloading a pull-out shelf beyond its weight rating; check the hardware’s capacity before stacking heavy canned goods or bulk items.
3. Swap Plastic Bins for Woven Baskets
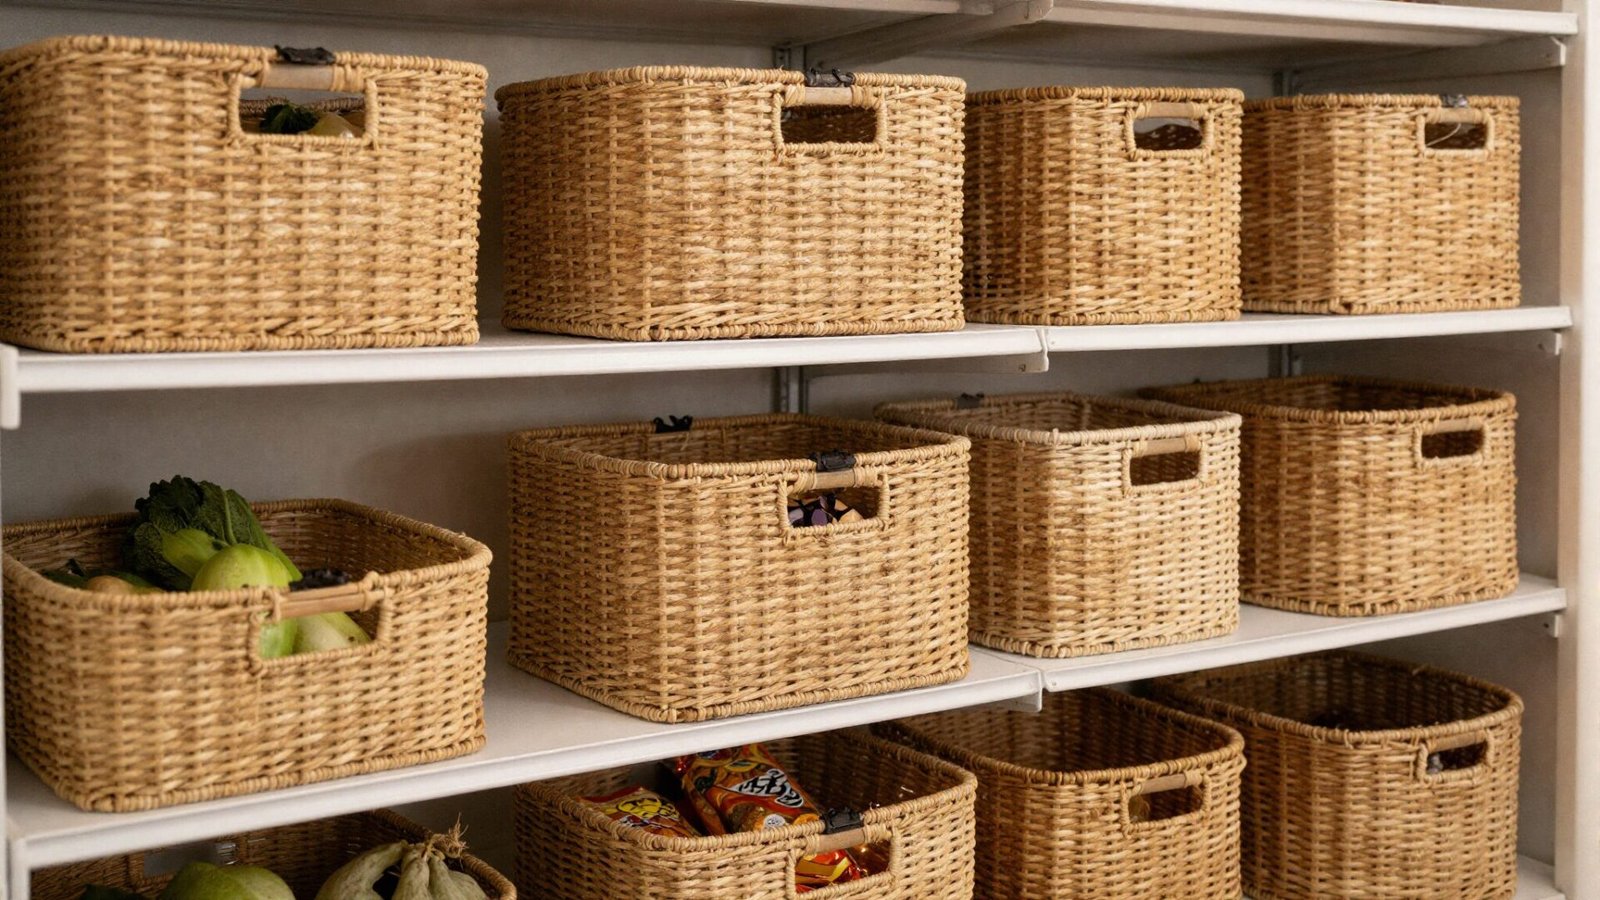
Natural woven baskets bring warmth and texture to pantry shelving in a way clear plastic bins simply can’t, softening what’s often a purely utilitarian space. They work just as well for grouping loose items like produce or snack packs, without sacrificing any organizational function.
💡 Smart tip: Choose baskets with sturdy handles for anything you’ll be pulling in and out regularly, since handles make daily access considerably easier.
⚠️ Mistake to avoid: Using open woven baskets for very fine or loose dry goods; opt for a lined basket or a sealed container for anything prone to spilling through gaps.
Loving These Ideas? Get the Step-by-Step Guide
Grab the full 5-day eBook and turn these ideas into a finished room.




4. Build a Hidden Counter Pantry
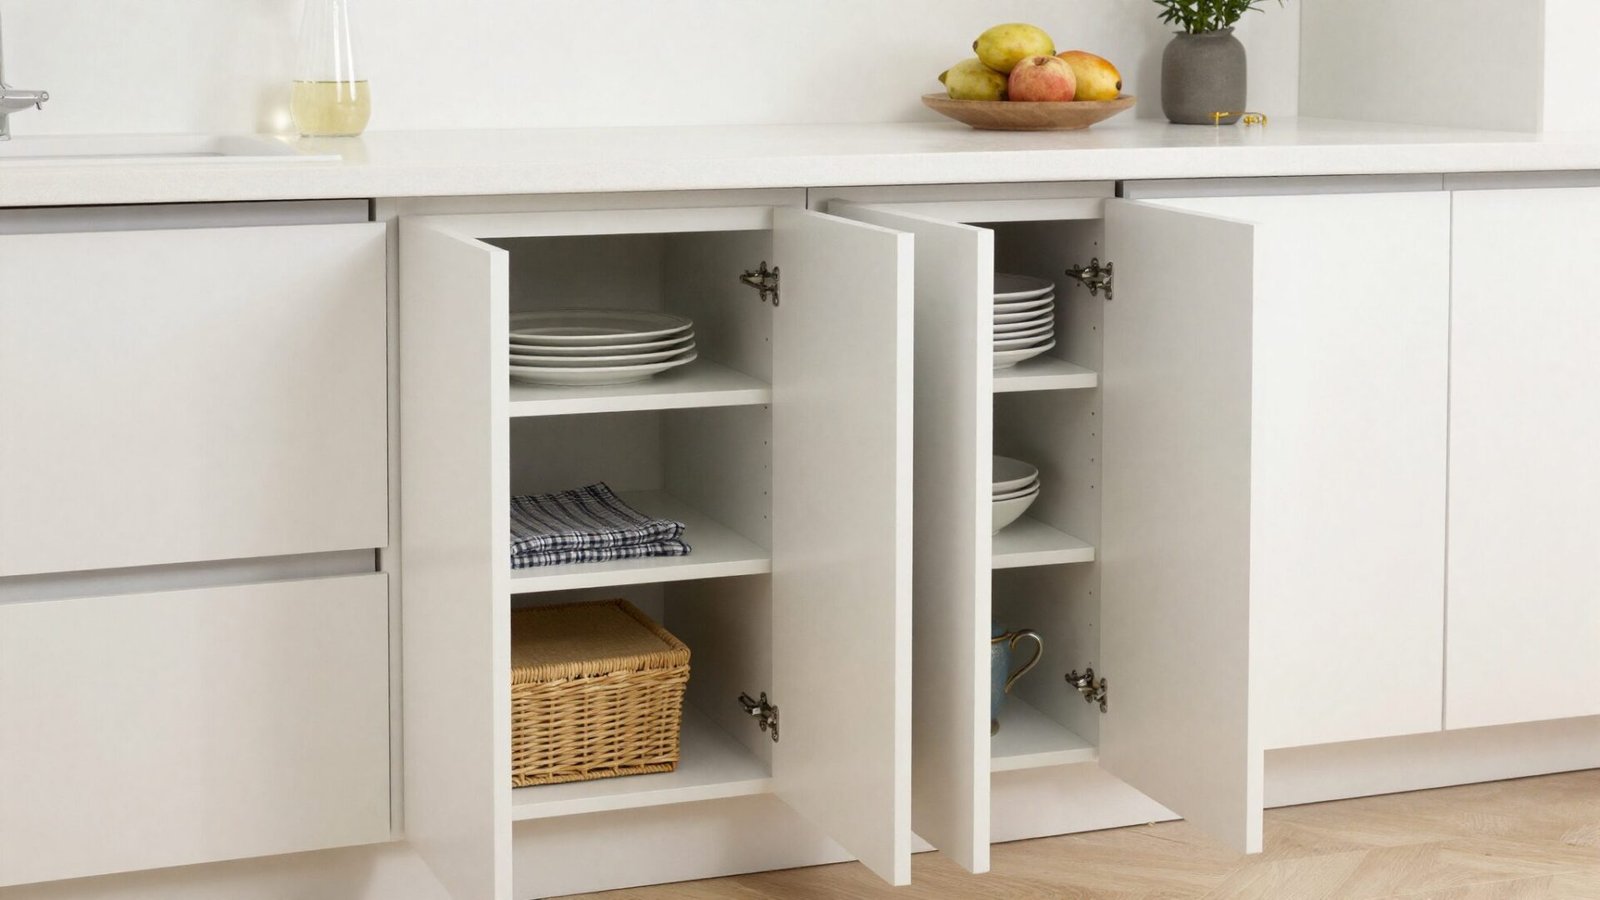
For kitchens without room for a dedicated walk-in pantry, a tall cabinet built directly into the counter line offers real storage capacity while staying visually seamless with the rest of the kitchen. Closed doors keep the whole system out of sight until it’s actually needed.
💡 Smart tip: Choose adjustable shelving inside a hidden pantry cabinet so you can reconfigure the space as your storage needs shift over time.
⚠️ Mistake to avoid: Skipping interior organization tools like bins or dividers just because the cabinet is hidden; an unorganized system behind closed doors is still an unorganized system.
5. Decant Dry Goods Into Glass Jars
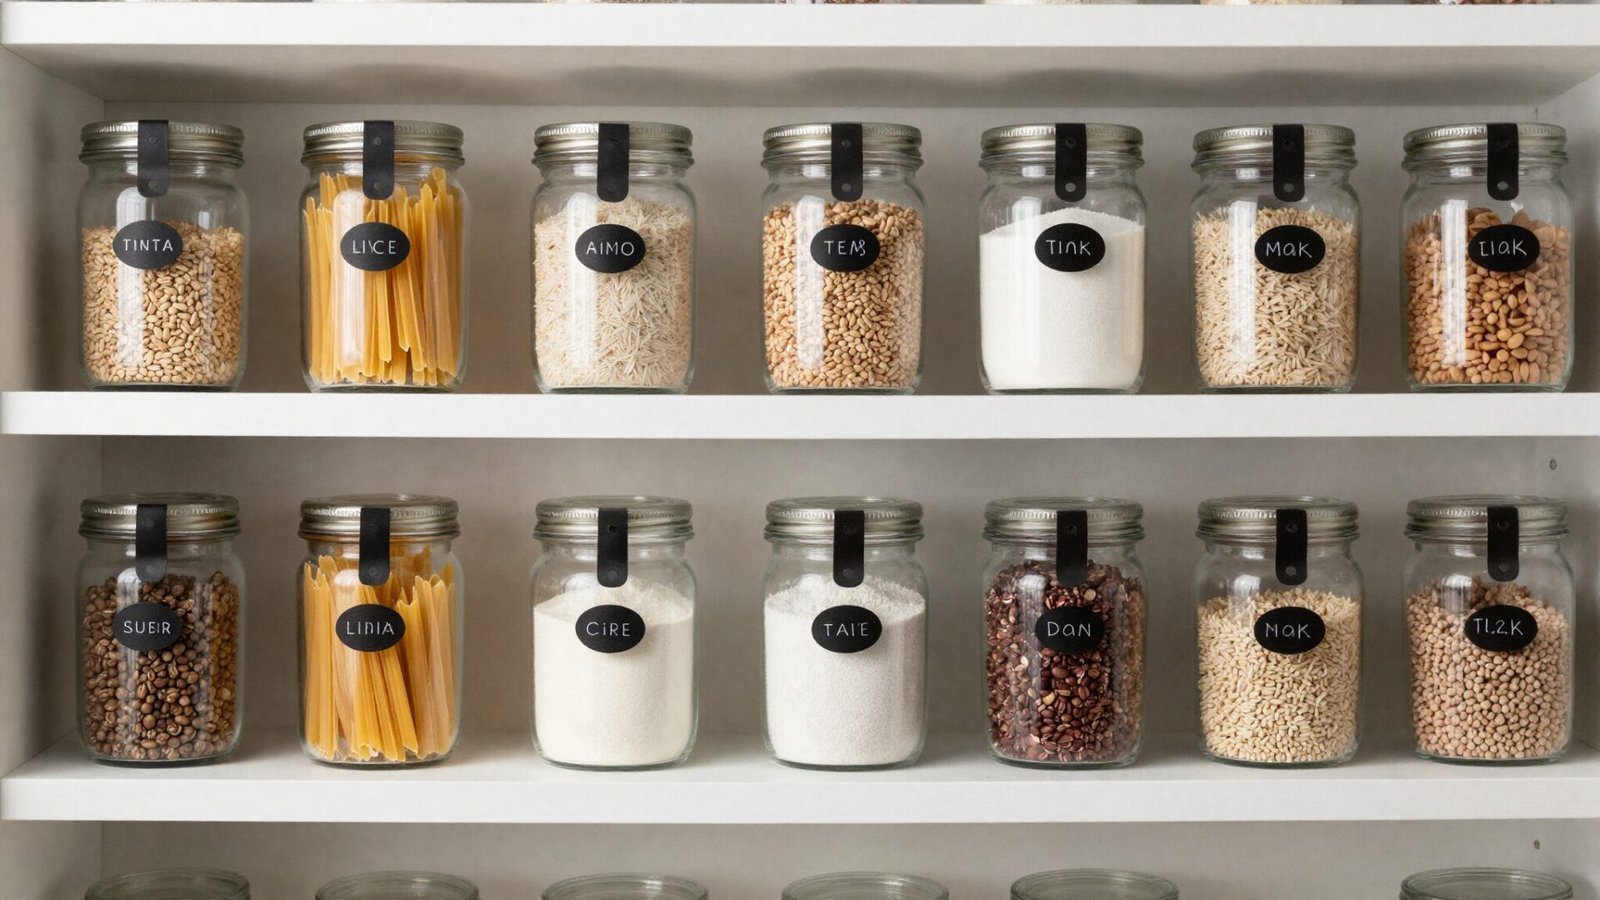
Transferring pasta, rice, and grains into matching labeled jars turns a shelf of mismatched packaging into a genuinely cohesive display. It’s also more practical than it looks, since glass jars let you see remaining quantities at a glance without opening every container.
💡 Smart tip: Choose airtight jars specifically for anything prone to going stale quickly, like flour or oats, to extend freshness beyond the original packaging.
⚠️ Mistake to avoid: Forgetting to label jars with expiration dates from the original packaging; without that reference, it’s easy to lose track of how long something has actually been stored.
6. Add a Lazy Susan for Bulk Items
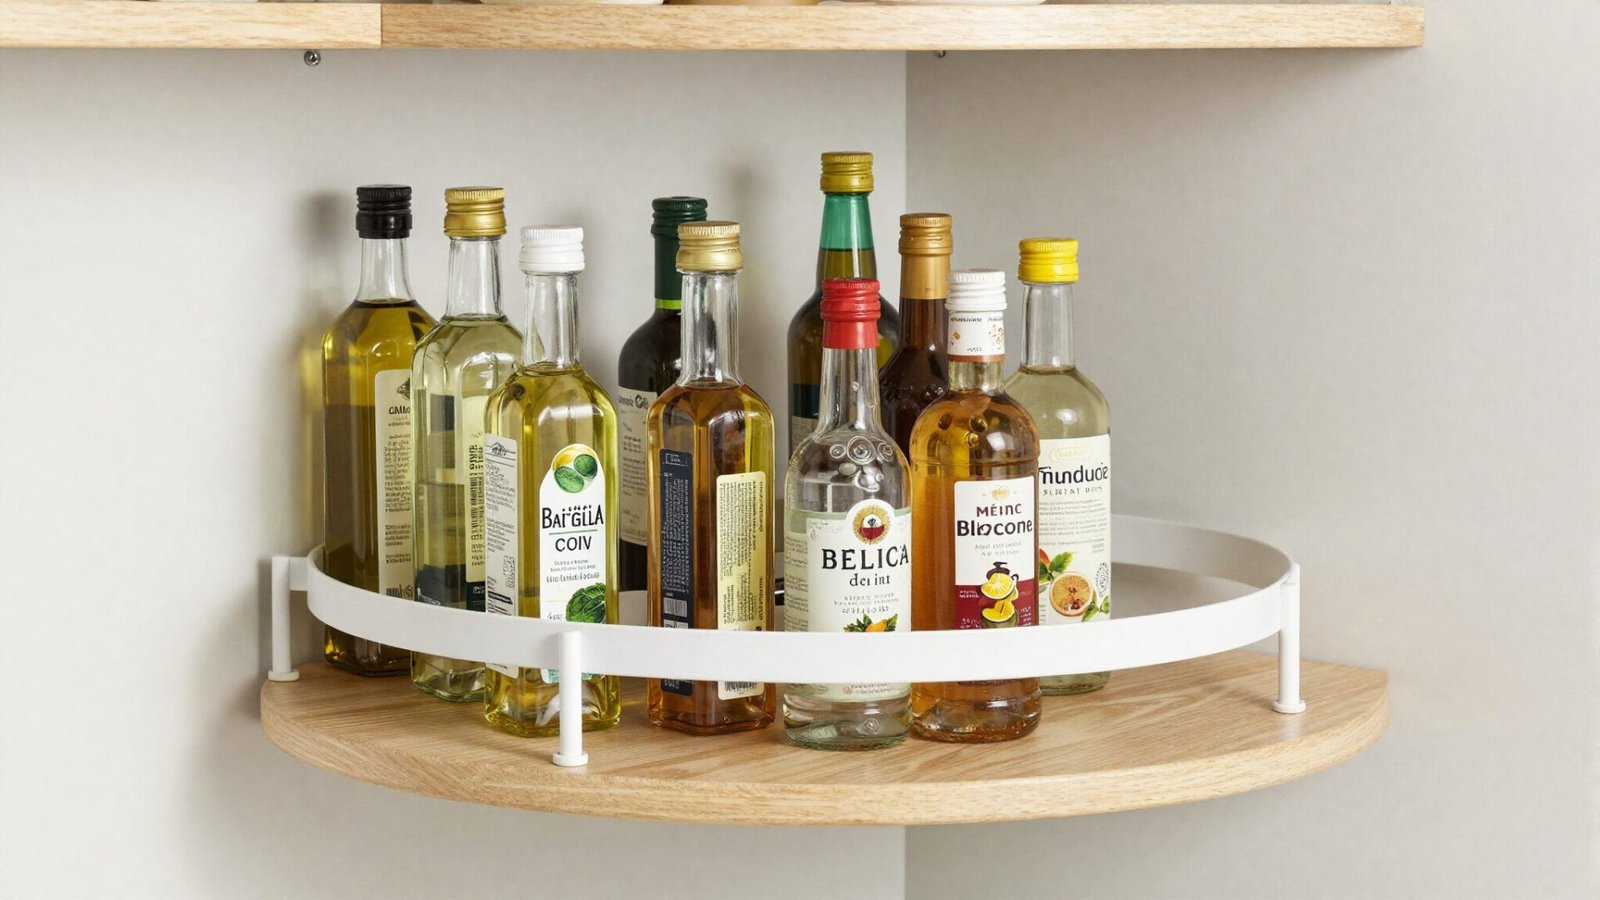
A rotating lazy susan solves the classic corner-shelf problem, where deep, awkward spaces usually swallow items and make them nearly impossible to reach. A simple spin brings anything on the turntable to the front, whether it’s cooking oils, condiments, or bulk staples.
💡 Smart tip: Choose a two-tiered lazy susan for taller pantry sections, effectively doubling the usable surface within the same footprint.
⚠️ Mistake to avoid: Overcrowding a lazy susan with too many items; leave enough clearance for the turntable to actually spin freely without bottles catching on each other.
7. Use a Tiered Can Riser
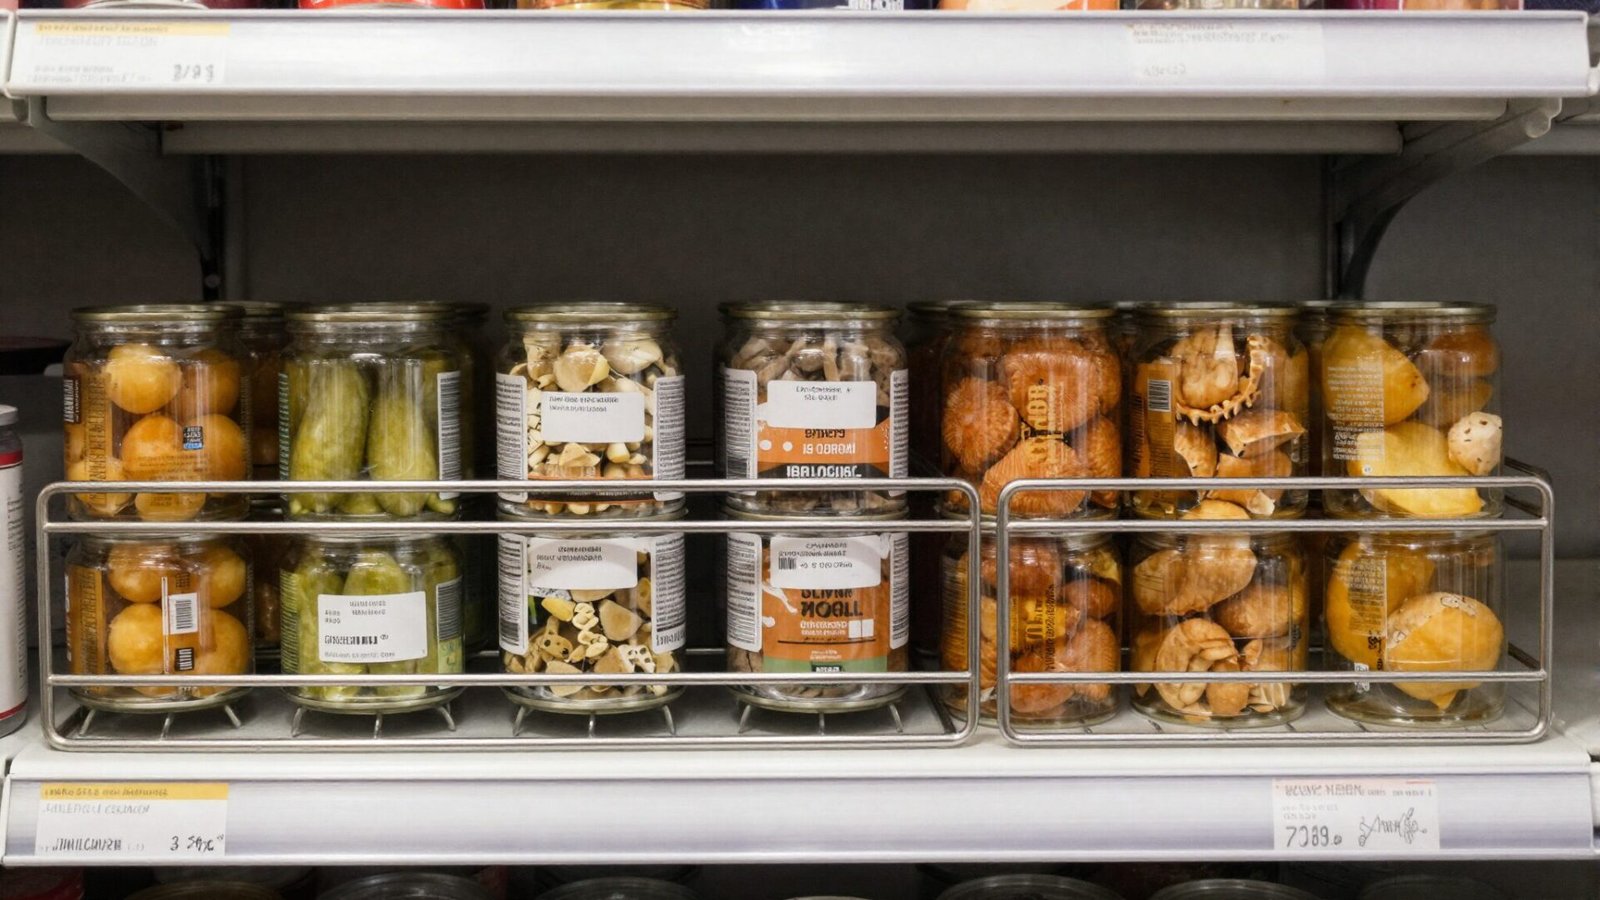
A stepped can riser angles rows of canned goods so every label faces forward and stays visible, instead of stacking cans in a way that hides everything behind the front row. It also naturally encourages a first-in, first-out rotation as new cans get added to the back.
💡 Smart tip: Group cans by type on each tier — vegetables on one level, soups on another — so the riser functions as a real system, not just a display trick.
⚠️ Mistake to avoid: Choosing a riser sized for standard cans if your pantry regularly stocks larger or unusually shaped cans; measure your typical inventory before buying.
8. Mount a Pegboard for Small Tools
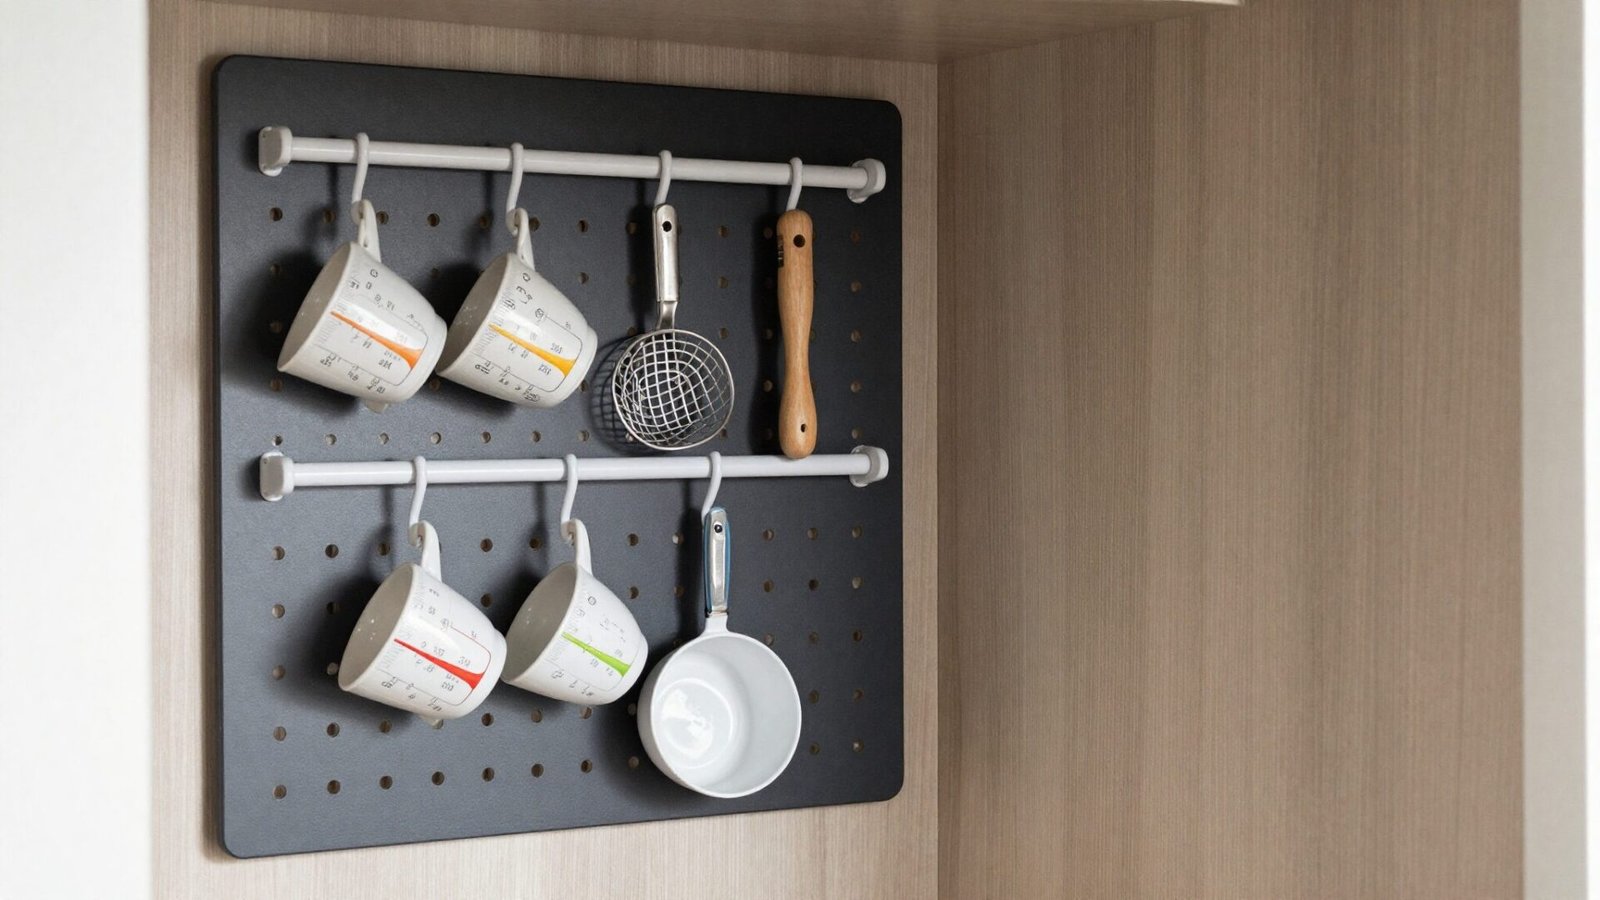
Mounting a pegboard on the inside of a pantry door captures small kitchen tools that otherwise clutter drawers, giving measuring cups, spice grinders, and other gadgets their own visible hooks. It’s a clever way to reclaim usable space that would otherwise just swing open and shut.
💡 Smart tip: Trace an outline around each tool once it’s hung, so it’s immediately obvious when something hasn’t been returned to its spot.
⚠️ Mistake to avoid: Hanging heavy items directly on standard pegboard hooks; the board can sag or pull away from the door over time under too much weight.
9. Add Clear Acrylic Snack Drawers
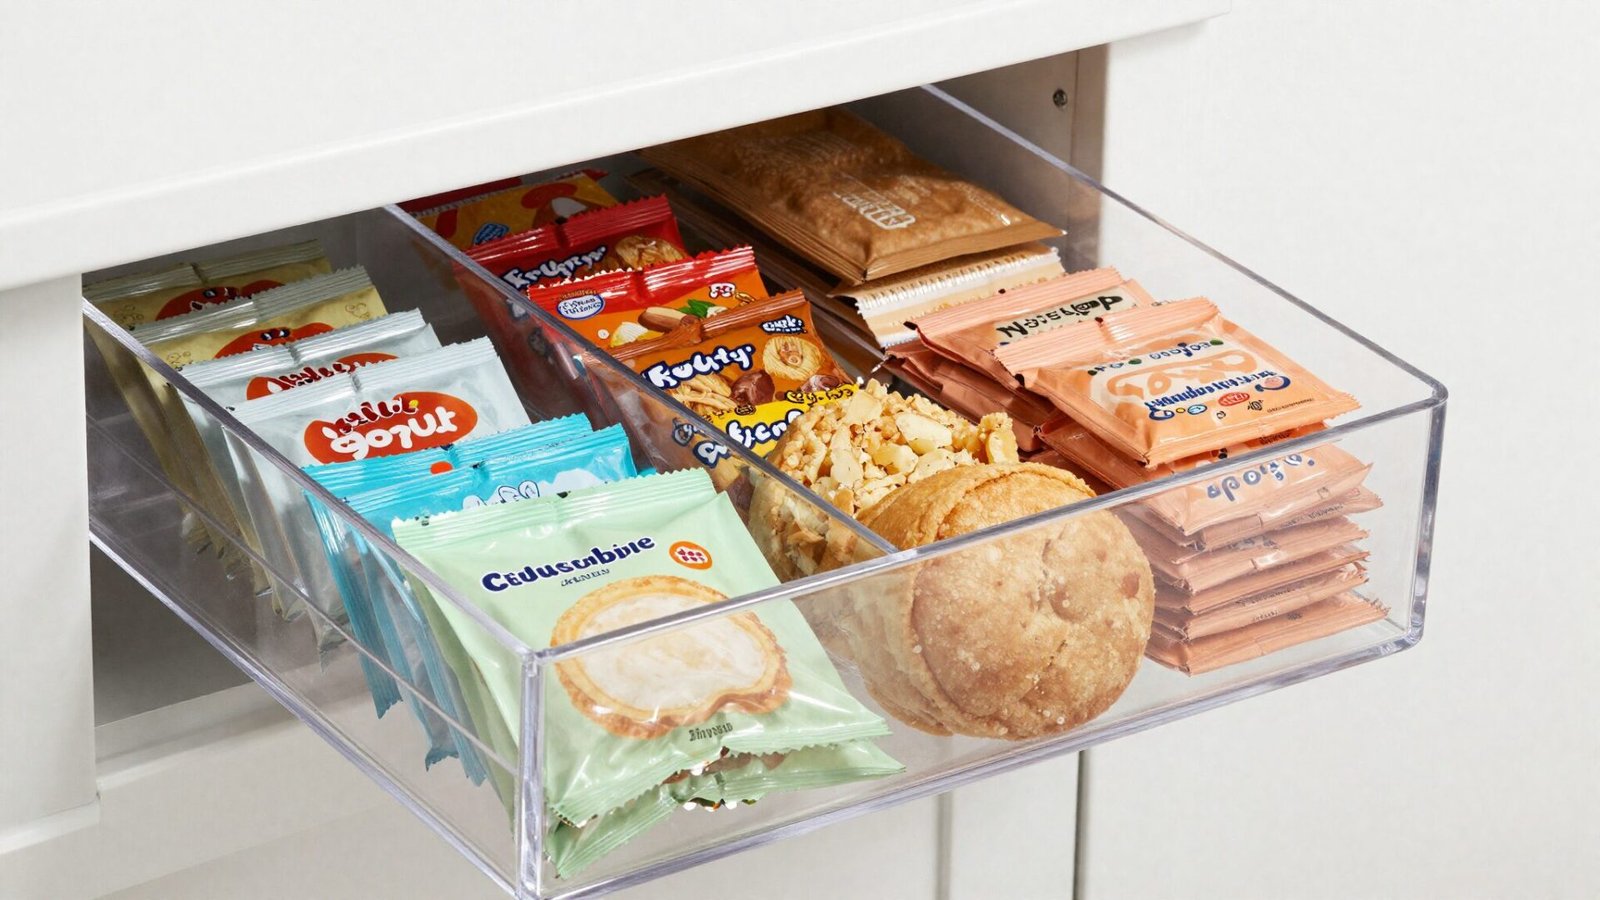
Dividing a lower drawer into clear acrylic compartments for snacks makes the pantry genuinely kid-accessible, letting younger family members grab what they need without disturbing everything else. Seeing every snack option at once also cuts down on the search-and-dig routine that tends to happen with a single deep bin.
💡 Smart tip: Position the snack drawer at a lower height that young children can reach comfortably on their own.
⚠️ Mistake to avoid: Sorting snacks purely by type instead of by how often they’re actually grabbed; keep the most popular options in the most accessible compartments.
10. Install Frosted Sliding Doors
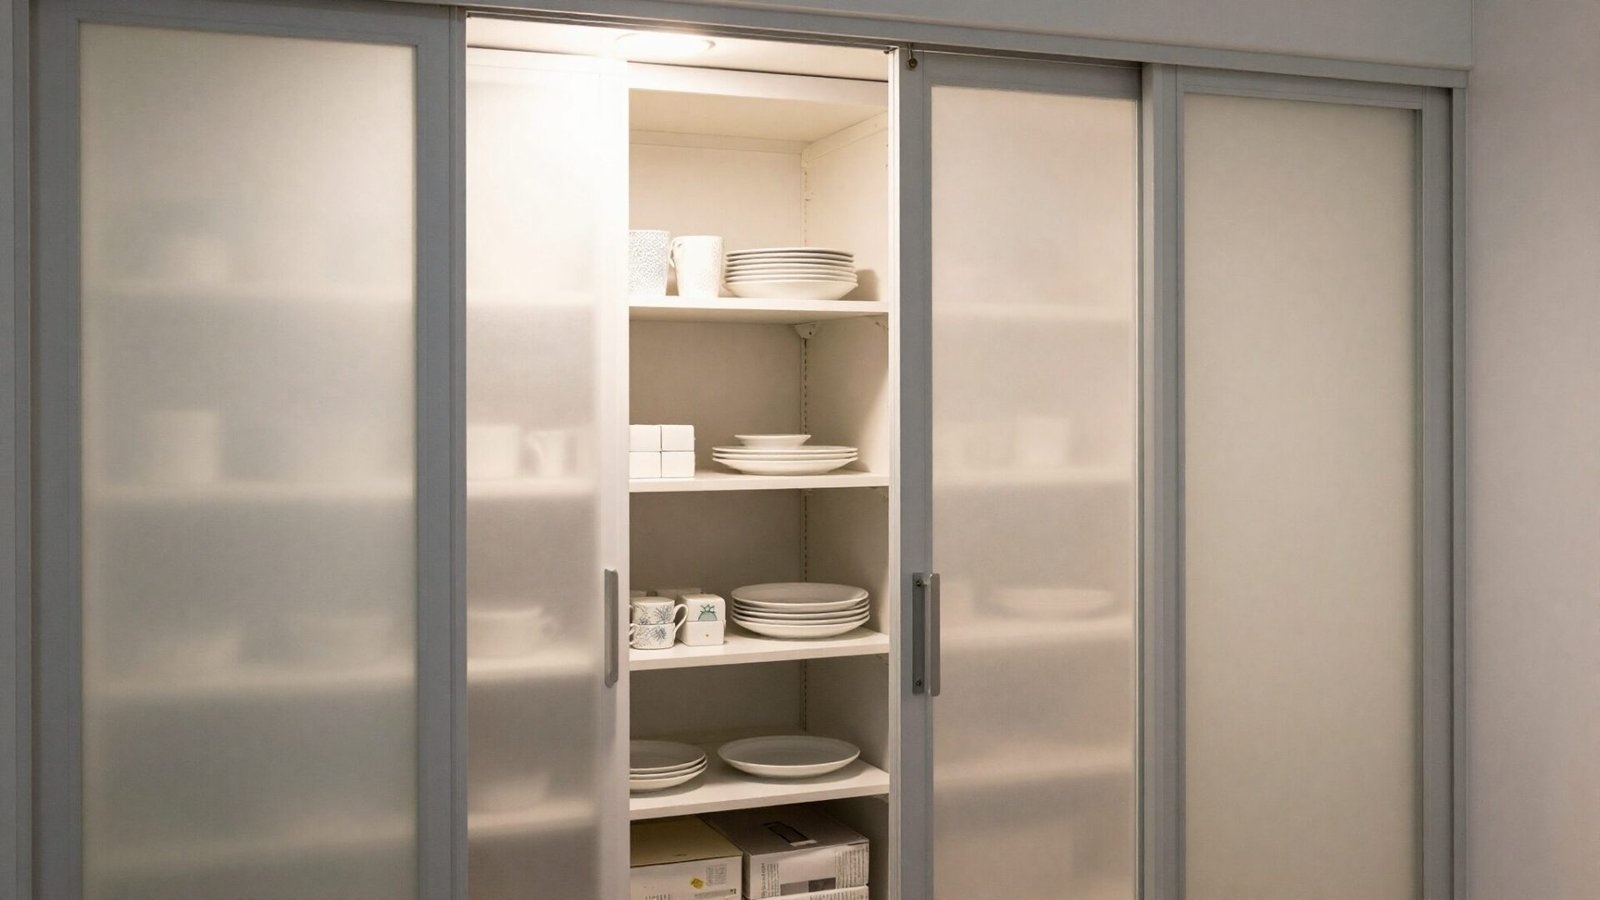
Frosted glass doors let soft, diffused light travel into a pantry while still concealing the exact contents behind a translucent panel. It’s a compromise between a fully open shelving display and a completely closed cabinet, offering a hint of what’s inside without full visibility.
💡 Smart tip: Choose sliding rather than swinging doors for a tighter pantry space, since sliders don’t require floor clearance to open.
⚠️ Mistake to avoid: Choosing frosted glass without considering the interior organization behind it; the doors hide clutter visually, but the shelves still need a real system to stay functional.
11. Build a Wood-Lined Spice Drawer
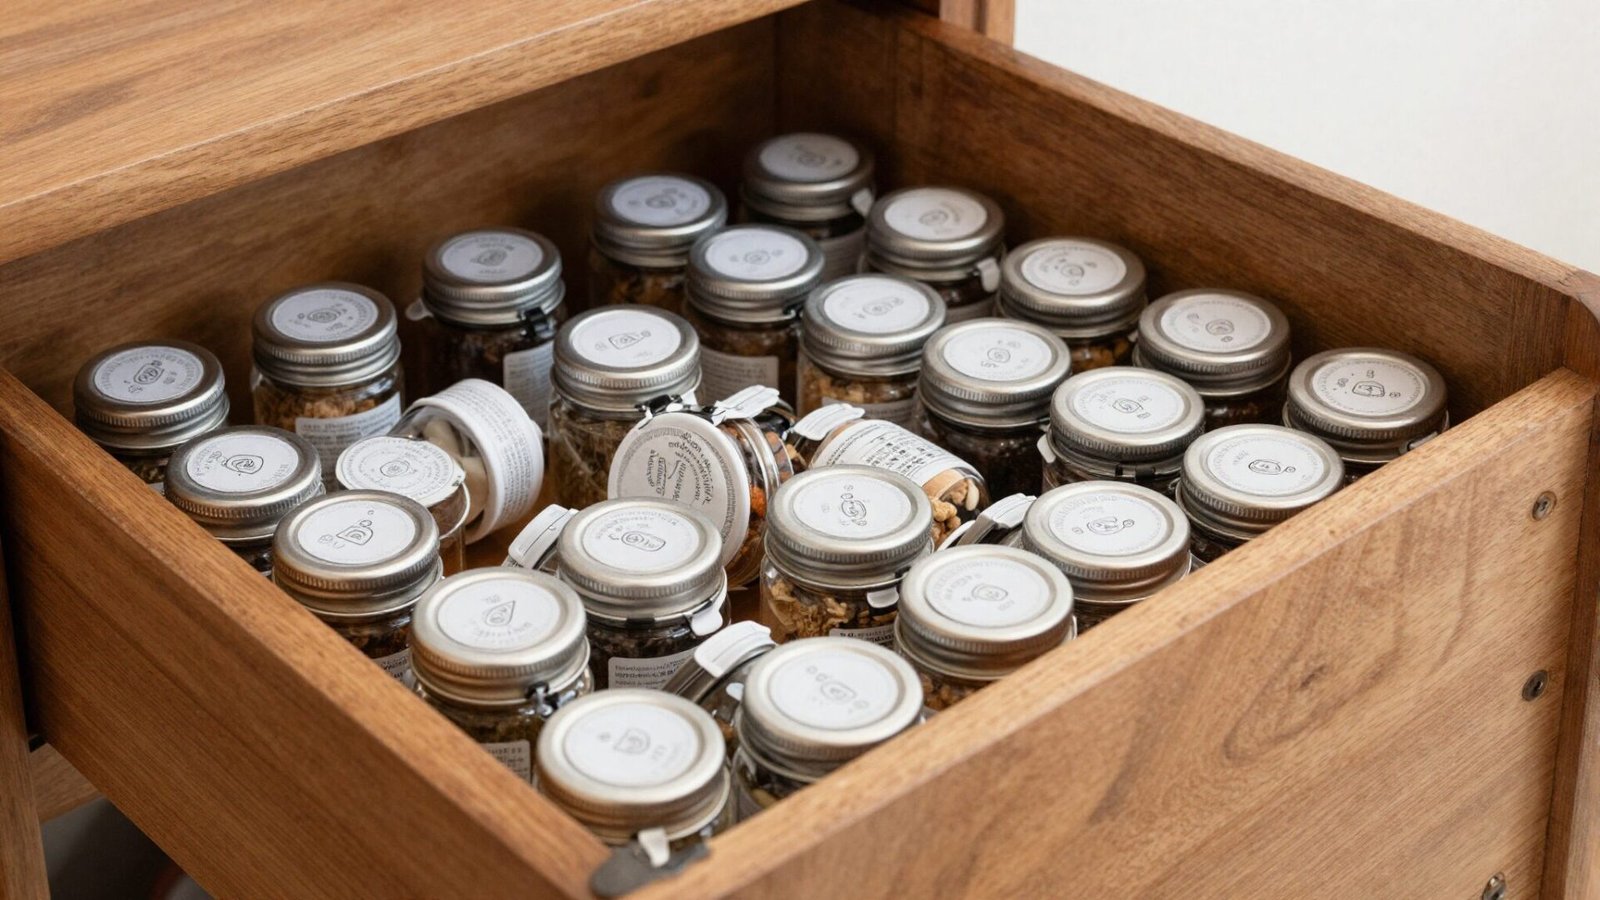
A shallow, wood-lined drawer built specifically for spice jars keeps every seasoning visible from above, eliminating the need to shuffle through a crowded shelf to find what you need mid-recipe. The warm wood interior also gives the drawer a genuinely custom, high-end feel.
💡 Smart tip: Arrange spice jars alphabetically within the drawer, which makes locating a specific one considerably faster during actual cooking.
⚠️ Mistake to avoid: Choosing jars too tall for a shallow drawer design; measure clearance carefully so the drawer can still close fully once loaded.
12. Hide Small Appliances in a Garage
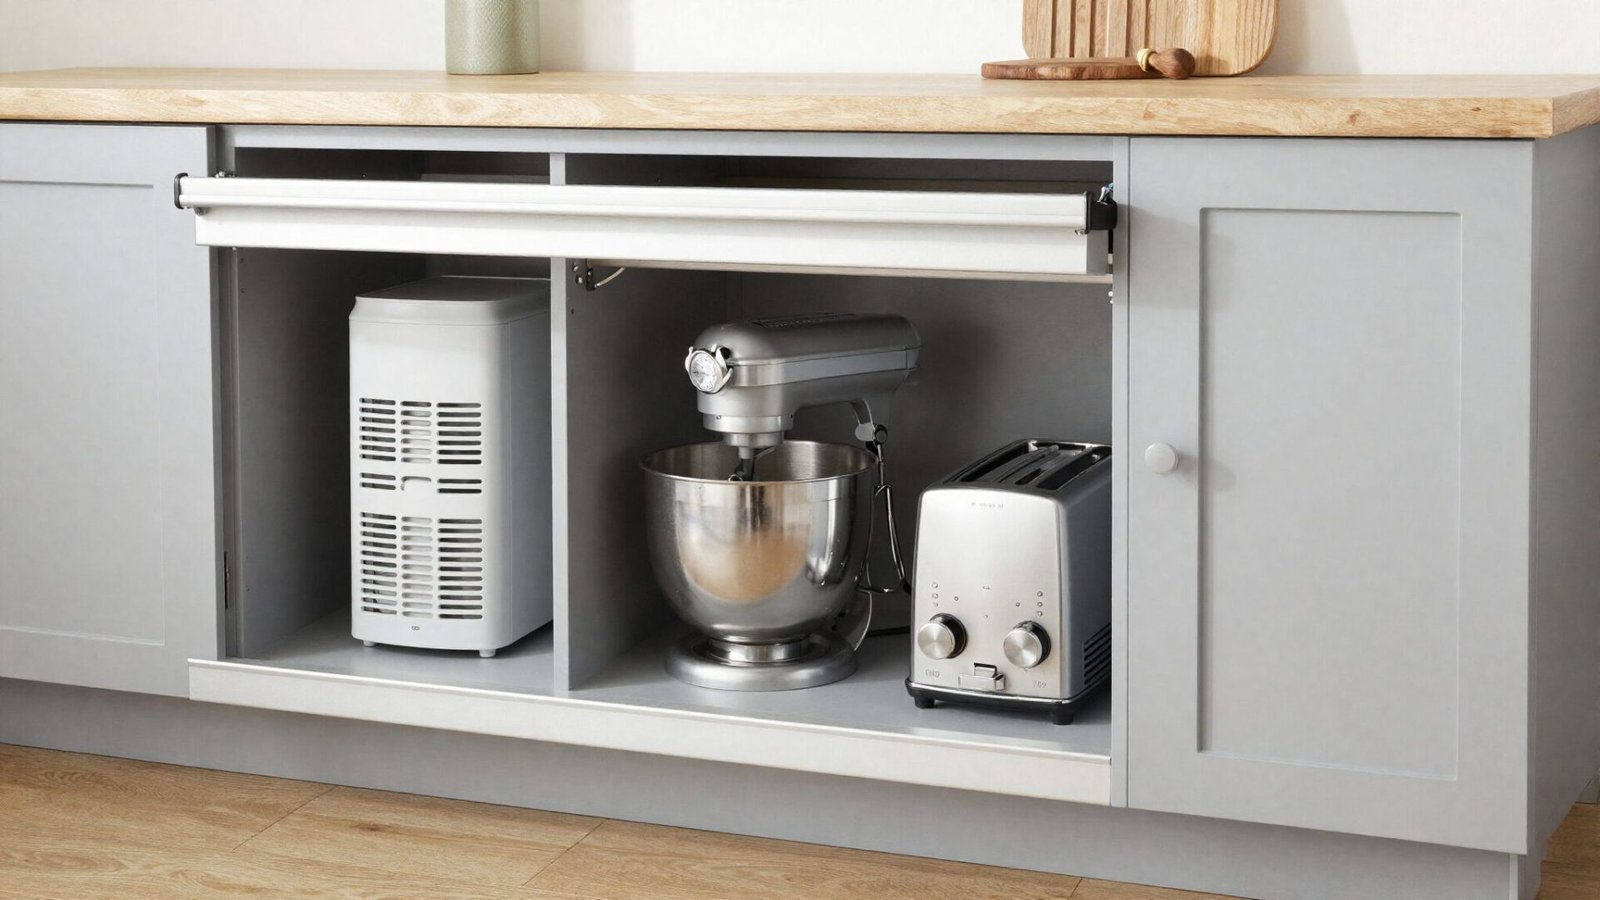
A dedicated appliance garage with a roll-up door keeps bulky items like stand mixers and toasters accessible but out of sight when they’re not in use. It solves the common problem of countertop clutter without requiring these appliances to be stored somewhere inconvenient.
💡 Smart tip: Include an outlet inside the appliance garage so items like a coffee maker can stay plugged in and ready to use without being pulled out first.
⚠️ Mistake to avoid: Sizing the appliance garage too small for your actual equipment; measure your largest appliance’s full footprint, including any attachments, before finalizing dimensions.
13. Add Tiered Shelf Risers
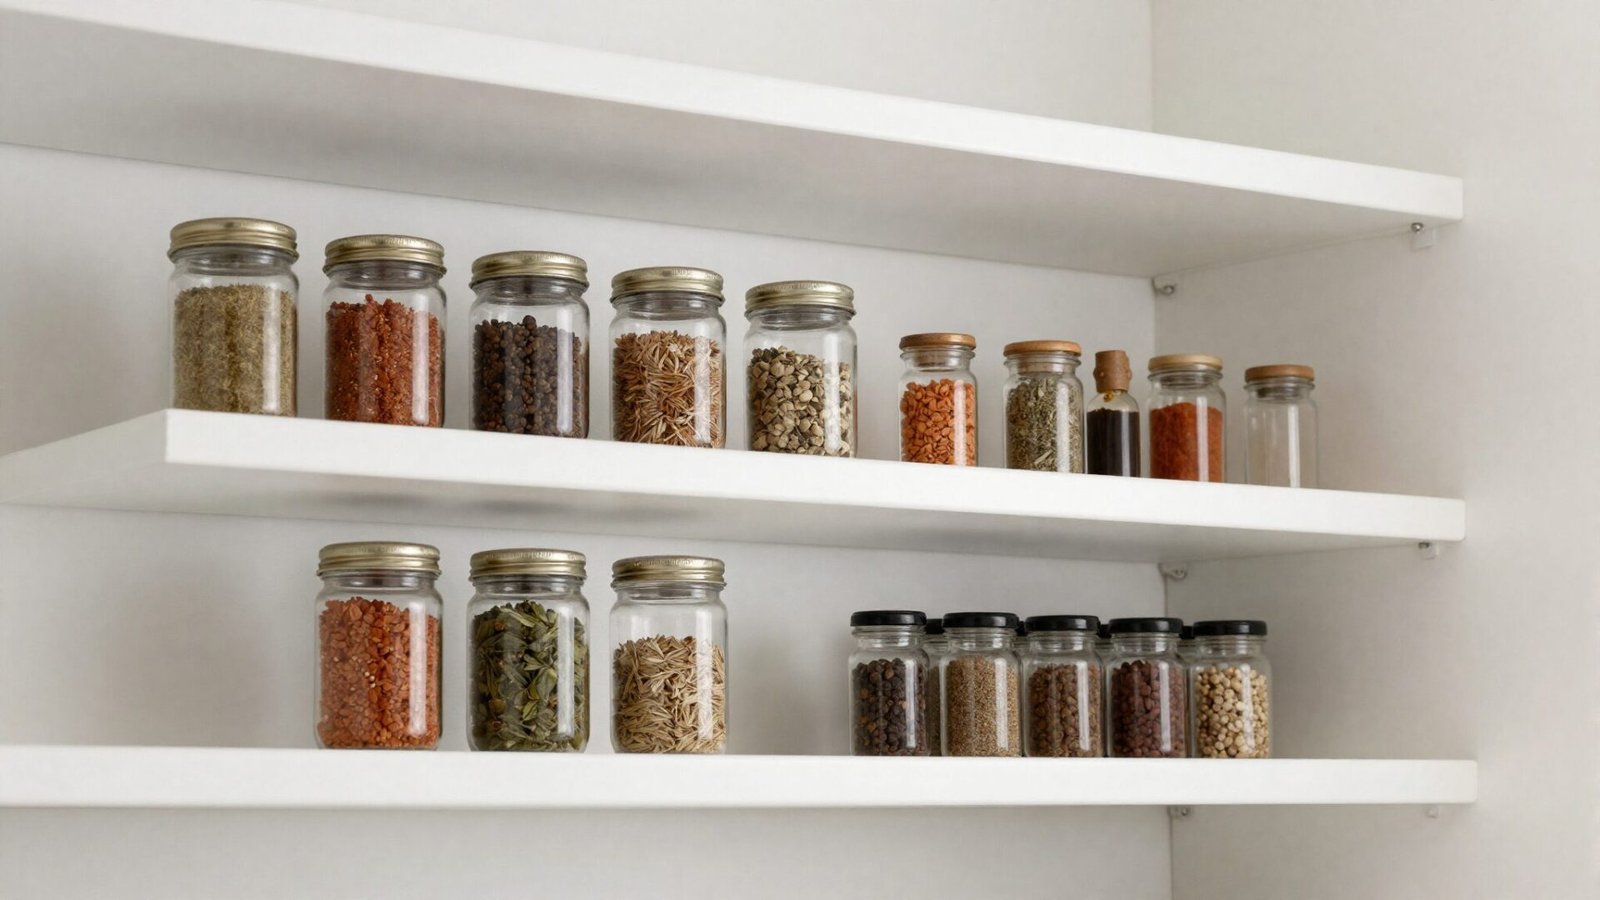
Simple step risers let a single shelf hold multiple rows of smaller items, like spice jars or small bottles, without anything getting hidden behind a taller item in front. It’s a low-cost way to add real visual capacity to a shelf that’s currently underused.
💡 Smart tip: Use risers specifically for shorter items you access often, reserving flat shelf space for taller boxes and containers that don’t benefit from the tiered format.
⚠️ Mistake to avoid: Choosing risers that are too narrow for your actual jar sizes; test with a few items before committing to a riser style across the whole pantry.
14. Create a Monthly Reset Zone
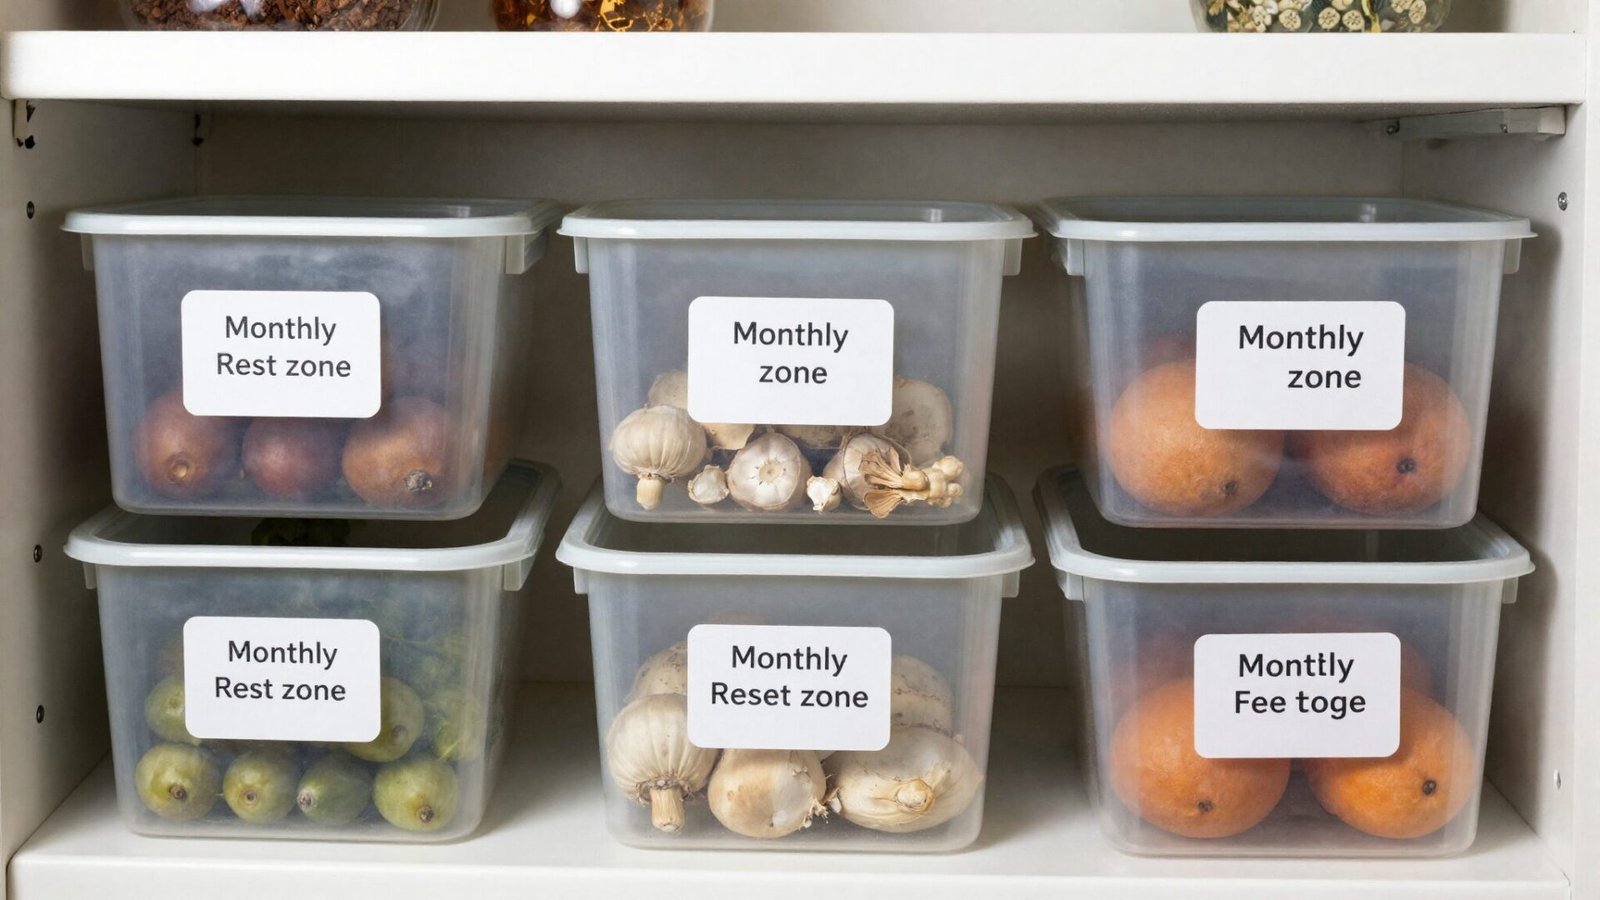
A dedicated bin labeled for items approaching their expiration date gives the pantry a built-in system for actually using food before it goes to waste. Rather than discovering an expired jar months later, this zone puts it front and center as a visual reminder.
💡 Smart tip: Set a recurring monthly reminder to check the reset zone and plan meals specifically around whatever’s collected there.
⚠️ Mistake to avoid: Treating the reset zone as just another storage spot instead of an active system; it only works if items are regularly reviewed and used, not left to accumulate indefinitely.
Effort & Cost Snapshot
| Idea | Effort | Approx. Cost |
|---|---|---|
| 1. Zoned Pantry Layout | Low (planning and labeling) | $0–$60 |
| 2. Pull-Out Shelving | Medium (DIY or pro install) | $100–$500 |
| 3. Woven Baskets | Low (purchase) | $40–$180 |
| 4. Hidden Counter Pantry | High (custom build) | $1,500–$5,000 |
| 5. Labeled Glass Jars | Low (purchase) | $50–$200 |
| 6. Lazy Susan for Bulk Items | Low (purchase and install) | $25–$100 |
| 7. Tiered Can Riser | Low (purchase) | $15–$60 |
| 8. Pegboard for Small Tools | Low (DIY install) | $25–$90 |
| 9. Clear Acrylic Snack Drawers | Low (DIY) | $20–$80 |
| 10. Frosted Sliding Doors | Medium–High (pro install) | $300–$1,200 |
| 11. Wood-Lined Spice Drawer | Medium (DIY or pro build) | $100–$400 |
| 12. Small Appliance Garage | Medium–High (pro build) | $300–$1,000 |
| 13. Tiered Shelf Risers | Low (purchase) | $15–$60 |
| 14. Monthly Reset Zone | Low (DIY) | $10–$40 |
A well-organized pantry doesn’t need to be large — it just needs a system every item can actually fit into, and stay in, day after day. Save this list to Pinterest so you can work through your own pantry one shelf at a time.
Continue Your Home Transformation
Explore the full collection of step-by-step eBooks and get the guide that fits the room you're working on.