Small bathroom walls influence more than style. They hold mirrors, lighting, storage, splash protection, and the room’s strongest visual lines, often within arm’s reach of every fixture. A successful plan therefore starts with exposure and function rather than a favorite color or pattern.
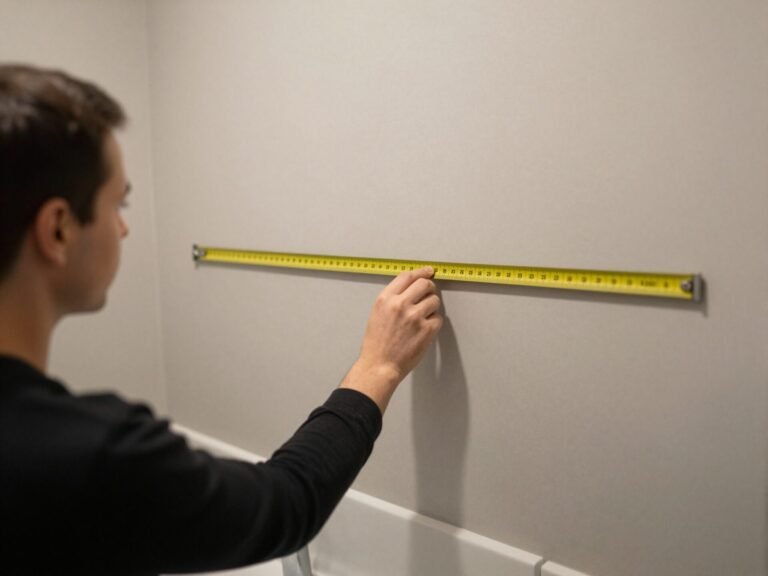
The following small bathroom walls design ideas cover quick cosmetic changes and renovation-level decisions. Each one identifies where the treatment works, what it demands from the surrounding materials, and which mistake can make a compact room feel busier or become harder to maintain. Before ordering anything, measure every wall after accounting for trim, fixtures, doors, and finished surfaces.
1. Map the Wet, Damp, and Dry Walls
Begin by marking direct-spray zones, occasional-splash areas, and relatively dry walls. A shower enclosure needs a complete water-management assembly, while a wall across from the toilet may only need a washable finish.
This map prevents an expensive finish from being used where it will fail—or waterproof tile from covering every surface unnecessarily. Ventilation, bathing habits, and whether children use the room affect the exposure.
Waterproofing requirements depend on the assembly, site conditions, manufacturer instructions, and local code. Have a qualified remodeler evaluate damaged drywall, persistent staining, soft materials, or recurring mold before covering the wall.
2. Establish One Quiet Background Finish
Choose a restrained finish for the greatest wall area, then layer stronger elements over it. Soft white, muted clay, pale blue-gray, or warm greige can provide a visual pause around tile, plumbing fixtures, and towels.
Test samples beside the actual floor and vanity at morning and evening. Undertones that look subtle in a store can turn pink, green, or cold under bathroom lighting.
For painted walls, prioritize a washable coating recommended by its manufacturer for bathroom conditions. Higher sheen can resist cleaning better but also reveals patches and uneven drywall, so repair and prime first.
Loving These Ideas? Get the Step-by-Step Guide
Grab the full 5-day eBook and turn these ideas into a finished room.




3. Carry Shower Tile to the Ceiling
Stopping shower tile at an arbitrary height creates another horizontal break. Extending it to the ceiling can produce a more continuous composition while protecting the upper wall from steam and stray spray.
This treatment is especially effective when the shower occupies the room’s end wall. Keep the tile pattern aligned with the valve, niche, or showerhead rather than accepting narrow slivers at corners.
Full-height tile increases material, cutting, and installation work. The tile itself is not the waterproofing; the substrate and water-control system behind it must suit the installation and local requirements.
4. Use Vertical Tile Lines Deliberately
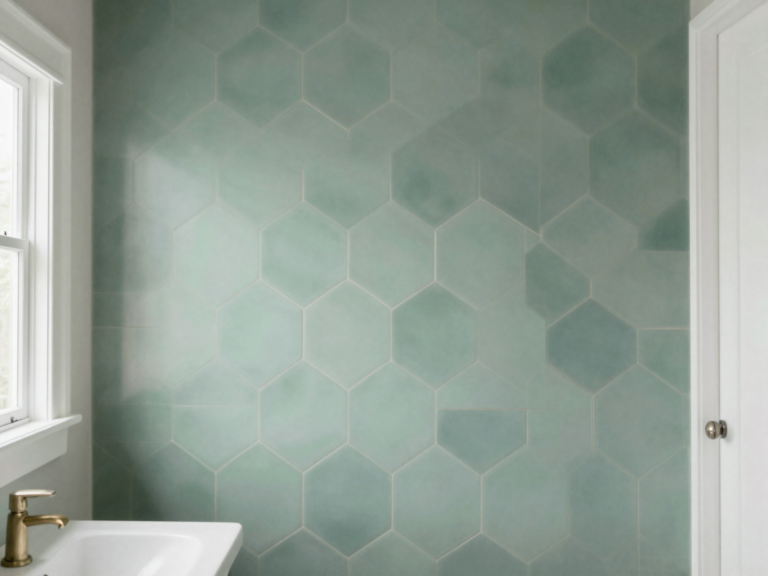
A vertical stack or narrow upright tile introduces a strong floor-to-ceiling direction, which can make a low or compact room appear taller. The effect is most convincing when the layout reaches a clear architectural stopping point.
Dry-lay several rows before installation. Centering the pattern may leave awkward cuts at both corners; shifting the grid slightly can create fuller, more balanced edge pieces.
Vertical layouts do not eliminate grout maintenance. Select grout color by deciding whether joints should emphasize the grid or blend into the tile, then follow the manufacturer’s cleaning and sealing guidance.
5. Calm the Room With Large-Format Tile
Large-format tile reduces the number of visible joints, which can give a small shower wall a calmer appearance. Subtle stone-look porcelain supplies movement without requiring the care associated with some natural stone.
Fewer joints do not mean easier installation. Large pieces highlight walls that are bowed or out of square, and they require suitable mortar, coverage, handling, and substrate preparation.
Mock up the layout around plumbing penetrations and niches. A balanced composition is preferable to forcing one enormous tile onto the wall and ending with tiny cuts beside the enclosure.
6. Concentrate Mosaic Tile in One Zone
Mosaics add texture and can negotiate curves, niches, or small surfaces, but covering every compact wall may create a dense grid. Use them where close-up detail matters: behind a vanity, inside a niche, or on one shower panel.
Repeat one mosaic color in the surrounding field tile or paint. That connection keeps the feature from looking like an unrelated sample added late in the project.
Small pieces produce more grout lines and therefore more cleaning. Avoid deeply textured material where soap and mineral deposits are likely to collect unless you accept the maintenance.
7. Pair a Tiled Wainscot With Paint
A tiled lower wall protects the area most likely to encounter splashes, scuffs, and cleaning, while paint above keeps the finish flexible. This combination suits bathrooms where full-height tile would feel unnecessarily hard or costly.
Set the top edge in relation to the sink backsplash, window sill, or another existing line. Multiple near-matching heights make a small room look unresolved.
Finish the transition with compatible trim tile or a carefully detailed metal profile. Confirm how edges, outside corners, and the wall behind the vanity will terminate before installation begins.
8. Reserve Beadboard for Lower-Risk Areas
Painted beadboard can add scale and character to a powder room or a dry wall outside the shower. Its narrow rhythm works well with simple floors and an unframed or thin-framed mirror.
Material choice matters. Wood-based panels can swell when moisture reaches unsealed edges, penetrations, or the back. Select a product approved for the intended conditions and finish every exposed edge as directed.
Avoid using decorative paneling as a shortcut over unexplained damage. Correct leaks and ventilation problems first, and leave direct-spray walls to assemblies designed for that exposure.
9. Choose Wallpaper for the Right Bathroom
Wallpaper can turn a tiny powder room into an immersive space because the pattern is experienced at close range. A medium-scale botanical or abstract motif often handles corners better than one oversized image with a fixed focal point.
Check whether the product and adhesive are recommended for the room’s conditions. Bathrooms with showers, weak ventilation, recurring condensation, or active wall damage are poor candidates without further evaluation.
Renters should not assume peel-and-stick paper removes cleanly from every paint finish. Test a hidden area, document the existing condition, and follow lease restrictions before covering a full wall.
10. Wrap a Pattern Around the Corners
Restricting a bold pattern to one short wall can make that wall feel boxed in. Wrapping wallpaper around adjoining dry walls creates a more immersive envelope and lets the eye follow the room rather than stop abruptly.
Plan the starting point so the most visible wall receives the cleanest pattern placement. Corners in older rooms may not be plumb, so forcing one strip around a corner can introduce wrinkles or drift.
Keep the ceiling, fixtures, and towels comparatively simple. The tradeoff is commitment: an enveloping pattern is memorable, but future patching may be difficult if extra material is unavailable.
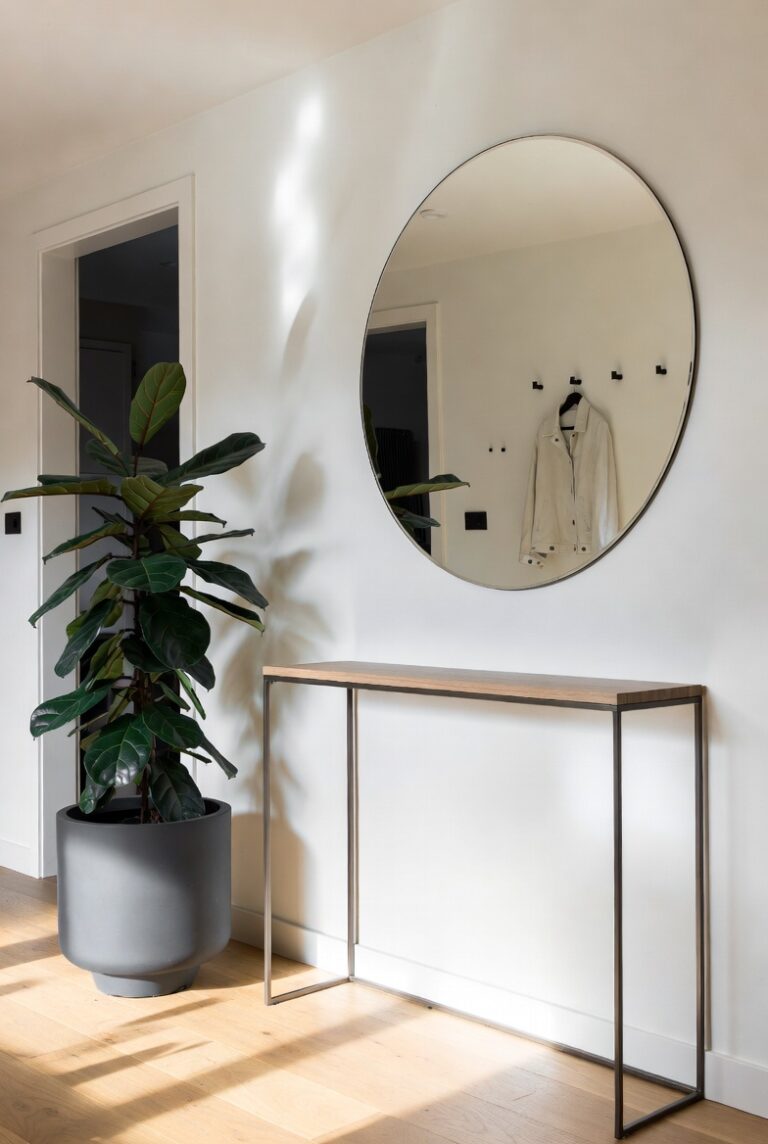
11. Place a Mirror Where It Can Share Light
A mirror on the wall facing or beside a window can redistribute available light and extend the perceived depth of a narrow bathroom. Check the reflection first; highlighting an open doorway or cluttered shelf weakens the result.
Use painter’s tape to mark the proposed outline. Confirm that the tallest user can see comfortably and that faucets, backsplashes, outlets, and sconces do not crowd the edges.
Heavy mirrors require fasteners appropriate for the wall and load. If moving electrical boxes or adding lighting, use a qualified professional; actual electrical requirements depend on existing conditions and local code.
12. Replace a Tiny Mirror With Useful Coverage
A small decorative mirror may leave valuable wall area unused. A wider mirror spanning most of the vanity can support two users, reflect more of the room, and visually simplify a wall crowded by separate accessories.
Decide between a plain mirror, framed mirror, and mirrored cabinet. A cabinet adds concealed storage but projects farther and may require wall modification; a flat mirror keeps the profile lean but stores nothing.
Check door swings, faucet clearance, and side lighting before ordering. Custom dimensions may solve an awkward wall better than squeezing in a stock mirror with uneven gaps.
13. Build the Shower Niche Around the Tile Grid
A niche is most successful when its dimensions and position coordinate with the tile layout. Planning both together can avoid thin cuts, misaligned grout joints, and a shelf that lands too close to a plumbing fitting.
Size storage around the containers actually used, including pump clearance. A wide niche offers capacity, while separate smaller niches can help users organize items without a long shelf collecting clutter.
This is waterproofing and potentially in-wall work, not merely decoration. Framing, plumbing, waterproofing details, and required clearances vary by site and code, so involve qualified professionals before cutting the wall.
14. Add a Shallow Ledge Instead of Deep Shelves
A slim ledge above a tiled wainscot or vanity backsplash can hold a small number of daily items without projecting as far as conventional shelving. It also creates a deliberate termination line between materials.
Before choosing depth, place a cardboard mock-up on the wall. Confirm that shoulders, the door, mirror use, and toilet access remain comfortable and that stored items will not be knocked off.
Use a water-resistant material appropriate to the location and detail splash-prone ledges so water does not sit against the wall. A ledge encourages visible storage, so limit it to frequently used, easy-to-clean objects.
15. Use Wall-Mounted Fixtures to Expose More Wall
A floating vanity exposes the wall and floor beneath it, creating a lighter visual composition and easier access for floor cleaning. The open area is most useful when pipes and stored items do not remain visibly tangled below.
Compare storage honestly. Wall-mounted models may offer less drawer capacity than floor-standing cabinetry, and shallow drawers can conflict with plumbing. Inventory toiletries before choosing the cabinet.
The wall must support the selected fixture and fastening system. Moving supplies, drains, outlets, or blocking involves plumbing, electrical, structural, or in-wall work whose requirements depend on the site and local code.
16. Fit Storage Above the Toilet Carefully
The wall above a toilet can provide useful storage, but depth and placement matter more than capacity. Choose a shallow cabinet or shelves that do not loom over a seated user or interfere with tank servicing.
Assign closed storage to backup products and open storage to a few attractive, frequently handled items. Baskets can soften the view but add another surface that needs dusting in a humid room.
Mock up the unit with taped paper or cardboard, then test standing, sitting, and cleaning access. Fasten it to suitable structure rather than relying on light-duty wall anchors for a loaded cabinet.
17. Use Color Blocking to Organize the Walls
A color block can connect mismatched elements without adding another material. Run a darker tone behind the vanity, continue it to a corner, or align its edge with a tile wainscot to create an intentional zone.
Avoid dividing every wall at a different height. Choose one existing line—such as the backsplash, window sill, or mirror top—and repeat it only where the architecture supports the move.
Sharp boundaries require sound paint underneath, accurate masking, and sufficient drying time. Test both colors together because contrast appears stronger across a full wall than it does on separate sample cards.
18. Continue One Wall Color Across the Ceiling
Using one paint color on the walls and ceiling removes a contrasting boundary, creating a more enveloping perception. It works particularly well in powder rooms where a saturated tone can support an intentional, intimate mood.
In a bathroom with limited light, sample the color overhead before committing. Ceilings receive light differently from vertical surfaces, so the same formula can appear darker or flatter above.
Continuous color also reveals differences in sheen and surface quality. Repair ceiling stains only after identifying their cause, and select coatings suited to bathroom conditions and the required cleaning routine.
19. Open the Shower View With Clear Glass
Clear shower glass preserves sightlines to the back wall, allowing a continuous tile treatment to remain visible. It applies the openness associated with small house with glass walls design at fixture scale, without turning the bathroom itself into an exposed glass room.
The tradeoff is maintenance and privacy. Clear glass displays water spots, toiletries, and towels more readily than frosted or textured options. A protective coating may help, but routine wiping is still necessary.
Door movement, panel support, tempered glazing, ventilation, and water containment must be resolved for the actual enclosure. Use qualified professionals and follow product requirements and applicable local code.
20. Common Small Bathroom Wall Mistakes
The most frequent error is choosing finishes independently. Busy floor tile, contrasting grout, patterned wallpaper, ornate mirrors, and open storage may each work alone but compete when crowded into one small room.
Another mistake is designing around an empty photo rather than daily use. Place towels, switches, toiletries, cleaning tools, and replacement supplies on a measured wall sketch before approving decorative features.
Finally, do not conceal stains, loose tile, swollen trim, or persistent odors with paint or paneling. Diagnose moisture first. Keep spare finish material, record product details privately, and use compatible cleaning methods so future repairs do not become a complete redesign.
Effort & Cost Snapshot
| Topic | Effort | Cost Note |
|---|---|---|
| 1. Map the Wet, Damp, and Dry Walls | High | Get a project-specific professional quote |
| 2. Establish One Quiet Background Finish | High | Get a project-specific professional quote |
| 3. Carry Shower Tile to the Ceiling | High | Get a project-specific professional quote |
| 4. Use Vertical Tile Lines Deliberately | Medium | Varies by materials, scope, and local labor |
| 5. Calm the Room With Large-Format Tile | High | Get a project-specific professional quote |
| 6. Concentrate Mosaic Tile in One Zone | Medium | Varies by materials, scope, and local labor |
| 7. Pair a Tiled Wainscot With Paint | Medium | Varies by materials, scope, and local labor |
| 8. Reserve Beadboard for Lower-Risk Areas | Medium | Varies by materials, scope, and local labor |
| 9. Choose Wallpaper for the Right Bathroom | Medium | Varies by materials, scope, and local labor |
| 10. Wrap a Pattern Around the Corners | Medium | Varies by materials, scope, and local labor |
| 11. Place a Mirror Where It Can Share Light | High | Get a project-specific professional quote |
| 12. Replace a Tiny Mirror With Useful Coverage | Medium | Varies by materials, scope, and local labor |
| 13. Build the Shower Niche Around the Tile Grid | High | Get a project-specific professional quote |
| 14. Add a Shallow Ledge Instead of Deep Shelves | Medium | Varies by materials, scope, and local labor |
| 15. Use Wall-Mounted Fixtures to Expose More Wall | High | Get a project-specific professional quote |
| 16. Fit Storage Above the Toilet Carefully | Medium | Varies by materials, scope, and local labor |
| 17. Use Color Blocking to Organize the Walls | Medium | Varies by materials, scope, and local labor |
| 18. Continue One Wall Color Across the Ceiling | Medium | Varies by materials, scope, and local labor |
| 19. Open the Shower View With Clear Glass | Medium | Varies by materials, scope, and local labor |
| 20. Common Small Bathroom Wall Mistakes | Medium | Varies by materials, scope, and local labor |
Frequently Asked Questions
What wall color works best in a very small bathroom?
There is no universal best color. Pale colors can create an airy perception, while dark colors can make a powder room feel intentional and enveloping. Test large samples beside the floor, vanity, tile, and towels under the room’s actual daylight and electric lighting before deciding.
Should every bathroom wall be tiled?
No. Direct-spray areas need an appropriate water-management assembly, but relatively dry walls may use washable paint, suitable wallpaper, or paneling approved for the conditions. Full-room tile offers durability but adds hard surfaces, grout maintenance, installation complexity, and less flexibility for future cosmetic changes.
Is wallpaper practical in a small bathroom?
Wallpaper is most practical in a well-ventilated powder room or on a lower-risk wall. Verify that the paper and adhesive suit the setting. Recurring condensation, leaks, soft drywall, or poor ventilation should be corrected before installation rather than hidden behind a decorative layer.
How can bathroom walls provide storage without feeling crowded?
Favor shallow, purpose-specific storage: a mirrored cabinet for daily items, a niche for shower bottles, or a secured cabinet above the toilet for backups. Mock up each projection with cardboard and test door swings, head clearance, cleaning access, and fixture use before buying.
A strong small bathroom wall plan begins with water exposure and daily function, then uses color, tile, mirrors, storage, and pattern to establish a clear visual hierarchy. The goal is not to make every surface perform every job. It is to assign each wall a useful role without creating unnecessary joints, projections, or maintenance.
Measure the finished room, photograph every wall, inventory what must be stored, and mock up major elements before ordering. Cosmetic changes can be approachable, but shower assemblies, glazing, fixture supports, wiring, plumbing, waterproofing, and structural modifications require site-specific evaluation and compliance with local code.
Sources & Further Reading
- 24 Stunning Primary Bathroom Tile Ideas for a Luxurious Remodel-NARI
- Kitchen & Bath Design + Industry Awards 2025: Meet the Powder Room Finalists – NKBA
- Bathroom Planning Guidelines with Access Standards – NKBA
- 65 Small Bathroom Ideas We Love That Add Big Style to a Tight Space
Continue Your Home Transformation
Explore the full collection of step-by-step eBooks and get the guide that fits the room you're working on.