A drying rack has at least two footprints: the space it uses while holding laundry and the space it occupies when put away. Clothes can extend beyond the frame, and a basket or nearby appliance door may need the same floor area. Plan those ordinary movements before comparing the number of rails.
Use the actual rack and garment instructions for loading, hanging and care. These photographs illustrate passive air-drying arrangements, not tested capacities or drying times. A compact folded shape does not establish that the opened rack will fit the room.
Contents
- 1. Use a winged rack where both ends can open
- 2. Choose a compact folding frame for a small working load
- 3. Compare a tower around access to every level
- 4. Use two smaller racks when the room changes by task
- 5. Choose a wall-folding design for a suitable permanent location
- 6. Use a retractable line only as a complete compatible system
- 7. Check a purpose-designed over-door airer with the door in use
- 8. Use a bathtub airer designed for that support
- 9. Give hangers an intended hanging bar
- 10. Use a suitable flat-drying surface for the right garments
- 11. Keep small items on compatible accessories
- 12. Give long garments enough drop
- 13. Keep larger textiles from covering the whole frame
- 14. Preserve a compact bathroom's normal access
- 15. Open the washing-machine door during the fit check
- 16. Use a multipurpose room only with a defined reset
- 17. Choose outdoor use only where the product permits it
- 18. Use the garment label to decide its light exposure
- 19. Leave a clear parking position beside the drying area
- 20. Measure the complete folded thickness
- 21. Keep wet and dry stages in separate baskets
- 22. Group garments around their drying method
- 23. Keep access to the center rails
- 24. Choose a working side for ordinary hanging
- 25. Choose a location suited to possible drips
- 26. Compare rail shape without promising mark-free results
- 27. Keep occasional large-load equipment separate
- 28. Maintain the frame according to its own instructions
- 29. Finish by returning the room to its ordinary use
Separate line length, floor area and garment drop
Manufacturers may describe total drying length and list the complete deployed dimensions separately. Leifheit's laundry-care information, for example, distinguishes several models with different opened measurements. Compare those details with your space and the garments' care labels. For indoor use, consider the home's ventilation and moisture routine; EPA's moisture guidance emphasizes controlling damp conditions, without implying that a particular rack alone manages room humidity.
Compare the storage or placement options
- Long winged rack: Check fully deployed span, garment ends and access to every rail.
- Vertical tower: Check approach to each level and the drop of garments above it.
- Flat-dry garment: Use suitable full support according to the care label and accessory guidance.
- Small multipurpose room: Plan the drying position, moisture routine and complete folded return space.
1. Use a winged rack where both ends can open
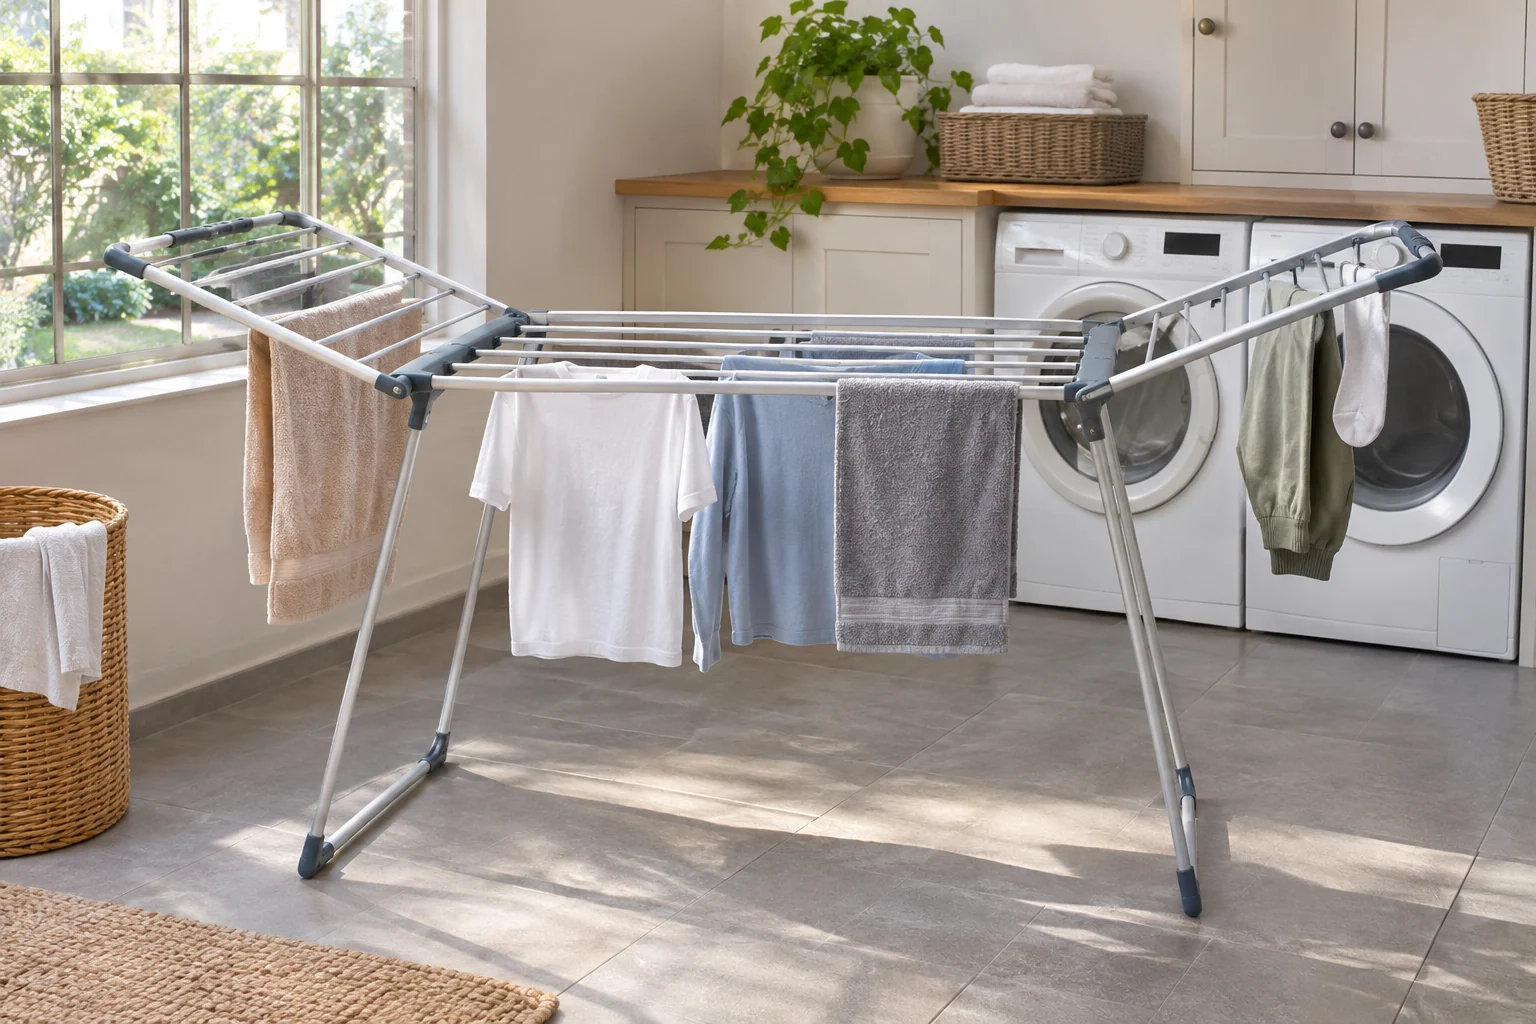
A winged rack can provide several hanging heights when the room accommodates the complete structure. Measure its longest opened span and include clothing at either end. Keep appliance doors and the main passage independent from that footprint. A rack that fits with the wings folded may be the wrong choice if most ordinary loads require them open.
2. Choose a compact folding frame for a small working load
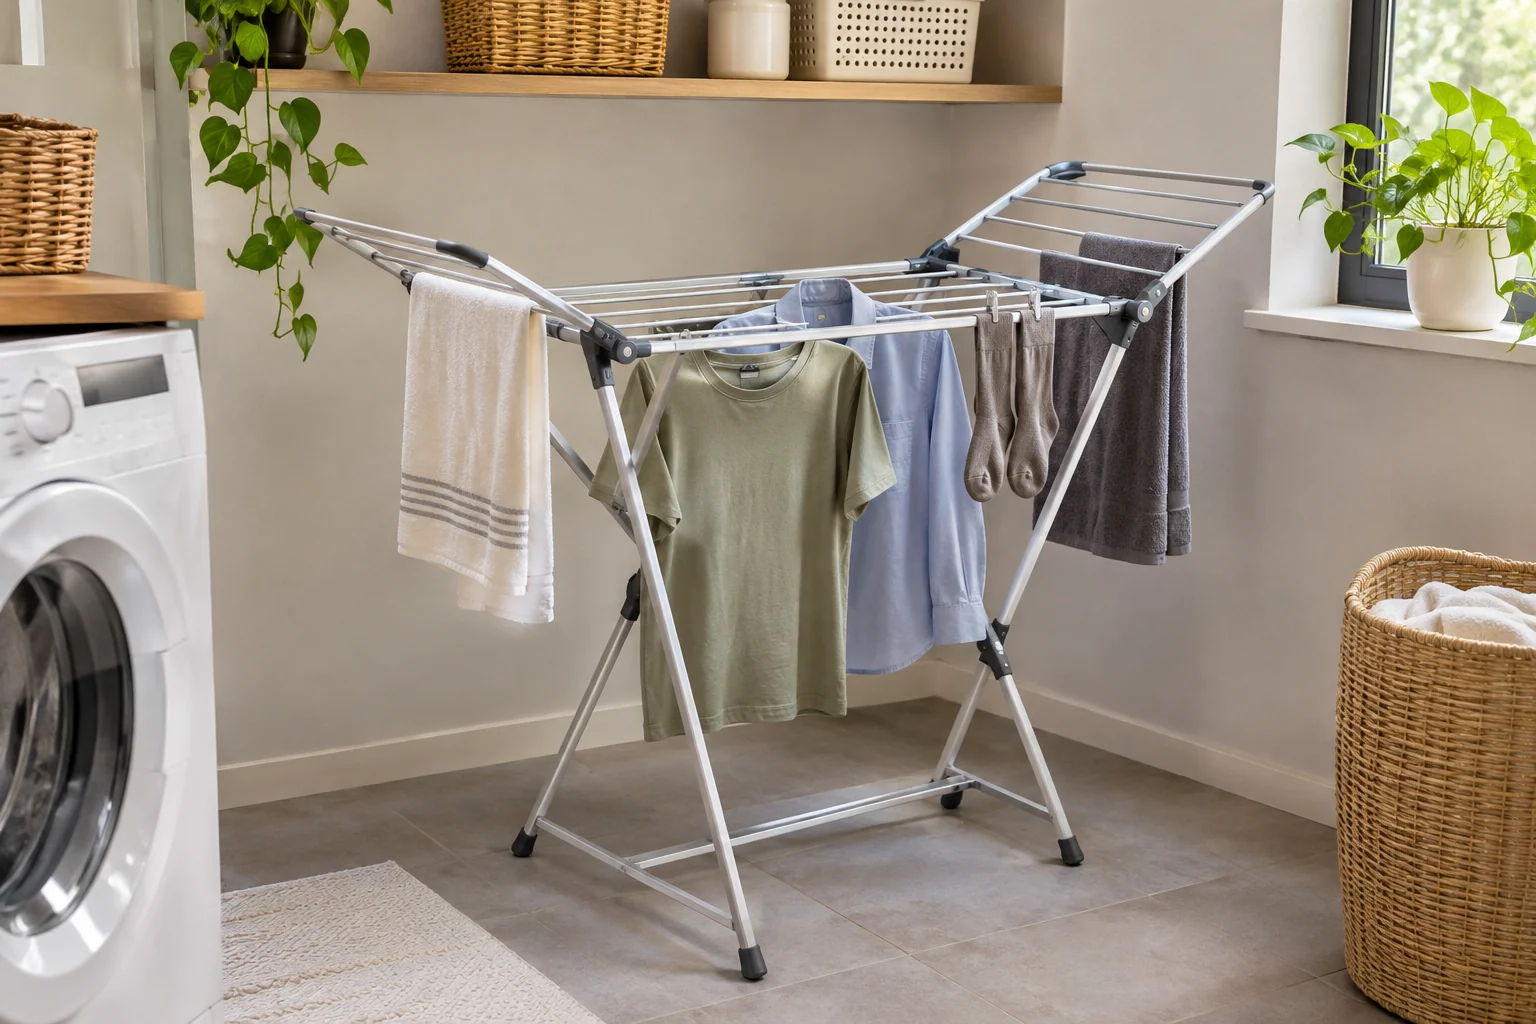
A smaller frame can serve a household that dries selected garments rather than every wash load on it. Compare the intended quantity with the actual rails and product loading guidance. Leave garments appropriate space for the chosen method. A compact rack is most useful when its ordinary load remains manageable, instead of being extended with improvised hooks and unrelated supports.
3. Compare a tower around access to every level
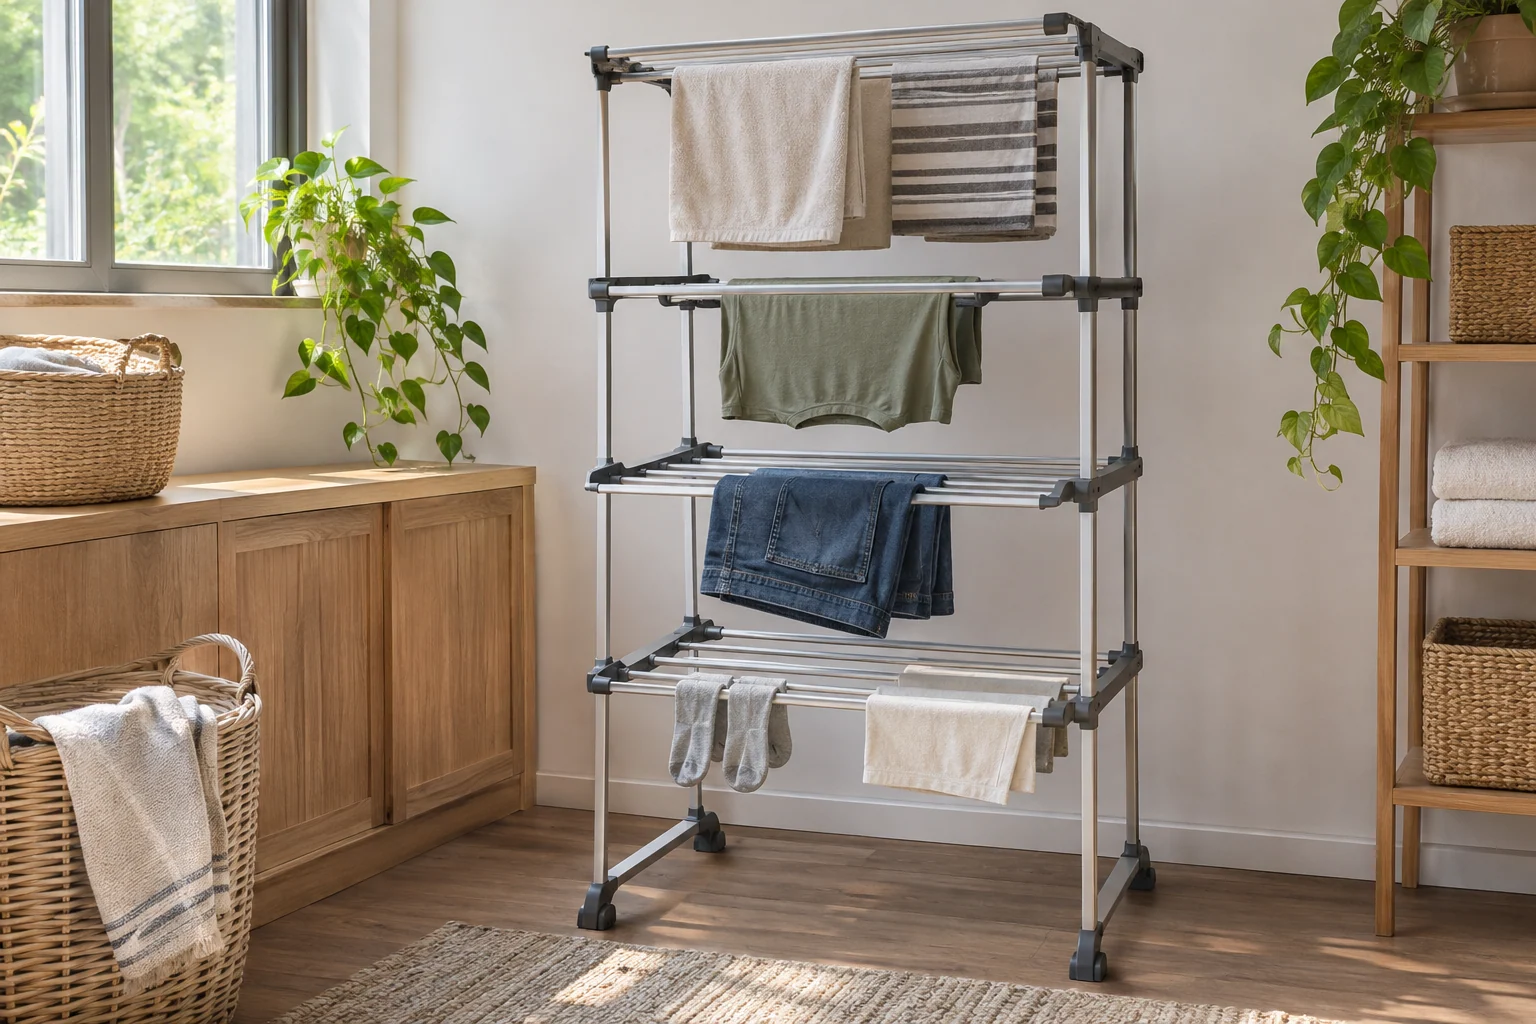
A vertical design can use a different floor shape from a long winged rack. Check how clothes are placed and removed at each level, including the rear. The nominal width does not describe the room needed to reach around it. Keep the load within the actual instructions and avoid crowding lower garments behind long items hanging from above.
4. Use two smaller racks when the room changes by task
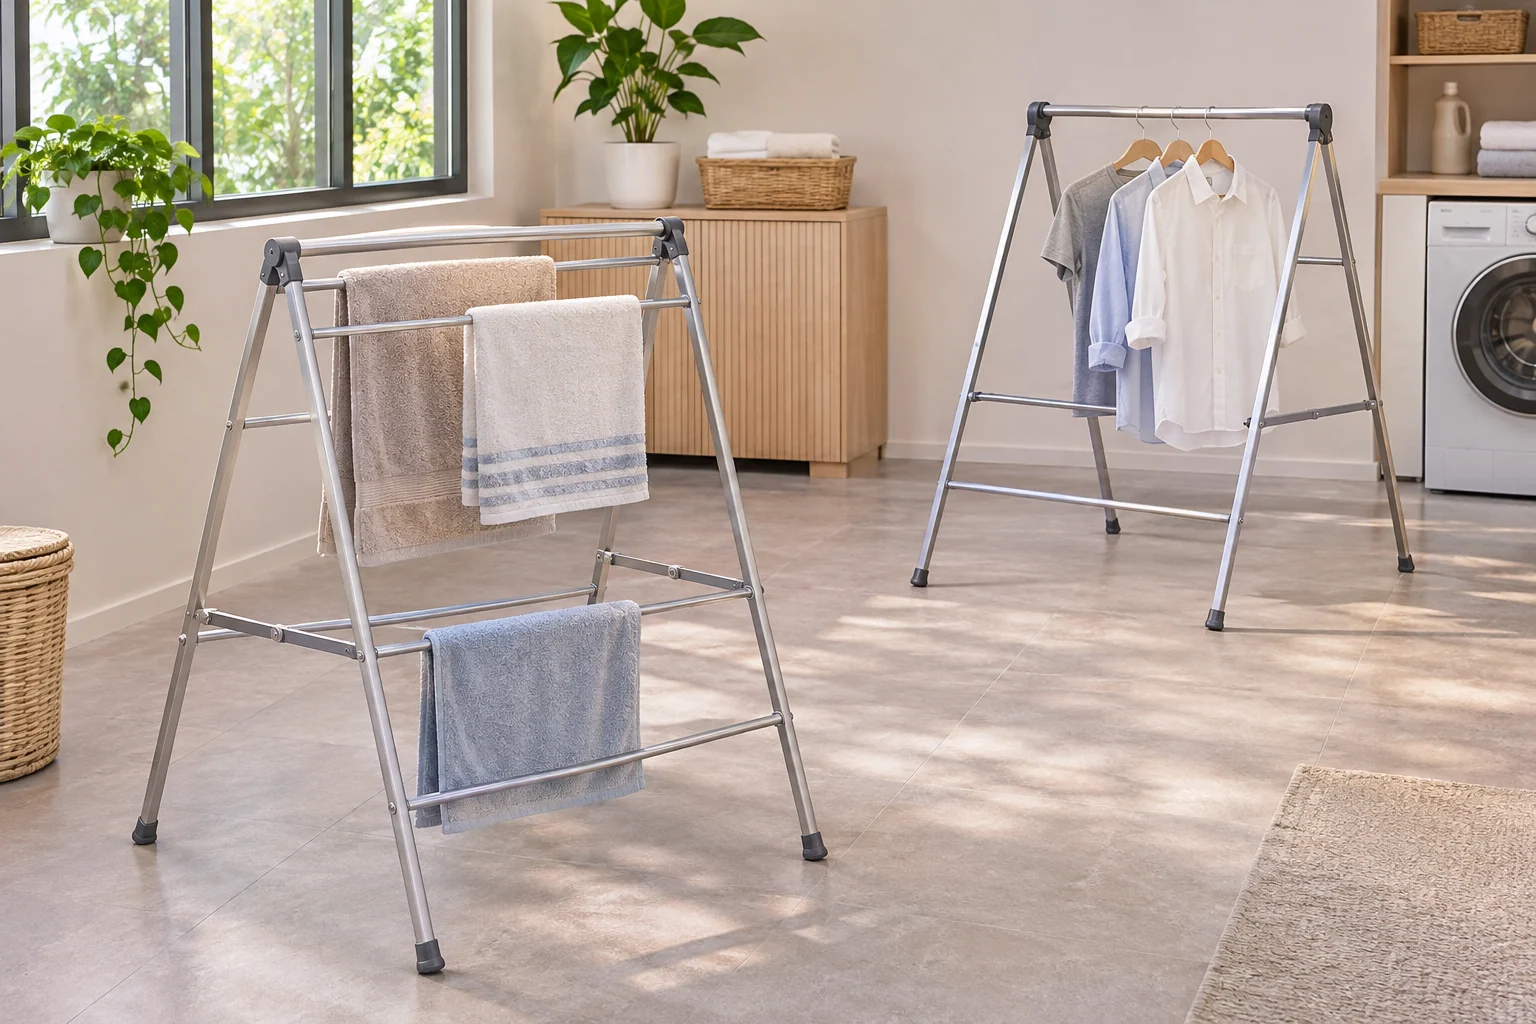
Two suitable compact frames can serve separate garment groups or different available positions. Compare their combined deployed area with one larger rack, and give both a real folded home. The pair is useful only if it makes the routine simpler. More separate frames can otherwise create more objects to carry, open and store after each load.
5. Choose a wall-folding design for a suitable permanent location
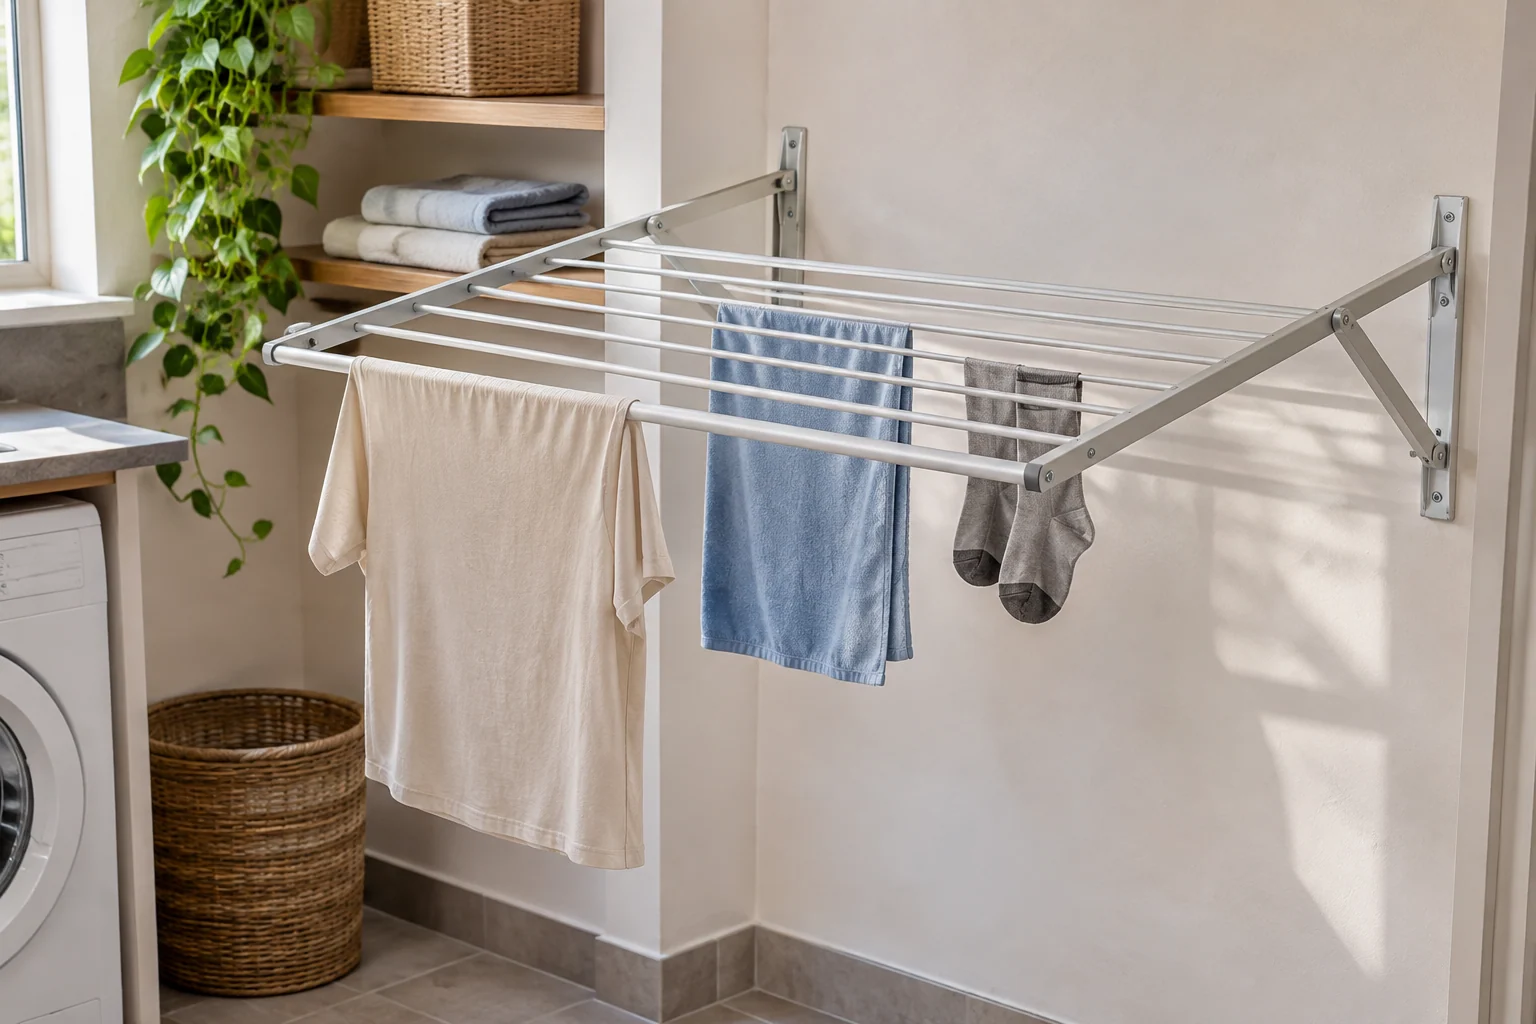
A purpose-designed folding wall rack can serve a defined drying position when the surface, mounting and complete load suit it. Follow the exact installation and use instructions. Check the opened projection with garments on the rails. The folded wall profile should not hide the fact that an ordinary drying session may occupy the route below it.
6. Use a retractable line only as a complete compatible system
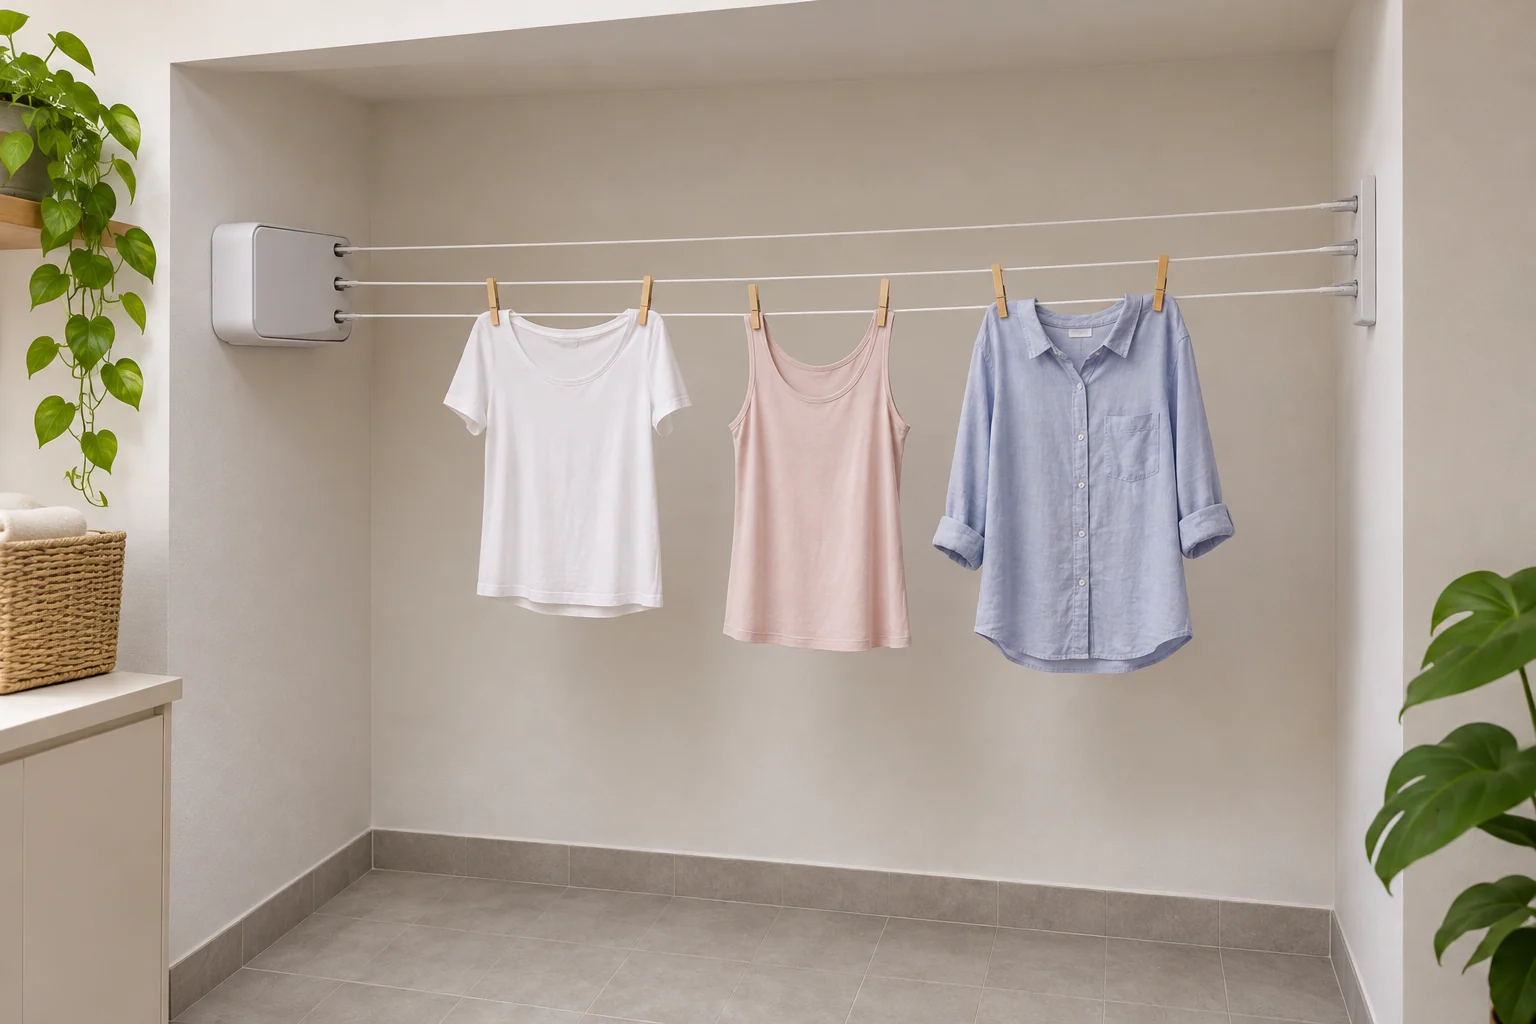
A retractable arrangement can clear a space between sessions when its mounting, span and loading follow the product's guidance. Check the full deployed route and keep normal movement independent from it. Do not improvise a fixing point from furniture or plumbing. Choose the system around the actual room instead of treating every empty wall-to-wall span as suitable.
7. Check a purpose-designed over-door airer with the door in use
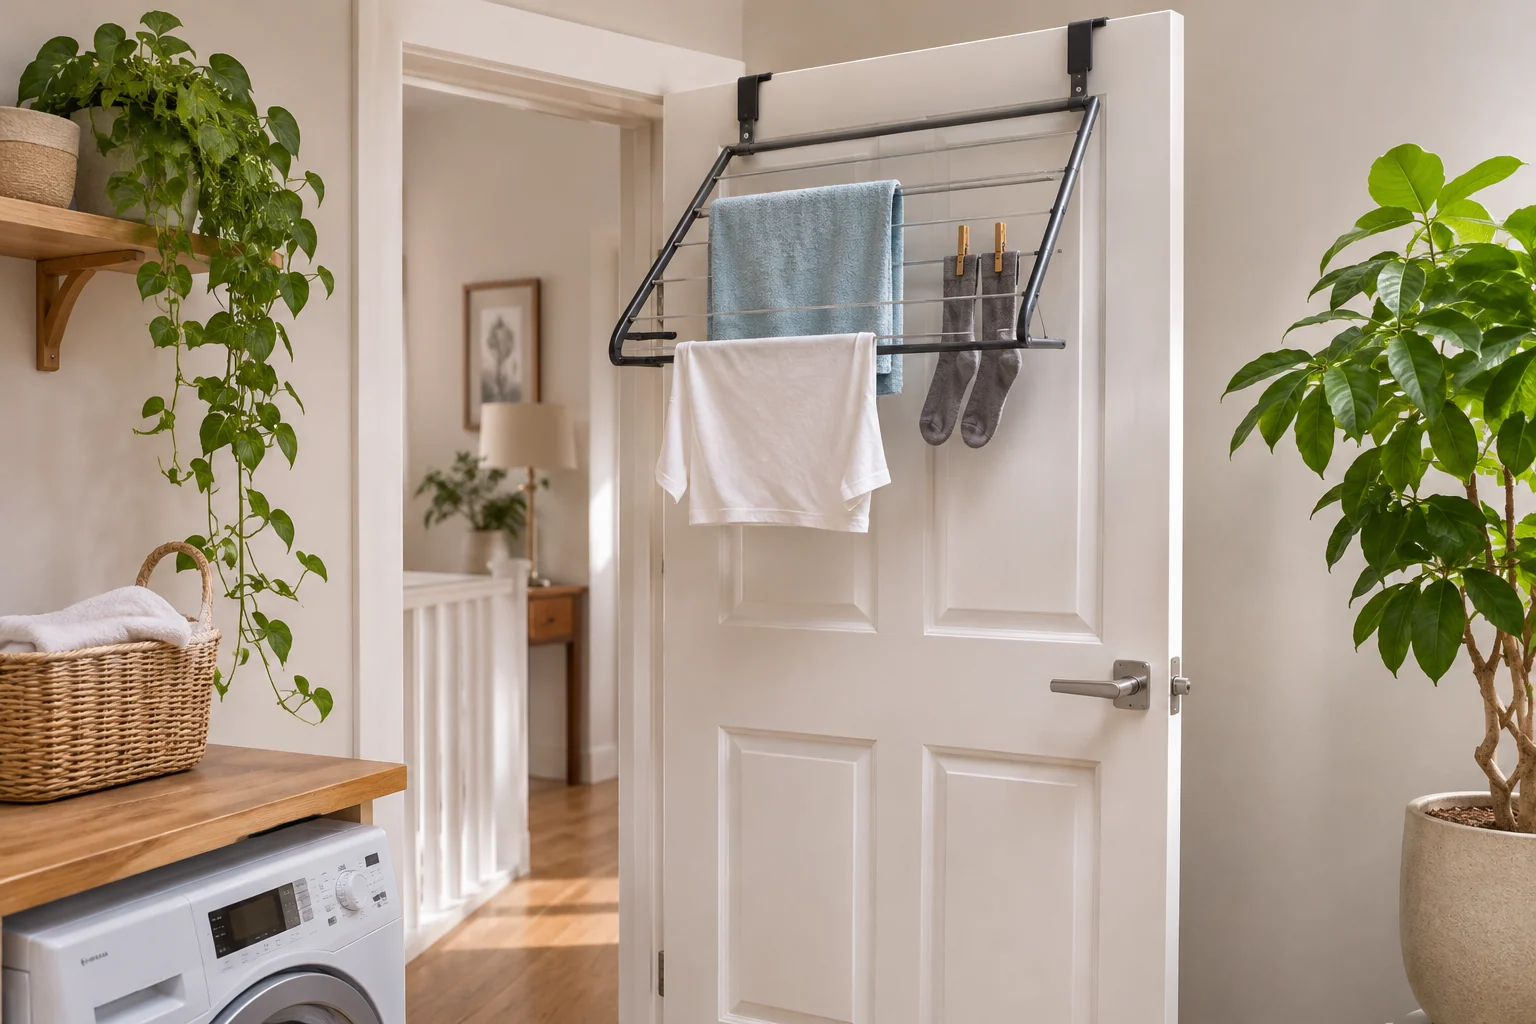
An over-door product can suit some doors when its dimensions and loading guidance match. Test opening, closing and the space behind the hanging garments. Keep it from interfering with the frame or needed access. A door that can carry one compatible accessory should not be assumed suitable for an unrelated rack with a different projection or load.
8. Use a bathtub airer designed for that support
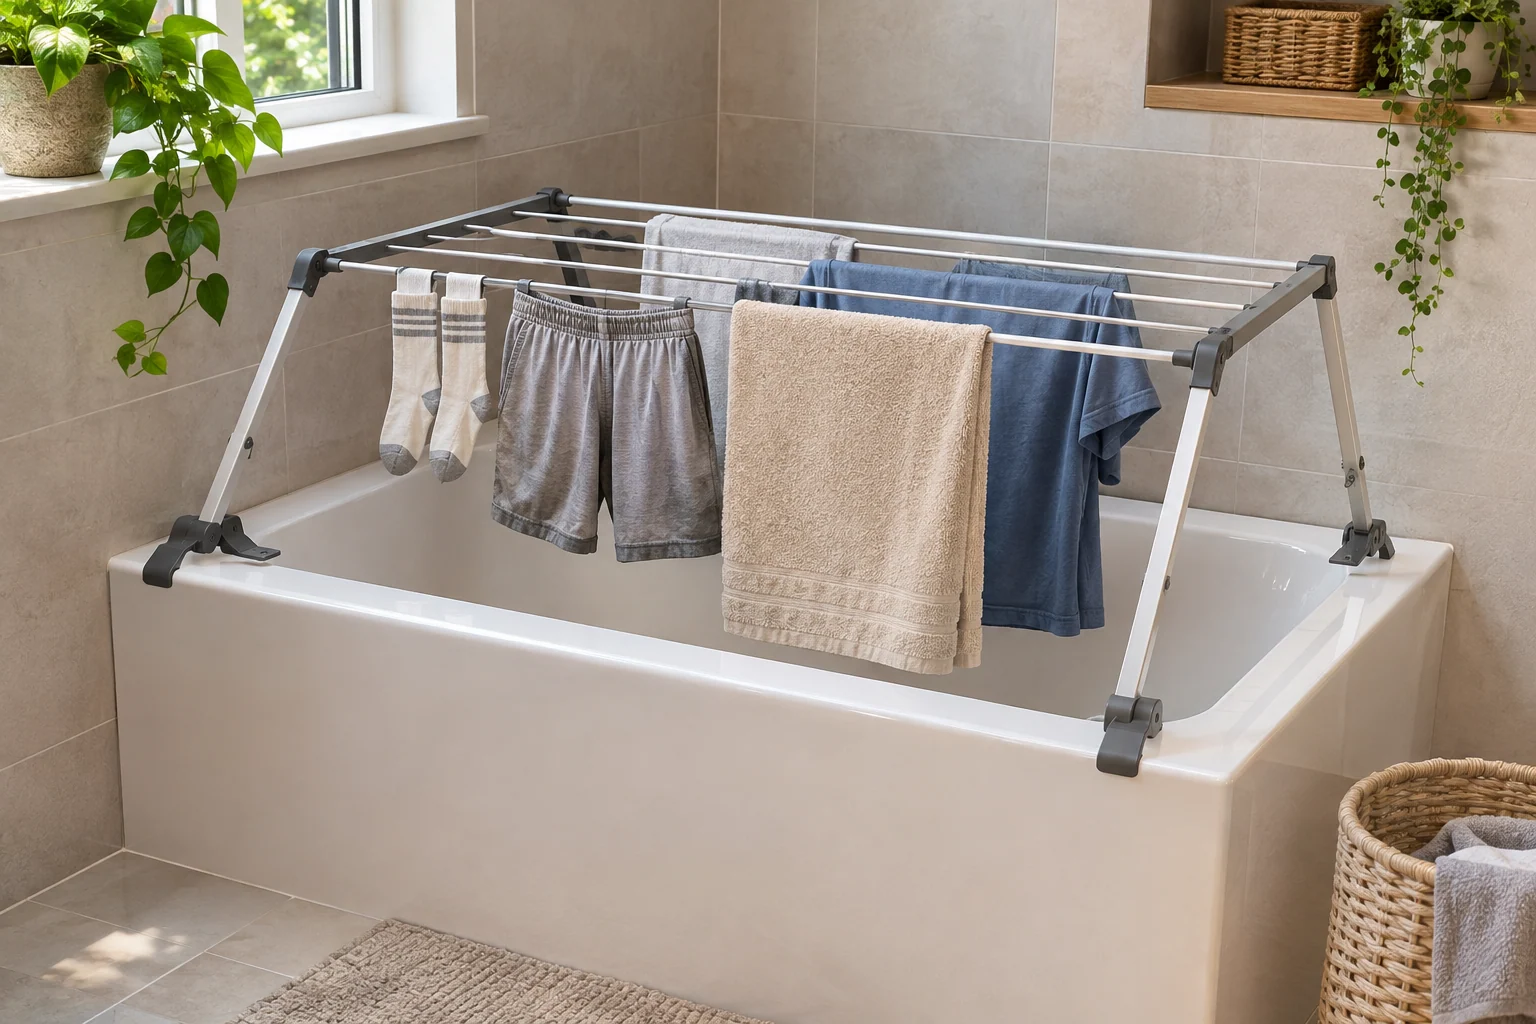
A purpose-made bathtub rack can use a different space from a floor frame. Check the actual bath geometry, rack instructions and access needs. Keep the arrangement separate from bathing use and remove it as directed. A manufacturer-designed tub airer is a different product from balancing an ordinary rack on the bath's edges.
9. Give hangers an intended hanging bar
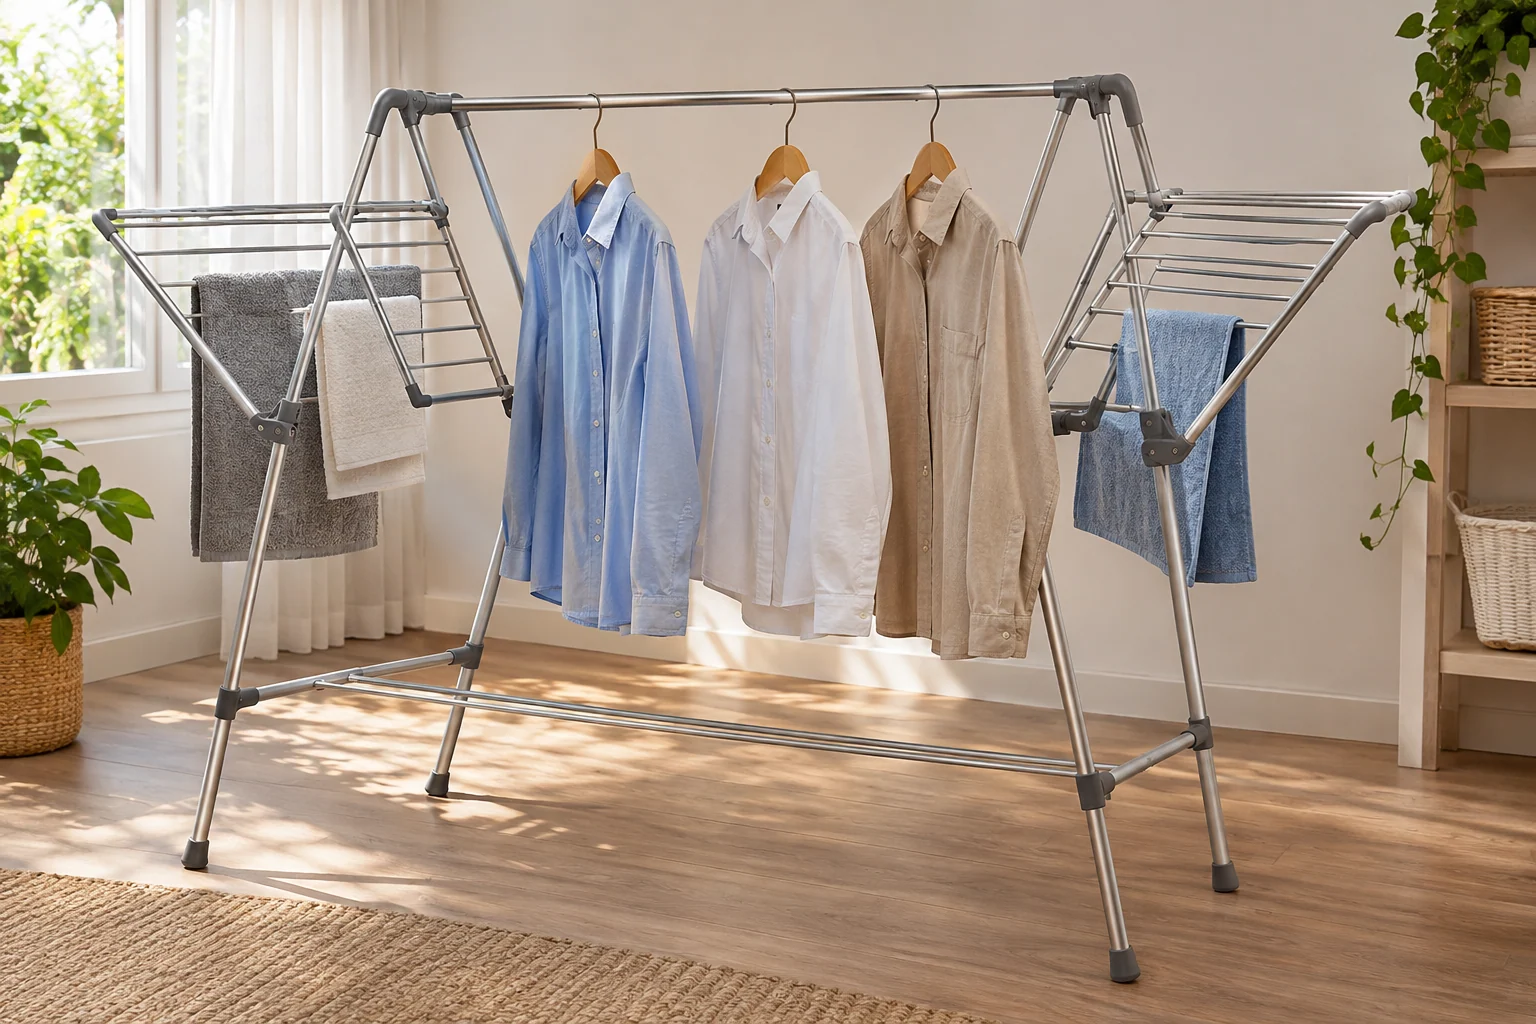
A rack with a hanger feature can suit garments whose care permits that position. Check hanger spacing, the full drop and the rack's intended loading. Keep the shoulders and lower hems separate from other rails. Do not assume a hanging bar provides enough height for every shirt or that every wet garment should be dried on a hanger.
10. Use a suitable flat-drying surface for the right garments
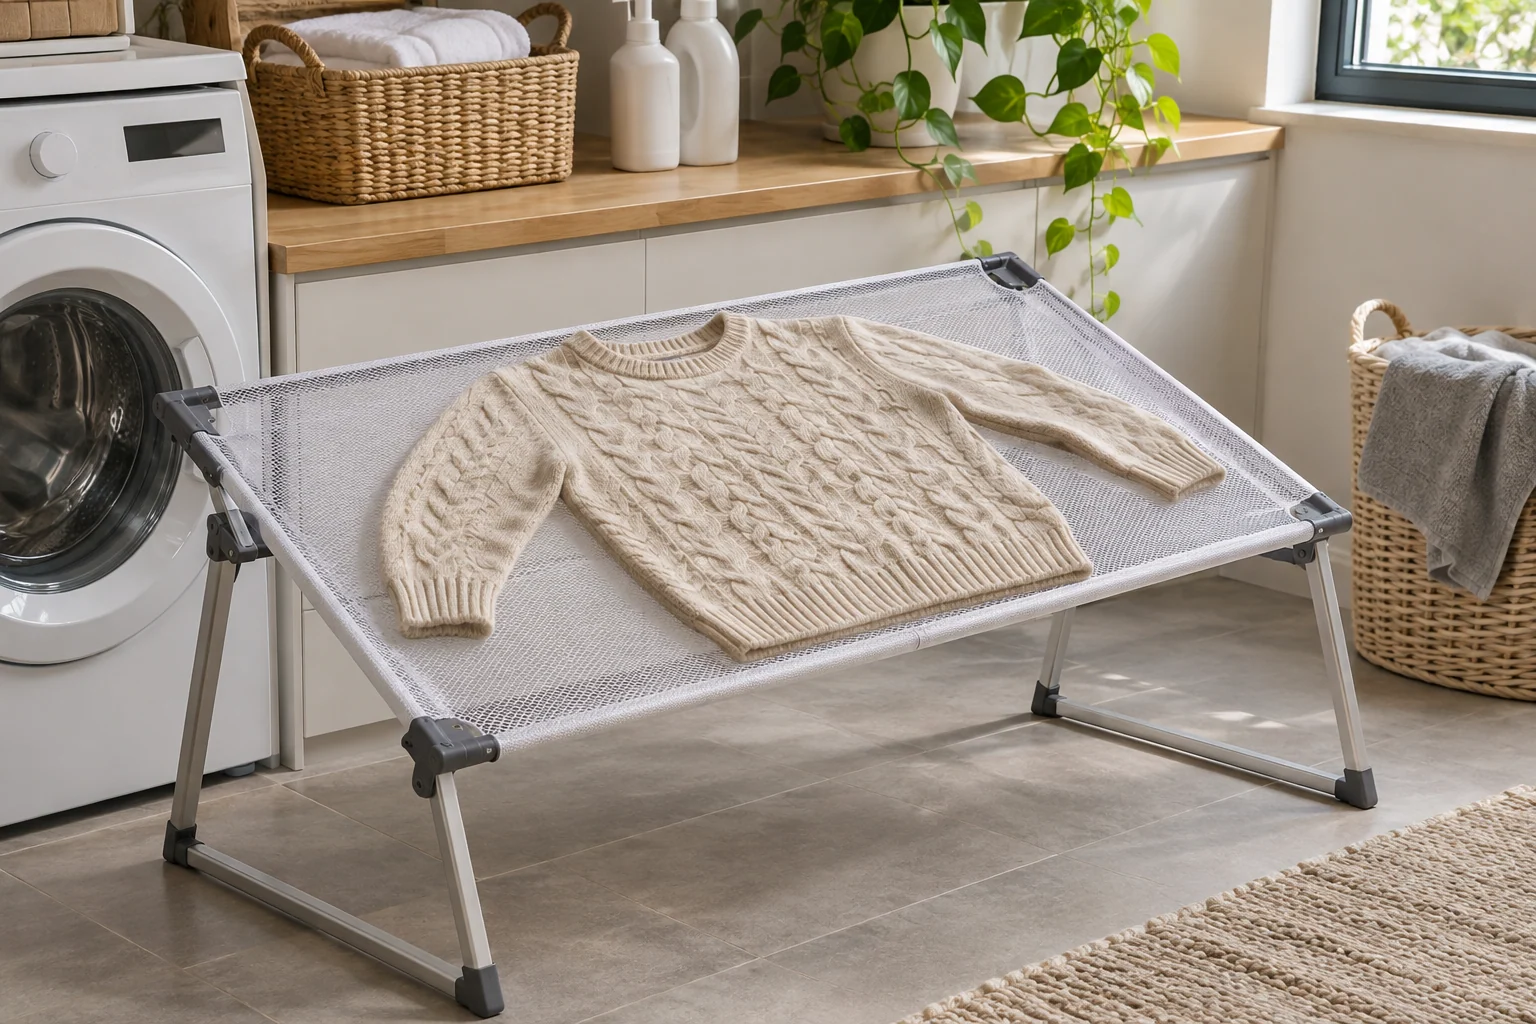
A garment labeled for flat drying needs a different arrangement from a shirt on a hanger. Choose a suitable supporting mesh or flat-drying accessory and follow both sets of instructions. Keep the item supported in its intended shape without improvising a narrow rail beneath the middle. Leave a realistic place for that surface while the garment dries.
11. Keep small items on compatible accessories
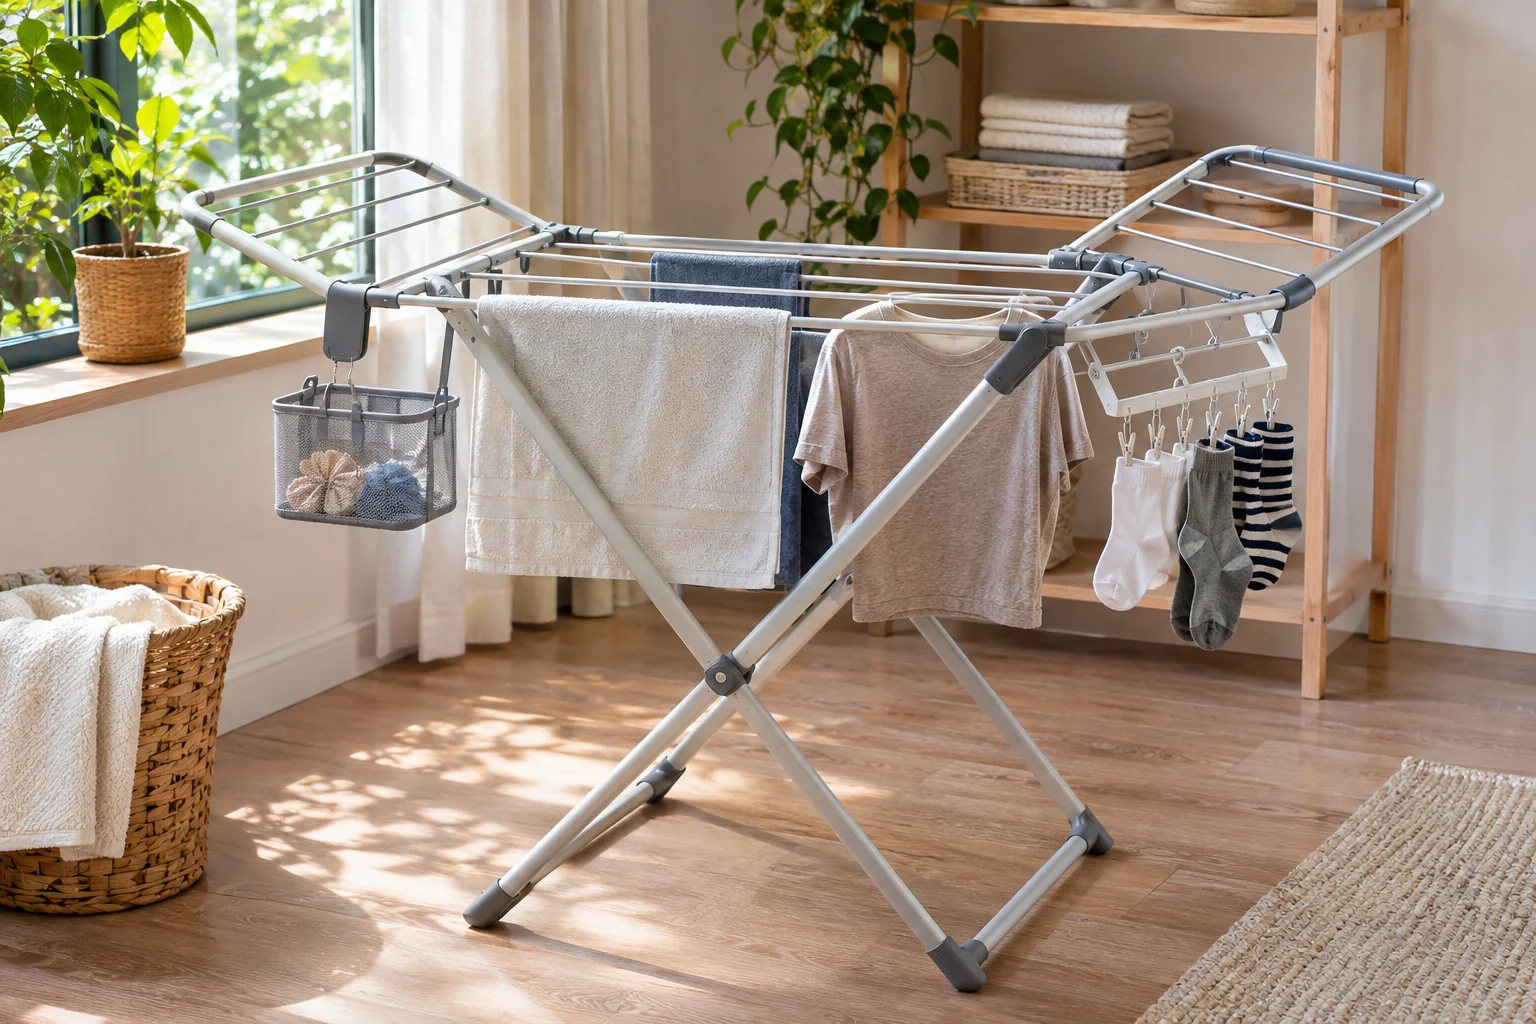
Purpose-designed clips or small-item holders can keep a modest group from consuming every main rail. Check which accessories belong to the actual rack and how they are loaded. Keep them from interfering with folding joints or neighboring garments. A useful accessory should simplify retrieval, not turn the frame into a crowded mixture of unrelated attachments.
12. Give long garments enough drop
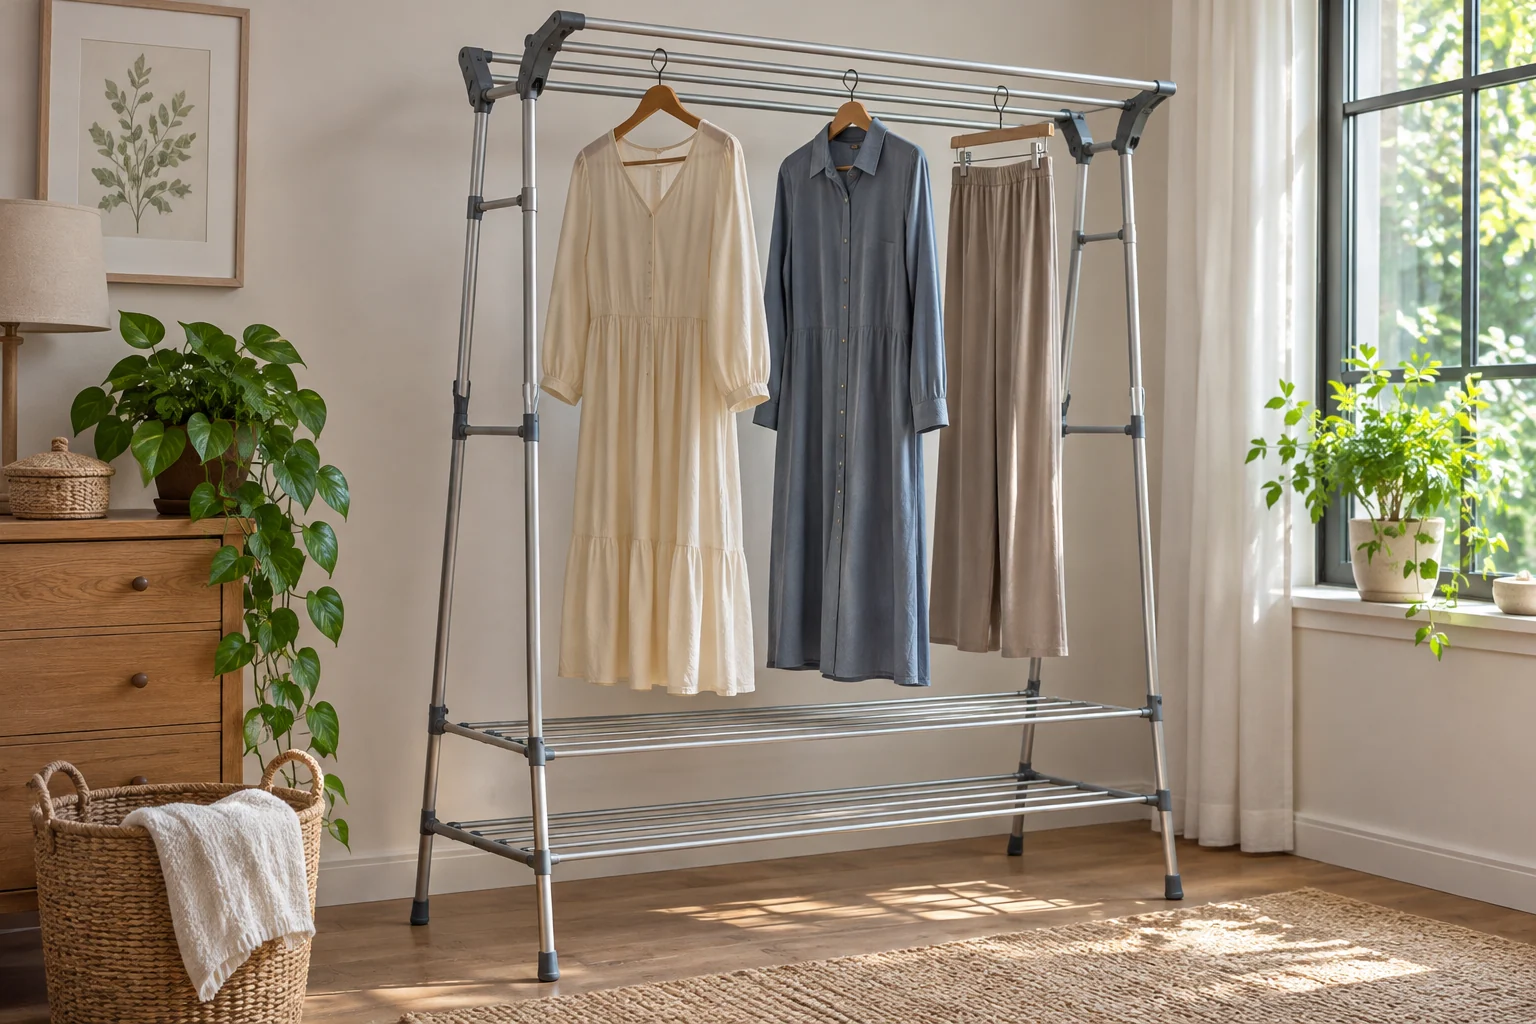
Trousers or longer items can need more height than a short rack provides in a particular hanging method. Measure the intended drop and follow the garment's care. Keep hems clear of the floor and lower garments as appropriate. Choose a different suitable rack position or method instead of folding a delicate item sharply merely to make it fit.
13. Keep larger textiles from covering the whole frame
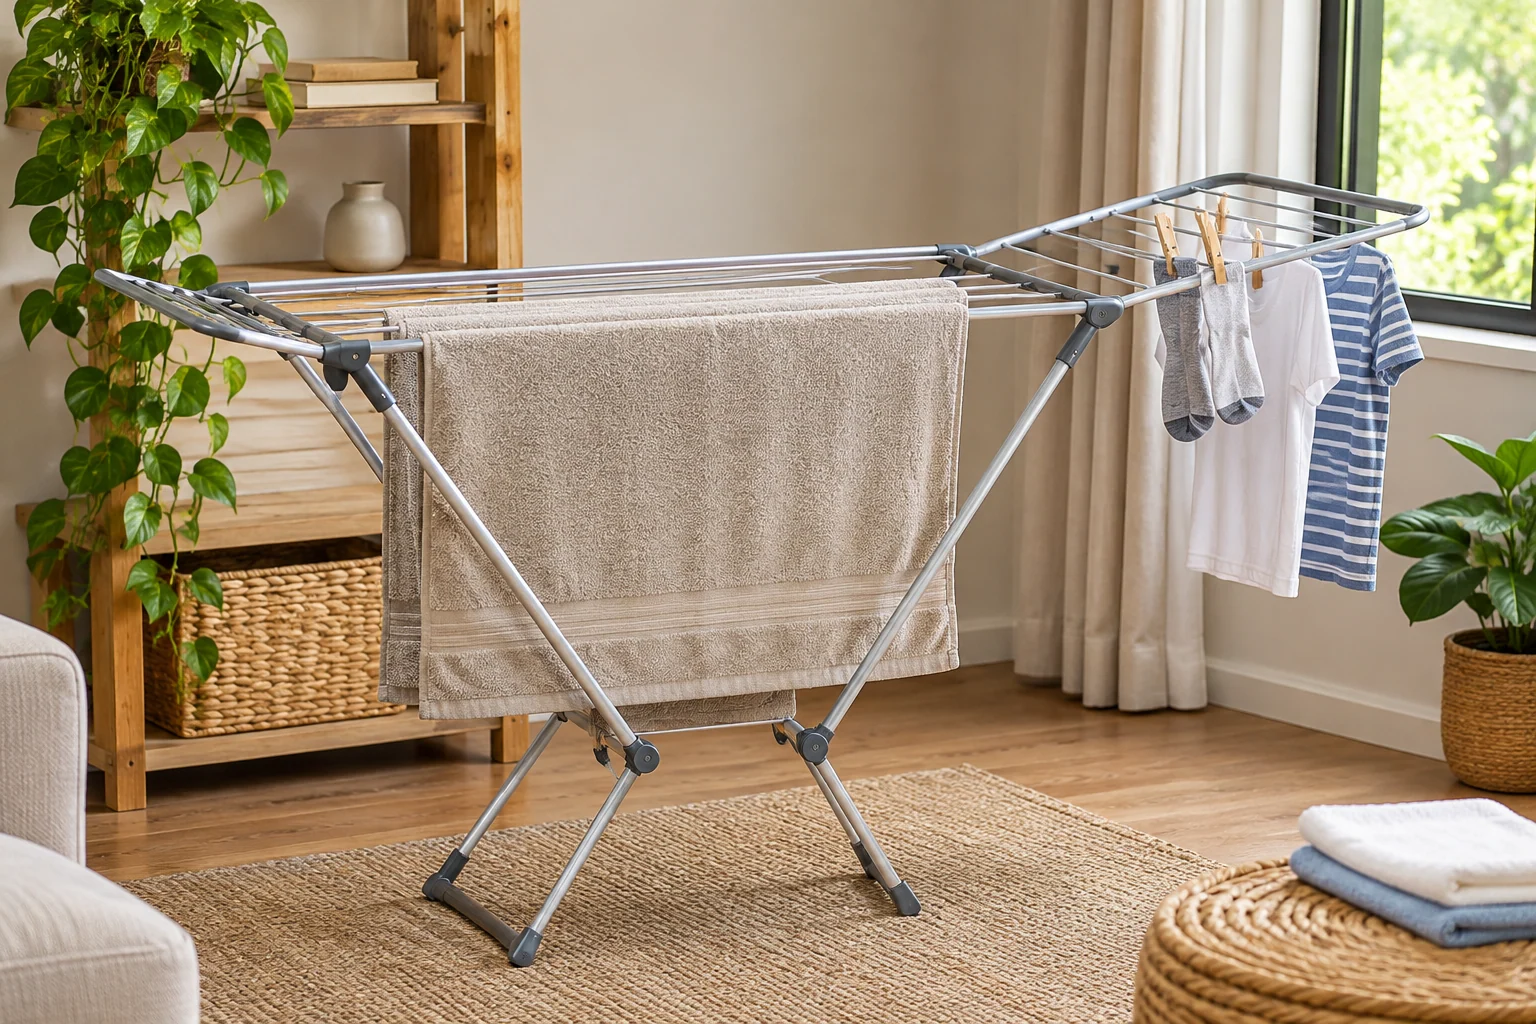
A large textile can occupy several rails and change access to the rest of a load. Check its care instructions and the rack's intended use before choosing the arrangement. Give it a suitable area rather than burying smaller garments underneath. The useful capacity is the load that can be hung and removed appropriately, not the number of pieces that can be placed on top.
14. Preserve a compact bathroom's normal access
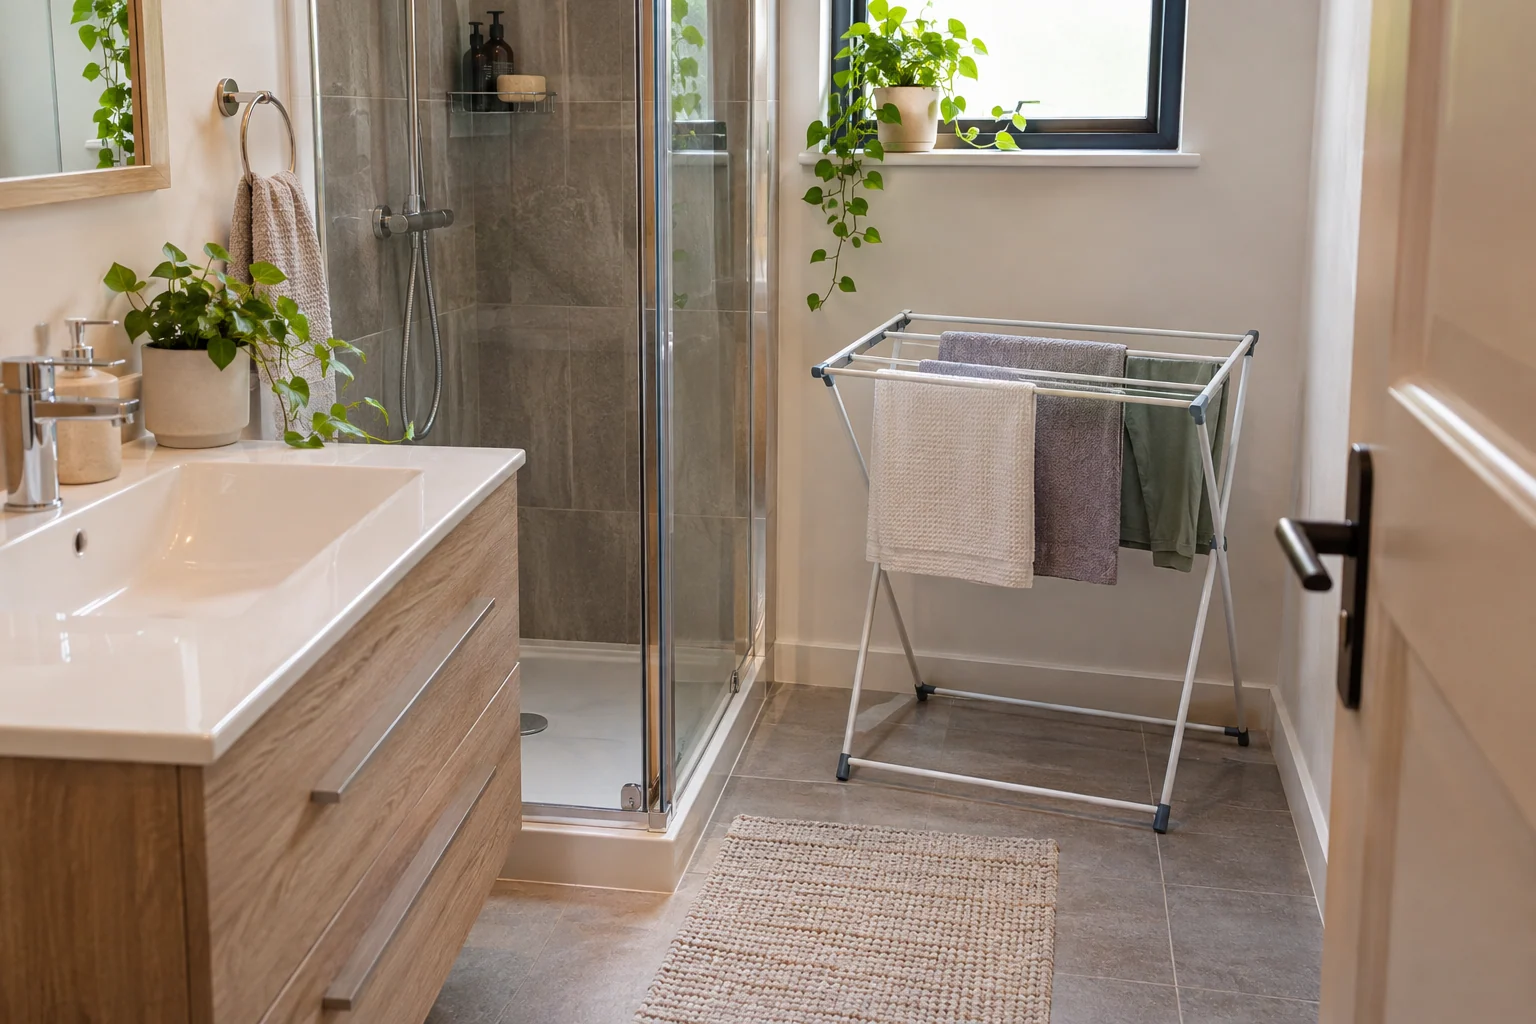
A temporary drying position should leave required bathroom functions and the entrance usable. Check the rack fully opened with garments in place, then consider the room's ventilation and moisture conditions. Keep the arrangement within the actual product guidance. If the room becomes difficult to use, choose another suitable position instead of working around the loaded frame.
15. Open the washing-machine door during the fit check
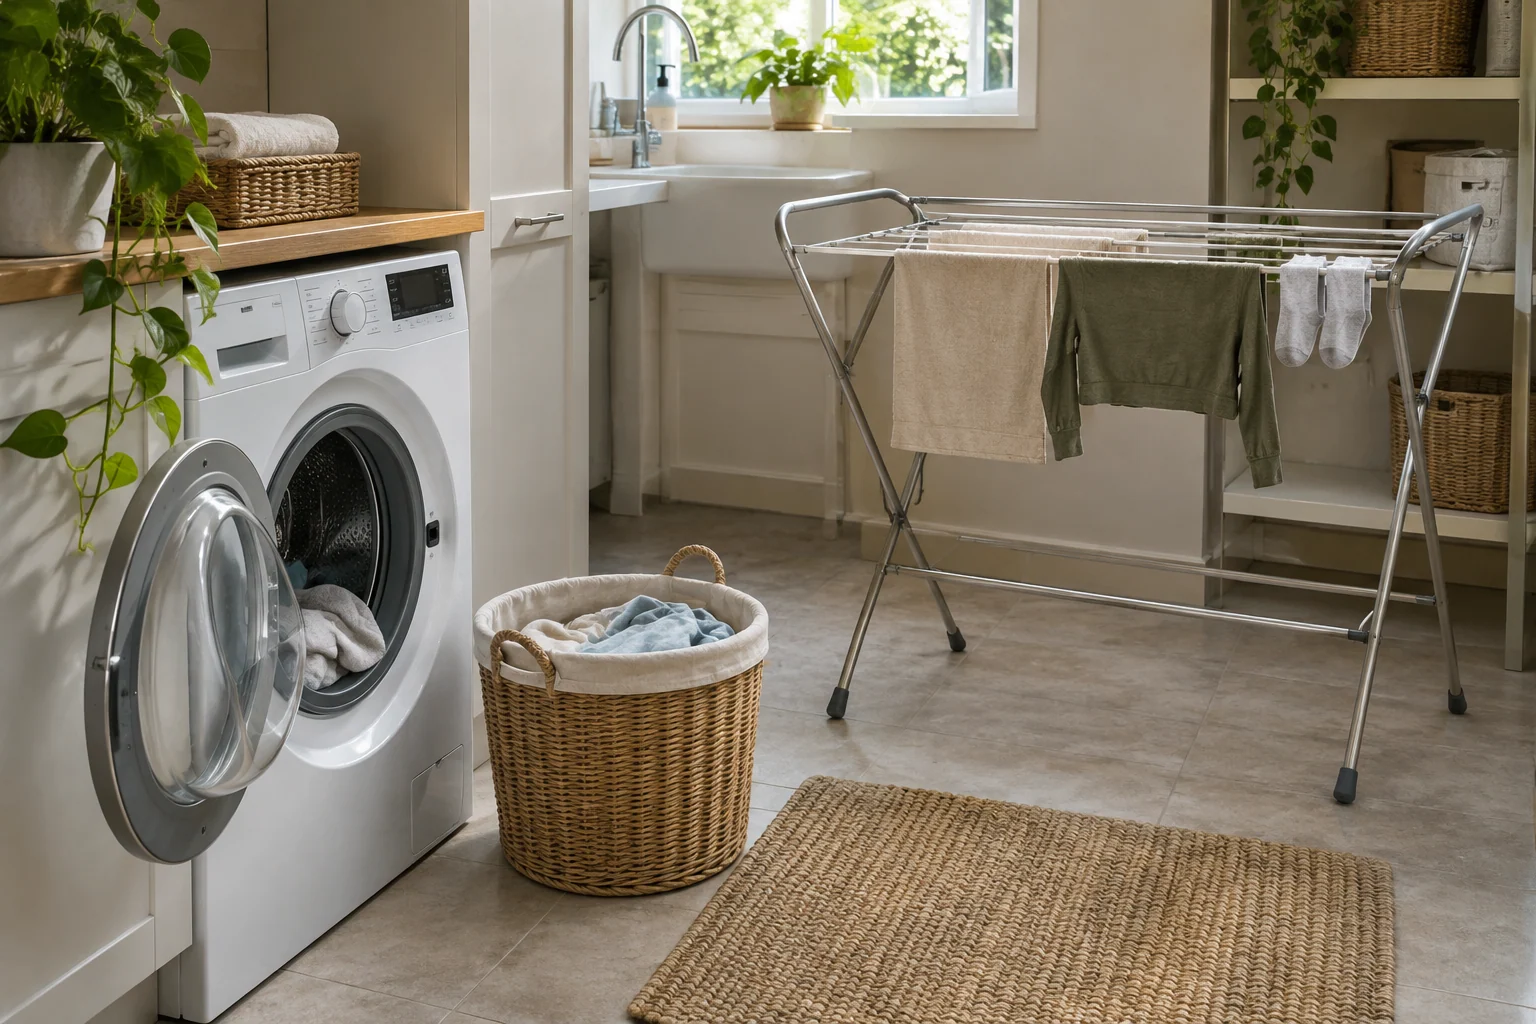
A rack near the washer can reduce carrying, but the appliance door and laundry basket need their own space. Try the ordinary unloading sequence with the frame deployed. Keep the rack from blocking controls or service access. The closest position is helpful only when the whole routine remains straightforward after the first few garments have been hung.
16. Use a multipurpose room only with a defined reset
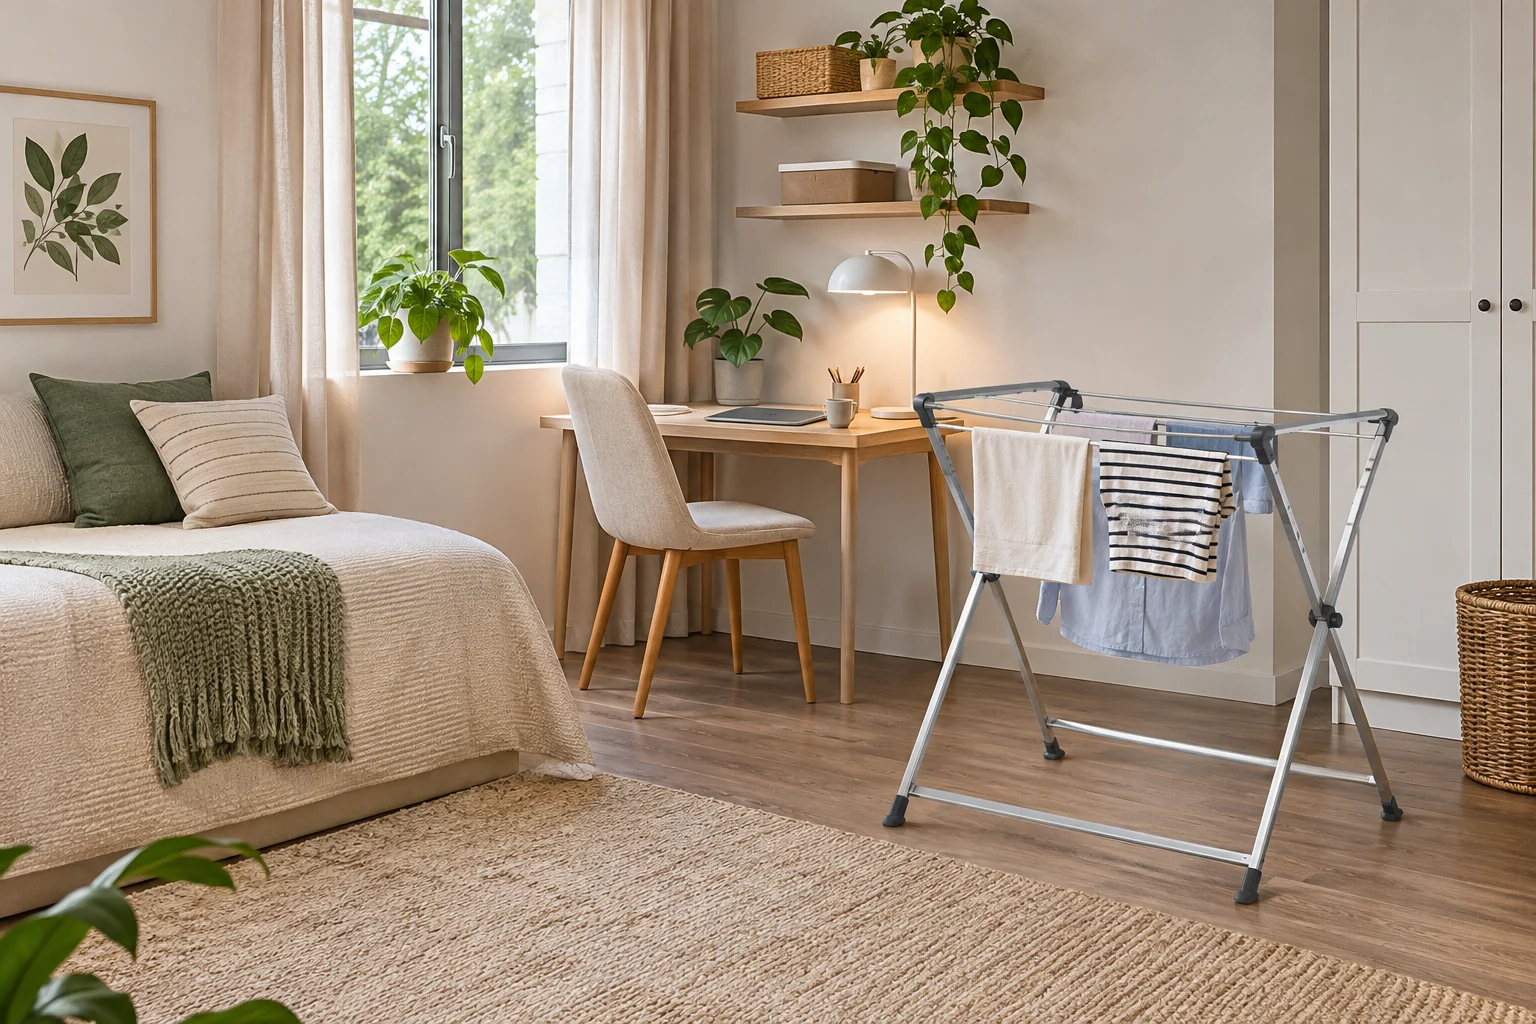
A guest room or study can hold a temporary drying frame when the product, garments and room conditions suit it. Keep the main furniture usable and give the rack a real return place afterward. Avoid creating a routine in which damp laundry is repeatedly moved from the floor to the bed. The temporary setup should clear without redistributing the problem.
17. Choose outdoor use only where the product permits it
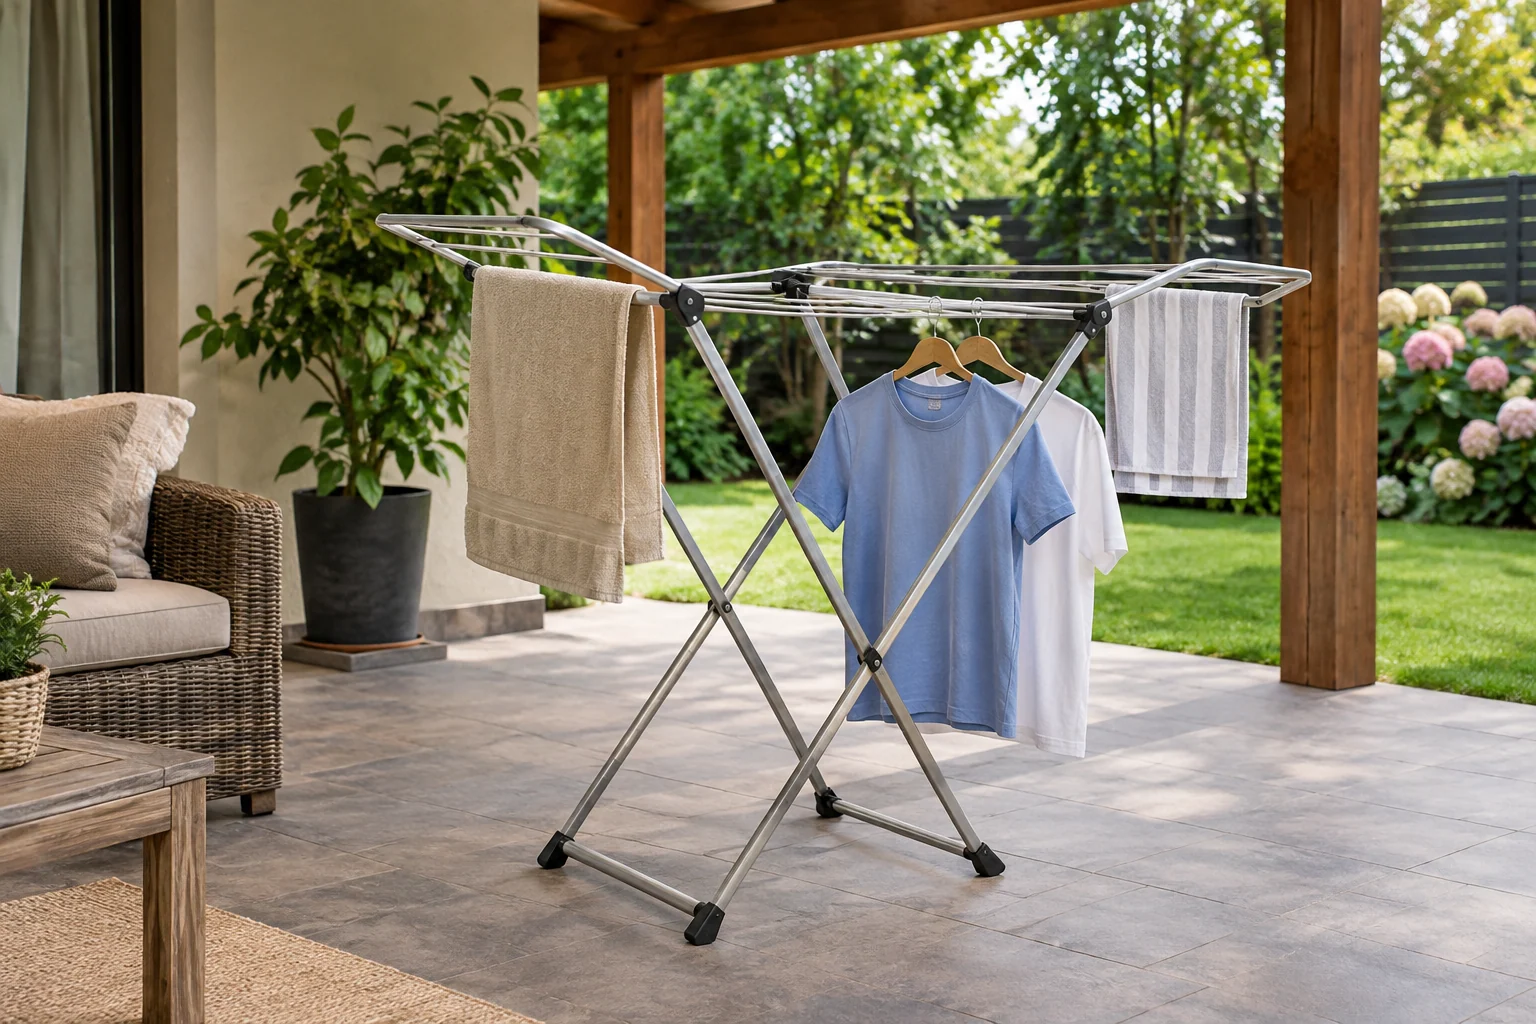
A covered balcony or patio can offer another position when the rack is intended for the conditions and its instructions are followed. Check stability, weather and the actual location rather than assuming an indoor model becomes outdoor furniture. Keep the complete frame inside an appropriate usable area. The photograph does not establish suitability for a particular balcony, wind condition or building rule.
18. Use the garment label to decide its light exposure
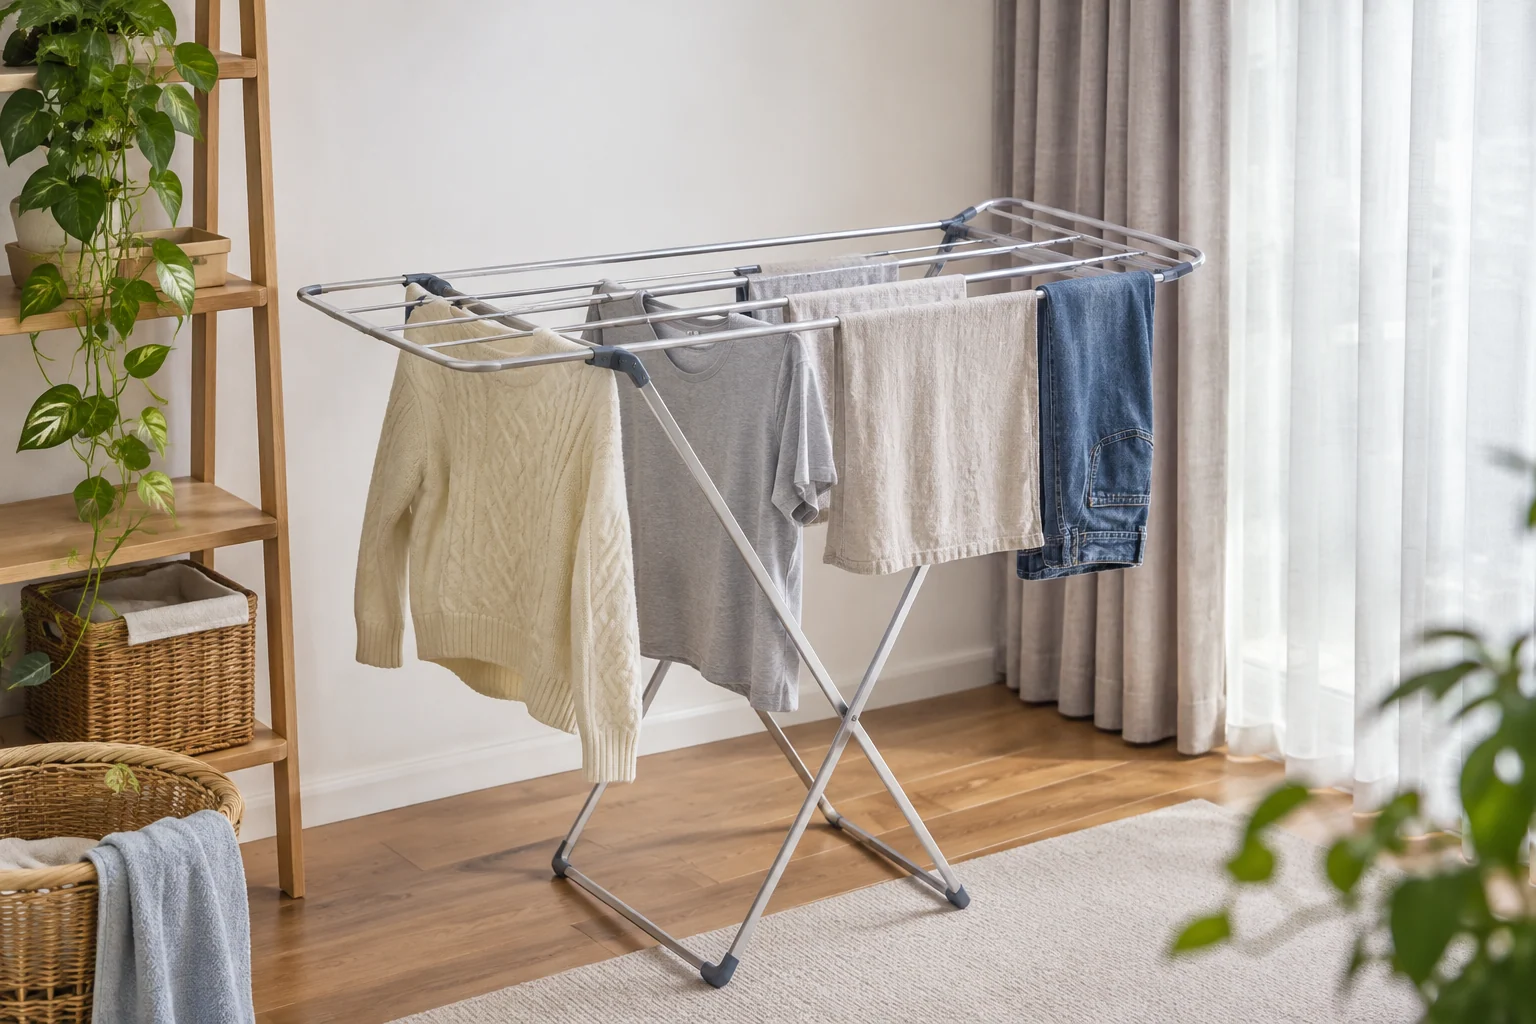
A sunny position may seem appealing, but the textile's actual care requirements should guide where and how it dries. Keep that decision separate from how bright the room looks in a photograph. Choose an appropriate position and method for the garment. Avoid treating a single exposure rule as suitable for every fabric, color and decoration.
19. Leave a clear parking position beside the drying area
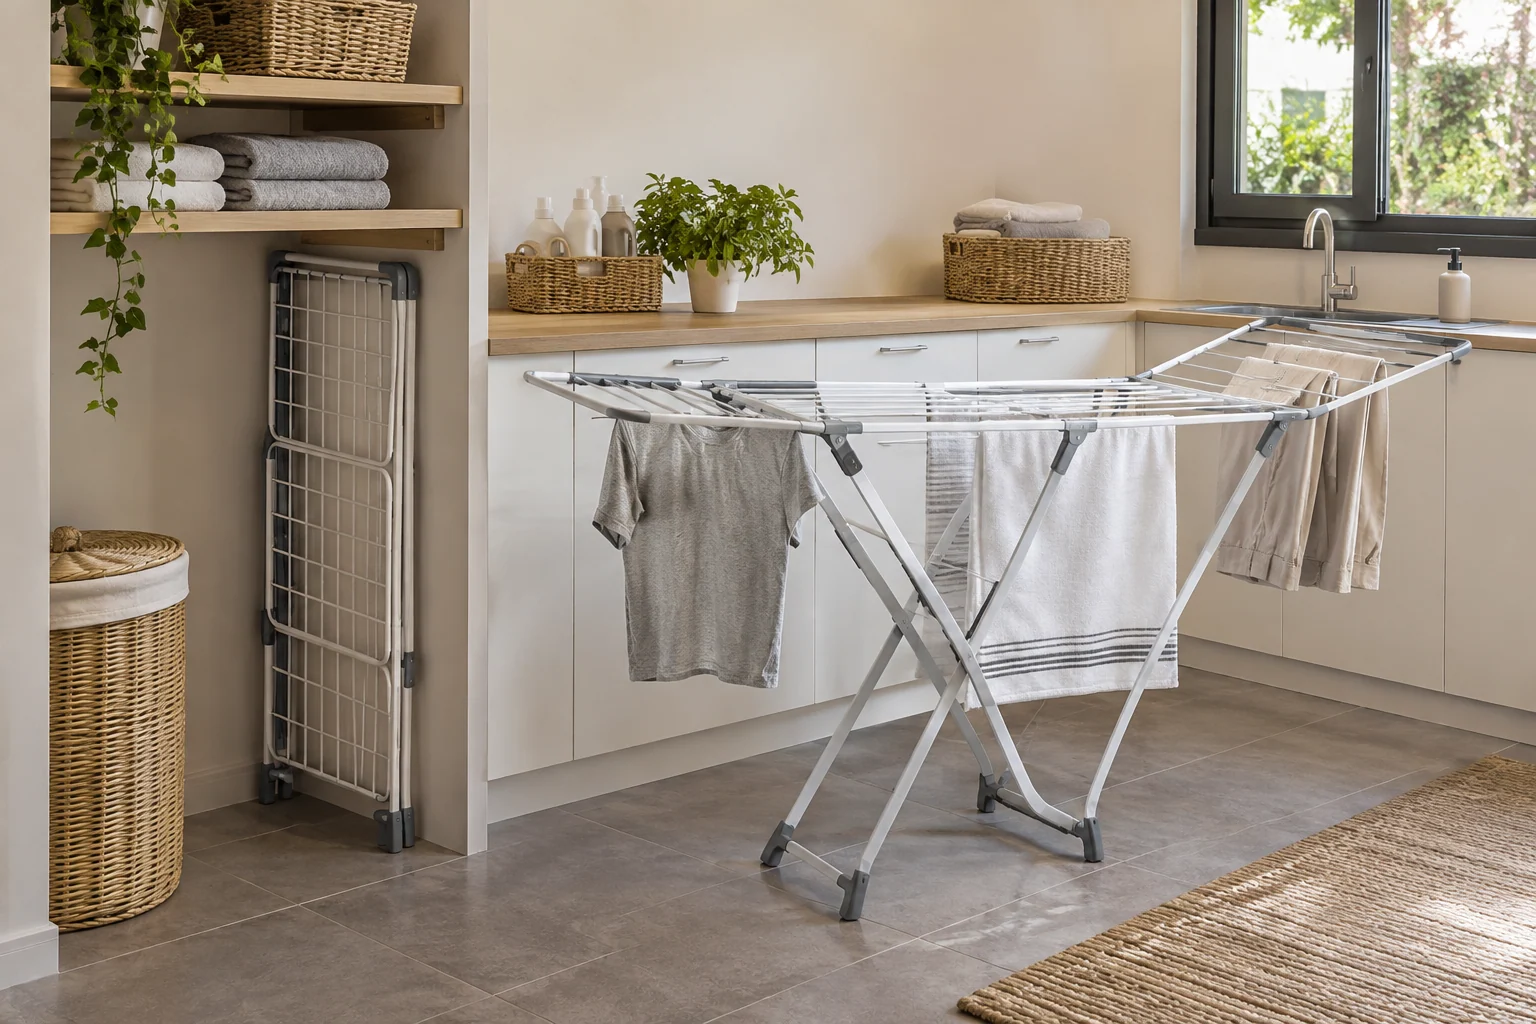
A nearby folded home can make the rack easy to put away without carrying it through several rooms. Check that the parked frame does not obstruct a door or needed equipment. Keep it stable in its intended storage orientation. A narrow apparent gap is not a useful home when handles or hinges catch each time the rack is returned.
20. Measure the complete folded thickness
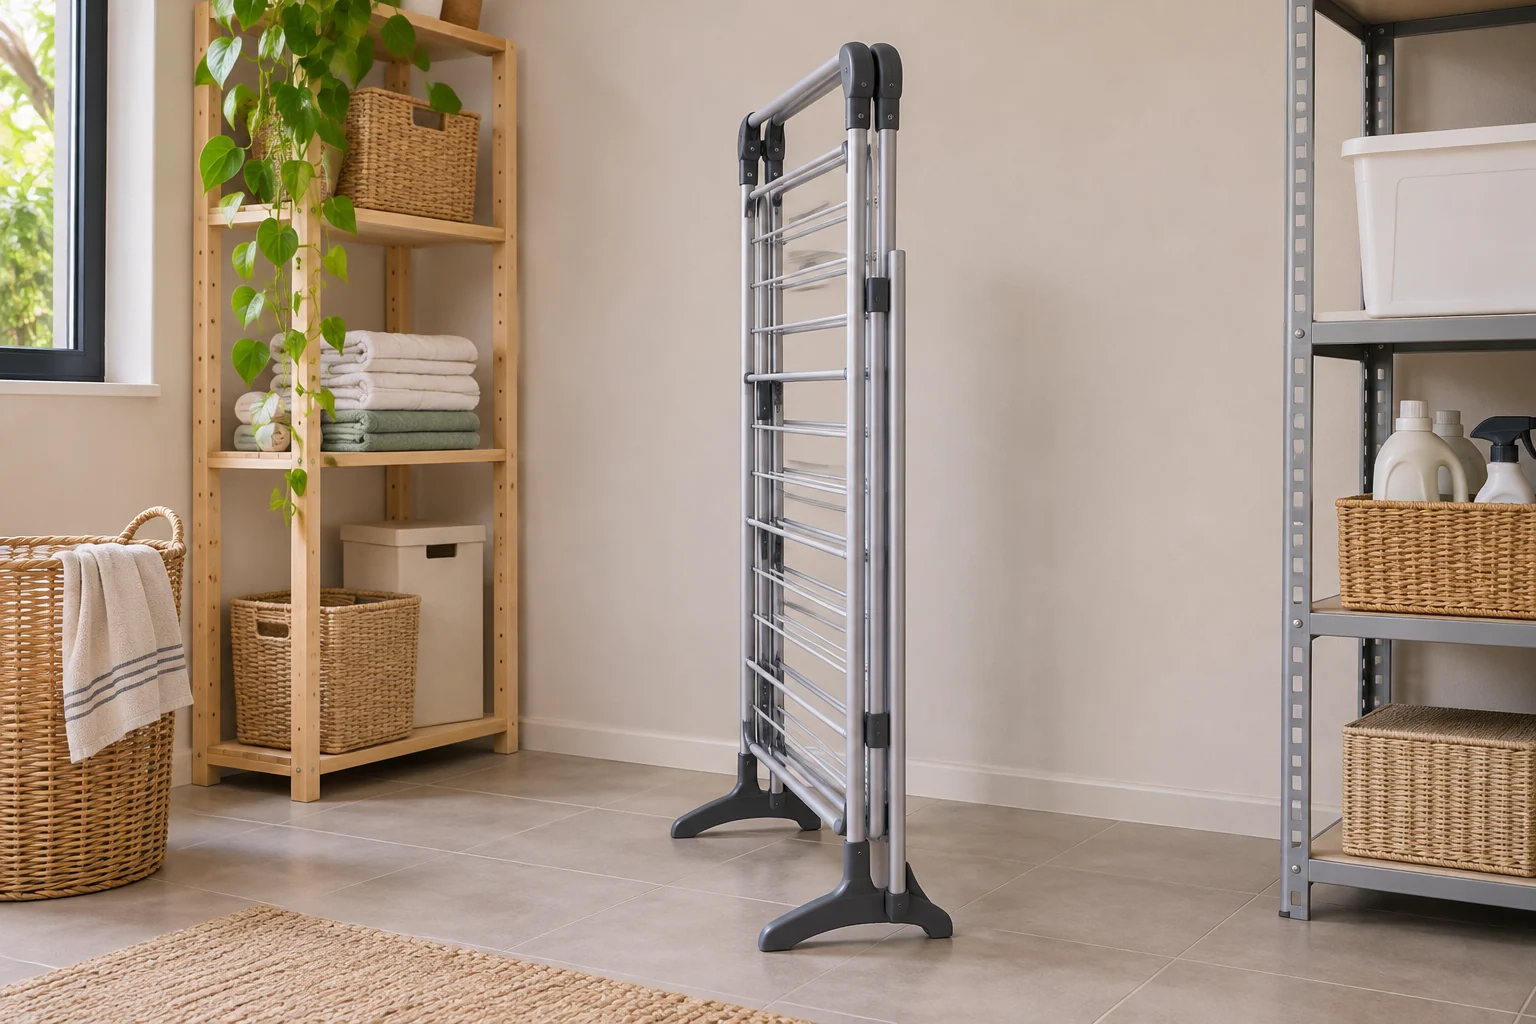
Feet, handles and folded wings can make a rack thicker than its main rails suggest. Compare the actual folded dimensions with the storage opening before purchasing. Leave room for comfortable removal instead of wedging the frame tightly behind furniture. The useful folded size includes every projecting part that will pass through the opening.
21. Keep wet and dry stages in separate baskets

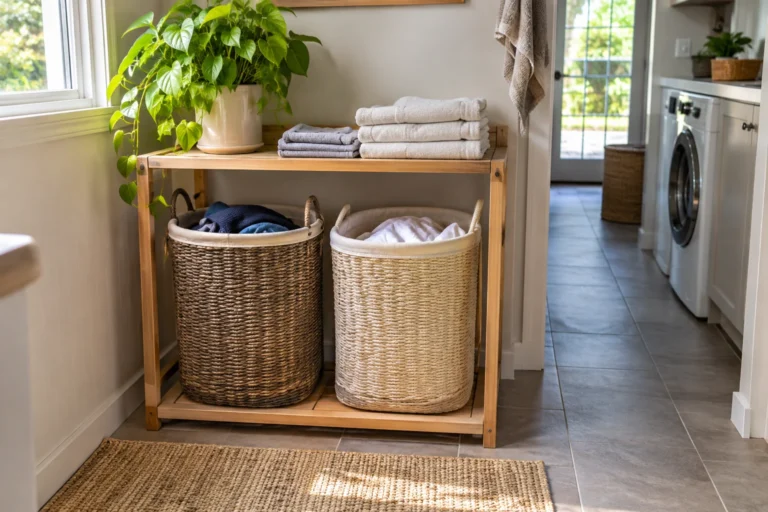
A distinct place for items awaiting hanging and another for completed dry laundry can make the route easier to understand. Keep the containers suitable for their actual use and care. Avoid putting damp items into enclosed long-term storage. The arrangement should prevent a finished load from becoming mixed with another group simply because both baskets share the same floor corner.
22. Group garments around their drying method
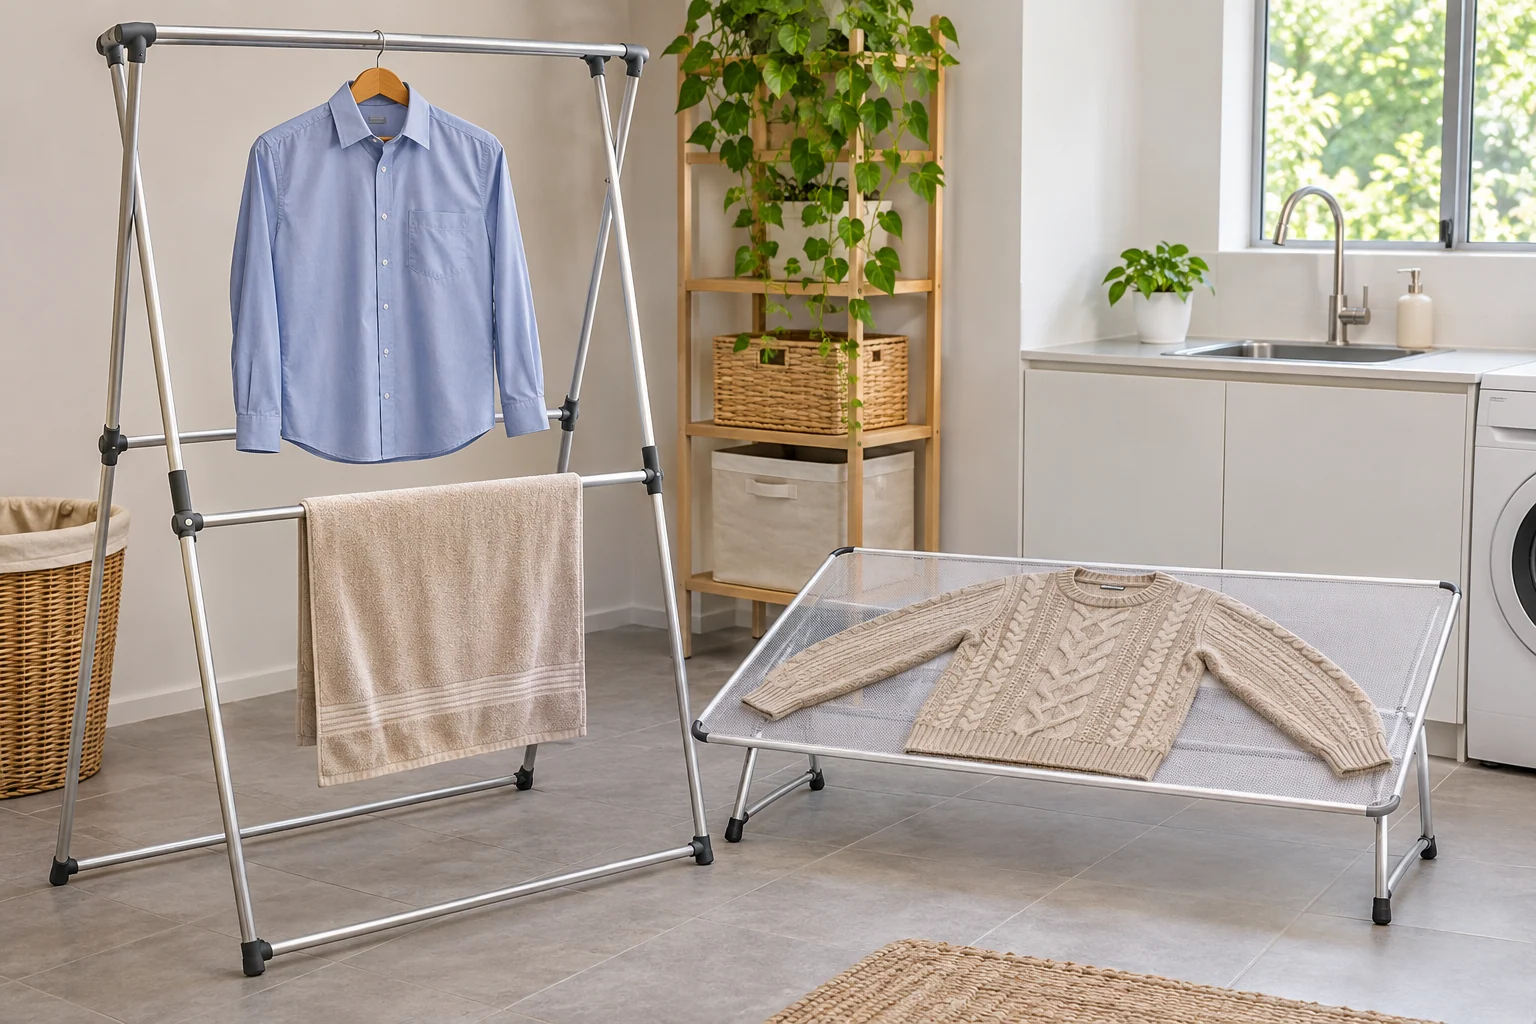
Separate the items needing hangers, flat support or another specified method before loading the frame. This can reveal whether one rack and accessory serve the actual wash group. Follow the care labels rather than forcing every item onto identical rails. A small deliberate grouping can be more useful than discovering halfway through that one garment needs a different surface.
23. Keep access to the center rails
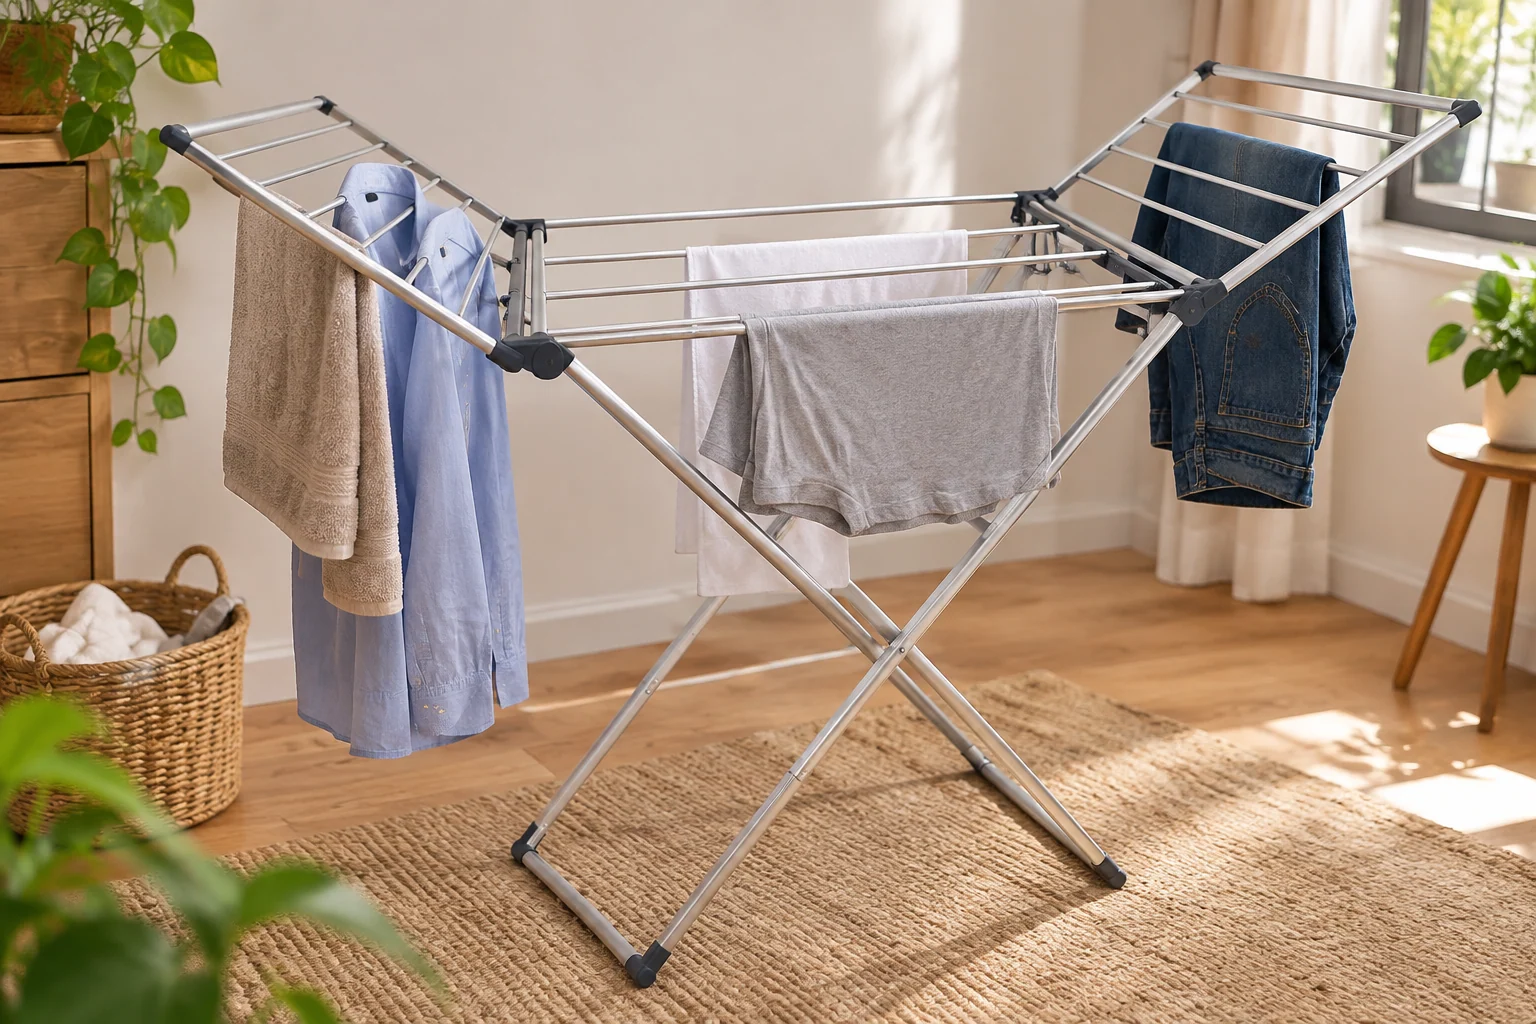
Load the rack in an order that preserves access to the intended positions, following its instructions. Check whether an outer garment blocks the middle before the whole group is hung. Keep the quantity manageable instead of reaching through layers. The point is a clear practical arrangement, without promising a particular drying time from a photograph.
24. Choose a working side for ordinary hanging
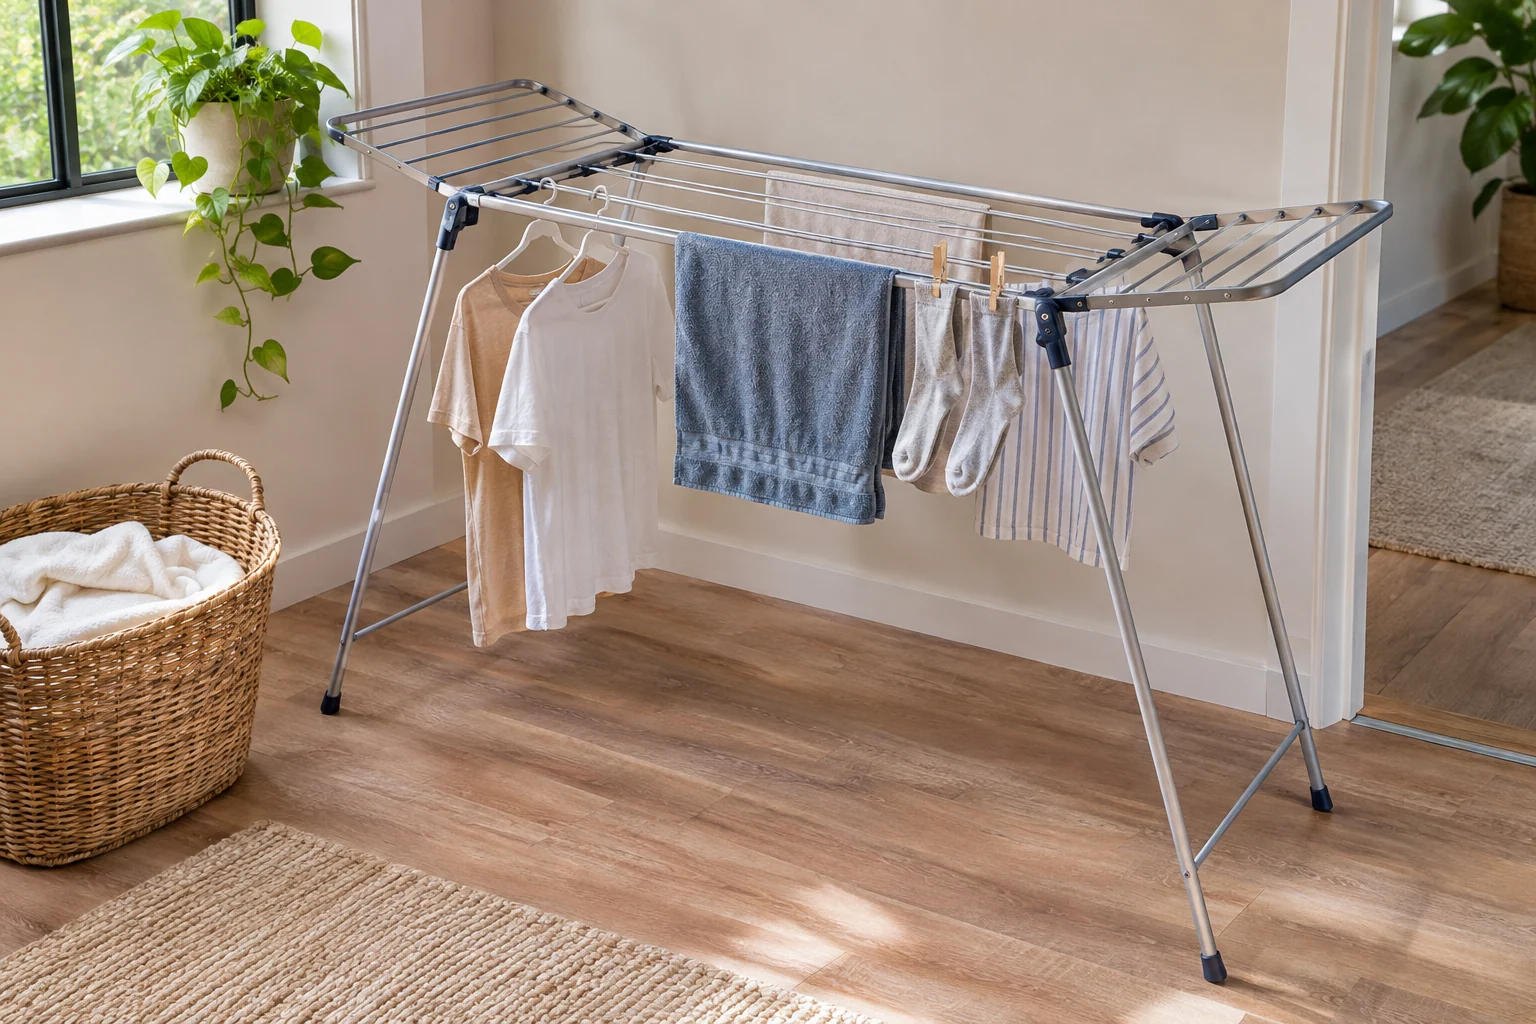
Some rooms make one side of a rack easier to approach than another. Plan the frame around that route and check whether the far rails remain usable. Do not rotate or move a loaded rack contrary to its guidance just to reach a rear position. A smaller suitable frame may fit the room's access better than the widest possible model.
25. Choose a location suited to possible drips
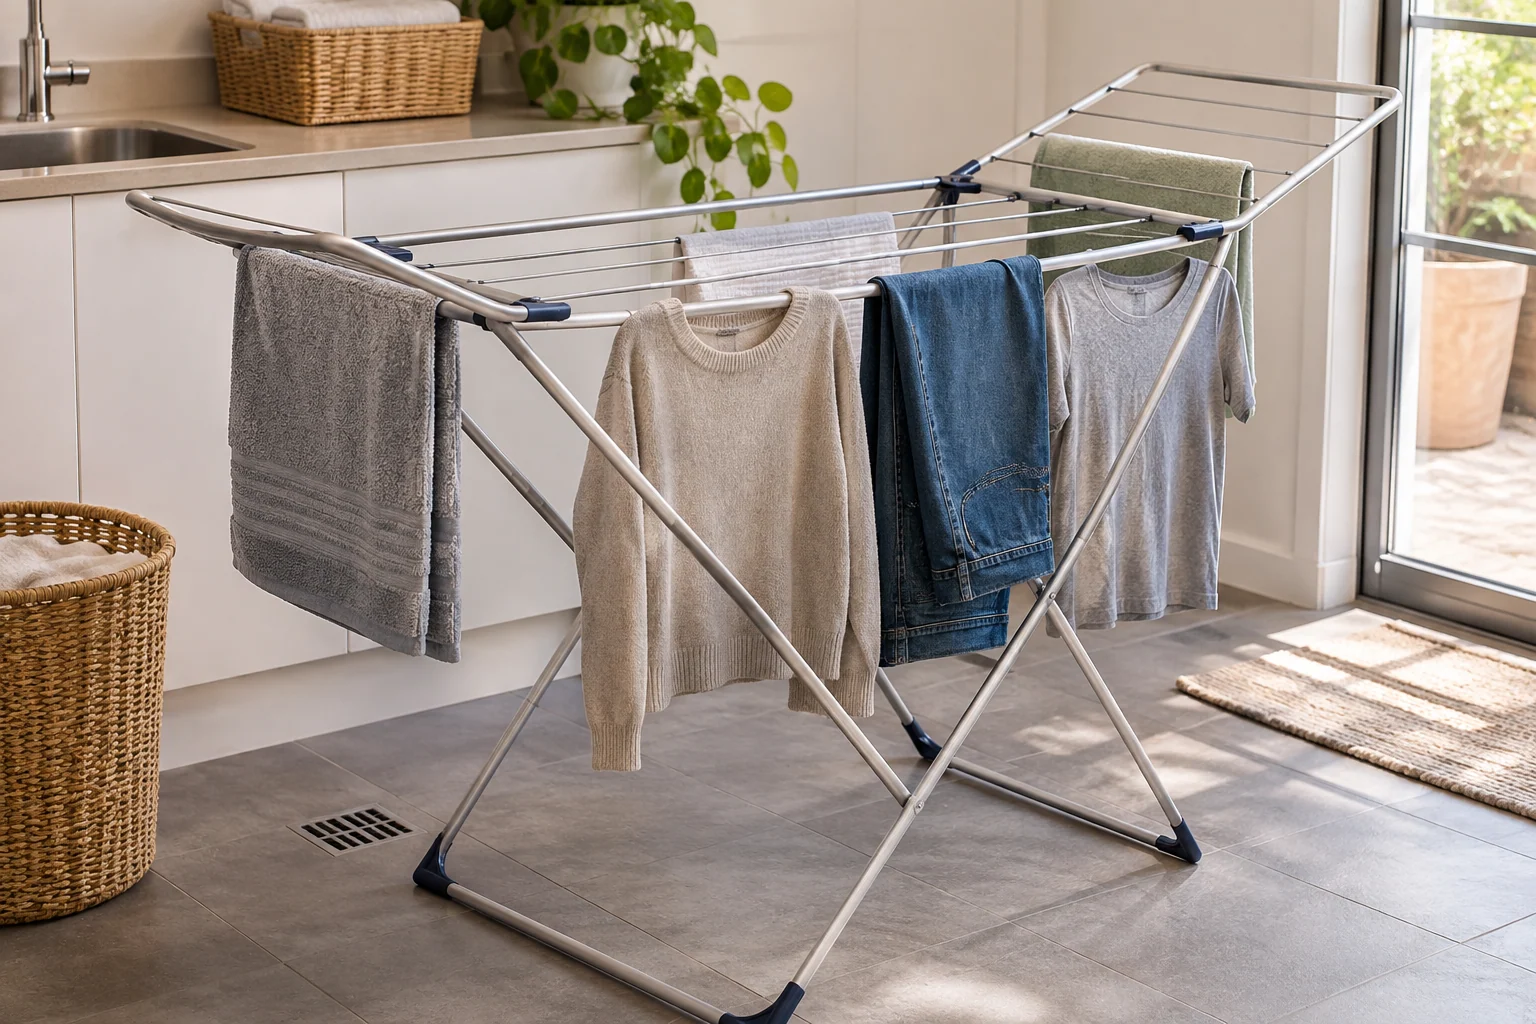
Consider the garment's specified drying method and the surface beneath the intended rack position. Follow the rack and floor guidance rather than allowing damp textiles to affect unsuitable furniture or finishes. Use a purpose-designed supported arrangement where needed. Keep the household's ordinary route clear instead of placing an improvised mat or loose layer under several moving feet.
26. Compare rail shape without promising mark-free results
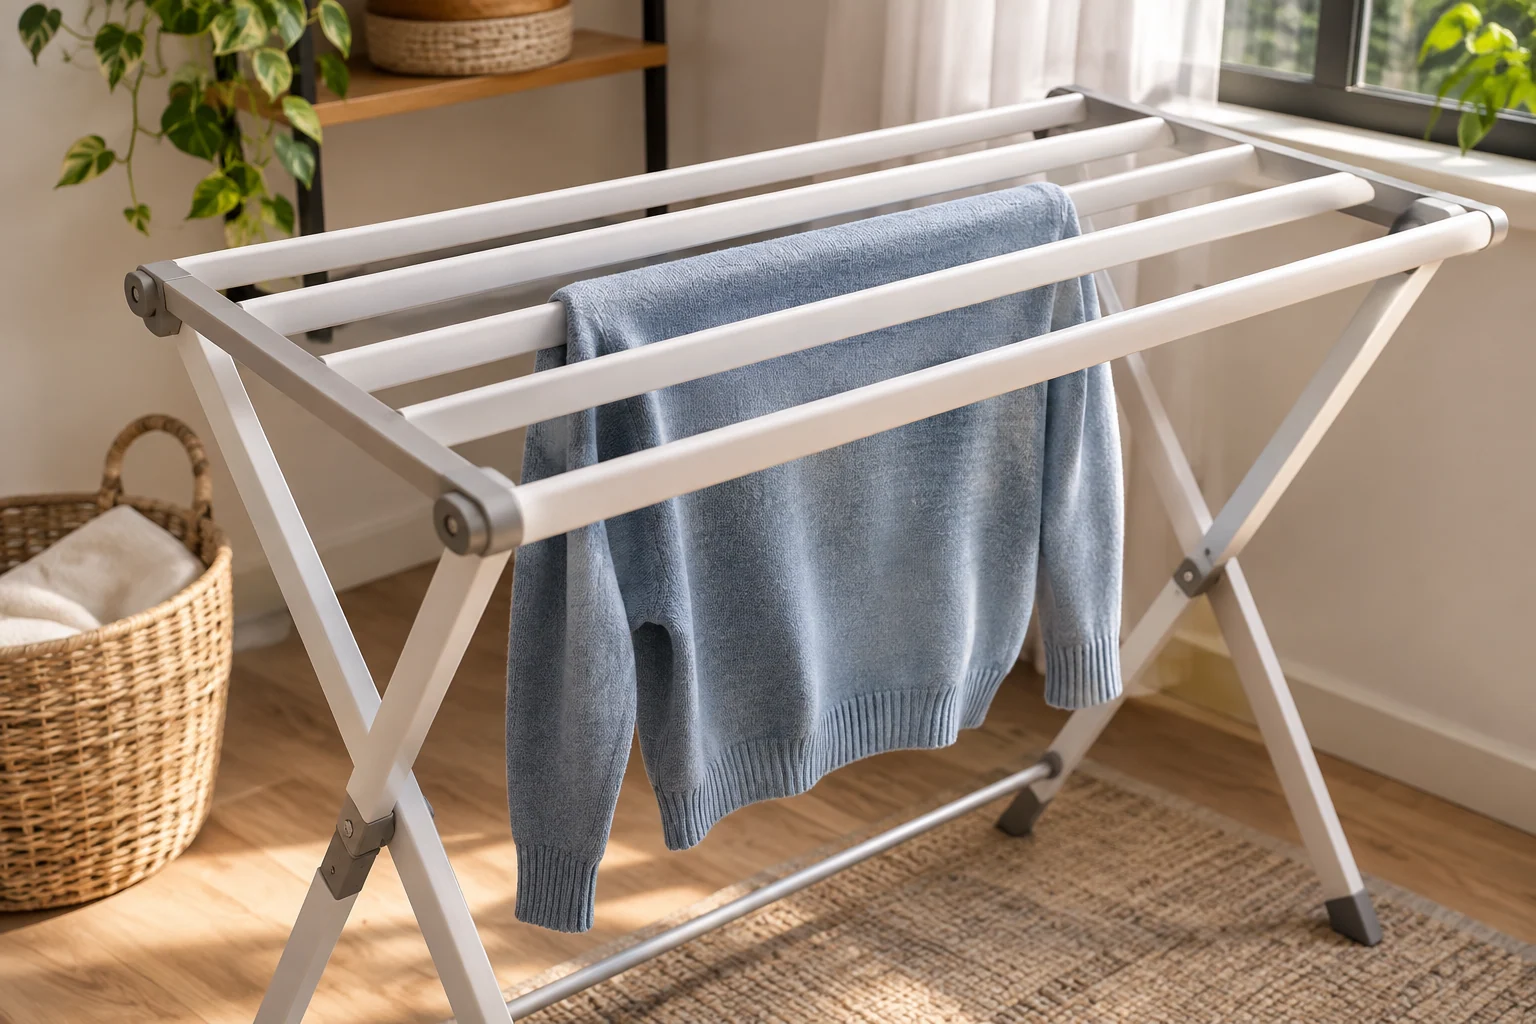
Different racks offer different rail forms and accessories. Compare the actual product with the garments and care methods you use. A thicker-looking bar does not prove that every fabric will dry without a crease. Choose around the intended application and review what you actually observe in use, rather than transferring a manufacturer's claim from another model.
27. Keep occasional large-load equipment separate
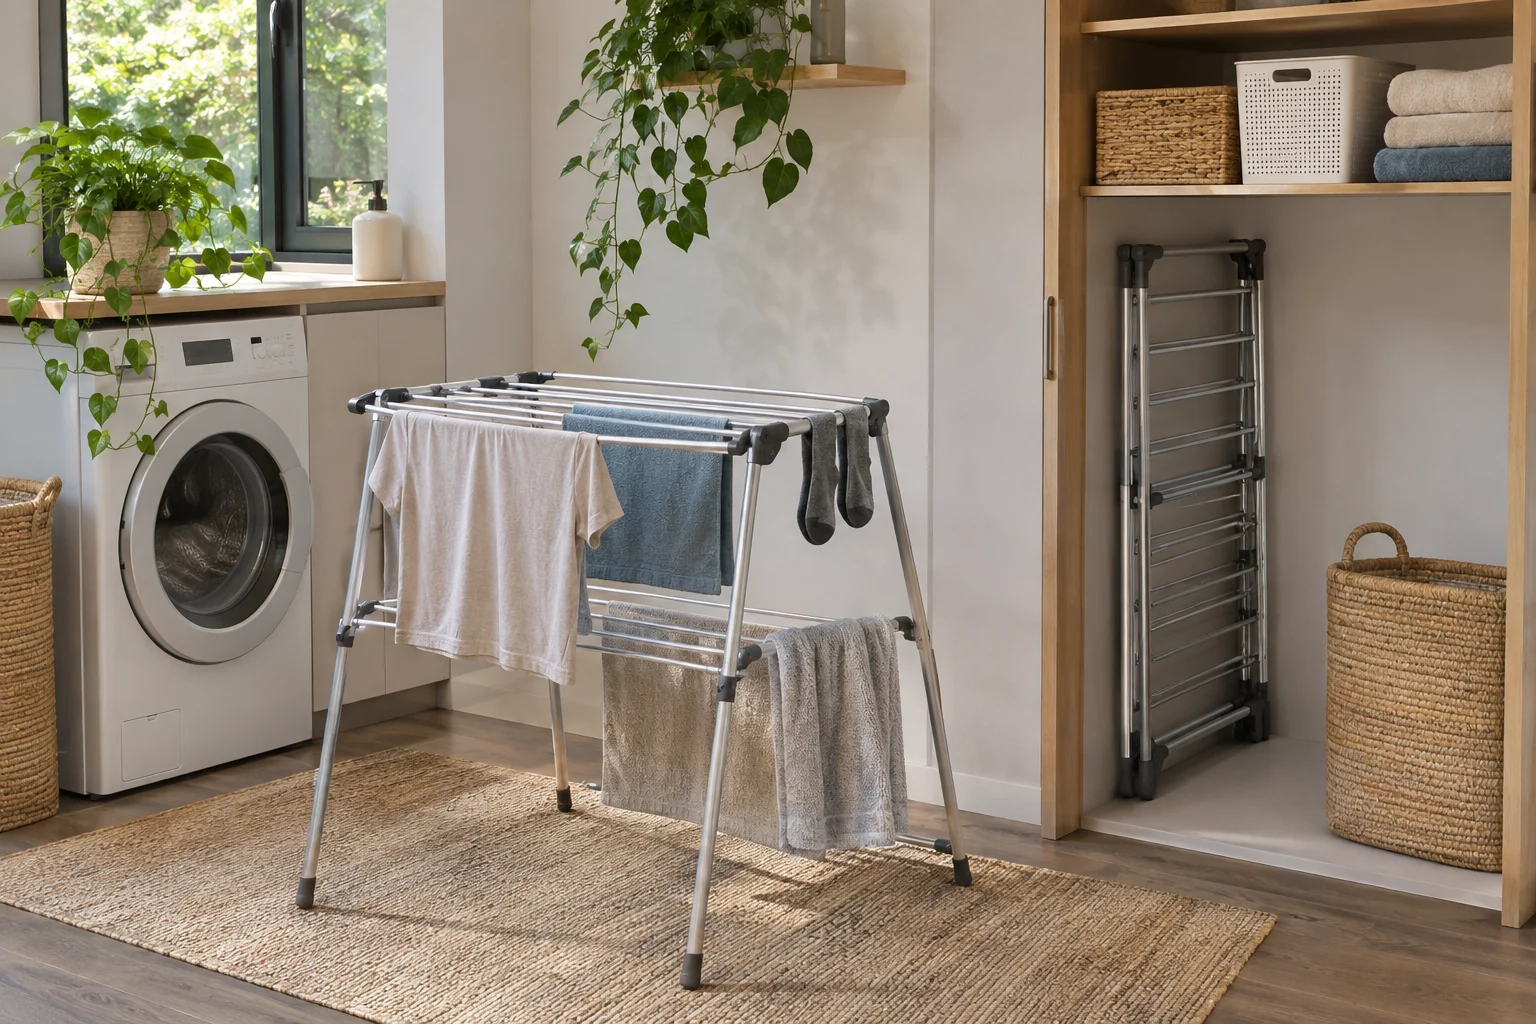
A household may need a modest everyday rack and a different suitable arrangement for occasional larger textiles. Store the extra equipment in a defined dry position rather than keeping every frame open permanently. Check whether that occasional use genuinely needs another product. The decision should follow actual laundry, not the largest advertised capacity.
28. Maintain the frame according to its own instructions
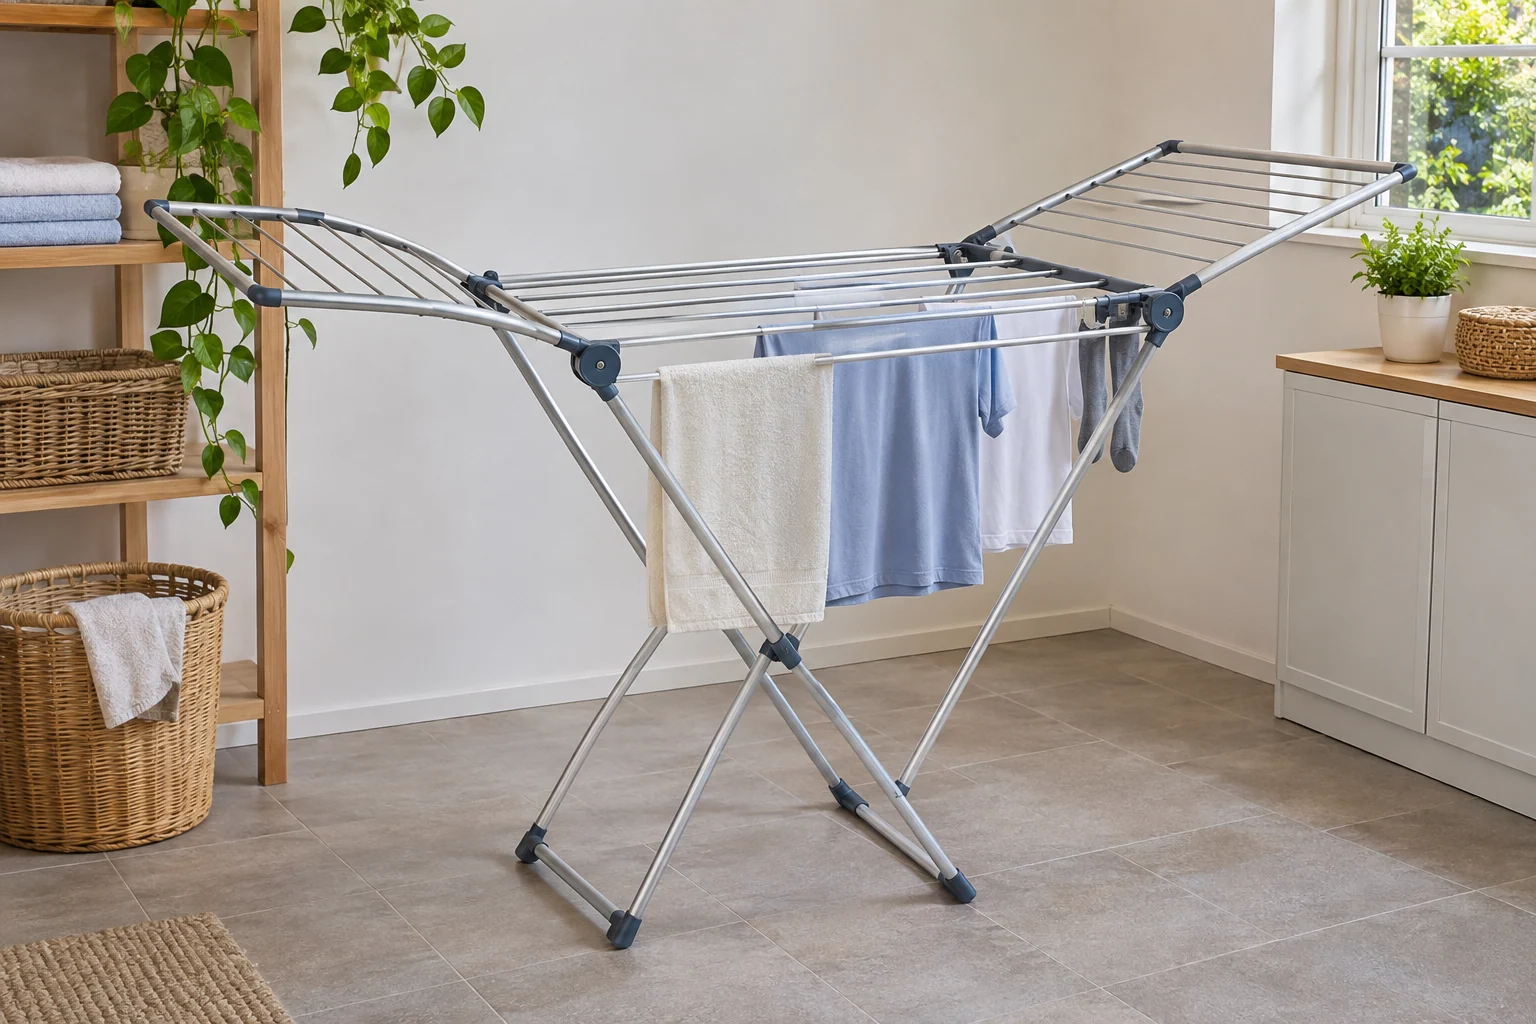
Keep the rails and moving parts in the condition the maker specifies. Check the frame during the normal folding and return routine and address damage appropriately. Avoid substituting a general cleaning or lubrication method for every material and mechanism. A simple maintenance record can keep the exact model guidance available without turning routine care into guesswork.
29. Finish by returning the room to its ordinary use
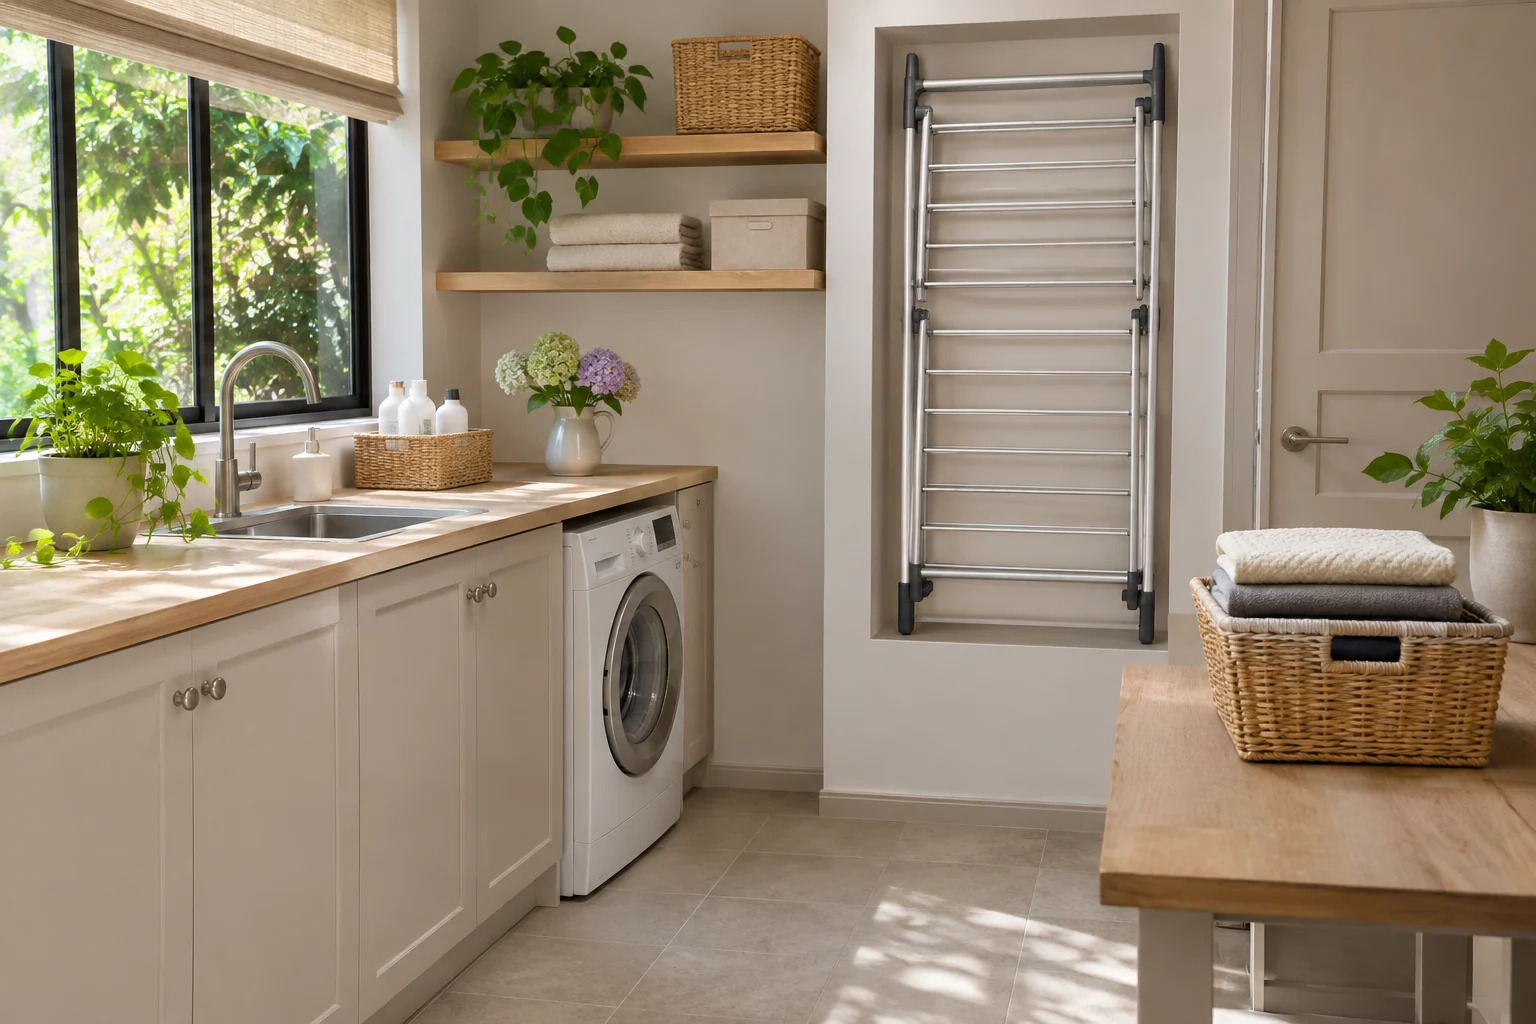
Put away the dry laundry, fold the rack as instructed and return the equipment to its defined home. Notice whether the same obstacle makes this awkward every time. Correct that step before adding another organizer. A well-planned drying arrangement serves the load and then gives the room back, rather than leaving the frame as permanent overflow furniture.
The opened-and-folded drying-rack worksheet
Record opened width, depth and height; clothing projection; longest intended garment drop; appliance-door travel; working-side access; folded dimensions; and the return position. A hypothetical 60-inch-wide opened rack does not fit across a 54-inch clear wall position, even if its folded frame is only 4 inches thick. Total advertised drying length measures rails or line, not that floor footprint. Compare the actual model's dimensions and use guidance.
A practical next step
Choose the rack around the actual garments and the room's two states: drying and ordinary use. When the opened frame, access and folded home all work, the setup becomes part of the routine rather than another object to keep moving.
The images are original AI-generated design concepts. They illustrate arrangements rather than tested products, installations or measured performance.
Sources and care references
Related reading on Nestroxe
Optional digital guide for this topic
If you prefer a structured workbook, explore this related paid guide.