Useful desk drawer organization ideas begin with the small supplies that support an ordinary work session. A long ruler, short eraser and partly used tape roll need different spaces. Sort those shapes before choosing a divider set, then arrange the retained group so each item is easy to remove and return.
The following 24 layouts focus on the drawer interior and its daily contents. They complement the room's broader office storage. Keep the drawer mechanism, furniture instructions and seated working position part of the plan; a neat interior should not create a new obstruction below the desk.
Contents
- 1. Give the front section one small daily kit
- 2. Lay pens in a channel long enough for their full length
- 3. Keep matching refills in their identifying packaging
- 4. Contain the eraser and enclosed sharpener together
- 5. Separate paper clips from larger binder clips
- 6. Give the stapler its own usable footprint
- 7. Choose a broad compartment for the complete tape dispenser
- 8. Store scissors closed in a suitable separate space
- 9. Measure a ruler before deciding the divider direction
- 10. Keep note pads flat and easy to lift
- 11. Support index cards in a bounded readable row
- 12. Limit loose paper to one defined current packet
- 13. Give small removable devices a separate protective home
- 14. Store unplugged spare cables in loose individual groups
- 15. Keep occasional adapters separate from everyday leads
- 16. Build a contained kit for occasional mailing tasks
- 17. Separate two users with removable personal trays
- 18. Use a lift-out case for a task performed elsewhere
- 19. Combine modular sizes around the real supply shapes
- 20. Check the filled height beneath the cabinet above
- 21. Use a layered system only when lower supplies remain accessible
- 22. Choose a removable liner through the drawer's care requirements
- 23. Keep the storage unit outside the seated working space
- 24. Finish with a short empty-and-reset routine
Measure the usable drawer with its contents included
Record the clear inside width, front-to-back depth and usable closed height. Include a liner, organizer base, protruding lid and any rail or fitting that changes the available area. Sort current supplies separately from spares and unrelated objects. Draw proposed compartments on paper and place the actual items inside the outlines. Test normal selection and return before buying enough bins to fill the whole drawer.
Choose an arrangement that fits your situation
- A small daily supply group: Use an accessible shallow tray with room to return each item
- Long tools cross several dividers: Plan one full-length channel or another suitable home
- Loose cables hide small accessories: Separate unplugged spare leads from short identifiable devices
- The drawer fits empty but catches when filled: Compare complete item height, liner and organizer base
- Several users share the same desk: Give each a manageable tray and agree the shared section
- Storage interferes with the chair: Resolve the furniture footprint before adding interior compartments
1. Give the front section one small daily kit

A shallow front tray can hold the few items used during most work sessions. Start with that actual group rather than assigning every drawer corner immediately. Leave enough room to grip the shortest item. If the tray starts collecting unrelated objects, review its purpose before expanding the daily section or adding another tier above it.
2. Lay pens in a channel long enough for their full length

A long shallow compartment keeps a modest pen group visible without crossing several dividers. Compare the longest capped pen, including its clip, with the usable channel. Keep the row loose enough that one pen can be removed independently. A smaller working group can be easier to use than a deep container packed with similar-looking writing tools.
3. Keep matching refills in their identifying packaging
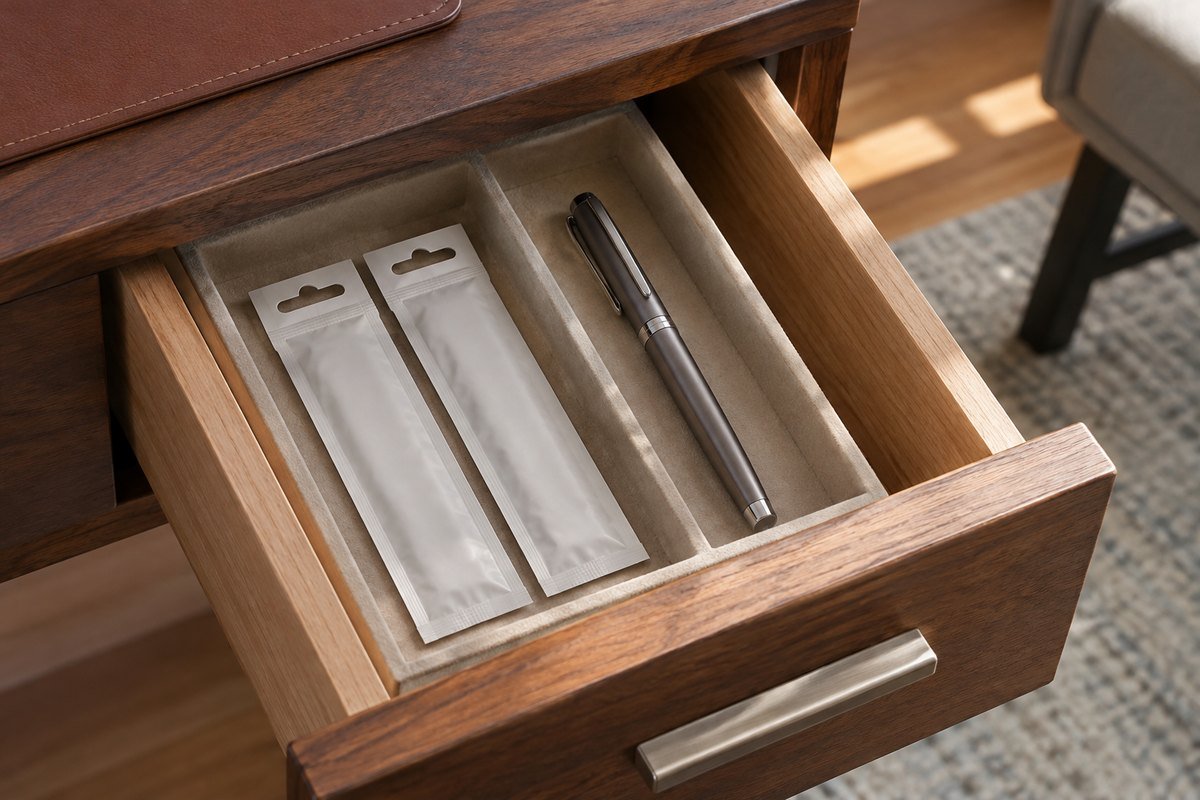
Refill cartridges are useful only when their compatibility remains understandable. Keep the relevant package or a personal identifier with the retained refills, separate from the pens currently in use. A small flat compartment can hold this reserve without confusing the daily row. Avoid collecting unidentified loose cartridges simply because they fit a decorative narrow cell.
4. Contain the eraser and enclosed sharpener together

Short accessories can disappear beneath longer tools. A low removable cup can keep an eraser and an appropriate enclosed sharpener visible. Choose an opening that is easy to reach into and lift out for care. Empty the sharpener according to its directions before it becomes another source of debris across the surrounding organizer.
5. Separate paper clips from larger binder clips

Two small compartments can prevent differently shaped fasteners from becoming one tangled pile. Use broad enough openings that an individual clip is easy to pick up. Keep the quantity appropriate to normal work rather than storing the entire reserve in the front drawer. Small removable cups also make it easier to inspect the drawer beneath them.
6. Give the stapler its own usable footprint
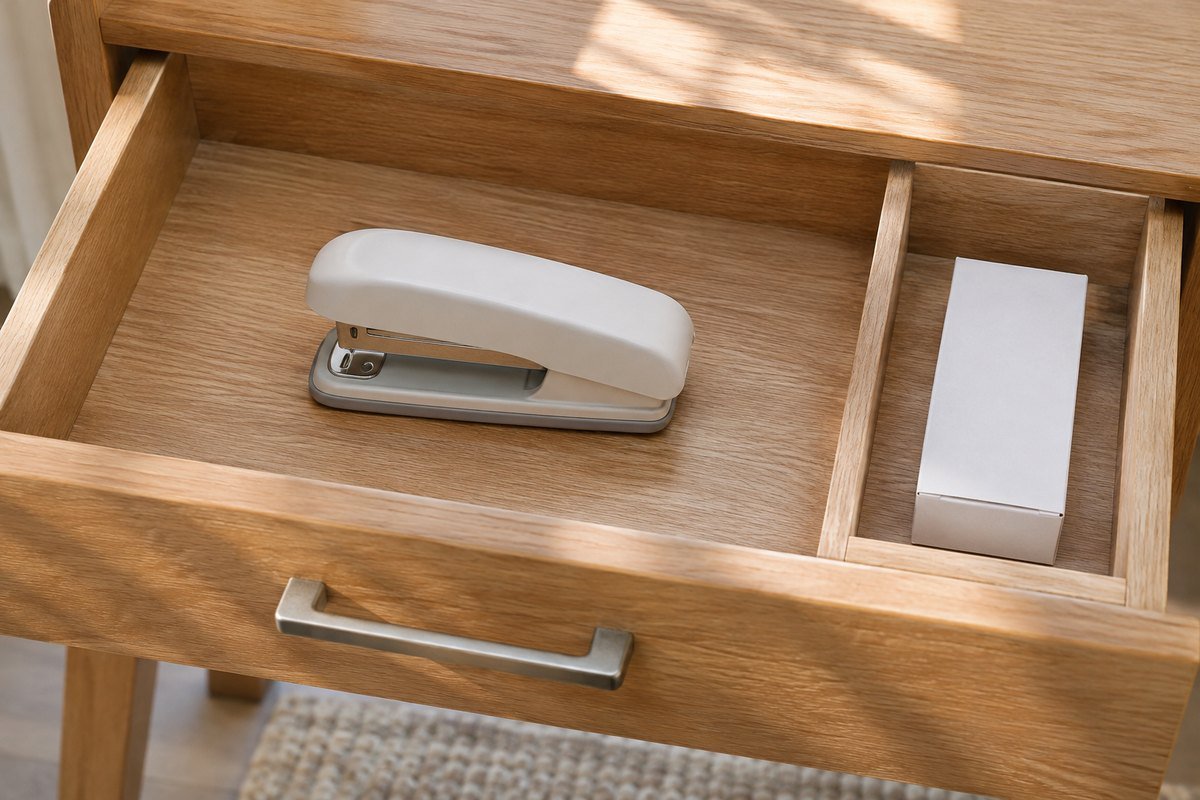
A stapler needs space around its body and return position, not only an outline that accommodates its base. Place it where it can be lifted without catching a divider or neighboring packet. Keep compatible refill packaging separately identifiable. Do not force the stapler diagonally across several tiny compartments simply to preserve a matching organizer grid.
7. Choose a broad compartment for the complete tape dispenser
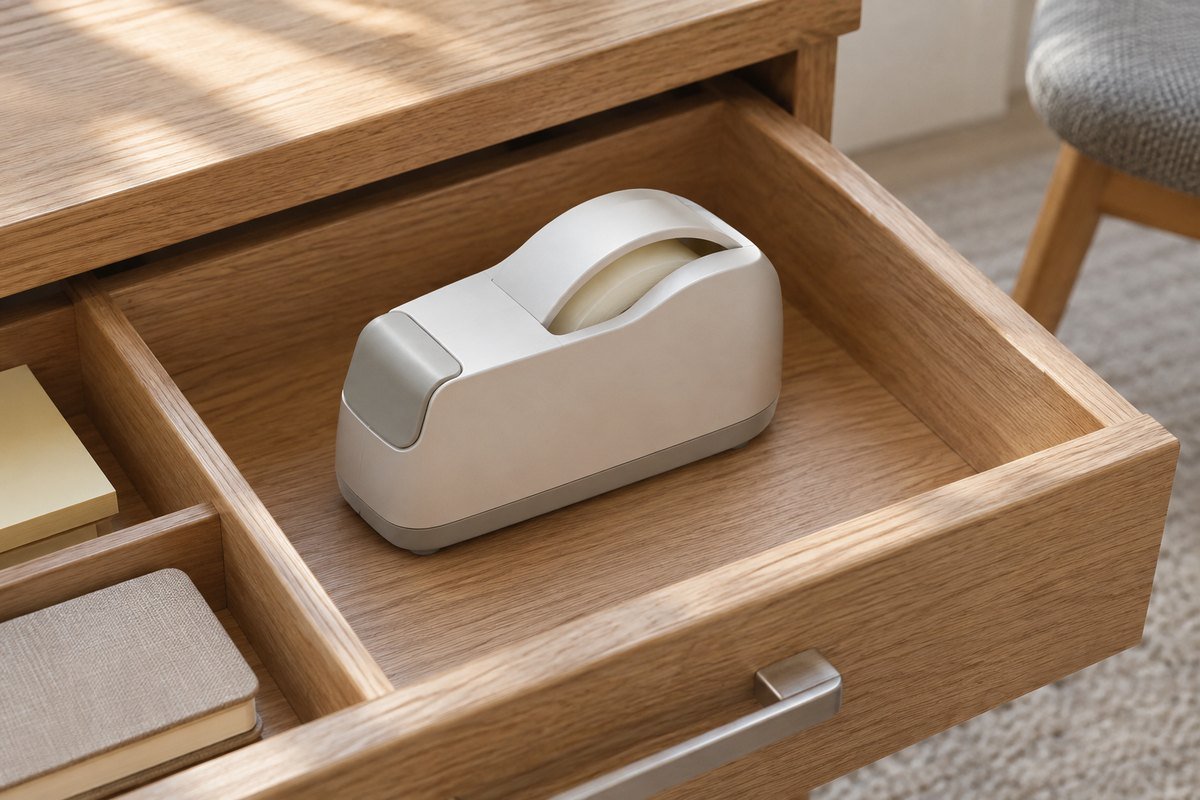
A tape dispenser's housing and base can be much wider than the roll itself. Measure the whole accessory and check how it is lifted. Keep the dispensing edge appropriately protected according to the product's design and instructions. A simple broad cell may serve better than removing the roll from its useful dispenser to fit a narrow tray.
8. Store scissors closed in a suitable separate space

Choose a compartment or appropriate protective case for the actual closed scissors. Include the full handles and any supplied cover when checking the fit. Keep them from becoming entangled with loose leads or fasteners. Follow the tool's storage guidance and household access needs; the organizer should make retrieval deliberate rather than hiding a sharp object in a mixed bin.
9. Measure a ruler before deciding the divider direction

A ruler may fit comfortably along one side while crossing every compartment in another layout. Compare its complete length and width with the usable drawer, then plan around it. Give longer measuring tools another suitable home if necessary. Avoid bending them or trapping an end beneath the cabinet just to keep all stationery in the same drawer.
10. Keep note pads flat and easy to lift
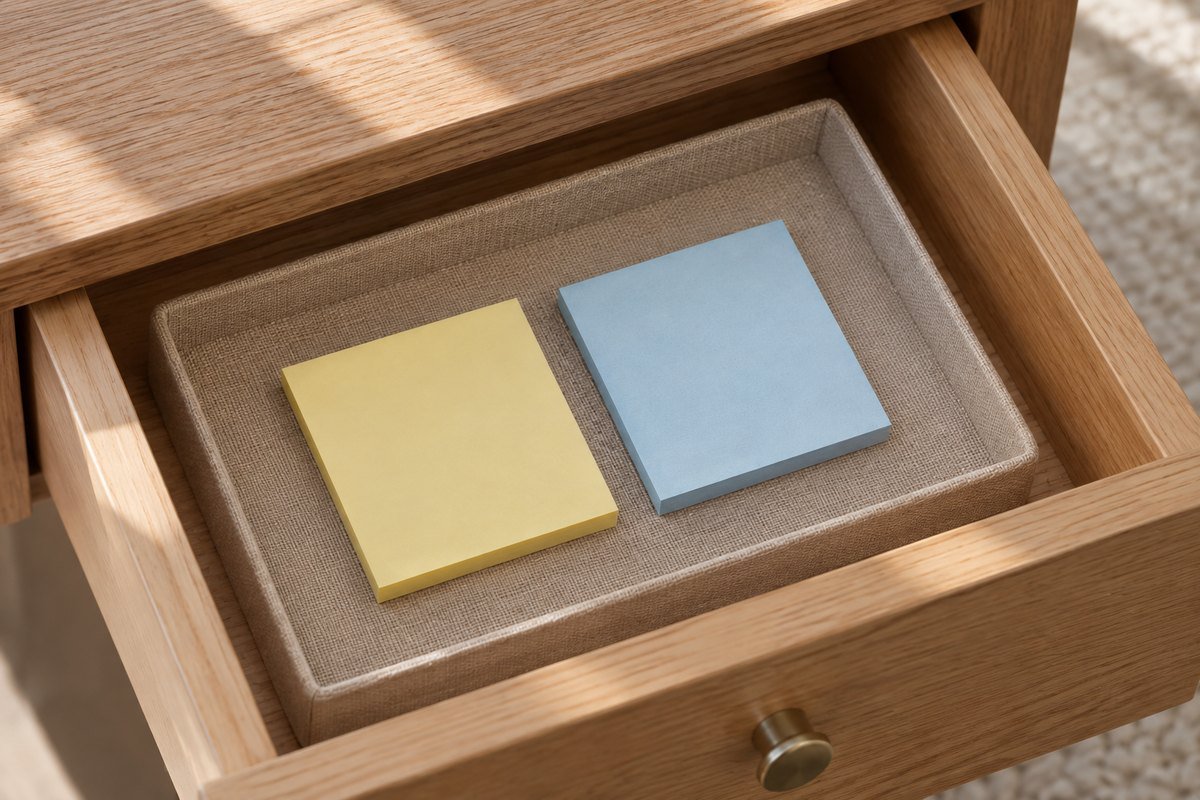
A few current note pads can occupy one shallow flat section without being buried under pens. Include the largest pad and any backing when checking the fit. Leave a finger gap along an edge. Keep unopened bulk packs in reserve storage so the working section remains small enough to inspect and replenish without rearranging the drawer.
11. Support index cards in a bounded readable row
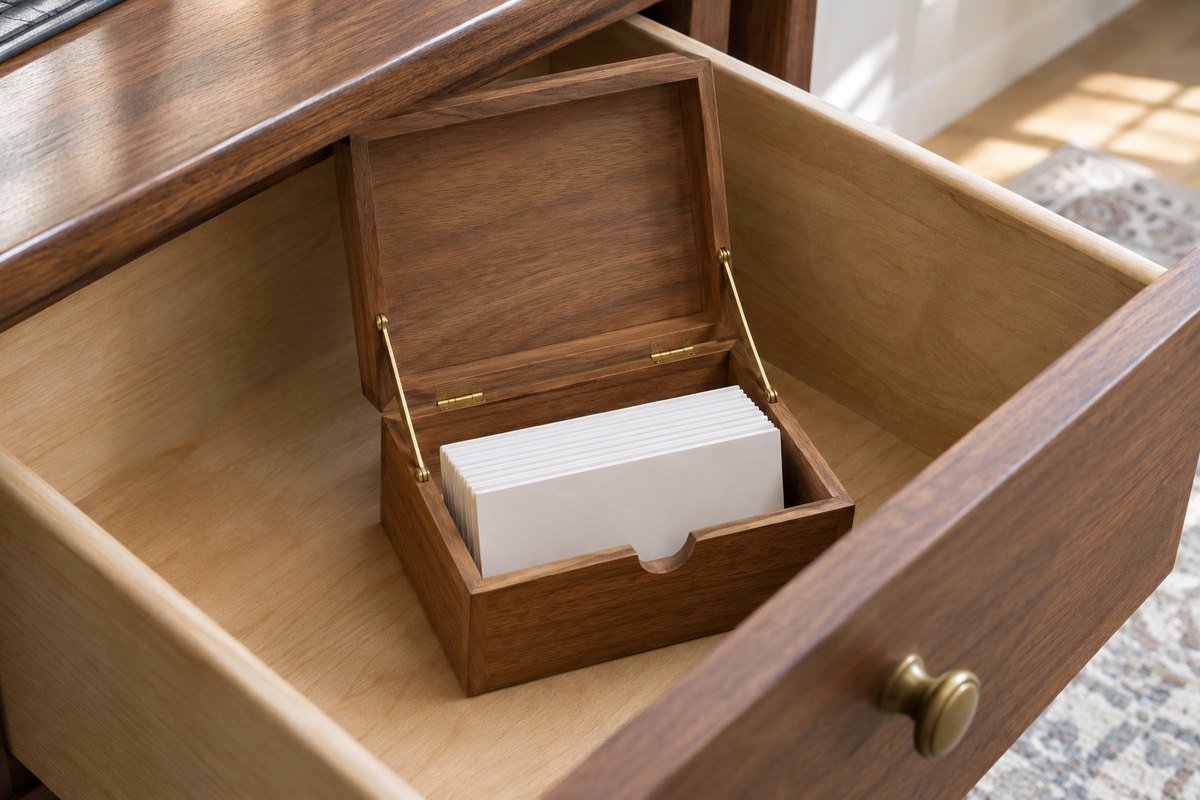
A small card box can keep blank index cards together when the drawer has appropriate closed clearance. Check the box, cards and lid as one stored object. Choose a flat arrangement instead if an upright row catches above. Keep project-specific cards in a separate clearly understood group so ordinary blank stock does not become mixed with active work.
12. Limit loose paper to one defined current packet

A drawer can hold a modest current paper packet when it is genuinely easy to review. Give it a flat section or appropriate folder instead of covering the whole drawer bottom with unrelated sheets. Move longer-term files to their intended storage. This boundary keeps the daily supply drawer from becoming an archive that must be searched whenever a pen is needed.
13. Give small removable devices a separate protective home

A suitable small case can keep a retained USB drive or similar accessory from disappearing among metal clips. Compare the real devices with the case's compartments and care requirements. Keep a personal identifier understandable without exposing private information. A neat storage case is not a substitute for the separate protection and backup arrangements appropriate to the information on a device.
14. Store unplugged spare cables in loose individual groups

A small broad compartment can hold a spare lead without turning the drawer into a tangle. Use a suitable reusable tie and avoid tight bends, following the cable maker's guidance. Keep the ends visible enough to identify their purpose. Store unplugged spares here; plan active connected equipment separately so the drawer is not expected to close around a working cable.
15. Keep occasional adapters separate from everyday leads

A small adapter may need a different compartment from a long coiled cable. Retain only identifiable accessories that belong to equipment still in use. A low case or removable bin can make their purpose easier to review. Keep damaged or uncertain devices out of the working collection rather than using an attractive organizer to conceal a mixed electronics pile.
16. Build a contained kit for occasional mailing tasks

If letters are part of the routine, a small flat kit can keep blank envelopes and appropriate mailing supplies together. Keep personal documents and address information suitably protected elsewhere. Choose the compartment through the largest retained envelope rather than folding it into a smaller bin. Limit the kit to supplies actually used instead of turning the drawer into general paper storage.
17. Separate two users with removable personal trays
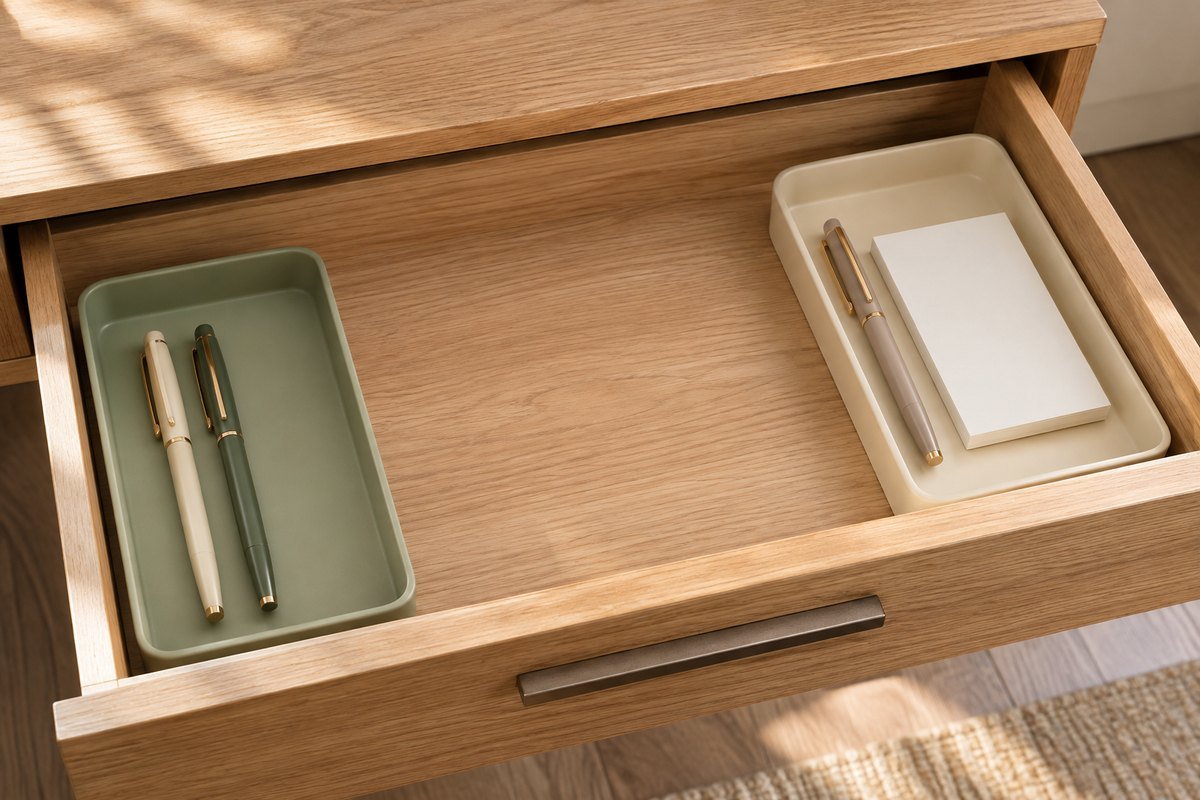
A shared desk can have one manageable supply tray per user plus an agreed common section. Assign space through actual contents rather than forcing identical quantities into matching cells. Make the handover simple enough to repeat. A removable tray is useful when it changes who is working at the desk without requiring the whole drawer to be reorganized.
18. Use a lift-out case for a task performed elsewhere
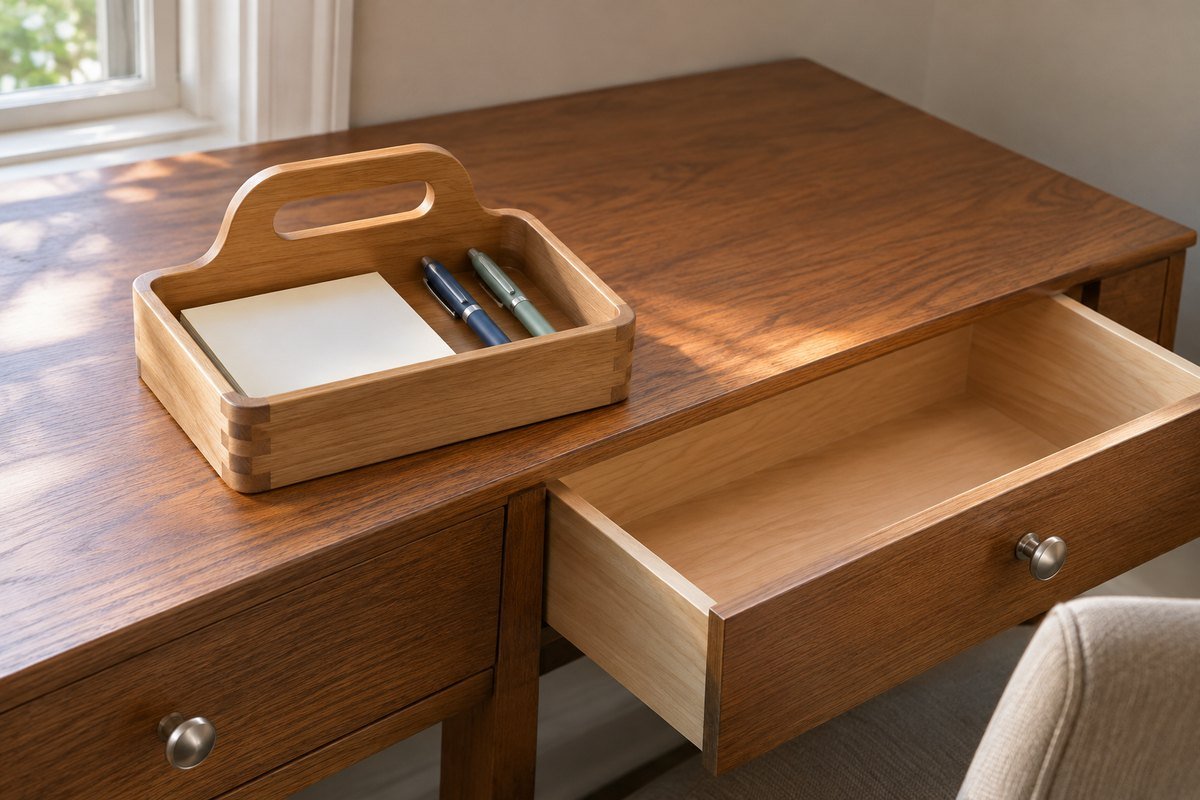
A portable work kit can suit supplies carried to another suitable surface, such as a short writing session at a dining table. Choose a container that fits the drawer and the actual destination. Check its filled weight and handle clearance. Keep a clear return place for the case so temporary work does not leave stationery distributed around the home.
19. Combine modular sizes around the real supply shapes

Separate square and long trays can suit a collection that changes. IKEA's cited NOJIG examples include a nominal 4-by-4-by-2-inch box and a 4-by-7¾-by-2-inch box. These are model details, not a promise of fit in your drawer. Compare current outside dimensions and usable openings, then leave enough access to remove a tray when it needs cleaning.
20. Check the filled height beneath the cabinet above
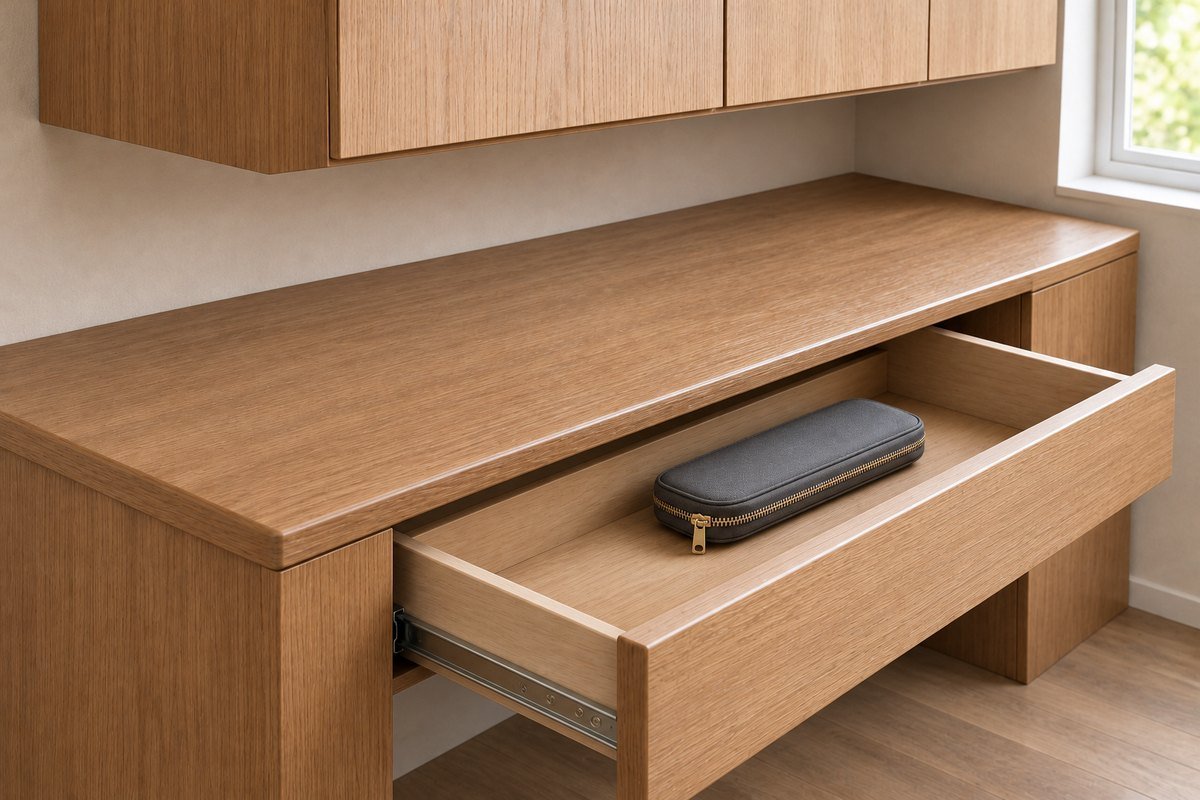
A container can fit an open drawer while its contents stand too tall when the drawer closes. Compare the complete stored item, lid and organizer base with the actual closed clearance. Test movement gently without forcing contact. Move a tall object to another appropriate location if the drawer works only when that item is laid in an unsuitable position.
21. Use a layered system only when lower supplies remain accessible

A purpose-designed sliding or lift-out top tray can use a deeper drawer for two levels. Check the actual system's compatibility and the combined closed height. Keep the upper group manageable when filled. If reaching a daily item underneath requires unloading several containers, put that item elsewhere instead of treating more layers as an automatic improvement.
22. Choose a removable liner through the drawer's care requirements

A suitable liner can form a removable layer without committing to adhesive on the drawer. Check both the furniture and liner directions before fitting it. Keep edges flat and clear of the slides. Include its thickness in the closed-height test, and inspect beneath it during care rather than assuming a liner protects against every spill or surface mark.
23. Keep the storage unit outside the seated working space
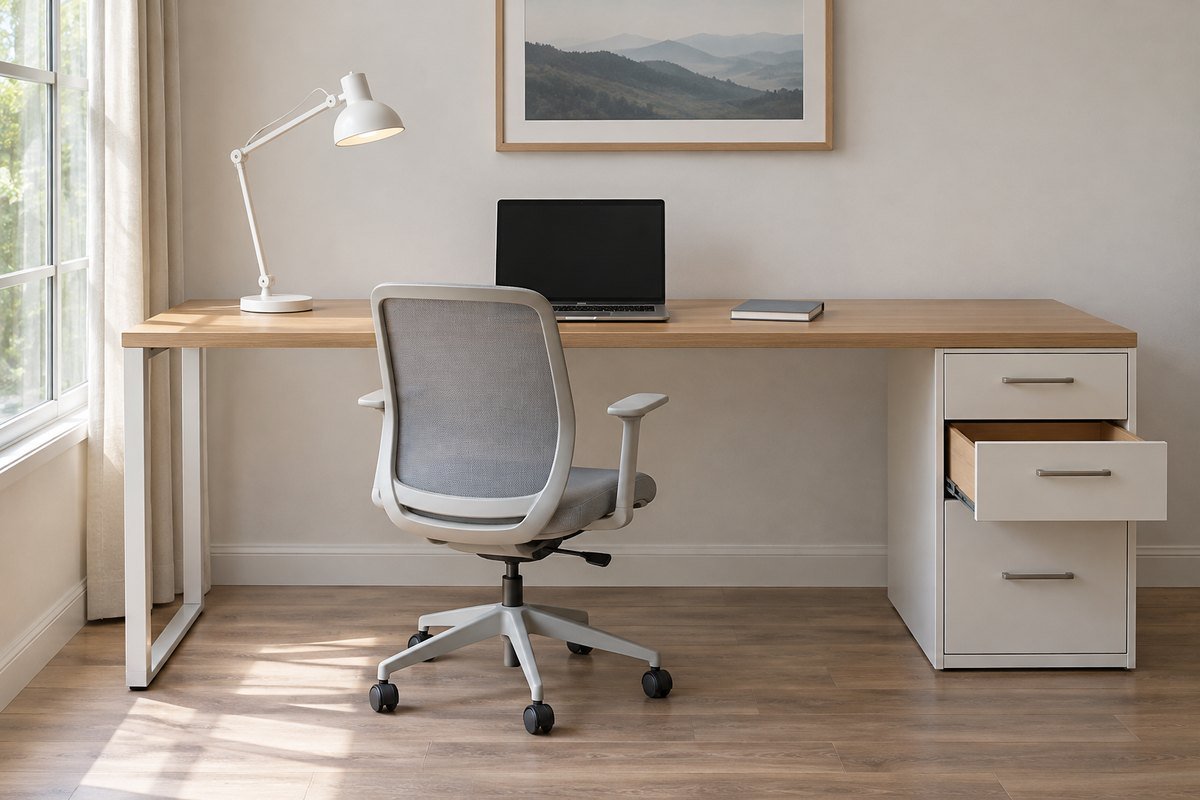
Drawer organization should not require crowding the chair or the space for legs and feet. OSHA's desk guidance says this area should remain clear of stored items that restrict movement. Compare the complete cabinet, handle and open drawer with the actual working position. Choose a suitable furniture arrangement rather than modifying the desk to make a storage box fit.
24. Finish with a short empty-and-reset routine
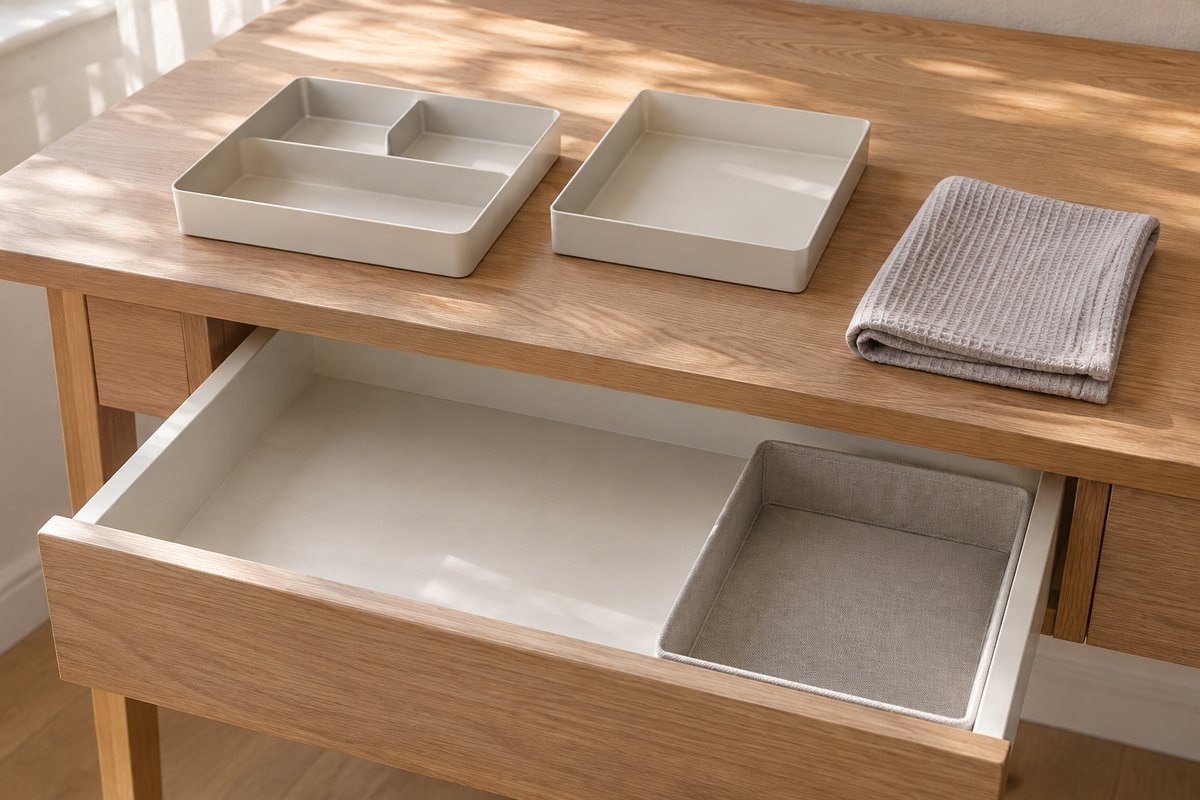
Lift out one module, follow the specified care method and inspect the drawer beneath. Return only useful current supplies and their appropriate reserves. Leave one small bounded space for a changing task instead of assigning every inch permanently. If the drawer becomes hard to reset, simplify the groups before buying another elaborate insert.
Compare the drawer with the working day
Draw the usable drawer at full size and mark each proposed organizer's outside footprint. As a hypothetical arithmetic example, three 4-inch-wide bins occupy 12 inches in a drawer with 14 inches of clear internal width, leaving 2 inches before other fitting requirements are considered. These numbers are not recommended drawer dimensions. Check depths, rims, liner thickness and removal space separately; a mathematical fit can still be inconvenient when there is no place for fingers.
Next, place the actual closed supplies within the outlines. Test the longest ruler, widest dispenser and filled case before refining smaller divisions. Write a separate care note for the chosen materials. For its cited NOJIG organizers, IKEA specifies a soft damp cloth and mild detergent or soap if needed; this is not a dishwasher or soaking instruction. Follow the furniture directions independently, allow components to dry as directed, and keep the complete chair and leg space useful when the drawer is open.
A practical next step
Choose the drawer arrangement around retained supplies, easy retrieval and the complete working position. Then use a few compatible containers to make the groups understandable. A useful result is one that can be returned to order during an ordinary workday without carefully rebuilding every compartment.
For the surrounding room, home office organization ideas for the surrounding workspace. Home office setup checks for the complete working position.
The images are original AI-generated design concepts, not photographs of tested products or verified installations.
Sources and care references
- IKEA: NOJIG small organizer 604.770.37 dimensions and care
- IKEA: NOJIG long organizer 704.574.87 dimensions and care
- OSHA: desk storage and clear space beneath the work surface
Optional digital guide for this topic
If you prefer a structured workbook, explore this related paid guide.