Home office setup needs to fit the person and the tasks performed there. Compare the chair, work surface, screen and input devices together instead of choosing each piece only for its appearance.
OSHA workstation guidance is a useful starting reference, and individual needs can differ. These photographs illustrate arrangements rather than a prescription, medical assessment or promise that one setup will suit every person.
Images are illustrative design concepts, including AI-generated replacement images. They are not installation drawings.
Review Home Office Setup With the Tasks You Actually Do
Open the applications and documents used in a normal work session, then check the position of the screen, keyboard, pointing device and papers together. Next, change one component at a time so its effect on the arrangement is clear. For example, moving a display may also change the space needed for a notebook. Use the equipment instructions and the linked workstation guidance, and seek individual assessment where particular needs require it.
1. Adjust the Chair With the Workstation in View
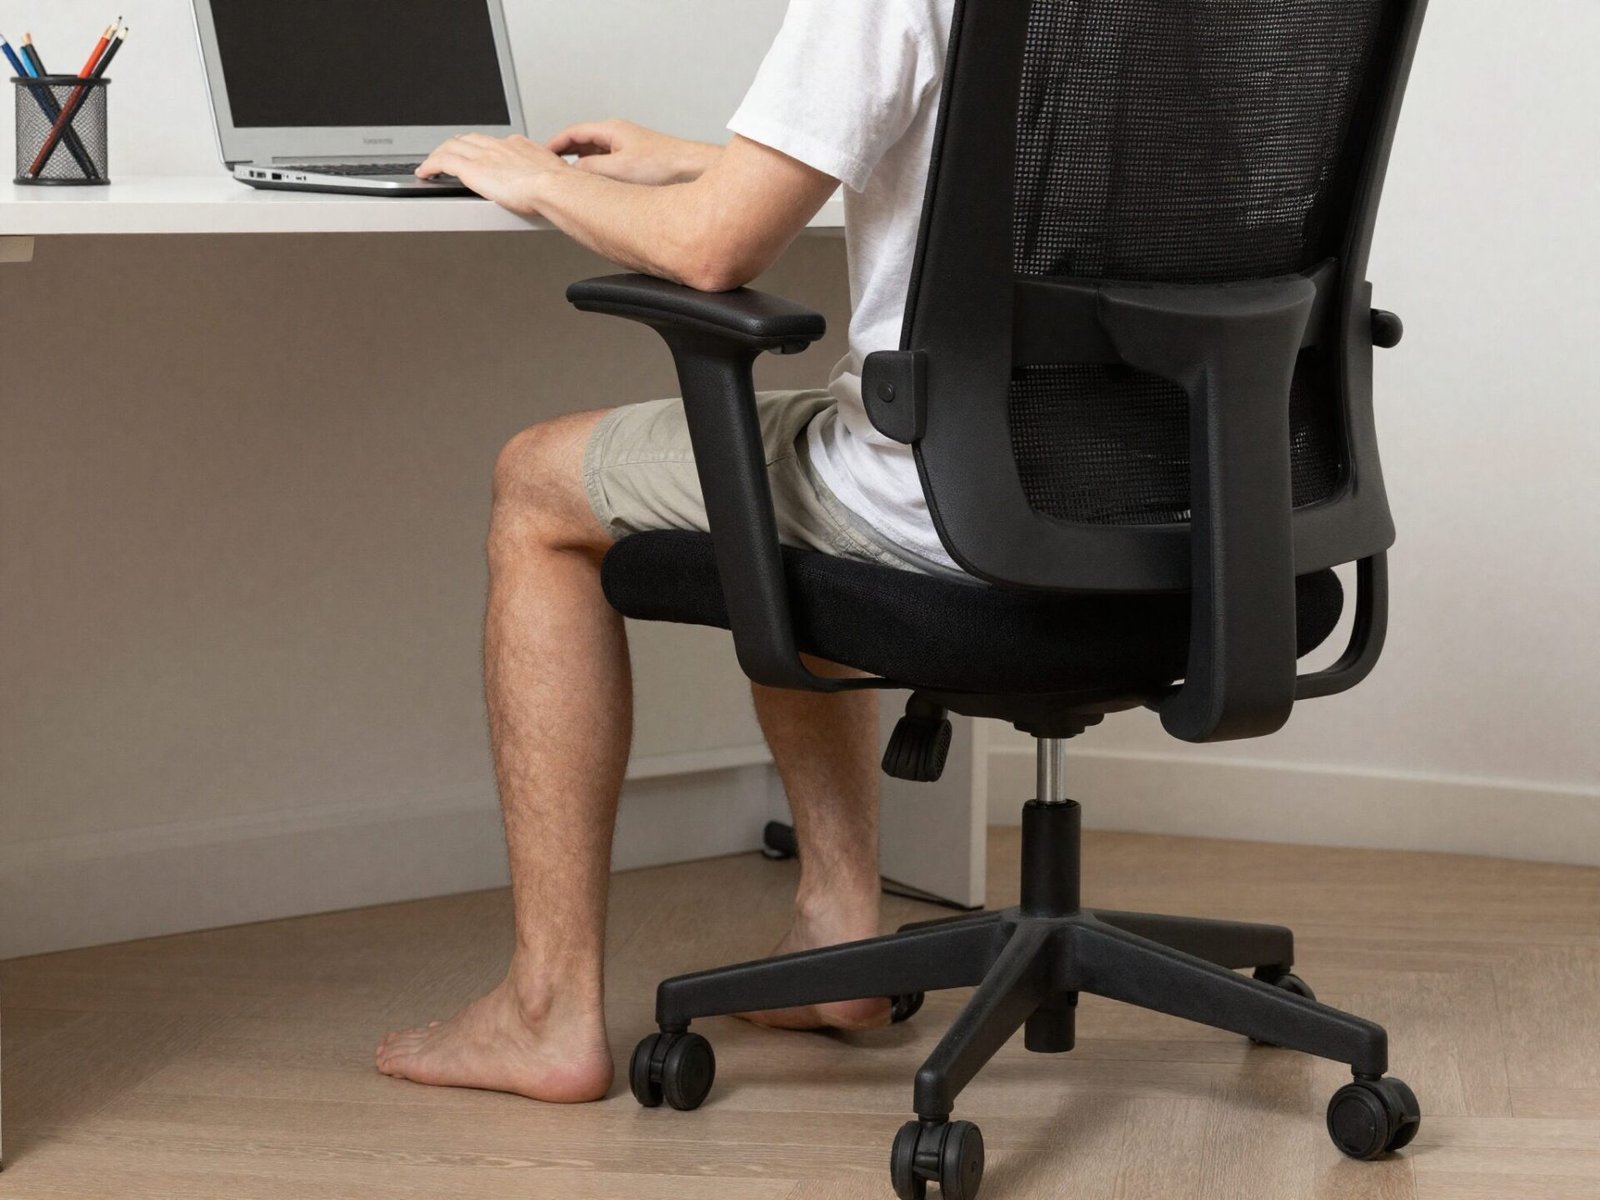
Use the actual chair controls and product guidance while seated normally. Compare the seat position with the work surface, foot support and the tasks performed. Keep the adjustment process connected to the whole setup rather than copying a pictured chair height.
Try this: Check the chair again after changing another workstation component.
2. Check Keyboard Reach
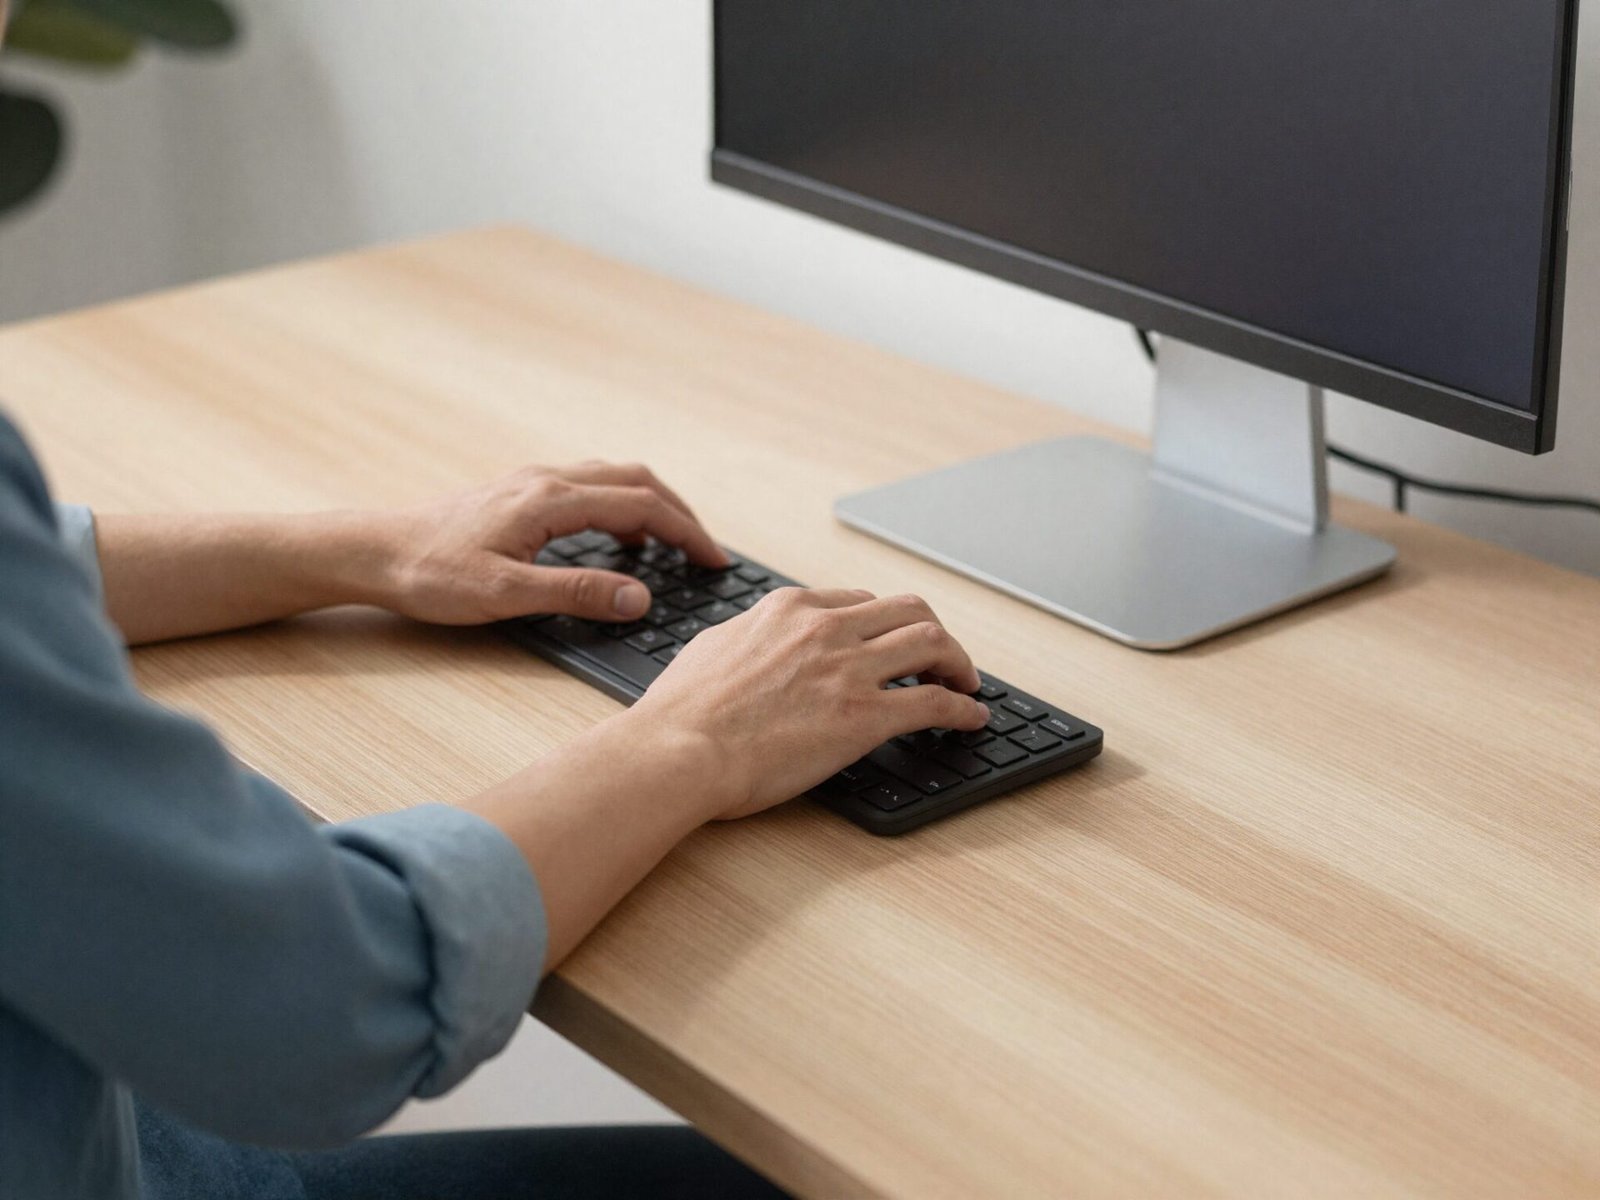
Compare the keyboard and pointing-device position with relaxed shoulders and a practical reach. OSHA describes neutral working postures with the forearms and wrists aligned. Choose adjustments using the actual equipment and user rather than assuming a fixed desk height.
Try this: Try a normal typing task before finalizing the position.
3. Choose a Readable Screen Distance
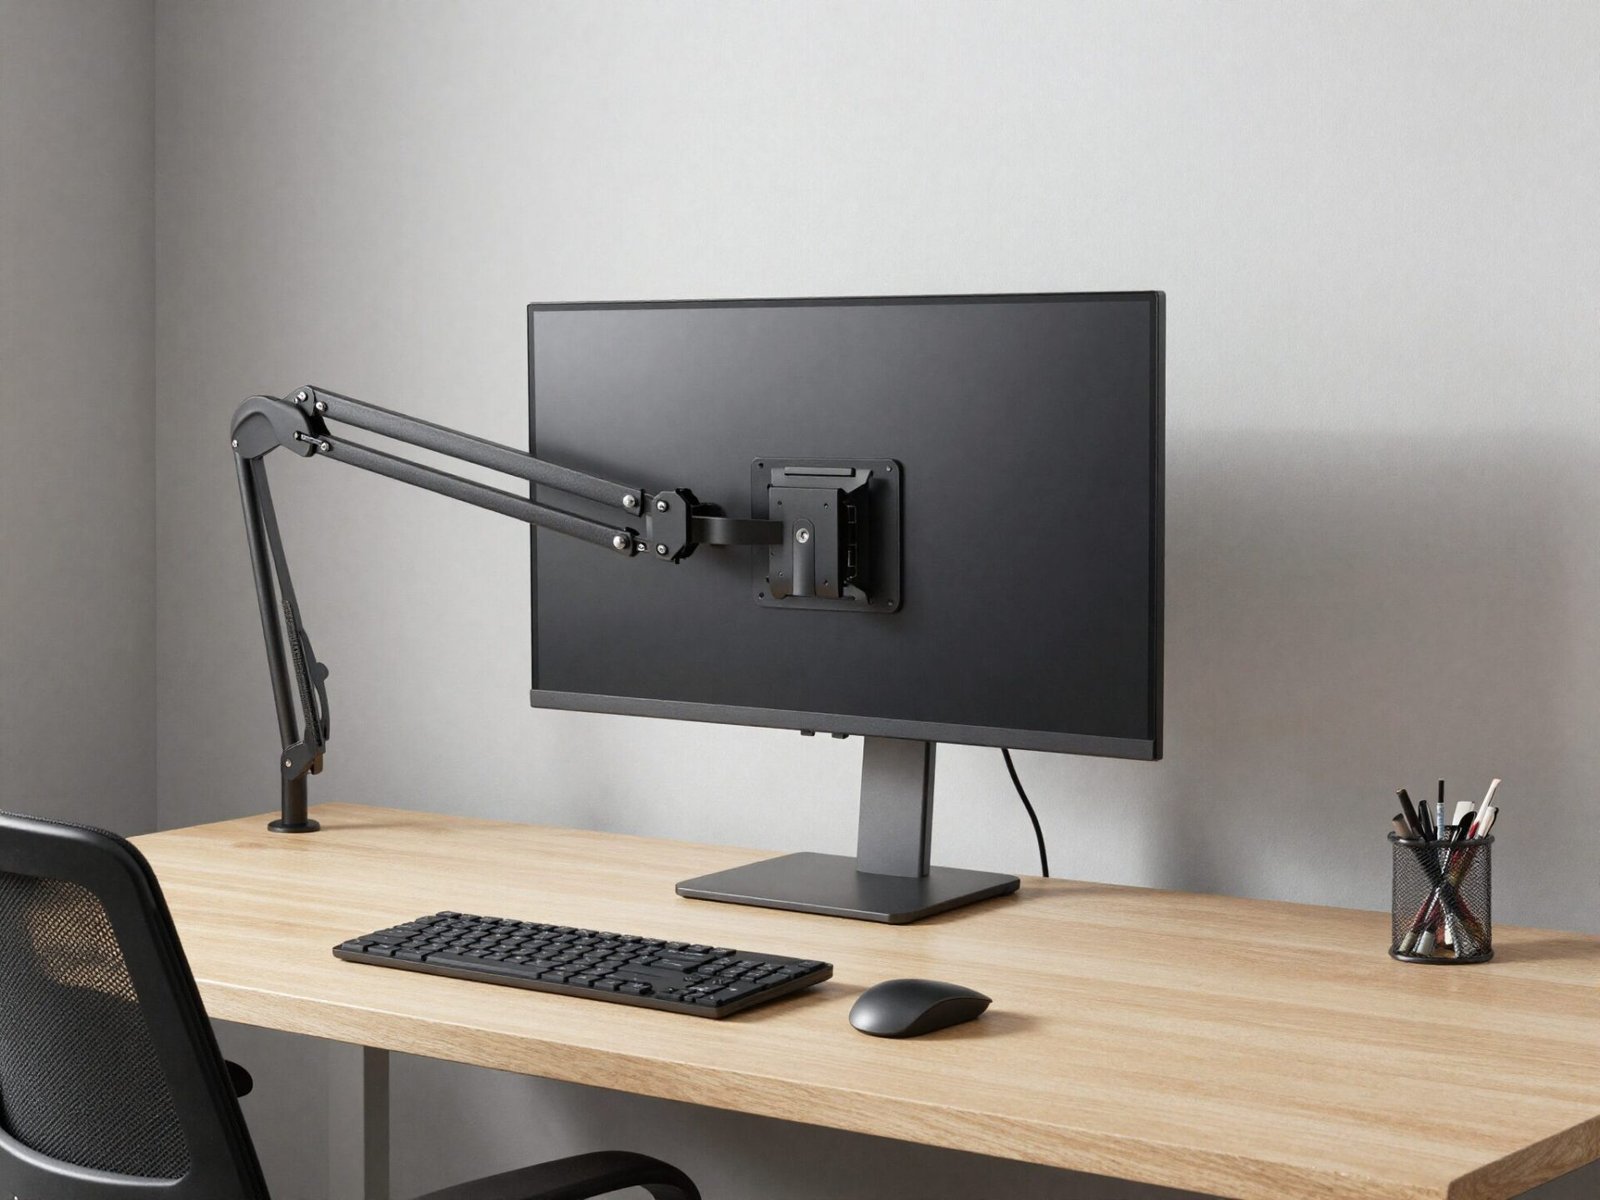
Place the screen where its content can be read without routinely leaning forward or back. Compare the actual display, text size and user needs rather than applying a single arm-length measurement to every setup. Follow monitor-support guidance when changing its position.
Try this: Test the applications used most often.
4. Review Screen Height From the Working Position

OSHA gives the top of the monitor at or just below eye level as a general starting point. Assess the actual user, display and viewing needs, and adjust where appropriate. A photograph does not establish the correct setting for every person or type of eyewear.
Try this: Check the screen after sitting in the normal work position.
5. Arrange Multiple Screens Around Their Use
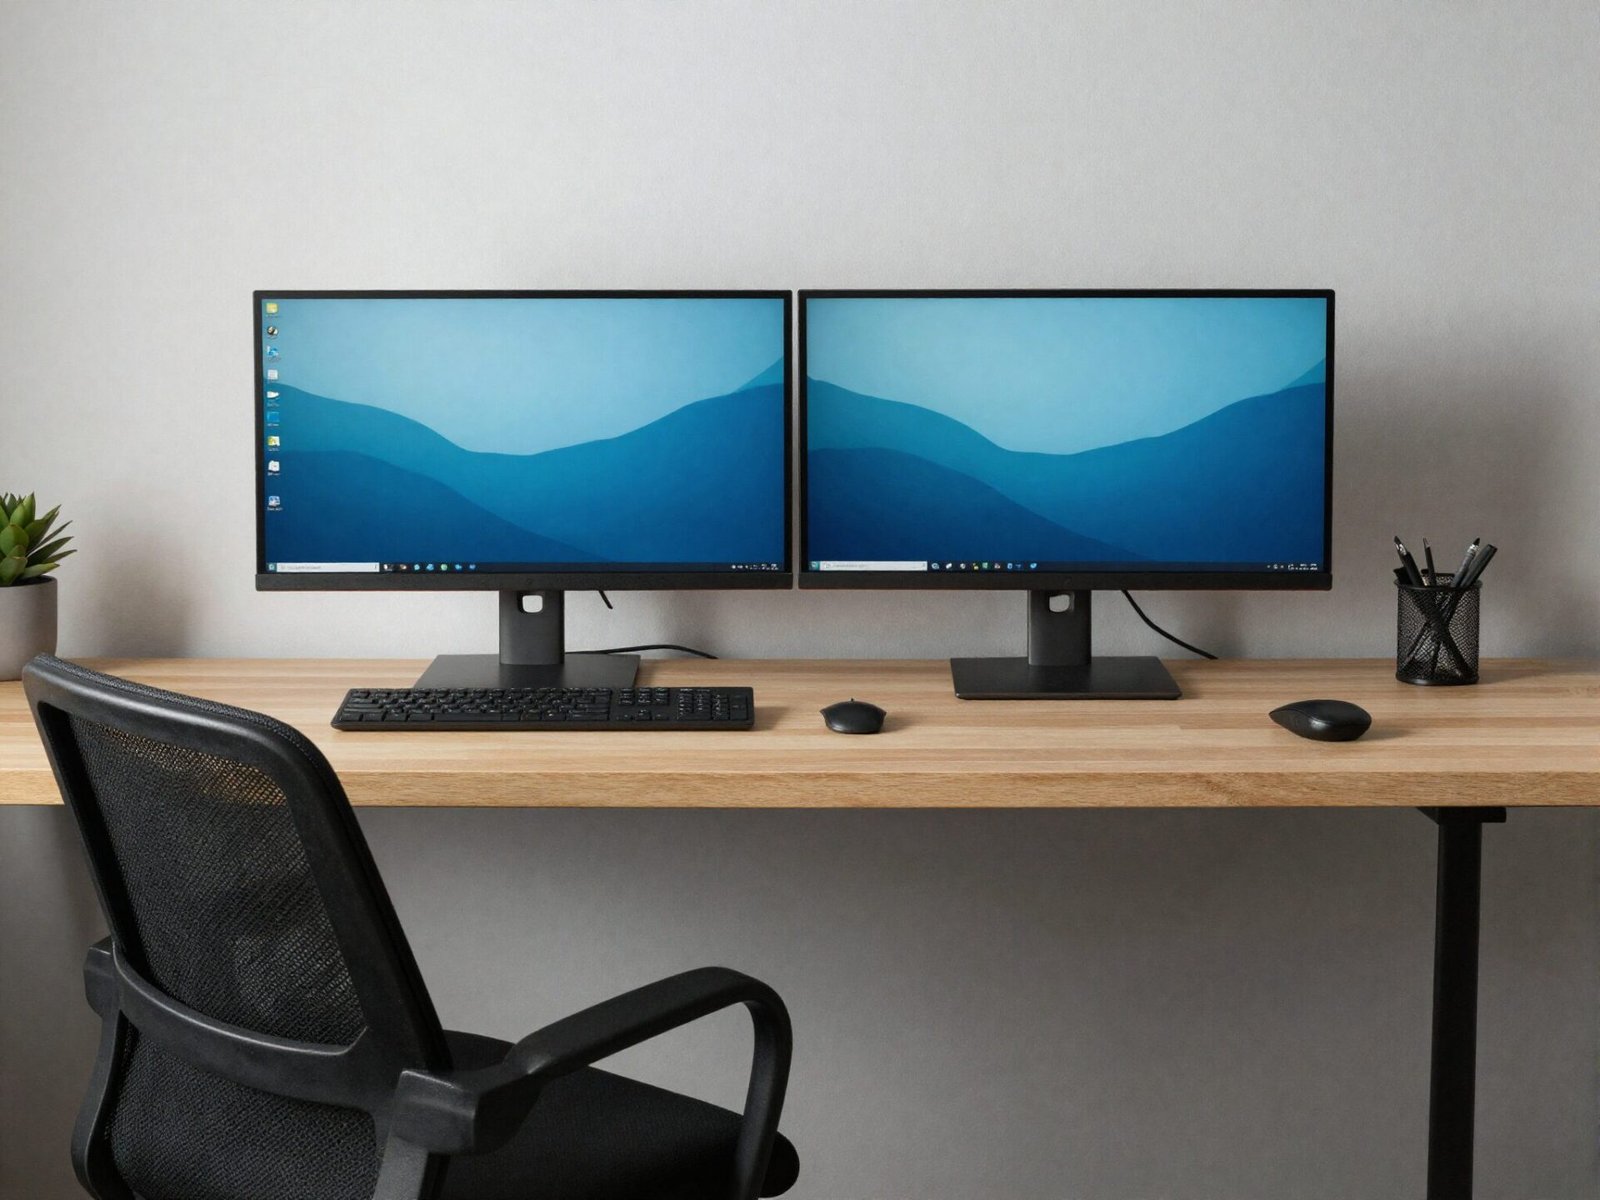
Compare which screen is used most often and how the actual tasks move between displays. Test the arrangement from the chair rather than placing screens only for visual symmetry. Keep the keyboard and pointing device part of the same layout review.
Try this: Use a familiar task to identify repeated unnecessary reaching or turning.
6. Keep the Keyboard and Mouse Within Practical Reach

Place frequently used input devices where they can be used without an awkward stretch. Compare the actual keyboard size, mouse area and desk edge with the working position. Keep a clear surface for the tasks instead of filling every gap with accessories.
Try this: Review the setup with the normal equipment connected.
7. Use a Suitable Footrest When Needed

When the chair and work surface are adjusted appropriately but the feet do not rest comfortably on the floor, a suitable footrest may help provide support. Follow the actual product guidance and individual workstation needs. The photograph illustrates the presence of a footrest rather than a height prescription for every user. Keep the area free for ordinary leg movement.
Try this: Test the chair, work surface and foot support together.
8. Adjust Laptop and Input Devices Separately
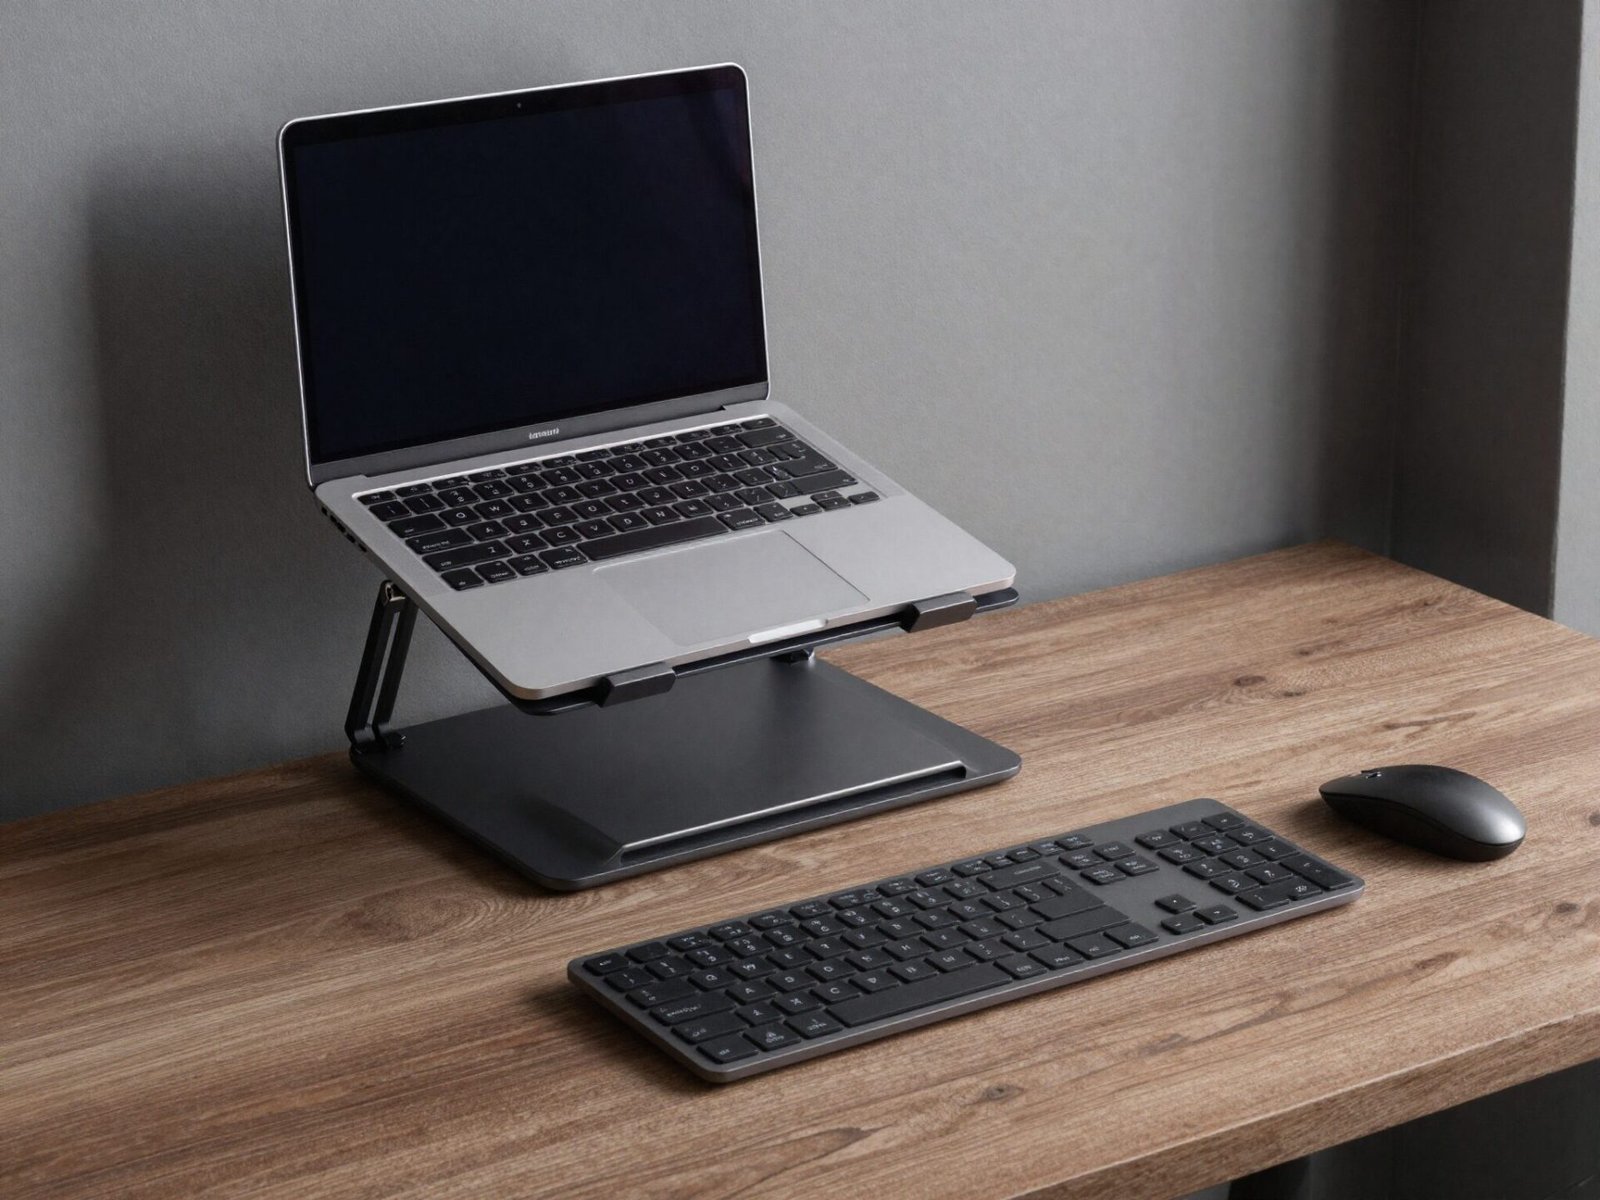
A suitable laptop support and separate input devices can allow their positions to be adjusted independently. Check the actual equipment guidance, stability and working footprint before choosing a stand. Keep the support stable and confirm its adjustment range for the equipment.
Try this: Test typing and screen reading together before adding another accessory.
9. Adjust the Back Support Using the Actual Chair

Compare the backrest and available controls with the seated work position. Follow the chair guidance and evaluate the support together with the seat and desk. A decorative photograph cannot establish that a particular shape fits another person.
Try this: Use the chair controls instead of assuming the initial setting is suitable.
10. Check Armrests During Normal Desk Use

Adjustable armrests should be evaluated together with the actual desk access and input-device position. Check whether they interfere with moving close enough to work comfortably. A fixed armrest height or a photograph cannot settle the whole arrangement.
Try this: Try sitting, typing and standing from the chair.
11. Choose Desk Size Around the Equipment and Room
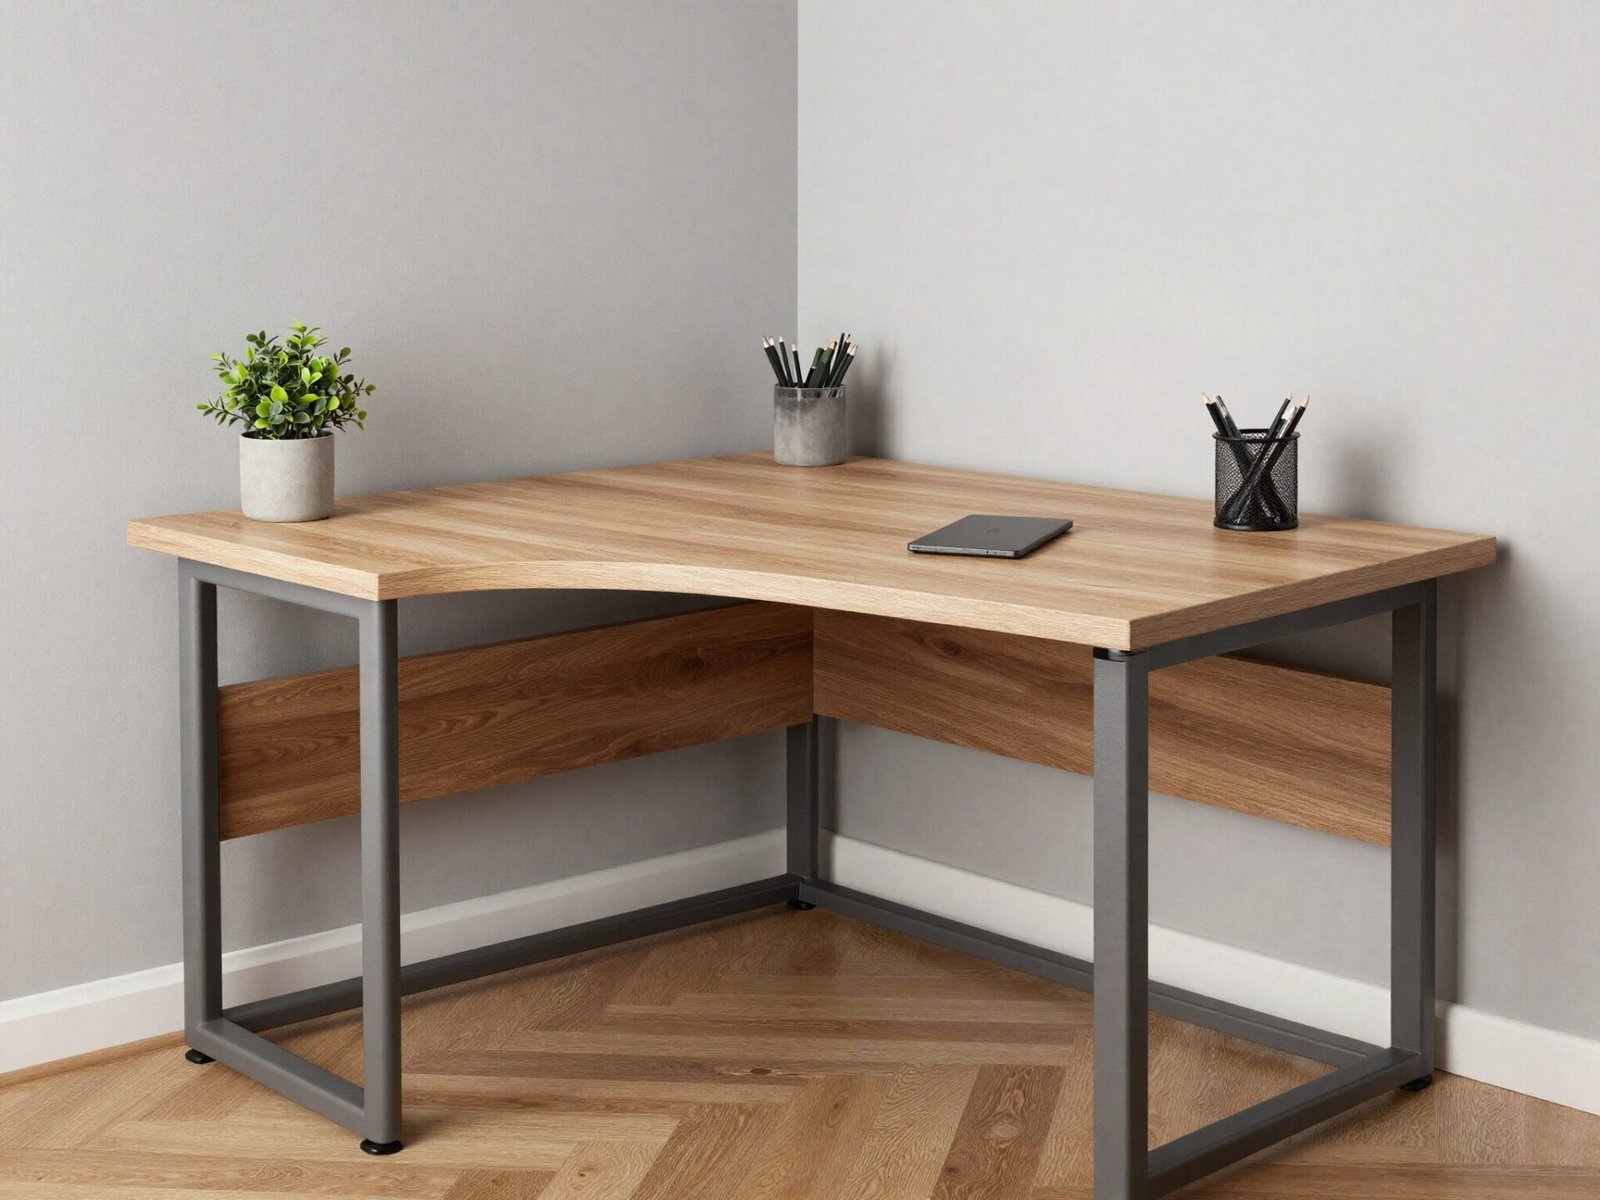
Measure the equipment, working documents and usable floor route before choosing desk width and depth. Keep enough room for the actual screen support and input devices. The best size depends on the complete arrangement rather than a universal single-monitor dimension.
Try this: Mock up the working footprint before ordering a larger surface.
12. Allow Changes in Working Position

OSHA notes that even a good working position should not remain fixed for long periods. Build appropriate movement and position changes into the actual routine, considering individual needs. A height-adjustable desk does not establish a universal standing schedule.
Try this: Choose adjustments and movement that fit the work and the person.
13. Check Reflections and Task-Light Position
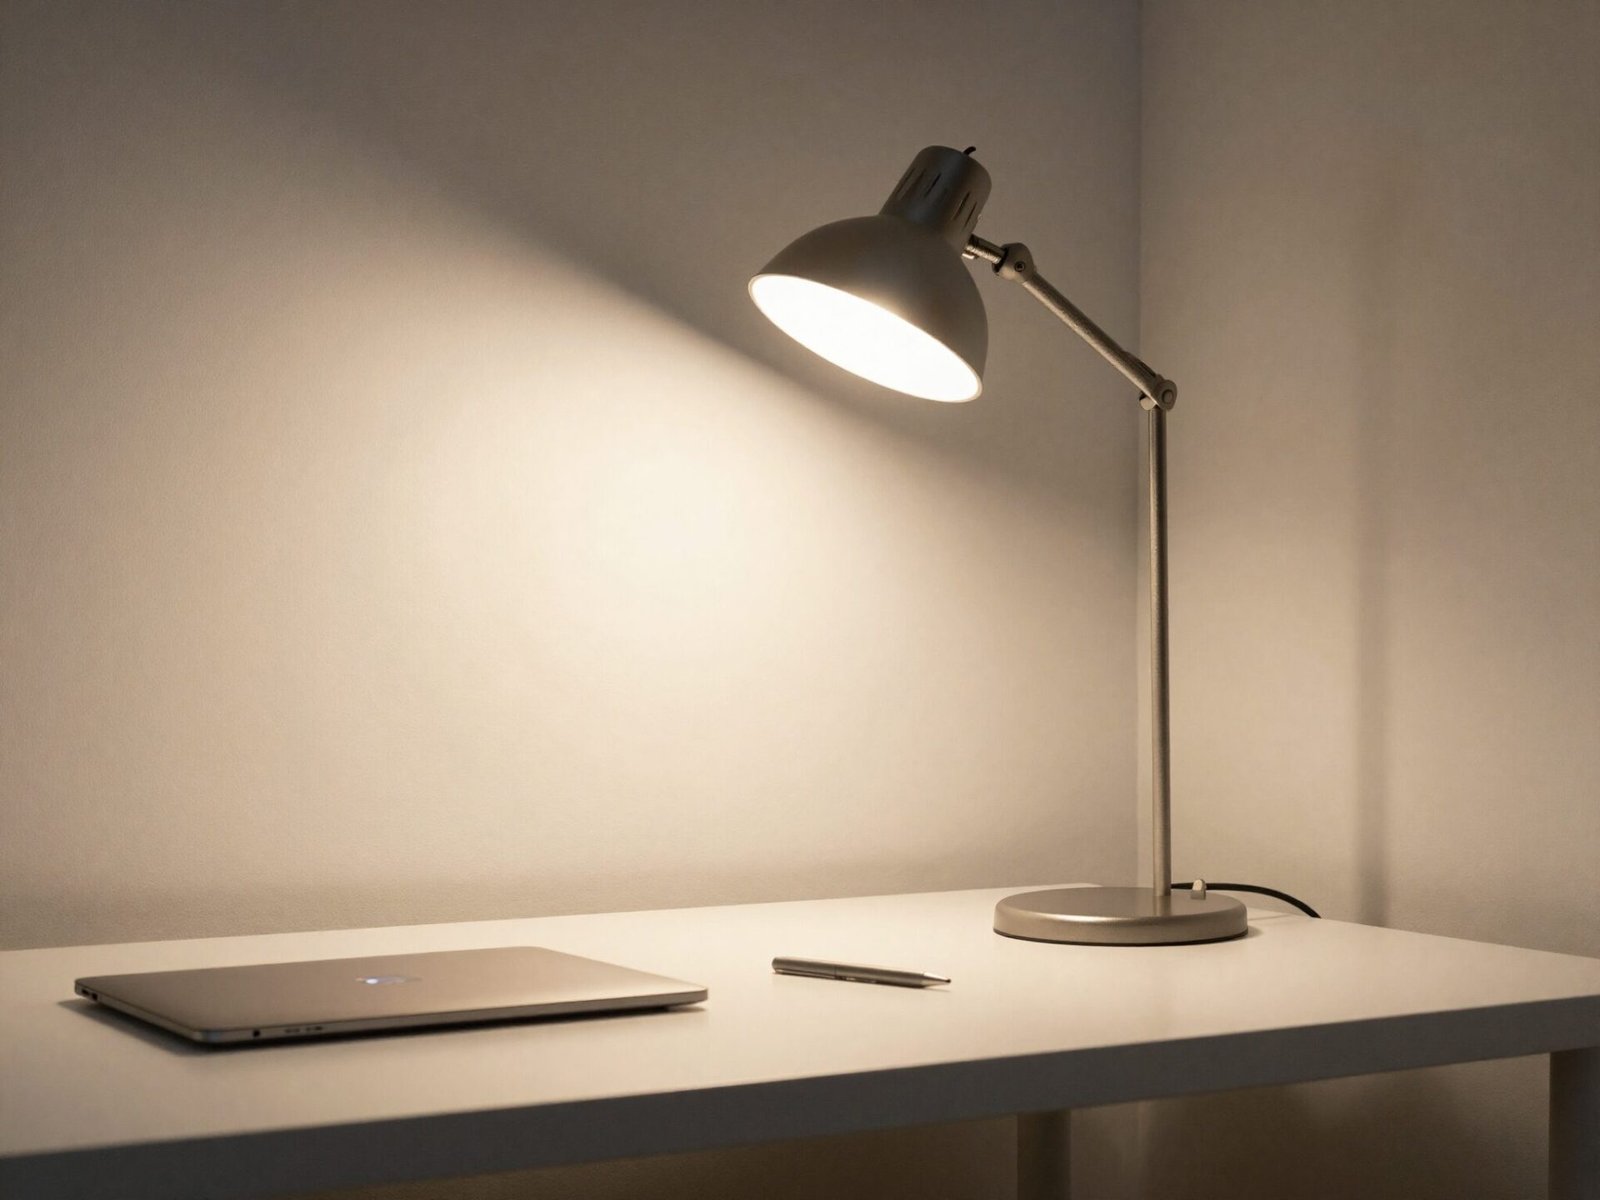
View the actual screen with the room lights and daylight conditions normally present. Compare light position and brightness where reflections interfere with reading. A particular color-temperature label does not by itself establish reduced fatigue for every user.
Try this: Test the screen at different normal work times.
14. Recheck After Equipment Changes

A new chair, display or work surface can change the relationship between the other components. Recheck ordinary tasks and use actual product guidance while adjusting the setup. Seek appropriate individual advice where the arrangement remains uncomfortable or specific needs require assessment.
Try this: Keep the adjustments that improve the actual routine.
Adjust the Workstation as One Connected Setup
Begin with the chair, work surface and frequently used equipment as one setup. Test normal tasks, make suitable adjustments and keep the arrangement open to later changes.
Related Guides
- 20 Home Office Ideas for a Productive Stylish Workspace
- 22 Ideas for a Dry Workspace Near a Bathroom
- 21 Home Organization Ideas for Everyday Rooms
Further Reading
Optional digital guide for this topic
If you prefer a structured workbook, explore this related paid guide.