The most useful monitor stand ideas solve a particular desk problem: a low display, a keyboard with no parking place, or small supplies spread across the working surface. Start by identifying that problem. A taller shelf or a wider riser can change several parts of the setup at once, so compare the screen position and ordinary work before choosing the appearance.
These 23 arrangements include open bridges, drawers, separate paired risers and situations where adding a stand would be unnecessary. They are design and planning options, not product tests or individual workstation assessments. Use the actual monitor and support instructions, and retain a setup that serves the person using it.
Contents
- 1. Use a low open bridge for one simple screen
- 2. Choose a purpose-made adjustable riser when height needs to change
- 3. Give a deep monitor base a deep enough platform
- 4. Check both arms of a wide V-shaped foot
- 5. Keep a compact display's riser proportionate to its actual needs
- 6. Measure a keyboard's complete parking opening
- 7. Use a shallow drawer for a defined group of small supplies
- 8. Choose an open cubby when frequent retrieval matters more than concealment
- 9. Compare a continuous shelf for two displays used together
- 10. Use separate risers when two monitor bases need different support
- 11. Arrange a primary screen before positioning its occasional companion
- 12. Check a portrait screen before raising it further
- 13. Give a laptop beside the monitor its own compatible support
- 14. Separate laptop screen placement from active typing
- 15. Use a desk corner only when it improves the complete working position
- 16. Resolve shallow-desk depth before adding storage under the screen
- 17. Check a moving desk through its permitted adjustment range
- 18. Make a shared desk easy to reset for its next user
- 19. Leave a separate landing area for active paper
- 20. Keep the lamp outside the support and screen's usable space
- 21. Preserve a route to rear connectors and controls
- 22. Choose open access for the next clean and equipment check
- 23. Keep the original base when an extra riser adds no useful function
Check the display before adding another layer
Record the monitor's complete base footprint, weight with its stand and available adjustments. Measure usable desk depth and width, including rear connectors and the space needed for keyboard, pointer and papers. Compare those measurements with the support's stated capacity, usable top and full footprint. OSHA gives the screen top at or slightly below eye level as a general starting point; individual viewing needs can differ. Assess the normal seated position rather than copying a photographed shelf height.
Choose an arrangement that fits your situation
- One display with a compact supported base: Compare a low bridge only after checking the required final screen position
- A wide V-shaped monitor foot: Check the complete contact footprint against the usable top
- A keyboard needs a closing-time parking place: Measure the lower opening including the whole keyboard and attachments
- Two displays differ in size and use: Compare separate supports and the primary working direction
- The desk has limited front-to-back space: Resolve viewing and input-device depth before adding a riser
- The monitor already adjusts appropriately: Retain its original base when another support adds no needed function
1. Use a low open bridge for one simple screen
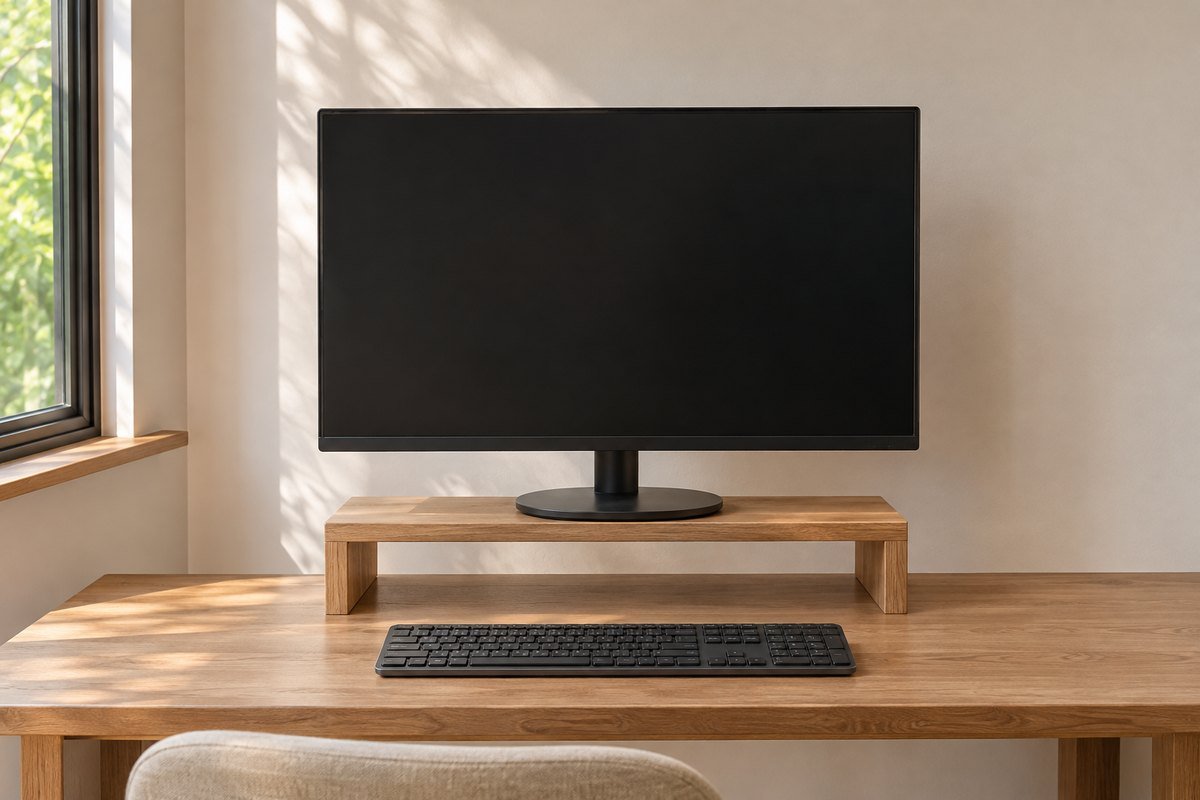
A low bridge can create a small open space beneath a single monitor without adding a full storage unit. Compare the complete base with the usable top and keep all intended contact points supported. Leave the lower opening clear enough to serve a purpose. If the monitor already reaches a suitable position, an additional bridge may provide height that the setup does not need.
2. Choose a purpose-made adjustable riser when height needs to change

An adjustable support can serve a desk whose required screen position changes. Compare its actual adjustment range, locking method and permitted load with the equipment. Follow its directions when changing the setting, including any requirement to remove the display first. Choose the smallest useful change after reviewing the complete setup rather than using the highest position as the default.
3. Give a deep monitor base a deep enough platform

A large display can have a base that extends farther forward or backward than expected. Trace the actual contact footprint, not only the screen width, before comparing risers. Include rear cable access and the manufacturer's support requirements. A deeper stand helps only if the desk still provides a useful viewing distance and space for the ordinary input devices.
4. Check both arms of a wide V-shaped foot

A V-shaped base needs support across its complete spread. A shelf that accommodates the central stem can still leave an outer contact point beyond the edge. Compare the foot's outside width and depth with the usable platform. Keep the monitor in its intended orientation rather than turning its base awkwardly just to fit a narrower decorative shelf.
5. Keep a compact display's riser proportionate to its actual needs
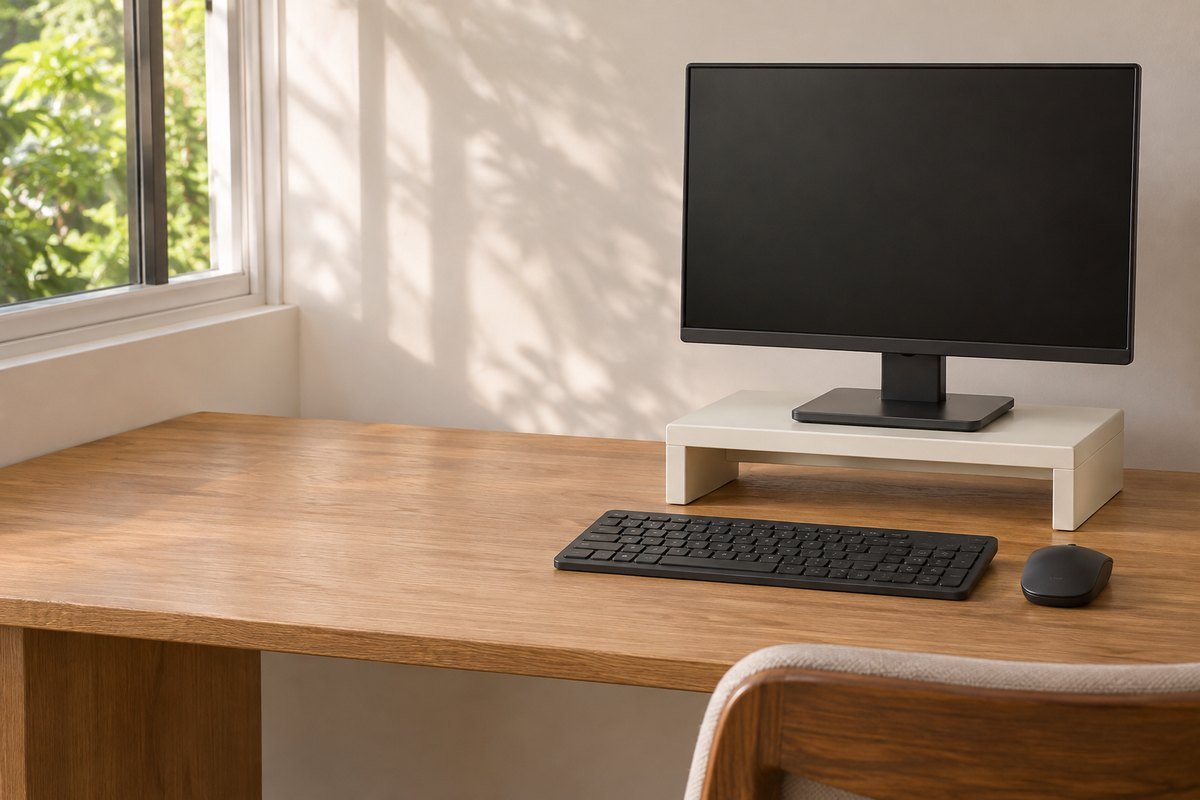
A modest single-screen station may not need a desk-wide shelf. Compare a compact support after checking the base, weight and desired position. Keeping the riser limited can leave more room for a notebook or a task lamp beside it. The aim is a useful footprint, not the smallest possible object regardless of the monitor's support requirements.
6. Measure a keyboard's complete parking opening

A bridge can provide a parking place for a keyboard when work finishes. Measure the full keyboard, including any attached wrist support, against the opening rather than the riser's outside width. Check that it slides without catching the legs. Bring it back to a suitable working position for typing; the lower opening does not automatically become the correct position for active use.
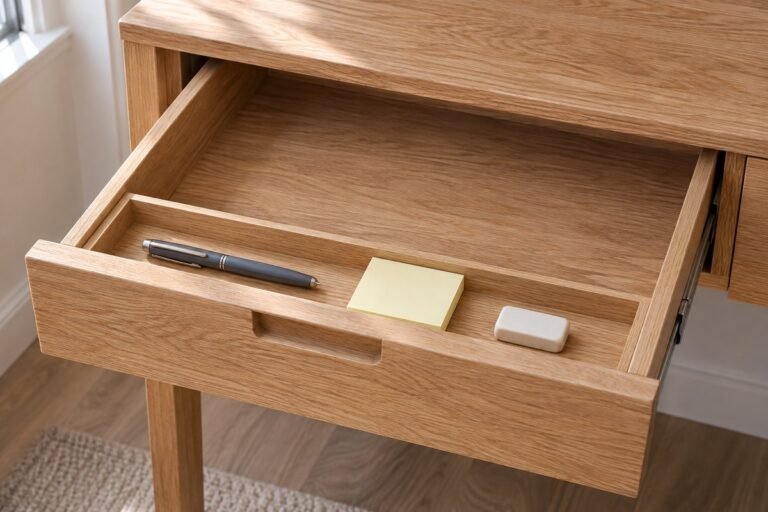
7. Use a shallow drawer for a defined group of small supplies
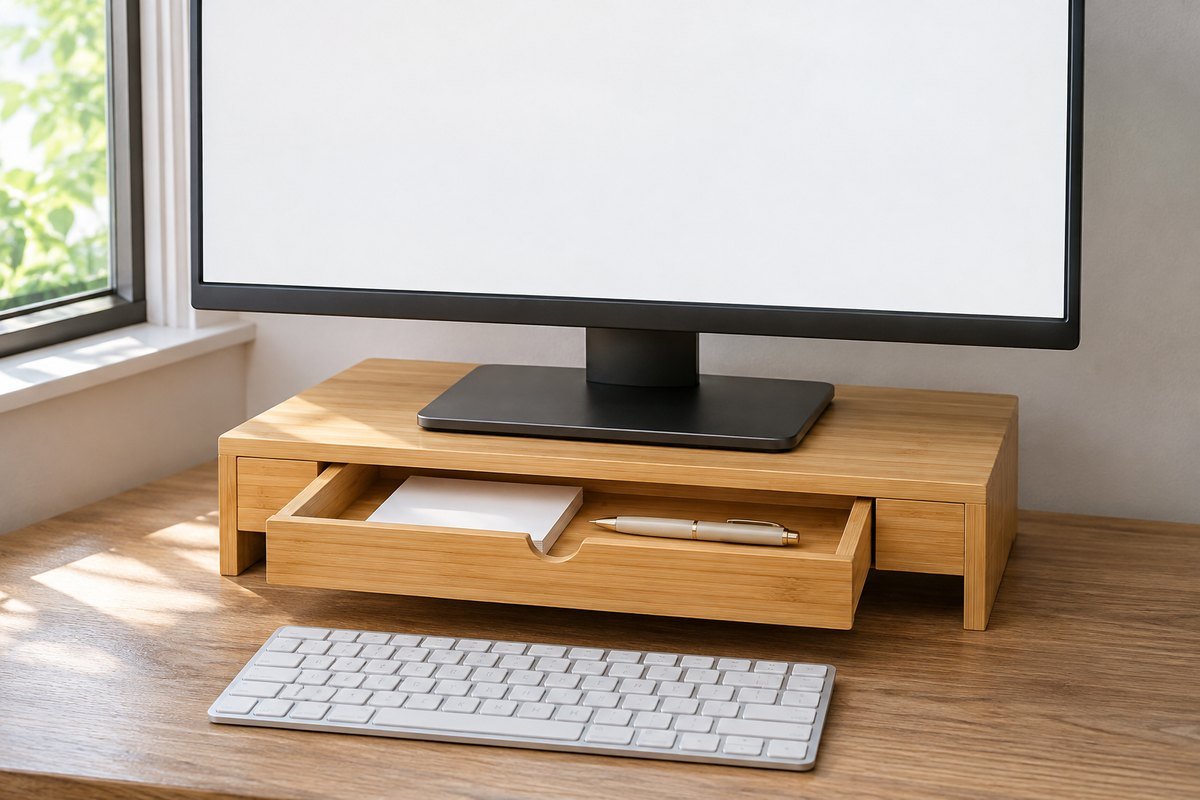
A built-in drawer can give a few pens or small accessories a return place. Compare its inside dimensions with that retained group and check how it opens with the keyboard in use. IKEA's cited ELLOVEN model combines a monitor platform, a drawer and lower keyboard storage. Treat that as one configuration to measure, not proof that every drawer riser fits your equipment.
8. Choose an open cubby when frequent retrieval matters more than concealment

A bounded open compartment can suit one closed notebook or another frequently retrieved item. Compare the real object with the usable opening and leave an edge easy to grip. Keep the cubby small enough to reset. Filling every opening with loose stationery can recreate the desk clutter at a second level and make the area harder to inspect.
9. Compare a continuous shelf for two displays used together

A long shelf can give two monitors one visually connected base when the whole system is designed for the combined equipment. Check total load, permitted placement and support across the span. Include both monitor feet and the desk's available depth. Do not infer structural suitability from an attractive long plank or assume that a one-screen capacity applies twice.
10. Use separate risers when two monitor bases need different support

Separate suitable supports can accommodate displays with different feet or adjustment ranges. Compare the final screen arrangement after accounting for each base and riser, rather than matching shelf heights alone. Keep the supports fully on the desk. This approach can also make a later single-monitor change simpler, provided the actual working layout remains useful.
11. Arrange a primary screen before positioning its occasional companion

When one display serves most tasks, organize the workstation around that screen first. Compare the secondary display through its actual use instead of making the desk symmetrical at the expense of normal work. OSHA's workstation checklist distinguishes primary and equal-use arrangements. Recheck keyboard and pointer positions after moving either monitor so the new shelf does not determine an inconvenient work direction.
12. Check a portrait screen before raising it further

A portrait-oriented display can extend higher than a landscape screen even when their bases appear similar. Review the actual viewing area and existing adjustment range before adding a riser. Choose support through the display's instructions and permitted orientation. Matching the bottoms of two different screens is less useful than testing how the complete arrangement is read during ordinary tasks.
13. Give a laptop beside the monitor its own compatible support

A laptop and an external display can have different support, ventilation and connection needs. Compare each device independently before choosing their relative positions. Keep the laptop's required openings and connectors accessible according to its instructions. A large monitor shelf should not force the laptop partly over an edge or close off the space needed to operate its screen.
14. Separate laptop screen placement from active typing

A suitable laptop support can provide another arrangement when the laptop is the main display. Compare it with separate input devices so the raised built-in keyboard is not the only typing option. Check the support's compatibility and stability with the actual computer. This is a different equipment layout from a monitor riser, even when both help organize the same desk.
15. Use a desk corner only when it improves the complete working position
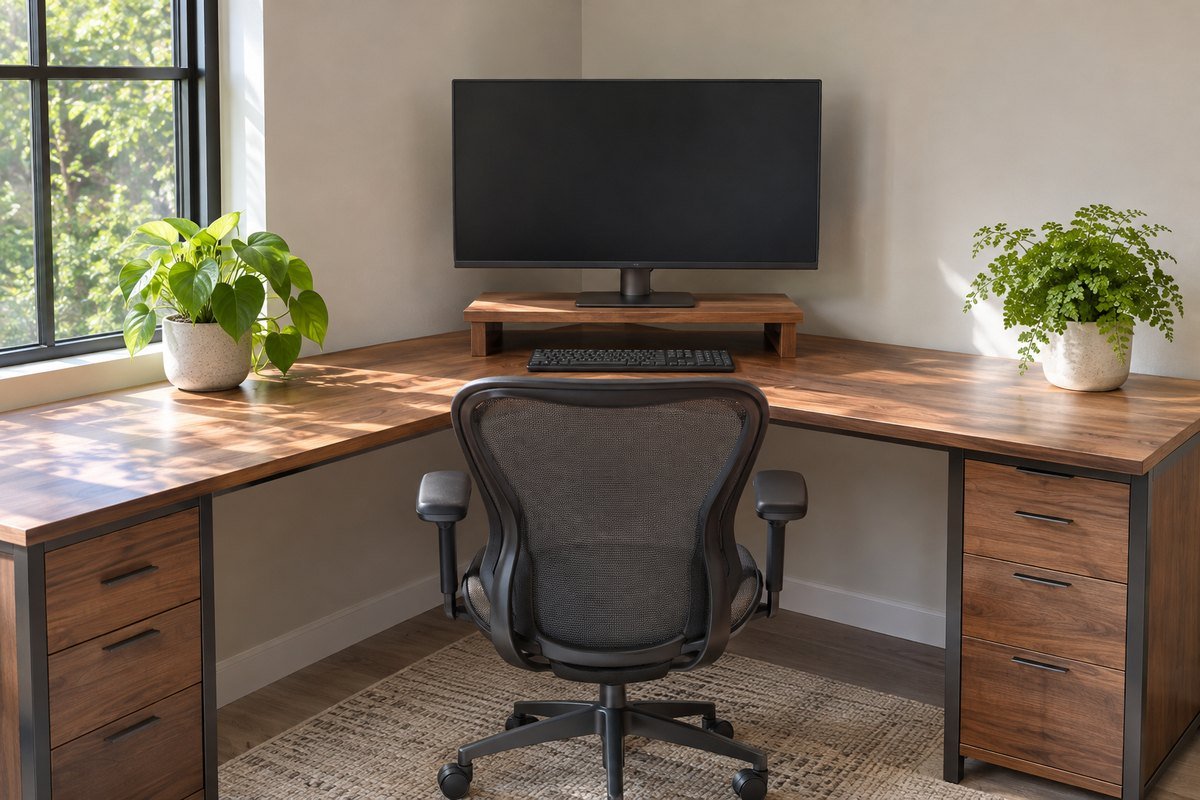
A corner can offer more depth for some equipment, as OSHA's desk guidance notes. Test the chair, monitor and input devices together before placing a riser there. Keep the support's entire footprint on the surface and check both adjacent walls. A screen fitted neatly into the corner is not enough if the keyboard or chair must remain awkwardly off to one side.
16. Resolve shallow-desk depth before adding storage under the screen
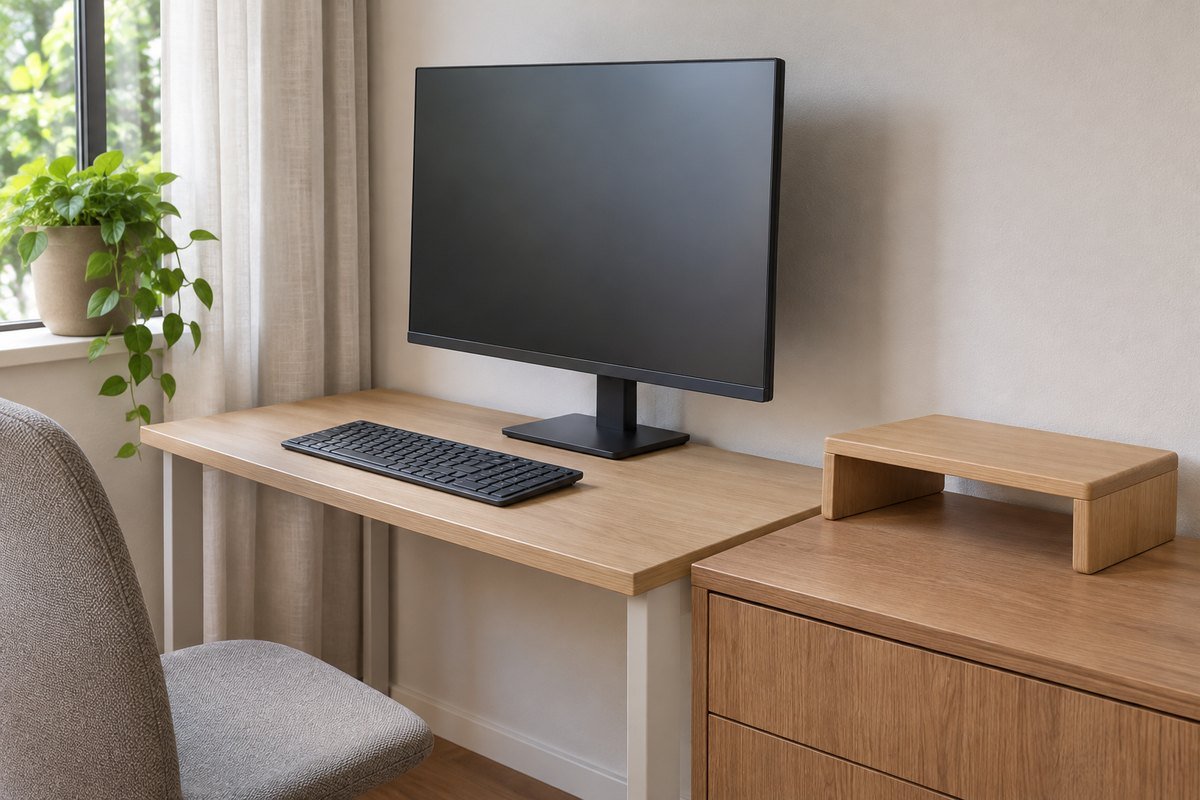
A riser does not create viewing depth just because it frees a patch of desk beneath it. Draw the monitor, support, connectors and input devices in side view. If the screen must sit too close or the keyboard loses its working area, compare another desk arrangement. Choose storage elsewhere rather than asking a decorative shelf to solve a surface that does not fit the equipment.
17. Check a moving desk through its permitted adjustment range
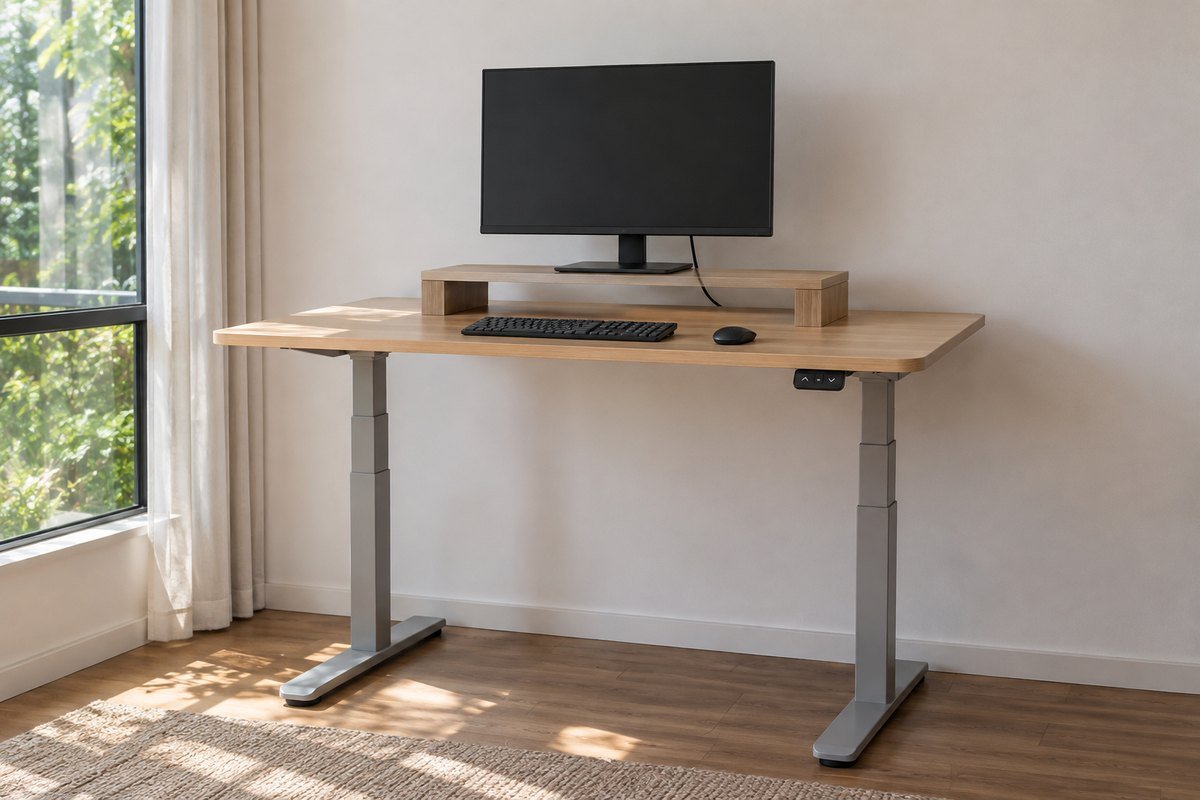
A height-adjustable desk changes its relationship with nearby furniture and connected equipment. Include the added riser, monitor and cable routes when following the desk and device instructions. Check the complete intended movement without trapping a cable or contacting a shelf above. A riser that fits in one still photograph may not suit the full moving arrangement.
18. Make a shared desk easy to reset for its next user

A shared workspace benefits from adjustments that the next person can understand and repeat. Compare the monitor's own controls before adding a separate adjustable riser. Record useful personal settings privately if needed, without treating one person's position as universal. Keep storage from obstructing the controls so changing users does not require dismantling a carefully styled shelf.
19. Leave a separate landing area for active paper

A riser can free a patch of surface, but the desk still needs room for the papers used with the screen. Try a familiar task with a real-sized blank sheet or folder. Keep the active page accessible without laying it across the keyboard or monitor base. Longer-term paper storage can stay elsewhere rather than expanding every level around a growing stack.
20. Keep the lamp outside the support and screen's usable space

A task lamp needs its own stable footprint and useful position. Compare reflections on the actual screen during ordinary lighting conditions before fixing the layout. Avoid balancing a lamp on a narrow riser corner simply to preserve symmetry. The monitor support can remain visually simple while the lamp serves the paper or other task beside it.
21. Preserve a route to rear connectors and controls

A cable opening can be helpful only when it serves the actual connectors and permits appropriate routing. Check plug size, bend space and how the monitor is serviced. Keep the support clear of required device openings. Follow equipment guidance rather than concealing every lead tightly behind a fitted shelf that must be dismantled for one ordinary connection.
22. Choose open access for the next clean and equipment check
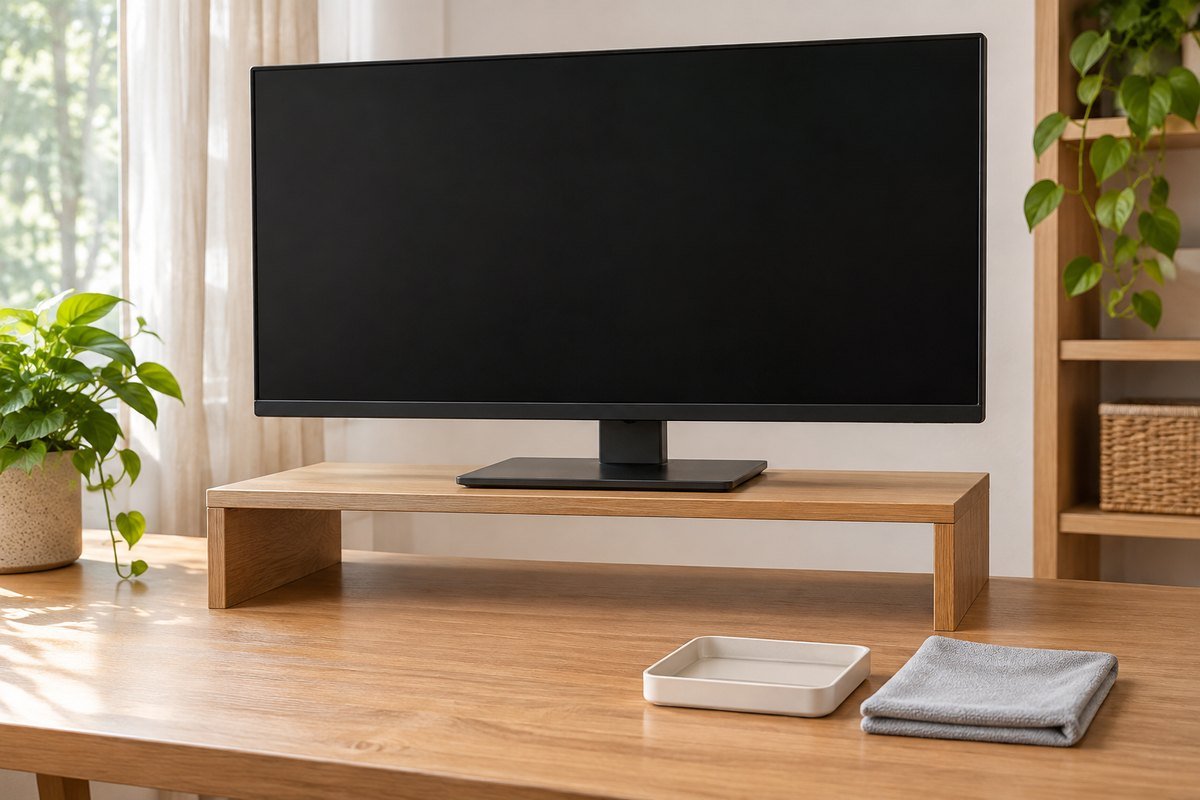
Before filling the space beneath a stand, consider how the surface and equipment will be cared for. Compare a few removable items with a dense collection of fitted accessories. Follow the separate directions for the monitor, support and desk finish. A simple arrangement can make it easier to notice a loose component or an object that has migrated behind the display.
23. Keep the original base when an extra riser adds no useful function

The useful final choice may be the monitor's own adjustable stand. Review the screen position, support and working footprint after trying the layout on paper. If these already work, give supplies a separate small organizer and retain the simpler setup. A stand earns its place through the problem it solves; adding another layer is not a necessary finishing step for every home office.
Make a base, surface and access worksheet
Trace the actual monitor foot on paper and mark every intended contact point. Draw the candidate support's usable top and complete desk footprint separately. Compare the monitor's stated weight, permitted support and adjustment requirements with the candidate's current directions. Do not interpret an AI image or a material description as a load test. As one model-specific reference, IKEA lists the ELLOVEN 504.747.70 at 18½ inches wide, 10¼ inches deep and 4 inches high, with a 44-pound maximum load. Those figures describe that model, not the generic supports illustrated here.
Next, draw a side view including the screen, rear connectors, keyboard and normal working position. Add the drawer-opening path or lower keyboard parking area if relevant. Test the actual tasks and inspect the whole arrangement after any equipment change. Keep a short care note for each surface; the cited IKEA model specifies wiping with a damp cloth, while the monitor and desk need their own instructions. Compare the result through normal use rather than shopping for additional height or compartments by default.
A practical next step
Choose a monitor support around the complete base, useful screen position and work performed at the desk. Then decide whether an open bridge, small drawer or separate paired risers improve the arrangement. Keep only the storage that leaves ordinary viewing, typing, retrieval and care straightforward.
For the surrounding room, home office setup checks for the complete workstation. Desk cable management ideas for the surrounding equipment.
The images are original AI-generated design concepts, not photographs of tested products or verified installations.
Sources and care references
- OSHA: monitor position and adjustment within the complete workstation
- OSHA: workstation evaluation checklist and multiple monitors
- OSHA: desk surface depth and equipment placement
- IKEA: ELLOVEN 504.747.70 dimensions, maximum load and care
Optional digital guide for this topic
If you prefer a structured workbook, explore this related paid guide.