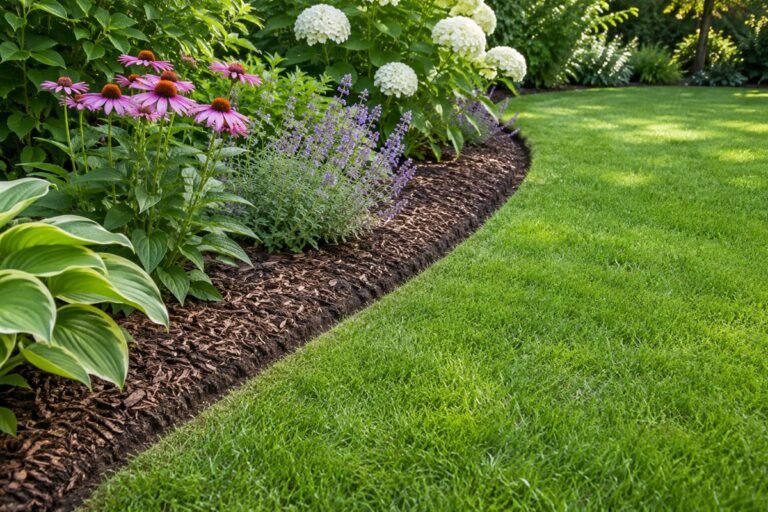
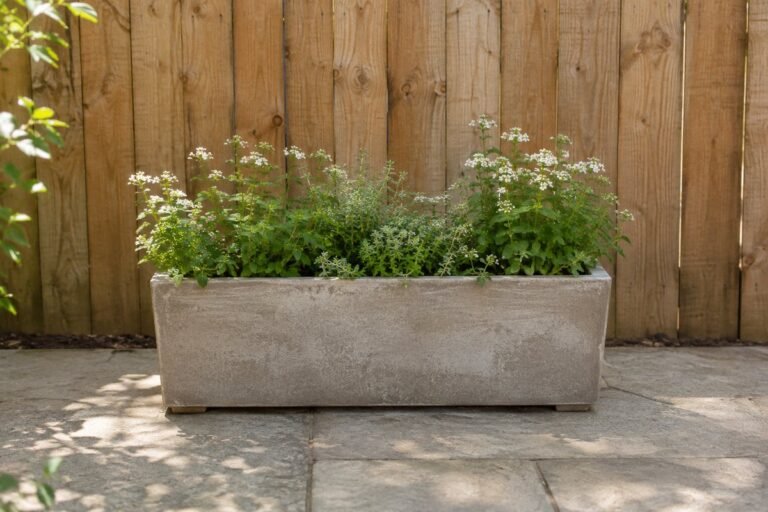
Shade garden ideas work best when the planting responds to the actual light and moisture. A dry bed beneath trees needs a different approach from a sheltered border that stays evenly moist. Start by recording those differences, then choose the forms, paths and care routine that fit.
These 28 concepts focus on planting and using an already shaded garden. For structures that create shade over seating, see the separate backyard-shade guide below. Treat named plants as research starting points: confirm the botanical name, local suitability, mature size and any regional invasive restrictions before buying.
Contents
- 1. Draw the garden around its actual light
- 2. Give dry shade its own restrained palette
- 3. Plan a different bed for reliably moist shade
- 4. Leave the tree base open and recognizable
- 5. Use small planting pockets instead of a continuous trench
- 6. Use a container where digging would be the wrong trade
- 7. Build a calm layer of broad leaves
- 8. Contrast broad leaves with a fine fern layer
- 9. Use a sedge-like ribbon to connect separate groups
- 10. Repeat one coral-bell leaf color
- 11. Brighten a view with a limited cream-edged group
- 12. Use white flowers as a seasonal accent
- 13. Make spring interest a separate planning layer
- 14. Give later-season planting a real place
- 15. Keep a low foreground beside the walking route
- 16. Choose a path that can be kept clear
- 17. Frame one bench from the planting side
- 18. Use a small shady side yard as a long composition
- 19. Give a north-facing border room for inspection
- 20. Use a narrow fence bed without hiding access
- 21. Plan the view from the house first
- 22. Make one pot the focal point
- 23. Use repetition before adding another species
- 24. Draw mature gaps instead of filling every opening
- 25. Keep watering positions easy to reach
- 26. Leave room to notice damaged foliage
- 27. Keep winter structure appropriate to the climate
- 28. Start with one observed trial area
Match shade garden ideas to the growing conditions
Record the hours and timing of direct sun, the pattern under the canopy, soil moisture and available root space. UMN distinguishes dappled, partial, full and deep shade and recommends observing changes through the day and season. Check the exact plant’s needs rather than treating those labels as universal guarantees. Leave established tree roots and building access protected while planning the bed.
A short decision record for a shaded planting area
- Light: Observe direct sun, filtered light and seasonal canopy changes.
- Moisture: Compare after-rain and dry-spell conditions, including roof rain shadows.
- Plantable space: Allow mature spread and protect existing roots and access.
- Plant choice: Verify botanical name, climate fit, regional behavior and care needs.
- Daily use: Keep the path, watering route and main view useful.
1. Draw the garden around its actual light
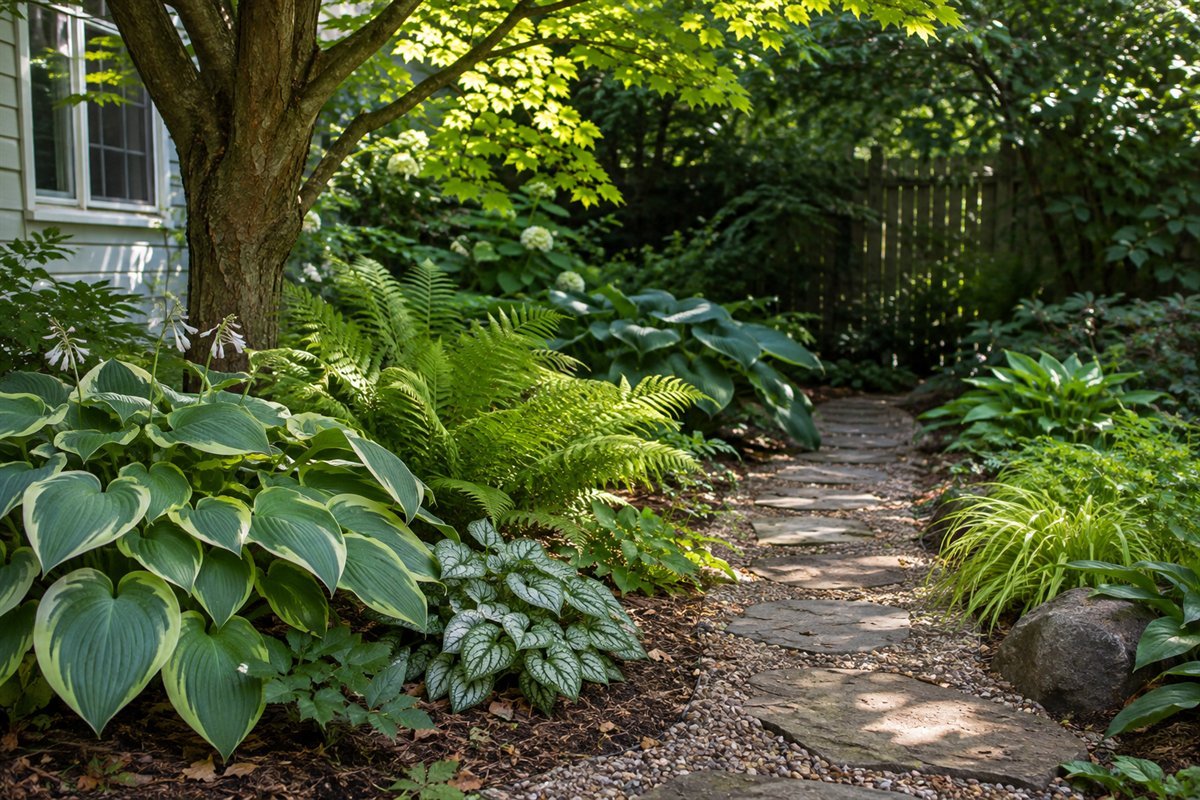
Start with where the light falls rather than a shopping list. A bed that receives brief morning sun can behave differently from one shaded by dense evergreen branches all day. Mark those areas separately, then decide what belongs in each. Repeat the observation with leaves on the trees; a bright winter view can give a misleading impression of summer growing conditions.
Try this: Photograph the same view at several ordinary daytime hours before buying plants.
2. Give dry shade its own restrained palette
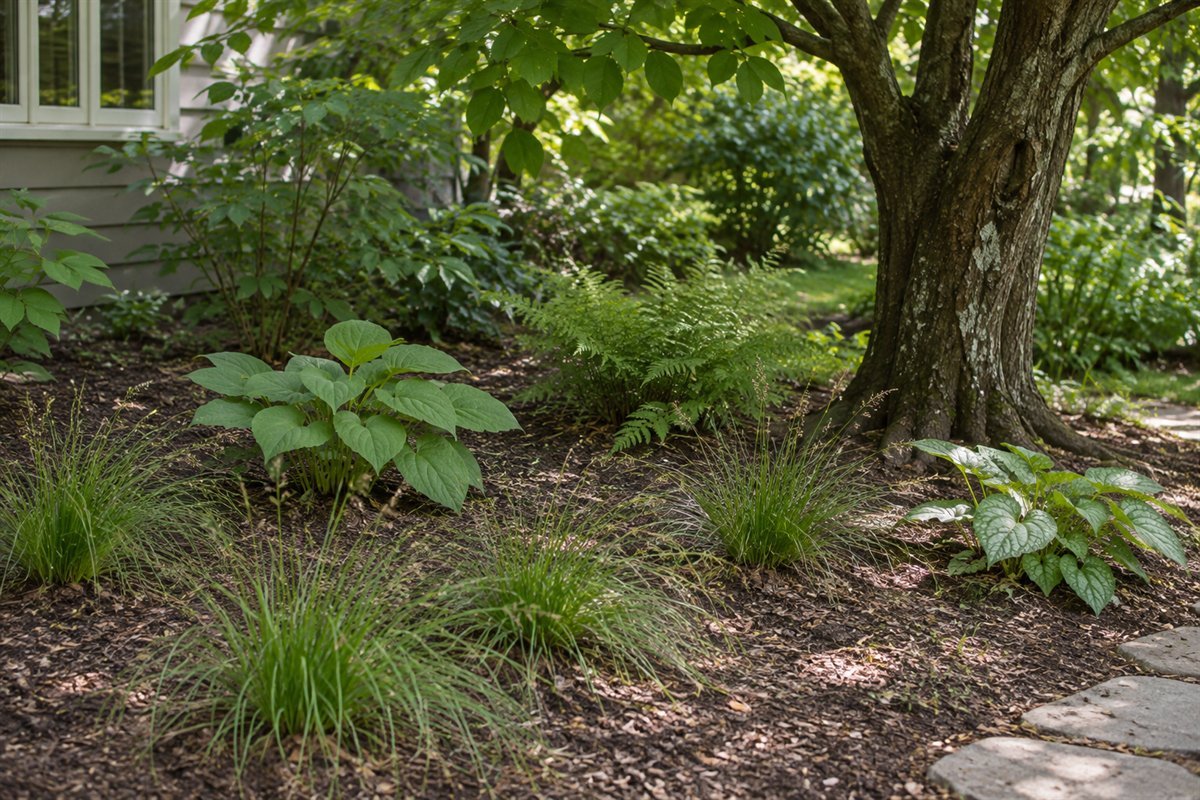
Dry shade deserves a separate plan. Iowa State lists Pennsylvania sedge, Appalachian sedge, wild geranium and several ferns among possible dry-shade perennials. Those names are starting points for regional checking, not a universal combination. Record the available moisture and local suitability before repeating a plant across the bed. Leave out a thirsty choice if caring for it would make the whole arrangement difficult.
Try this: Check botanical names and local recommendations rather than ordering a generic shade collection.
3. Plan a different bed for reliably moist shade
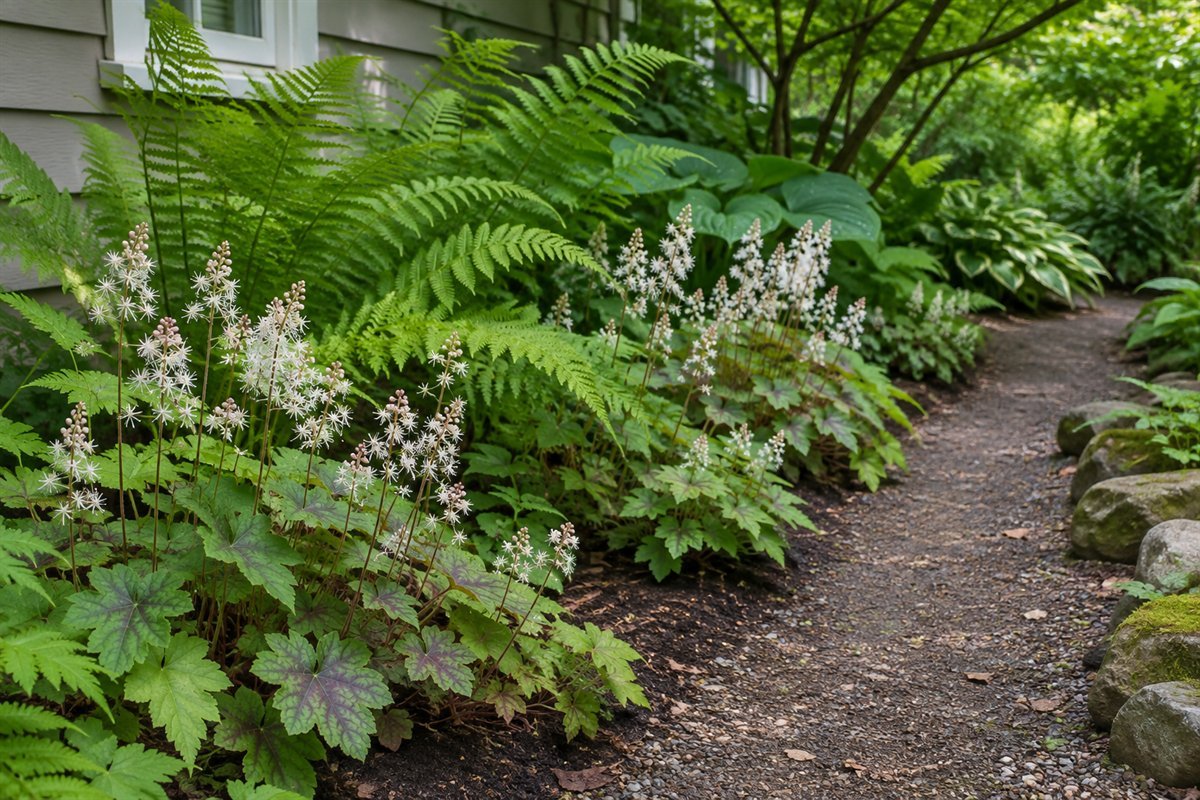
Moist shade can support a different composition from the dry area under a rain-blocking canopy. Foamflower, Tiarella cordifolia, is one example to investigate for suitable moist, well-drained shade. NC State explicitly distinguishes its needs from drought conditions. Keep drainage and local climate in the decision; a damp-looking photograph cannot establish that a site or plant pairing is suitable.
Try this: Record moisture observations after rain and during a dry spell.
4. Leave the tree base open and recognizable
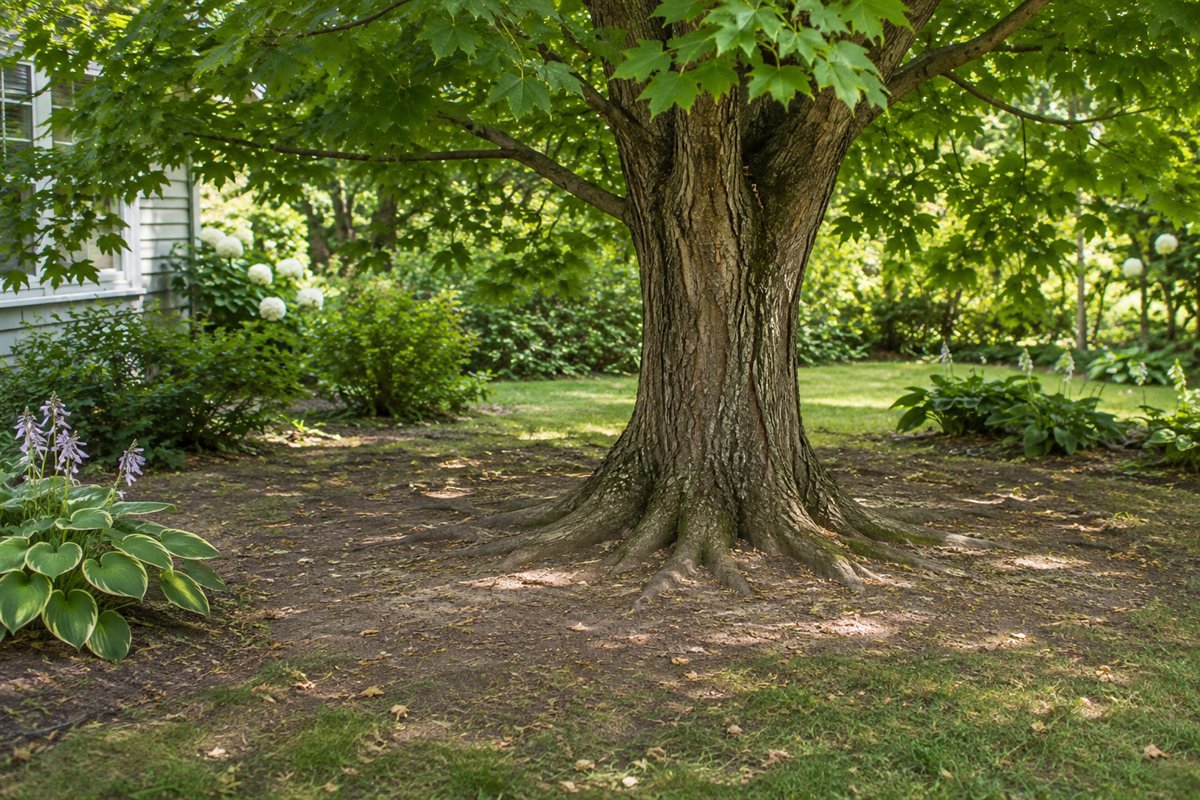
Make the tree the first constraint when designing beneath it. Preserve its existing ground relationship and avoid packing soil or planting against the trunk. Vermont Extension advises protecting roots during underplanting. A simpler composition with clear space around the base often reads more convincingly than a tight decorative ring. Discuss uncertain roots or grade changes with an appropriate arborist before doing the work.
Try this: Mark the protected area before placing new plants.
5. Use small planting pockets instead of a continuous trench

Where planting is appropriate, small starter plants can fit available pockets without demanding one continuous excavation. Do not cut through a root to keep a symmetrical drawing. Move the planting position when roots obstruct it, and ask for advice where the tree’s condition or species makes the situation uncertain. The final group can look intentional without every plant sitting on an exact geometric line.
Try this: Lay out flexible groups and confirm each pocket before committing to the arrangement.
6. Use a container where digging would be the wrong trade
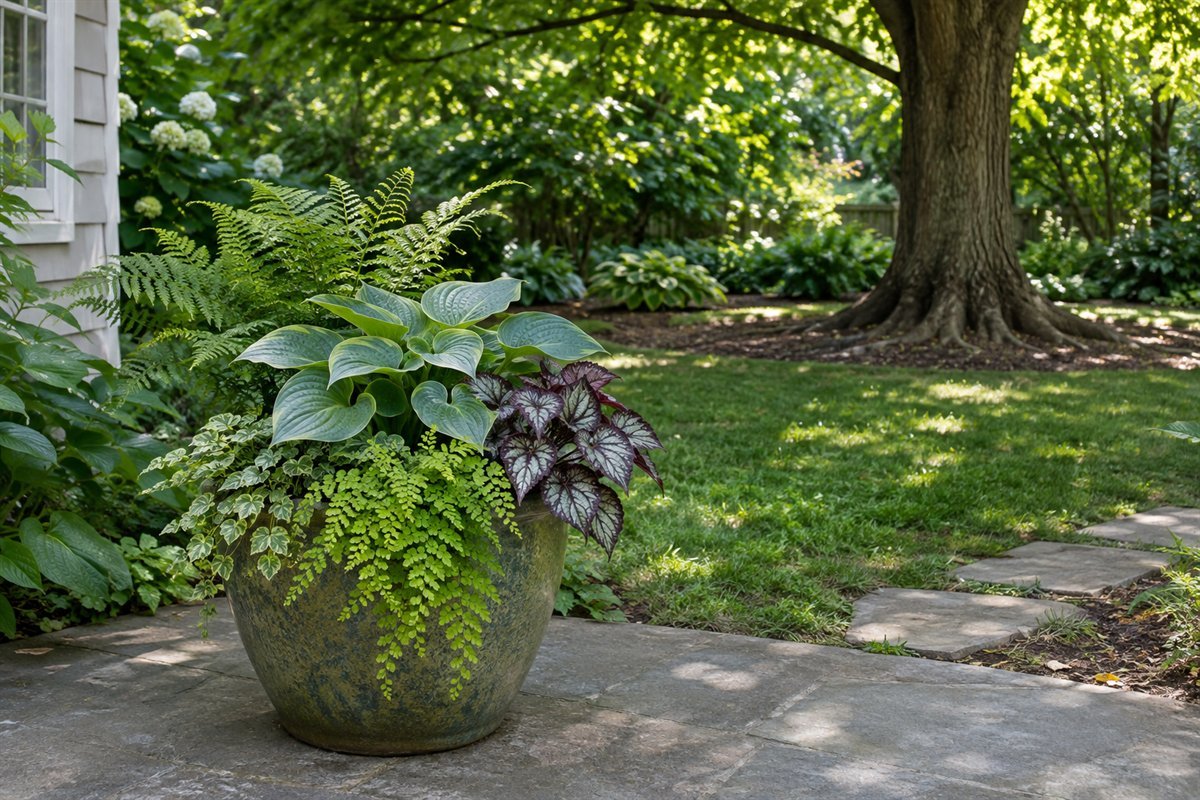
A container can supply the focal planting where the ground should remain undisturbed. It also separates the plant’s growing medium from competing roots. Keep drainage, watering and winter storage on the plan. Position it on an appropriate existing surface without piling new material over the tree’s roots. One convincing pot is often enough for the view; several large pots can make care and access harder.
Try this: Carry an empty container through its watering and storage route before filling it.
7. Build a calm layer of broad leaves
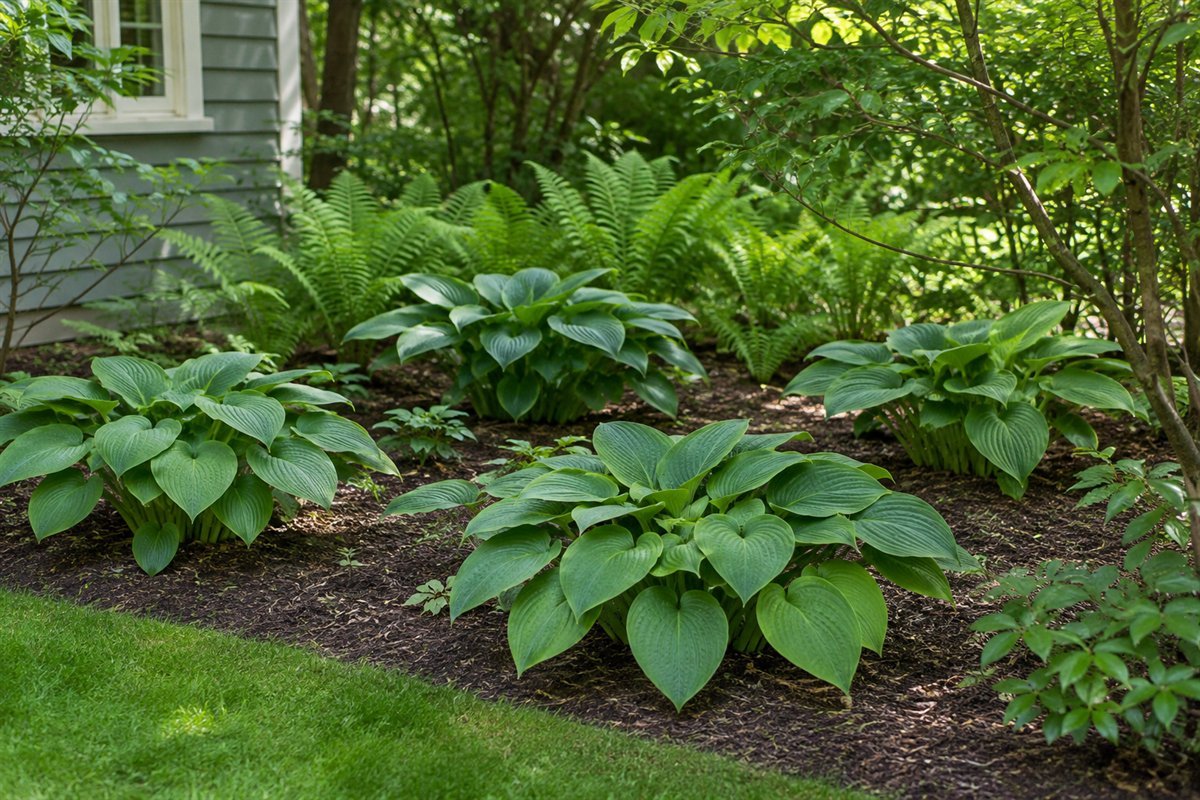
Broad leaves create a clear resting point among smaller textures. Hostas offer many sizes, so choose the mature dimensions before setting the spacing. UMN notes that very dark positions can slow growth and that filtered shade suits them well. Keep the selected cultivar’s needs in the plan instead of assuming all hostas will perform alike wherever the bed looks shady.
Try this: Draw the mature leaf spread, including its relationship with the path.
8. Contrast broad leaves with a fine fern layer
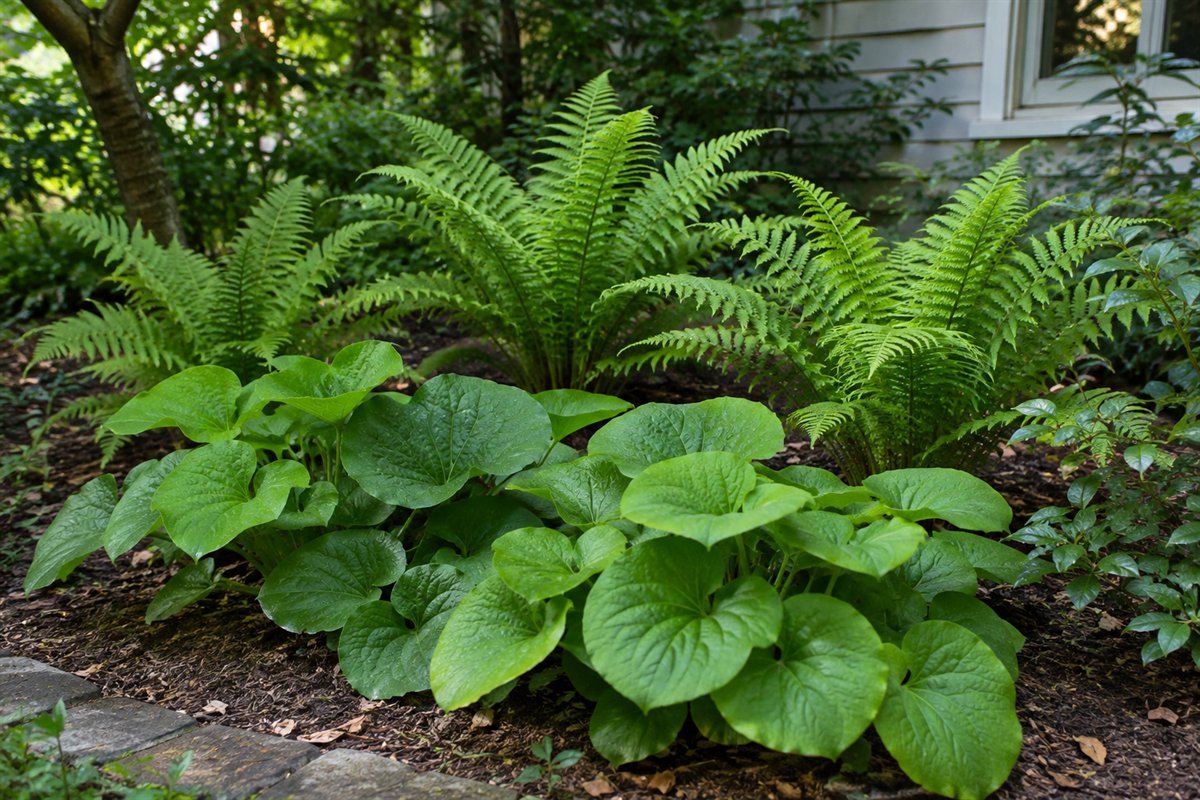
Fine fronds can give a broad-leaf planting a useful second texture. Choose the actual fern for your climate, moisture and available spread; the word fern covers plants with different needs and habits. Compare the two forms at a small scale before repeating them. The contrast works best when both remain visible rather than when a vigorous plant swallows its neighbor.
Try this: Keep a mature spread note beside each fern name.
9. Use a sedge-like ribbon to connect separate groups
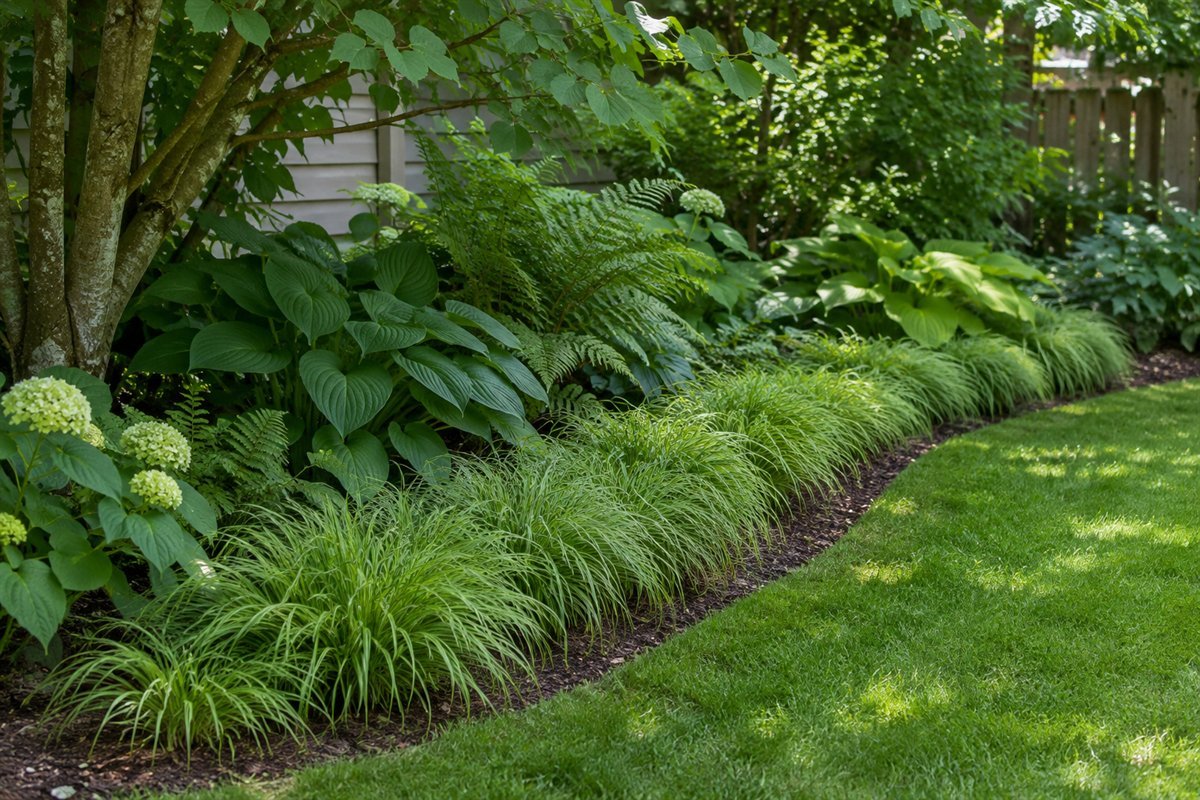
A low fine-leaved line can connect otherwise separate planting groups. Consider locally suitable sedges for the actual moisture conditions rather than substituting any ornamental grass. Repeat one coherent form, then stop the ribbon where access or a different growing condition requires it. It should make the garden easier to read, not force identical planting into every corner.
Try this: Trace the ribbon on the plan and remove any stretch that has no visual or practical role.
10. Repeat one coral-bell leaf color
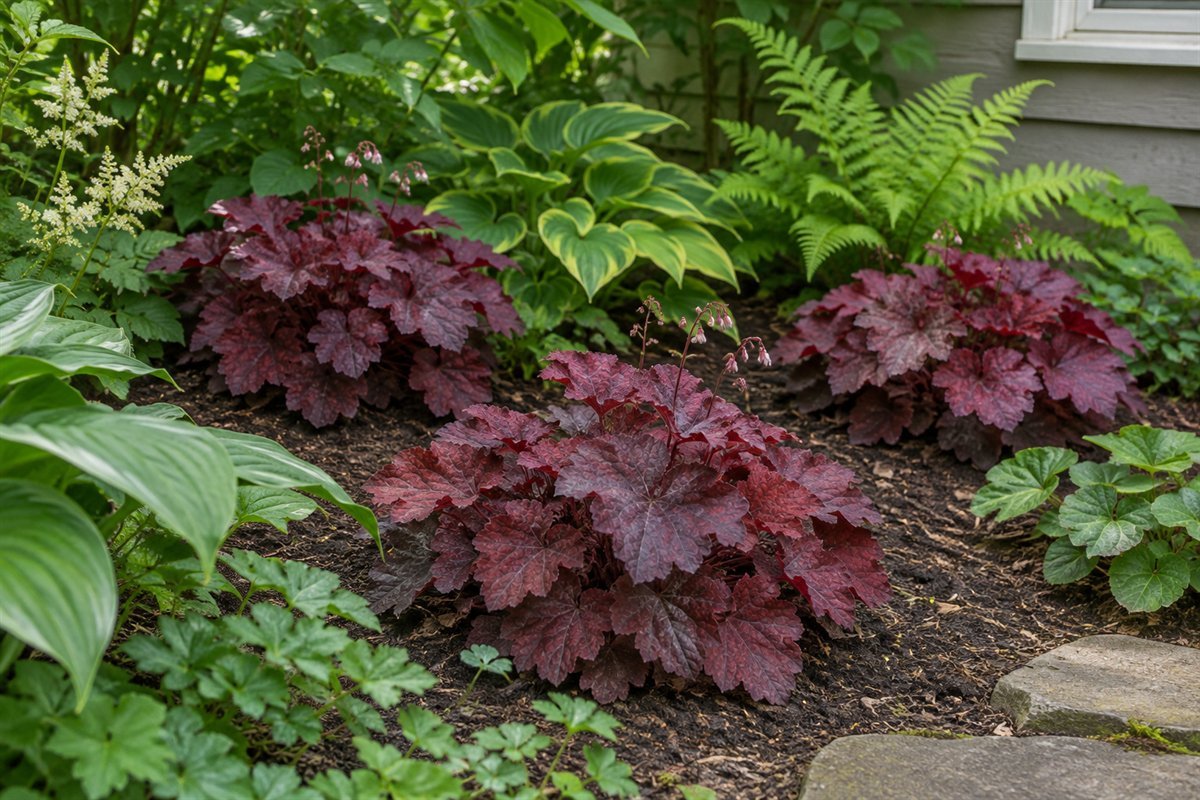
One repeated leaf color can hold a mixed shade bed together. Coral bells offer useful options, but NC State notes that light tolerance varies with the selection. Verify the named plant and its drainage needs. Use a modest repeated group rather than a patchwork of every available color, and judge the effect from the main viewing position.
Try this: Compare one darker foliage sample with the surrounding greens before ordering multiples.
11. Brighten a view with a limited cream-edged group

A pale leaf margin can make a planting group easier to notice from a window. Keep the pattern limited enough that it remains a clear accent. Compare its appearance on an overcast day, when the garden may be viewed most often. Leave room for plain green plants to provide a calm background and avoid assuming pale foliage means the plant tolerates more darkness.
Try this: Photograph the proposed accent from the indoor seat that overlooks the bed.
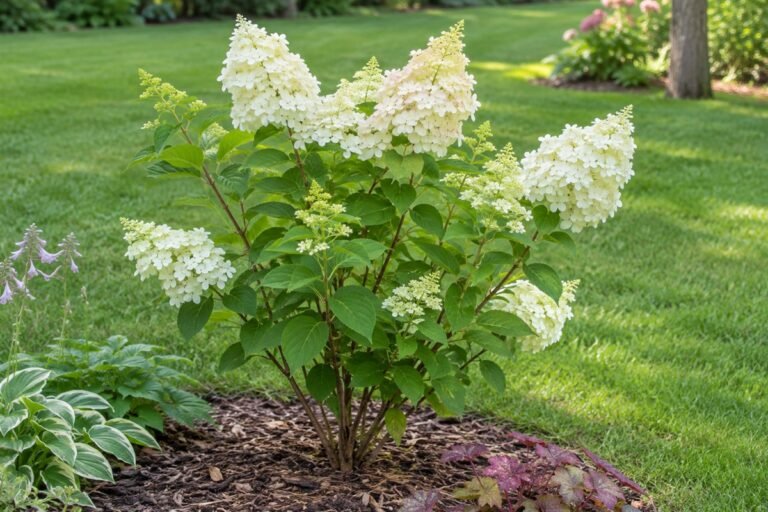
12. Use white flowers as a seasonal accent

White flowers can lift a particular part of the view during their flowering period. Place them where you will see the detail and confirm the actual species, season and conditions locally. A bed should still work when that flowering window ends. Keep useful foliage or another durable form behind the accent rather than relying on year-round bloom shown in an illustration.
Try this: Note what occupies the same view before and after flowering.
13. Make spring interest a separate planning layer

A deciduous canopy creates a different spring scene from its summer shade. Use that seasonal opening deliberately where suitable plants and safe planting locations allow it. Check the selected bulb’s regional behavior, including any invasive concerns, before adding it. Leave the bulb foliage room to finish its cycle; do not place another plant so tightly that later care becomes awkward.
Try this: Keep a spring photograph alongside the summer light record.
14. Give later-season planting a real place

Later interest needs its own place in the design. White wood aster appears on Iowa State’s dry-shade list and may be worth researching for a suitable region and site. Confirm the actual flowering period locally, then give its mature habit room. Avoid squeezing a late addition into a gap that only looks empty while another plant is dormant.
Try this: Sketch the bed at the season when the later plant reaches its full size.
15. Keep a low foreground beside the walking route

A low foreground can keep a path readable without turning it into a rigid hedge. Measure the mature leaf spread from the walking edge, not just the position of the young crown. Leave enough space for ordinary passage after rain, when leaves may lean farther out. A narrower planting group is preferable to a route that only works immediately after trimming.
Try this: Check the route while carrying a watering can at your normal pace.
16. Choose a path that can be kept clear
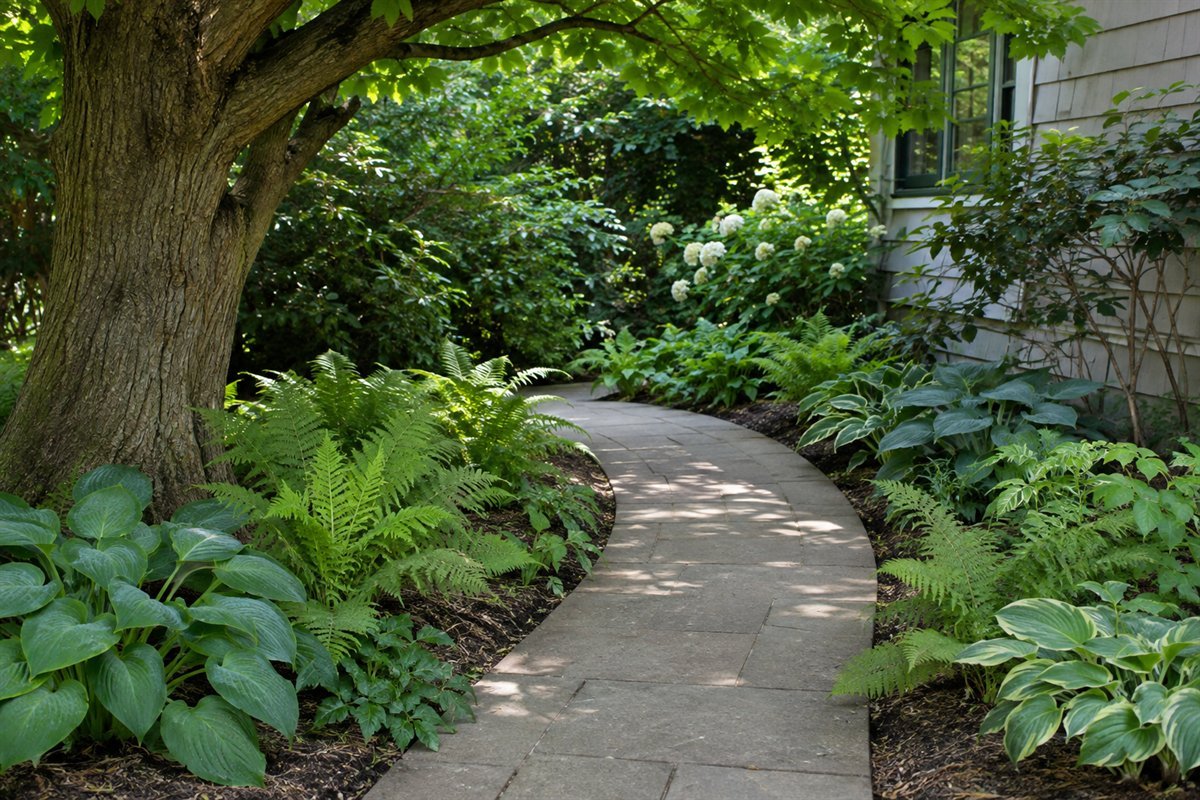
In a shady area, the path must remain useful when light is low and leaves fall. Choose the surface and drainage details for the site, and keep the route distinct from planting. The attractive appearance of moss on a photograph is not evidence of a suitable walking finish. Start with access, cleaning and any required professional installation details before refining its color.
Try this: Decide how the route will be cleared after leaf fall.
17. Frame one bench from the planting side

A bench gives the planting a reason to be viewed slowly. Put the seat on a suitable stable surface and keep the approach open. Frame it with planting from behind or to one side so the user can reach the seat without brushing through the bed. Judge the view from sitting height; a composition that looks generous from above may feel crowded from the bench.
Try this: Sit in the proposed position before adding the tallest plants.
18. Use a small shady side yard as a long composition
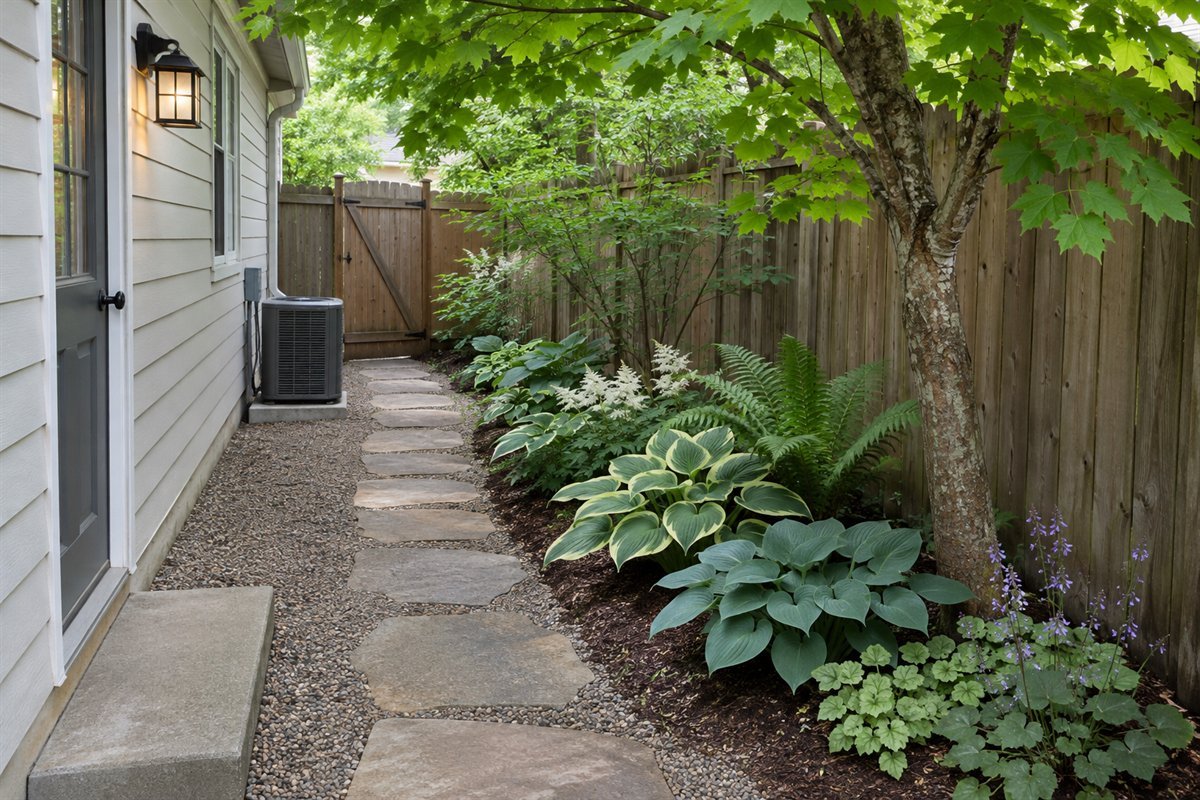
A side yard often needs visual continuity more than a collection of separate features. Repeat a short planting sequence along the useful route, with changes where light or access demands them. Leave doors, vents, taps and service positions clear. Measure the space at its narrowest point, then let the planting fit what remains instead of reducing the route to preserve a dense border.
Try this: Mark every service and door swing before drawing the bed.
19. Give a north-facing border room for inspection
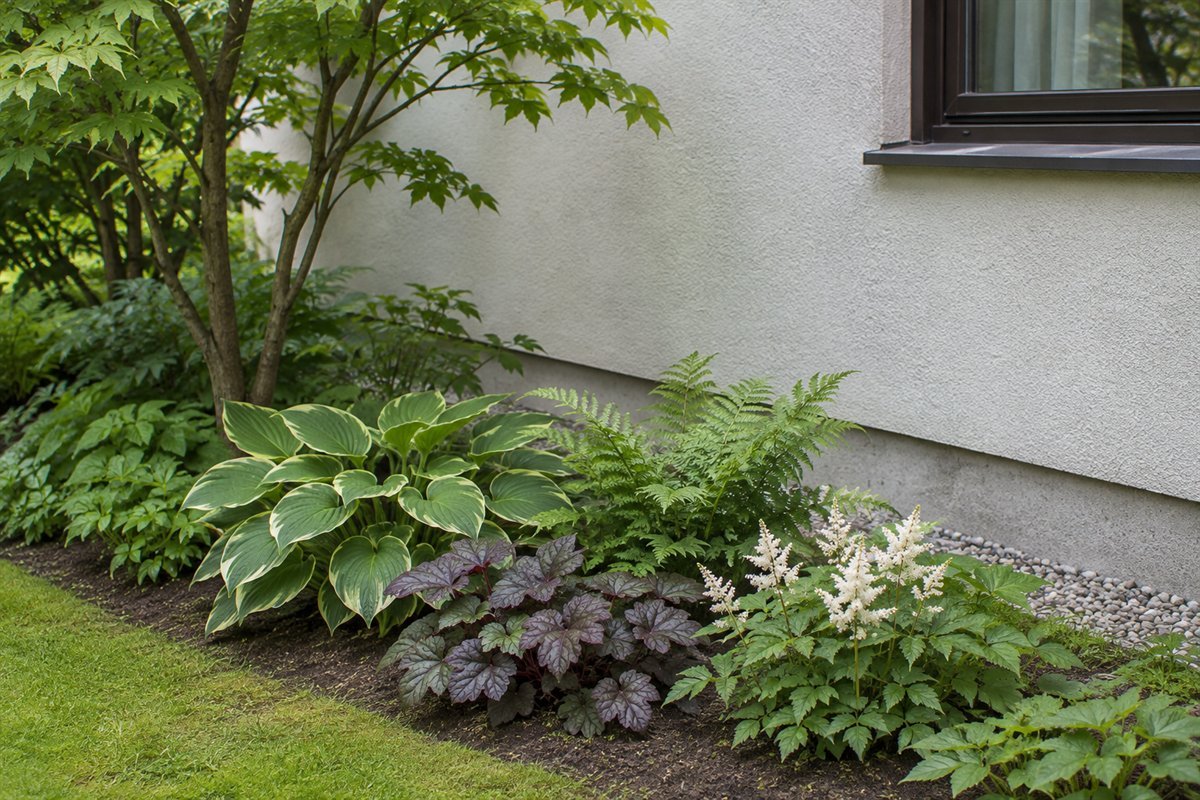
A wall can create shade and a rain shadow at the same time. Observe both before selecting plants. Leave the appropriate inspection and maintenance space for the building, and avoid using a garden bed to hide a drainage problem. Keep irrigation and soil levels compatible with the site. Choose the planting for the measured conditions rather than the compass direction alone.
Try this: Look at the ground after rain before deciding the border is moist.
20. Use a narrow fence bed without hiding access
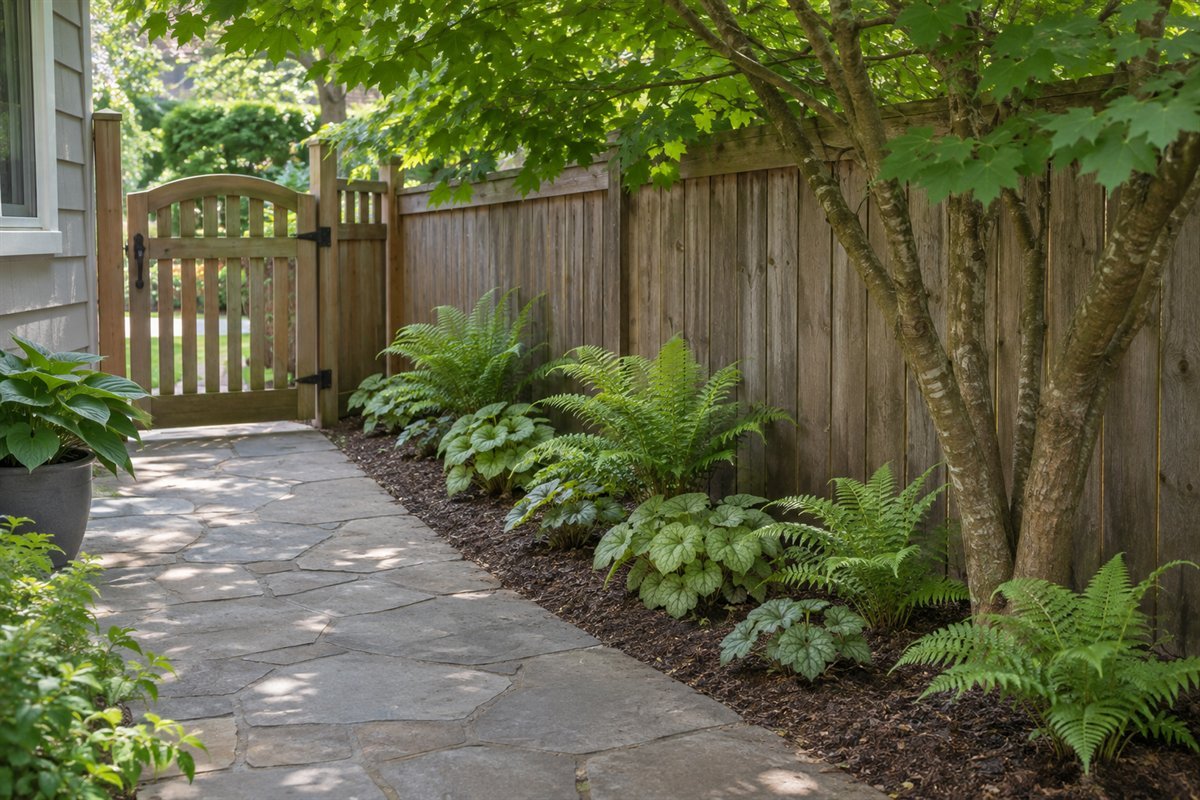
A fence border can soften the boundary while preserving useful access. Keep gates, posts and the maintenance side reachable, and choose plants whose mature spread fits the width. A continuous fence does not imply continuous growing conditions; a brighter end or a dry corner may need a different group. Repeat the visual rhythm where it fits rather than forcing one plant into every stretch.
Try this: Open the gate fully with plant-size markers in place.
21. Plan the view from the house first

If the garden is mainly viewed from indoors, compose it from that position. Use a few distinct groups that remain legible through the window instead of many tiny accents only visible at close range. Check what the frame hides and what the eye meets first. A modest focal point placed well can be more useful than a larger feature hidden by the window edge.
Try this: Take the planning photograph from the chair you actually use.
22. Make one pot the focal point
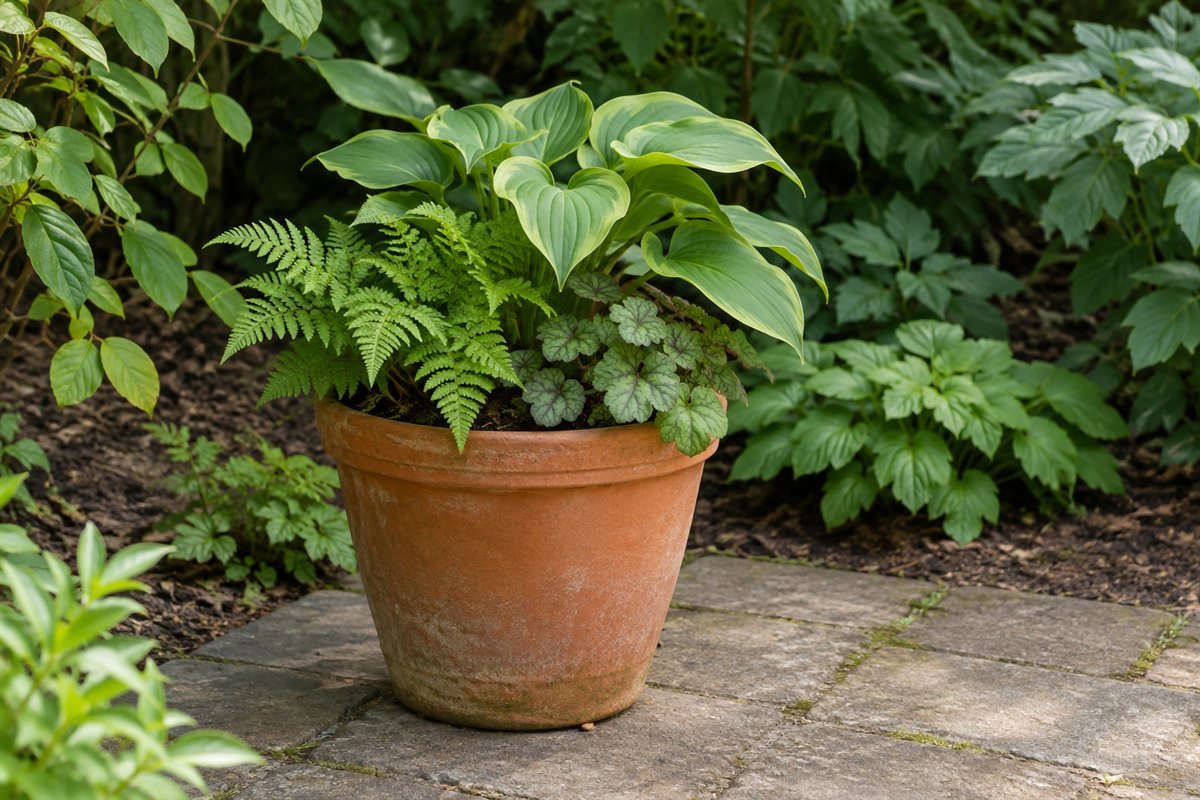
A single pot can give the eye a destination without requiring more excavation or a complex plant palette. Contrast the vessel with the background, then keep the rest of the view quiet. Confirm that the pot drains and that its planting suits the available light. Include it in the watering route so the focal point does not become the first neglected part of the garden.
Try this: Test its location with the empty pot before planting it.
23. Use repetition before adding another species
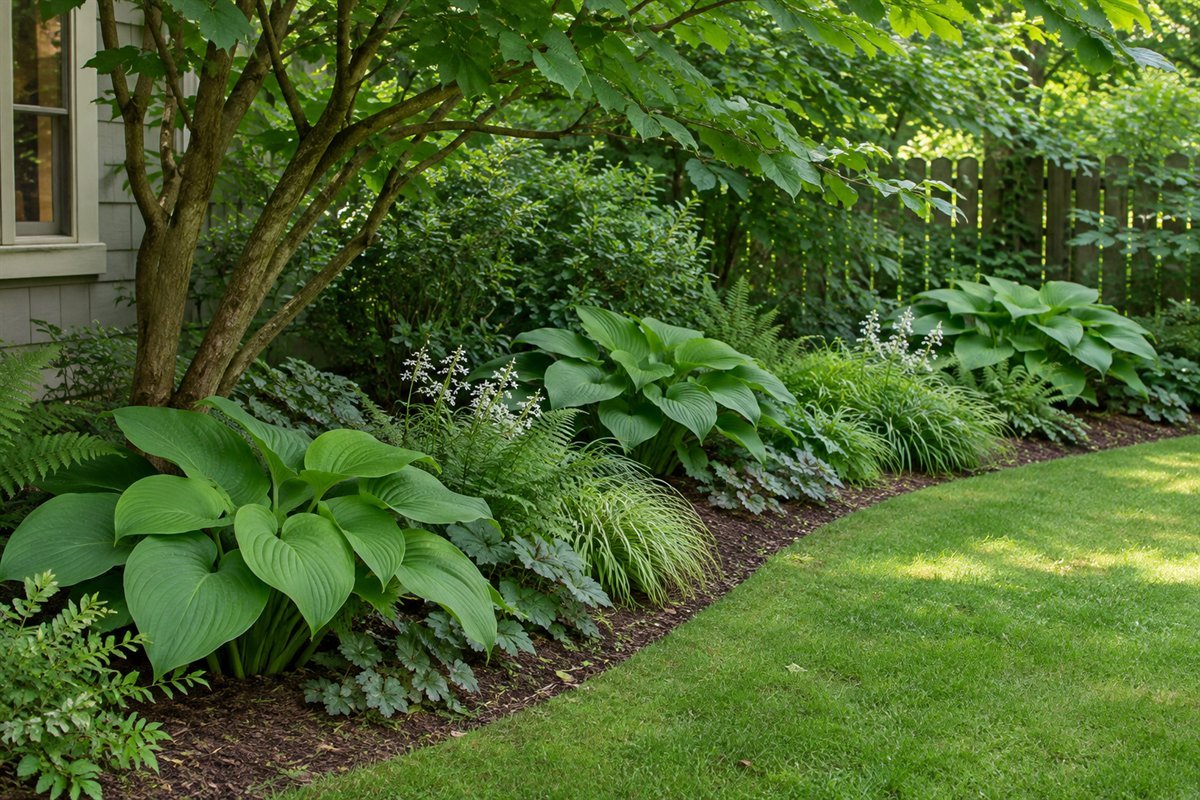
When the design feels unsettled, try repeating an existing suitable plant before adding a new species. Repetition makes the pattern clearer and simplifies later identification. Keep enough variation in height or texture to distinguish the layers. Reuse the same selection only where the conditions match; the brighter corner and dry underhang may still need a different solution.
Try this: Reduce the draft palette and compare the view again.
24. Draw mature gaps instead of filling every opening

A newly planted bed can look open while still having the right spacing. Draw mature outlines before filling every visible gap with another perennial. Keep the growing space and the maintenance space separate on the plan. If a temporary seasonal pot is useful, give it a place where moving it later will not disturb established plants or roots.
Try this: Mark the mature circles on a simple scale drawing.
25. Keep watering positions easy to reach

A workable care route helps the planting survive its first seasons. Group plants with compatible moisture needs where possible and leave access to inspect the soil near their bases. Do not assume that shade removes the need to water or that every shaded position needs the same schedule. Decide from actual soil conditions, weather and the needs of the selected plants.
Try this: Walk the whole care route before settling the final layout.
26. Leave room to notice damaged foliage

Choose a layout that lets you see changes without stepping into the bed. Hostas can suffer slug and deer damage; a perfect illustration is not a promise of pest-free foliage. Identify the cause before changing care or applying a treatment, and use locally appropriate advice for any control. Keep an affected plant’s date and location in your garden notes rather than treating every hole as the same problem.
Try this: Photograph damage alongside a full view of the plant for diagnosis.
27. Keep winter structure appropriate to the climate

Compare the dormant-season view before calling the garden finished. Some selected plants may retain foliage in your climate, while others disappear to ground level. Verify that behavior rather than relying on the word evergreen without context. A simple pot, clear edge or existing woody form can keep the composition readable when herbaceous leaves are absent.
Try this: Keep a winter silhouette sketch with the planting plan.
28. Start with one observed trial area
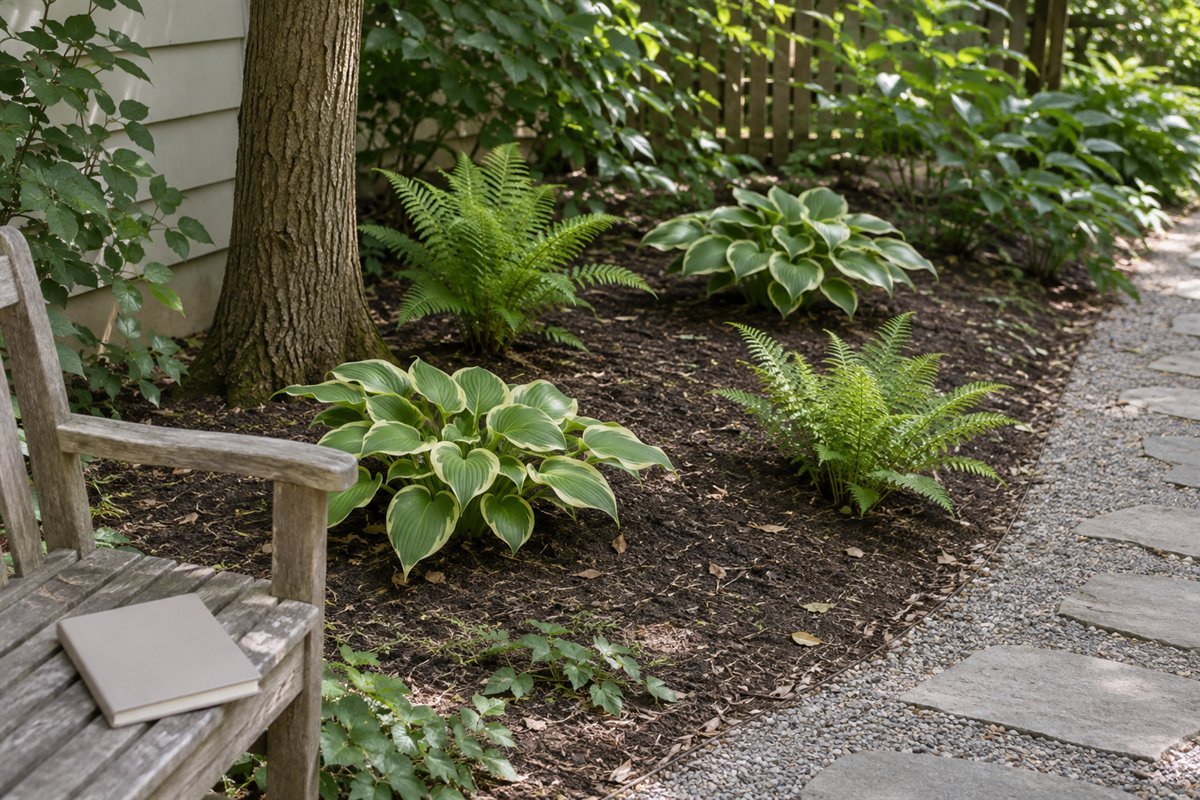
A small trial makes a difficult shade site easier to understand. Begin with a few well-researched plants, record their performance through the growing season and review the moisture and light observations. Expand from what actually works rather than repeating a weak result across the whole yard. Keep plant labels and source names so replacements match the decision you made.
Try this: Set a review date before ordering the next section.
A shade-garden observation sheet before you buy plants
Divide the proposed bed into a few recognizable areas, such as the fence end, tree side and path edge. For each, record the date, the timing of direct sunlight and whether the light is filtered or blocked. Repeat in the leaf-on season if the first observation is made under bare deciduous trees. A photograph records the view; it does not measure a plant’s full growing requirements.
Add a separate moisture column. Note whether rainfall reaches the soil and what happens during a dry spell. Do not use the color of mulch as a soil-moisture test. Record any persistent water problem for assessment before planting. Shade and drainage are separate questions, and moisture can vary within one short border.
For every proposed plant, keep its botanical name and cultivar, source, mature dimensions, light and moisture requirements, local hardiness and regional restrictions together. Mark any uncertain information before ordering. Do not import a long plant list from another region without checking it. In particular, an attractive spreading groundcover may be inappropriate locally.
Sketch mature plant outlines with paths, doors, gates and maintenance positions left visible. Beside established trees, keep the existing ground level and protect roots rather than rototilling a new bed or building a raised ring. Vermont Extension recommends small plants and moving the planting position when roots obstruct it. Where the tree’s needs are uncertain, resolve them with an appropriate local arborist.
Finally, choose a small trial group and a review date. Record survival, leaf condition, unwanted spread, watering effort and the view from the house. These observations are more useful for the next planting decision than buying more of a plant simply because it looked good on arrival.
Does a shade garden need watering?
It can. Tree roots and overhangs can create dry shade even where the wider garden receives rain. Use the selected plants’ needs, actual soil conditions and local guidance to plan watering.
Can every shade plant grow beneath a tree?
No. Root competition, plantable pockets, tree health, moisture and the particular plant all matter. Avoid damaging roots or raising the ground level to force the design.
Are hostas and ferns the only options?
No. Depending on local conditions, suitable sedges, coral bells, foamflowers and other woodland perennials may offer different textures. Verify the exact plant and its regional behavior before combining it with others.
A practical next step
Choose shade garden ideas that fit the observed site and the way you use it. Keep the palette manageable, the mature spacing realistic and the care route clear. Expand from a small planting that performs well in your own light and moisture conditions.
Backyard shade ideas for structures and seating coverage. Garden path ideas for everyday access beside planting.
Images are original AI-generated planting concepts. They do not verify botanical identities, measured light levels, native status or performance in a particular climate.
Sources and care references
- University of Minnesota Extension: observing shade, moisture and growing space
- University of Vermont Extension: protecting roots while underplanting trees
- Iowa State Extension: shade conditions and perennial care
- Iowa State Extension: dry-shade plant research starting points
- University of Minnesota Extension: hosta site needs and common problems
- NC State Extension: foamflower moisture and shade requirements
- NC State Extension: coral-bell variety and growing-condition differences
Optional digital guide for this topic
If you prefer a structured workbook, explore this related paid guide.