Backyard and Patio
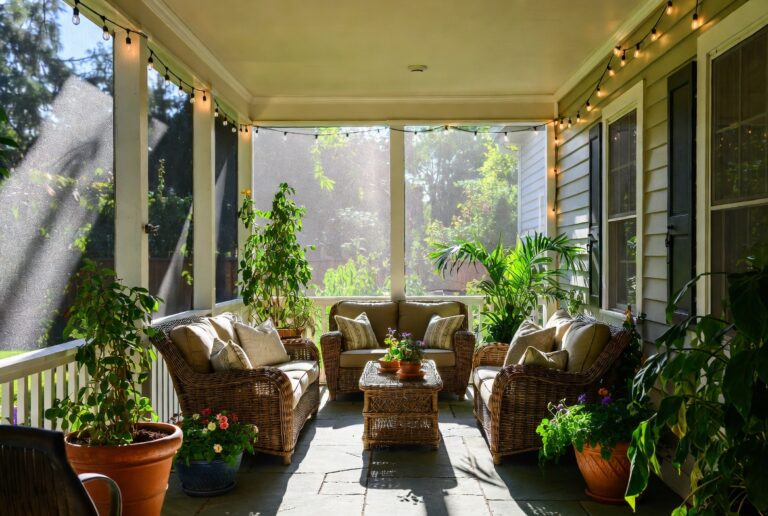
Getting the backyard shade right makes the biggest difference in how the space actually feels day to day. A well-planned backyard shade balances function and style, and even small tweaks to your backyard shade can transform the whole area.
If you’ve ever walked outside on a bright afternoon only to retreat back indoors within minutes because the sun made your patio unbearable, you already know the problem. An exposed backyard doesn’t just feel hot — it feels unfinished, like a room without a ceiling. The good news is that shade isn’t an afterthought anymore; it’s one of the most transformative upgrades you can make to how your outdoor space actually gets used.
By the end of this article, you’ll have 18 real, buildable ways to bring comfortable, beautiful shade into your backyard — from simple umbrellas you can set up this weekend to structural pergolas that redefine the whole space.
Table of Contents
- 1. Build a Timber Shade Pavilion Over Your Dining Zone
- 2. Layer Triangular Shade Sails for Movement and Geometry
- 3. Install a Retractable Motorized Awning
- 4. Anchor Lounge Seating With a Cantilever Umbrella
- Find the Perfect Digital Product for You
- 6. Stretch a Mesh Canopy Over a Gravel Patio
- 7. Grow a Living Pergola With Climbing Vines
- 8. Choose a Louvered Roof Pergola for Adjustable Light
- 9. Plant a Shade Tree for Long-Term Coverage
- 10. Hang Outdoor Curtains for Adjustable Shade and Privacy
- 11. Create a Poolside Daybed Shade Nook
- 12. Set Up a Pop-Up Canopy for Flexible Entertaining
- 13. Add a Lattice Screen With Climbing Plants
- 14. Build a Poolside Cabana Retreat
- 15. Mount a Wall-Attached Patio Awning
- 16. Shade Your Outdoor Kitchen With a Pitched Roof
- 17. Roll Out a Bamboo or Reed Shade Screen
- 18. Combine Shade Sails With String Lights for Day-to-Night Use
- Effort & Cost Snapshot
1. Build a Timber Shade Pavilion Over Your Dining Zone for Your Backyard Shade
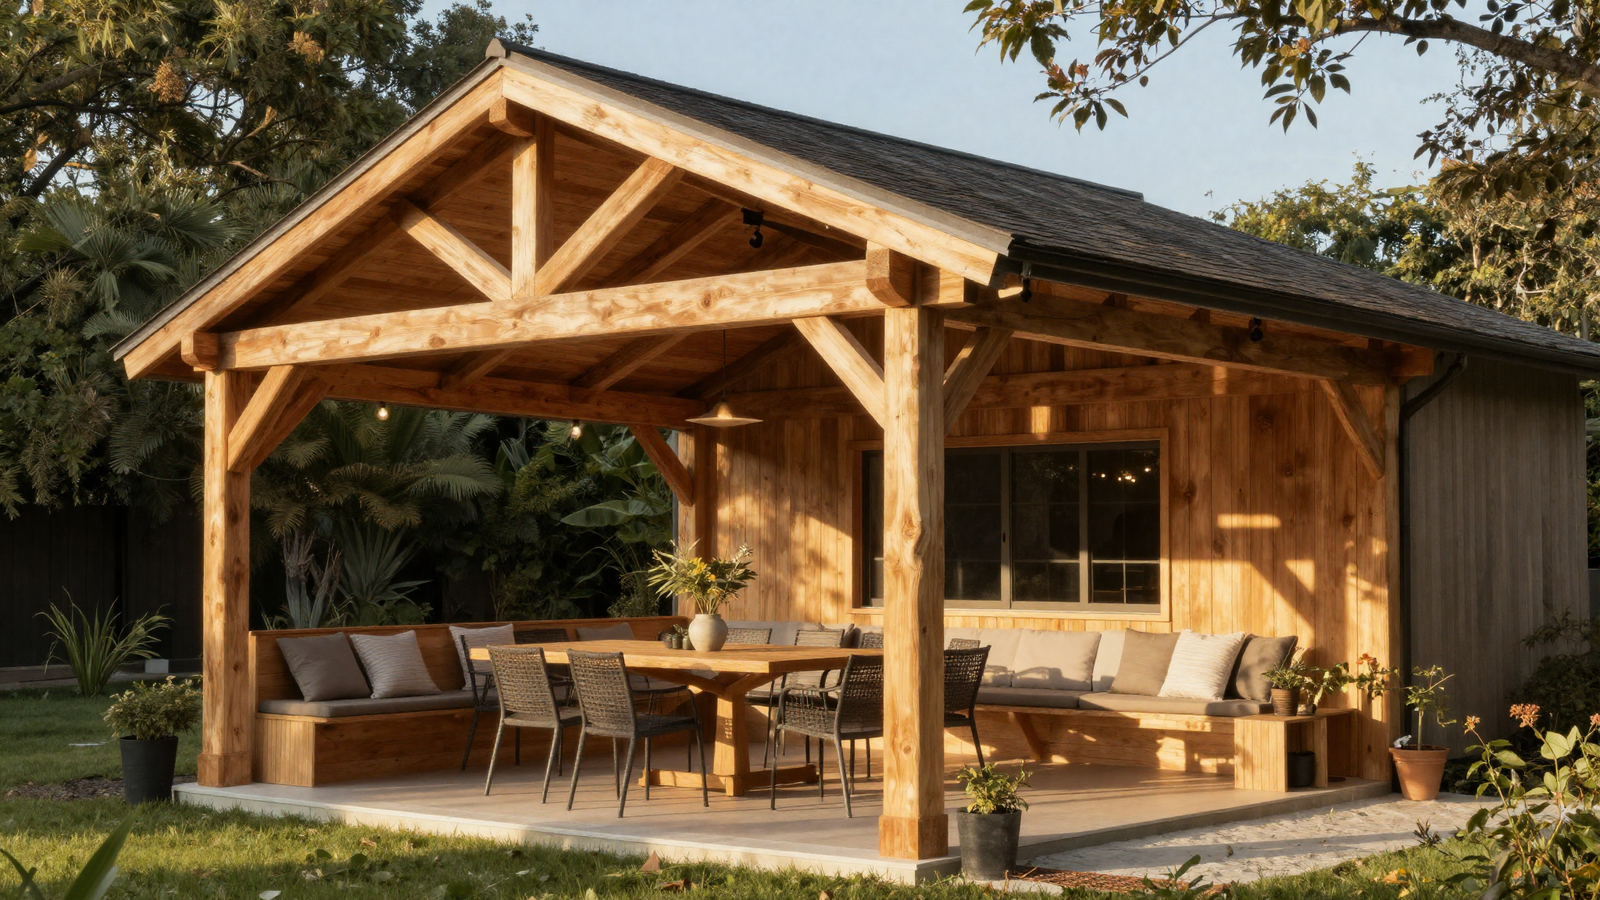
A full timber pavilion turns an open patio into a defined outdoor room rather than furniture scattered across a slab. The pitched roofline draws the eye toward the dining and cooking area, giving the whole yard a sense of structure and intention.
💡 Smart tip: Add integrated lighting and a ceiling fan to keep the pavilion usable well past sunset and through humid evenings.
⚠️ Mistake to avoid: Don’t undersize the roof — a pavilion that only covers the table but not the surrounding walking space still leaves guests exposed when they stand up.
2. Layer Triangular Shade Sails for Movement and Geometry for Your Backyard Shade
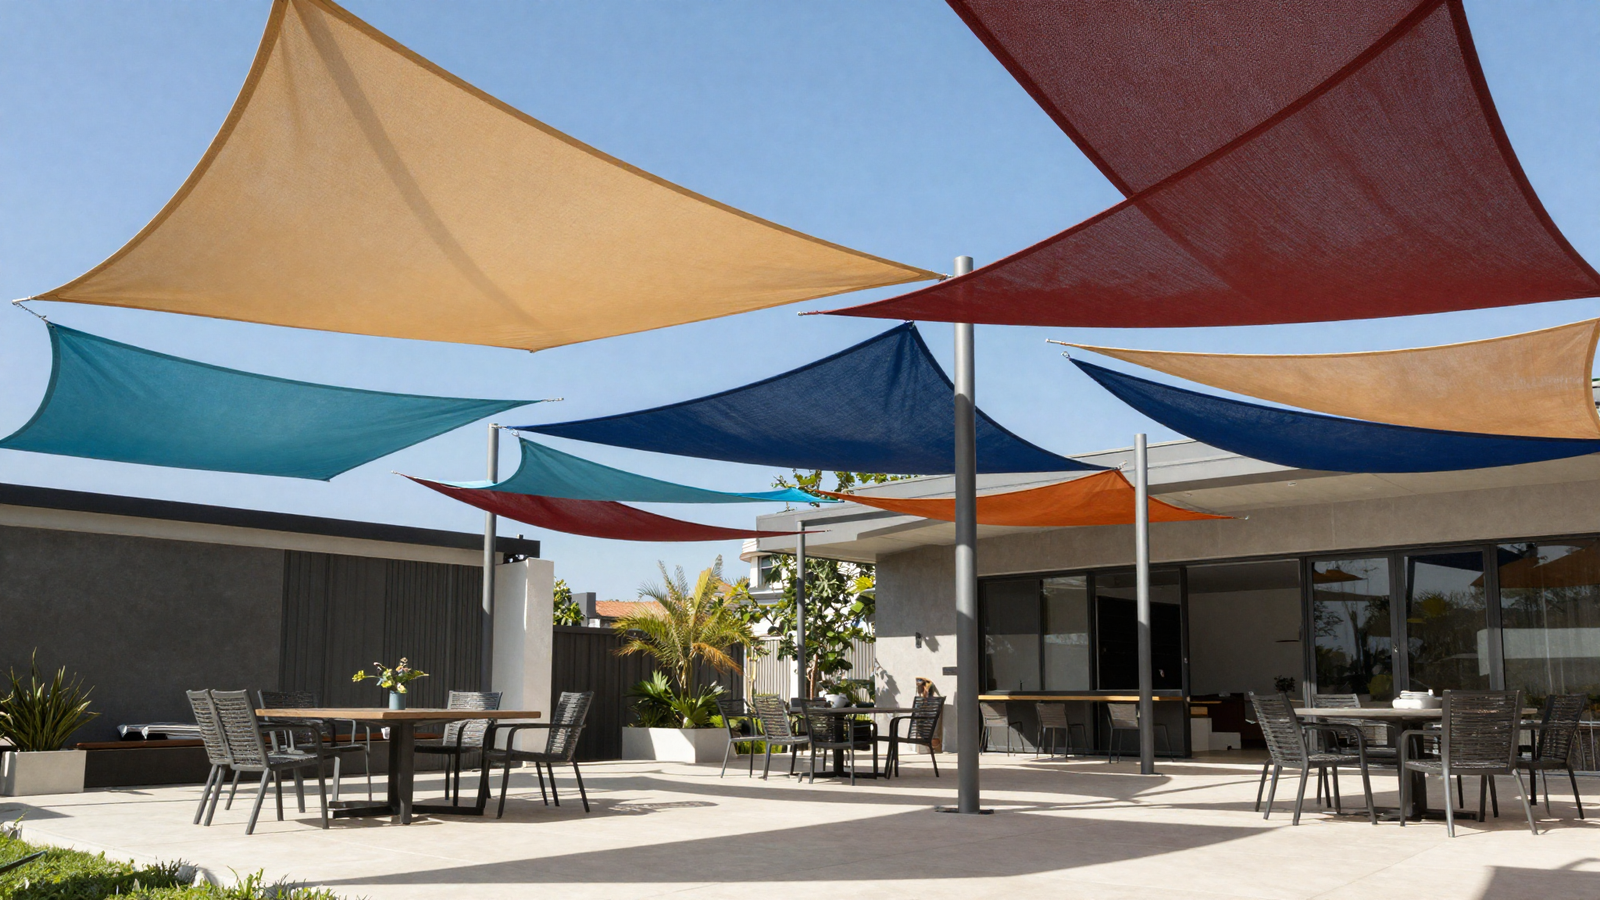
Instead of a single flat cover, overlapping triangular sails create shifting layers of shade that change character throughout the day. They keep the yard feeling open while still protecting the areas that need it most.
💡 Smart tip: Stagger sail heights and angles so the shadows overlap rather than align — it reads as intentional design, not a patchwork fix.
⚠️ Mistake to avoid: Skipping proper tensioning hardware. Loose sails sag, collect rainwater, and can tear in wind.
3. Install a Retractable Motorized Awning for Your Backyard Shade
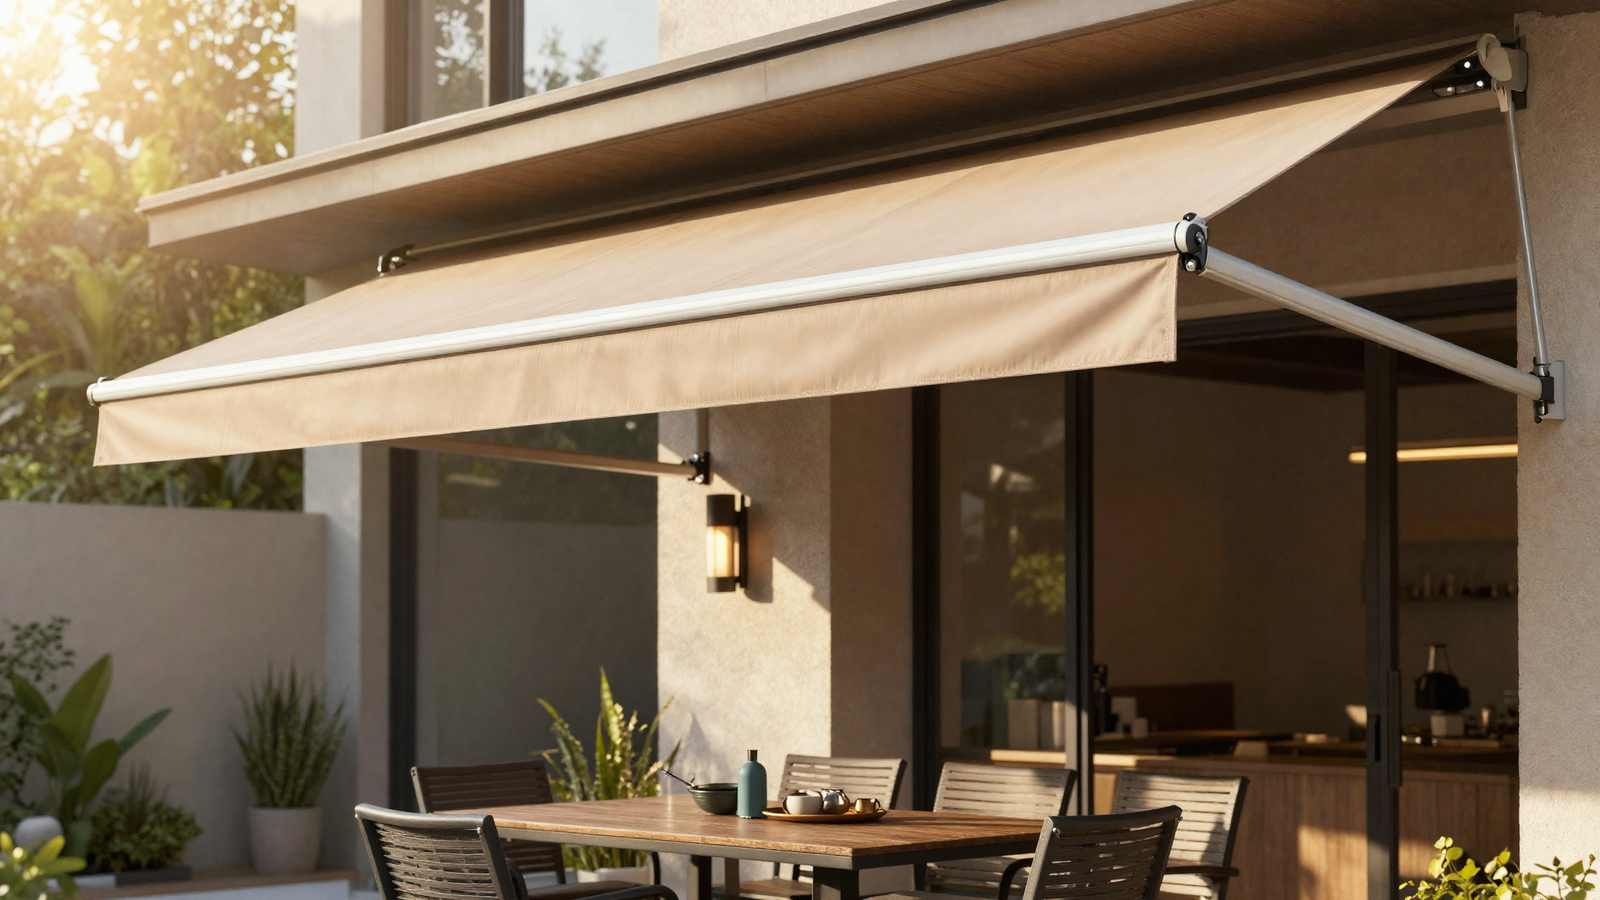
A retractable awning gives you the best of both worlds — full shade on demand, and full sun whenever you want it. Motorized versions can even be paired with a sun sensor so they extend automatically during peak heat.
💡 Smart tip: Look for wind sensors as an add-on; they automatically retract the awning before gusts can damage the fabric or frame.
⚠️ Mistake to avoid: Mounting the awning too low. Leave enough clearance for tall guests and for the fabric to fully extend without hitting furniture.
Loving These Ideas? Get the Step-by-Step Guide
Grab the full 5-day eBook and turn these ideas into a finished room.

4. Anchor Lounge Seating With a Cantilever Umbrella for Your Backyard Shade
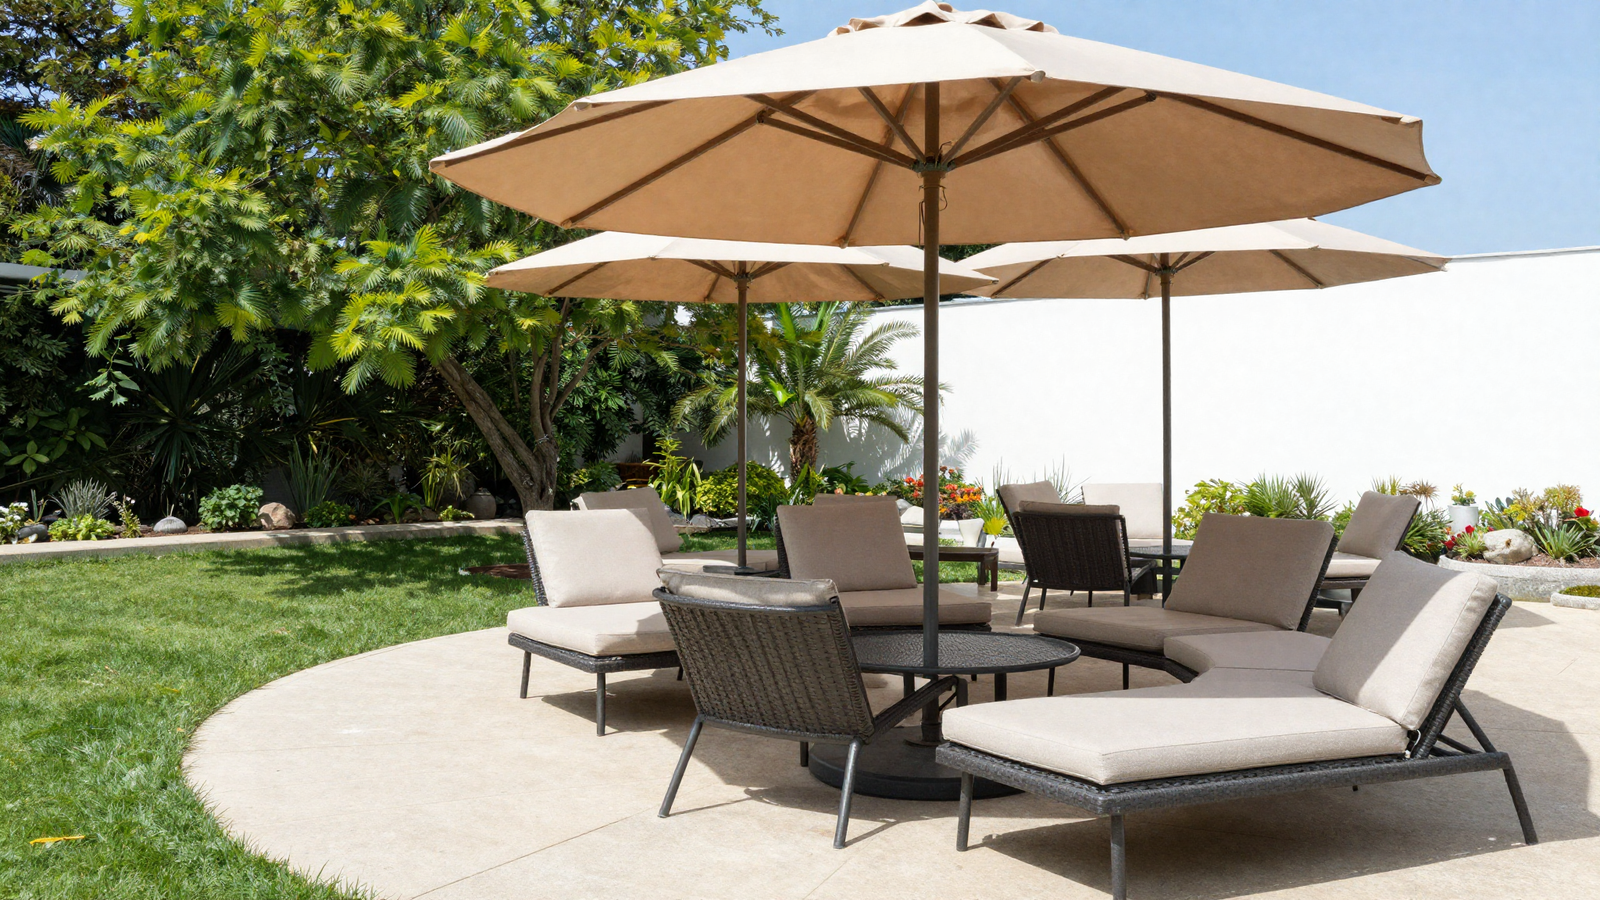
Because the pole sits off to the side instead of through the middle of the table, a cantilever umbrella shades a lounge or dining zone without ever getting in the way. It’s one of the most flexible shade solutions since the canopy can tilt and rotate to follow the sun.
💡 Smart tip: Multiply the umbrella’s canopy diameter in feet by 10 to find the minimum base weight in pounds — a 9-foot canopy needs at least a 90-pound base.
⚠️ Mistake to avoid: Choosing a base that’s rated for the umbrella’s size on paper but feels wobbly in real wind. Add extra weights if you’re near an open exposure.
Find the Perfect Digital Product for You for Your Backyard Shade
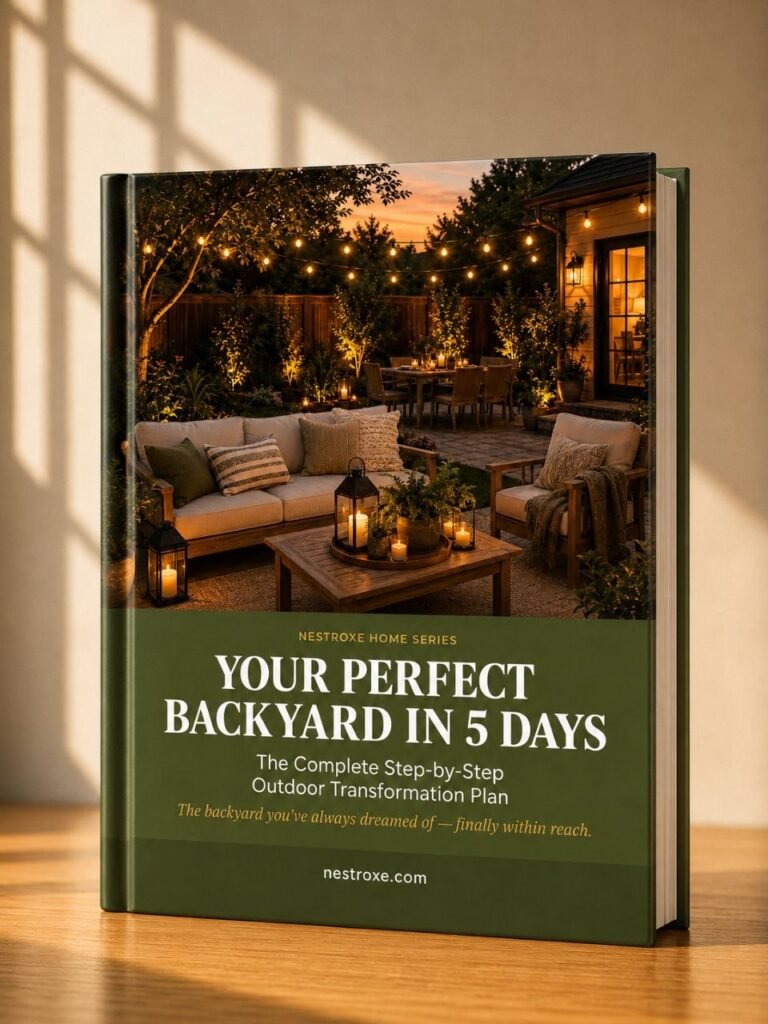
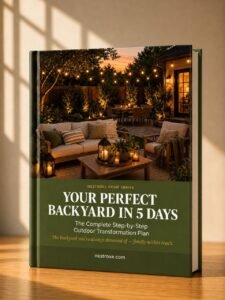
If you’re nodding along to these backyard ideas but still picturing your own patio feeling scattered and half-finished, that’s exactly the gap this next resource closes. Your Perfect Backyard in 5 Days walks you through shade, furniture, lighting, and layout — all mapped into one clear day-by-day plan with real prices attached.

👉 Click here to get your copy of Your Perfect Backyard in 5 Days — turn this list into a backyard you actually want to be in this week.
6. Stretch a Mesh Canopy Over a Gravel Patio for Your Backyard Shade
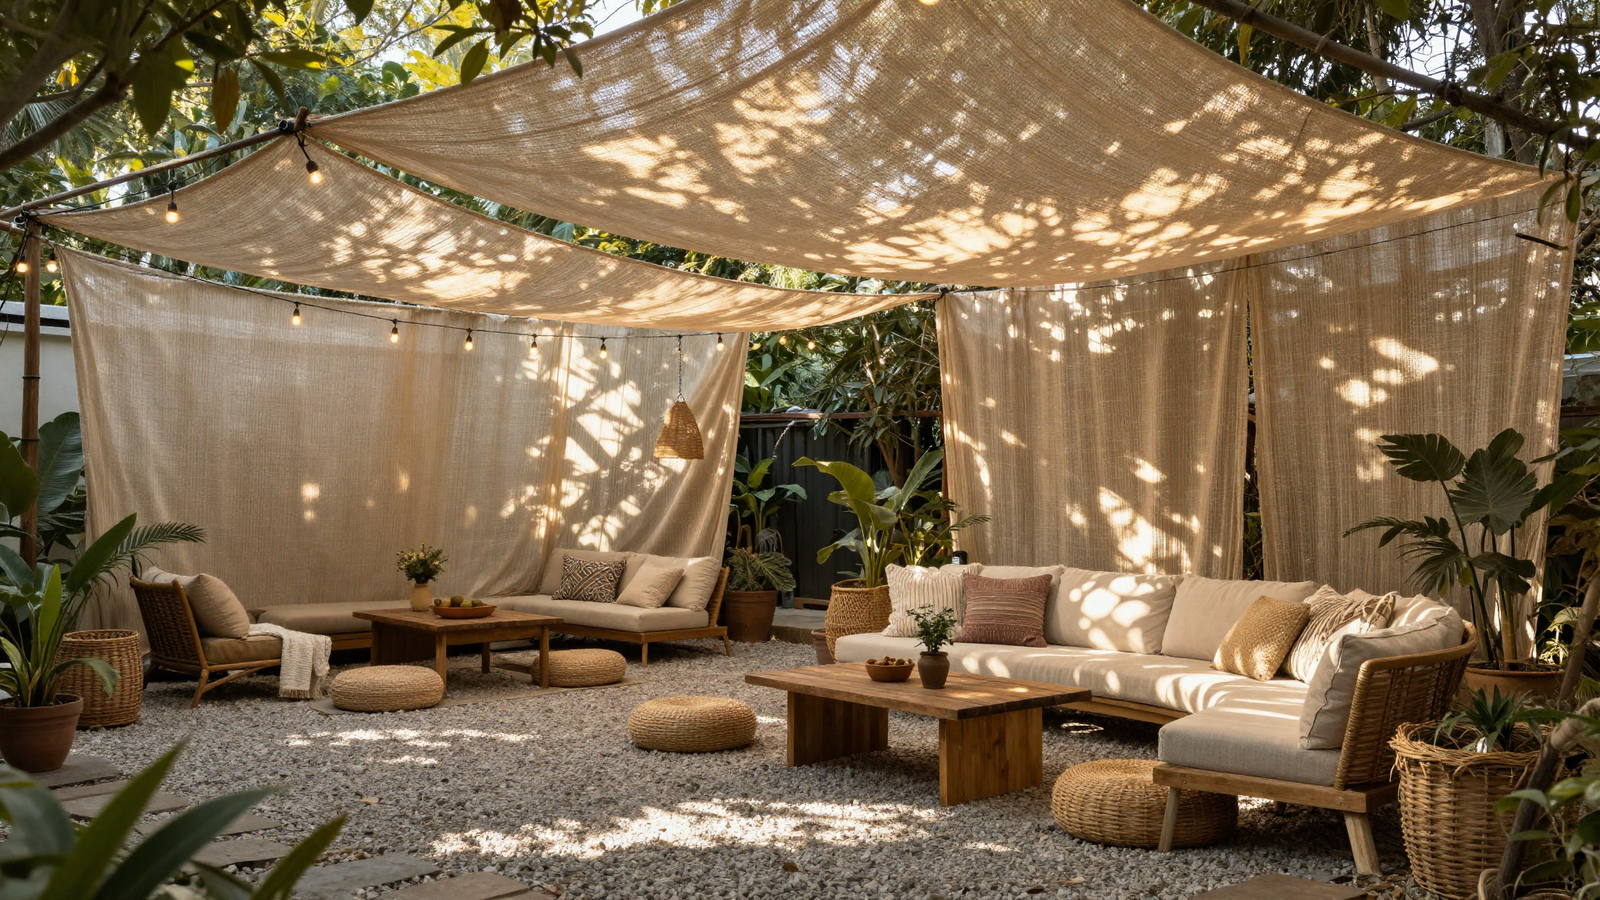
A stretched mesh canopy is one of the most budget-friendly ways to transform a bare gravel or paver patio. The breathable material cuts heat while still letting air move through, which keeps the space from feeling stuffy.
💡 Smart tip: Hang string lights just beneath the mesh so the same structure works for shade by day and ambiance by night.
⚠️ Mistake to avoid: Using a solid tarp instead of breathable mesh in humid climates — it traps heat underneath instead of releasing it.
7. Grow a Living Pergola With Climbing Vines for Your Backyard Shade
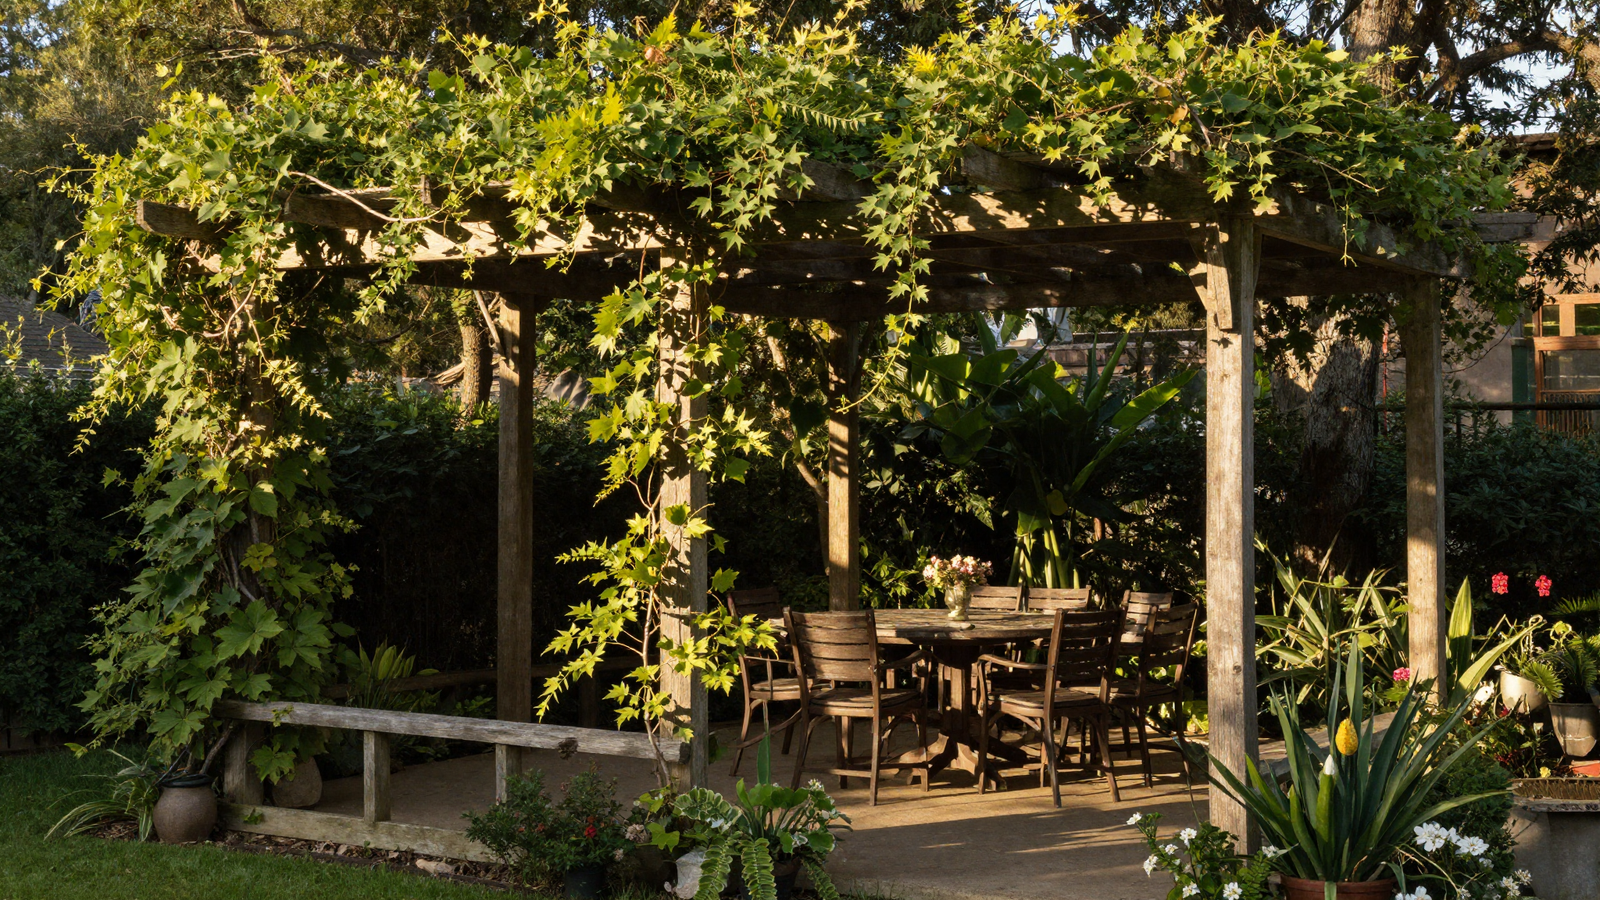
A bare pergola only offers partial shade, but train climbing vines like wisteria, grapevine, or trumpet vine across the top and it becomes a genuinely cool, green ceiling. It’s a shade solution that actually improves with time.
💡 Smart tip: Choose a fast-growing, deciduous vine so you get dense summer shade and let winter sun through once the leaves drop.
⚠️ Mistake to avoid: Planting aggressive vines like wisteria without a plan to prune — left unchecked, they can damage the pergola structure itself.
8. Choose a Louvered Roof Pergola for Adjustable Light for Your Backyard Shade
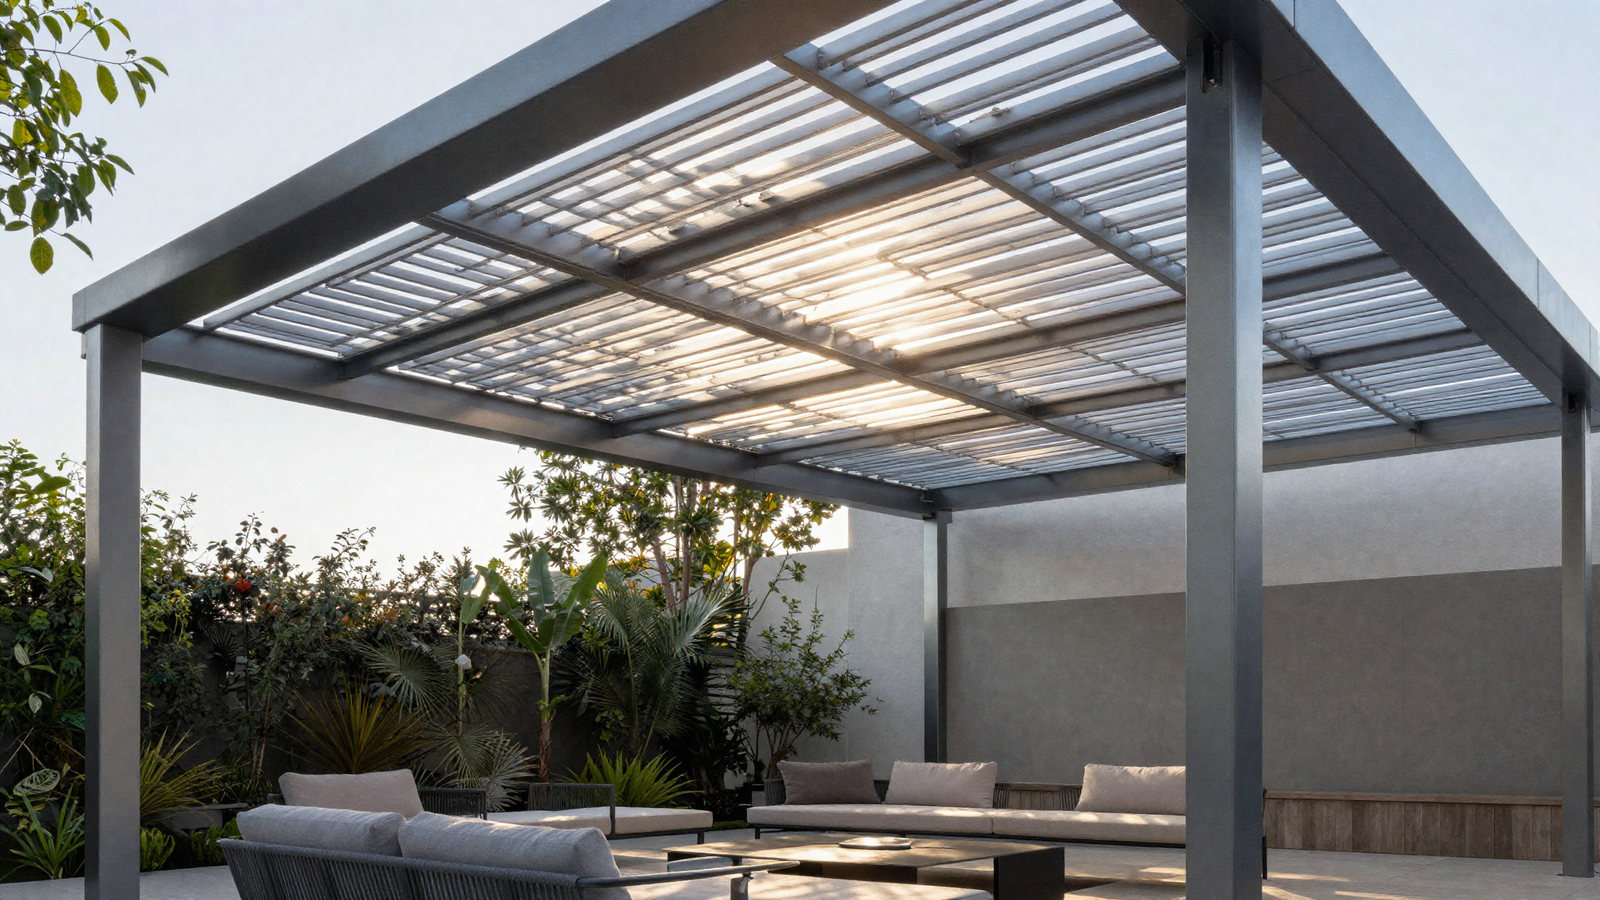
Motorized louvered roofs let you rotate the slats open for full sun or closed for complete shade, often in the same motion as closing a set of blinds. It’s a premium option, but it solves the shade question permanently.
💡 Smart tip: Pick a system with an integrated rain sensor — the louvers can close automatically the moment it starts to drizzle.
⚠️ Mistake to avoid: Underestimating installation complexity. This is not a weekend DIY project; budget for professional installation.
9. Plant a Shade Tree for Long-Term Coverage
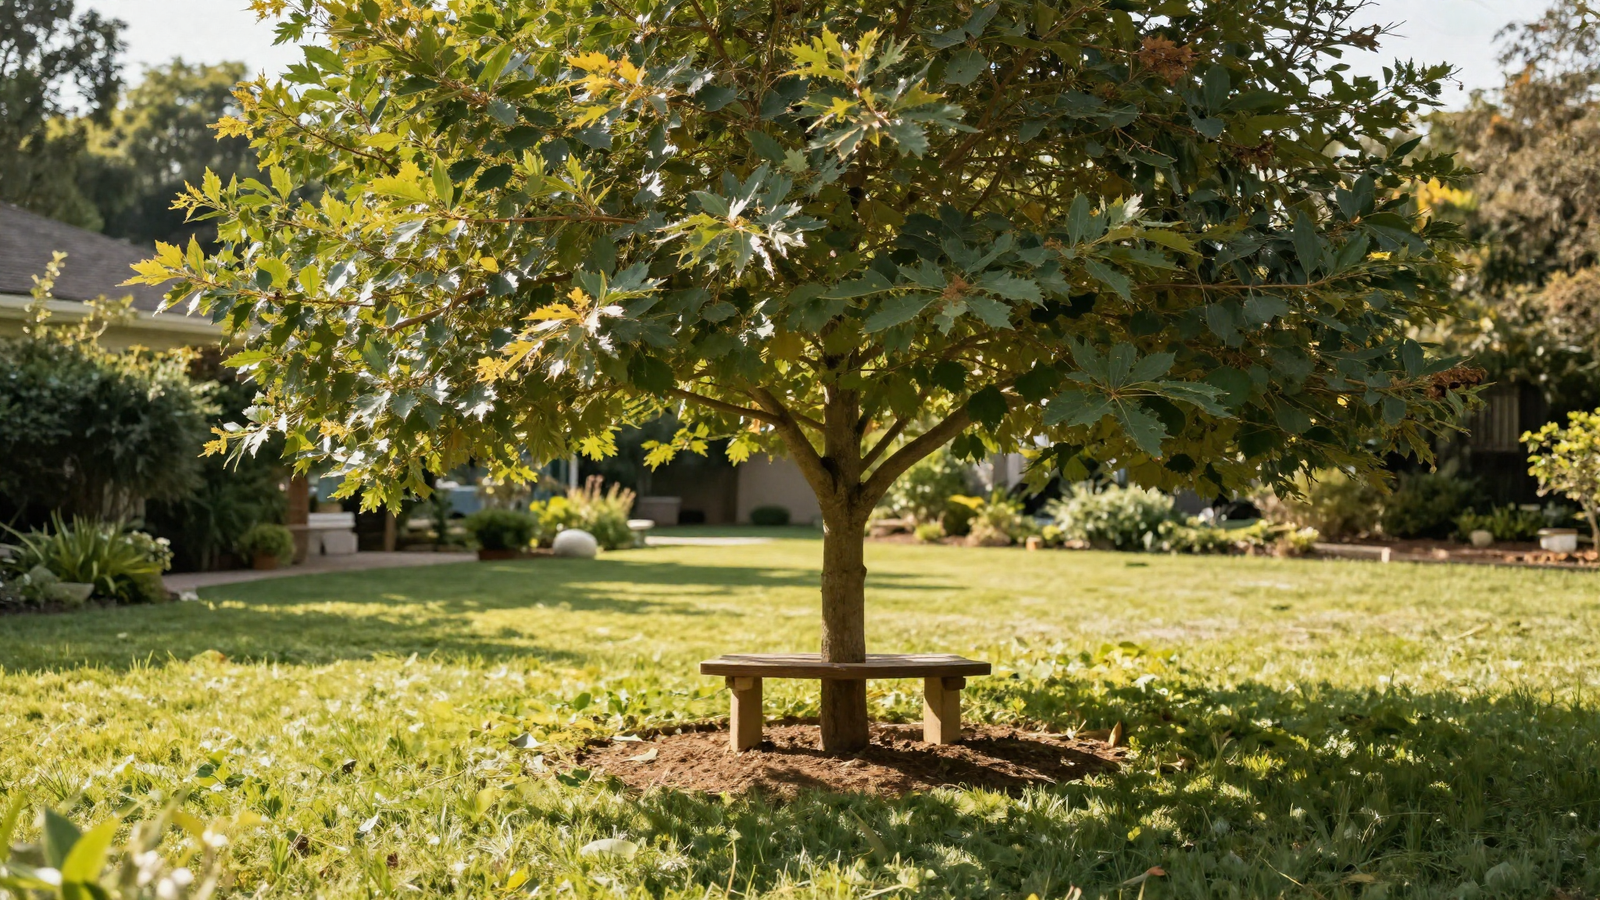
It takes patience, but nothing beats the natural coolness of a mature tree canopy. A well-placed shade tree also lowers cooling costs for the house itself if positioned near south- or west-facing windows.
💡 Smart tip: Choose a broad-canopy species suited to your climate zone, and plant it far enough from the foundation to avoid future root issues.
⚠️ Mistake to avoid: Planting purely for shade without considering mature size — a tree that outgrows its spot can crowd structures or utility lines.
10. Hang Outdoor Curtains for Adjustable Shade and Privacy
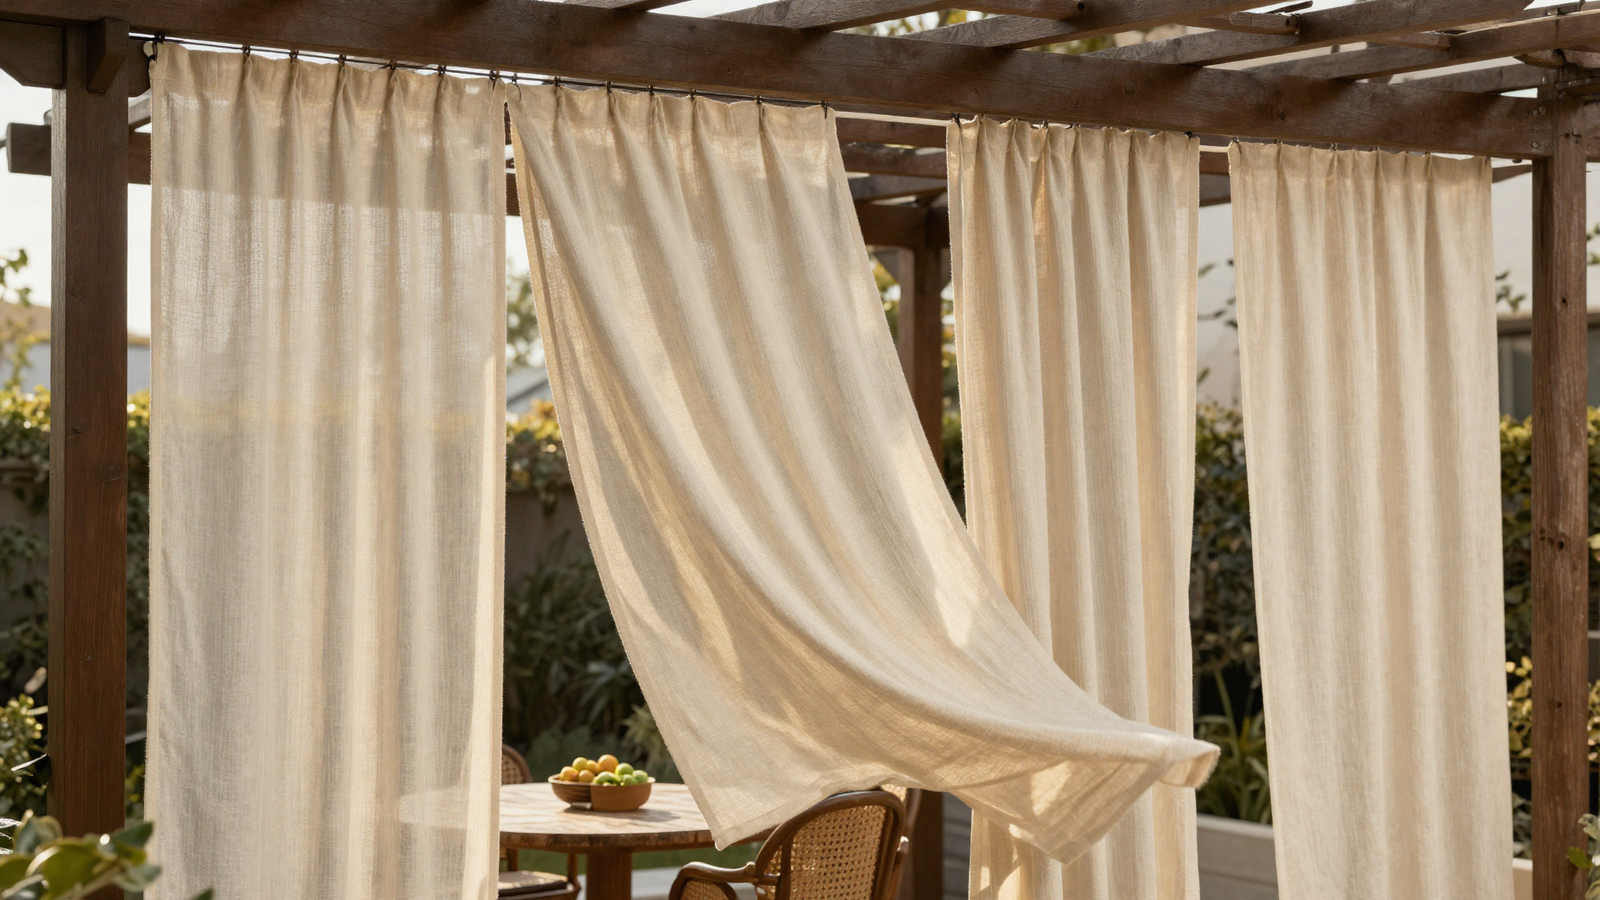
Hung from an existing pergola or patio frame, weather-resistant curtains let you dial shade and privacy up or down in seconds. They also soften a structure that might otherwise feel too open or exposed.
💡 Smart tip: Use outdoor-rated fabric with UV and mildew resistance so the curtains hold their color and structure through the season.
⚠️ Mistake to avoid: Choosing indoor fabric because it’s cheaper — it will fade and mildew quickly outdoors.
11. Create a Poolside Daybed Shade Nook
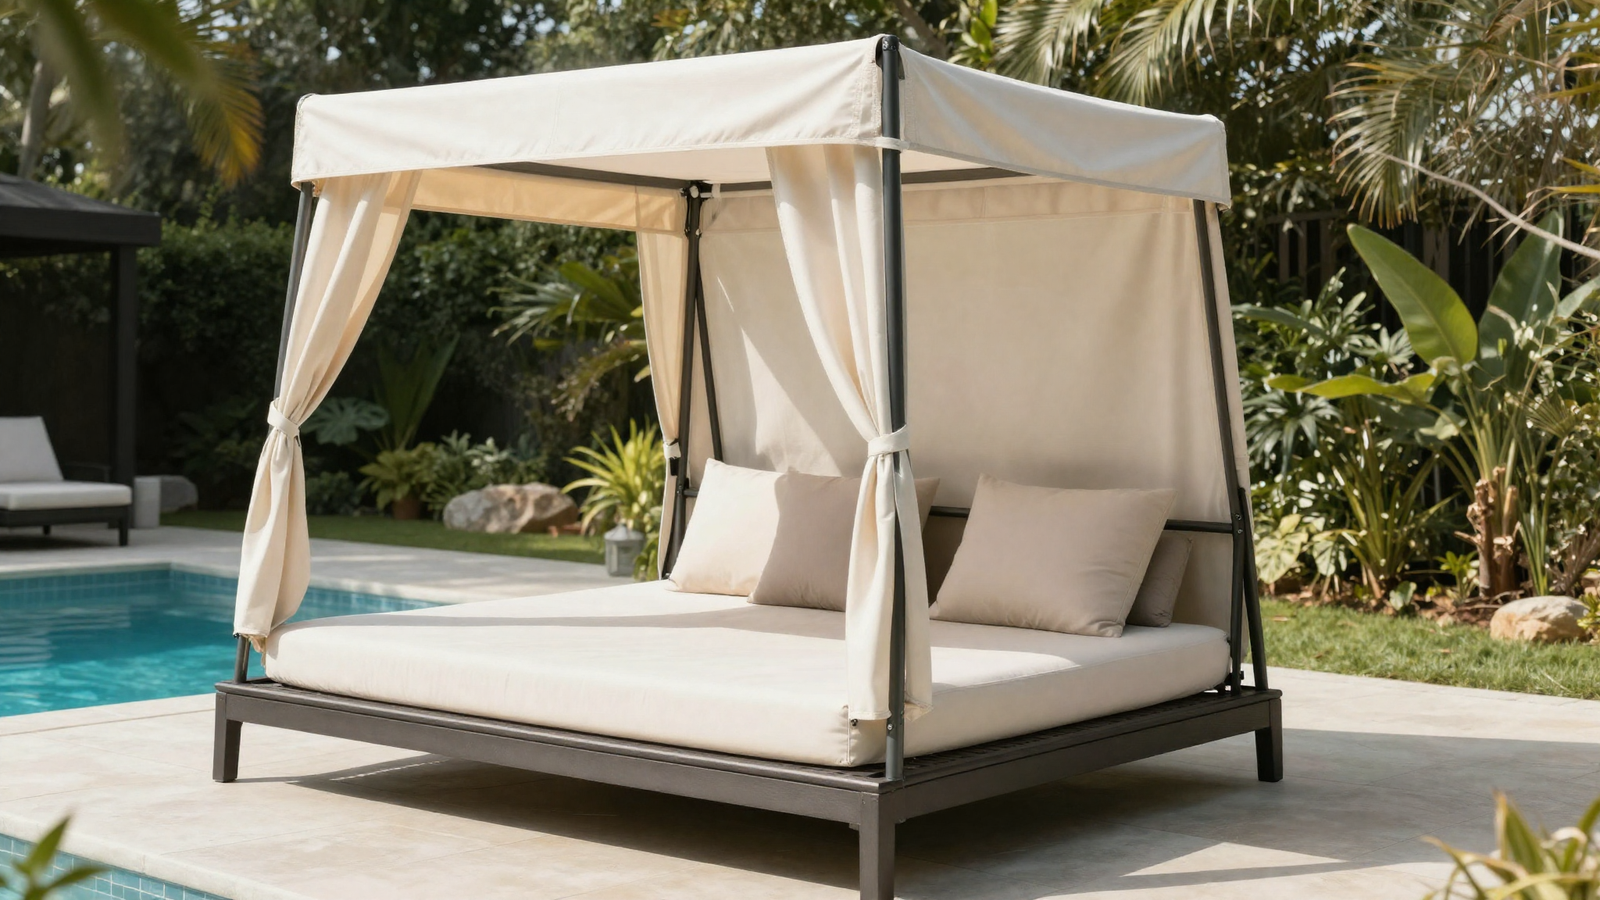
An outdoor daybed with its own adjustable canopy solves shade and seating in a single piece, resort-style. It’s ideal for anyone who wants a dedicated relaxing spot without building a permanent structure.
💡 Smart tip: Look for daybeds with a canopy that tilts independently of the base, so you can angle it precisely as the sun moves.
⚠️ Mistake to avoid: Placing the daybed directly beside the pool without checking splash zones — chlorine exposure wears down fabric fast.
12. Set Up a Pop-Up Canopy for Flexible Entertaining
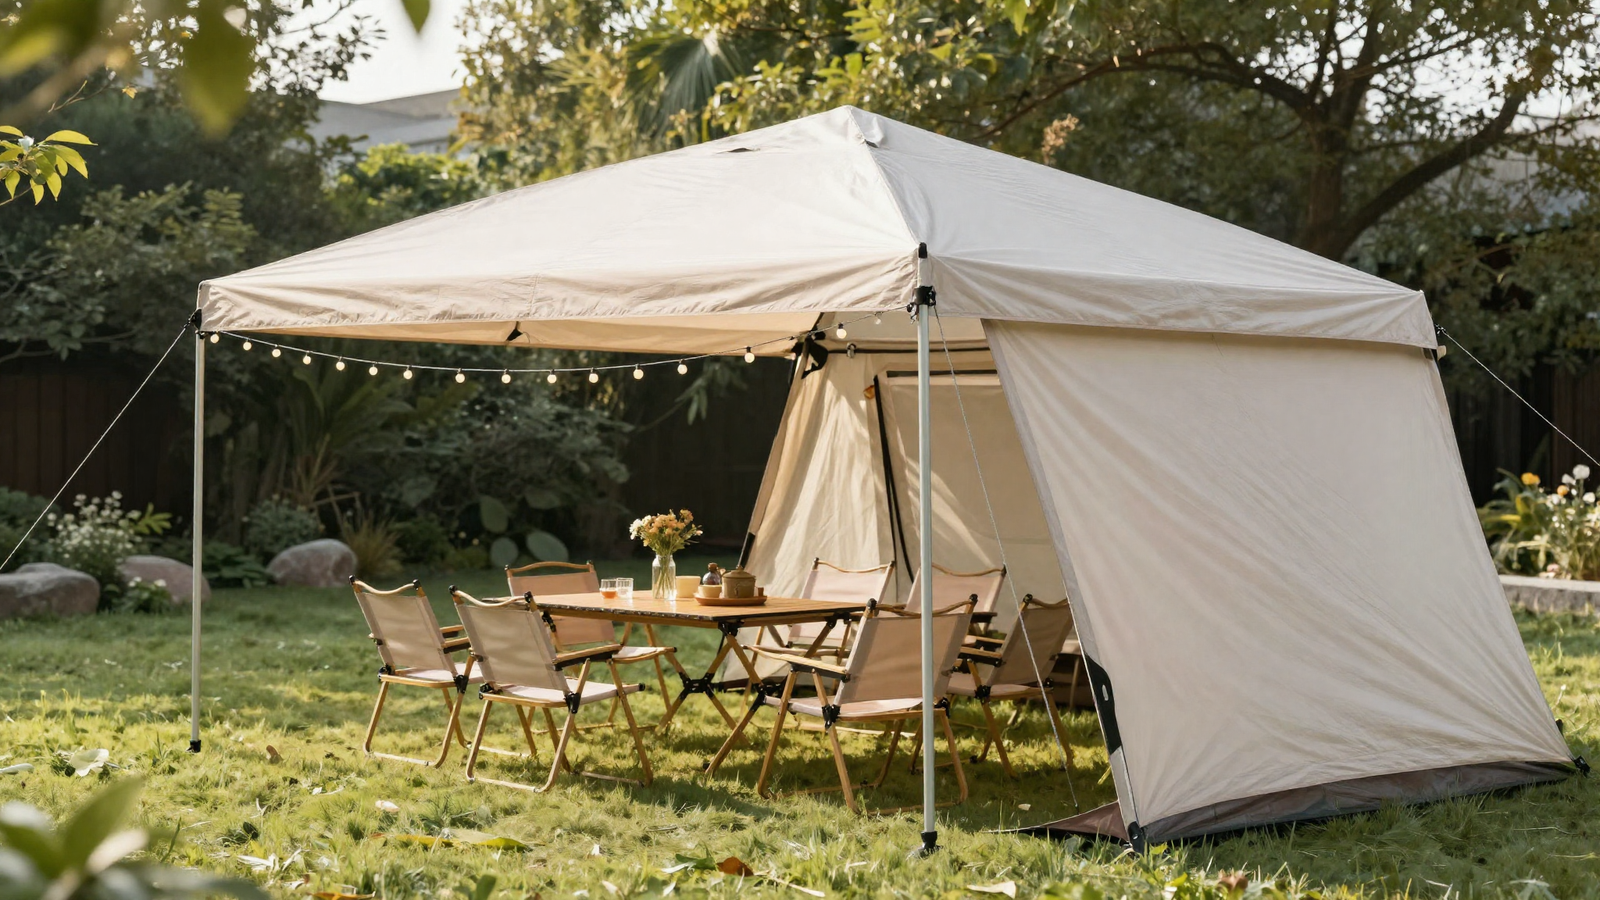
When you need shade for a single event rather than year-round, a pop-up canopy delivers instant coverage and breaks down again in minutes. It’s the most budget-friendly option on this list by far.
💡 Smart tip: Choose adjustable-height poles so the same canopy works for both a low lounge setup and a taller dining arrangement.
⚠️ Mistake to avoid: Skipping stakes or sandbags — even a light breeze can send an unanchored pop-up canopy tumbling.
13. Add a Lattice Screen With Climbing Plants
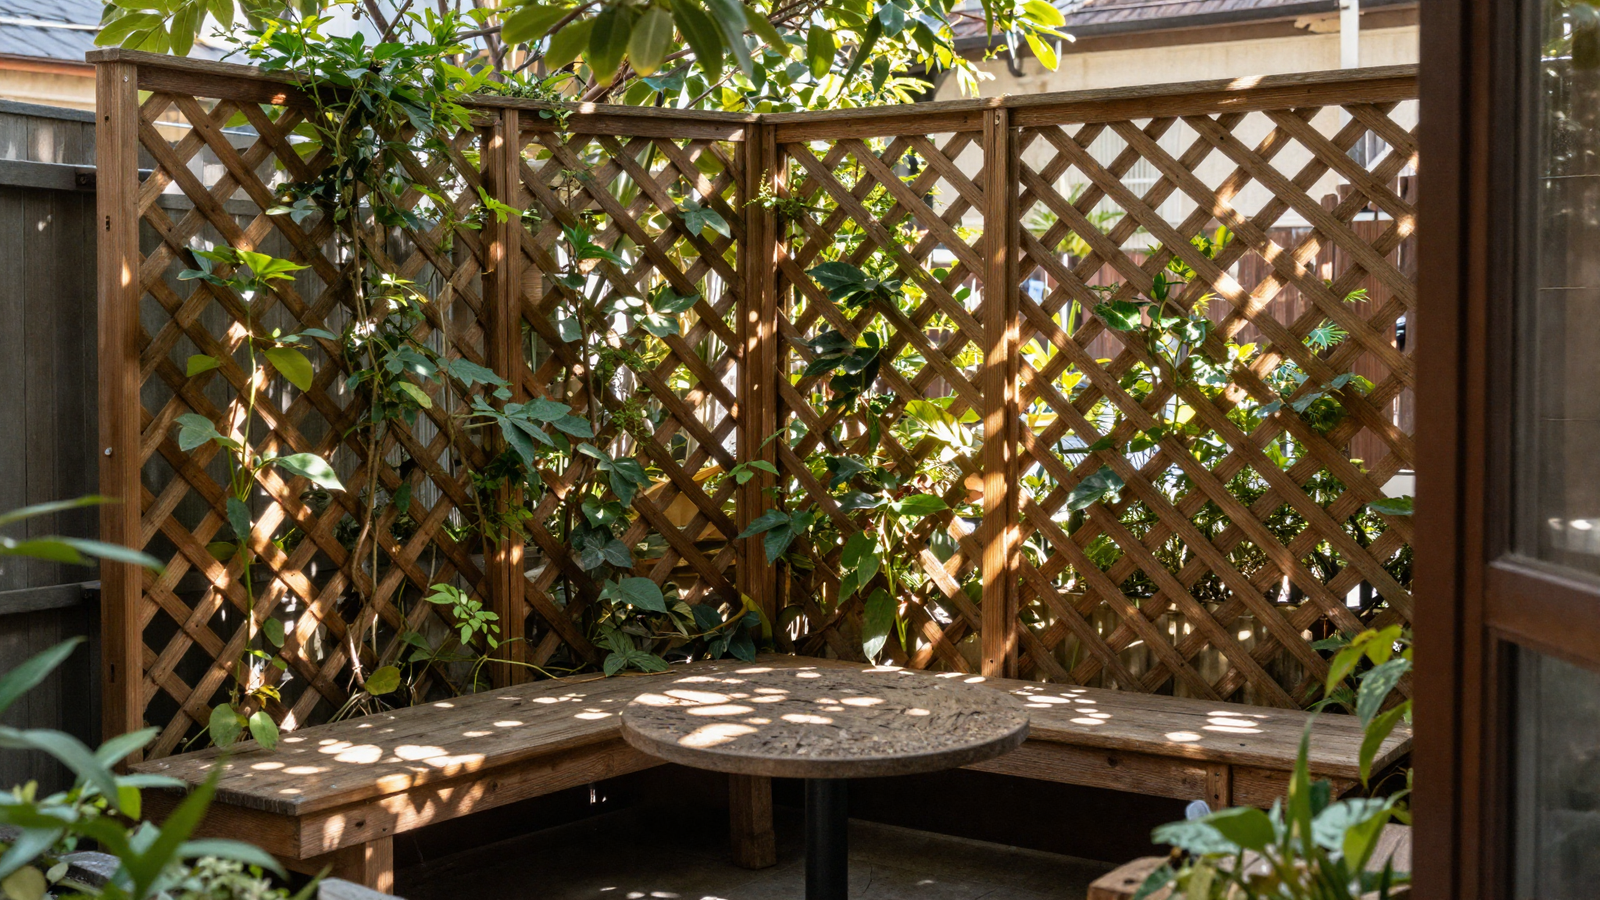
A lattice screen filters harsh afternoon light into soft dappled patterns while also blocking sightlines from neighboring yards. Paired with climbing plants, it becomes a living wall rather than a bare structure.
💡 Smart tip: Angle the lattice toward the harshest sun exposure — usually west-facing — rather than centering it purely for symmetry.
⚠️ Mistake to avoid: Using untreated wood in humid climates; it warps and rots far faster than pressure-treated or composite alternatives.
14. Build a Poolside Cabana Retreat
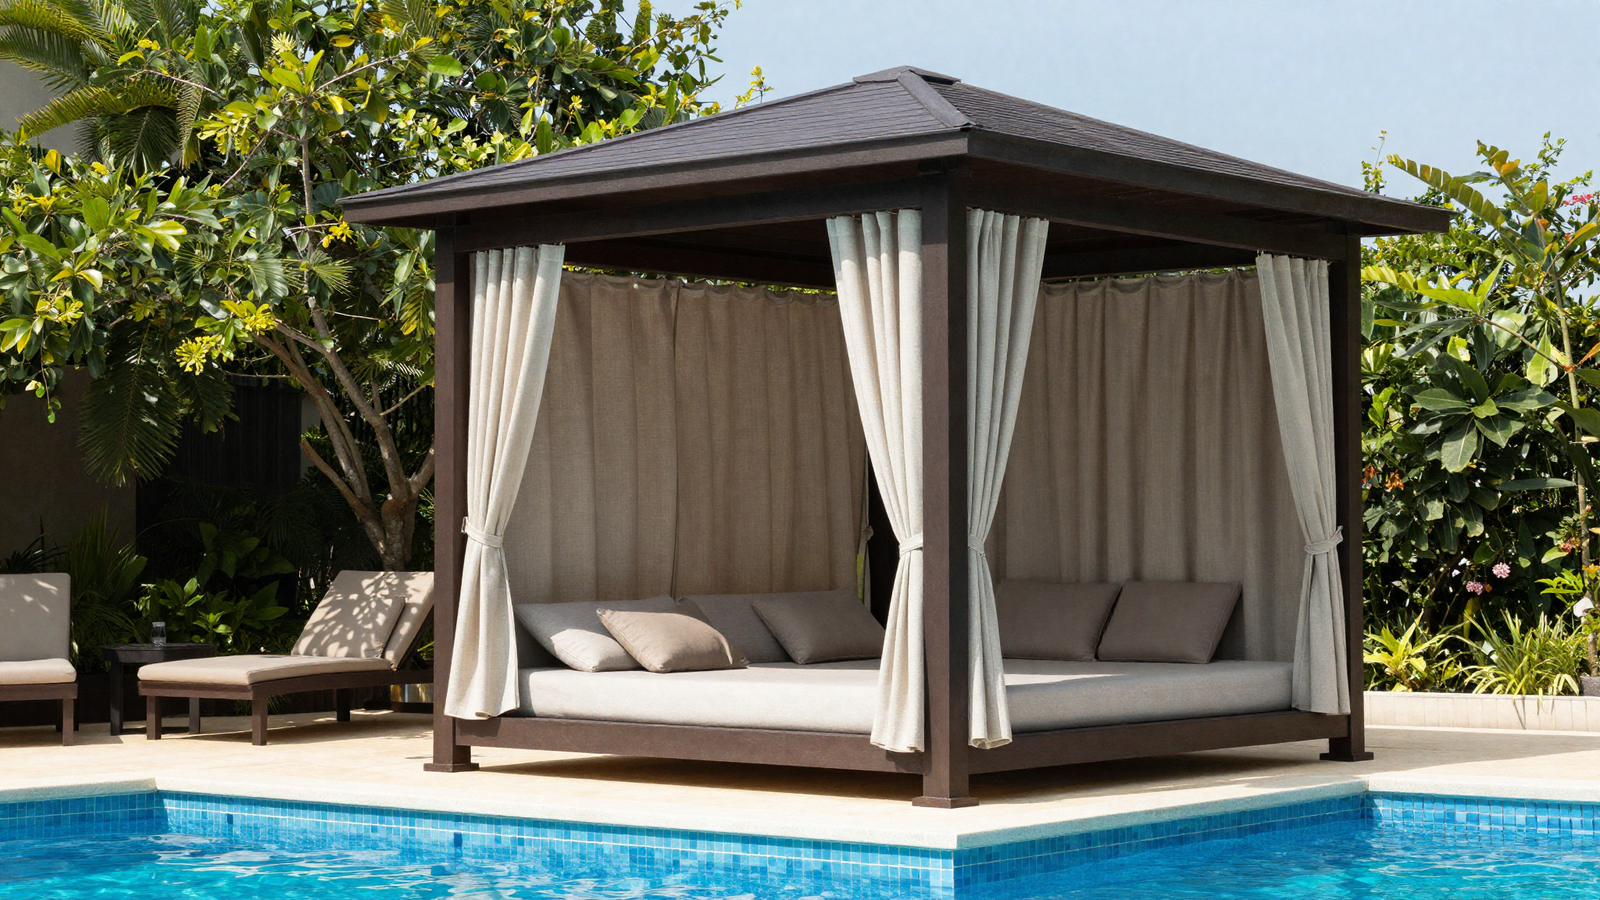
A cabana takes shade to a resort-level experience — a solid roof, draped curtains, and dedicated lounge seating make it feel like its own private getaway rather than just another shaded corner.
💡 Smart tip: Use a neutral, weatherproof curtain fabric so it’s easy to swap accent colors seasonally without replacing the whole structure.
⚠️ Mistake to avoid: Placing the cabana too close to the pool edge — leave enough deck space for foot traffic and furniture without crowding the water.
15. Mount a Wall-Attached Patio Awning
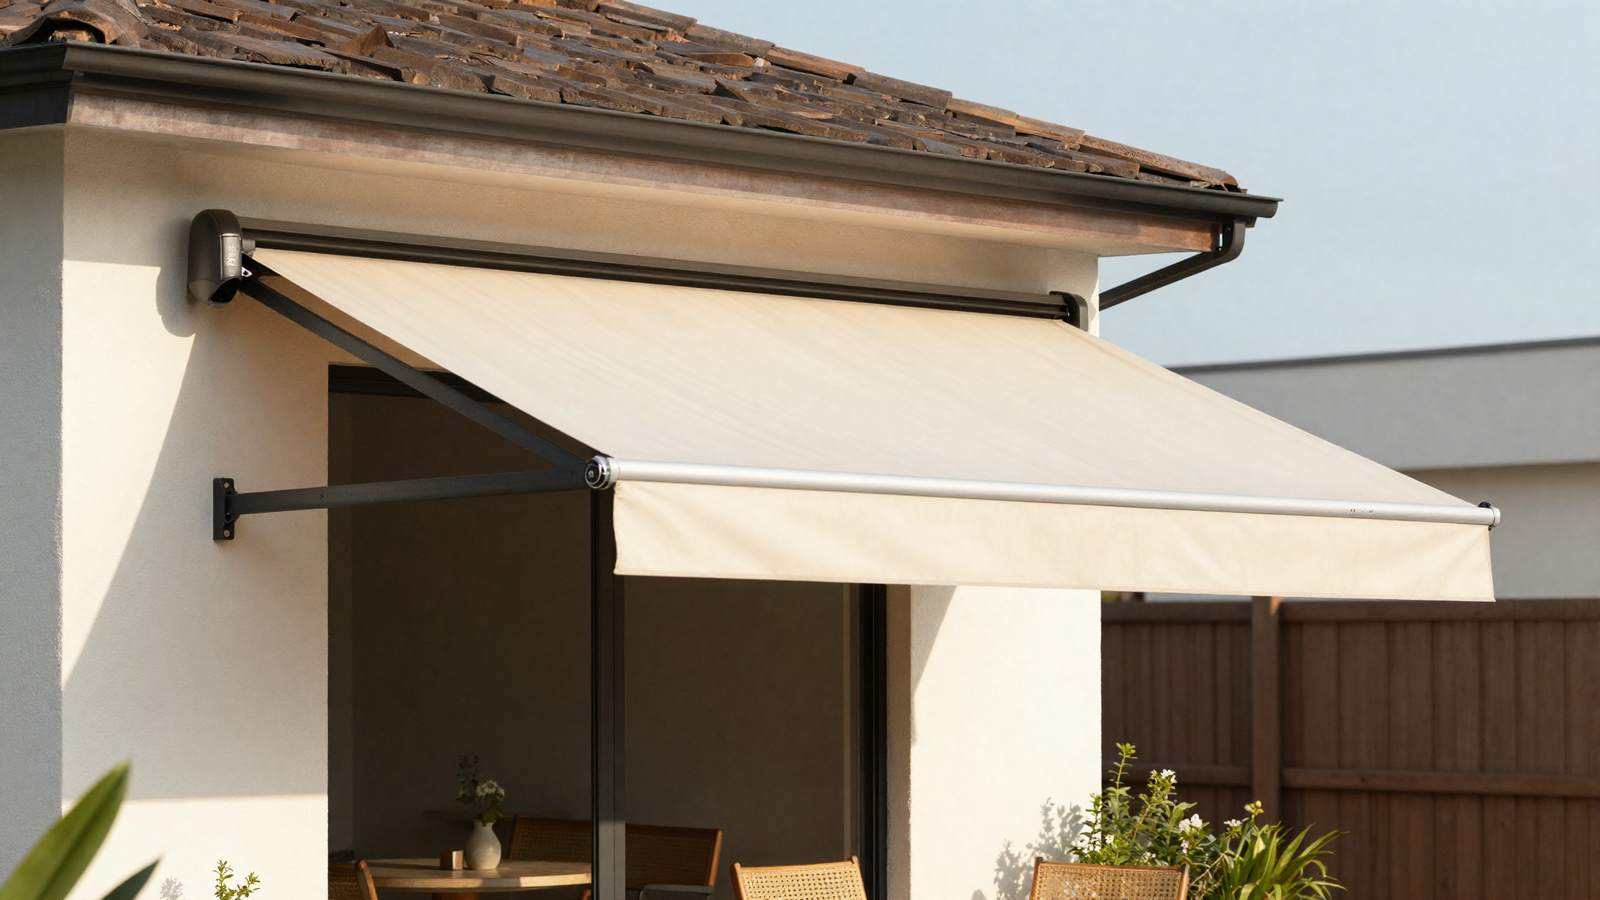
For smaller patios right against the house, a wall-mounted awning delivers shade without taking up any additional ground space. It’s one of the simplest upgrades to install on an existing exterior wall.
💡 Smart tip: Confirm your wall structure can support the mounting hardware before installation — brick and masonry typically need different anchors than siding.
⚠️ Mistake to avoid: Choosing a fixed awning when a retractable one costs only slightly more and gives you far more flexibility.
16. Shade Your Outdoor Kitchen With a Pitched Roof
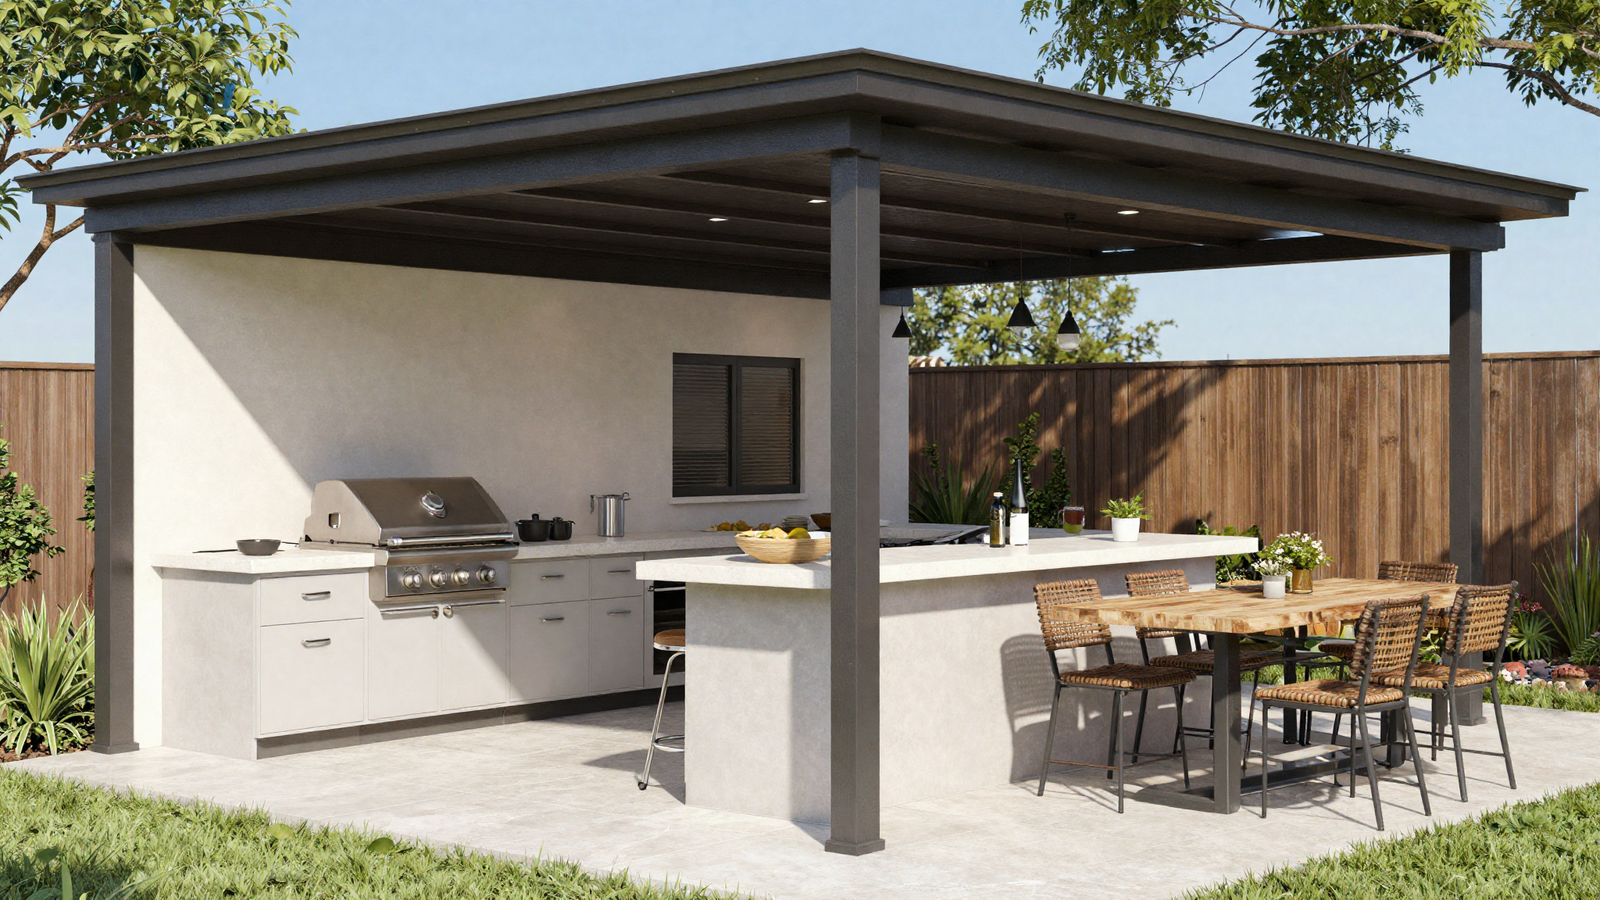
Cooking outdoors under direct sun gets old fast. A dedicated shade roof over the grill, counter, and bar seating keeps the whole cooking and dining zone usable even during peak afternoon heat.
💡 Smart tip: Leave adequate roof clearance and ventilation above the grill itself to manage heat and smoke safely.
⚠️ Mistake to avoid: Using flammable roofing materials directly above or near an open flame grill — stick to fire-rated materials in that zone.
17. Roll Out a Bamboo or Reed Shade Screen
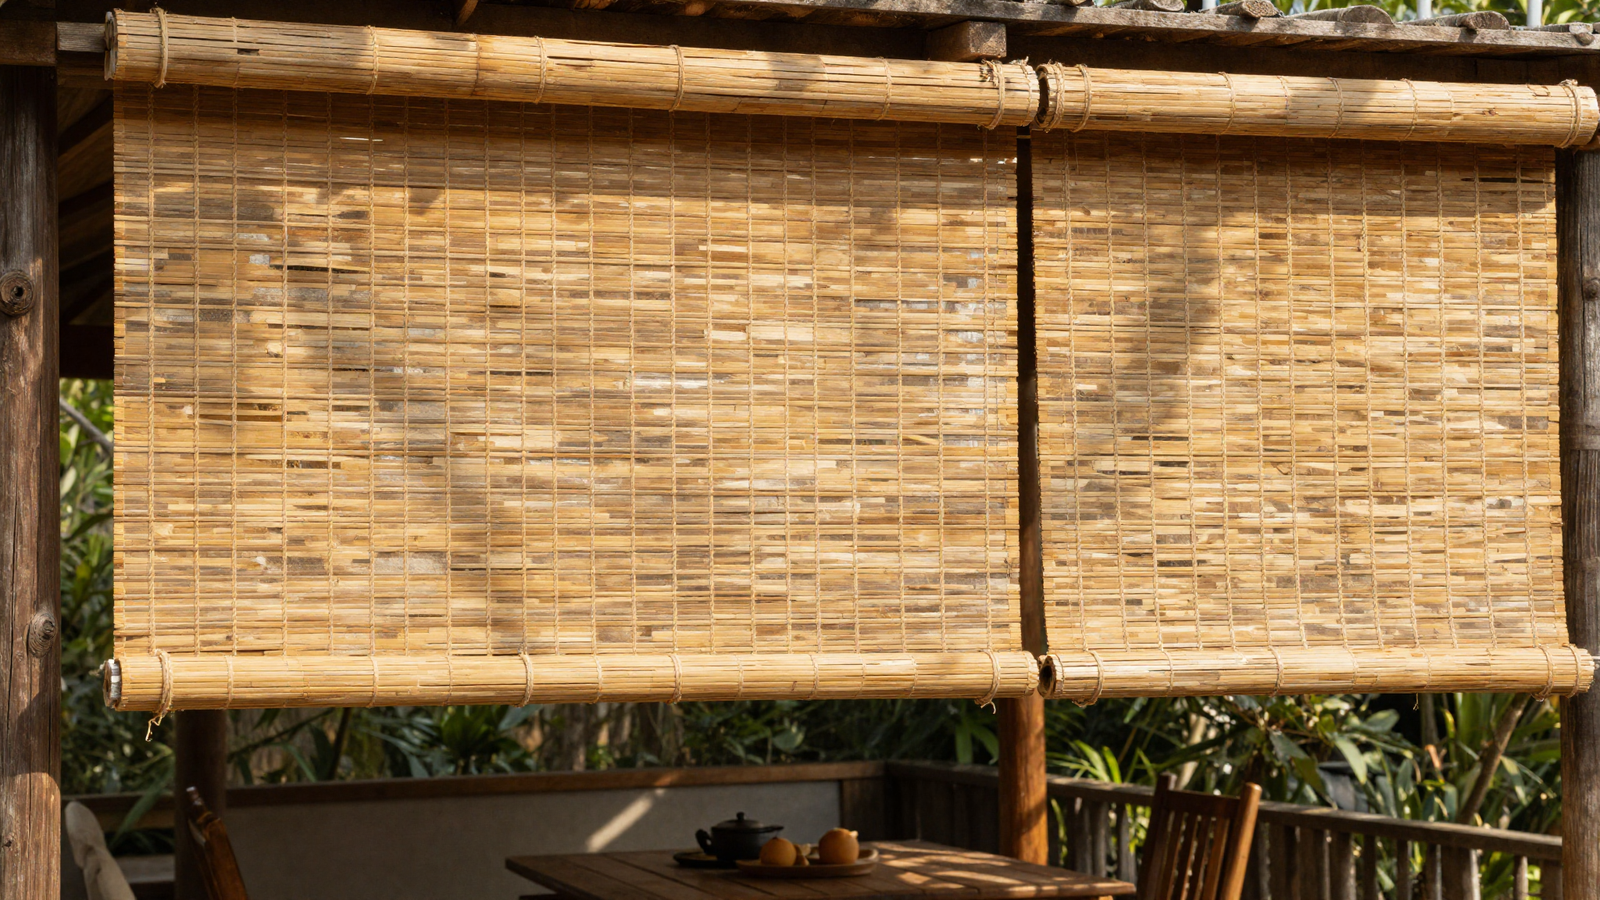
A rolled bamboo or reed screen brings texture and warmth while filtering sunlight naturally. It’s an easy, inexpensive way to soften a hard-edged pergola frame or bare fence line.
💡 Smart tip: Treat the screen with a UV-protective sealant to extend its lifespan and prevent the material from drying out and cracking.
⚠️ Mistake to avoid: Leaving the screen fully unrolled through storms — high winds can tear untreated natural material.
18. Combine Shade Sails With String Lights for Day-to-Night Use
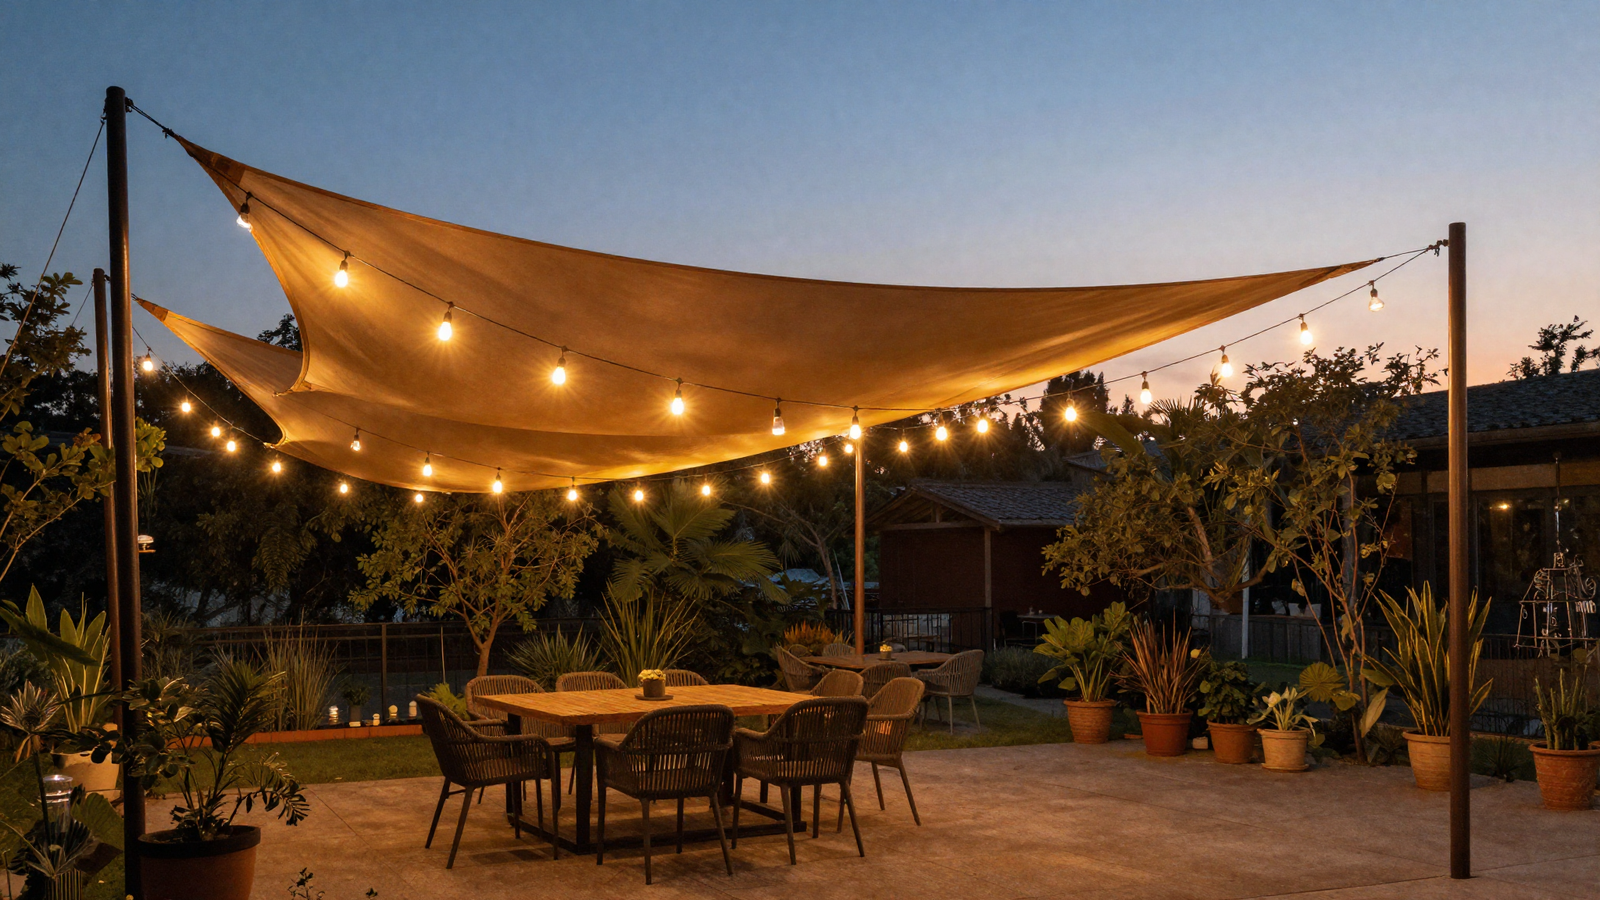
Pairing a shade sail with string lights woven along its edges means the same structure works for both sun protection and evening ambiance, no separate setup required. It’s a simple layering trick that maximizes one investment.
💡 Smart tip: Use warm white LED string lights rather than cool white — they read as cozier once the sun goes down.
⚠️ Mistake to avoid: Running non-outdoor-rated string lights through a sail exposed to rain; always confirm an IP65 rating or higher.
Effort & Cost Snapshot
| Idea | Effort | Approx. Cost |
|---|---|---|
| 1. Timber Shade Pavilion | High (contractor build) | $3,000–$10,000+ |
| 2. Triangular Shade Sails | Medium (DIY possible) | $100–$600 |
| 3. Retractable Motorized Awning | Medium–High (pro install) | $1,500–$5,000 |
| 4. Cantilever Umbrella | Low (DIY) | $200–$800 |
| 6. Mesh Shade Canopy | Low–Medium (DIY) | $80–$300 |
| 7. Living Pergola With Vines | Medium (build + ongoing care) | $800–$4,000 |
| 8. Louvered Roof Pergola | High (pro install) | $5,000–$20,000+ |
| 9. Shade Tree | Low (planting) / long-term wait | $50–$400 |
| 10. Outdoor Curtains | Low (DIY) | $100–$500 |
| 11. Daybed With Canopy | Low (DIY assembly) | $400–$1,500 |
| 12. Pop-Up Canopy | Low (DIY, no tools) | $50–$250 |
| 13. Lattice Screen With Plants | Medium (DIY build) | $150–$700 |
| 14. Poolside Cabana | High (contractor build) | $2,500–$8,000+ |
| 15. Wall-Mounted Awning | Medium (pro install) | $800–$3,000 |
| 16. Shaded Outdoor Kitchen | High (contractor build) | $4,000–$15,000+ |
| 17. Bamboo/Reed Screen | Low (DIY) | $40–$200 |
| 18. Shade Sail + String Lights | Low–Medium (DIY) | $120–$650 |
Whichever combination fits your yard and budget, the goal is the same: a backyard you actually want to spend time in, no matter how high the sun climbs. Save this list to Pinterest so you can come back to it as you plan out your own shaded retreat, one idea at a time.
Continue Your Home Transformation
Explore the full collection of step-by-step eBooks and get the guide that fits the room you're working on.