Organization and Storage
Getting the garage organization right makes the biggest difference in how the space actually feels day to day. A well-planned garage organization balances function and style, and even small tweaks to your garage organization can transform the whole area.
If pulling into your garage means stepping over bikes, digging through unlabeled boxes, or losing an entire Saturday just trying to find a wrench, you’re not alone — and it’s not a sign you’re bad at organizing. Garages absorb everything the rest of the house doesn’t have room for, and without a system, that overflow just piles up until the space stops functioning entirely.
By the end of this article, you’ll have 18 real, practical ways to turn your garage into a space that’s easy to navigate, easy to maintain, and actually pleasant to walk into.
Table of Contents
- 1. Install a Wall-Mounted Slatwall System
- 2. Add Overhead Ceiling Storage Racks
- 3. Roll In Modular Tool Cabinets
- 4. Build a Pegboard Tool Wall
- Find the Perfect Digital Product for You
- 6. Create Labeled Clear Bin Zones
- 7. Mount a Vertical Bike Storage Wall
- 8. Hang a Wall-Mounted Garden Tool Rack
- 9. Set Up a Power Tool Charging Station
- 10. Add Magnetic Tool Strips
- 11. Fill the Dead Corner With Shelving
- 12. Mount a Cord and Hose Reel Wall
- 13. Carve Out a Kids’ Gear Zone
- 14. Build a Workbench With Under-Storage
- 15. Install a Ceiling Lift for Bulky Gear
- 16. Define a Recycling and Trash Zone
- 17. Stack Seasonal Decor on Labeled Shelves
- 18. Finish the Floor With Zoned Epoxy
- Effort & Cost Snapshot
1. Install a Wall-Mounted Slatwall System for Your Garage Organization
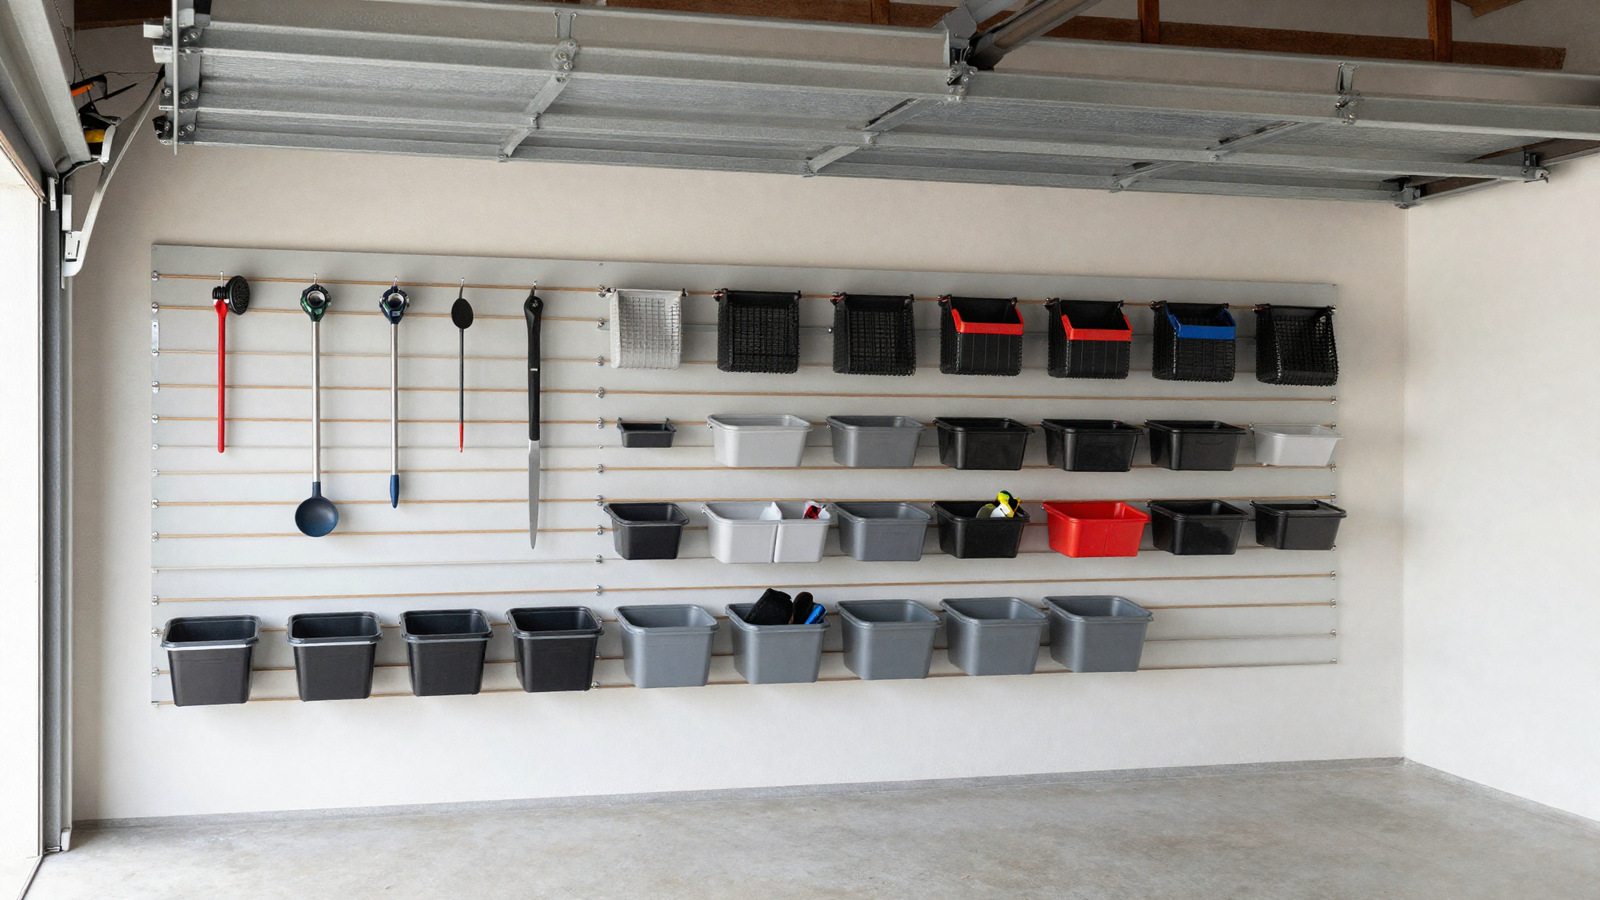
A slatwall panel turns an entire blank wall into flexible, reconfigurable storage for hooks, bins, and shelves. It’s the single upgrade most likely to change how a garage feels, since it moves clutter off the floor and onto a wall you were never using anyway.
💡 Smart tip: Plan your slatwall layout around your three most-used tool categories first, then add hooks for everything else once you see how much room is left.
⚠️ Mistake to avoid: Overcrowding the panel right away. Leave gaps for items you’ll acquire later, or you’ll be re-drilling within a year.
2. Add Overhead Ceiling Storage Racks for Your Garage Organization
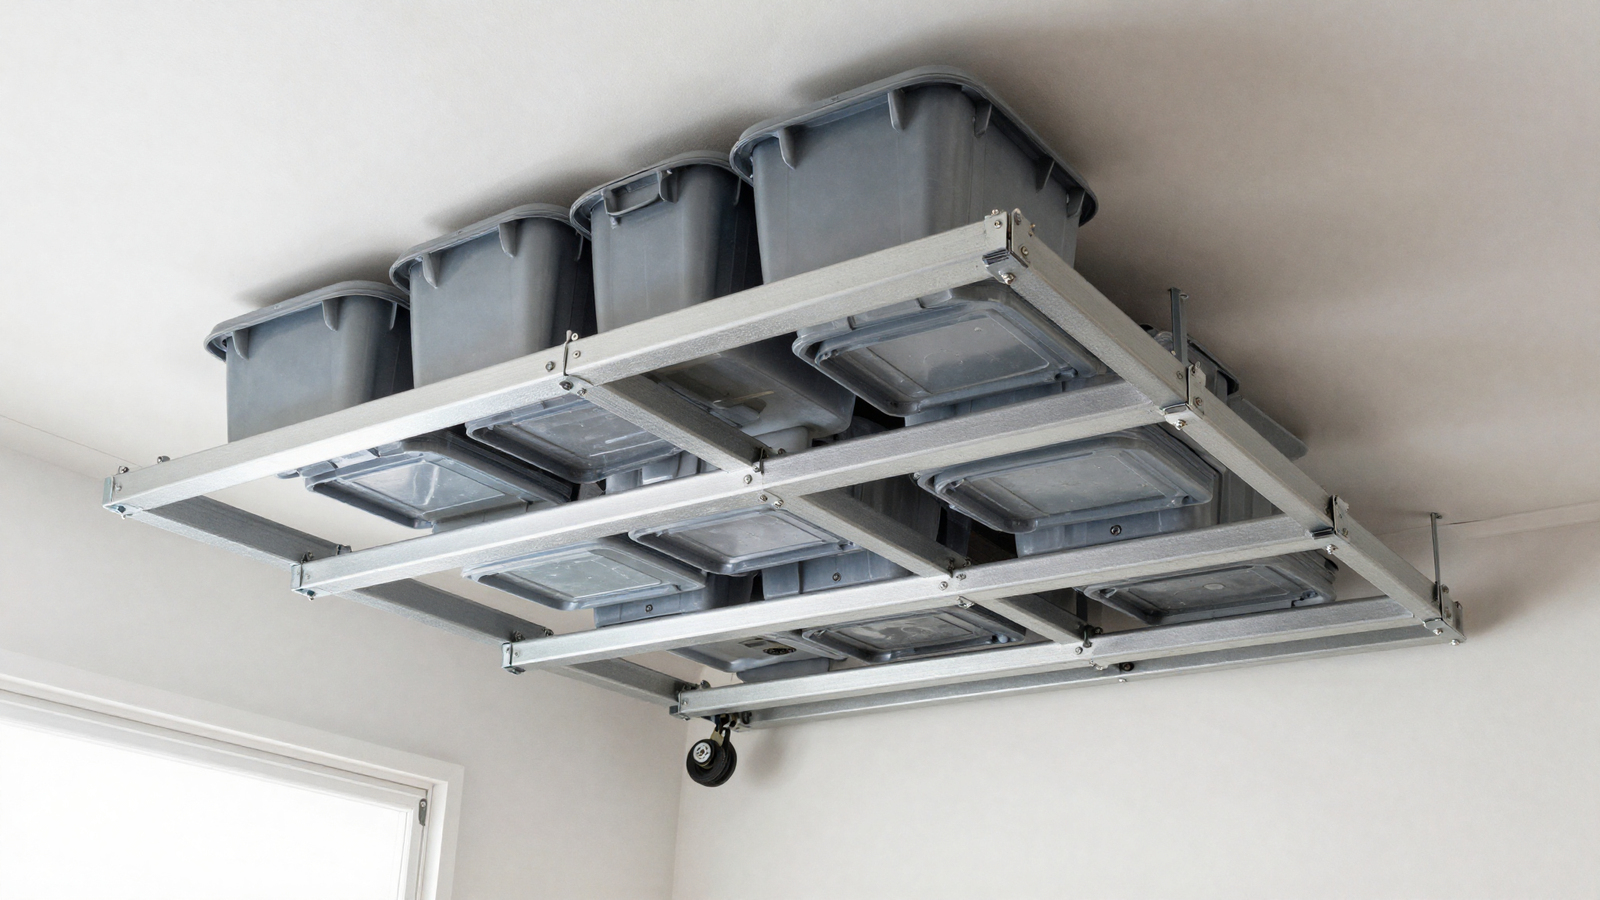
Ceiling racks claim space that’s otherwise completely wasted, making them ideal for seasonal items you only need a few times a year. Getting bulky bins up and off the floor instantly opens up room to actually park or work.
💡 Smart tip: Mount racks into ceiling joists, not just drywall — a fully loaded rack is heavier than it looks once the bins are packed.
⚠️ Mistake to avoid: Storing anything you need regularly up there. If it requires a ladder every time, it’ll end up back on the floor within weeks.
3. Roll In Modular Tool Cabinets for Your Garage Organization
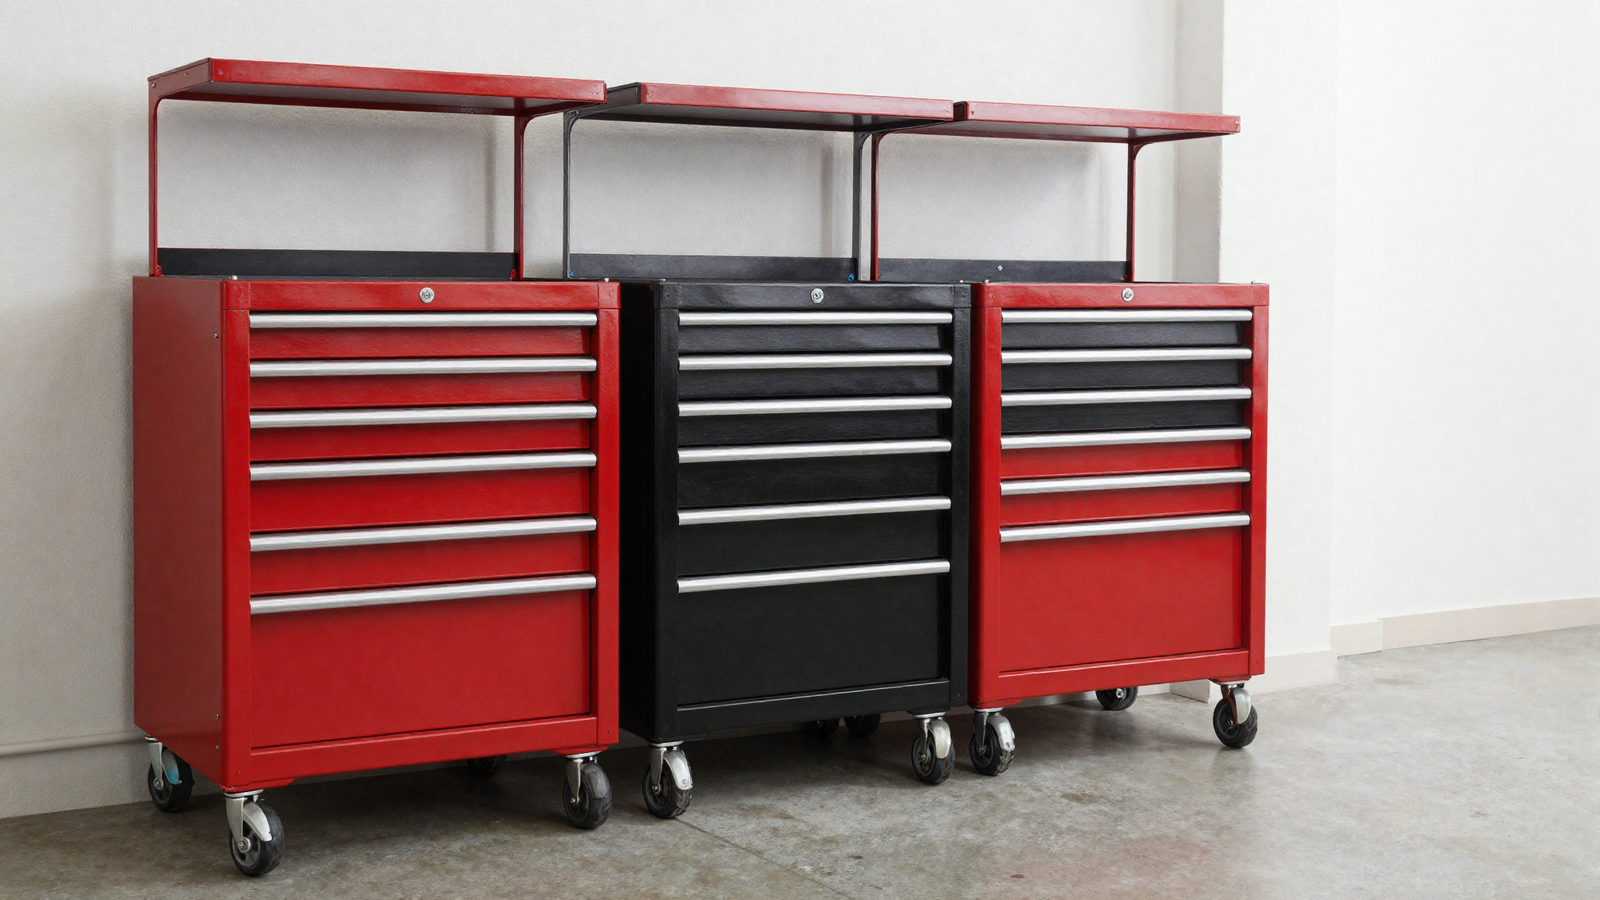
Rolling cabinets keep hardware, small tools, and supplies sorted into labeled drawers instead of one catch-all bin, and they can be wheeled wherever a project needs them. That mobility makes them especially useful in garages that double as workspaces.
💡 Smart tip: Assign each drawer a single category — fasteners, electrical, automotive — so you’re never digging through mixed contents.
⚠️ Mistake to avoid: Buying cabinets before measuring your available wall run; oversized units often end up blocking a door swing or walkway.
Loving These Ideas? Get the Step-by-Step Guide
Grab the full 5-day eBook and turn these ideas into a finished room.




4. Build a Pegboard Tool Wall for Your Garage Organization
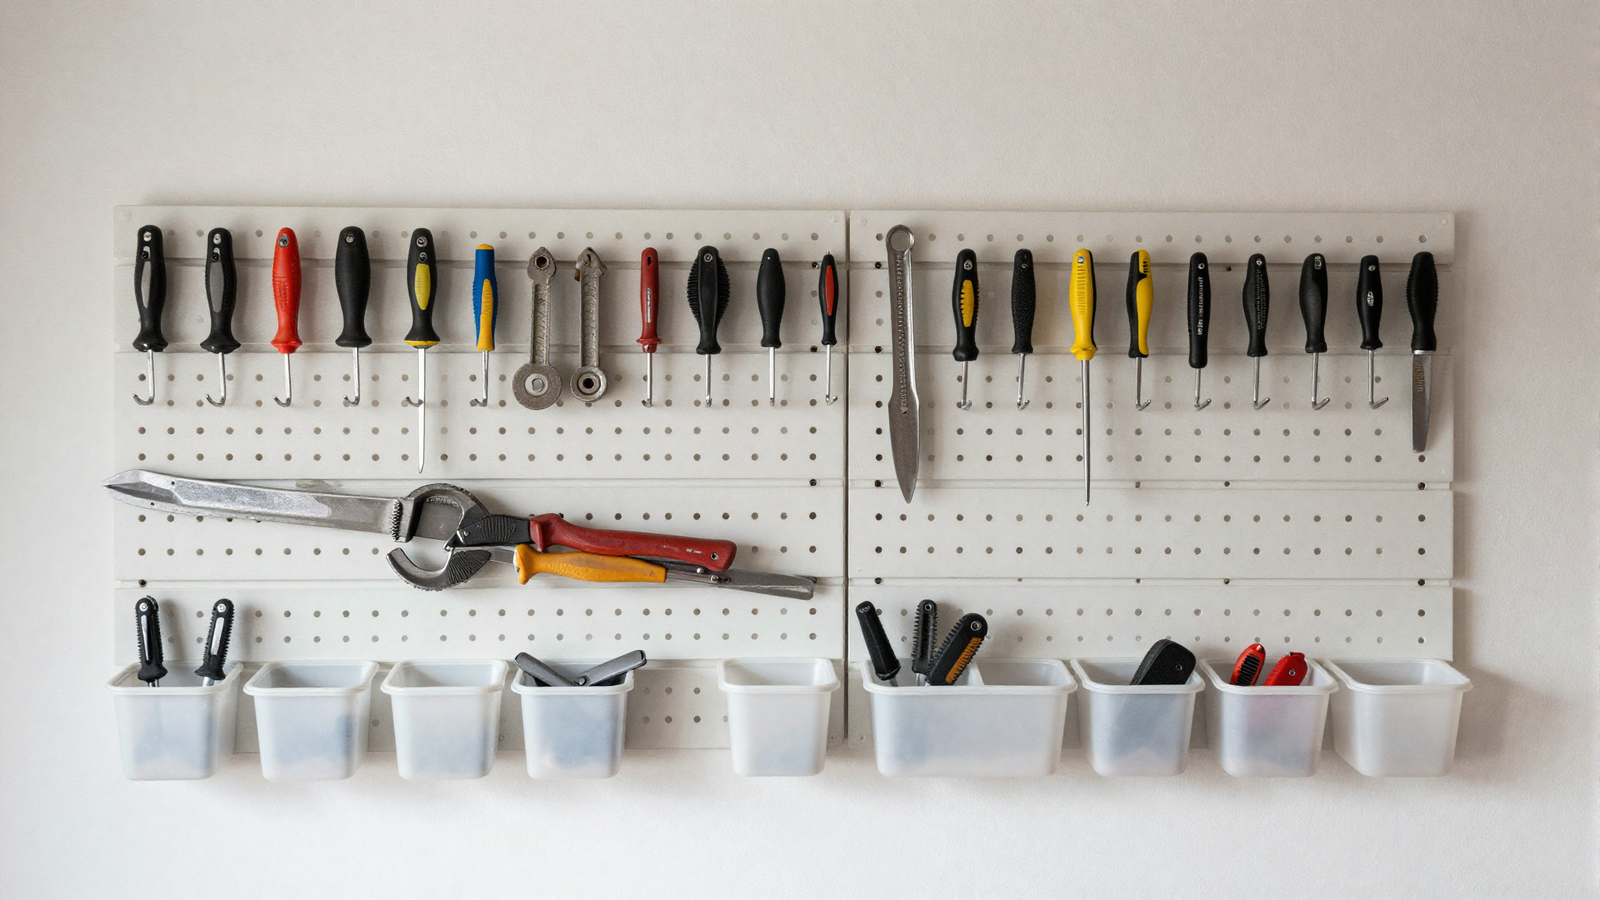
A pegboard puts your most-used hand tools in plain sight, so grabbing what you need takes seconds instead of a search. It’s one of the cheapest upgrades on this list and still one of the most satisfying to actually use.
💡 Smart tip: Trace an outline around each tool once it’s hung, so it’s obvious at a glance when something hasn’t been put back.
⚠️ Mistake to avoid: Hanging heavy power tools directly on standard pegboard hooks; the board can sag or pull away from the wall over time.
Find the Perfect Digital Product for You for Your Garage Organization
If you’re already picturing which wall or corner of your garage needs this kind of system, that’s exactly the gap Your Organized Home in 5 Days was built to close. It walks you through measuring, sorting, and labeling — the same fundamentals covered here — mapped into one clear day-by-day plan with real prices attached.

👉 Click here to get your copy of Your Organized Home in 5 Days — turn this list into a system that actually stays organized this time.
6. Create Labeled Clear Bin Zones for Your Garage Organization
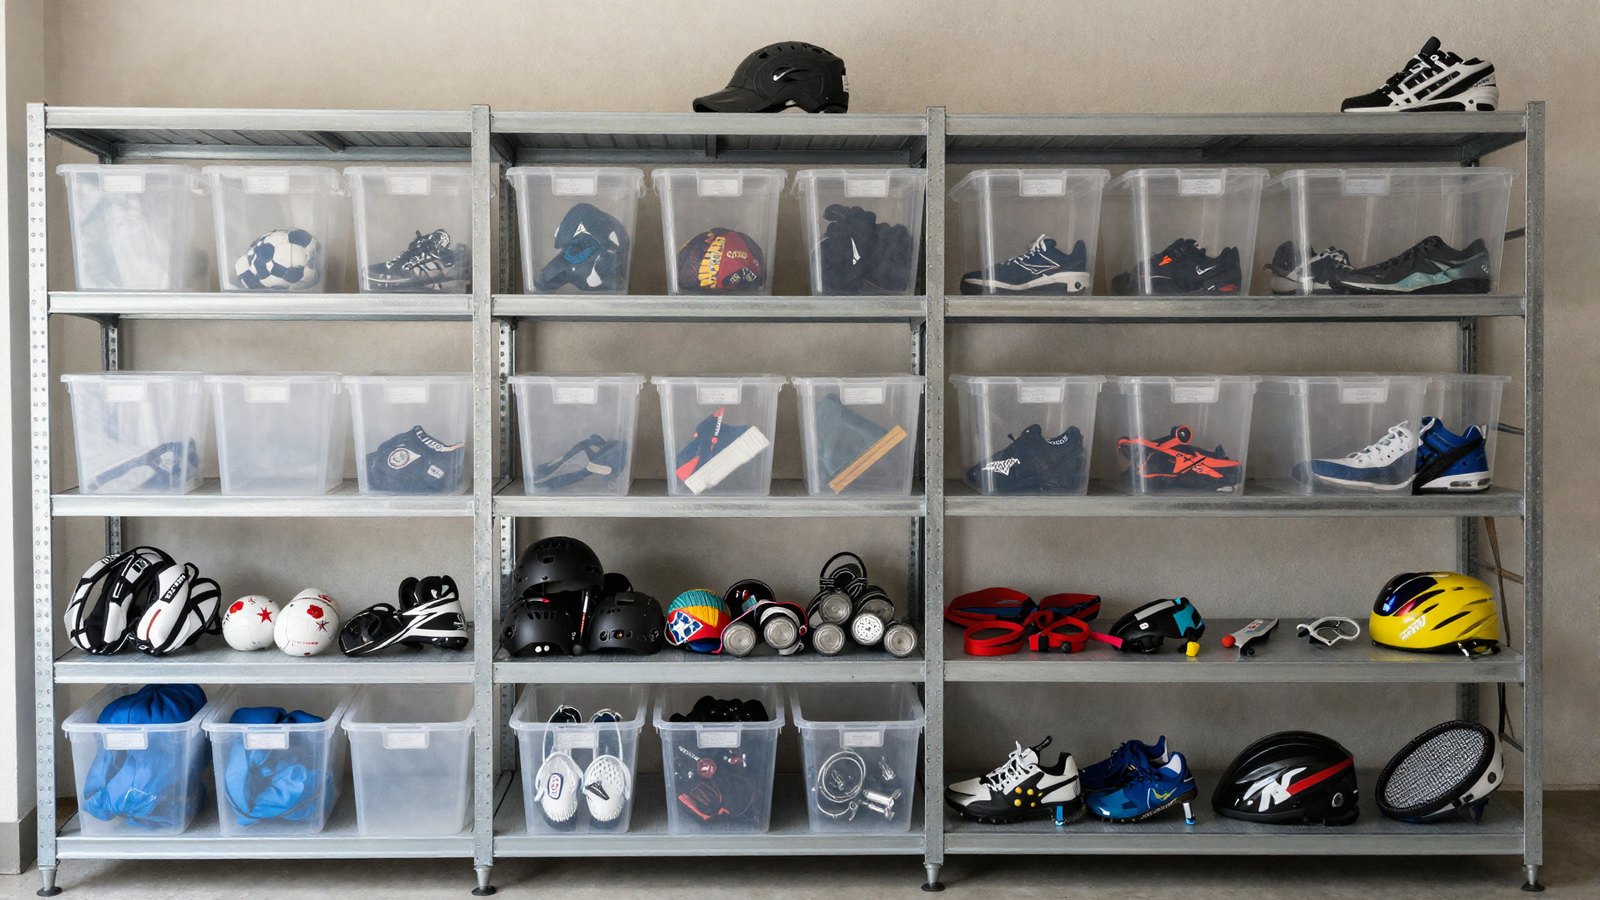
Clear bins with printed labels let you see what’s inside without opening every box, which matters most for items you only need a few times a year. Grouping them by category on open shelving turns a wall of boxes into an actual system.
💡 Smart tip: Use the same bin size and color across a category so the shelf reads as organized even from across the garage.
⚠️ Mistake to avoid: Skipping labels on the short side of the bin — if you can’t read it from the front on a shelf, you’ll still end up guessing.
7. Mount a Vertical Bike Storage Wall for Your Garage Organization
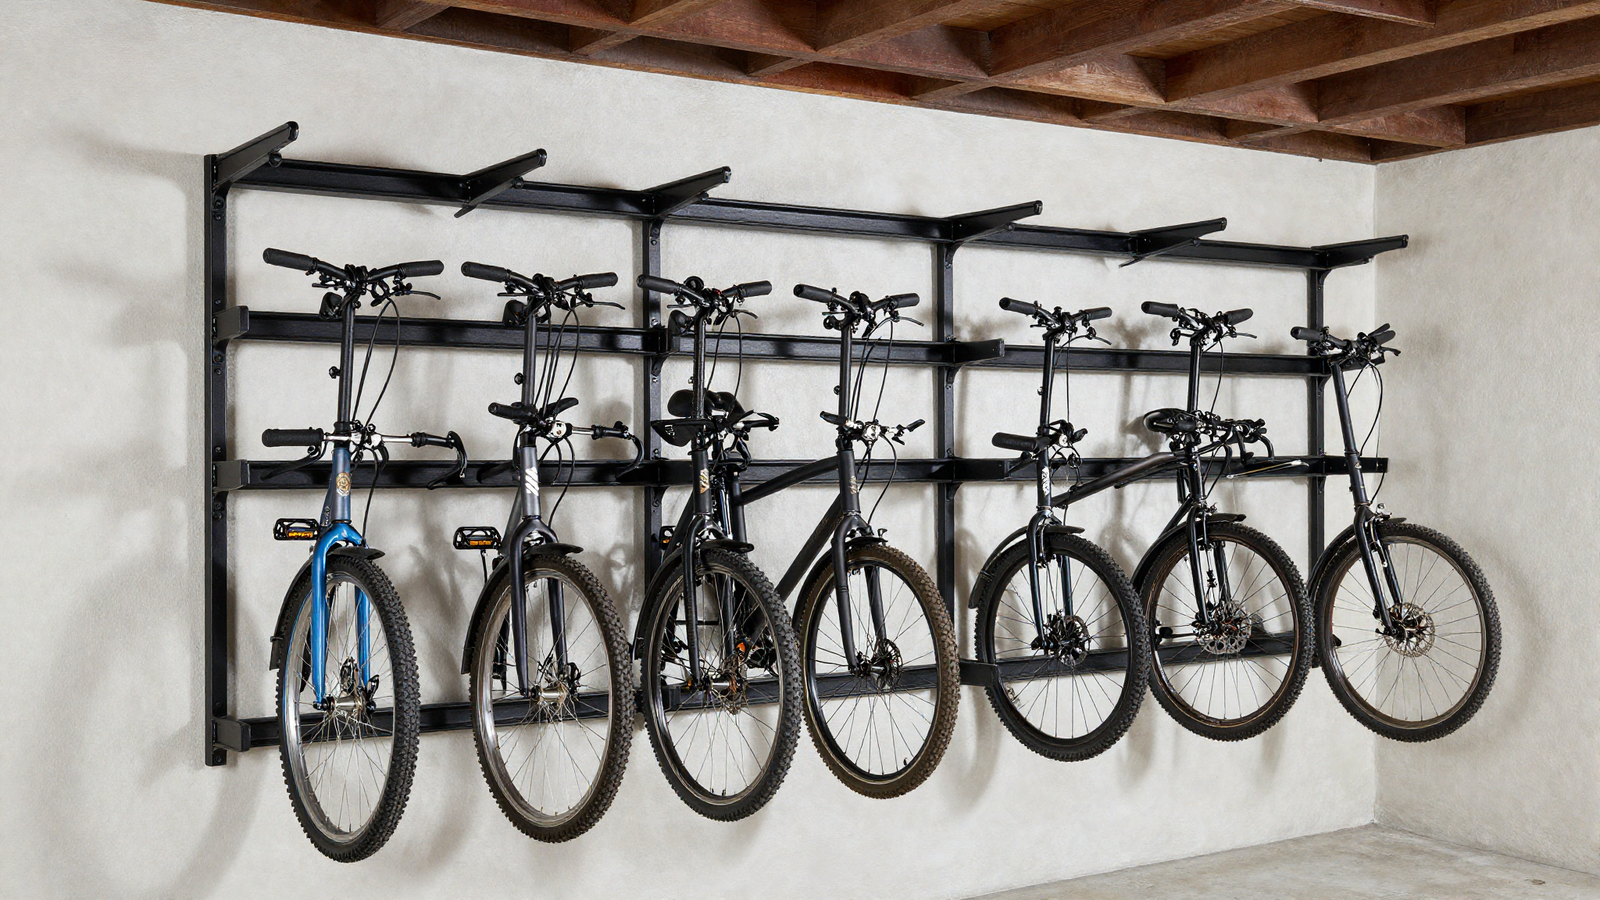
Wall-mounted bike hooks lift bikes off the floor entirely, which can free up several feet of walking space in a garage that stores more than one or two. It also keeps tires and pedals from scuffing car doors parked alongside them.
💡 Smart tip: Stagger hook heights slightly so handlebars from adjacent bikes don’t collide when both are hung.
⚠️ Mistake to avoid: Choosing hooks rated below your bike’s actual weight, especially for e-bikes, which are significantly heavier than standard models.
8. Hang a Wall-Mounted Garden Tool Rack for Your Garage Organization
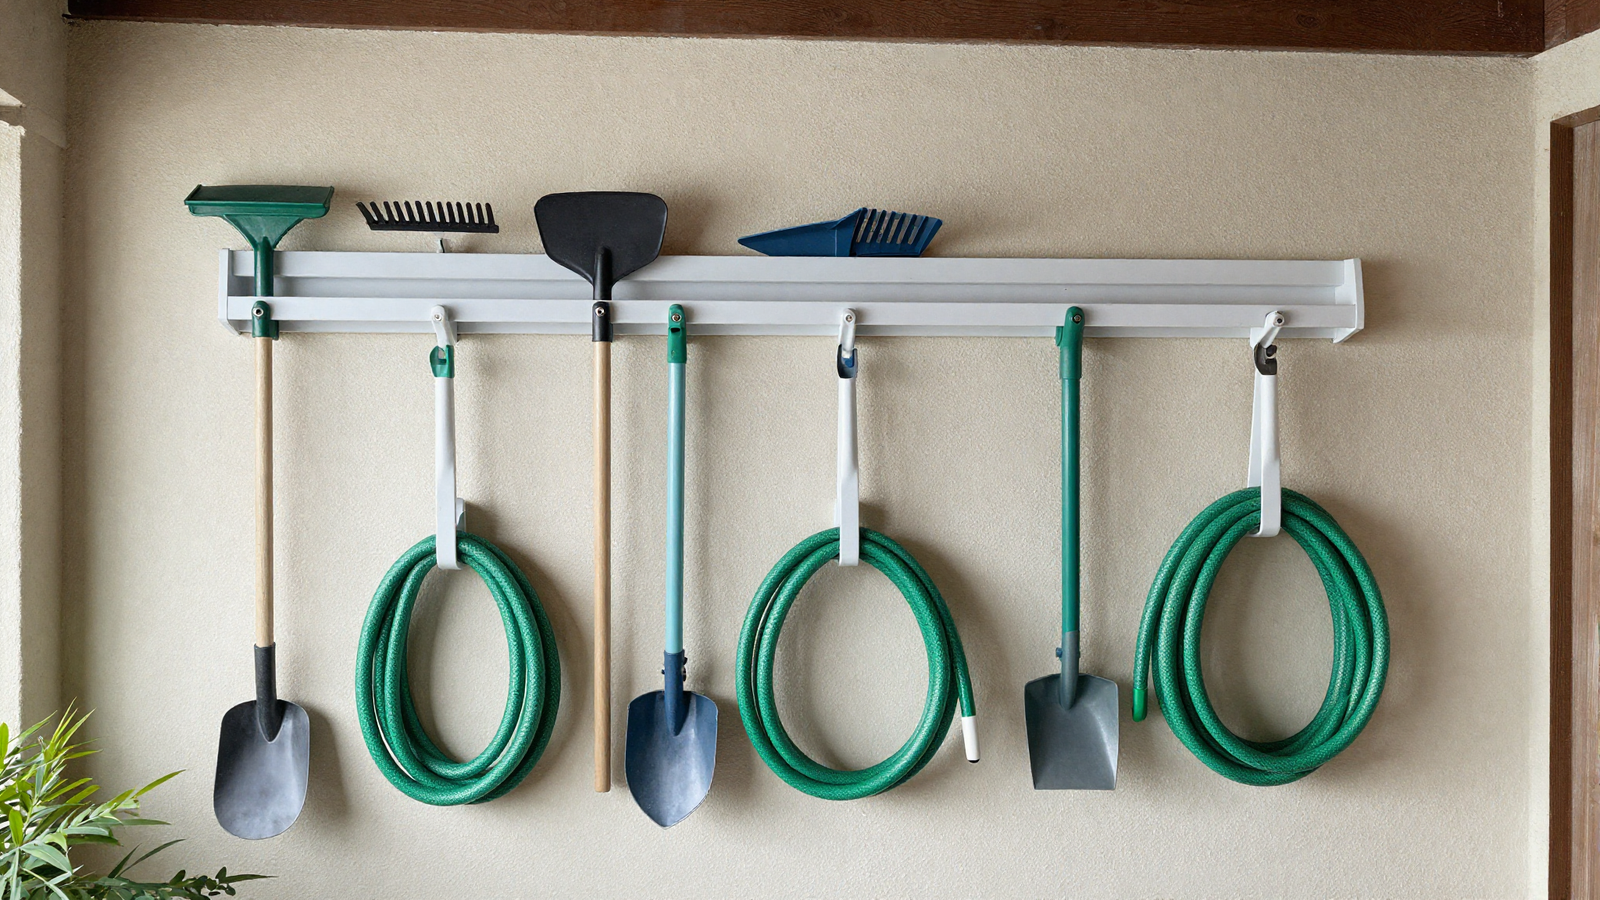
Long-handled tools like rakes and shovels are notorious for toppling over and cluttering a corner, but a dedicated wall rack keeps them upright and instantly grabbable. It also protects blades and tines from getting bent under other stored items.
💡 Smart tip: Group tools by season near the door you actually use to access the yard, so you’re not walking past them to reach them.
⚠️ Mistake to avoid: Mounting the rack too low; long handles need clearance above to lift straight out without hitting the ceiling or shelving.
9. Set Up a Power Tool Charging Station
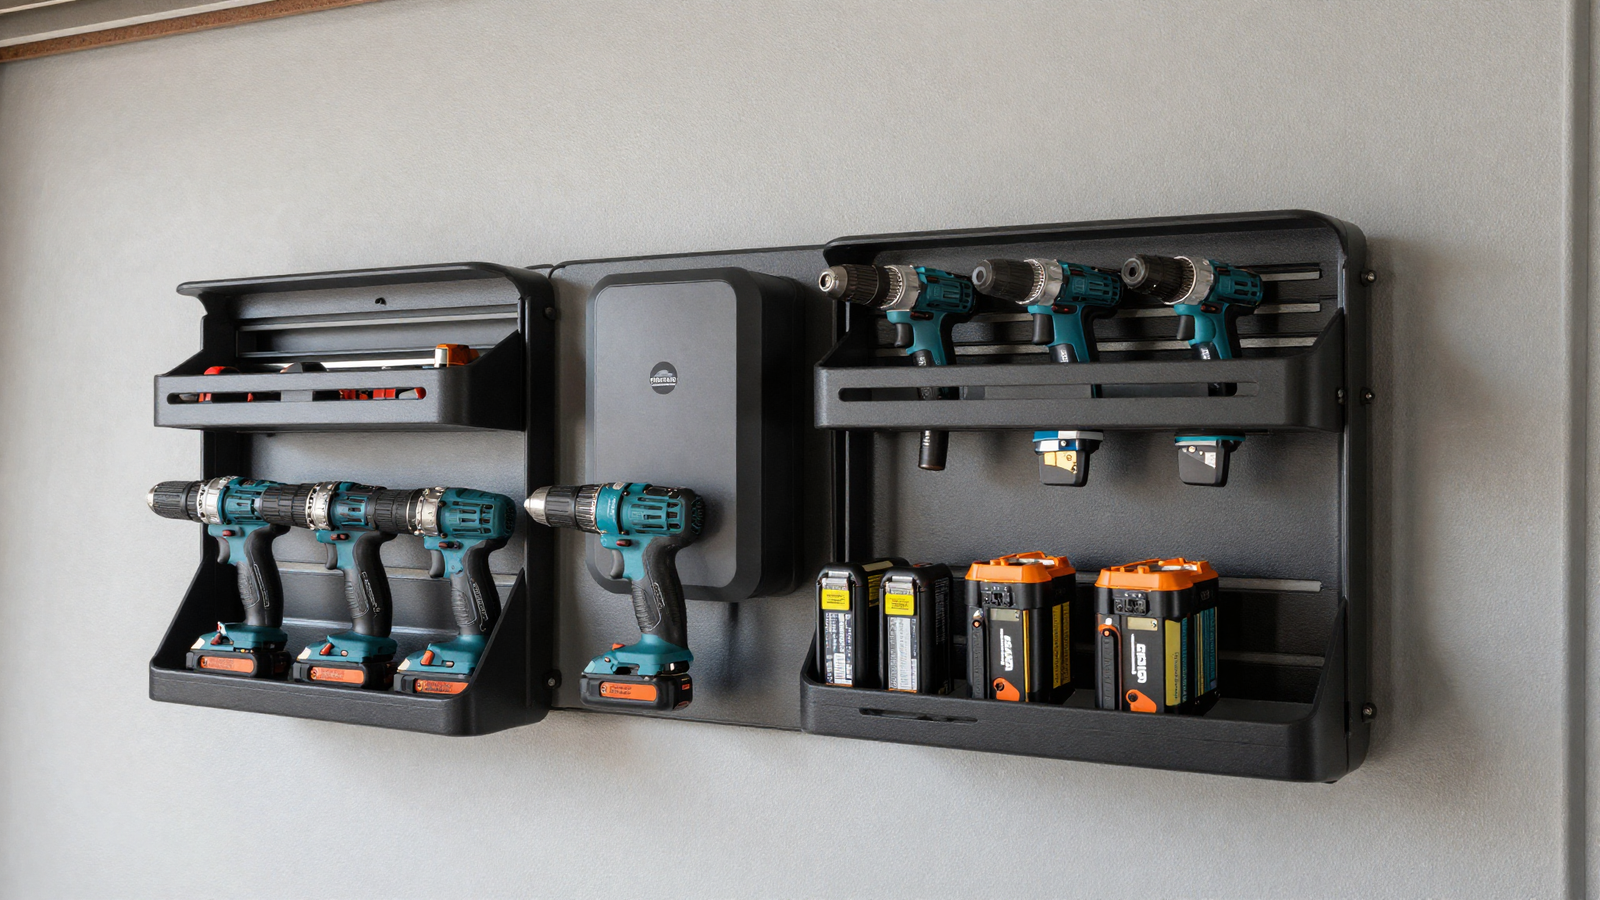
A dedicated charging shelf near an outlet means batteries are always topped off and tools are always in the same spot, instead of scattered wherever they were last used. It’s a small setup that saves real time on project days.
💡 Smart tip: Add a power strip with a timer so batteries aren’t left trickle-charging on the wall for weeks at a time.
⚠️ Mistake to avoid: Placing the station somewhere without ventilation; batteries generate heat while charging and need airflow around them.
10. Add Magnetic Tool Strips
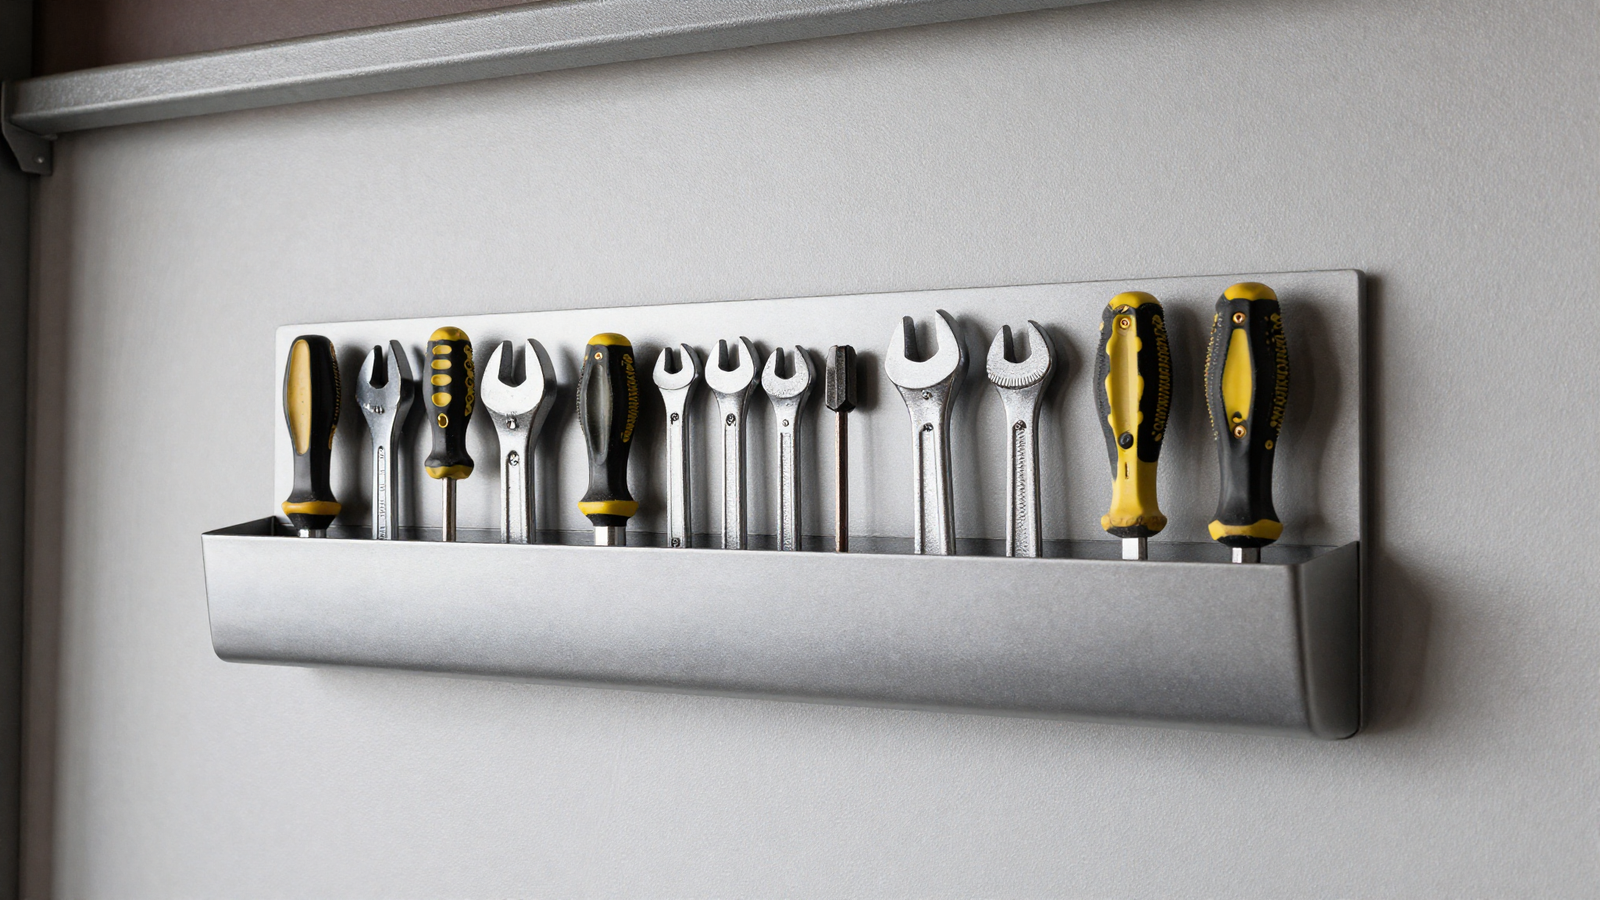
A magnetic strip mounted at eye level keeps small metal tools like wrenches and screwdrivers visible and instantly accessible, without the drawer-digging that swallows loose hardware. It works especially well near a workbench where you’re reaching for the same handful of tools repeatedly.
💡 Smart tip: Arrange tools by size along the strip, smallest to largest, so your eye can scan and grab without reading labels.
⚠️ Mistake to avoid: Overloading a single strip with heavy tools; they can slide together or drop if the strip’s weight rating is exceeded.
11. Fill the Dead Corner With Shelving
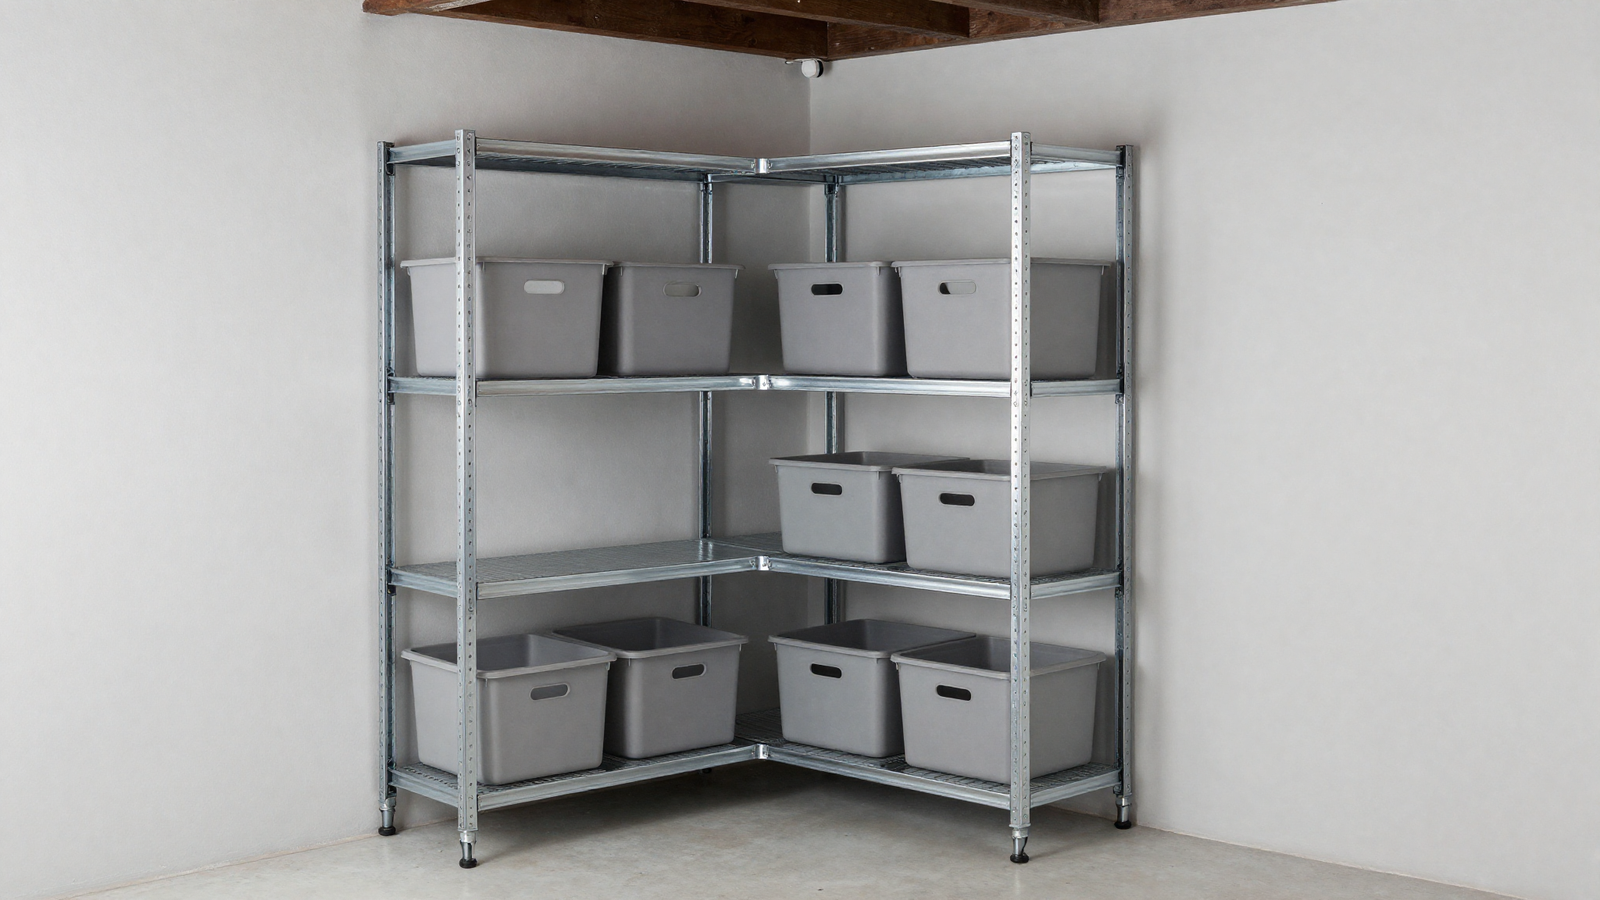
Corners are the most commonly wasted square footage in a garage, and an angled or L-shaped shelving unit can turn that dead zone into genuinely useful storage. It’s often the difference between a garage that feels full and one that feels planned.
💡 Smart tip: Measure the corner’s actual usable depth before buying — many corner units assume more clearance than a typical garage layout allows.
⚠️ Mistake to avoid: Using flimsy wire shelving for heavy items in a corner unit; the extra reach to access it puts more stress on the joints.
12. Mount a Cord and Hose Reel Wall
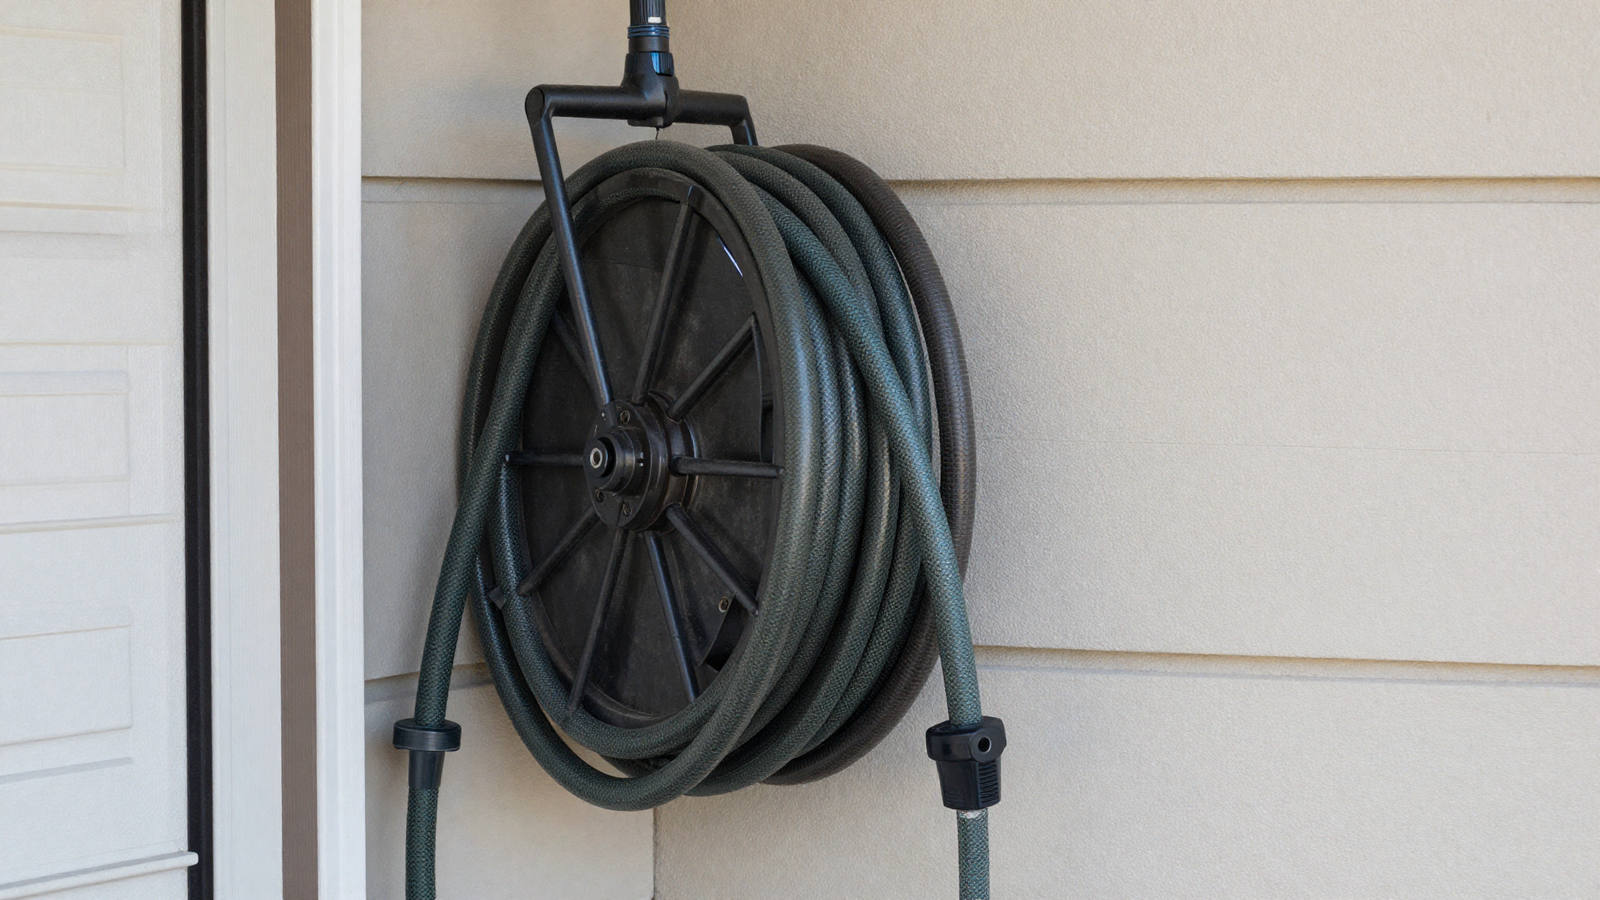
Tangled cords and hoses take up more visual and physical clutter than almost anything else in a garage, and wall-mounted reels solve both problems at once. Winding everything onto a fixed reel also extends the life of the cord itself by preventing kinks.
💡 Smart tip: Mount reels near the door you’d actually use them from, so you’re not uncoiling forty feet of cord across the garage just to reach the yard.
⚠️ Mistake to avoid: Coiling cords too tightly around a small reel radius, which stresses the internal wiring over repeated use.
13. Carve Out a Kids’ Gear Zone
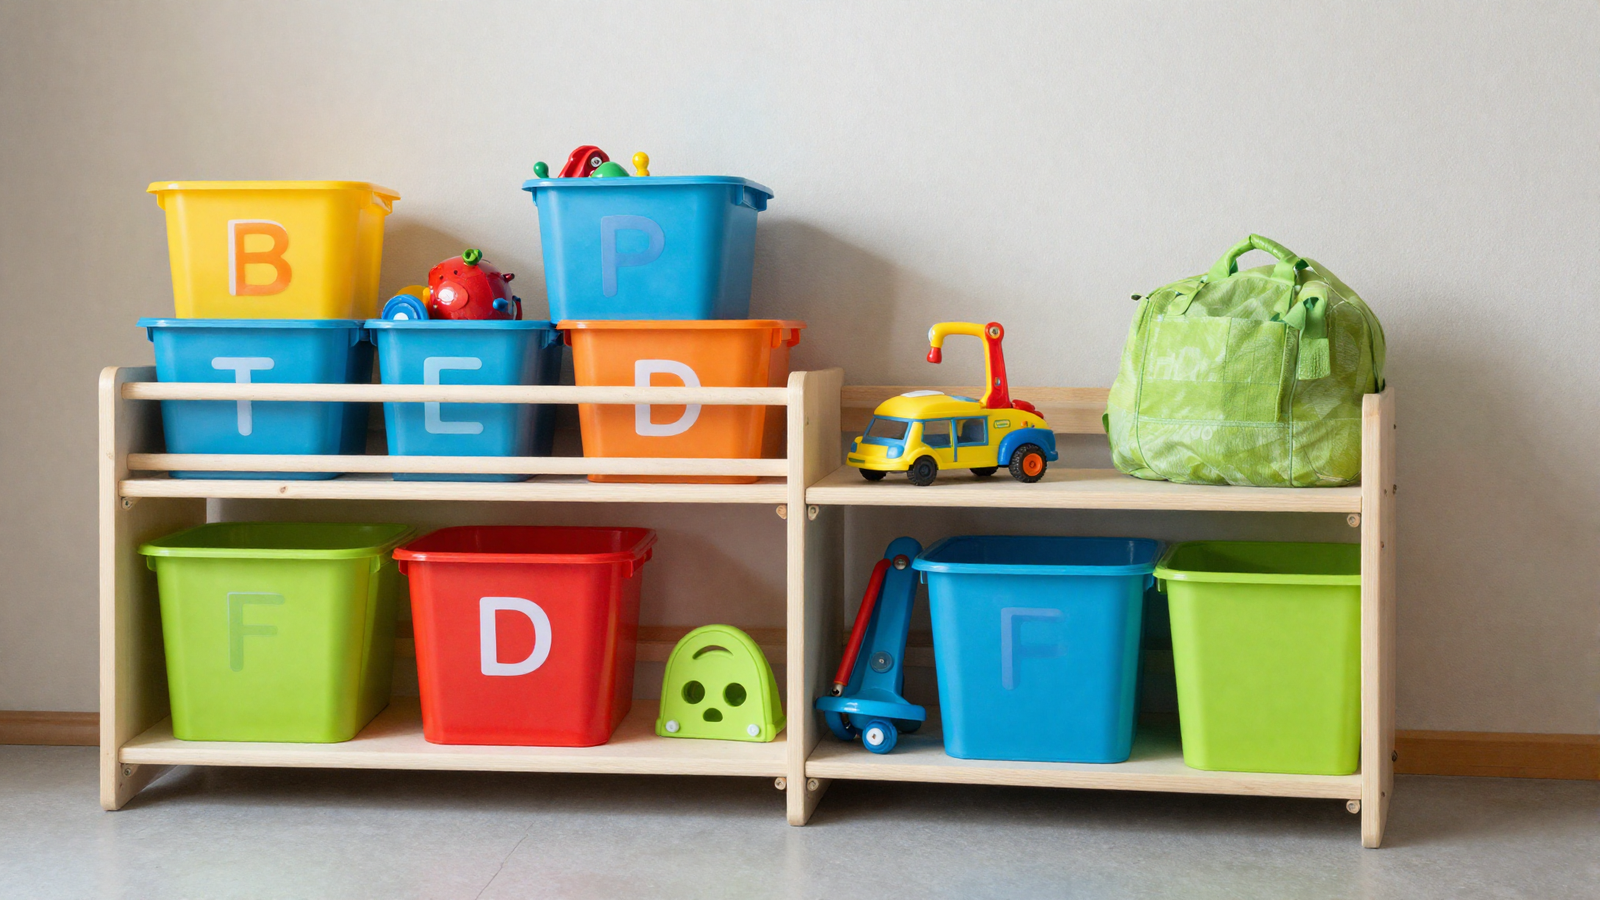
A low, easy-to-reach section with labeled bins for balls, chalk, and outdoor toys means kids can grab and put away their own gear without help. It keeps that overflow from migrating into every other zone of the garage.
💡 Smart tip: Use picture labels alongside text for kids who aren’t reading fluently yet — it makes independent cleanup actually realistic.
⚠️ Mistake to avoid: Placing this zone near sharp tools or chemicals; keep it in its own clearly separated section of the garage.
14. Build a Workbench With Under-Storage
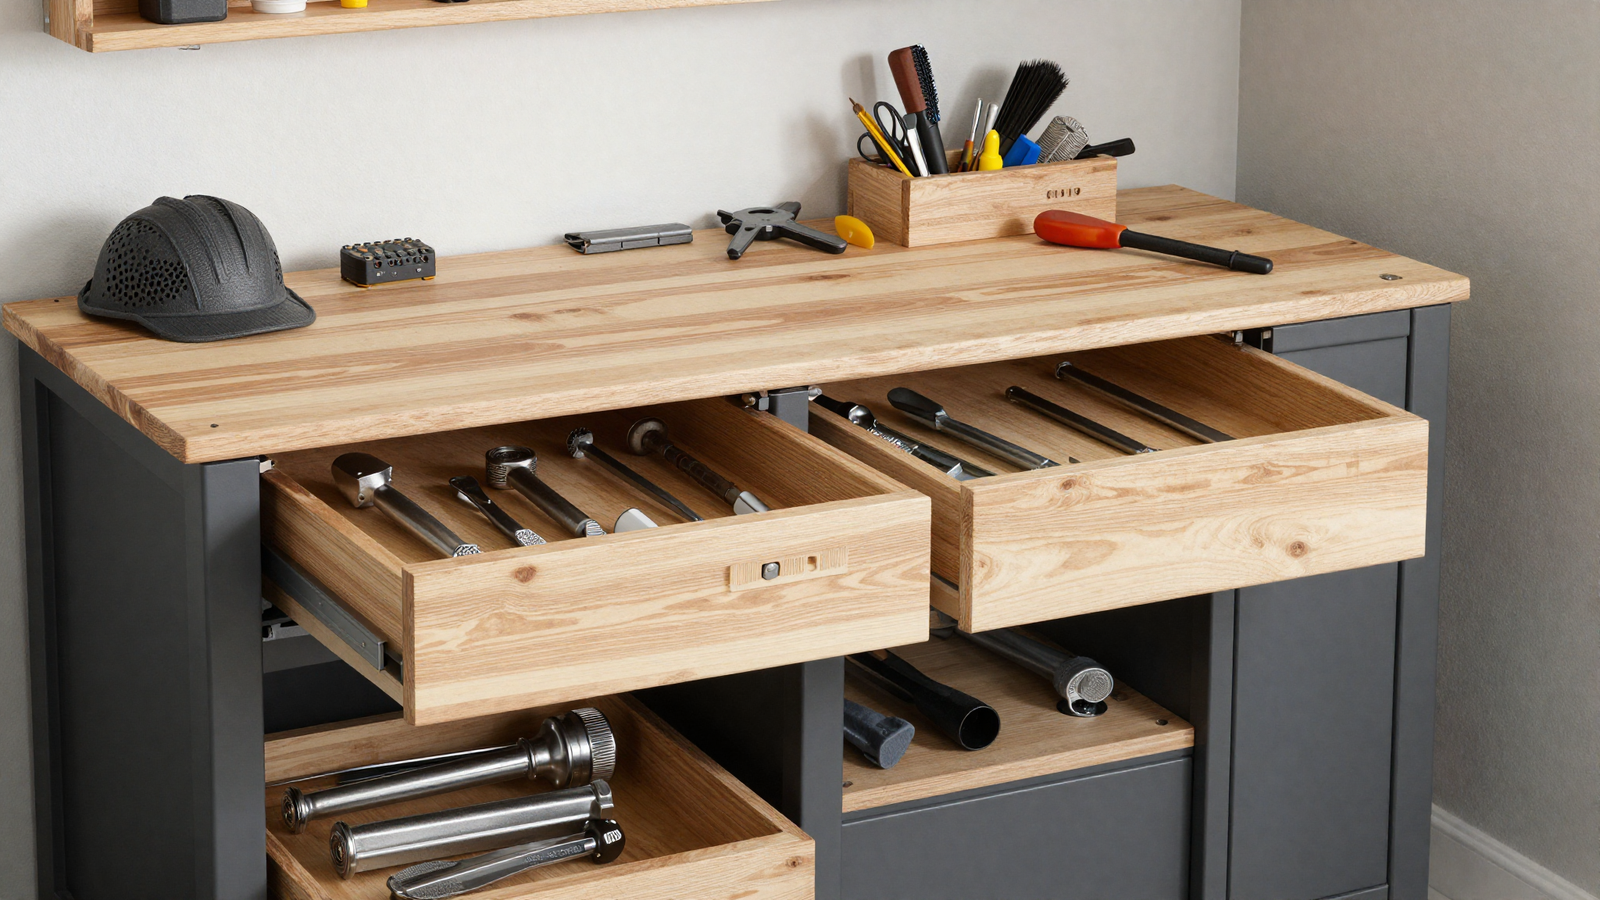
A workbench with drawers underneath gives you a real project surface while keeping frequently used supplies within arm’s reach instead of across the room. It anchors the whole garage as a workspace rather than just a storage room.
💡 Smart tip: Keep the top surface completely clear at the end of each project — a bench that stays cluttered stops functioning as a workbench.
⚠️ Mistake to avoid: Building it too deep to reach the back wall comfortably; over 24 inches of depth starts working against you.
15. Install a Ceiling Lift for Bulky Gear

A pulley-based ceiling lift stores kayaks, ladders, and other bulky gear well above head height without requiring you to climb anything to get it down. It solves the storage problem for items that are too awkward for a shelf but too big to leave on the floor.
💡 Smart tip: Choose a lift with a locking mechanism so gear can’t slowly lower itself over time from vibration or wear.
⚠️ Mistake to avoid: Positioning the lift directly above where a car door opens; lowering gear becomes a hazard if it’s not clear of the parking zone.
16. Define a Recycling and Trash Zone
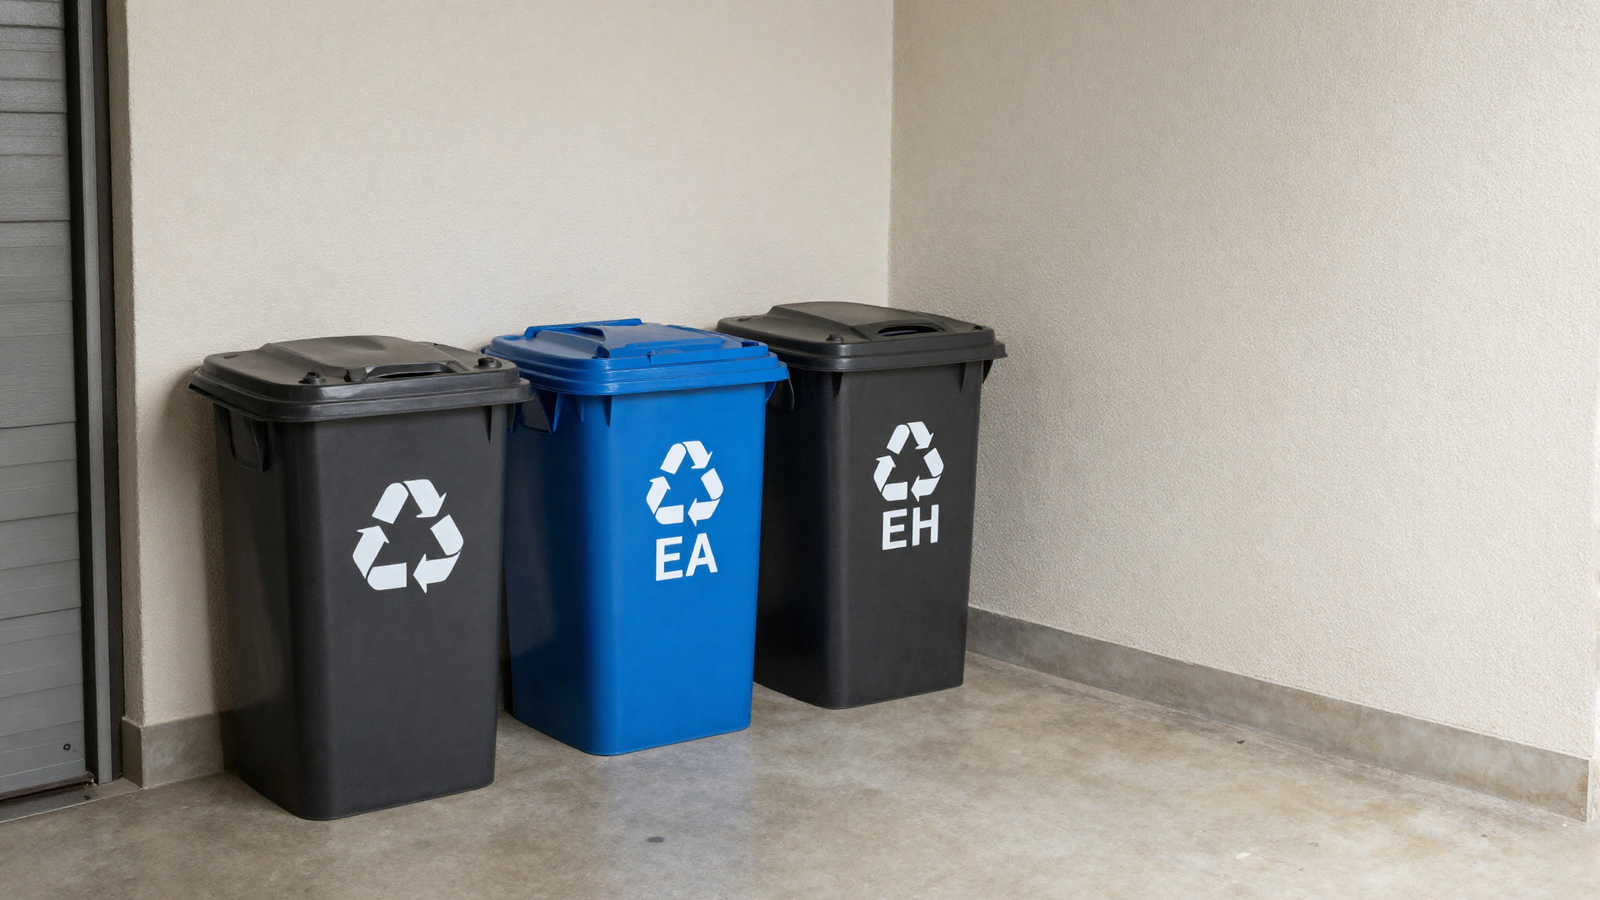
Giving trash and recycling bins one fixed, clearly labeled spot keeps them from drifting into walkways on collection day and back out again. It’s a small zone, but an undefined one tends to spread clutter into everything around it.
💡 Smart tip: Place this zone as close to the garage door as possible to minimize the distance for hauling bins out on pickup day.
⚠️ Mistake to avoid: Skipping lids on bins in a garage that gets warm; open bins in heat invite odor and pests faster than you’d expect.
17. Stack Seasonal Decor on Labeled Shelves
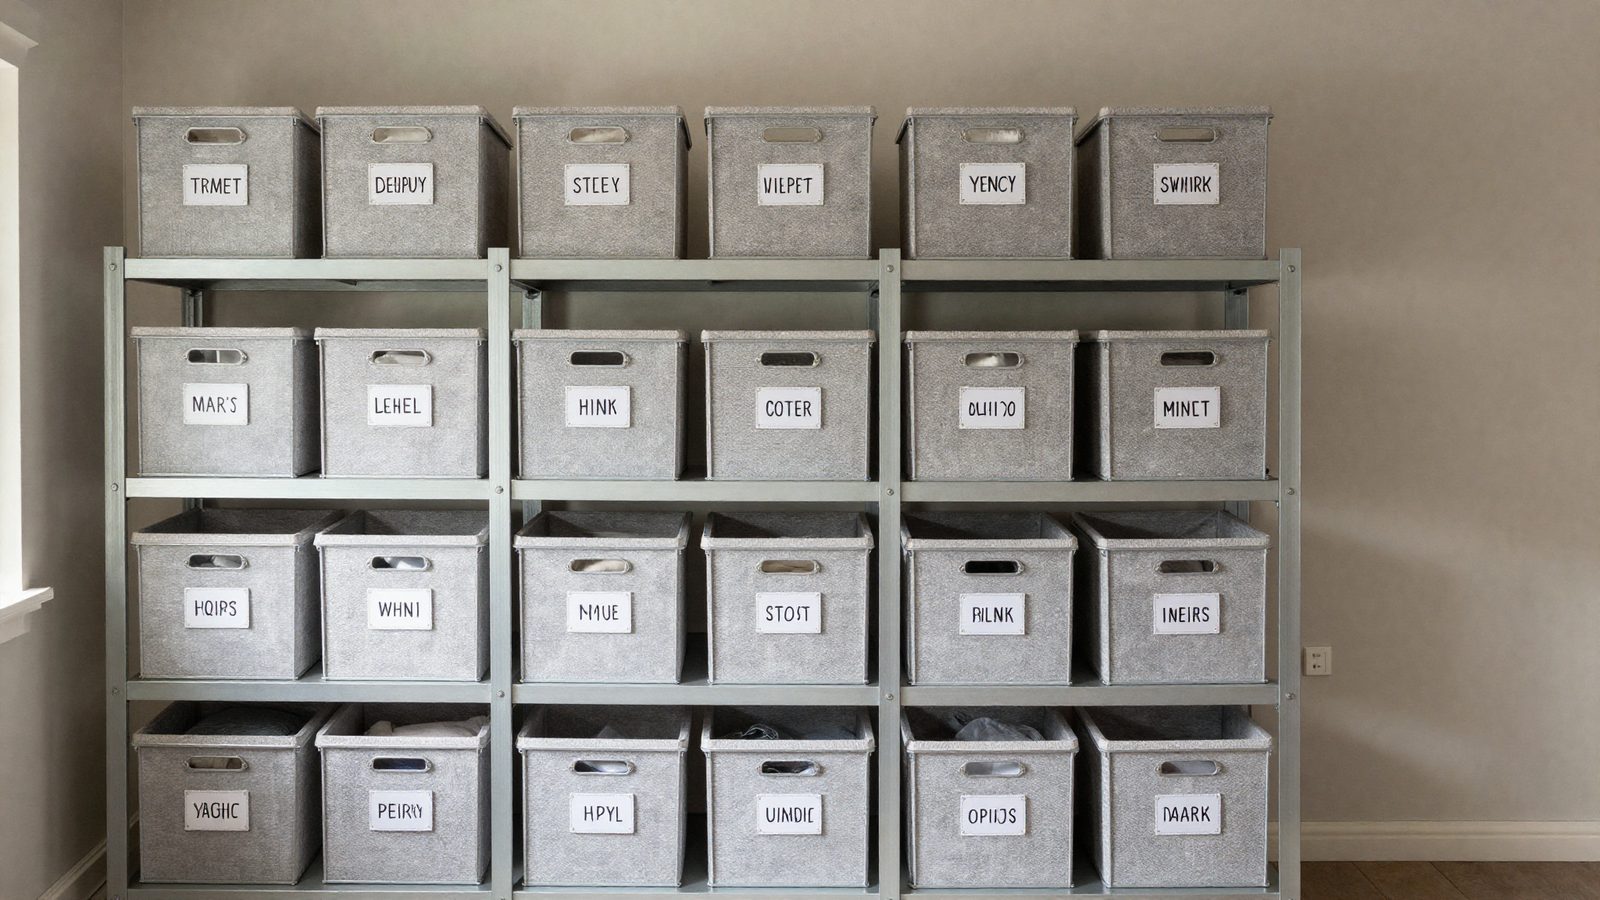
Holiday decorations are some of the bulkiest, least-used items in most garages, and dedicated labeled shelving keeps them from swallowing space you need year-round. Sorting by holiday, rather than by size, makes packing and unpacking each season much faster.
💡 Smart tip: Store the current season’s box lowest and easiest to reach, then rotate positions as the calendar moves through the year.
⚠️ Mistake to avoid: Using cardboard boxes for long-term decor storage; they break down over time and are far more vulnerable to moisture than plastic bins.
18. Finish the Floor With Zoned Epoxy
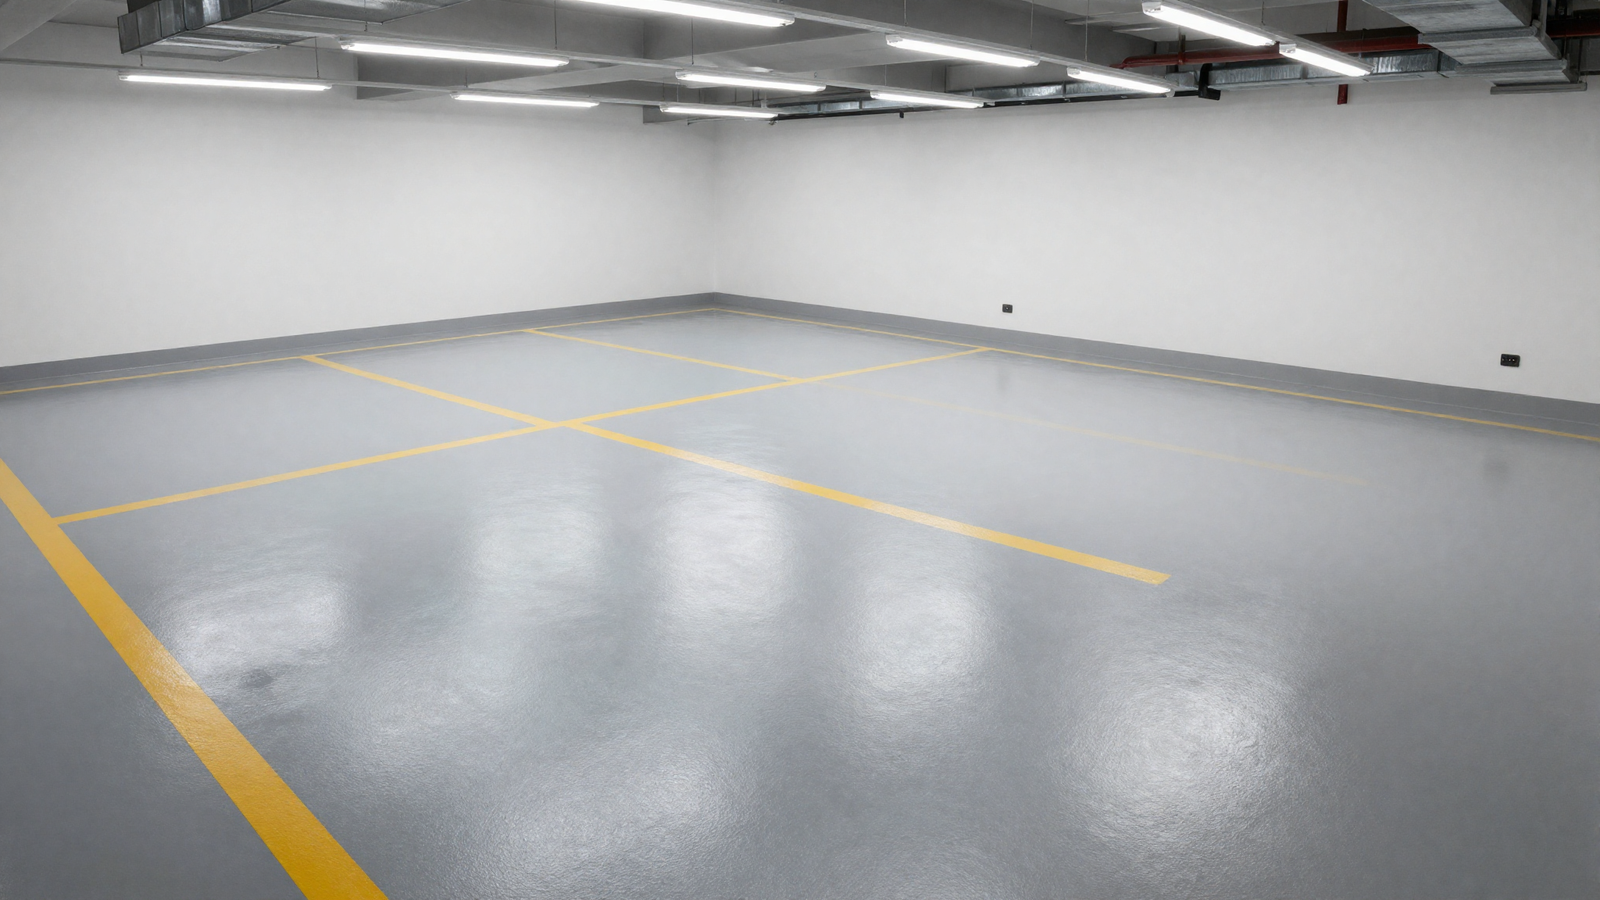
An epoxy coating with painted lines marking parking, workspace, and walkway zones gives the whole garage a visual structure that’s easy to maintain without thinking about it. It also makes spills and dust far easier to clean than bare concrete.
💡 Smart tip: Let the concrete fully cure and address any moisture issues before coating; epoxy applied over a damp slab tends to peel within a year.
⚠️ Mistake to avoid: Choosing a glossy finish for a garage that gets wet from cars or gear; a textured finish holds traction far better.
Effort & Cost Snapshot
| Idea | Effort | Approx. Cost |
|---|---|---|
| 1. Slatwall System | Medium (DIY install) | $150–$800 |
| 2. Overhead Ceiling Racks | Medium (DIY install) | $100–$500 |
| 3. Modular Tool Cabinets | Low (assembly) | $200–$1,200 |
| 4. Pegboard Tool Wall | Low (DIY) | $30–$150 |
| 6. Labeled Clear Bin Zones | Low (DIY) | $40–$200 |
| 7. Vertical Bike Storage | Low (DIY install) | $30–$150 |
| 8. Garden Tool Rack | Low (DIY) | $25–$100 |
| 9. Power Tool Charging Station | Low–Medium (DIY) | $50–$250 |
| 10. Magnetic Tool Strips | Low (DIY) | $15–$60 |
| 11. Corner Shelving Unit | Low–Medium (DIY) | $80–$400 |
| 12. Cord and Hose Reel Wall | Low (DIY) | $40–$180 |
| 13. Kids’ Gear Zone | Low (DIY) | $30–$150 |
| 14. Workbench With Storage | Medium–High (DIY build) | $200–$1,000 |
| 15. Ceiling Lift for Gear | Medium (DIY install) | $60–$300 |
| 16. Recycling and Trash Zone | Low (DIY) | $20–$100 |
| 17. Seasonal Decor Shelving | Low (DIY) | $60–$300 |
| 18. Zoned Epoxy Floor | High (DIY or pro) | $600–$3,500 |
A functional garage doesn’t happen by accident — it happens by giving every category of stuff its own dedicated spot instead of letting it settle wherever there’s room. Save this list to Pinterest so you can work through it one zone at a time as your garage makeover comes together.
Continue Your Home Transformation
Explore the full collection of step-by-step eBooks and get the guide that fits the room you're working on.