Blank walls are a canvas of possibility, but turning that potential into a polished reality takes more than a quick swipe of paint. The right wall treatment can amplify natural light, define a room’s purpose, and boost resale value—all without a full remodel. Below are 23 curated ideas that balance aesthetics, durability, and upkeep, giving you a step‑by‑step path from concept to completion.
1. Paint as a Canvas – Test, Prime, Protect
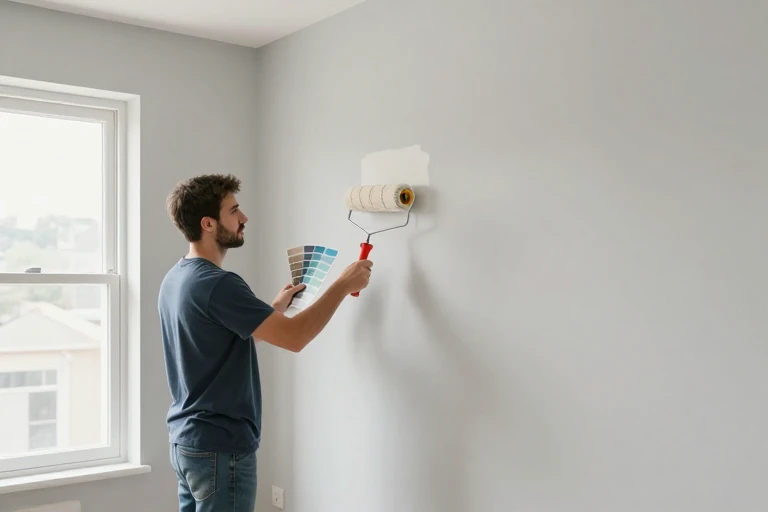
Start with a color test. Paint is the simplest way to transform a wall, but the hue can shift dramatically under different lighting. Apply large swatches on opposite sides of the room, observe them at sunrise, noon, and dusk, and choose a finish—matte for low‑traffic zones, satin for areas that need occasional cleaning.
Use a high‑quality primer to seal the surface, especially on previously unpainted drywall or plaster. This prevents uneven absorption and extends the life of your color. For families with children, consider a washable paint formulated for easy stain removal.
Maintenance tip: Clean walls with a soft‑damp cloth and a mild detergent. Avoid abrasive scrubbers that can strip the finish.
2. Textured Wall Panels – Material Choice and Installation
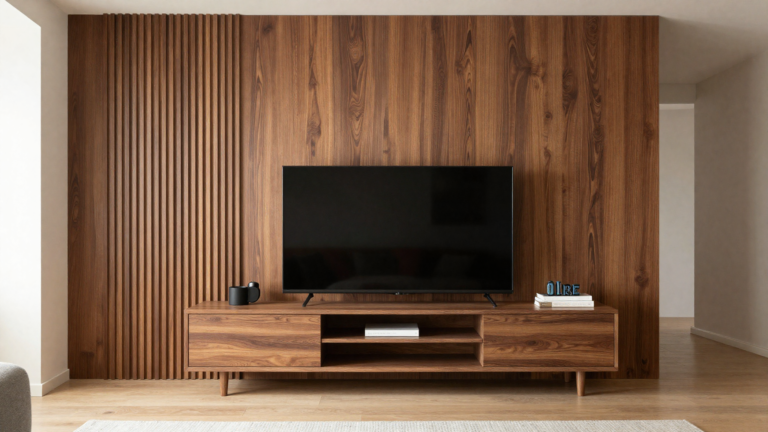
Textured wall panels add depth without the mess of plaster. Choose between reclaimed wood slats, 3‑D polymer panels, or thin stone veneers. Measure the wall, cut panels to size, and use a level to ensure a straight seam before securing with construction adhesive and finishing nails.
Seal wood panels with a clear polyurethane to resist moisture, and apply a breathable sealant on stone to prevent staining. Panels are especially effective behind a TV or as a backdrop for a dining area.
Maintenance: Dust panels with a soft brush; avoid high‑pressure water which can loosen adhesives.
Loving These Ideas? Get the Step-by-Step Guide
Grab the full 5-day eBook and turn these ideas into a finished room.




3. Wallpaper with Bold Patterns – Prep and Peel
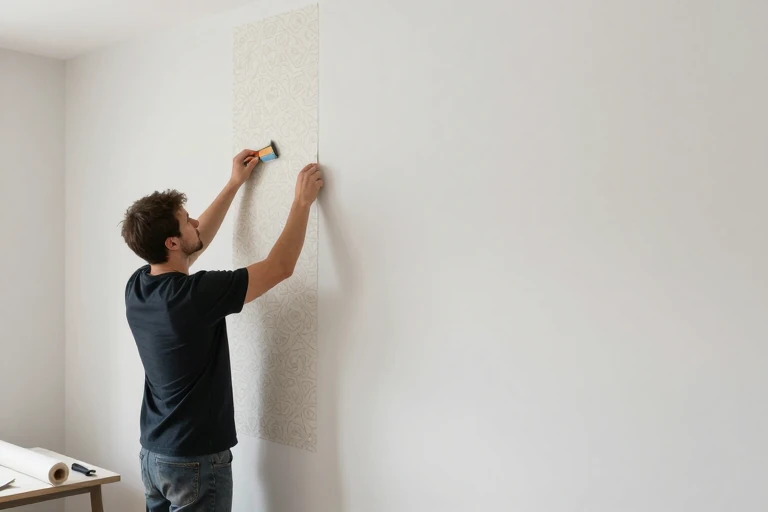
Wallpaper can deliver pattern, texture, and color in one layer. For small rooms, select a vertical repeat to elongate the space. Prep the wall by removing old finish, repairing dents, and applying a primer designed for wallpaper adhesion.
When hanging, start at a central point and use a smoothing brush to eliminate bubbles. For renters, opt for peel‑and‑stick options that leave no residue.
Maintenance: Spot‑clean with a damp cloth; avoid soaking the paper, which can cause peeling.
4. Glass‑Block Accent Wall – Light, Privacy, and Style
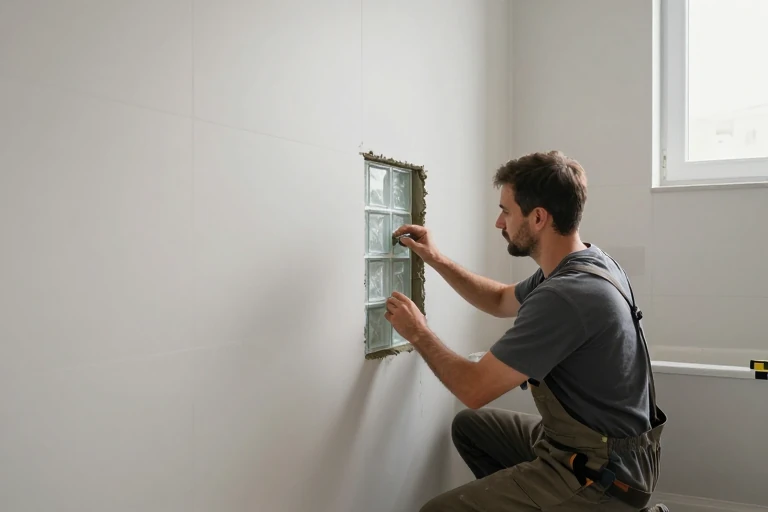
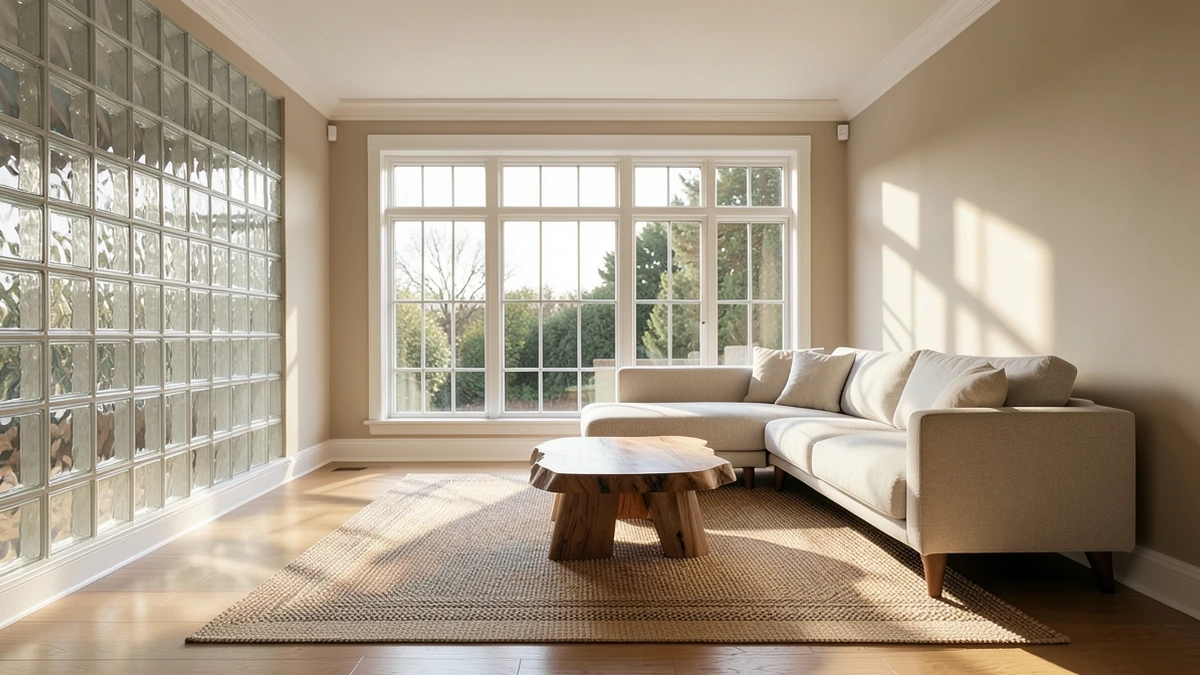
Glass blocks create a luminous, semi‑private wall that works in bathrooms, stairwells, or living‑room accent zones. They admit diffused light while shielding the interior from direct view. Choose 4‑inch blocks for a sleek modern look, as highlighted by the 2026 NAHB trend report.
Installation requires a mortar bed and careful alignment; each block must be level to avoid gaps. Seal the joints with silicone to prevent moisture infiltration.
Maintenance: Clean the surface with a non‑abrasive glass cleaner to keep light transmission clear.
5. Living‑Room Gallery Wall – Layout and Hanging Tips
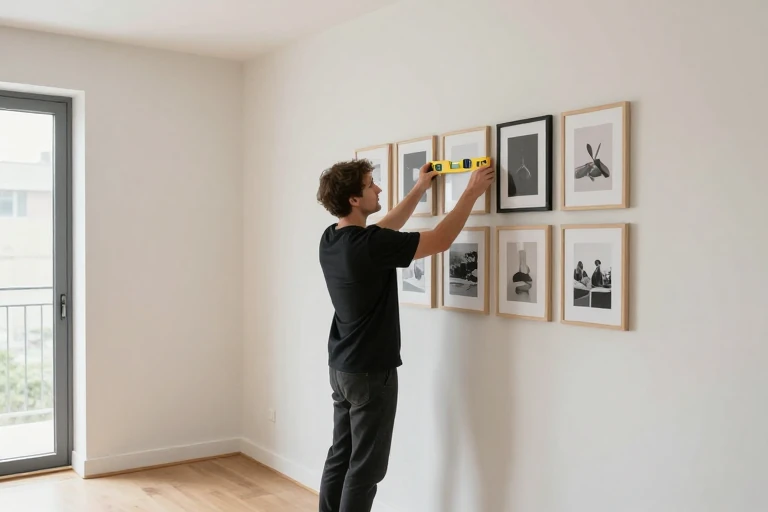
Gallery walls turn a collection of art, photos, and objects into a focal point. Begin by laying out frames on the floor to experiment with spacing; a common rule is to keep the distance between frames equal to one‑third the height of the tallest piece.
Use picture‑hanging hooks rated for the frame’s weight, and a laser level to keep the line straight. Mix frame styles for visual interest, but maintain a cohesive color palette.
Maintenance: Dust each piece individually; avoid using spray cleaners that can damage frames.
6. Oversized Art Statement – Size, Placement, and Support
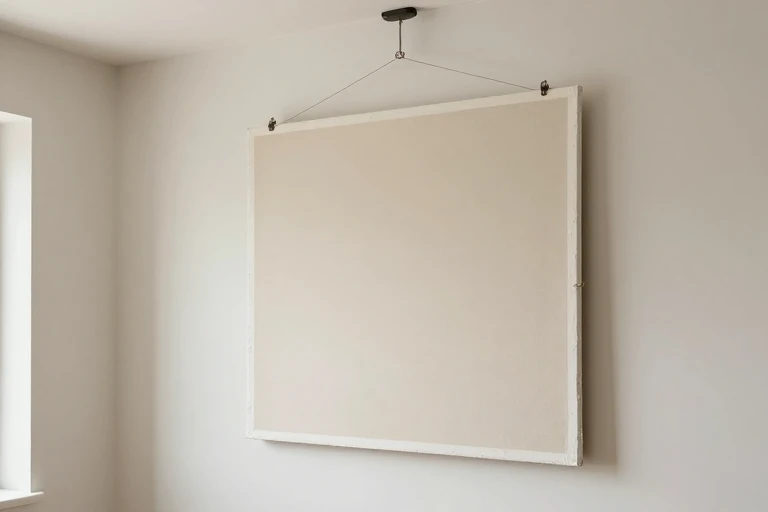
An oversized artwork can anchor a room, but it must be proportionate. Measure the wall and leave at least 6‑12 inches of breathing space on each side. Use heavy‑duty anchors to support the frame’s weight, especially for canvases over 30 lb.
Center the piece at eye level—typically 57‑60 inches from the floor—to ensure comfortable viewing. If the wall is load‑bearing, consult a structural engineer before drilling large holes.
Maintenance: Rotate the piece periodically to avoid uneven fading from sunlight.
7. Living‑Room Built‑In Shelving – Function Meets Form
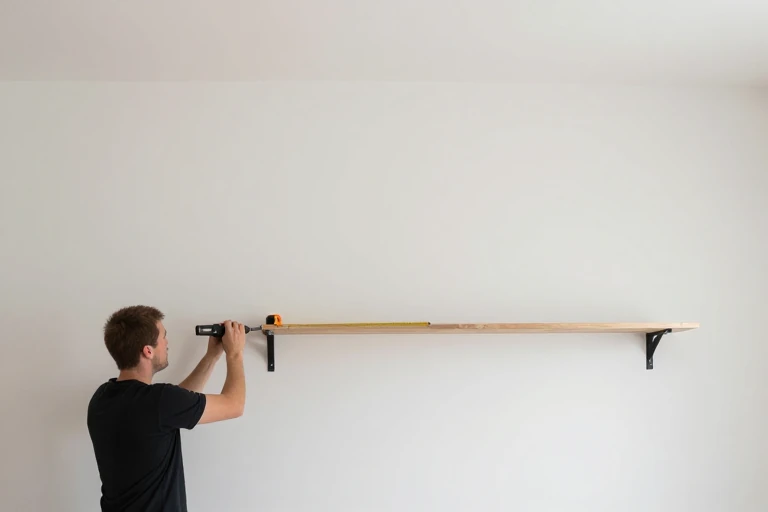
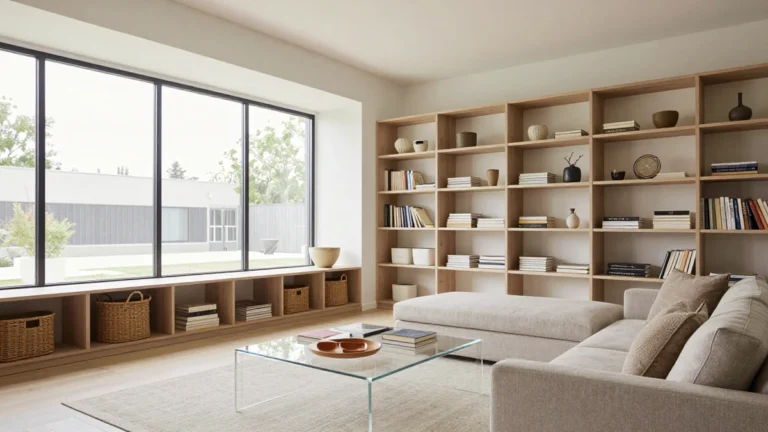
Built‑in shelving creates functional display space while reducing floor clutter. Sketch the shelf layout, ensuring each unit is anchored to studs or a wall‑stud reinforcement kit.
Choose a finish that matches existing trim—painted MDF for a seamless look or reclaimed wood for warmth. Install a backer board to prevent sagging under heavy books.
Maintenance: Wipe shelves with a microfiber cloth; avoid water accumulation which can warp wood.
8. Wall‑Mounted Planters – Greenery Without Floor Space
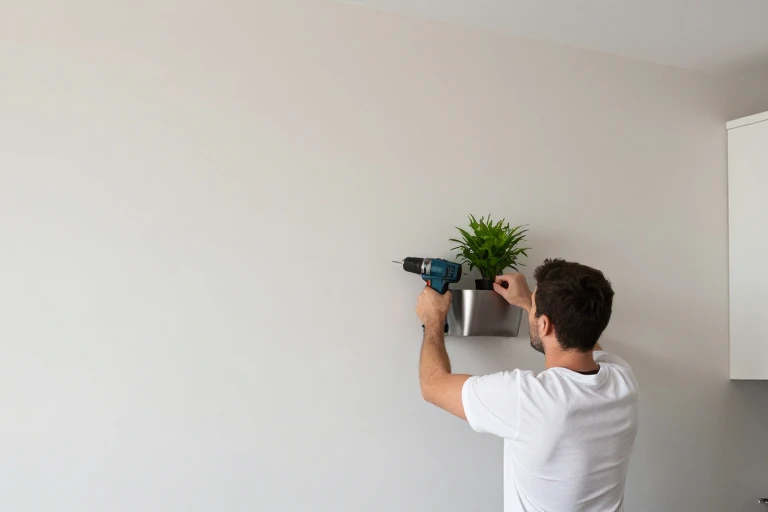
Wall‑mounted planters bring greenery to vertical spaces. Select lightweight, waterproof containers and secure them with stainless‑steel brackets. Choose low‑maintenance plants like pothos or succulents for indoor walls with limited sunlight.
Install a drip‑tray behind each planter to catch excess water and protect the wall finish. Rotate plants periodically for even growth.
Maintenance: Water only when the top inch of soil is dry; wipe any water spills immediately.
9. Fabric Wall Covering – Tactile Texture and Acoustics
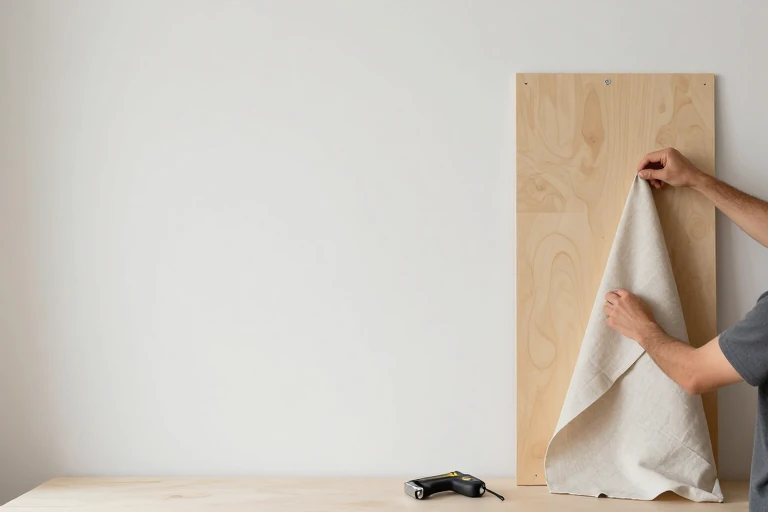
Fabric wall coverings add texture and softness. Choose a breathable cotton or linen for easy cleaning, or a heavier velvet for a dramatic effect. Hang the fabric using a staple gun on a plywood backing, then stretch it tight to avoid wrinkles.
Seal the fabric with a clear, water‑based fabric protector to resist stains. This method works well in bedrooms and dining rooms where acoustic dampening is a bonus.
Maintenance: Spot‑clean with a mild detergent; avoid machine washing to preserve the wall attachment.
10. Mirror Clusters – Visual Expansion and Light
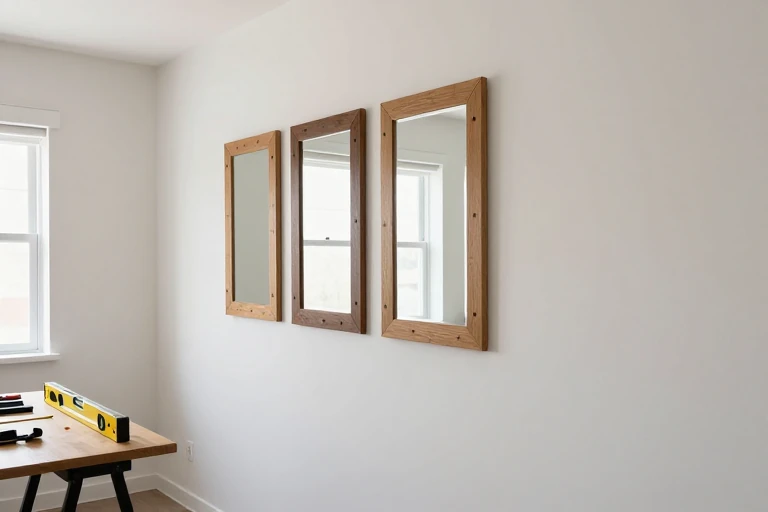
Clustered mirrors amplify light and make rooms feel larger. Arrange three to five mirrors of varying sizes in a staggered pattern, keeping at least 2‑3 inches between each frame.
Secure each mirror with mirror‑grade mounting clips rated for its weight. For safety, choose mirrors with beveled edges or add a protective film.
Maintenance: Clean with a vinegar‑water solution and a lint‑free cloth to avoid streaks.
11. Chalkboard or Magnetic Paint – Interactive Surfaces
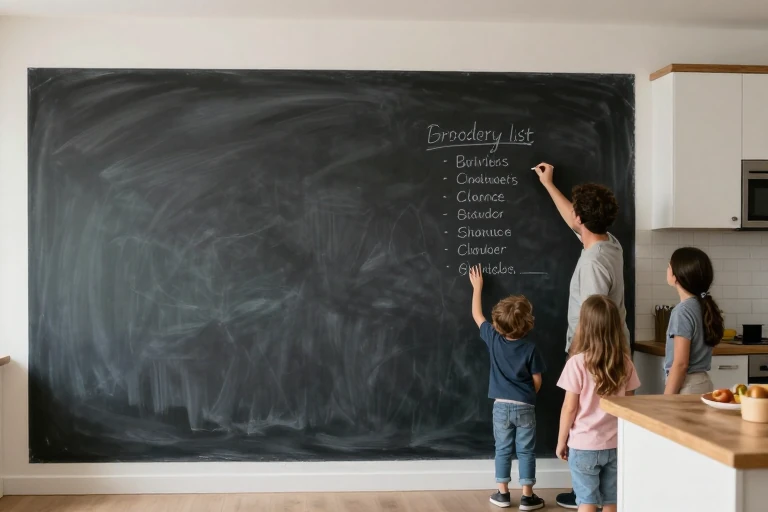
Chalkboard or magnetic paint transforms a wall into a functional canvas. Apply a primer, then two coats of specialty paint, allowing each coat to dry fully.
Designate zones for notes, calendars, or kids’ drawings. Use a soft chalk for the chalkboard surface and avoid abrasive erasers that can wear the paint.
Maintenance: Wipe the chalkboard with a damp cloth weekly; magnetic paint can hold lightweight metal objects without damaging the finish.
12. Reclaimed Wood Planks – Sustainable Warmth
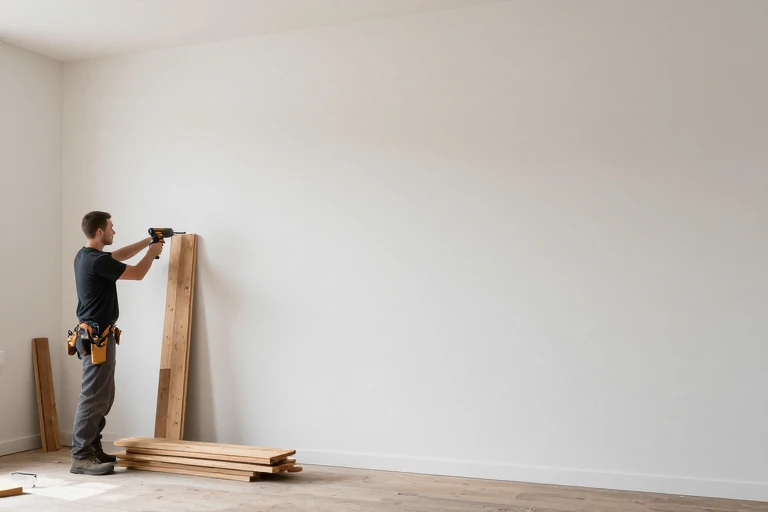
Reclaimed wood planks add rustic charm and sustainability. Source boards with consistent grain and minimal rot. Sand lightly, then apply a marine‑grade sealant to protect against moisture.
Install using a nail gun, staggering joints for a natural look. Leave a ¼‑inch expansion gap at the floor line to accommodate wood movement.
Maintenance: Reapply sealant annually in high‑humidity areas to prevent warping.
13. Tile Backsplash Beyond the Kitchen – Moisture‑Resistant Walls
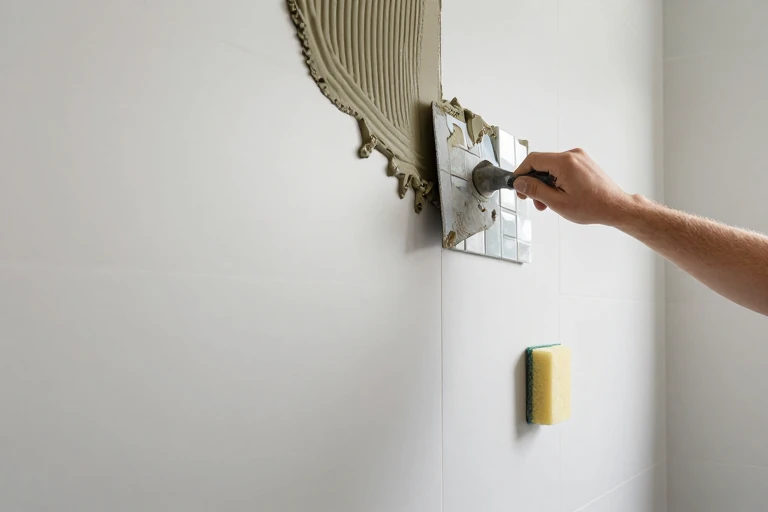
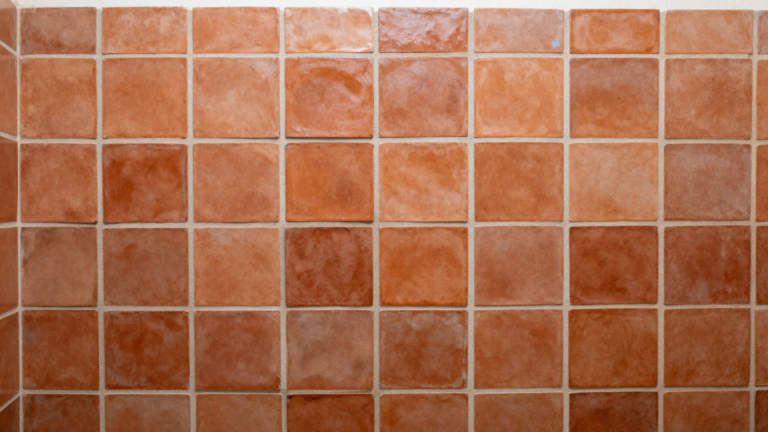
Tile isn’t just for kitchens. A small backsplash of porcelain or glass tile can protect bathroom walls or a hallway from splashes. Choose a slip‑resistant finish for high‑traffic areas.
Apply thin‑set mortar, press tiles into place, and use spacers for even grout lines. Seal grout with a penetrating sealer to resist stains.
Maintenance: Clean with a pH‑neutral cleaner; reseal grout annually.
14. Stone Veneer – Authentic Look, Light Weight
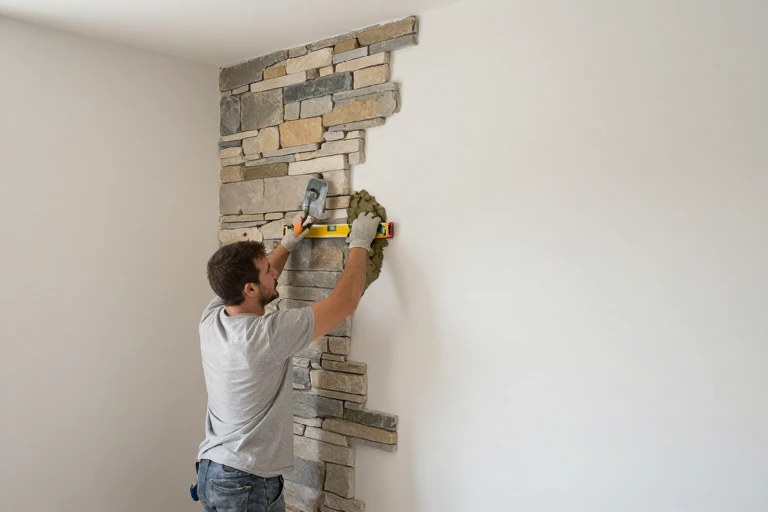
Stone veneer offers the look of full‑thickness stone at a fraction of the weight. Choose cultured stone for uniformity or natural stone for authentic variation. Install over a moisture‑resistant backer board, using a polymer‑based adhesive.
Apply a breathable sealant to prevent water absorption while allowing vapor to escape.
Maintenance: Dust with a soft brush; avoid pressure washing which can loosen the veneer.
15. Lighted Wall Panels – Ambient Glow with LEDs
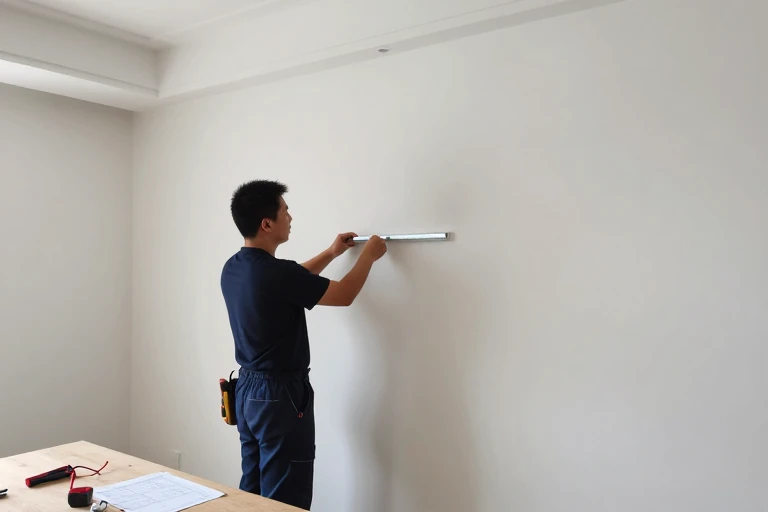
LED light strips behind panels create a subtle glow that highlights texture. Plan the wiring route before installing panels, and use a low‑voltage transformer rated for the total wattage.
Secure the strip with adhesive backing, ensuring even spacing. Add a dimmer switch for mood control.
Maintenance: Wipe the strip with a dry cloth; replace LEDs after 30,000 hours of use.
16. Accent Wall with Bold Color Block – Proportion and Transition
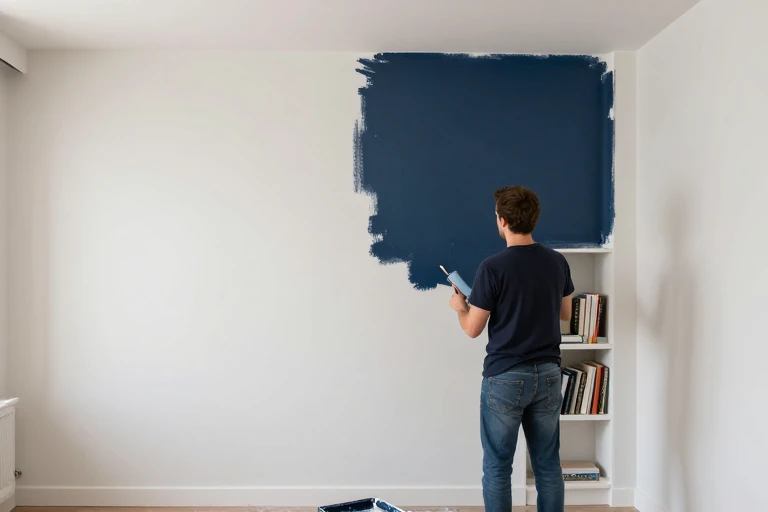
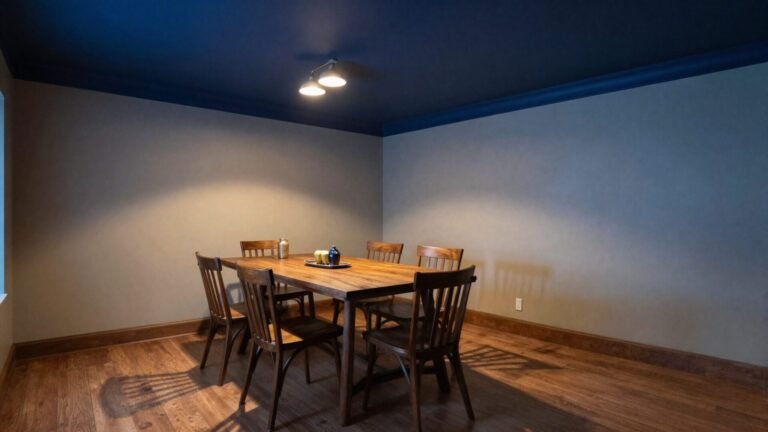
A bold color block can define a zone—think a deep navy behind a reading nook. Paint the block first, then feather the edges into the surrounding wall to avoid harsh lines.
Use painter’s tape rated for delicate surfaces and remove it while the paint is still tacky to prevent peeling.
Maintenance: Touch up scuffs with the same paint; matte finishes hide minor marks better than gloss.
17. Wallpaper Borders or Decals – Low‑Commitment Flair

Wallpaper borders or removable decals add interest without committing to full‑wall coverage. Choose a pattern that complements the room’s primary color scheme.
Apply borders at eye level for maximum visual impact. For decals, clean the surface with isopropyl alcohol before application to ensure adhesion.
Maintenance: Gently peel off decals if you need to change the design; borders can be re‑painted over.
18. Small‑Space Vertical Stripes – Height‑Enhancing Illusion
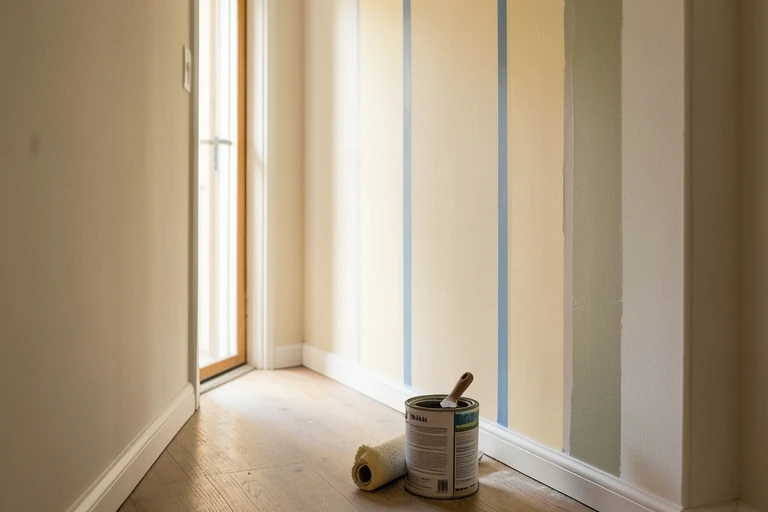
Vertical stripes on a small wall create an illusion of height. Use a high‑quality painter’s tape to mark narrow, even bands—typically 2‑3 inches wide.
Paint each stripe with a contrasting color or a subtle sheen to enhance depth. Remove tape while the paint is still slightly tacky to avoid tearing.
Maintenance: Touch up any chips promptly to preserve the visual effect.
19. Outdoor Wall Design – Weather‑Proof Materials and Drainage
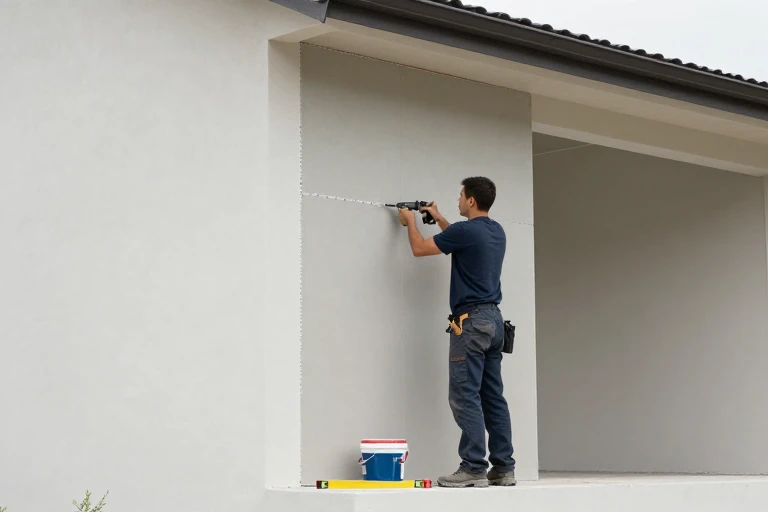
Outdoor walls face weather, so select materials like fiber‑cement board, stucco, or treated wood. Ensure the substrate is moisture‑proof and install a drainage plane behind the cladding.
Use stainless‑steel fasteners to prevent corrosion, and seal all joints with exterior‑grade silicone.
Maintenance: Inspect annually for cracks or water infiltration; repaint with UV‑resistant paint every 5‑7 years.
20. Home‑Office Feature Wall – Acoustics and Cable Management
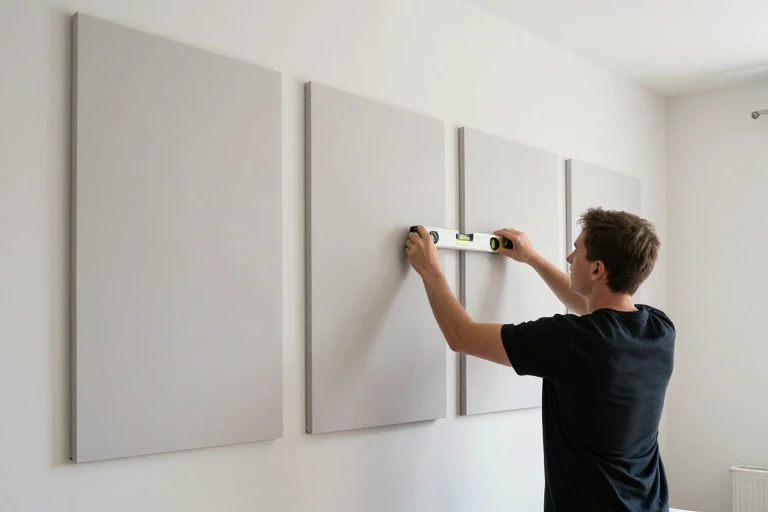
A home‑office feature wall can boost focus. Acoustic panels absorb sound, while a built‑in cable raceway hides cords. Start by measuring the wall area, then install panels in a staggered pattern for visual interest.
Secure panels with adhesive strips rated for the wall finish. Route power cords through the raceway before closing the wall with a decorative cover.
Maintenance: Dust panels with a soft brush; check cable connections quarterly.
21. Bedroom Calming Wall – Color, Texture, and Soft Lighting
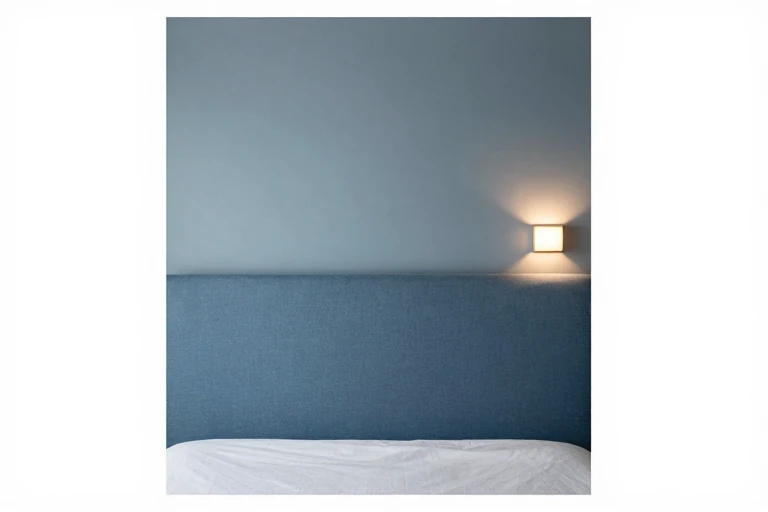
For a bedroom, choose calming hues—soft blues, muted greens, or warm neutrals. Pair paint with a plush, low‑pile fabric wall covering to add tactile comfort without overwhelming the space.
Install dimmable wall sconces to create a gentle glow for bedtime reading. Ensure any fabric covering is flame‑rated for safety.
Maintenance: Vacuum fabric walls with a brush attachment; repaint touch‑ups with the same low‑VOC paint.
22. Kids’ Room Creative Wall – Decals and Chalkboard Zones
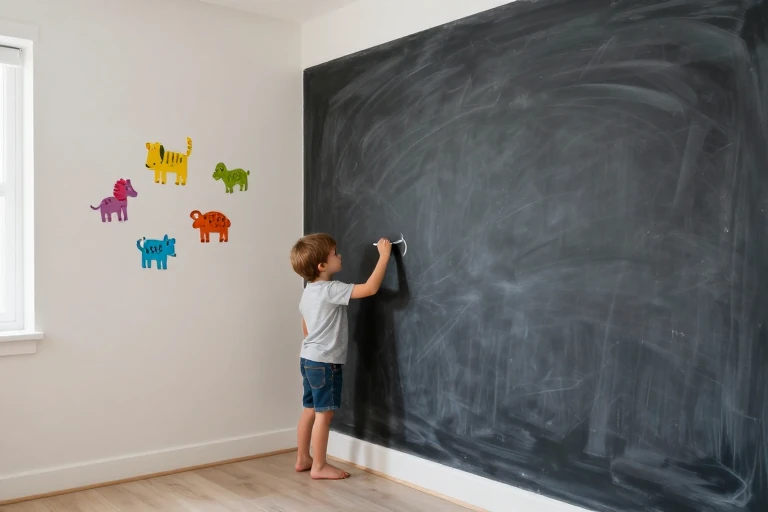
Kids’ rooms thrive on change. Use removable wall decals that can be swapped as interests evolve. Combine this with a chalkboard paint section for doodles and learning.
Apply decals to a clean, smooth surface; press firmly to avoid bubbles. For chalkboard paint, protect adjacent walls with painter’s tape.
Maintenance: Wipe chalkboard areas with a damp cloth; replace faded decals as needed.
23. Common Wall‑Design Mistakes – What to Avoid
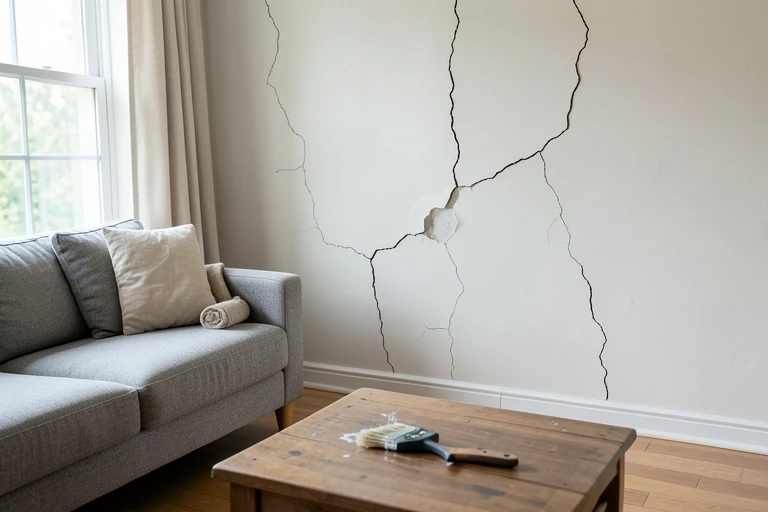
Common missteps include over‑cluttering a wall, ignoring moisture in bathrooms, and using anchors that can’t support heavy pieces. Always test paint in situ, seal porous materials, and verify stud locations before drilling.
Skipping a primer on new drywall leads to uneven color and reduced durability. Likewise, neglecting to seal grout or stone invites staining and mold.
Finally, avoid DIY electrical work for built‑in lighting; hire a licensed electrician to meet code requirements.
Effort & Cost Snapshot
| Topic | Effort | Cost Note |
|---|---|---|
| 1. Paint as a Canvas – Test, Prime, Protect | Medium | Varies by materials, scope, and local labor |
| 2. Textured Wall Panels – Material Choice and Installation | Medium | Varies by materials, scope, and local labor |
| 3. Wallpaper with Bold Patterns – Prep and Peel | Low | Often achievable with existing furnishings or simple updates |
| 4. Glass‑Block Accent Wall – Light, Privacy, and Style | Medium | Varies by materials, scope, and local labor |
| 5. Living‑Room Gallery Wall – Layout and Hanging Tips | Low | Often achievable with existing furnishings or simple updates |
| 6. Oversized Art Statement – Size, Placement, and Support | High | Get a project-specific professional quote |
| 7. Living‑Room Built‑In Shelving – Function Meets Form | Medium | Varies by materials, scope, and local labor |
| 8. Wall‑Mounted Planters – Greenery Without Floor Space | High | Get a project-specific professional quote |
| 9. Fabric Wall Covering – Tactile Texture and Acoustics | Medium | Varies by materials, scope, and local labor |
| 10. Mirror Clusters – Visual Expansion and Light | Low | Often achievable with existing furnishings or simple updates |
| 11. Chalkboard or Magnetic Paint – Interactive Surfaces | Medium | Varies by materials, scope, and local labor |
| 12. Reclaimed Wood Planks – Sustainable Warmth | Medium | Varies by materials, scope, and local labor |
| 13. Tile Backsplash Beyond the Kitchen – Moisture‑Resistant Walls | Medium | Varies by materials, scope, and local labor |
| 14. Stone Veneer – Authentic Look, Light Weight | Medium | Varies by materials, scope, and local labor |
| 15. Lighted Wall Panels – Ambient Glow with LEDs | Medium | Varies by materials, scope, and local labor |
| 16. Accent Wall with Bold Color Block – Proportion and Transition | Medium | Varies by materials, scope, and local labor |
| 17. Wallpaper Borders or Decals – Low‑Commitment Flair | Medium | Varies by materials, scope, and local labor |
| 18. Small‑Space Vertical Stripes – Height‑Enhancing Illusion | Medium | Varies by materials, scope, and local labor |
| 19. Outdoor Wall Design – Weather‑Proof Materials and Drainage | Medium | Varies by materials, scope, and local labor |
| 20. Home‑Office Feature Wall – Acoustics and Cable Management | Medium | Varies by materials, scope, and local labor |
| 21. Bedroom Calming Wall – Color, Texture, and Soft Lighting | Medium | Varies by materials, scope, and local labor |
| 22. Kids’ Room Creative Wall – Decals and Chalkboard Zones | Medium | Varies by materials, scope, and local labor |
| 23. Common Wall‑Design Mistakes – What to Avoid | High | Get a project-specific professional quote |
Frequently Asked Questions
How do I decide which wall finish is right for each room?
Start by assessing the wall’s purpose: high‑traffic areas need durable finishes like washable paint or tile, while a bedroom can accommodate softer textures. Test colors in natural light, sketch layout plans on paper, and consider the weight of any hanging pieces. Finally, verify that any electrical or plumbing work complies with local codes before you begin.
Can I install heavy wall features myself?
Most wall treatments can be DIY, but heavier elements—glass blocks, stone veneer, or built‑in shelving—often require professional anchoring to meet safety standards. When in doubt, consult a contractor to confirm load‑bearing capacity and code compliance, especially for exterior walls.
What regular maintenance do different wall treatments require?
Maintain painted walls by cleaning with a soft‑damp cloth and using a mild detergent for stubborn spots. For wallpaper, spot‑clean with a sponge and avoid excess moisture. Tile and stone should be sealed annually, and glass‑block walls benefit from a gentle glass cleaner to keep light transmission clear.
Choosing the right wall treatment is a blend of style, function, and long‑term care. By testing colors, planning layouts, and respecting each material’s maintenance needs, you’ll avoid costly redo‑work and create a backdrop that supports the room’s purpose. Whether you opt for a bold glass‑block accent, a calming bedroom hue, or a playful kids’ mural, the ideas above give you a clear roadmap from concept to finished wall.
Sources & Further Reading
- Masonry Wall Insulation | Building America Solution Center
- 2026 Home & Design Trends: Framing the Future | NAHB
Continue Your Home Transformation
Explore the full collection of step-by-step eBooks and get the guide that fits the room you're working on.