Picture ledge ideas offer a flexible way to display art when you like changing the arrangement. Instead of deciding where every frame will hang, you arrange suitable frames on a purpose-made ledge and adjust the composition within its limits.
A ledge is a different display system from a regular shelf. The usable channel, retaining lip, wall fixing and permitted frame size all affect what belongs on it. Choose the exact product and read its instructions before planning an arrangement around a favorite oversized print.
The concepts below focus on modest framed artwork and useful layouts. They are styling options, not mounting instructions or a promise that any ledge suits any wall. Keep displays away from places where they can be bumped or climbed, and use appropriate professional advice when the wall or installation is uncertain.
The images are original AI-generated decor concepts, not installation diagrams or photographs of completed client projects.
Test Picture Ledge Ideas With the Complete Frames
Arrange the actual frames on a table in the proposed order and measure their complete outside widths. Next, compare height, depth and weight with every limit in the chosen ledge instructions. For example, overlapping two frames changes the visible width while leaving the combined load and support requirements unchanged. Keep alternative prints elsewhere and retain room to remove a frame without disturbing the whole group.
Jump to an idea
- One landscape frame with generous end space
- Three equal frames in a neat row
- One portrait frame beside a smaller pair
- A restrained overlap between compatible frames
- Mix portrait and landscape orientations
- Use matching frames with different images
- Repeat two frame finishes deliberately
- Let a white ledge blend into a white wall
- Use a dark ledge as the graphic line
- Bring timber warmth to a plain wall
- Repeat one accent color in the artwork
- Build a quiet monochrome photo group
- Keep botanical prints within one visual family
- Choose a small abstract shape collection
- Frame a few travel photographs
- Give a favorite drawing a proper frame
- Use a framed postcard as a small focal point
- Choose a short ledge for a narrow wall section
- Align two ledges for a simple gallery
- Offset two short ledges within one wall area
- Build a modest vertical display
- Place a display on the wall beside a desk
- Use a dining nook side wall
- Rotate artwork within a fixed frame set
Test picture ledge ideas with the outside frame dimensions
Measure each frame to its outside edge, not just its advertised print size. For a hypothetical 40-inch usable ledge, three frames measuring 8, 10 and 8 inches wide occupy 26 inches. Two 2-inch gaps bring that to 30 inches, leaving 10 inches overall, or 5 at each end if centered. This checks a proposed horizontal arrangement only. It does not establish suitable frame height, depth, weight, fixing strength or room clearance. Place the frames on a table in the same layout first and compare the silhouettes. Overlap can reduce the width seen from the front, but it does not reduce the total load or remove the need for every frame to sit correctly.
| Display need | Starting arrangement | Check first |
|---|---|---|
| One favorite print | One frame with space around it | Outside size and the exact ledge limits |
| A related photo series | Three modest frames | Total load and room to separate the silhouettes |
| A narrow wall | A short ledge or a planned vertical pair | Projection into the walkway |
| Frequent artwork changes | A small fixed frame set | A nearby place to store the alternatives |
Read the exact ledge limits before choosing frames
As a product-specific example, the linked IKEA MOSSLANDA instructions restrict picture height to 45 cm because taller pictures can be unstable on that narrow ledge. The linked 45¼-inch US product lists a maximum load of 16.53 lb and calls for fasteners appropriate to the wall material. Those details belong to that product and its instructions; they are not general limits for every picture ledge. Check the current guide for the exact size and version you buy.
1. Begin Picture Ledge Ideas With One Landscape Frame
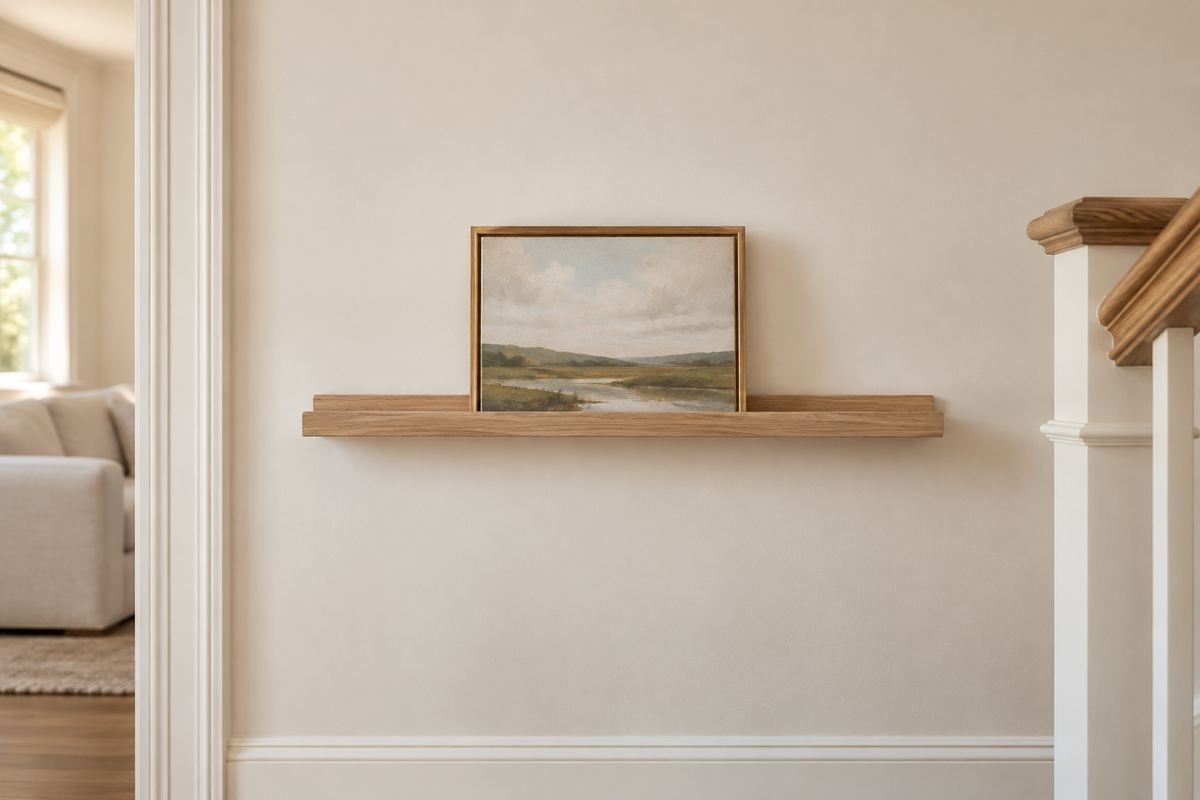
One suitable landscape print can be enough for a short ledge. Leaving both ends open makes the framed image the focal point and gives the ledge a clear outline.
Compare the outside frame width with the usable length before choosing a larger print. A mat can give a small image more visual presence without needing several extra frames.
Practical tip: Choose a frame within every limit of the exact ledge.
2. Three equal frames in a neat row
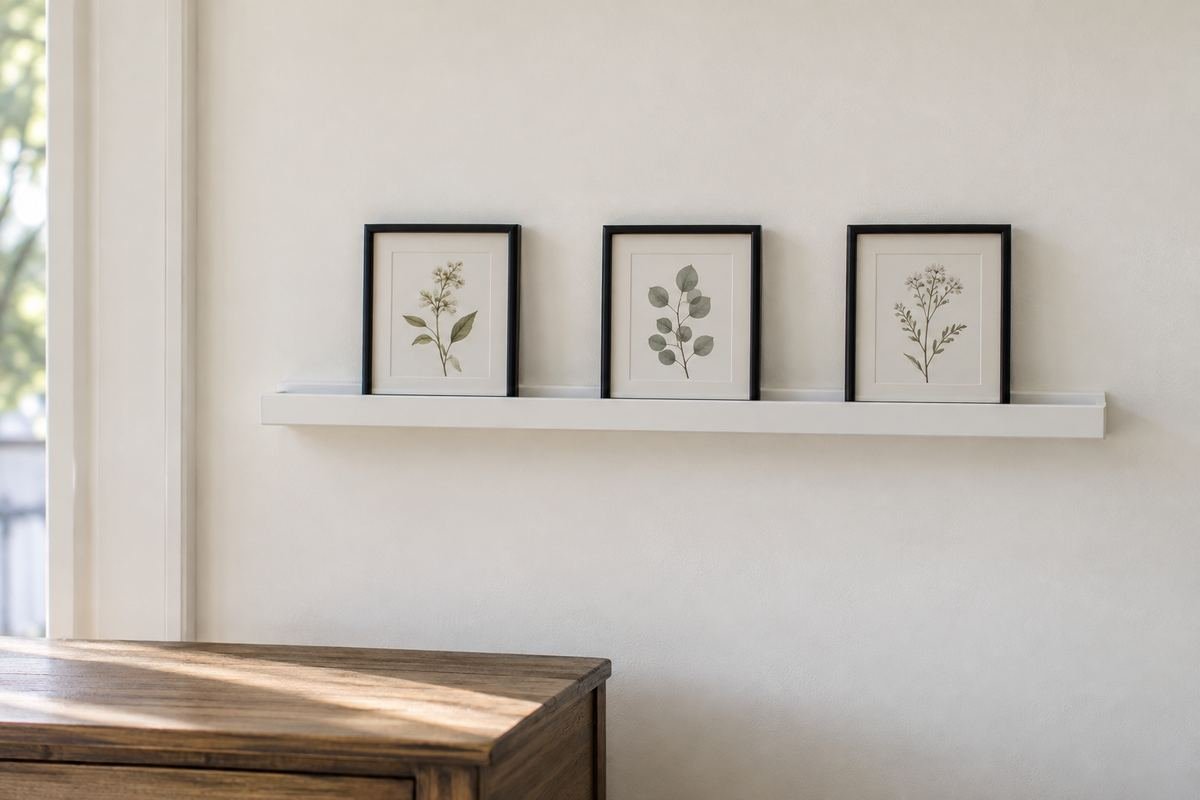
A related trio gives a ledge a calm rhythm. Matching outside frame sizes make it easier to compare the gaps and keep the composition from feeling accidental.
Lay the frames out on a table before they go on the ledge. Check how the images relate as a series rather than choosing three prints only because the frames match.
Practical tip: Measure the whole row including the spaces.
3. One portrait frame beside a smaller pair
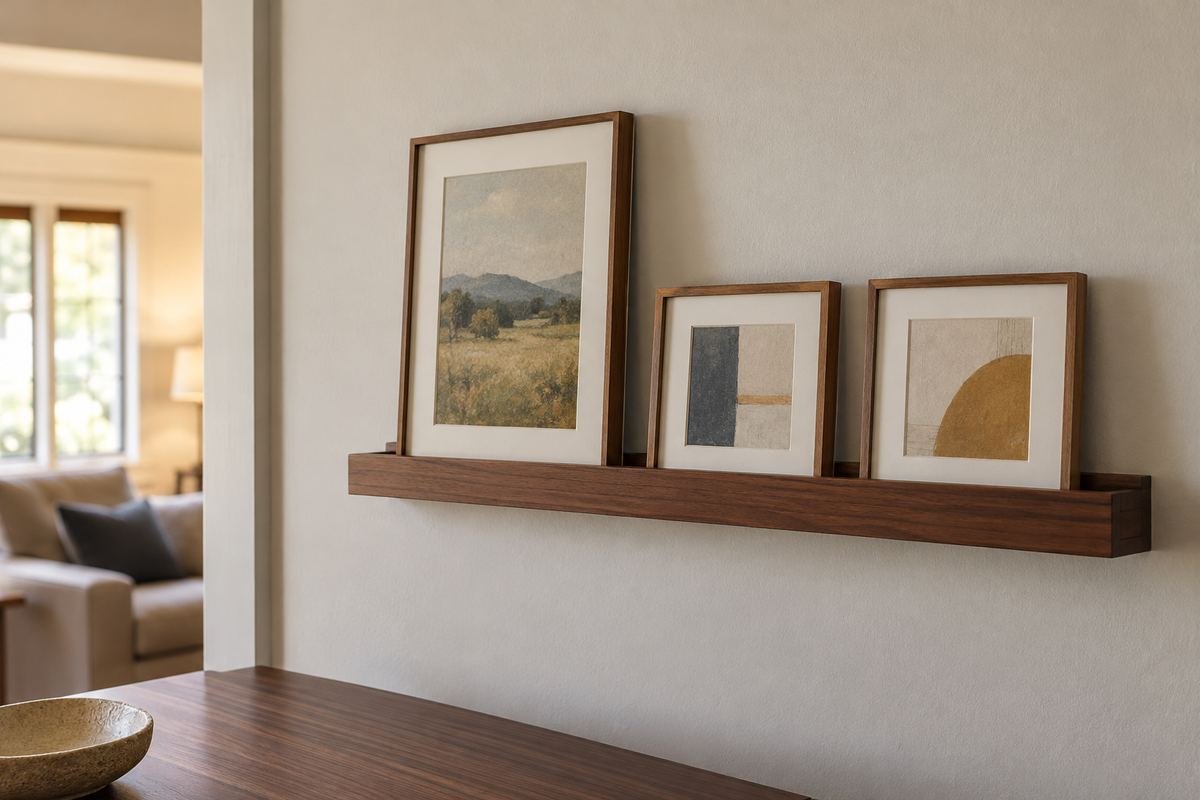
A modest portrait frame can provide the main shape while two smaller frames balance it. Repeat a color in the artwork so the different sizes feel connected.
Keep the largest frame within the permitted height rather than assuming that the smaller companions make it more stable. Give all three a clear place inside the support channel.
Practical tip: Use the outside dimensions of the largest frame first.
4. A restrained overlap between compatible frames
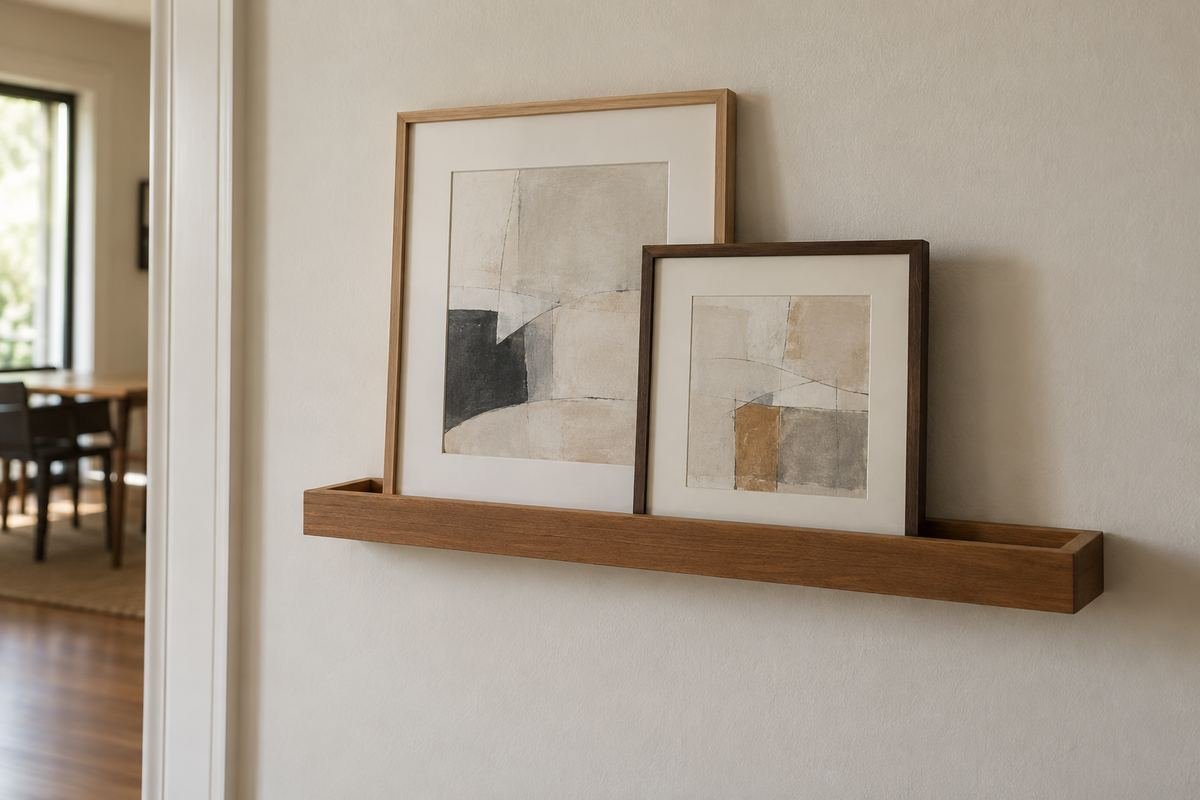
A slight overlap can make a small collection feel informal. Keep the arrangement shallow enough that each frame sits as intended and remains within the product guidance.
Test the view from both ends of the wall. A foreground frame should not hide the important part of the image behind it or push another frame out of its correct support.
Practical tip: Overlap is a visual choice, not extra ledge capacity.
5. Mix portrait and landscape orientations
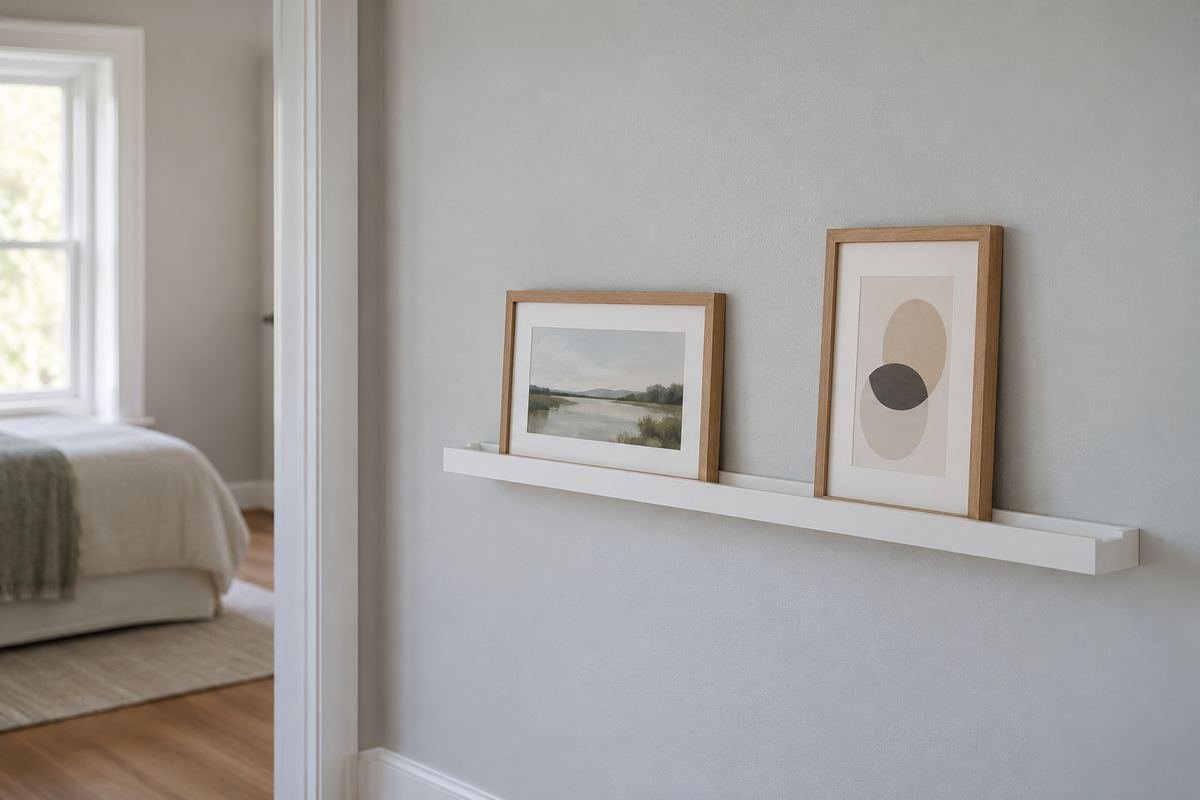
Different orientations can give a short display more movement without adding another color. Use a shared mat or frame finish to connect the shapes.
Notice whether the taller frame dominates the arrangement from the room entrance. If it does, move it closer to the visual center or choose a smaller frame instead of crowding the remaining gap.
Practical tip: Keep the frame heights appropriate to the exact product.
6. Connect Picture Ledge Ideas Through Matching Frames
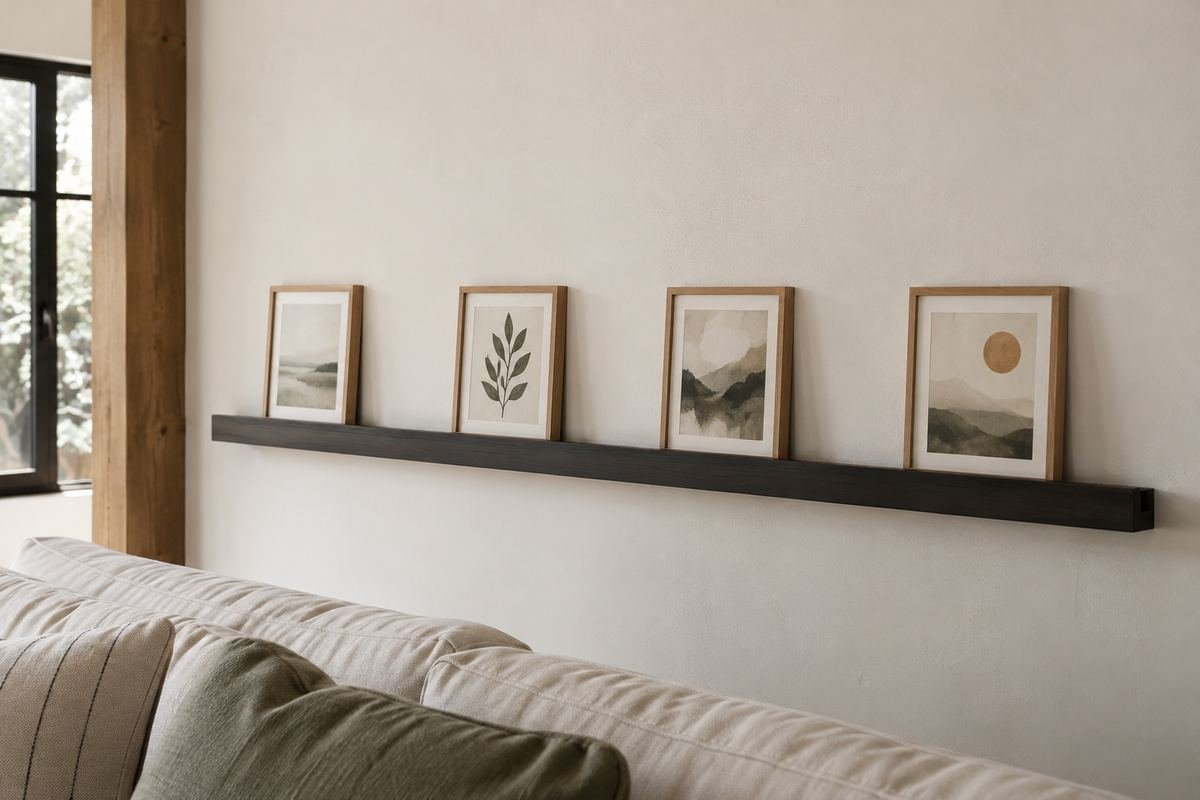
One consistent frame finish can hold together a varied art collection. The images can differ in subject while the repeated outlines provide an orderly edge.
Compare the mat widths as well as the frame colors. Very different borders may make same-size frames look uneven even when their outside dimensions match.
Practical tip: Repeat the border treatment if you want a calmer row.
7. Repeat two frame finishes deliberately
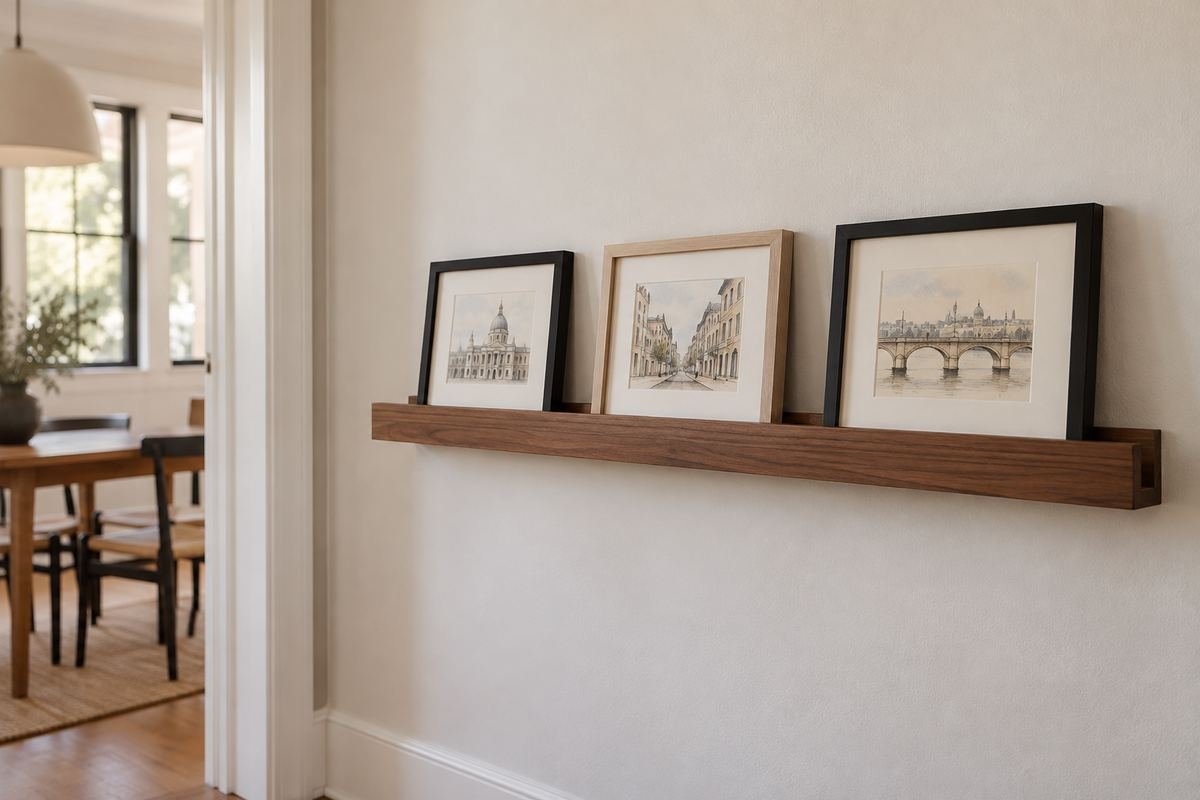
A small mix of black and timber frames can look collected without becoming random. Repeat each finish at least where it helps the arrangement read as a group.
Lay out the finishes before adding artwork. If one unusually bright or thick frame pulls attention from the whole display, use it elsewhere rather than forcing it into the row.
Practical tip: Judge the frame outlines before the pictures.
8. Let a white ledge blend into a white wall
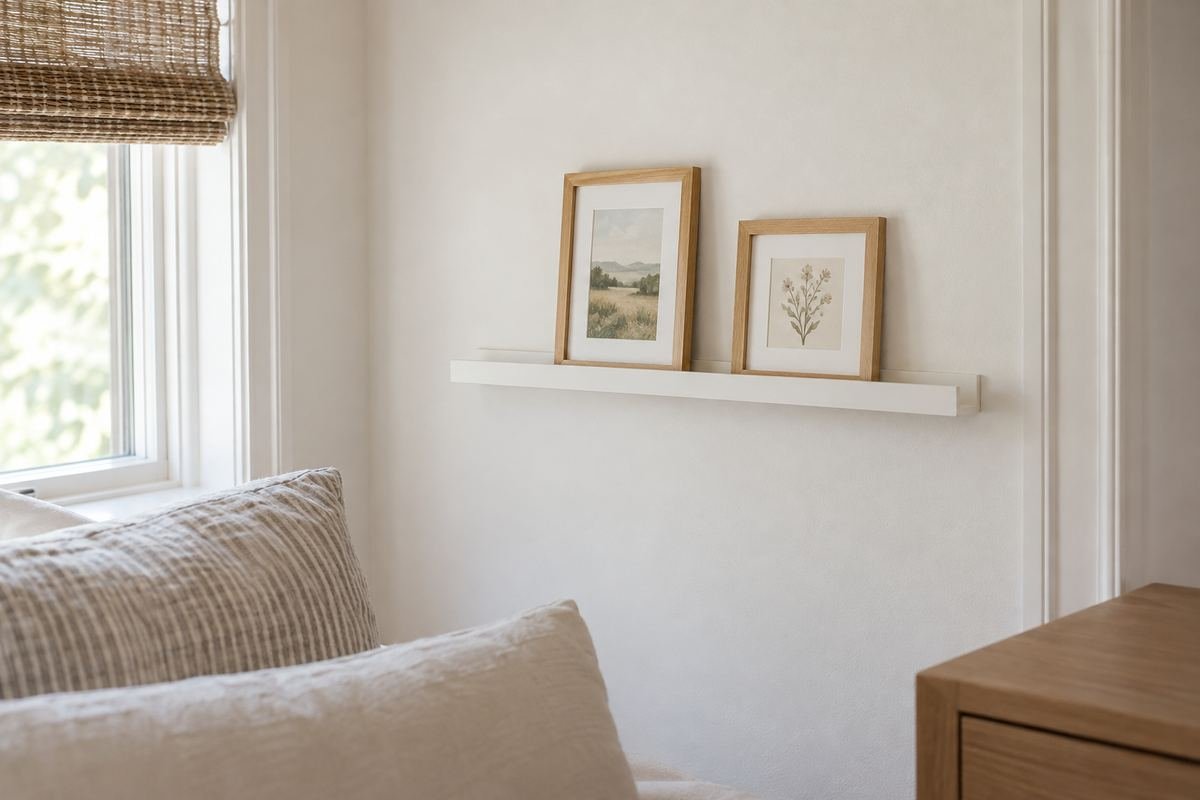
A tonal ledge can put attention on the artwork rather than on the shelf line. It can be useful where the wall already contains door trim or another strong horizontal detail.
Compare the actual whites in daylight. A noticeably cream ledge against a cool wall will still form a visible stripe; decide whether that relationship suits the room.
Practical tip: Check the finish beside the actual wall paint.
9. Use a dark ledge as the graphic line
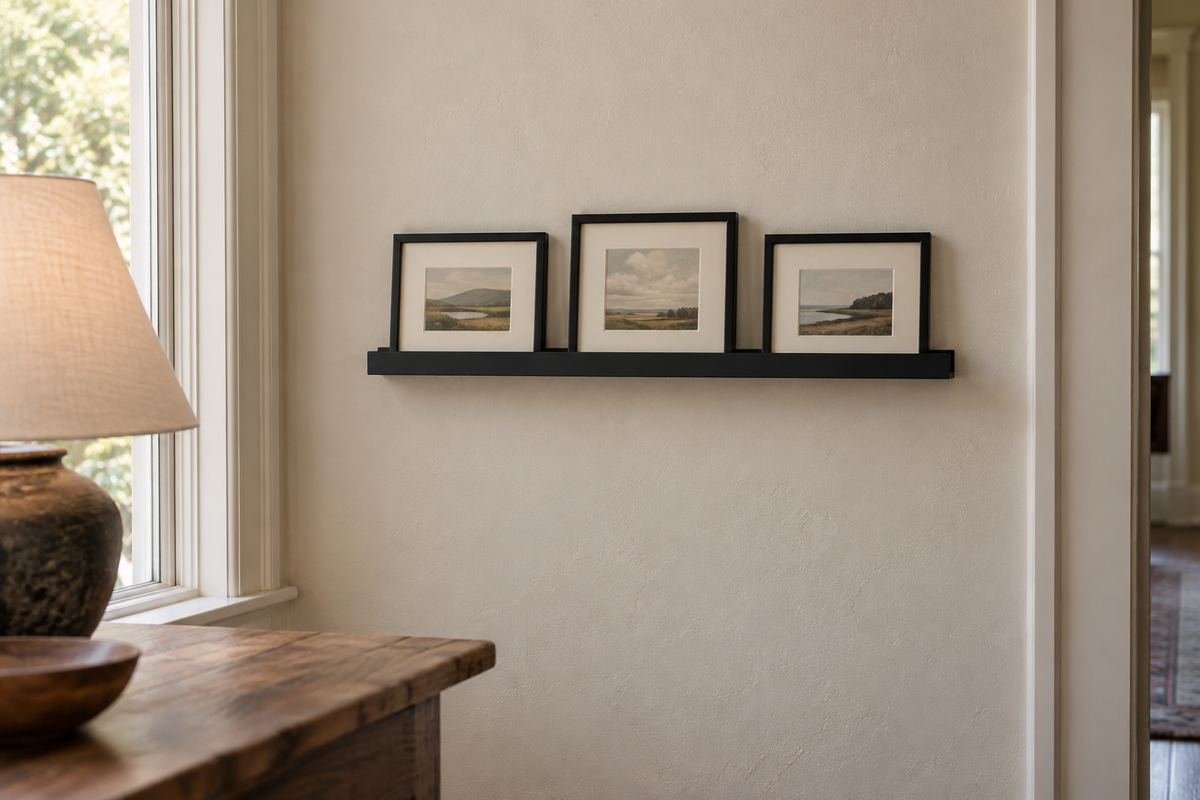
A black or dark brown ledge can underline a small row of art. This gives the display a definite horizontal shape without needing more frames.
Connect the dark line to another existing element, such as a door handle or lamp. Avoid repeating dark accents everywhere just to justify one shelf finish.
Practical tip: Keep the artwork light enough to read above the line.
10. Bring timber warmth to a plain wall
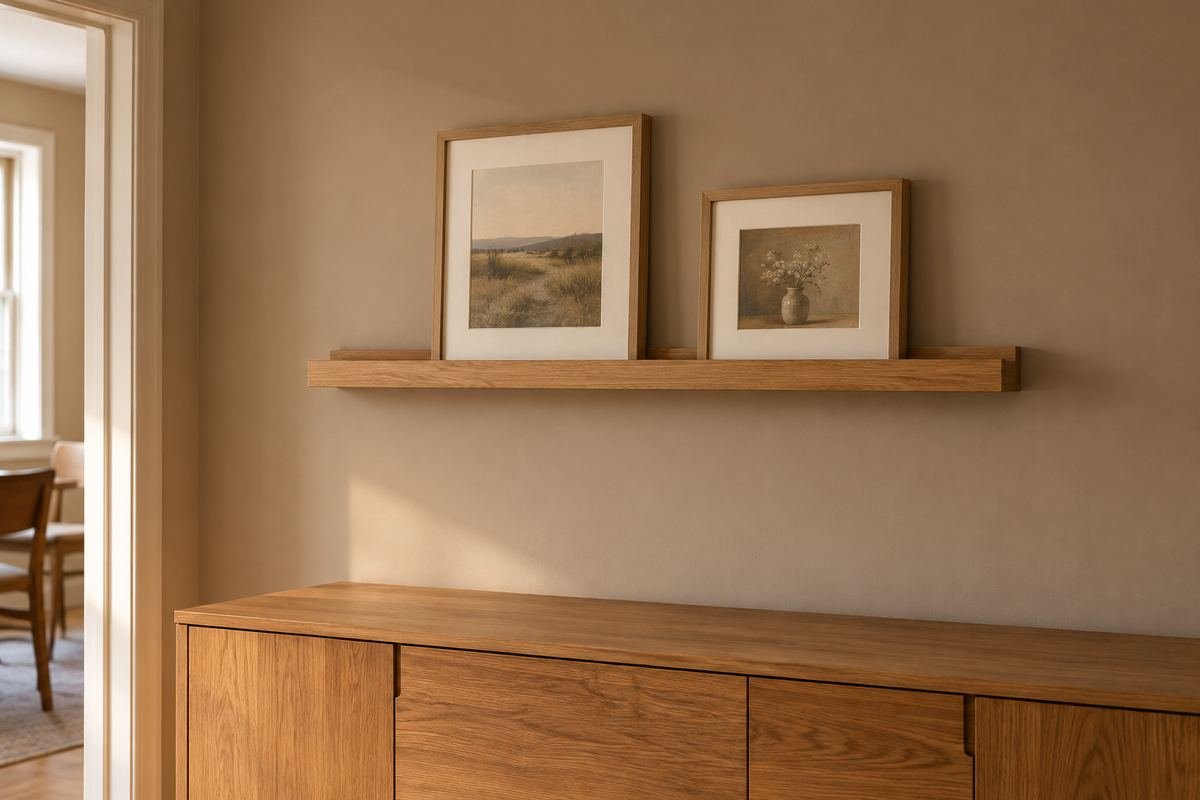
A timber-toned ledge can relate the artwork to nearby furniture. Choose a tone that sits comfortably beside the room rather than trying to match every grain exactly.
Test the finish sample or product photograph against the actual light in the room. A strongly orange wood may look very different beside an existing gray-brown cabinet.
Practical tip: Let one timber tone lead the display.
11. Repeat one accent color in the artwork
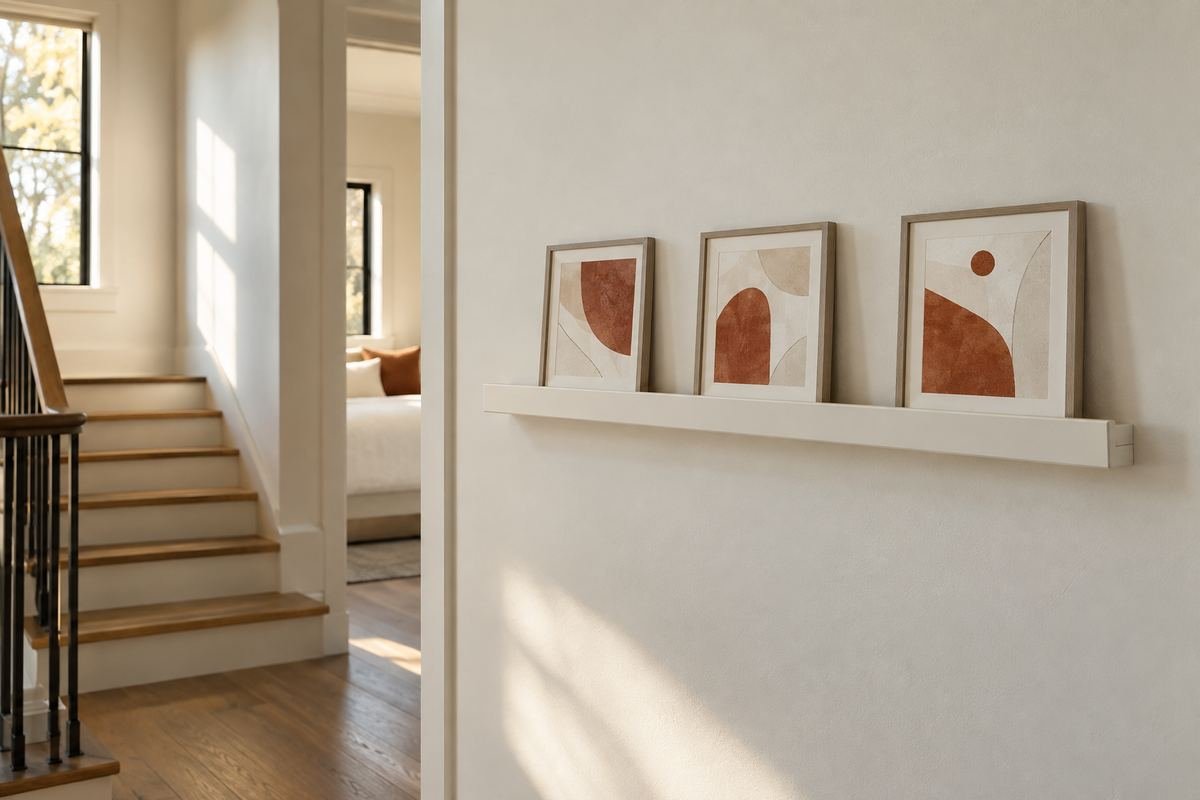
A few small touches of the same color can connect separate pictures. The frames can stay neutral while the images carry the relationship.
Choose the color from the room or from one image you genuinely like. Avoid buying unrelated art simply to fill a color requirement.
Practical tip: A small repeated accent is enough.
12. Balance Monochrome Picture Ledge Ideas Through Image Contrast
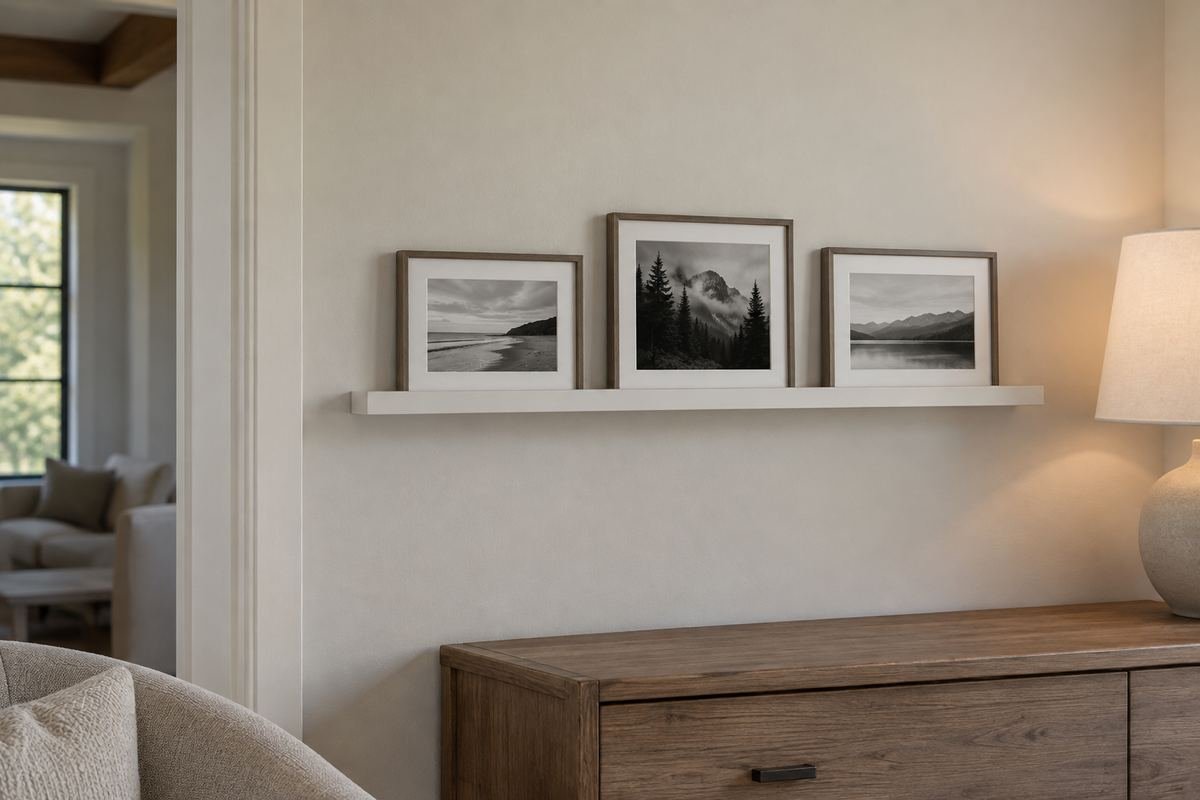
Black-and-white photography can give different subjects a shared visual language. Use modest frames and compare the contrast of the images before setting the row.
A very dark picture can outweigh several pale ones. Move the frames around on a table until the balance feels deliberate instead of automatically arranging them by size.
Practical tip: Compare the image tones from across the room.
13. Keep botanical prints within one visual family
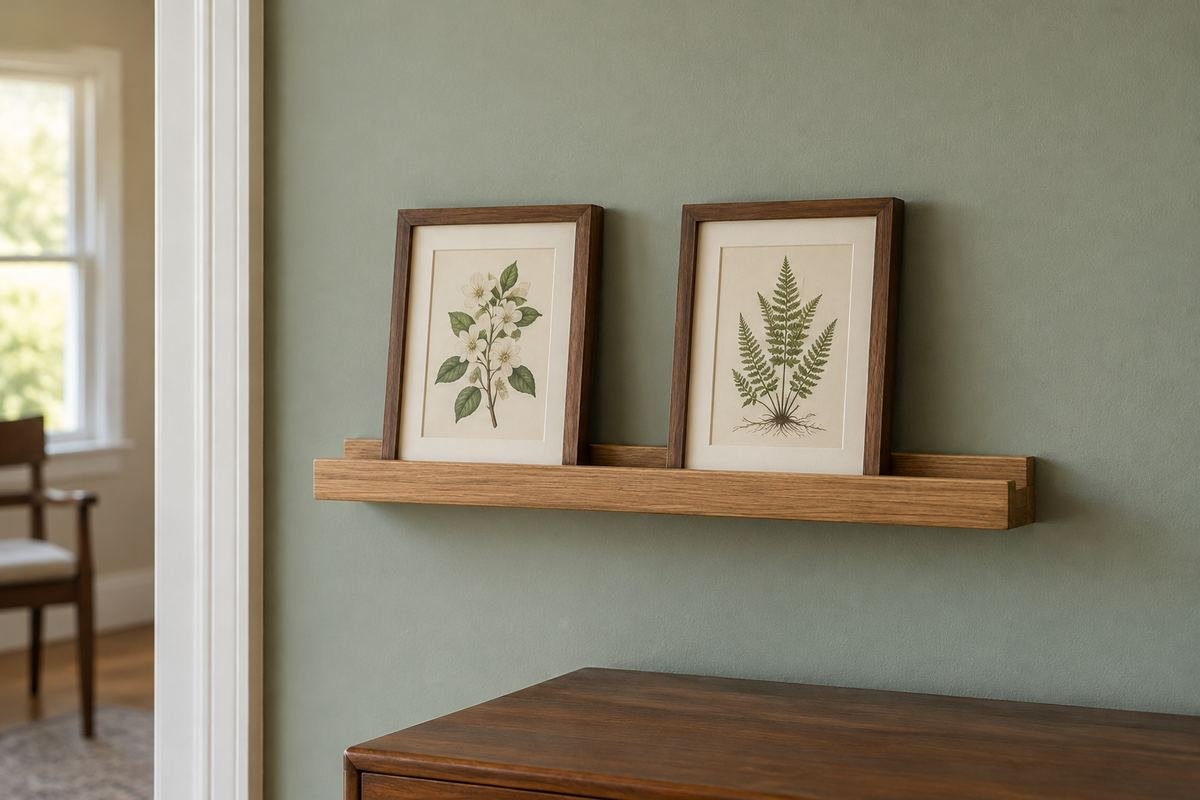
Botanical artwork can add natural shapes without introducing a watering task to the ledge. Related paper tones or illustration styles keep the display coherent.
Mix the scale of the illustrated leaves rather than adding more frames. One detailed image and a simpler companion can be easier to read than several equally busy prints.
Practical tip: Use the artwork for the greenery, keeping the ledge for frames.
14. Choose a small abstract shape collection

Simple geometric artwork can suit a room where textiles already supply a lot of pattern. A limited set of shapes makes the ledge readable from a distance.
Check the contrast between the art and the mats. Pale work in a pale frame may need a different border to remain visible, rather than another accessory beside it.
Practical tip: Compare one quiet image with one stronger shape.
15. Frame a few travel photographs
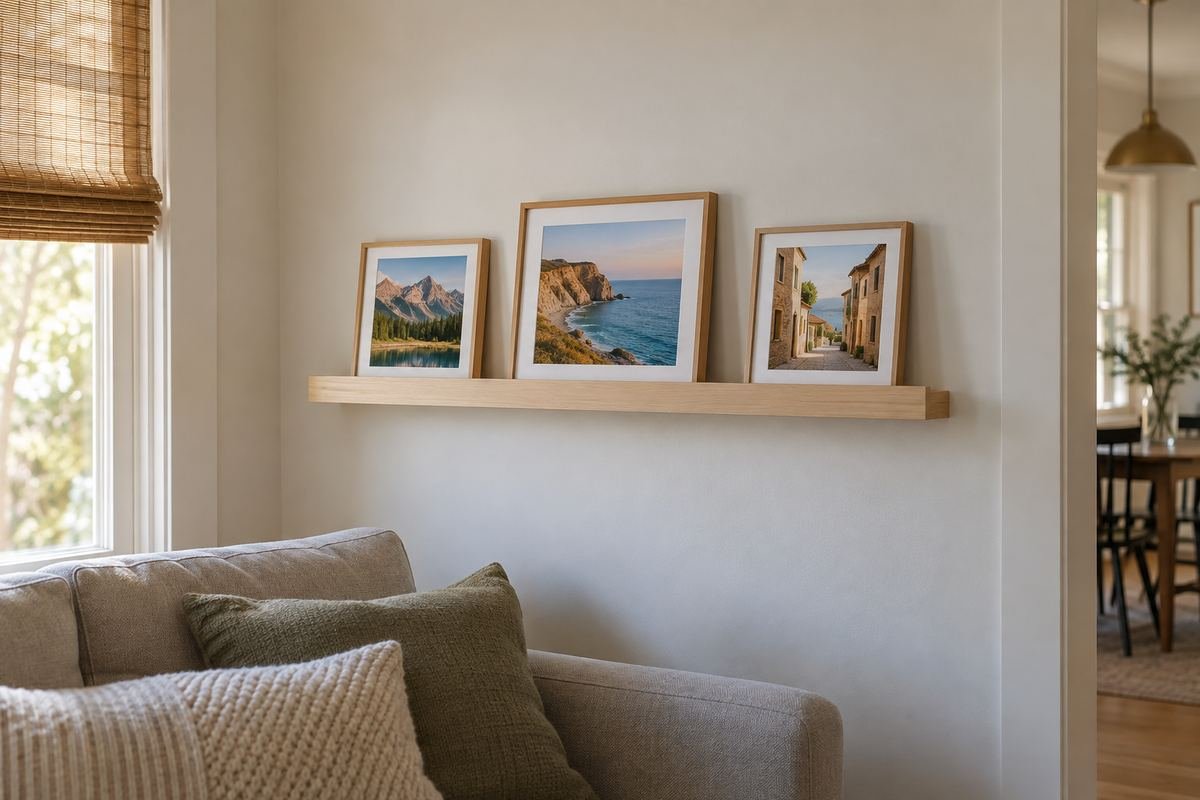
A small group of personal landscape photographs can make the display specific to the household. Choose images that relate by place, light or color instead of including every trip.
Use suitable reproductions when originals are delicate or difficult to replace. Rotate a few images into the same frames so the collection can change without increasing the shelf load.
Practical tip: Keep the current selection small and store the rest elsewhere.
16. Give a favorite drawing a proper frame
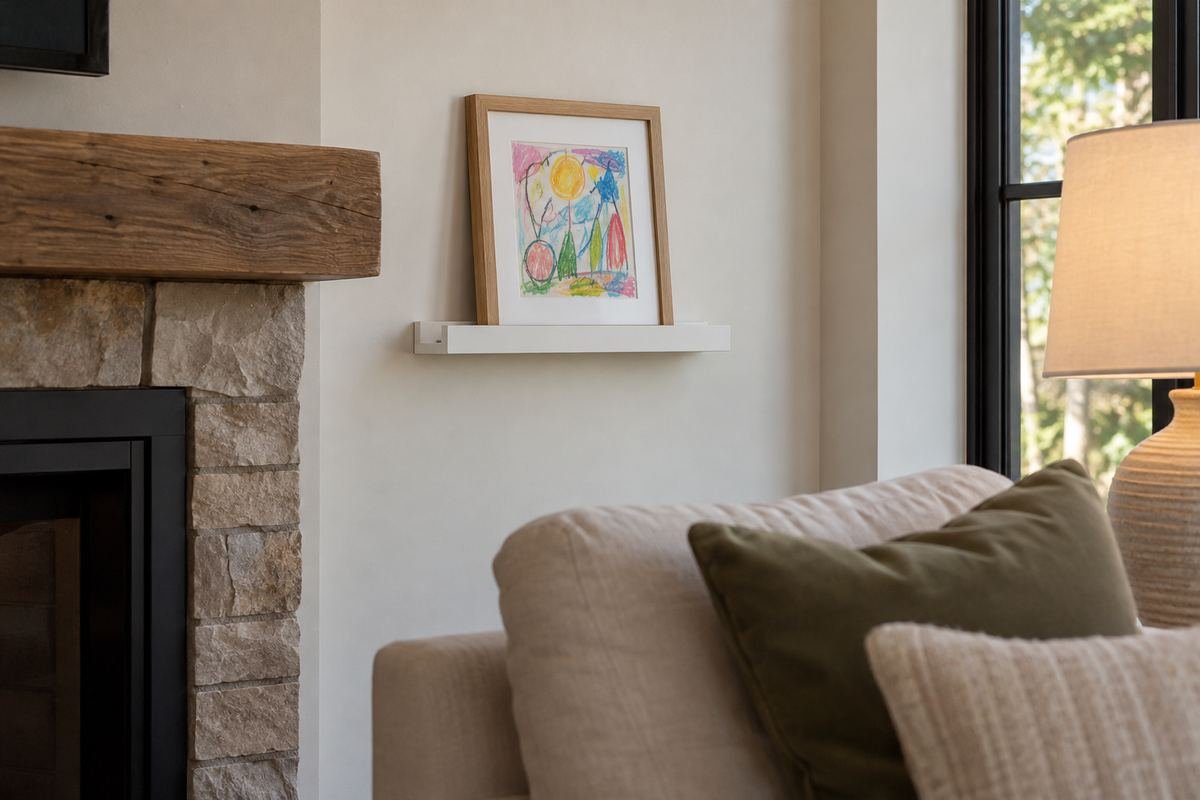
A drawing can look considered when its mat and frame suit the rest of the display. A single colorful piece may supply more character than several generic prints.
Choose a frame appropriate to the paper and the ledge. Display family artwork in an adult-managed area where the ledge is not an invitation to climb or pull at the frames.
Practical tip: Treat the drawing as the main artwork.
17. Use a framed postcard as a small focal point
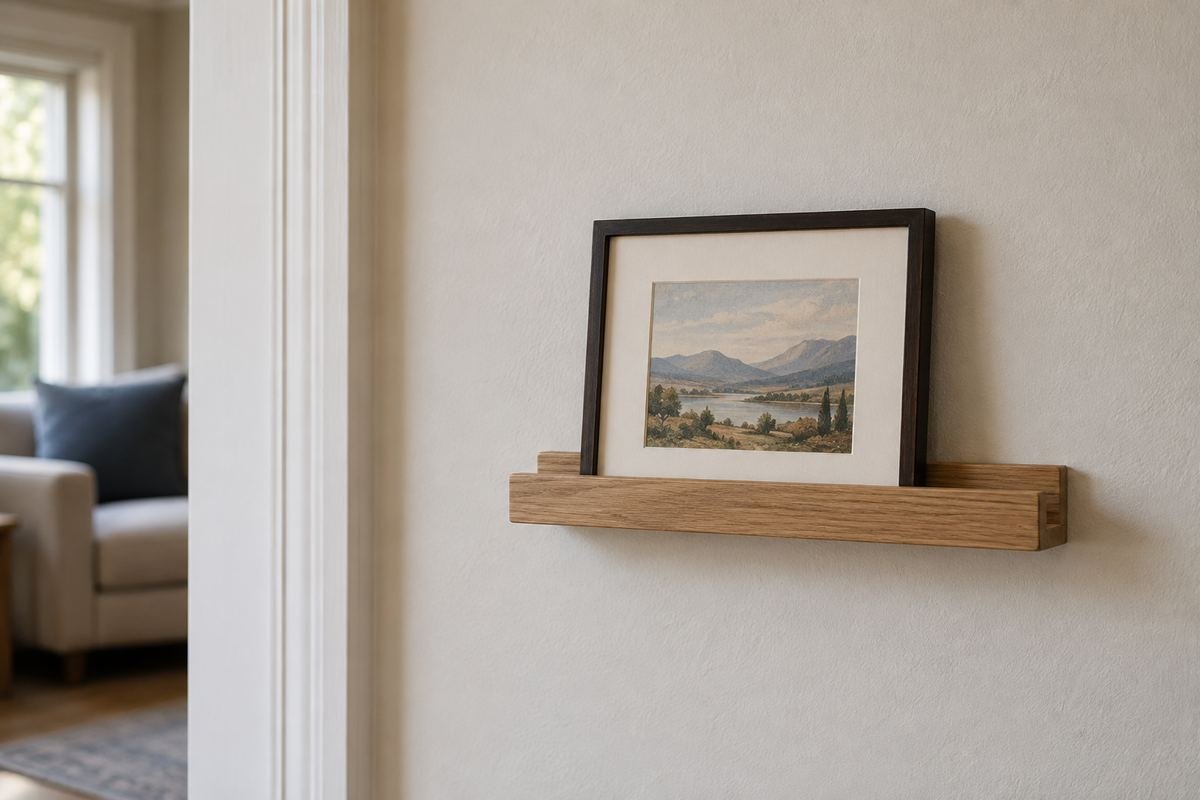
A postcard can become a deliberate miniature artwork inside a mat. This can suit a short ledge or a display where larger frames would dominate the wall.
Choose the outside frame from the available support, not from the small size of the card. The mat gives visual space around the image without requiring a large group of objects.
Practical tip: Keep the tiny image visible from the usual viewing distance.
18. Fit Short Picture Ledge Ideas to the Walking Route
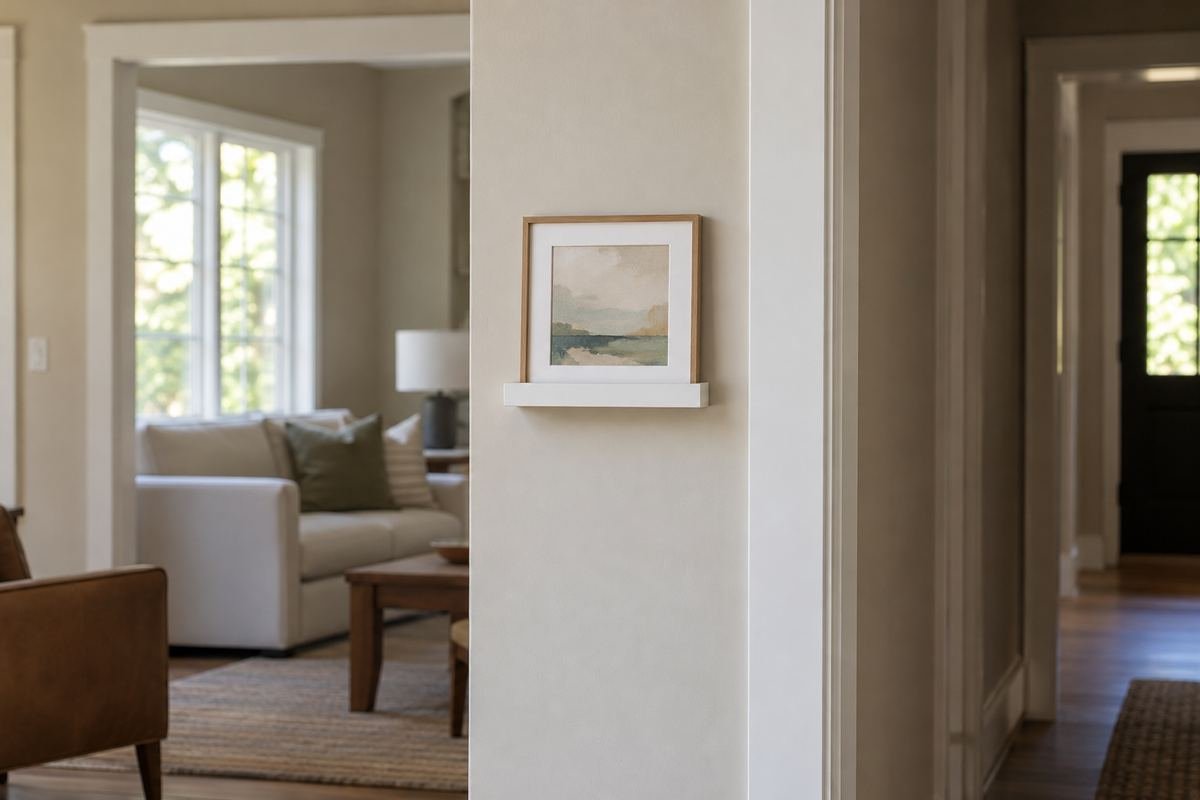
A short wall can become a useful art spot when the ledge and frame stay proportional to it. One small image may work better than squeezing in a row.
Check how far the ledge projects into the room and whether people pass close to it. Wall width alone does not establish a suitable location.
Practical tip: Check the route past the display.
19. Align two ledges for a simple gallery
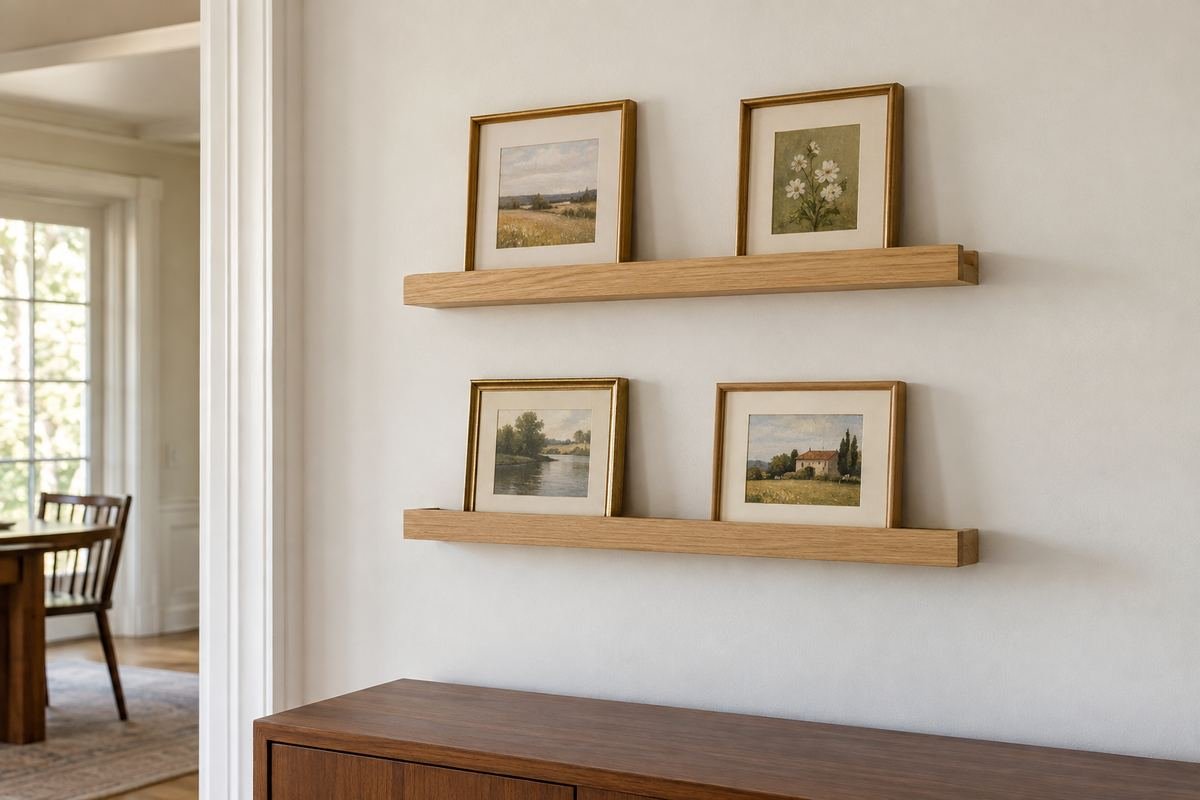
A pair of equal-length ledges can create a clear display structure. Use fewer frames on each row so the whole wall stays easier to read.
Plan the vertical space from the frames and the room view, then follow the product installation guidance. An arbitrary repeated gap is less useful than room for the actual frames to sit and be removed correctly.
Practical tip: Plan with the tallest permitted frame on each row.
20. Offset two short ledges within one wall area
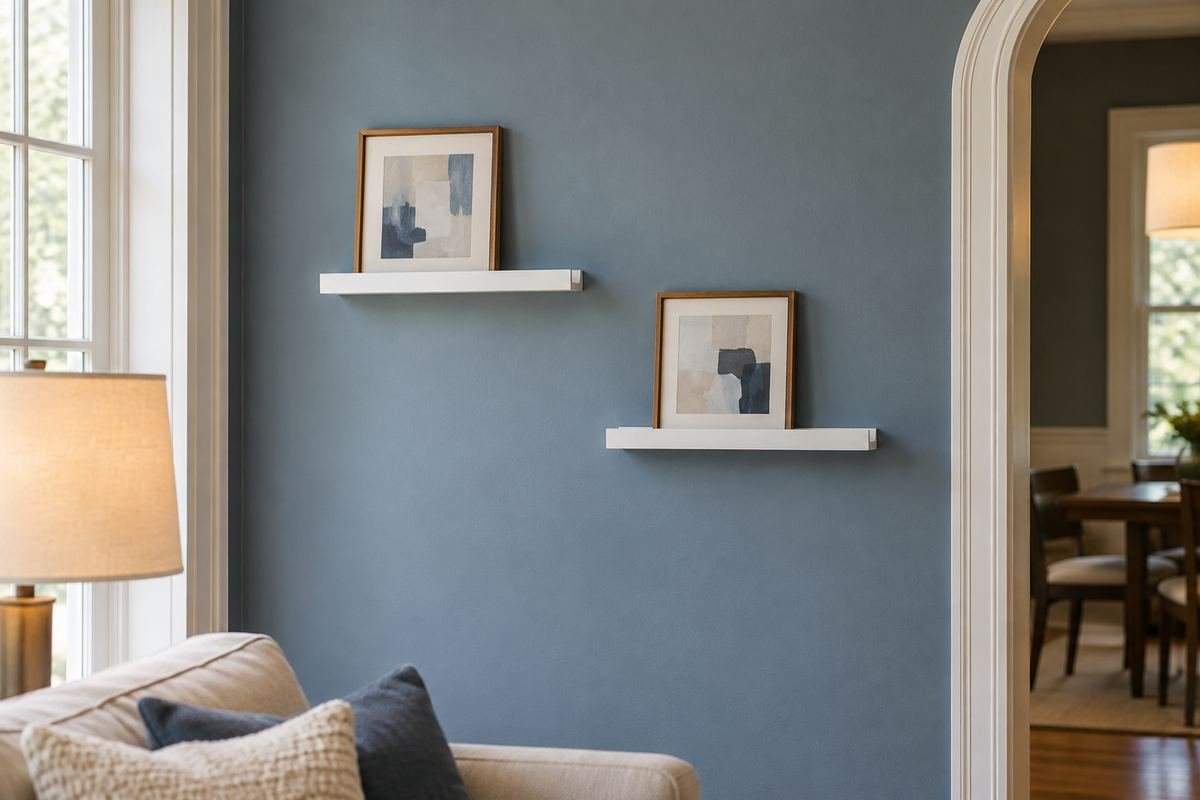
An offset pair can suit an asymmetrical collection or a room where furniture is not centered. Keep a clear relationship between the ledges so the placement feels intentional.
Sketch both ledges as one composition before installation. Use the furniture and wall boundaries as references instead of judging each short ledge in isolation.
Practical tip: Test the complete wall layout first.
21. Build a modest vertical display
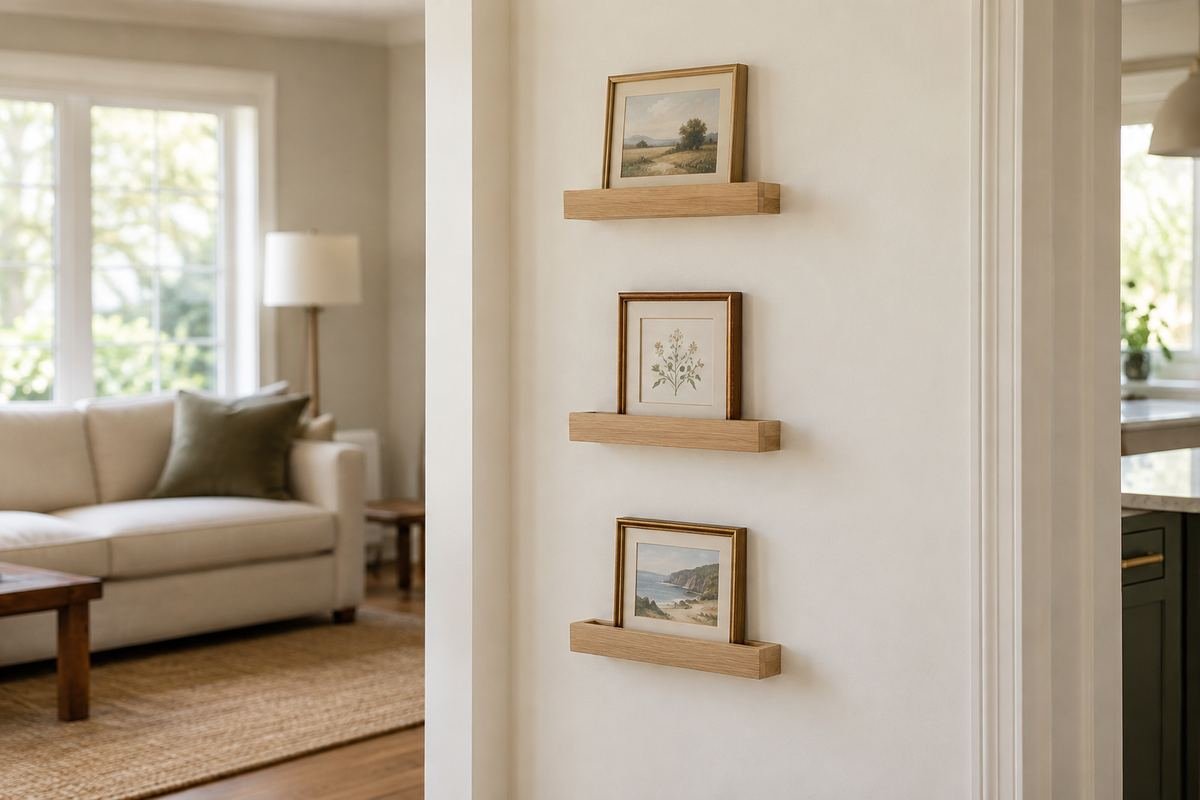
On a tall narrow wall, a planned vertical arrangement can use height without requiring a very long shelf. Keep the number of frames restrained on each level.
Consider retrieval and the route beside the wall. The top ledge should not depend on awkward everyday reaching simply because the arrangement looks good on a sketch.
Practical tip: Use only as many levels as you can manage appropriately.
22. Place a display on the wall beside a desk
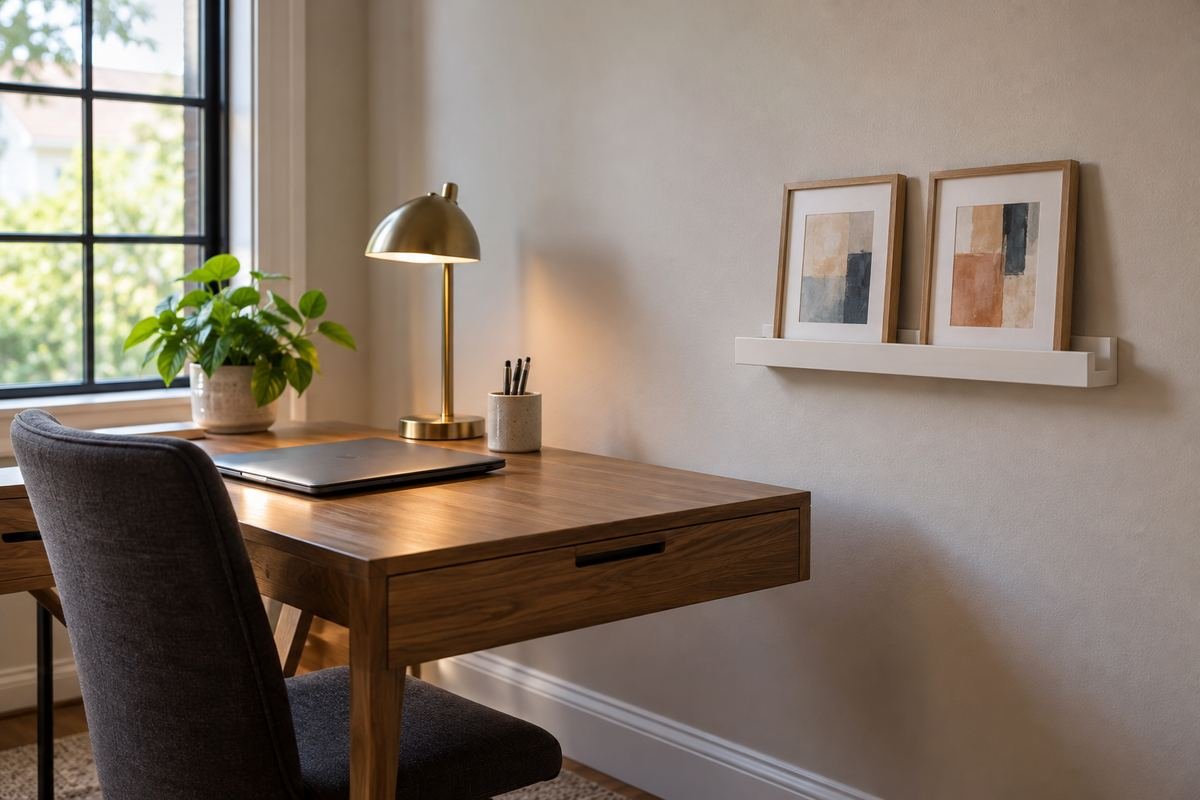
A side wall can let art be seen while keeping the working surface clear. A small ledge also allows the artwork to change without turning the desk into a storage area.
Keep the display outside the normal chair and arm movement. Check reflections in screens before choosing glazed frames near a bright window.
Practical tip: Test the seated view from the desk.
23. Use a dining nook side wall
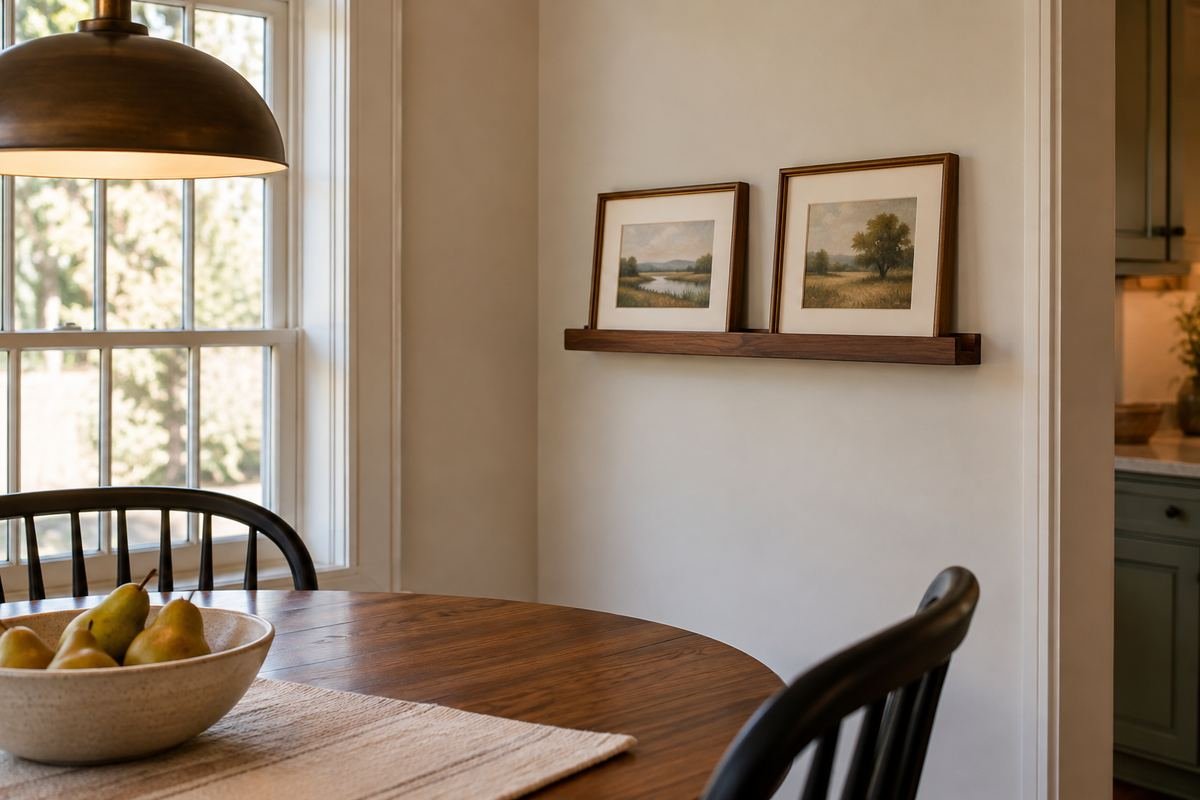
A shallow art display can give a dining nook a personal detail. Choose a wall where the ledge will not project into seated heads, chair movement or the serving route.
View the art while sitting down. A composition chosen only from standing height may feel disconnected from the table and seats.
Practical tip: Check the occupied dining nook before deciding the position.
24. Keep Changing Picture Ledge Ideas Within a Fixed Frame Set
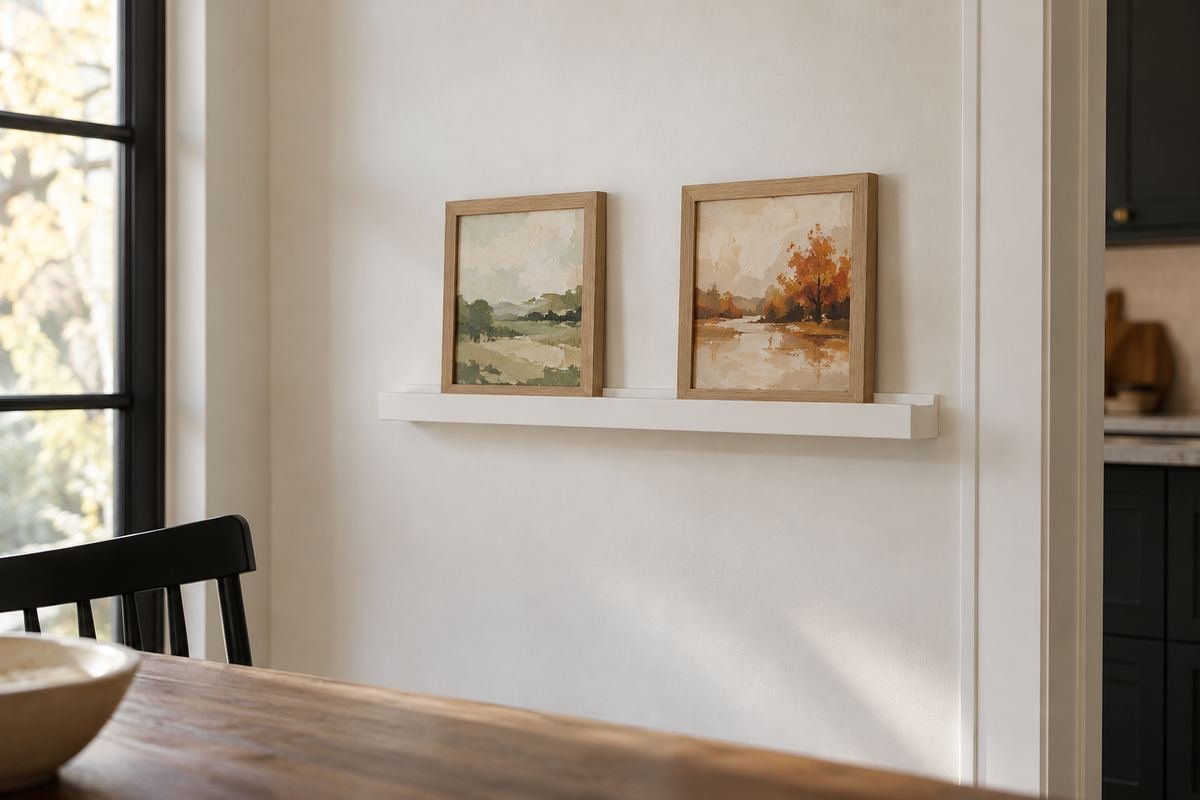
Keeping the same small set of frames makes occasional changes easier. You can vary the pictures while preserving a layout that already fits the ledge and wall.
Store the alternative prints in a suitable dry place and check frame condition during changes. Avoid using the ledge as a place to stack the whole unused collection behind the visible row.
Practical tip: Change the images without automatically adding more frames.
Frequently Asked Questions
How many frames should go on a picture ledge?
Start with one or a small related set. The useful number depends on the usable width, every outside frame dimension and the exact product limits. A ledge does not need to be filled from end to end.
Can frames overlap on a picture ledge?
Only when each frame can still sit correctly within the intended support and the instructions permit the arrangement. Overlap changes the visible composition, not the weight or the required support.
Can I put plants and vases on a picture ledge?
Do not assume a ledge intended for pictures is a general-purpose shelf. Check its permitted uses and dimensions before placing other objects on it. These layouts keep the display focused on suitable framed art.
How do I make the display feel less cluttered?
Remove a frame, repeat one or two finishes and leave visible space at the ends. Compare the arrangement from the doorway as well as close up. Store alternative artwork elsewhere rather than adding it behind the current display.
Choose the Details That Work in Your Home
Choose a layout small enough to understand at a glance, then verify the actual frames against the product instructions. The benefit of a picture ledge is the ability to make considered changes later. Leave yourself room to change the art without rebuilding the whole display.
For related ideas, explore Gallery wall layout ideas, Wall storage ideas, Living room bookshelf styling.
Planning References
IKEA: MOSSLANDA 45¼-inch product details and load information; IKEA: MOSSLANDA assembly and picture-height instructions. Follow the instructions for the exact products you choose.
Optional digital guide for this topic
If you prefer a structured workbook, explore this related paid guide.