Bathroom backsplash ideas work best when the surface behind the basin belongs to the entire vanity wall. Its height, width and edges need to make sense beside the mirror, faucet, cabinet and any side wall. A beautiful tile can still look unresolved if it stops at an awkward point.
Start with the fixtures that will remain. A deck-mounted faucet needs usable space behind its handle, while a wall-mounted model needs a coordinated plumbing and finish detail. The backsplash should suit ordinary splashes and cleaning, but it cannot compensate for a poorly matched basin and faucet.
The 25 ideas below compare materials, tile arrangements and useful wall compositions. Treat the images as finished design concepts, then choose actual products and details appropriate to your bathroom. Full-height tile, a modest upstand and a limited feature panel can all look considered when the surrounding relationships are planned.
The images are original AI-generated decor concepts, not installation diagrams or photographs of completed client projects.
Browse These 25 Bathroom Backsplash Ideas
Jump to an idea
- Continue a pale countertop into a modest upstand
- Use a taller matching panel beneath the mirror
- Extend one quiet surface to the ceiling
- Lay warm-white subway tile horizontally
- Stack rectangles vertically behind a plain mirror
- Choose small squares with gentle glaze variation
- Make sage green the vanity’s main color
- Use dusty blue with a warm cabinet
- Try muted blush beside restrained stone tones
- Ground a pale vanity with a charcoal backsplash
- Use marble-look porcelain as a quiet feature
- Choose limestone-look tile for a warm background
- Connect several finishes with terrazzo-look tile
- Keep herringbone within one defined panel
- Use a restrained geometric mosaic
- Let close grout create a soft tiled field
- Use grout contrast to make a simple grid visible
- Run one backsplash across a double vanity
- Frame a single basin with a limited tile panel
- Wrap the splash surface onto a useful side return
- Leave a deliberate gap beneath a framed mirror
- Place the mirror over a continuous tiled wall
- Coordinate wall-mounted faucets with a plain background
- Allow working room behind deck-mounted handles
- Finish the exposed ends as carefully as the face
Plan bathroom backsplash ideas on the complete vanity elevation
Draw the countertop, basin, faucet, mirror, lighting, electrical devices and adjoining walls. Mark the top and side edges of the proposed backsplash. Check the faucet handle’s full movement and the room needed to clean behind it. Compare where the surface stops with the cabinet and mirror rather than choosing a height in isolation. Let the installer resolve substrate, joints and finished edges for the selected material.
| Relationship | Record on the elevation | What to resolve |
|---|---|---|
| Counter and basin | Actual width, depth and fixed positions | Useful coverage and balanced side edges |
| Faucet | Mounting, handle movement and basin compatibility | Clearance and coordinated penetrations |
| Mirror | Overall size and usable viewing position | Gap, overlap or full-wall relationship |
| Tile or slab | Actual dimensions, variation and care | Layout, cuts and maintainable finish |
| Side walls and devices | Returns, outlets, switches and trim | Complete terminations and professional coordination |
A small area can still need a careful material takeoff
For a simple illustrative backsplash 48 inches wide and 18 inches high, the face area is 48 × 18 ÷ 144, or 6 square feet. That number excludes side returns, trim, cuts, spares and any special pattern requirement. Record those separately with the installer. Whole cartons and minimum slab-fabrication charges can affect a small job disproportionately, so compare the supplied-and-finished price rather than multiplying the face area by a tile price alone.
Check the basin and faucet before enlarging the backsplash
Hansgrohe explains that faucet-and-basin combinations influence splash behavior and usable hand space; height alone does not determine a good pairing. If water regularly lands beyond the basin, assess the actual combination and installation instead of simply covering more wall. Keep the selected faucet’s dimensions and requirements in the vanity brief, particularly when a new backsplash changes the clearance behind a deck-mounted handle.
Choose care by the real material and finish
A marble-look tile, natural marble and engineered quartz can have similar colors but different care needs. Caesarstone’s current guidance for its quartz and mineral surfaces calls for appropriate cleaning, rinsing and drying, and notes that some textured finishes show everyday marks more readily than polished ones. Use the instructions for the product you choose; do not apply one material’s cleaner or sealing routine to another based on appearance.
1. Continue a pale countertop into a modest upstand
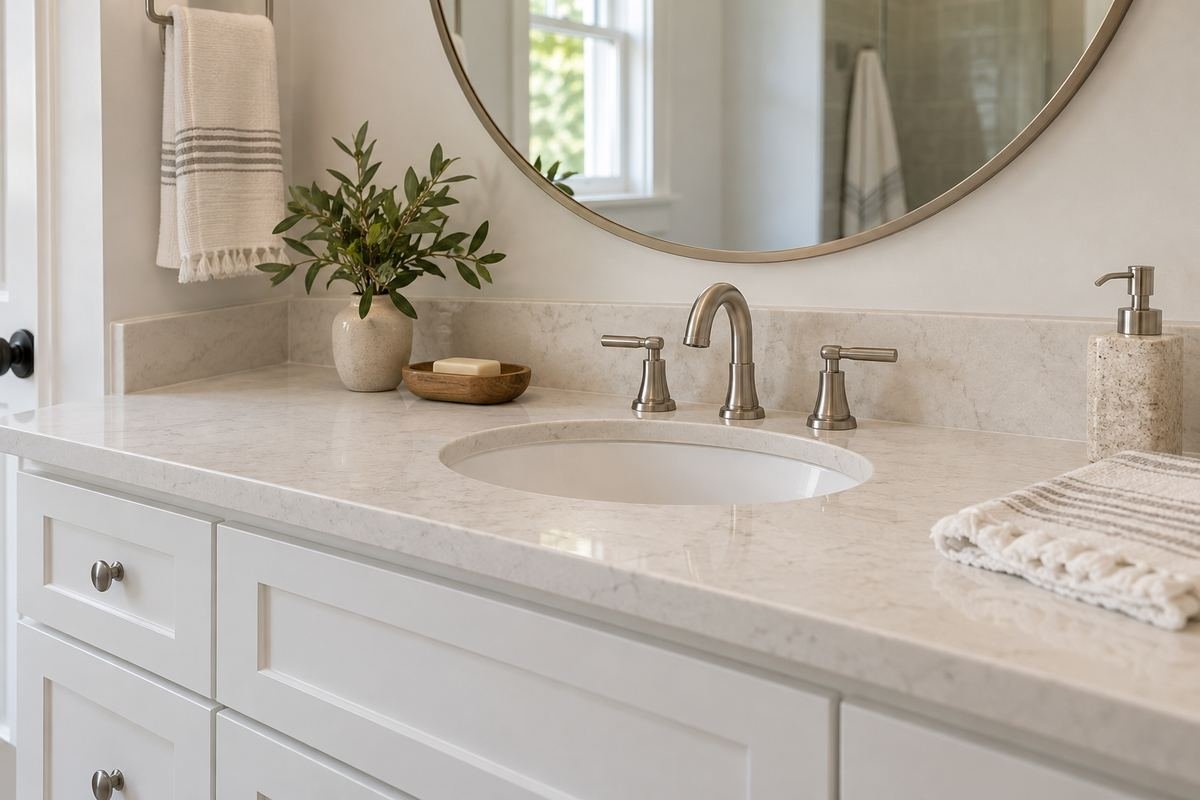
A matching upstand can give a simple vanity a clean, settled edge without introducing a second surface pattern. It is useful when the mirror, cabinet or floor already provides the room’s main detail.
Choose the height from the actual basin and faucet arrangement, then compare the end treatment with the vanity’s width. Ask the fabricator to include the corner, joint and finished-edge detail. A matching surface should look like a considered part of the vanity rather than an afterthought.
Practical tip: Compare the complete installed detail, not only the matching color.
2. Use a taller matching panel beneath the mirror

A taller panel of the countertop material can connect the basin and mirror into one composition. It provides a broad, quiet surface when the cabinet has strong grain or a decorative door profile.
Draw its top edge relative to the mirror and faucet rather than choosing an arbitrary height. Compare actual thickness and the visible side edges with the fabricator. A calm face can still look bulky if the edge detail is oversized for a compact vanity.
Practical tip: Approve the side view as well as the front elevation.
3. Extend one quiet surface to the ceiling
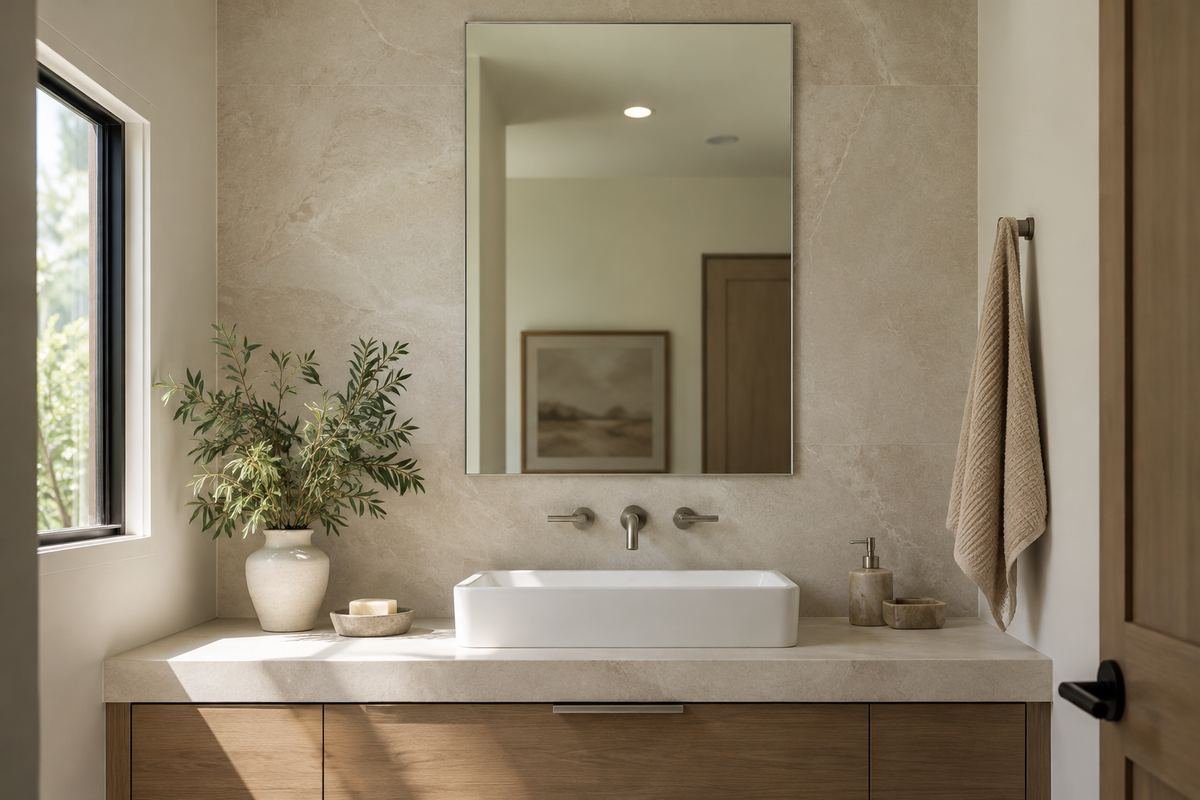
A full-height treatment can make the vanity wall read as one continuous element. A restrained material helps the mirror and lighting sit comfortably within it without adding several separate visual borders.
Plan mirror fixings, lighting and electrical-device coordination before the finish is installed. The installer should resolve the substrate and penetrations for the selected product. Full coverage is a visual choice, not a reason to overlook the details concealed behind the surface.
Practical tip: Use a complete elevation showing every item mounted on the wall.
4. Lay warm-white subway tile horizontally

Horizontal subway tile can give a bathroom backsplash a familiar, readable rhythm. Warm white works well beside oak, cream paint and simple nickel fixtures when a bright cool white would feel disconnected.
Check the layout at the countertop, corners and top edge. Choose an offset that suits the product, and compare the cut pieces around any outlets or mounting points. A modest area deserves the same layout attention as a large wall.
Practical tip: Place the actual grout sample beside the cabinet and counter.
5. Stack rectangles vertically behind a plain mirror

A vertical stack can make the backsplash feel crisp and structured. It is especially effective when the vanity cabinet has simple horizontal lines and the tile supplies the contrasting rhythm.
Draw the grid around the mirror and fixtures before selecting the starting point. Straight columns make small misalignments conspicuous, so approve the actual tile module and joint spacing rather than relying on nominal dimensions. Keep the grout close in color for a softer effect.
Practical tip: Compare a centered tile with a centered joint on the elevation.
6. Choose small squares with gentle glaze variation
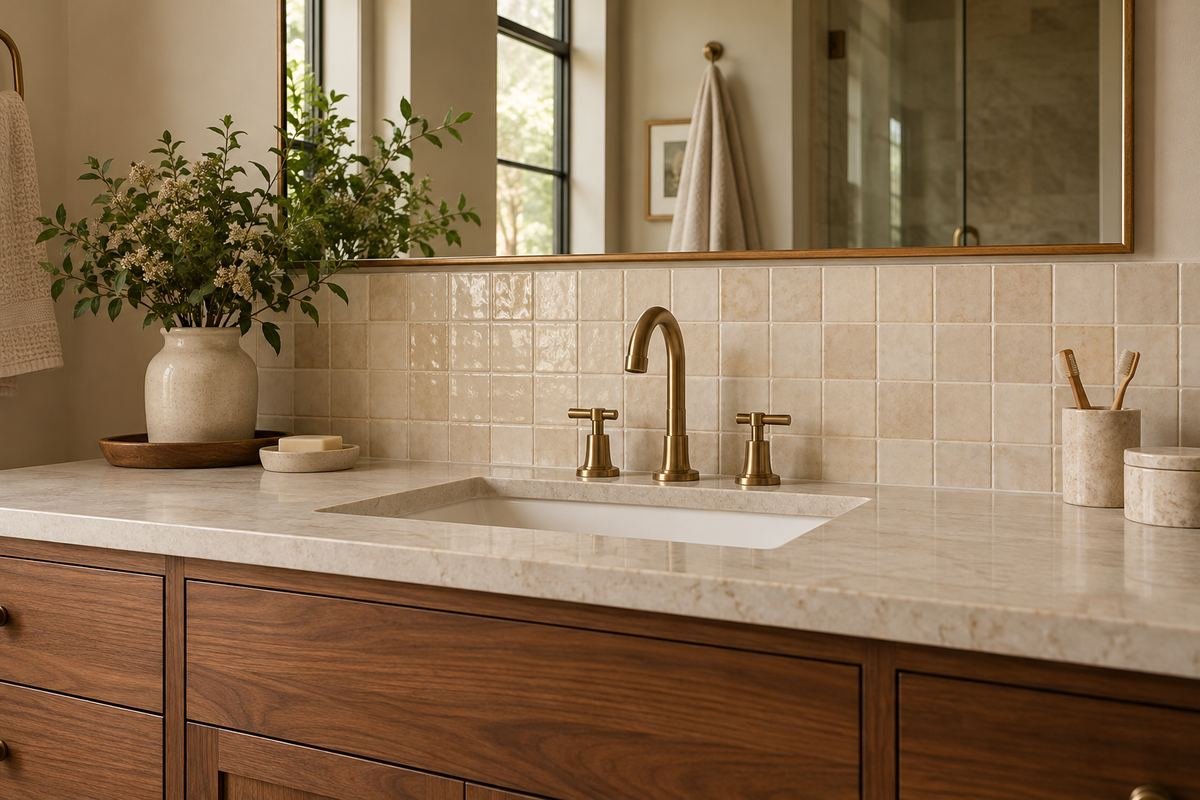
Small square tiles can give the vanity wall a soft, handmade appearance without requiring a bold pattern. Close grout allows the surface variation to show while keeping the overall field relatively quiet.
Look at several actual pieces together and inspect the supplier’s stated size and finish variation. Decide whether you like the assembled field, including the lightest and darkest pieces. A single sample cannot show how the whole backsplash will behave visually.
Practical tip: Review the sample under the vanity’s normal lighting.
7. Make sage green the vanity’s main color

A sage backsplash can bring color into a bathroom while leaving the cabinet and countertop neutral. It works well when the rest of the room contains warm wood, soft cream or restrained stone-look finishes.
Compare the green with every fixed neutral that will remain. Some combinations make a neighboring beige look pink or yellow. Choose from the assembled sample board instead of adding extra colors later to compensate for a mismatch.
Practical tip: Repeat the sage once in a small accessory, then keep the counter clear.
8. Use dusty blue with a warm cabinet
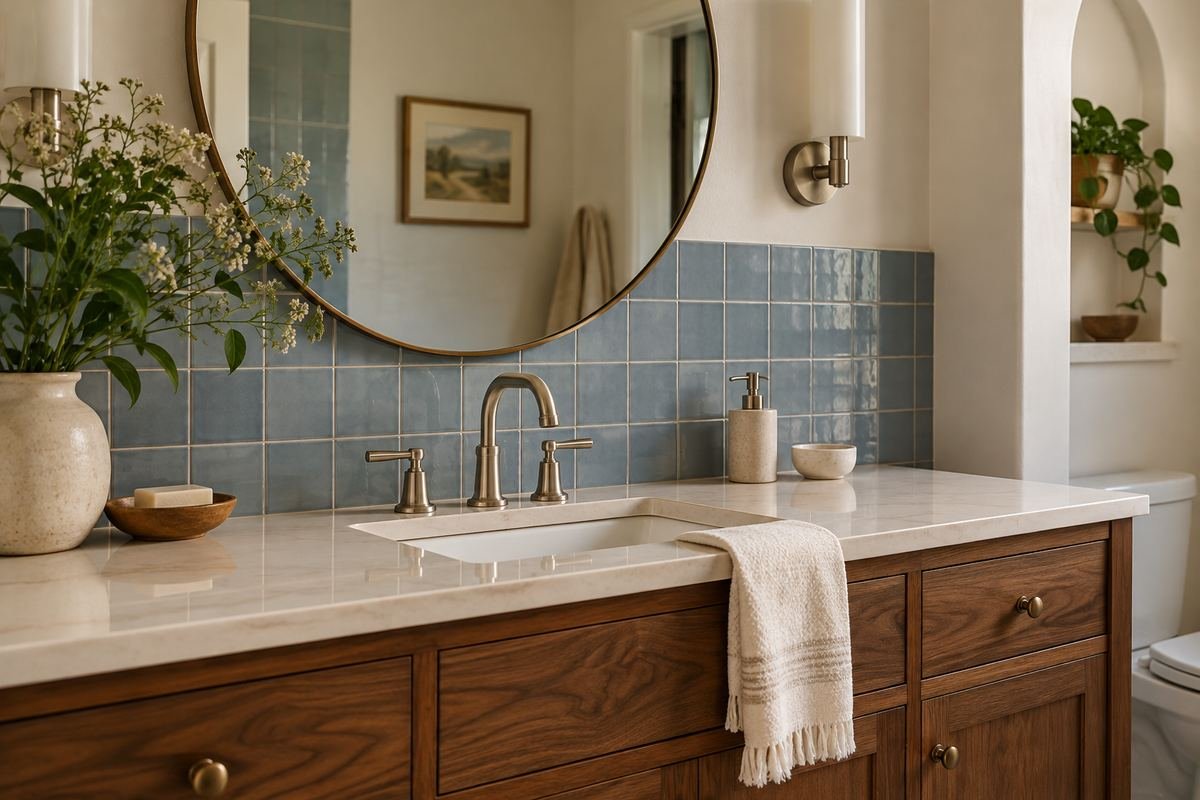
Dusty blue can provide a cool counterpoint to oak or walnut without feeling as strong as navy. A simple tile arrangement leaves the color relationship as the main feature.
Check the blue beside the actual countertop, not only the timber sample. A cool white counter may produce a different result from cream. Keep the surrounding paint quiet and choose the metal finish after the larger surfaces work together.
Practical tip: Assess the palette in daylight and with the vanity lights on.
9. Try muted blush beside restrained stone tones

A subdued blush backsplash can soften a bathroom with gray stone-look flooring and plain white fixtures. Choose an earthy, quiet shade if you want the result to feel integrated rather than sugary.
Compare several glaze samples with the real room finishes. Pink undertones can become more pronounced under warm lighting, so judge the wall at the times you normally use the bathroom. Avoid adding several other warm accents before the tile choice is settled.
Practical tip: Use grout to support the shade rather than draw a second strong grid.
10. Ground a pale vanity with a charcoal backsplash
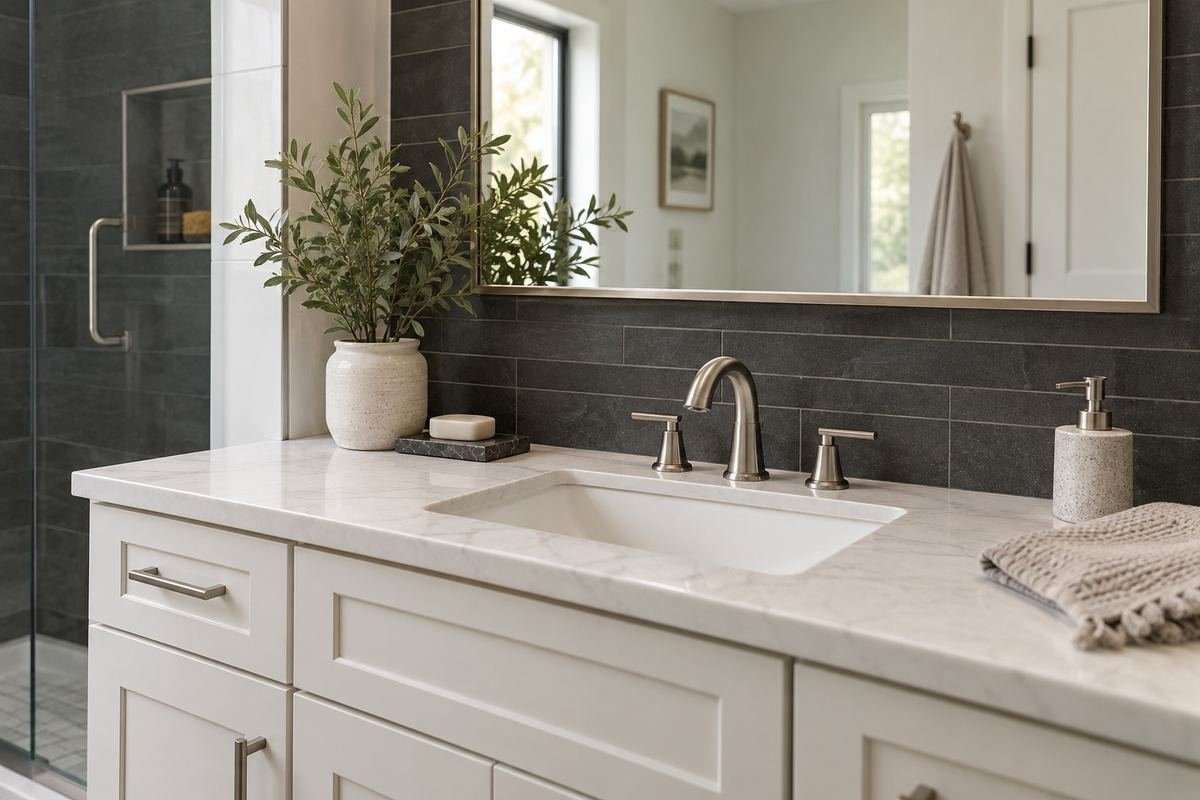
A charcoal surface can give a white basin and mirror a clear backdrop. It is a compact way to introduce depth when you prefer the cabinetry and walls outside the vanity area to remain pale.
Inspect the sample with water spots and cleaning requirements in mind. Dark finishes may show pale deposits and everyday marks more clearly. Choose an actual material and finish that suit your routine, and compare its maintenance instructions with the lighter alternatives.
Practical tip: View the dark sample under the installed mirror lighting.
11. Use marble-look porcelain as a quiet feature

Marble-look porcelain can give a vanity wall movement without adding a small-scale repeating pattern. Choose restrained veining when the mirror or cabinet already has decorative detail.
Lay out several pieces and approve the print arrangement before installation. Consider where the mirror will cover the surface so the most attractive movement is not hidden entirely. Confirm the exact product and care instructions rather than applying natural-marble guidance to a printed porcelain surface.
Practical tip: Review the wall with the mirror outline drawn over the pattern.
12. Choose limestone-look tile for a warm background

A limestone-inspired tile can connect a vanity to cream walls and natural wood without a strong decorative motif. A subtle print is useful in a bathroom where the mirror and lighting already provide enough detail.
Compare the variation across a larger assembled sample. Scattered dark patches can make a small backsplash feel busier than expected. Confirm the actual material and intended wall application before choosing the look; natural limestone and a porcelain imitation need different specifications and care.
Practical tip: Choose the grout after comparing the lightest and darkest tile samples.
13. Connect several finishes with terrazzo-look tile

Terrazzo-look tile can bring the room’s colors together in one surface. A cream background with restrained gray and taupe chips can relate to white fixtures, timber and neutral flooring.
Inspect the chip scale from normal standing distance. A small backsplash may show only a few large fragments, while a finer print reads as a more consistent field. Keep the countertop quiet so the two surfaces do not compete directly beside the basin.
Practical tip: Match the tile’s background tone to the room before judging the chips.
14. Keep herringbone within one defined panel

A contained herringbone panel gives the vanity a directional feature without filling every bathroom wall with movement. Plain neighboring surfaces let the pattern remain clear.
Plan the central axis and the perimeter cuts around the actual mirror and faucet. A narrow panel may fragment the pattern awkwardly. Compare its full-size layout with a simpler running bond before committing to the more complex takeoff and installation.
Practical tip: Let one directional pattern lead the vanity wall.
15. Use a restrained geometric mosaic

A small geometric mosaic can give a plain vanity a decorative center. Choose a limited palette so the backsplash connects to the room instead of introducing several unrelated colors.
Check how the repeat ends at the counter, outer edges and mirror. A pattern can look balanced as a large showroom sheet yet become uneven in a small installed area. Include the intended grout in the sample because it can change how the geometry reads.
Practical tip: Draw a complete repeat and its cut edges before ordering.
16. Let close grout create a soft tiled field

A close grout color can make a tiled backsplash feel calmer without removing the texture of individual pieces. This is useful when the countertop or cabinet has strong natural movement.
Compare cured grout beside several actual tiles. A perfect match to one piece may contrast with another in a varied batch. Aim for a coherent field and follow the product’s recommended joint and grout requirements rather than trying to eliminate the joints visually.
Practical tip: Use a physical grouted sample before approving the color.
17. Use grout contrast to make a simple grid visible

Contrasting grout can turn plain tile into the vanity’s main pattern. A medium gray often gives white tile definition without producing an especially stark black-and-white wall.
Test the selected grout with the tile glaze and follow compatibility guidance. Dark pigments can affect some light surfaces, and a digital mockup cannot reveal that. Judge the grouted sample from the doorway as well as close up before choosing the level of contrast.
Practical tip: Keep other small patterns away from a clearly outlined tile grid.
18. Run one backsplash across a double vanity

A continuous backsplash can connect two basins and make a long vanity feel like one piece. A quiet surface works particularly well when two mirrors or several light fixtures already divide the wall.
Draw the basin and mirror centerlines before deciding where tile joints or slab seams should land. Check both ends of the run, not just the space between the sinks. The continuous surface should have deliberate terminations and usable faucet clearances throughout.
Practical tip: Compare the whole wall from the room entrance.
19. Frame a single basin with a limited tile panel

A defined tile panel can give one basin a clear backdrop without covering the entire wall. It can suit a small vanity where full-wall tile would feel more visually demanding than the rest of the bathroom.
Set the panel’s width from the cabinet, basin and mirror together. Avoid stopping at a point that leaves a thin strip beside a side wall. Compare a centered composition with a wall-to-wall treatment before choosing the more articulated edge detail.
Practical tip: Include both outer edges on the elevation.
20. Wrap the splash surface onto a useful side return

A side return can protect and visually complete a vanity tucked into a corner. It is most convincing when its depth and stopping point relate to the countertop and the basin’s daily use.
Draw the inside corner and the exposed front edge. Compare the return height with the back wall and ask the installer to resolve the material junctions. A return should look deliberate from the doorway rather than appearing as a leftover strip added beside the cabinet.
Practical tip: Choose a clear stopping line that suits the actual counter.
21. Leave a deliberate gap beneath a framed mirror

A clear gap between the backsplash and framed mirror can give each element room to read. It works when the exposed wall strip feels intentional and the mirror remains at a useful viewing position.
Draw the actual frame depth and top edge of the backsplash. A very narrow leftover gap can be difficult to finish and clean, while moving the mirror merely for symmetry may reduce its usefulness. Compare the proportions with the people who use the vanity.
Practical tip: Test the mirror position before fixing the backsplash height.
22. Place the mirror over a continuous tiled wall

Mounting the mirror within a continuous tile field can give the vanity a simpler surface composition. This avoids a separate backsplash top line directly below the mirror and allows the tile to act as the background.
Coordinate fixings, lighting and any concealed devices before installation. Compare the tile layout around the mirror’s visible sides and top, including where the mirror conceals the pattern. The most useful composition is the one that still feels resolved around the actual installed objects.
Practical tip: Show every mounting point on the installer’s elevation.
23. Coordinate wall-mounted faucets with a plain background
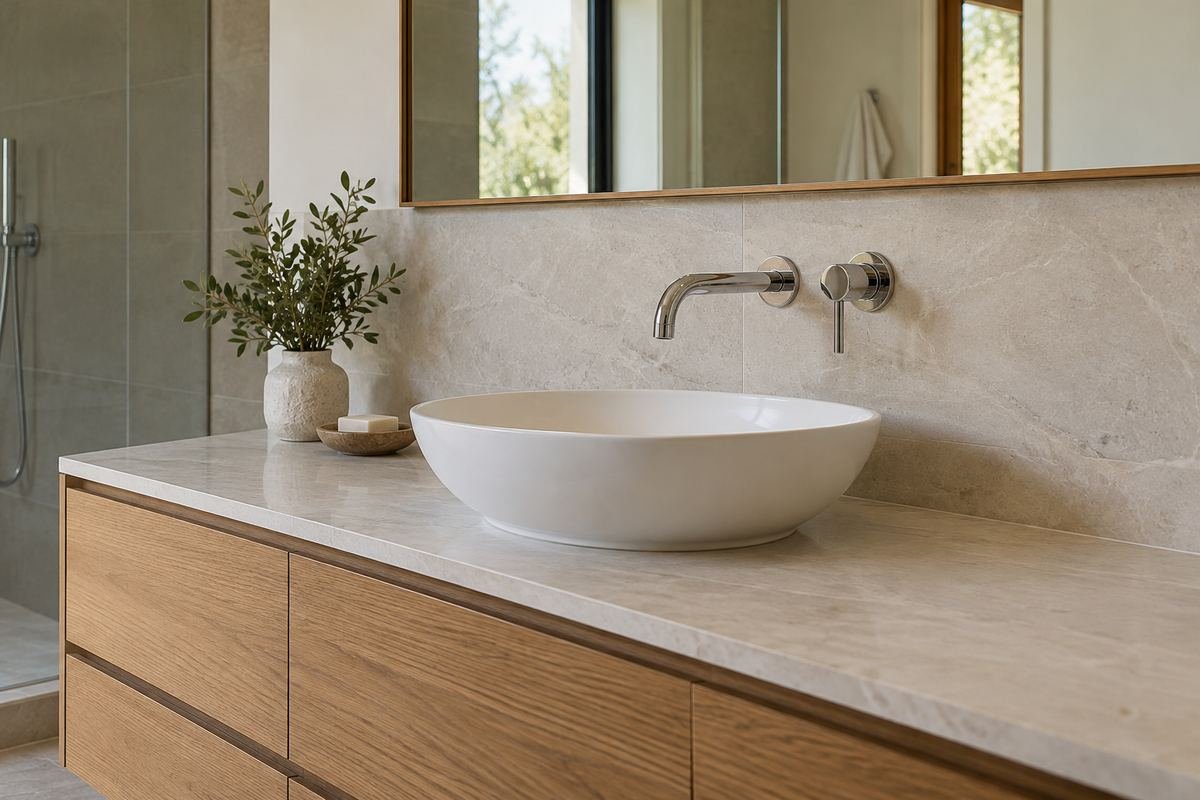
A plain backsplash can let wall-mounted faucets become a clear architectural detail. It also makes the relationship between spout, basin and mirror easier to read than a very busy pattern would.
Have the plumbing and finish dimensions coordinated before the wall is closed or clad. Check the actual faucet-and-basin pairing, trim and access requirements. Do not position a spout from a concept photograph; the installed products and site conditions determine the detail.
Practical tip: Use the selected faucet’s actual drawing on the elevation.
24. Allow working room behind deck-mounted handles
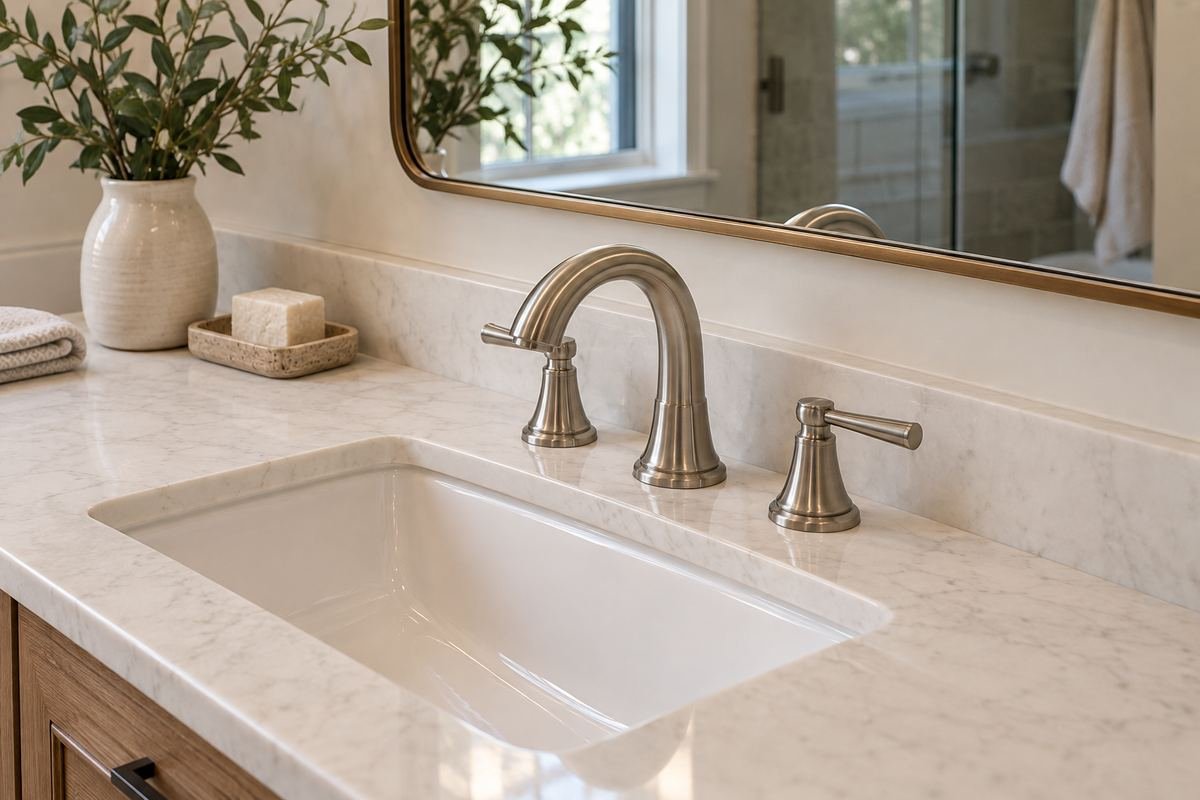
A backsplash should not crowd the movement of a deck-mounted faucet handle. This is a practical detail that can change when a thicker finish is added to an existing vanity wall.
Check the full handle movement with the actual faucet dimensions and proposed finished wall position. Include space for ordinary cleaning and any manufacturer-required access. A beautiful tile chosen late should not force an awkward daily movement or prevent the fitting from operating as intended.
Practical tip: Resolve clearance before selecting a thicker backsplash material.
25. Finish the exposed ends as carefully as the face

The side of a backsplash is often visible when entering the bathroom. A compatible ceramic edge, specified profile or properly finished slab edge can make a simple surface look complete.
Compare the real edge sample with the field material, countertop and mirror frame. Resolve thickness changes and outside corners before ordering. A narrow decorative strip should not be selected without knowing the actual assembly it has to finish.
Practical tip: Include trim and edge work in the price comparison.
Frequently Asked Questions
How high should a bathroom backsplash be?
Choose the coverage from the basin, faucet, daily use and full vanity-wall composition. There is no single decorative height that resolves every bathroom. Draw a few options beside the actual mirror and fixtures, then confirm the selected material and installation detail.
Should a backsplash be the same width as the vanity?
That can create a clear composition, but a wall-to-wall treatment or carefully framed panel can also work. Include side walls, cabinet position and mirror width on the elevation. Avoid leaving narrow accidental strips where the material stops.
Can I use the countertop material as a backsplash?
Often that is an available design option, but confirm the exact material, thickness, fabrication and installation requirements with the supplier. A matching color does not establish that a particular piece or fixing detail is suitable for the wall.
Does a backsplash stop a faucet from splashing?
It provides a suitable surface behind the basin, but it does not correct an unsuitable faucet-and-basin pairing or installation. Investigate persistent splashing at the source and review the actual products and water delivery with the relevant professional.
Should the side wall have a matching backsplash?
Consider it when the basin and daily use expose that wall to splashes or when a return completes the composition. Draw its stopping point and corner detail. A return should have a clear purpose and a finished edge rather than being added automatically.
Can peel-and-stick tile replace a conventional bathroom backsplash?
Only consider a particular product when its manufacturer supports the intended surface and exposure, and follow its preparation and removal instructions. Adhesive decorative products are not interchangeable with a waterproofing system. For a permanent splash-zone project, compare complete material and installation options.
Choose the Details That Work in Your Home
Select bathroom backsplash ideas by deciding how the wall will be used and where the surface will finish. Compare real samples beside the counter, mirror and faucet, then approve an elevation with clear edges and workable clearances. A simple material handled carefully can make the vanity feel more complete than several decorative features competing in a small area.
For related ideas, explore bathroom vanity ideas, bathroom mirror ideas, bathroom lighting ideas.
Planning References
Hansgrohe: coordinating faucets and basins; Caesarstone: quartz and mineral surface care; Daltile: tile selection and intended use. Follow the instructions for the exact products you choose.
Optional digital guide for this topic
If you prefer a structured workbook, explore this related paid guide.