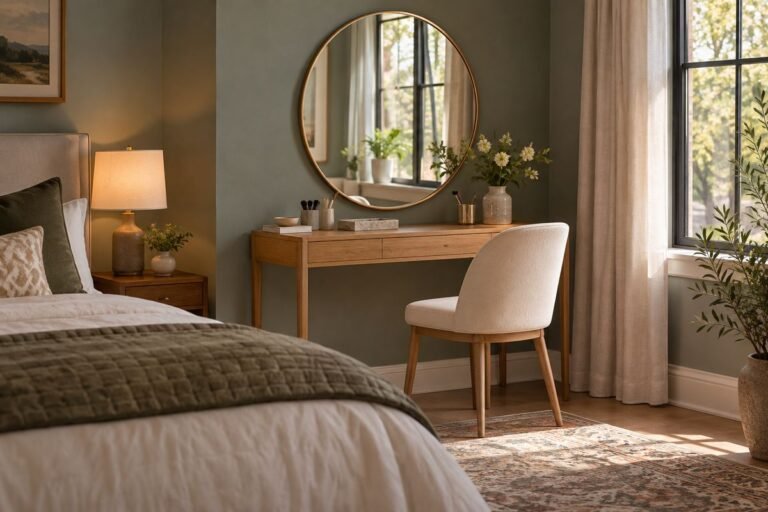
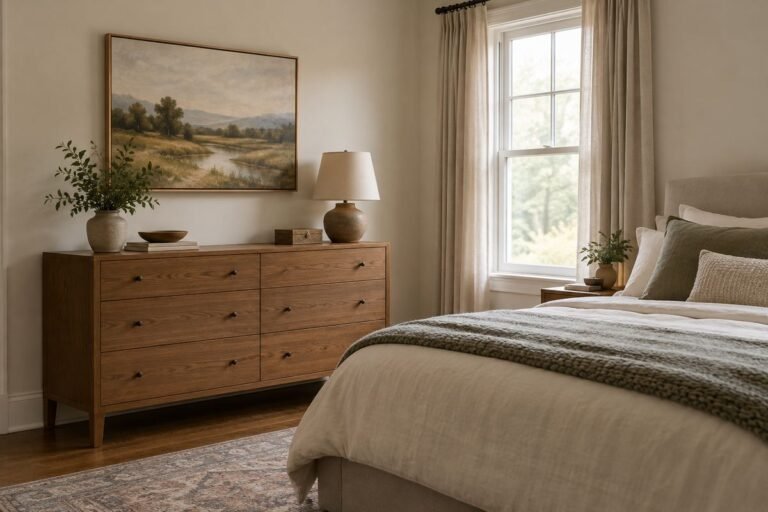
The most useful bedroom accent wall ideas begin with the bed and the room around it. A striking finish can still feel misplaced when its center misses the headboard, its edge cuts through a window or its pattern disappears behind furniture. Decide what the wall should organize before choosing its color.
This guide focuses on placement and composition: full walls, smaller fields, interrupted surfaces and secondary bedroom zones. It complements a paint-color or wallpaper guide by helping you choose where the emphasis belongs. You can then compare the actual finish with your bedding, furniture and available light.
The 24 concepts below are starting points for ordinary rooms, including awkward layouts. Use the photographs to compare relationships rather than copy dimensions. A painted or papered surface changes the visual emphasis; it does not fix a blocked route, an unsuitable bed position or a structural problem.
The images are original AI-generated decor concepts, not installation diagrams or photographs of completed client projects.
Browse These 24 Bedroom Accent Wall Ideas
Jump to an idea
- Use the complete wall behind a centered bed
- Center a contained field on an off-center bed
- Let one bedside table sit outside the focal field
- Include both bedside tables in a broad wall composition
- Keep a narrow bed wall visually continuous
- Use the wall between paired windows
- Treat a single window as part of the whole wall
- Use an existing bed alcove as the boundary
- Continue the finish around a short return
- Stop at a real change in the wall plane
- Respect a sloped ceiling at the bed end
- Keep an interrupted wall calm around a door
- Use a freestanding headboard as the foreground layer
- Give a tall headboard some quiet wall above it
- Compose a low bed with a generous wall field
- Frame a corner bed with one primary wall
- Use the end wall to anchor a long bedroom
- Keep a shared twin-bed wall unified
- Let the bed wall lead in a room with a desk
- Give a dressing corner its own restrained backdrop
- Use a wardrobe-side wall when the bed wall is mostly glass
- Let one large artwork define a quieter focal surface
- Make the edge intentional beside a full-height curtain
- Finish with the view that greets you each day
Choose bedroom accent wall ideas from the actual floor plan
Mark the bed, headboard, bedside furniture, windows, doors and wardrobes on a simple room sketch. Look toward the bed from the doorway, then review the wall from the usual sitting position. Identify the surface you want to emphasize and the architectural edges available to contain it. Only then compare finishes using samples in the actual room.
| Room condition | Composition to compare | Main check |
|---|---|---|
| A centered bed on an uninterrupted wall | A complete wall or balanced furniture-width field | Its relationship with both bedside tables |
| An off-center bed | A bed-centered field or deliberately asymmetric arrangement | Whether the room still has a readable center |
| Windows behind the bed | A continuous wall plane or contained area between openings | How the window frames interrupt the finish |
| An alcove or return | The existing architectural boundary | Whether the edge looks deliberate from the entrance |
| A large mixed-use bedroom | Separate bed and dressing-zone emphasis | Which surface should remain dominant |
| A rental or temporary room | A modest finish change approved for the surface | Removal and wall-condition requirements |
Separate a wall decision from a color decision
Benjamin Moore’s accent-wall guide treats the feature as a way to emphasize a chosen surface and relate it to the room. First decide which surface deserves that attention. Changing the paint color repeatedly will not resolve an edge that lands awkwardly halfway through a doorway.
Compare samples with the furniture that will stay
Sherwin-Williams recommends considering room elements and lighting when choosing bedroom colors. Use actual bedding, curtains and wood finishes during the comparison. An AI concept image cannot establish an exact paint match or show how a real sample will appear throughout the day.
Use a temporary outline before committing
Mark the proposed visual boundary in a removable way suitable for the existing finish, following the tape or marking product’s directions. View it from the entrance and both sides of the bed. This is a proportion check, not a recommendation to apply an unfamiliar adhesive to a delicate wall.
Give each surface a clear role
The bed wall, a large wardrobe and a patterned curtain can all attract attention. Decide which one leads. Repeating the same strong finish everywhere may remove the distinction you wanted, while several unrelated feature surfaces can make a small room feel visually unresolved.
1. Use the complete wall behind a centered bed
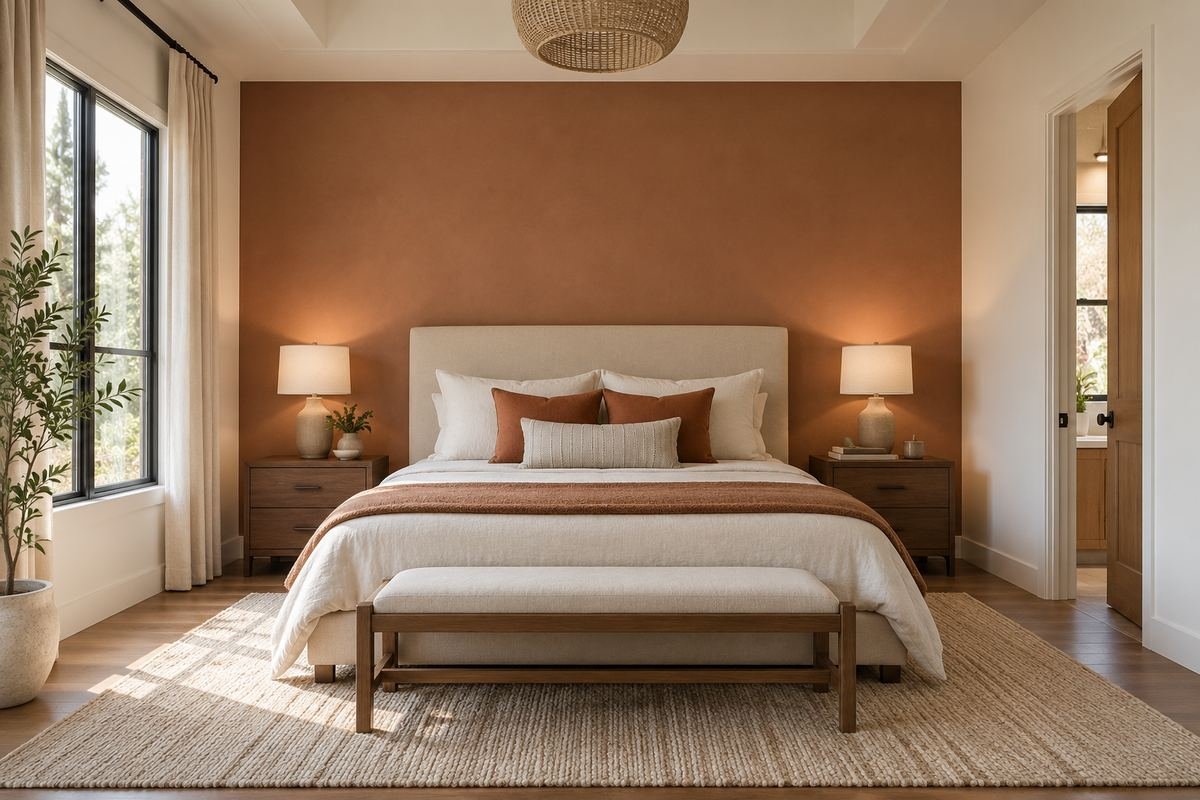
An uninterrupted wall can provide the simplest boundary for a centered bed. Treating the complete plane makes its corners do the compositional work, leaving the headboard and bedside furniture free to sit comfortably within it. This is a useful starting point when the room already has a clear axis.
Compare the wall with the actual bedside tables and lamps in place. A generous surface can absorb different furniture widths, but several competing artworks may dilute its purpose. Keep the neighboring walls quieter while you assess how much emphasis the finish itself provides.
Practical tip: Check the complete furniture grouping, not the headboard alone.
2. Center a contained field on an off-center bed
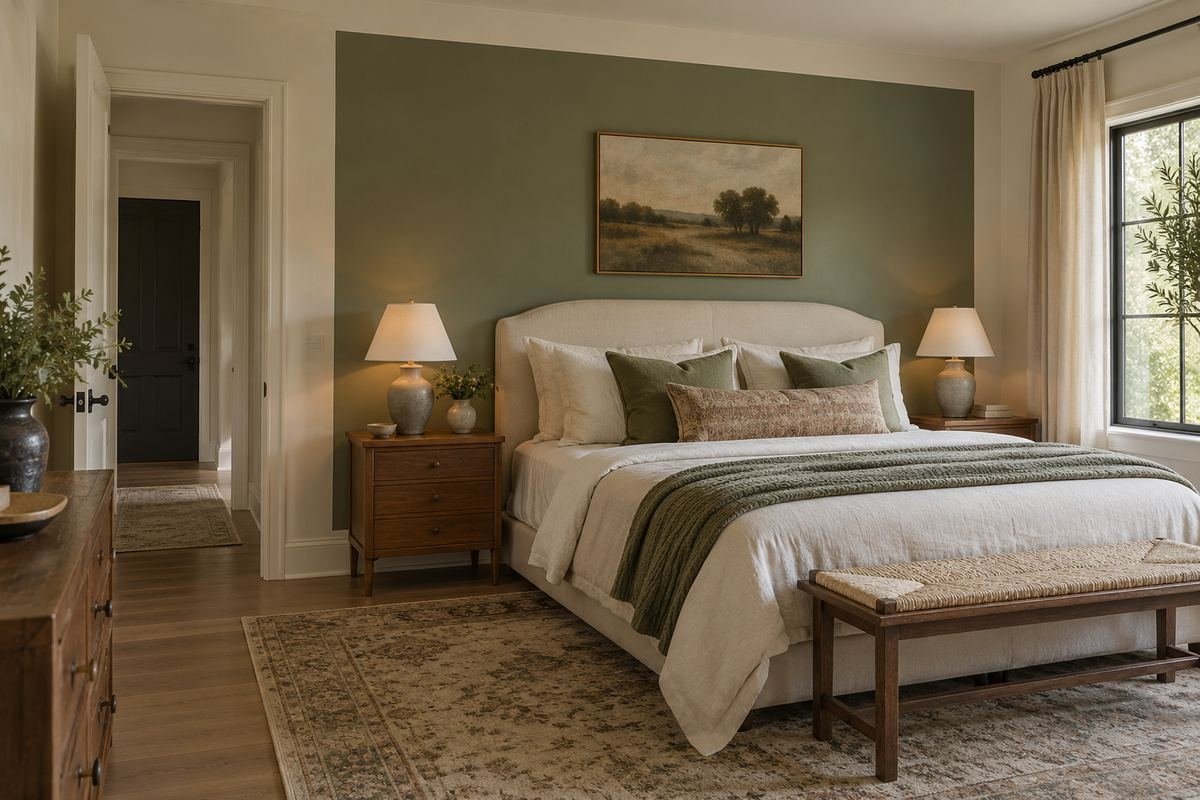
When a doorway or wardrobe pushes the bed away from the room’s center, a contained color field can follow the furniture instead. Its center belongs to the bed, making the relationship intentional. The surrounding wall remains a quieter background rather than demanding a symmetry the floor plan cannot provide.
Set the proposed width with the bedside furniture included. A field that barely reaches the headboard edges can look accidental, while one that touches a nearby door may lose its independent shape. Test the view from the entrance before choosing the final boundary.
Practical tip: Align the field with the bed’s actual centerline.
3. Let one bedside table sit outside the focal field
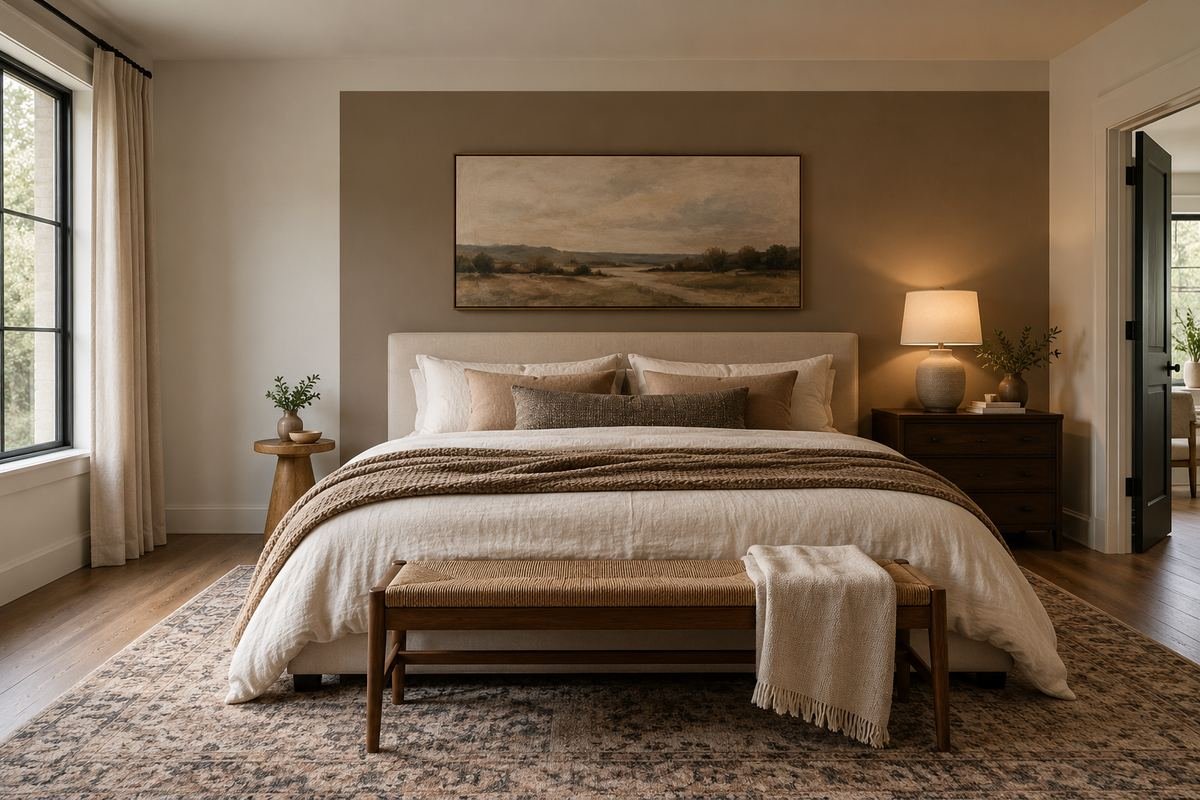
A deliberately asymmetric field can suit a bedroom with unequal bedside needs. Keep the bed clearly related to the feature while allowing a small table or reading area to extend into the surrounding wall. The uneven arrangement should look like a considered response to the furniture.
Use one strong alignment to hold the composition together, such as a field edge meeting the outside of the larger table. Avoid several unrelated offsets at once. Review both the empty wall area and the occupied side so the result does not appear to be an unfinished paint job.
Practical tip: Give the asymmetry one clear alignment.
4. Include both bedside tables in a broad wall composition
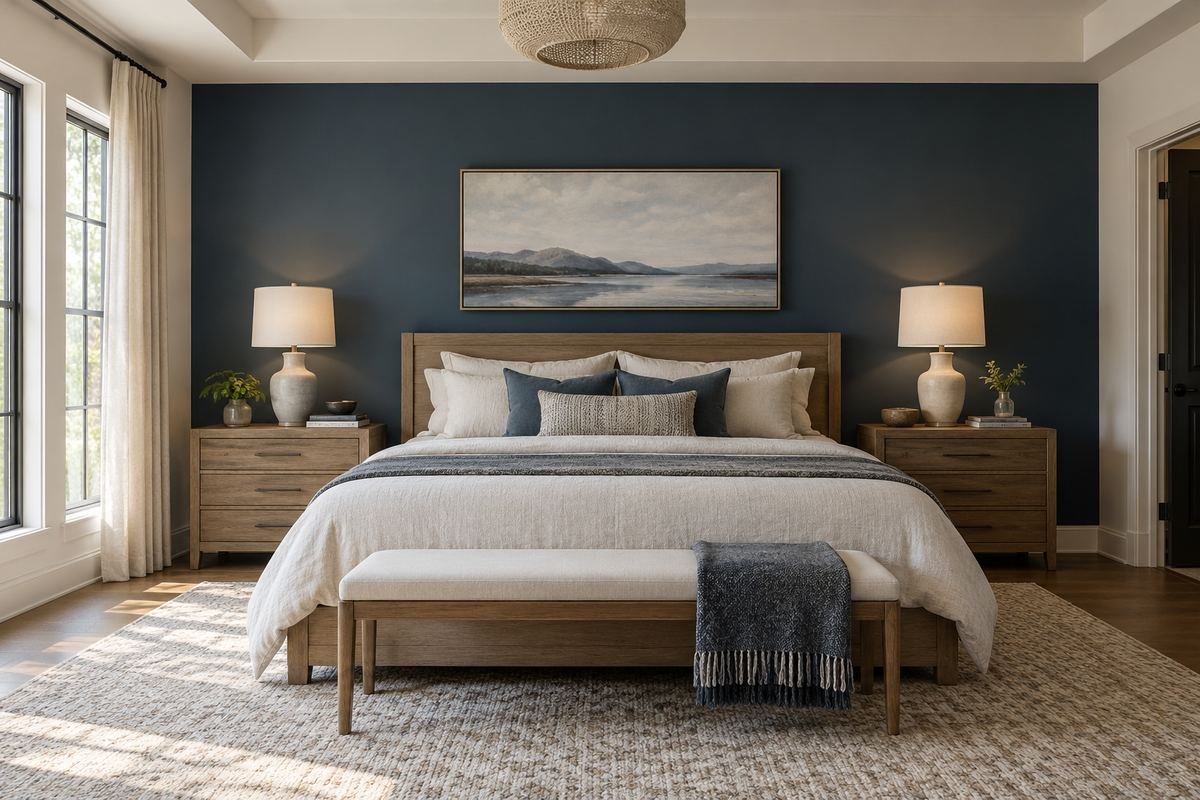
A wider bed-wall composition can connect the headboard, tables and lighting into one group. This is useful when the individual pieces have different silhouettes. The wall becomes the shared background rather than a decorative shape fitted tightly to only the upholstered headboard.
Compare the outer edges from the entrance and the foot of the bed. Leave a deliberate relationship with the room corners rather than a narrow leftover strip on one side. Furniture changes should still make sense within the field, so avoid treating the current table width as a permanent rule.
Practical tip: Use the outer furniture edges as a starting comparison.
5. Keep a narrow bed wall visually continuous
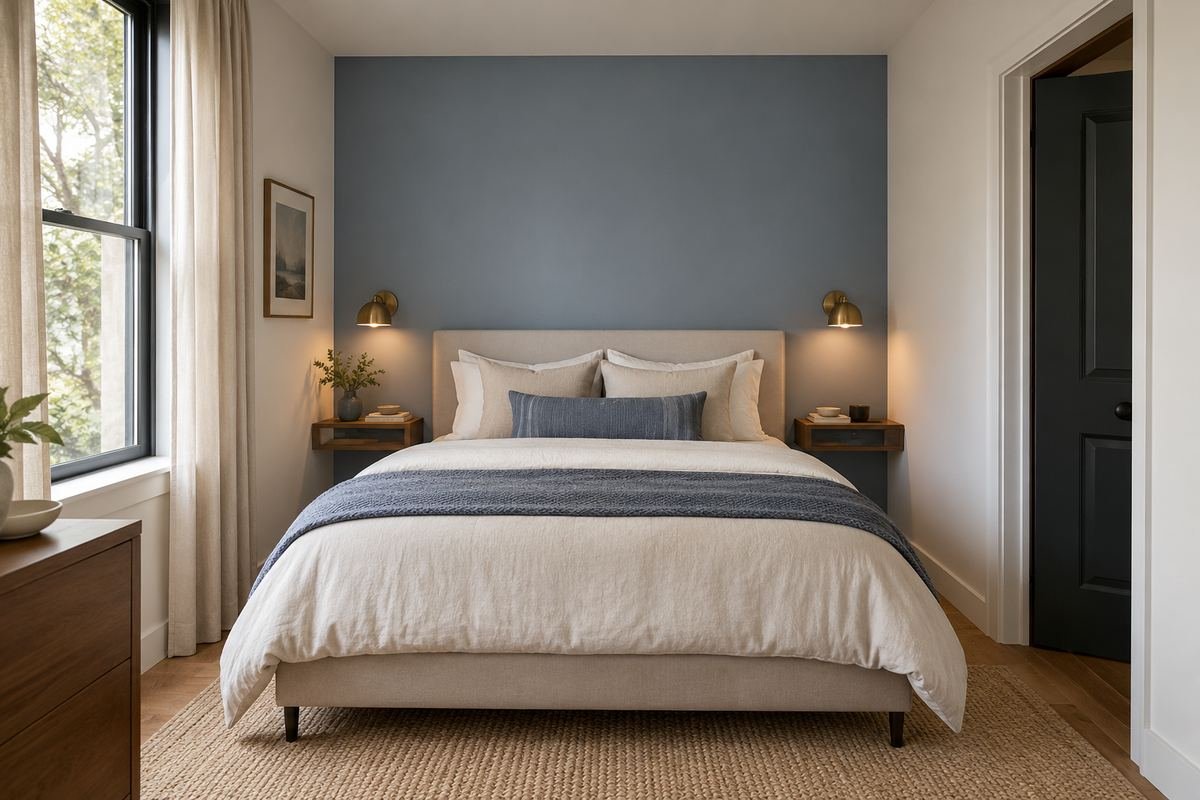
A small bedroom may have little wall visible beyond the mattress. One continuous finish can give that limited surface a clear identity without adding a second decorative outline. Keep the headboard and wall relationship straightforward so the remaining slivers do not become the main design feature.
Review whether bedside storage still works with the room’s circulation. The feature wall should not encourage a wider bed or extra furniture where the route is already tight. Compare a simple sample before adding trim, shelves or wall objects that make the narrow surface more crowded.
Practical tip: Let the wall support the existing room dimensions.
6. Use the wall between paired windows
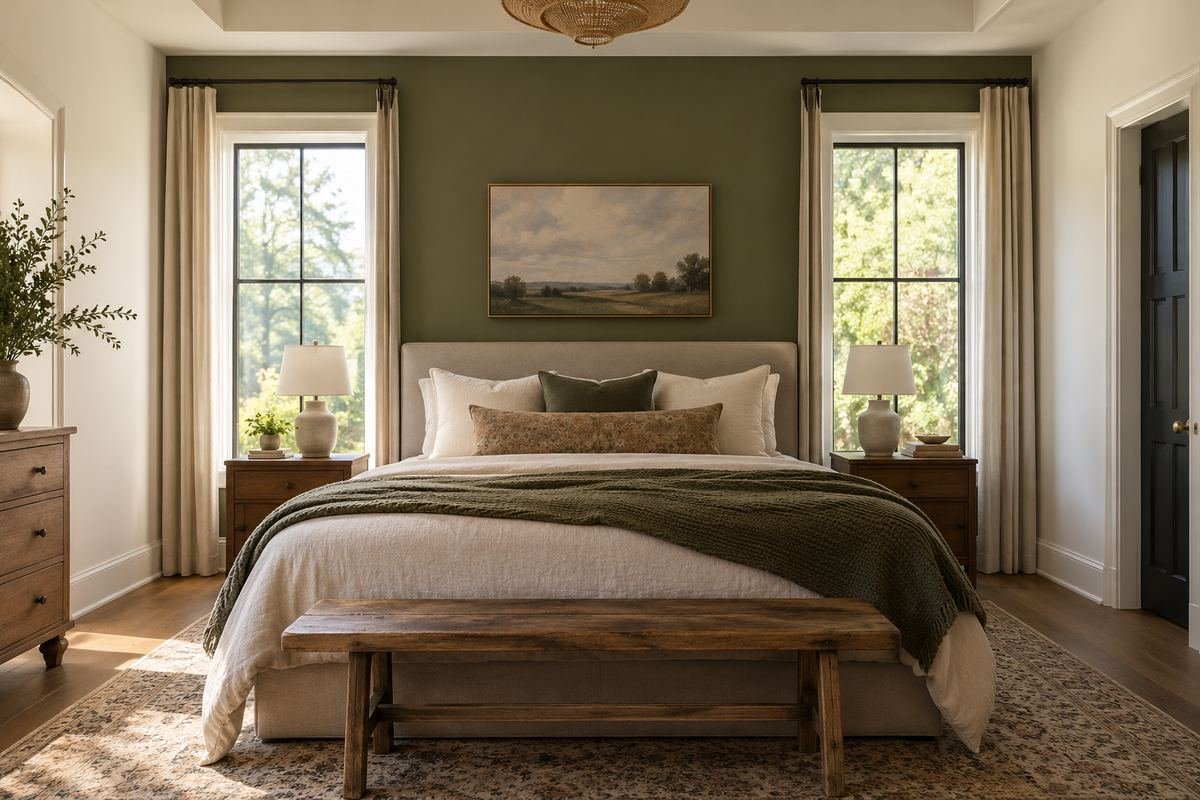
Two windows can frame a useful focal surface behind the bed. Emphasize the wall between them when the bed and openings already share a convincing relationship. The window frames supply a natural boundary, allowing the central area to stay relatively simple.
Include the actual curtain stacks in the composition. Fabric pulled back beside each opening may cover part of the proposed finish or make the central field narrower than it first appears. Keep the room’s practical window treatment requirements ahead of a perfectly staged symmetrical photograph.
Practical tip: Judge the wall with the curtains in their normal positions.
7. Treat a single window as part of the whole wall
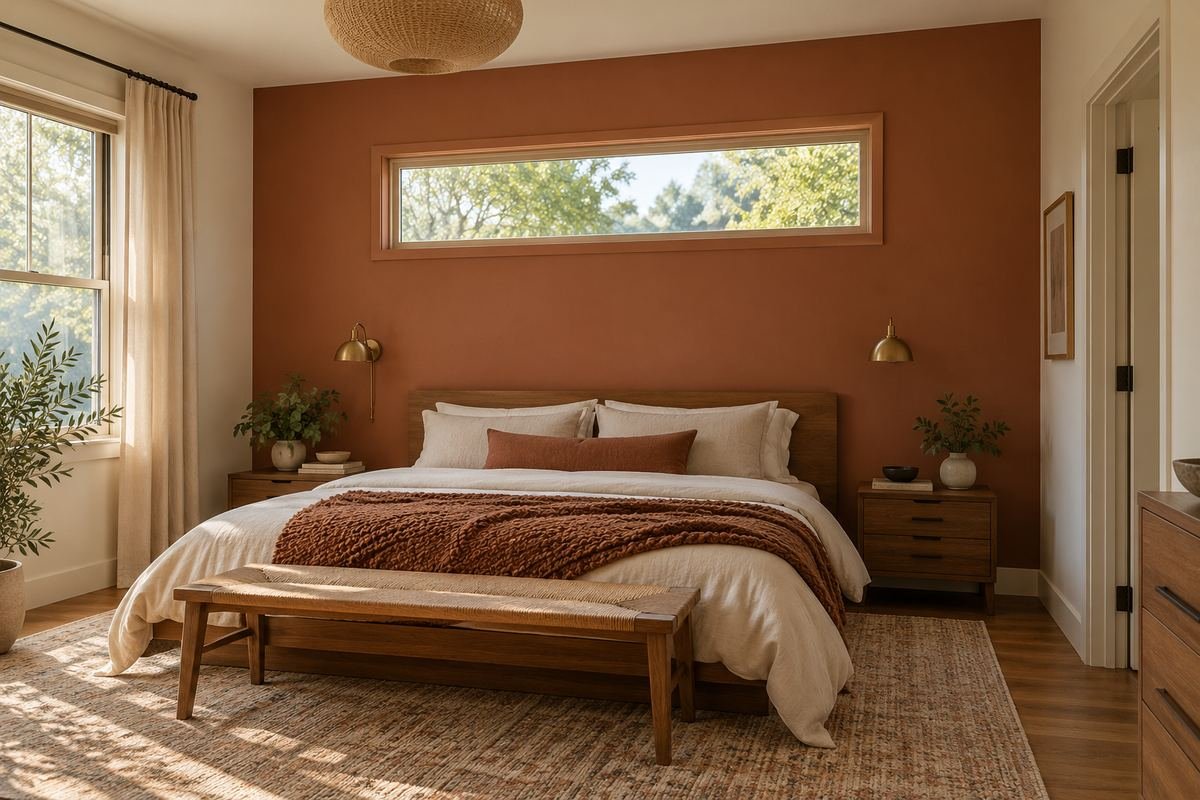
A window behind the bed does not automatically prevent a focal wall. Treating the complete wall plane can allow the opening to read as part of the architecture rather than an interruption in a graphic. Keep the window trim and headboard relationship deliberate.
Check normal opening, cleaning and curtain movement before styling the wall. A tall headboard should not be chosen merely to hide an awkward sill. Review the real furniture position and any room requirements first, then decide whether the full wall or another surface deserves emphasis.
Practical tip: Include the opening and window treatment in the design.
8. Use an existing bed alcove as the boundary
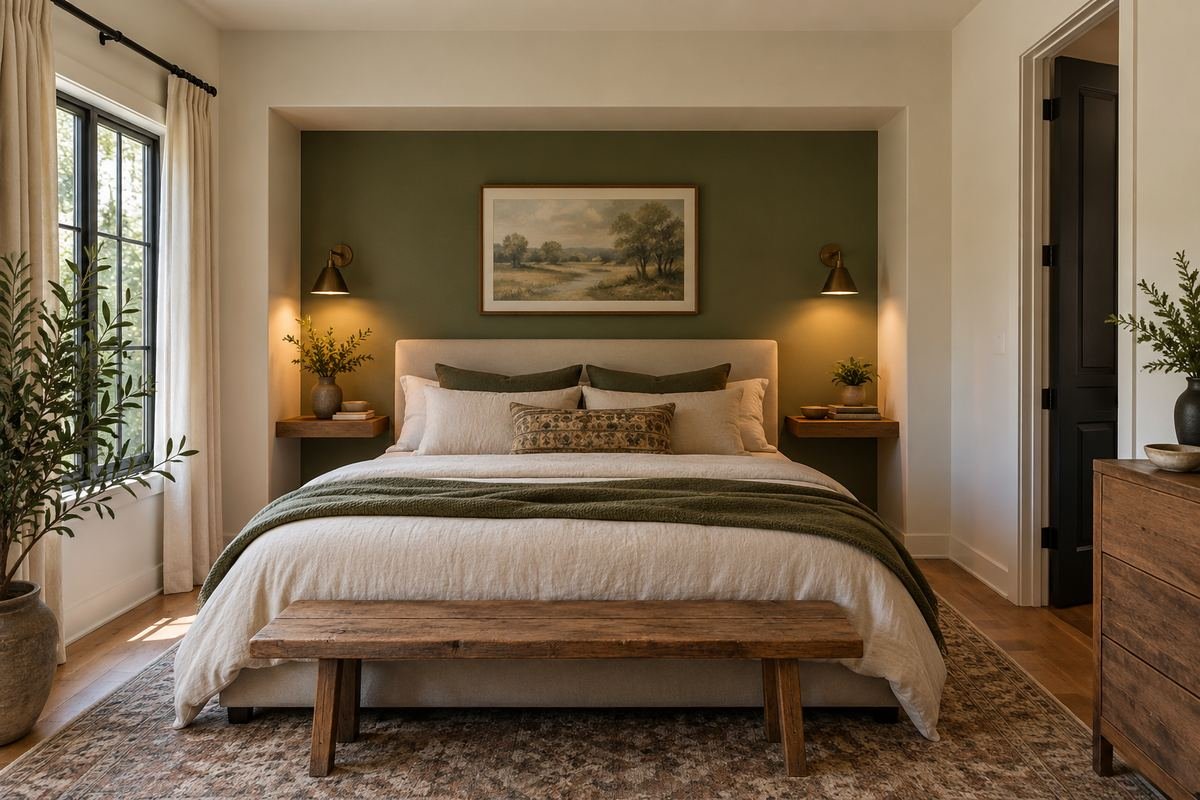
An alcove can provide a ready-made container for the feature finish. Its side returns establish where the emphasis begins and ends, reducing the need to invent a separate painted outline. Keep the bed proportionate to the recess so the architecture remains readable.
Check the depth and usable space around the furniture. This idea uses an existing recess; it is not a suggestion to build a cavity or alter a wall without an appropriate plan. Compare whether the finish should include the returns or only the back plane before committing.
Practical tip: Use the actual alcove edges as the first boundary.
9. Continue the finish around a short return

A short wall return can make the feature feel integrated with the room when it belongs to the same bed zone. Carrying the finish around that corner can give the composition a deliberate three-dimensional edge. Keep the rest of the room quieter so the small return has a clear role.
View the return from the doorway as well as beside the bed. If it leads into an unrelated passage or another room zone, continuing the finish may confuse the boundary. Stop at a sensible architectural edge rather than treating every connected surface as one feature.
Practical tip: Check where the return ends from the entrance view.
10. Stop at a real change in the wall plane
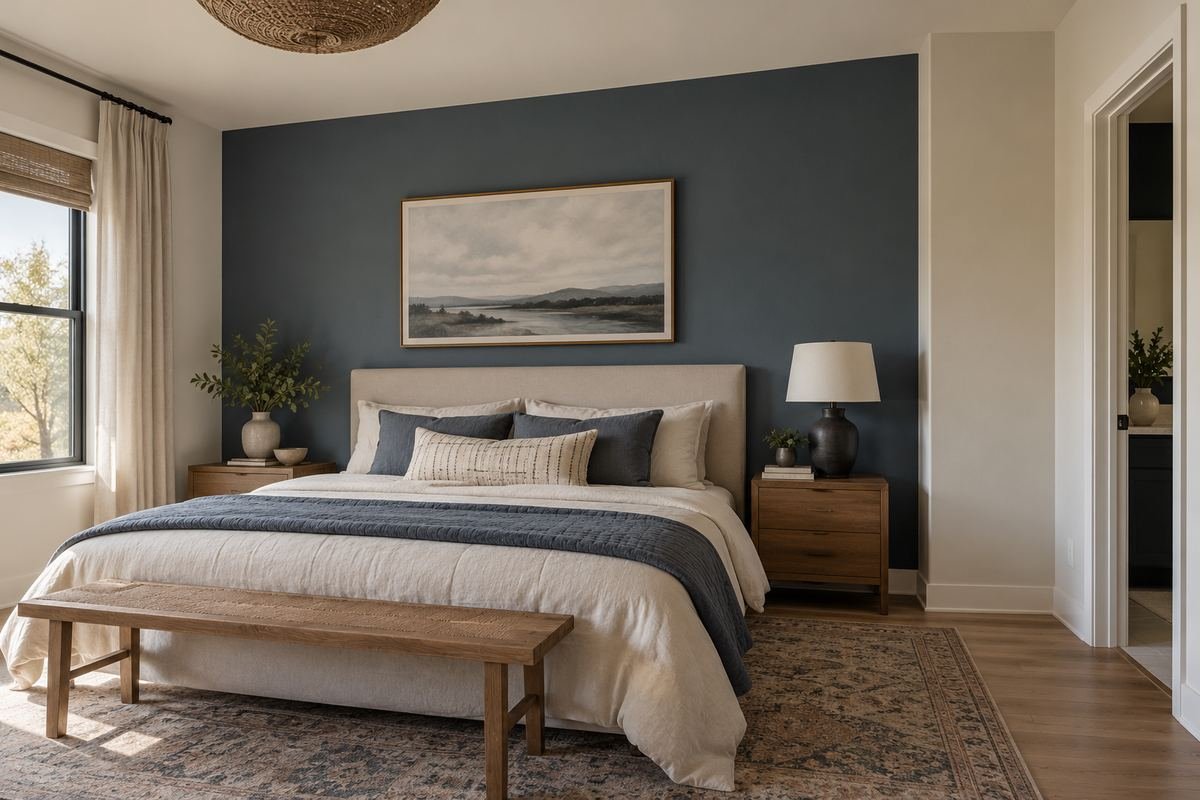
A projecting pier or shallow step in the wall can give the accent a convincing endpoint. Use that existing change instead of running a decorative boundary through the middle of an otherwise flat surface. The finish then reinforces a feature the room already has.
Check the projection in ordinary daylight and with furniture in place. A tiny change that is barely visible from the entrance may not provide the boundary you expect. Keep the shape legible and avoid suggesting that paint alone corrects an awkward architectural junction.
Practical tip: Choose a boundary that remains visible from normal viewpoints.
11. Respect a sloped ceiling at the bed end
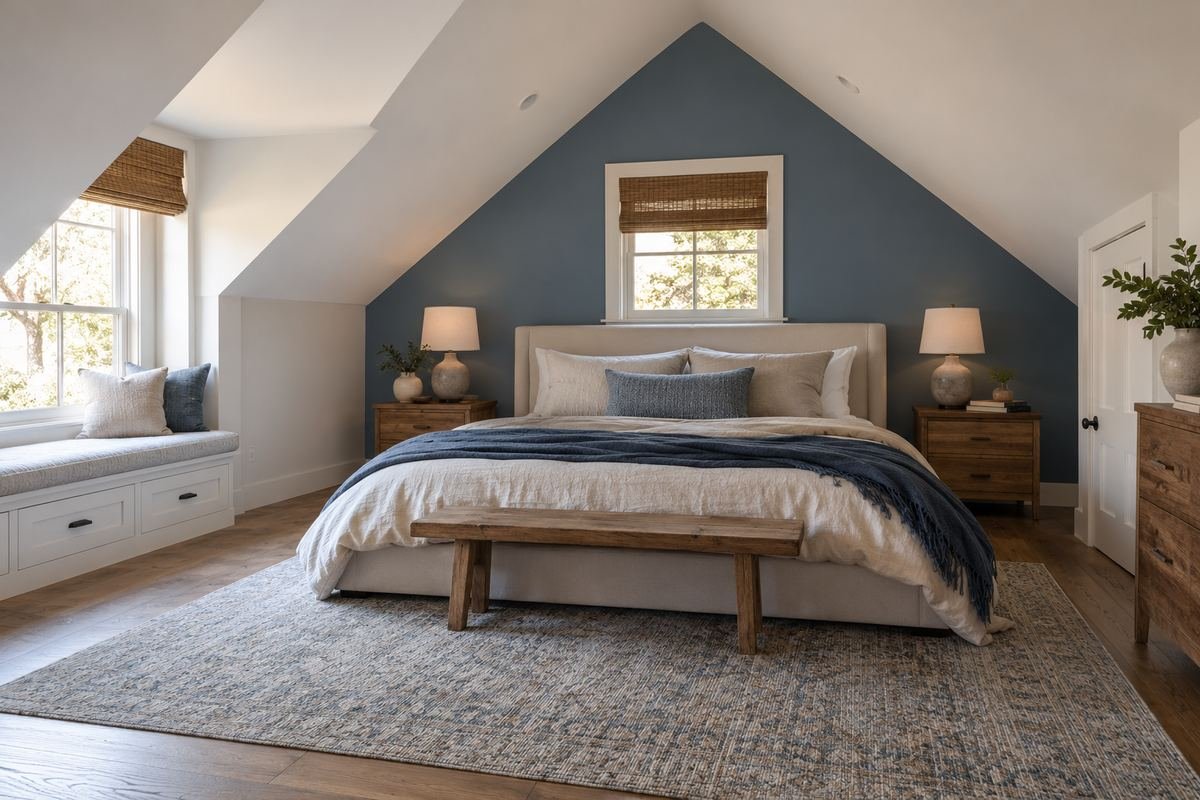
A bedroom beneath a sloped ceiling already contains a strong shape. Let the chosen wall plane end at the actual ceiling junction instead of adding a competing decorative outline. A restrained finish can make that irregular geometry feel intentional around a low bed.
Review the usable headroom and bed access before deciding the visual treatment. The finish cannot resolve a furniture position that is uncomfortable to use. Compare the complete wall shape from the doorway so small triangular fragments do not become accidental focal points.
Practical tip: Follow the existing wall plane rather than invent another shape.
12. Keep an interrupted wall calm around a door
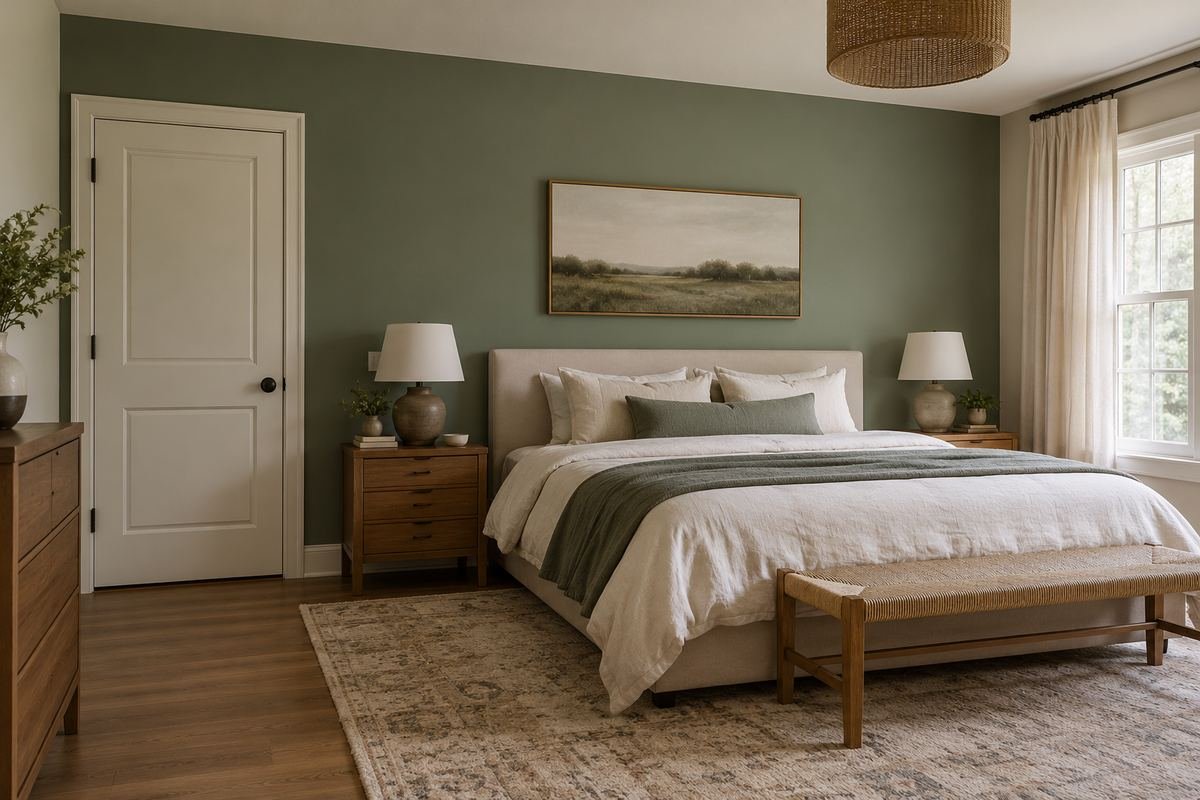
A bedroom door close to the bed can interrupt a proposed feature. Treating the wall plane consistently around the opening may feel calmer than outlining the door with a separate small patch. Let the real trim and opening remain readable within the composition.
Review the door swing and the view with the door open, which is often how the room is first seen. If most of the finish disappears behind it, a different wall may serve the focal role better. The accent should work during daily use, not only with every door staged shut.
Practical tip: Compare the entrance with the door open and closed.
13. Use a freestanding headboard as the foreground layer
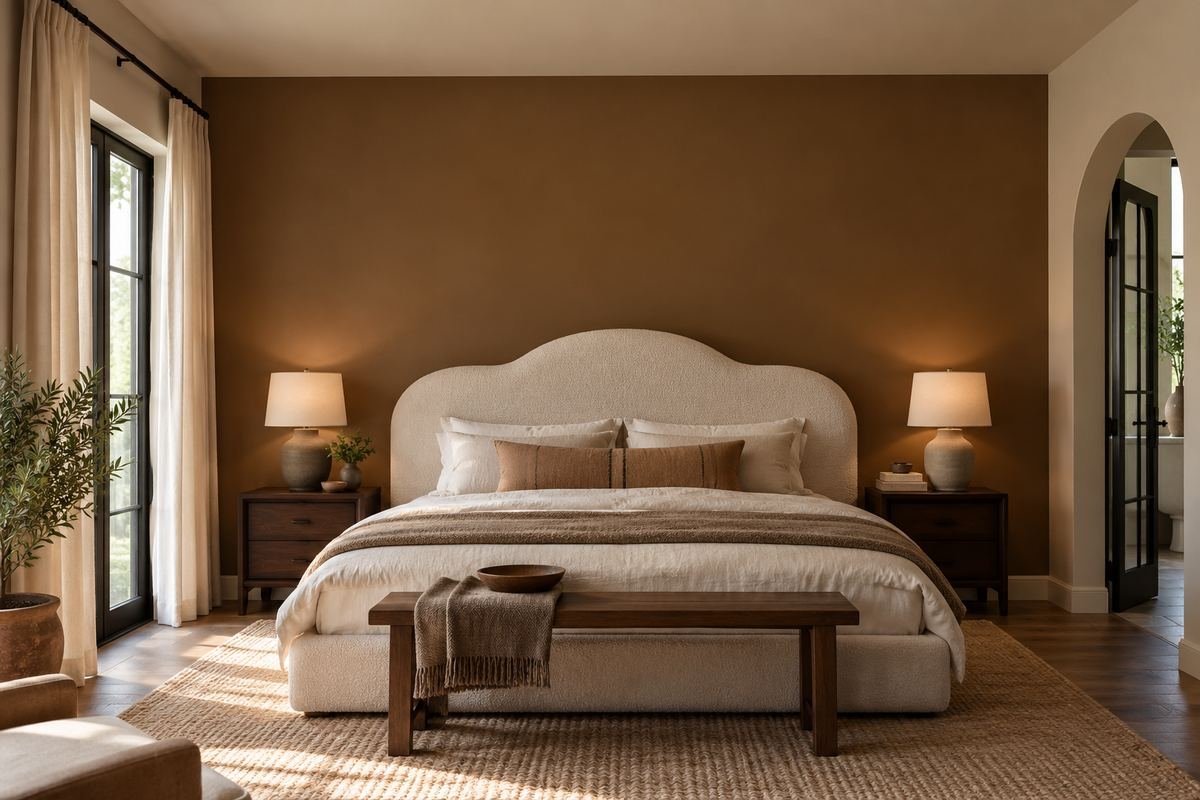
A freestanding bed can sit comfortably in front of a strong wall without needing a matching wall panel. Let the headboard silhouette remain visible as the foreground layer. This separates the furniture decision from the surface treatment and makes future changes easier to consider.
Compare enough contrast for the headboard shape to read, using actual fabric or wood samples. Exact matching can flatten the composition unintentionally. Avoid choosing a finish from an image alone, especially when the furniture has a subtle undertone that changes under the room’s lighting.
Practical tip: Compare the wall and headboard materials side by side.
14. Give a tall headboard some quiet wall above it
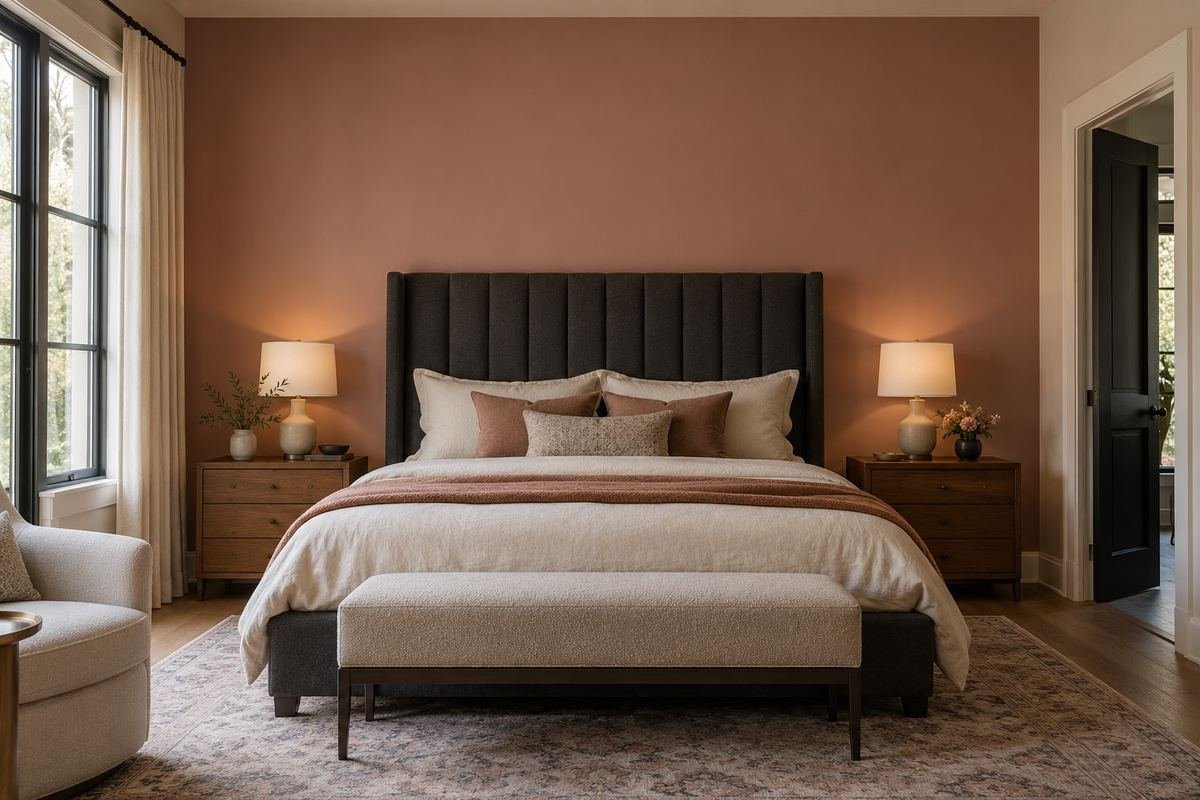
A tall headboard already supplies a strong vertical element. A simple wall finish above and beside it can support that shape without adding competing art or a busy secondary pattern. The visible wall area becomes intentional breathing space within the composition.
Review the height from the actual bed position and doorway. Adding decoration simply because the wall is empty can make the headboard look crowded. Keep the finish restrained while comparing whether the furniture already provides all the visual emphasis the room needs.
Practical tip: Let the tallest furniture element establish the vertical emphasis.
15. Compose a low bed with a generous wall field
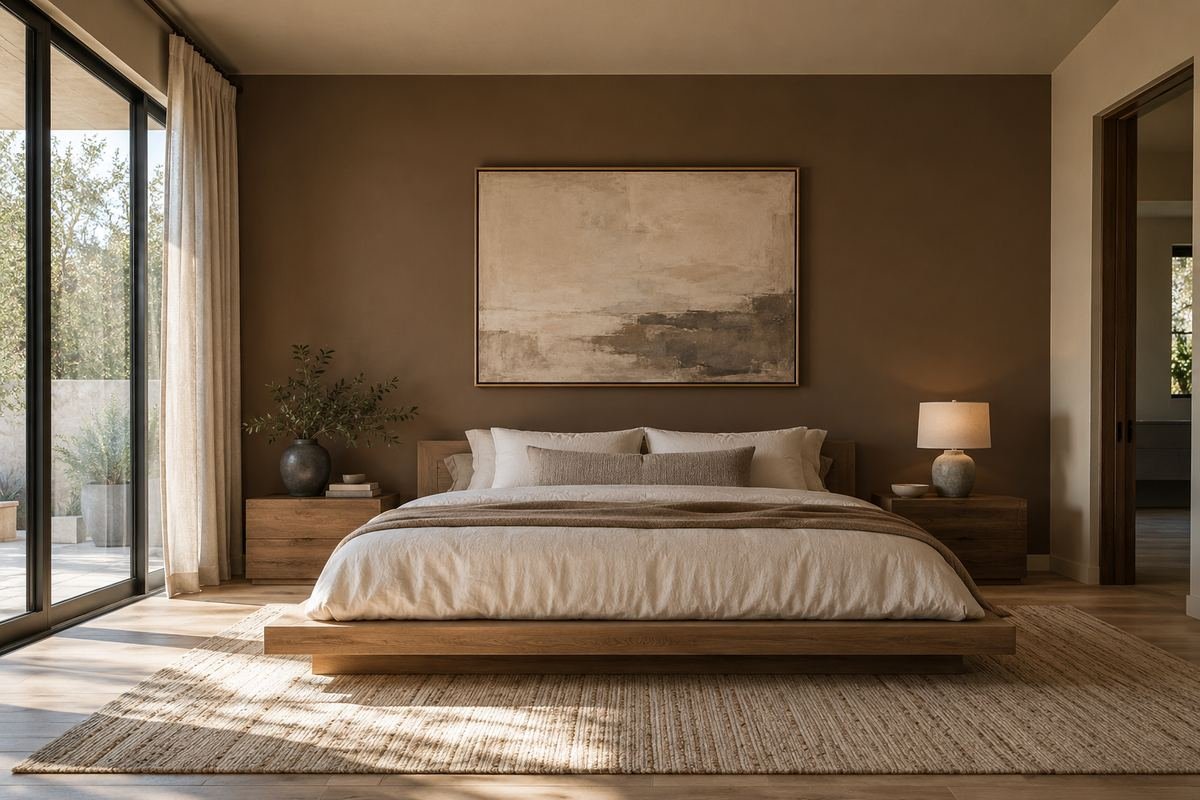
A low bed leaves more wall visible above it, creating room for a broad, quiet focal surface. Keep the relationship with the ceiling deliberate so the feature does not look like a leftover area waiting for decoration. A restrained artwork can be enough if the wall needs a secondary anchor.
Compare the artwork, if used, with the bed width and ordinary seated view. Do not automatically fill the upper wall with several small objects. The floor-level furniture and larger wall plane can work together when their separate roles remain clear.
Practical tip: Judge the wall from both standing and seated positions.
16. Frame a corner bed with one primary wall
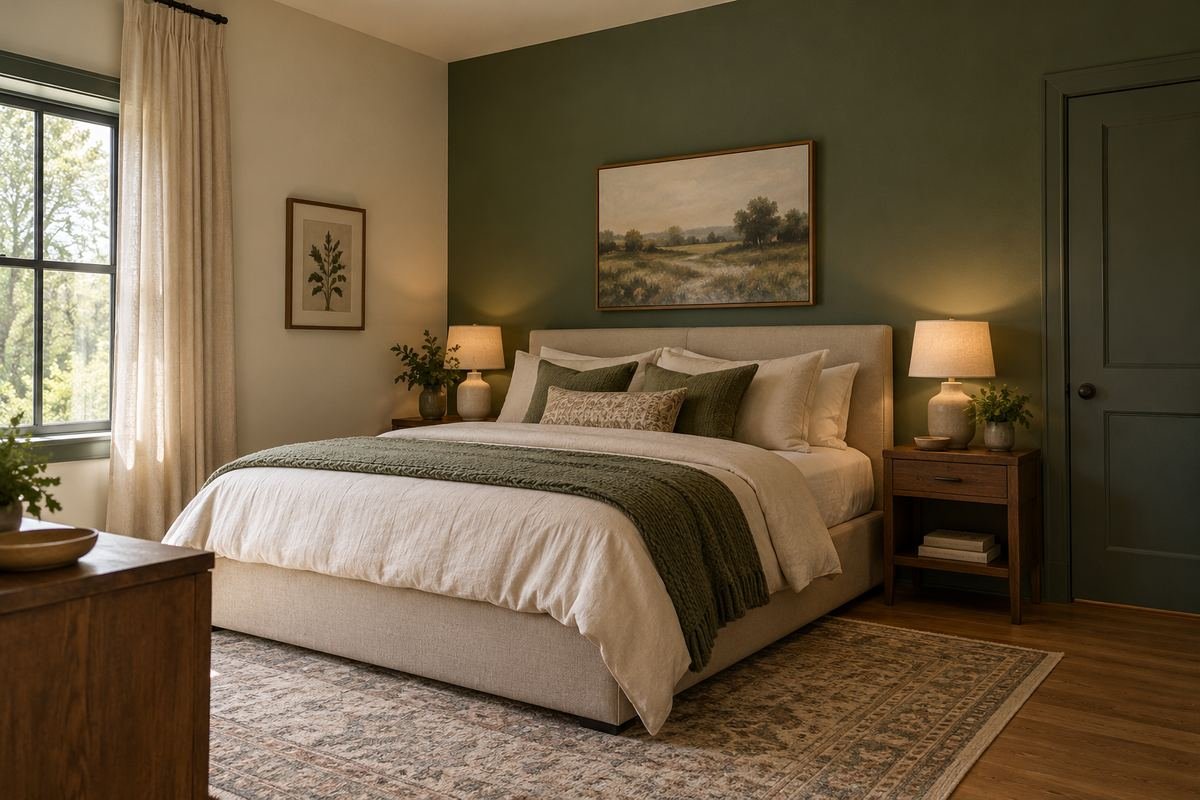
A bed placed near a corner can make two adjoining surfaces compete for attention. Choose one wall as the main focal plane and keep the adjacent one quieter. This gives the arrangement a clearer direction while acknowledging the actual furniture position.
Check access and bedding use before treating the corner as a decorative opportunity. If two walls need visual continuity, compare a subtle related finish rather than automatically making both equally strong. The aim is a readable room, not a feature on every surface touching the bed.
Practical tip: Decide which of the two walls leads the composition.
17. Use the end wall to anchor a long bedroom
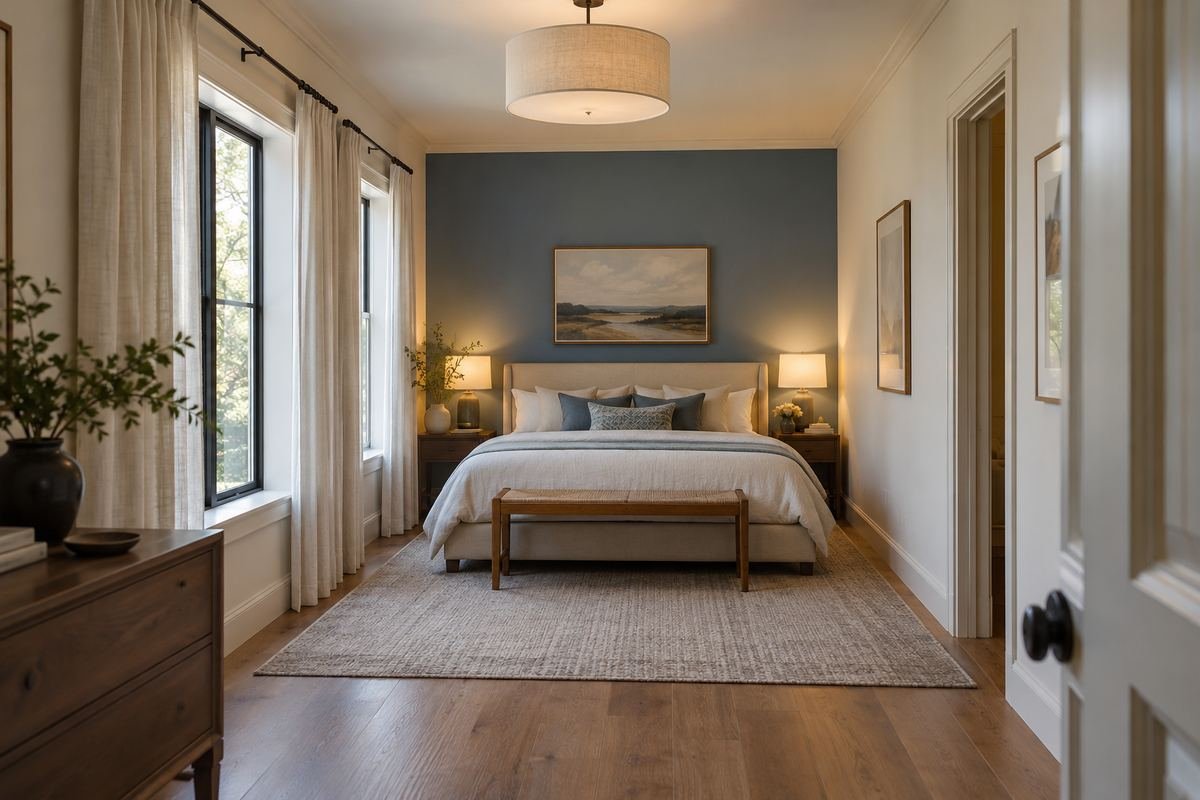
A long bedroom can benefit from a clear destination at the bed end. A complete accent finish on that end wall gives the entrance view a recognizable stopping point. Keep the longer side walls relatively quiet while assessing the overall balance.
The finish will not shorten the physical route or correct inefficient furniture placement. Review access to wardrobes and windows along the room first. A strong end wall works best when the bed zone is already usable and the circulation has a straightforward path.
Practical tip: Use the entrance view to evaluate the room’s destination.
18. Keep a shared twin-bed wall unified
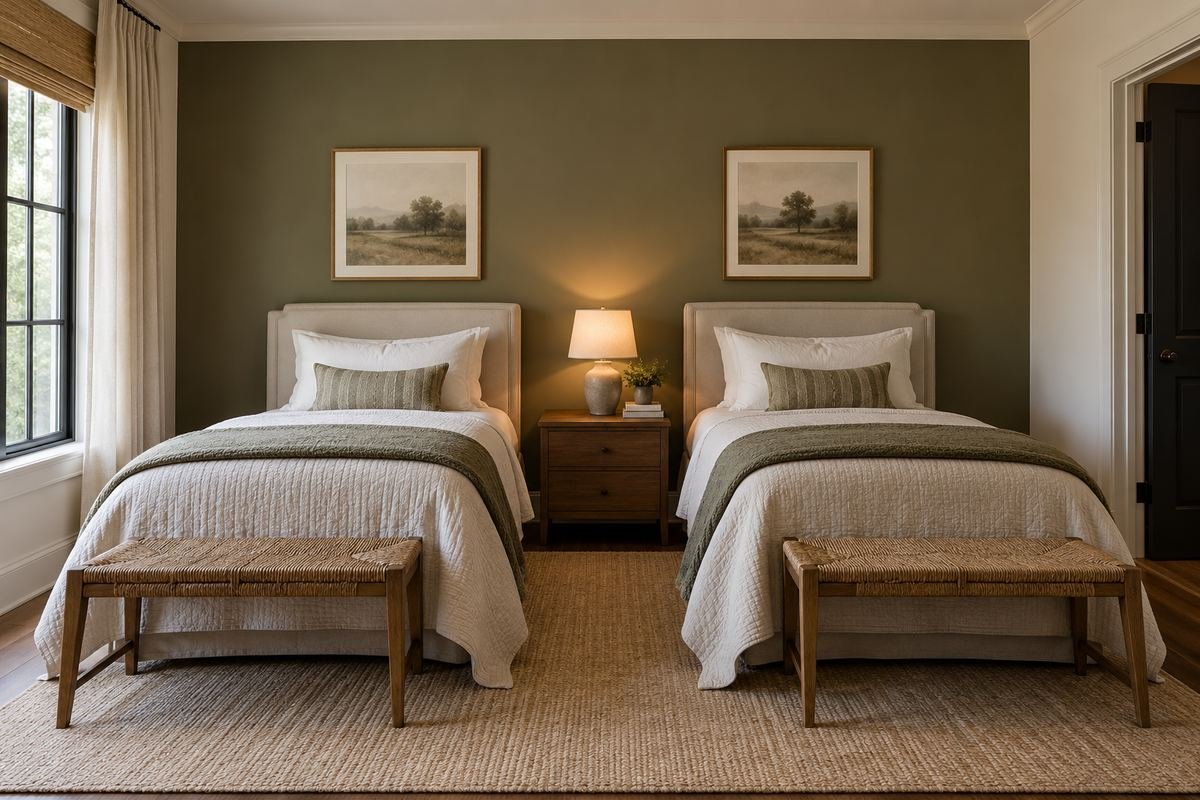
Two adult twin beds can share a complete focal wall that holds them together as one arrangement. A common background can be useful when separate headboards, lamps and bedding create several small visual elements. Keep the central gap intentional rather than filling it automatically.
Compare the outer edges of both beds and their bedside storage as a group. Two independent accent shapes can make the wall busier without helping the layout. Let practical access and the furniture arrangement determine whether a shared background is the more convincing choice.
Practical tip: Review both beds as one furniture composition.
19. Let the bed wall lead in a room with a desk
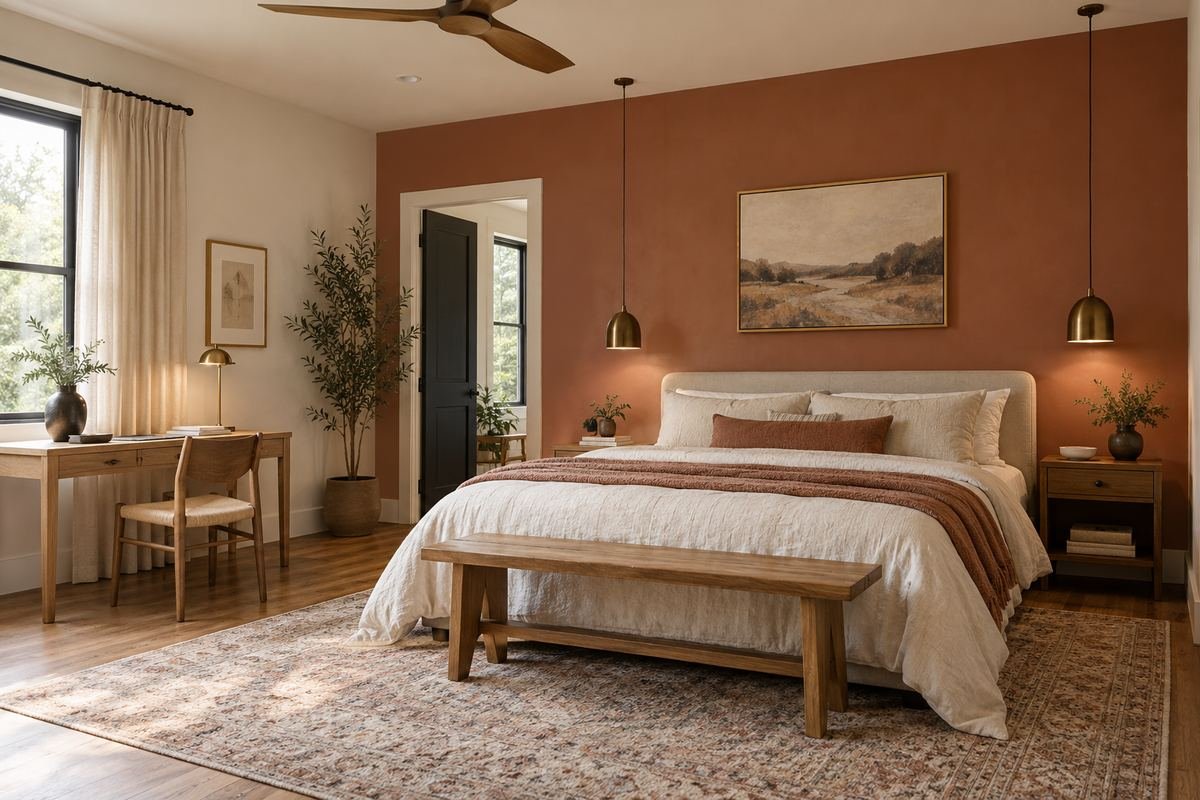
A bedroom desk can introduce another working surface and visual center. Keep the bed wall as the primary feature when rest and dressing remain the room’s main identity. The desk zone can relate through a quieter finish or one repeated material.
Review the view with the chair pulled out and ordinary work items present. A second dramatic feature behind the desk may compete with the bed. Choose how the zones relate before buying decorative pieces intended to make each corner a separate focal point.
Practical tip: Compare the room with the desk in everyday use.
20. Give a dressing corner its own restrained backdrop
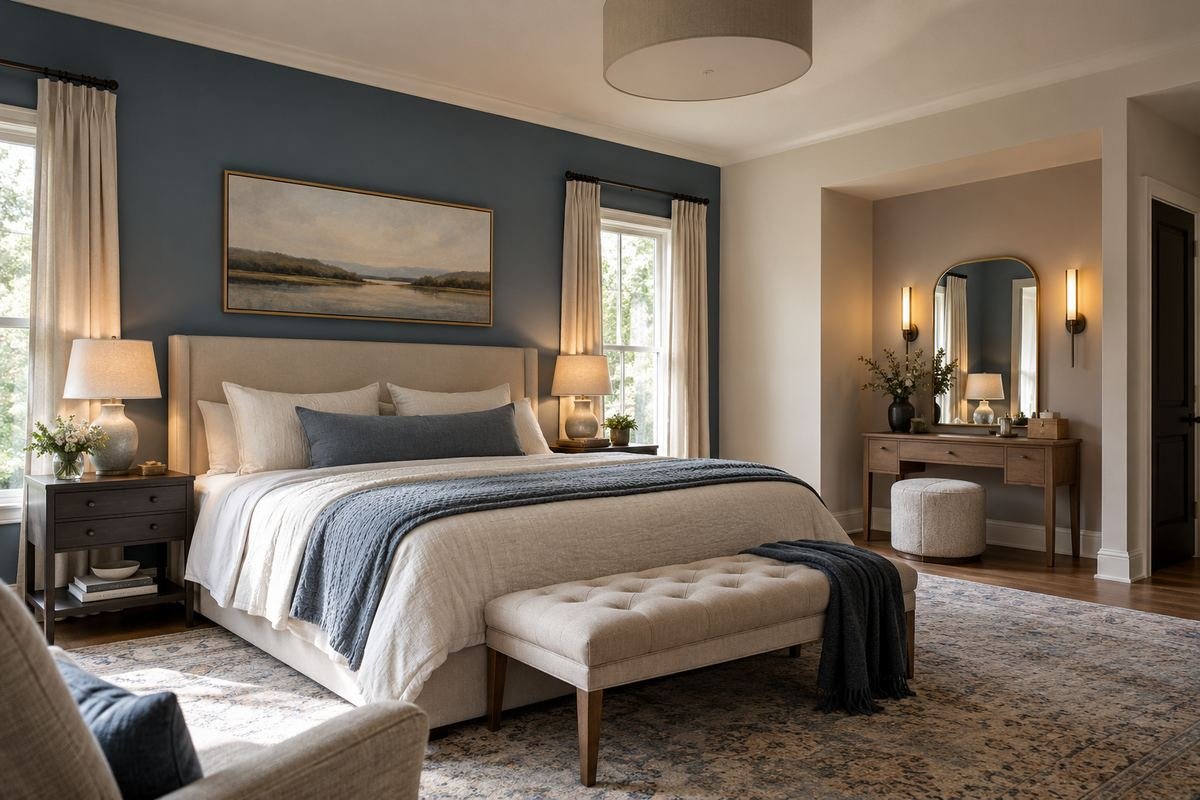
In a larger bedroom, a dressing table or mirror can have a small secondary backdrop without competing with the bed. Keep its size and visual weight subordinate. The distinction can help the corner feel considered when it sits away from the main sleeping area.
Check the whole room from the entrance rather than evaluating the dressing corner in isolation. If both surfaces demand equal attention, simplify one. A secondary backdrop should support a useful zone and maintain a relationship with the room’s main finish.
Practical tip: Keep the secondary area visibly quieter than the bed wall.
21. Use a wardrobe-side wall when the bed wall is mostly glass
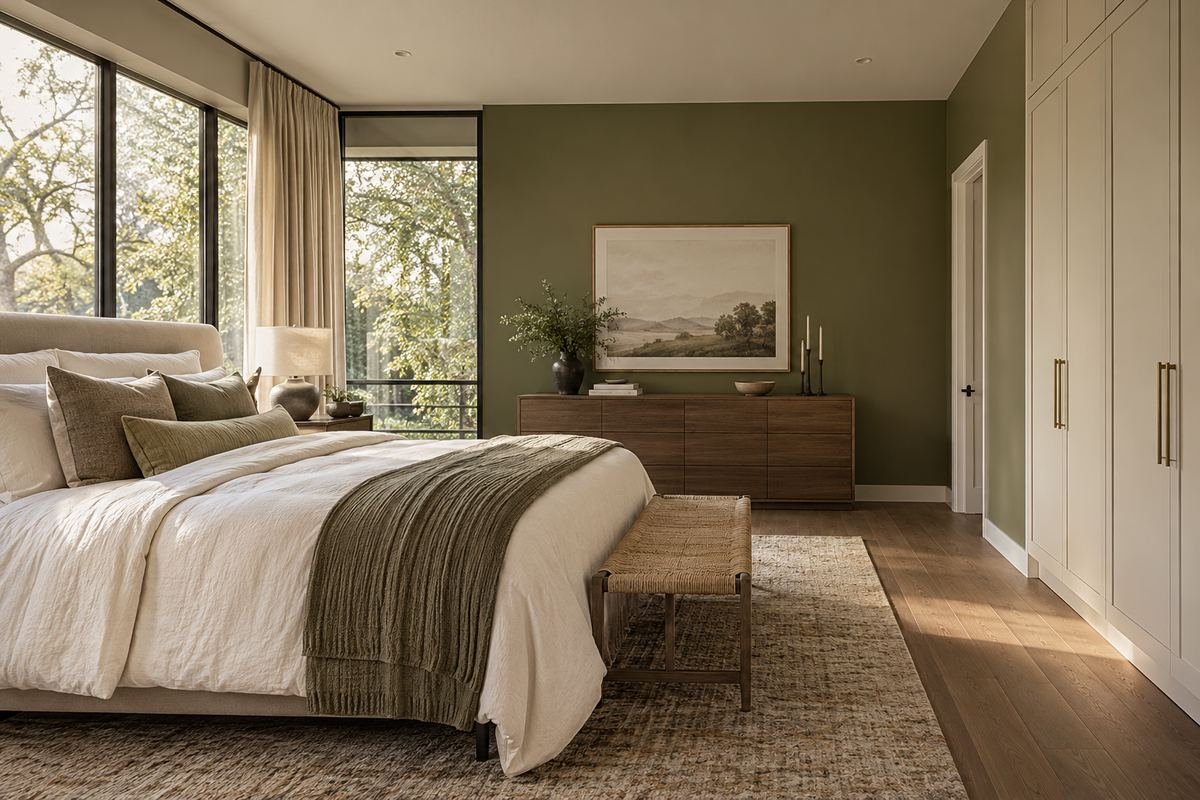
A bedroom with extensive glazing behind or beside the bed may not offer a useful solid focal plane there. An existing solid wall near the wardrobe can carry a restrained accent instead. Choose it for its role in the whole room rather than insisting on a feature directly behind the pillows.
Review daylight, curtains and the large wardrobe doors together. The solid surface should not visually crowd an already dominant storage wall. Keep the bed composition simple so the alternate feature feels like a deliberate room decision rather than a substitute chosen at random.
Practical tip: Choose the best solid surface from the complete room view.
22. Let one large artwork define a quieter focal surface
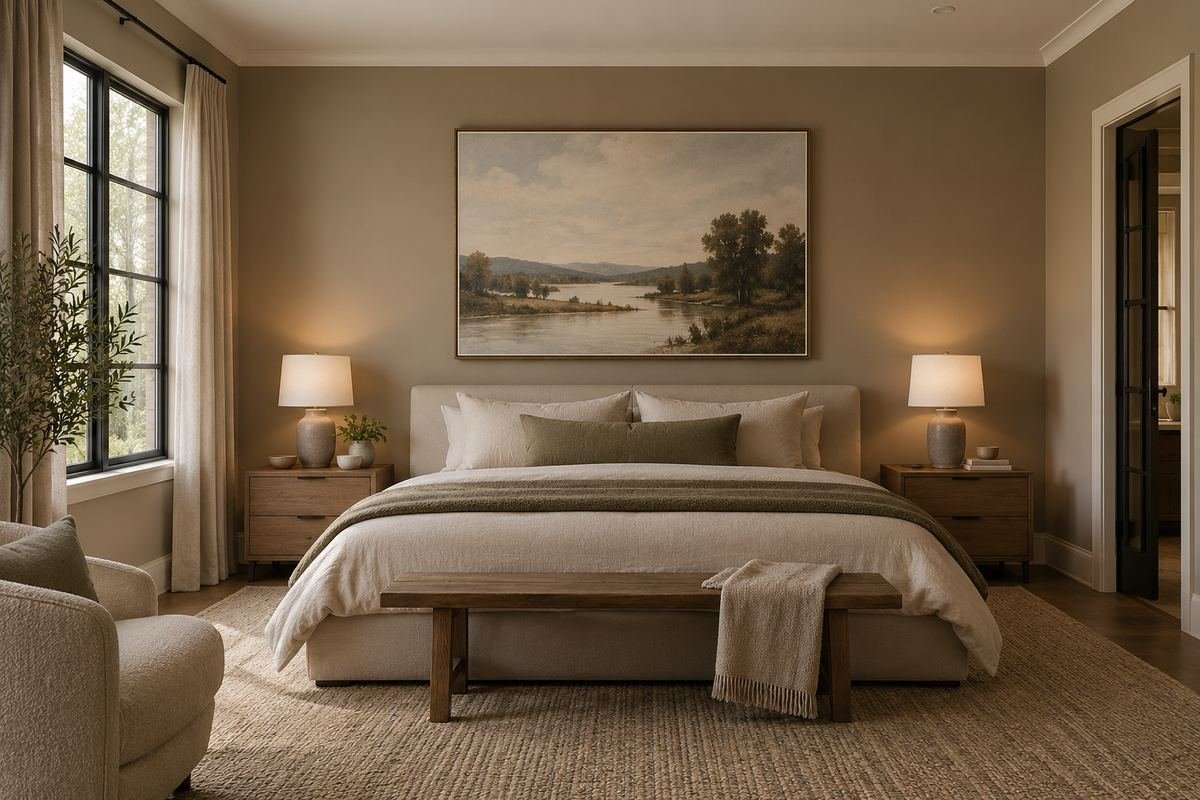
An accent wall can serve as the background for one substantial artwork rather than becoming the most dramatic object itself. Choose a restrained surface that relates to the frame, bedding and furniture. This can give the bed zone a clear focus without several decorative layers.
Compare the artwork against actual finish samples. A background that competes with the picture can weaken both. Review the complete grouping from the doorway and avoid choosing an exact wall color from a digital image that cannot represent the real materials reliably.
Practical tip: Use the artwork and finish as one composition.
23. Make the edge intentional beside a full-height curtain
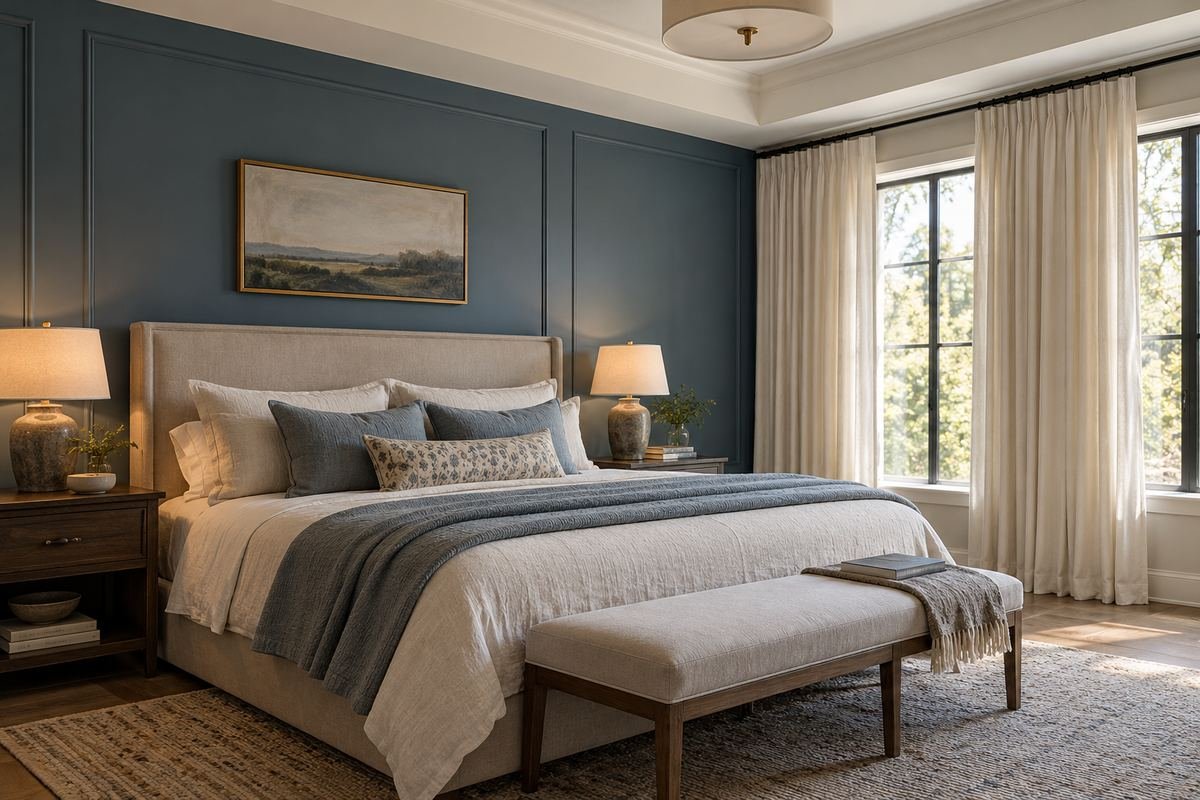
A full-height curtain can form one side of a bed-wall composition. Let the finish meet an actual wall corner or a clearly defined plane instead of stopping at the current fabric edge. Curtains move, so their temporary position is an unreliable painted boundary.
Check the curtain both stacked and drawn. A field that looks balanced only with one exact fold arrangement may feel awkward in ordinary use. Resolve the wall boundary independently, then let the fabric soften the composition without hiding an accidental endpoint.
Practical tip: Test the boundary with the curtain open and closed.
24. Finish with the view that greets you each day
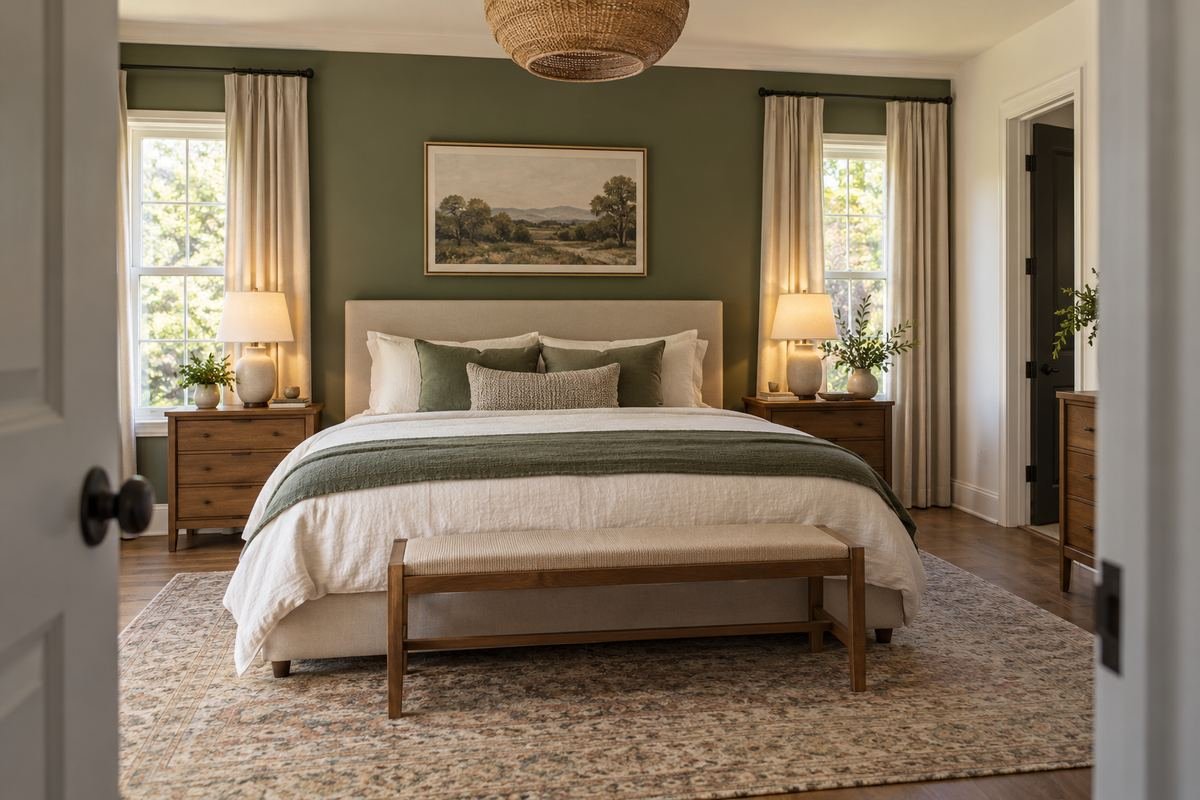
The final composition should work from the doorway and the ordinary bed positions. Compare the focal wall with the furniture, curtains and lighting used in the finished room. A restrained scheme can succeed when every edge has a clear relationship to those daily views.
Remove decorative additions that were introduced only to disguise an unresolved boundary. If the wall still feels misplaced, reconsider its extent or location before adding more pattern. The most convincing result is a composition you can explain through the room itself.
Practical tip: Use everyday viewpoints as the final acceptance check.
Frequently Asked Questions
Which bedroom wall should be the accent wall?
Often it is the surface behind the bed, but choose it from the actual layout. Review the entrance view, furniture and openings. A wall with an intentional role works better than choosing the first uninterrupted surface without considering how the room is used.
Can an accent wall work behind an off-center bed?
Yes, if the composition acknowledges that arrangement. Compare a field centered on the bed, a complete wall with intentionally uneven furniture or a distinct architectural bay. Do not force a centered graphic that makes the bed appear accidentally misplaced.
Does an accent wall have to cover the whole wall?
No. A contained field can relate to a bed, alcove or room zone. Its edges need a clear reason, especially near windows and doors. Test its width with the bedside furniture included rather than copying a fixed proportion from another room.
Can the wall behind the bed contain windows?
Yes. Compare treating the whole wall plane, emphasizing the area between openings or using curtains as the leading feature instead. Consider the frames and curtain stacks in the finished composition. Avoid stopping a decorative field at an arbitrary point beside a window.
Should the accent wall match the headboard?
It can relate through tone or contrast without matching exactly. Compare actual samples with the headboard material and bedding. Keep enough distinction for the furniture shape to read, unless a deliberately quiet tonal effect is the intended result.
Will a dark accent wall make the bedroom look larger?
A dark surface changes contrast and visual emphasis, but it cannot guarantee a larger-looking room. The result depends on light, surrounding surfaces, furniture and the viewpoint. Test the actual finish and judge the composition in your own space.
Choose the Details That Work in Your Home
Choose bedroom accent wall ideas that clarify the room’s layout. Let the bed, openings and architectural edges establish the composition, then refine the finish with real samples. A well-placed boundary can be more convincing than a dramatic material applied without a clear relationship to the furniture.
For related ideas, explore bedroom paint colors, bedroom wallpaper ideas, headboard ideas.
Planning References
Benjamin Moore: choosing and composing accent walls; Sherwin-Williams: considering the room when choosing bedroom colors. Follow the instructions for the exact products you choose.
Optional digital guide for this topic
If you prefer a structured workbook, explore this related paid guide.