The most useful board and batten wall ideas start with the whole wall: its doors, windows, furniture and visible end details. A repeated trim pattern can be calm or strongly graphic depending on the clear field width, profile and height. Choose those relationships before treating a calculator result as a finished design.
This guide focuses on decorative interior walls. It compares 22 room and detail choices, then offers an original spacing worksheet with an explicitly assumed example. Exterior siding, structural design, wet-area assemblies and fastening specifications require their own appropriate guidance.
Contents
- 1. Give an entry bench a clear lower-wall backdrop
- 2. Use full-height vertical bays behind a bed
- 3. Choose broad spacing behind a living room sofa
- 4. Try a restrained grid in a study
- 5. Use tall rectangles in a dining room
- 6. Connect a breakfast banquette with a simple panel rhythm
- 7. Give a landing a bounded feature wall
- 8. Simplify the rhythm in a hallway with several doors
- 9. Set the top rail around a window deliberately
- 10. Carry the pattern around an inside corner thoughtfully
- 11. End a single-wall treatment with a finished edge
- 12. Let door casing set a clear termination
- 13. Keep switches and outlets clear of the pattern
- 14. Resolve the baseboard and batten junction as one detail
- 15. Keep the top rail a decorative line unless designed otherwise
- 16. Compare the visible bay with the trim width
- 17. Use a fine flat profile for a quieter rhythm
- 18. Paint the paneling and upper wall one shade
- 19. Give a darker lower wall a quiet upper companion
- 20. Place an original wallpaper pattern above plain bays
- 21. Decide whether the existing wall texture should remain visible
- 22. Test the complete rhythm at full scale before ordering
Choose an interior wall pattern before the cutting list
Metrie describes the relationship between broad fields and narrower battens, and distinguishes this treatment from other molding arrangements. Start with the effect you want: a lower wall, one full-height feature or a restrained grid. Measure and draw the actual room before choosing the material and installation system. Keep product, substrate, services and fixing requirements with the project specification.
Choose the first layout test
- A long sofa or banquette covers the lower wall: Draw the retained furniture before choosing the rail and the number of visible bays.
- Several doors interrupt a hallway: Compare the shortest return and the longest wall together.
- A wall has outlets and a window: Mark their actual positions before assigning equal decorative gaps.
- The existing casing is delicate: Compare the profile depths and end detail with real samples.
1. Give an entry bench a clear lower-wall backdrop
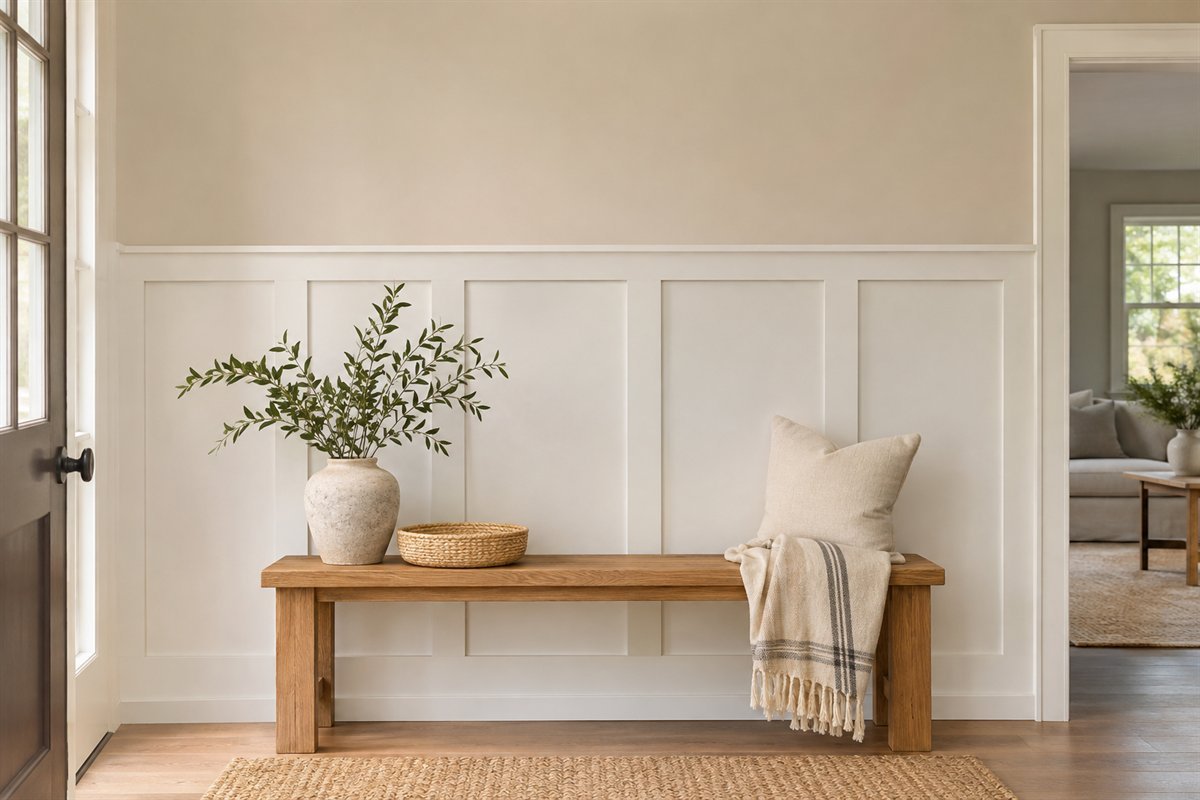
A lower board-and-batten treatment can give a simple entry bench a defined background. Compare the rail with the bench back, door trim and any nearby window before choosing the height. Keep the visible fields clear enough to read behind the furniture. The design should still look considered after coats and everyday bags return to the entry.
Sketch the bench in its ordinary position before dividing the wall into bays.
2. Use full-height vertical bays behind a bed

Full-height vertical bays can give a bed wall a repeated rhythm without introducing another horizontal band above the headboard. Start with the width of the retained bed and the complete wall, including any openings. Decide whether a clear field or a batten should sit behind the bed’s center. Compare both on paper rather than assuming the first line should begin at the headboard edge.
Include bedside furniture in the elevation so the pattern is considered across the whole group.
3. Choose broad spacing behind a living room sofa
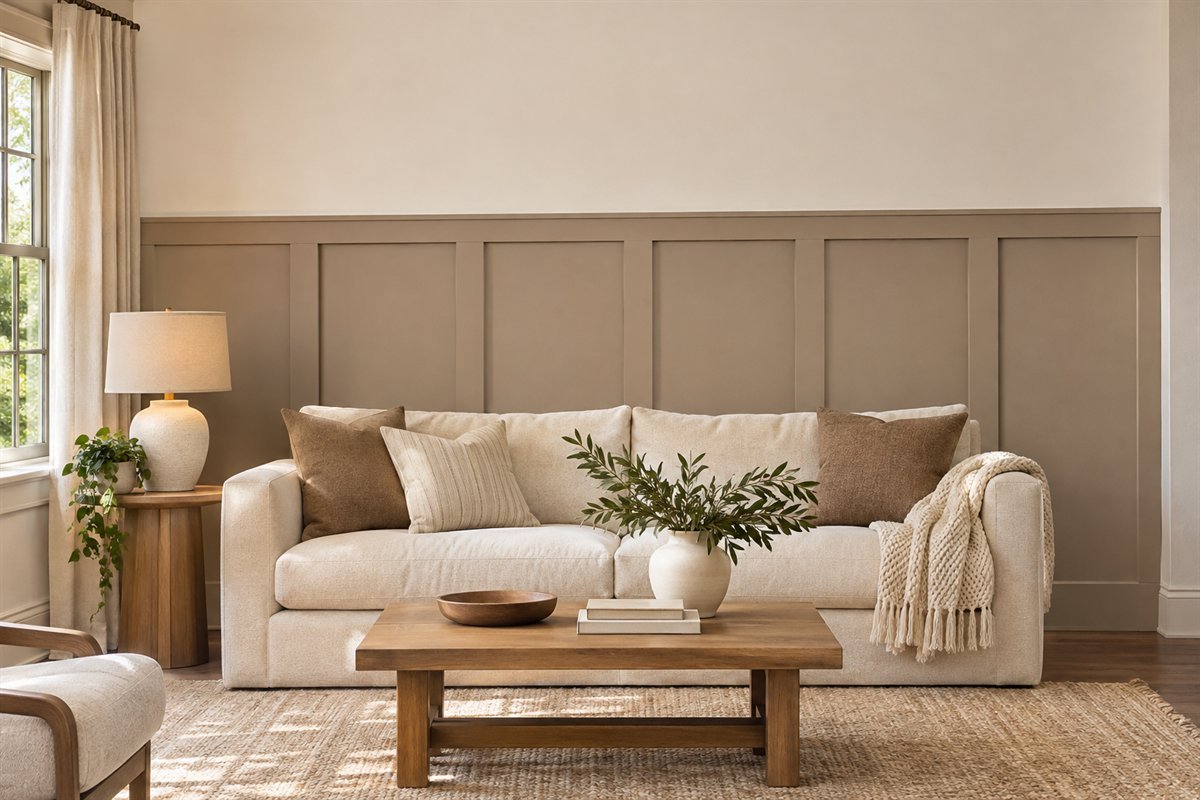
Broad fields create fewer vertical interruptions behind a long sofa. They can suit a room where fabric, artwork or furniture already supplies plenty of detail. Draw the portion of the pattern that remains visible above and beside the sofa, then compare it with the complete wall. A rhythm that looks balanced on an empty elevation may disappear awkwardly behind a tall back.
Check the pattern with the actual sofa silhouette, not a generic furniture icon.
4. Try a restrained grid in a study

A grid adds horizontal lines to the vertical rhythm. In a study, keep the rectangles related to the desk, shelves and screen instead of filling every remaining patch of wall with another box. A restrained grid can give the architecture a role while a practical work surface remains the foreground. Compare the clear spaces inside the trim, since those are the shapes seen from the chair.
Use the same drawing scale for the desk and the grid before approving their relationship.
5. Use tall rectangles in a dining room

Tall rectangular fields can echo the shape of a dining room’s doors or windows. Compare their height with the chairs and any retained wall art. The top line does not need to follow a fixed fraction of the room; it needs a clear relationship to the things already there. Leave enough plain area for the pattern and the furniture to remain distinct.
Set the chairs around the table while reviewing the wall from the entrance.
6. Connect a breakfast banquette with a simple panel rhythm
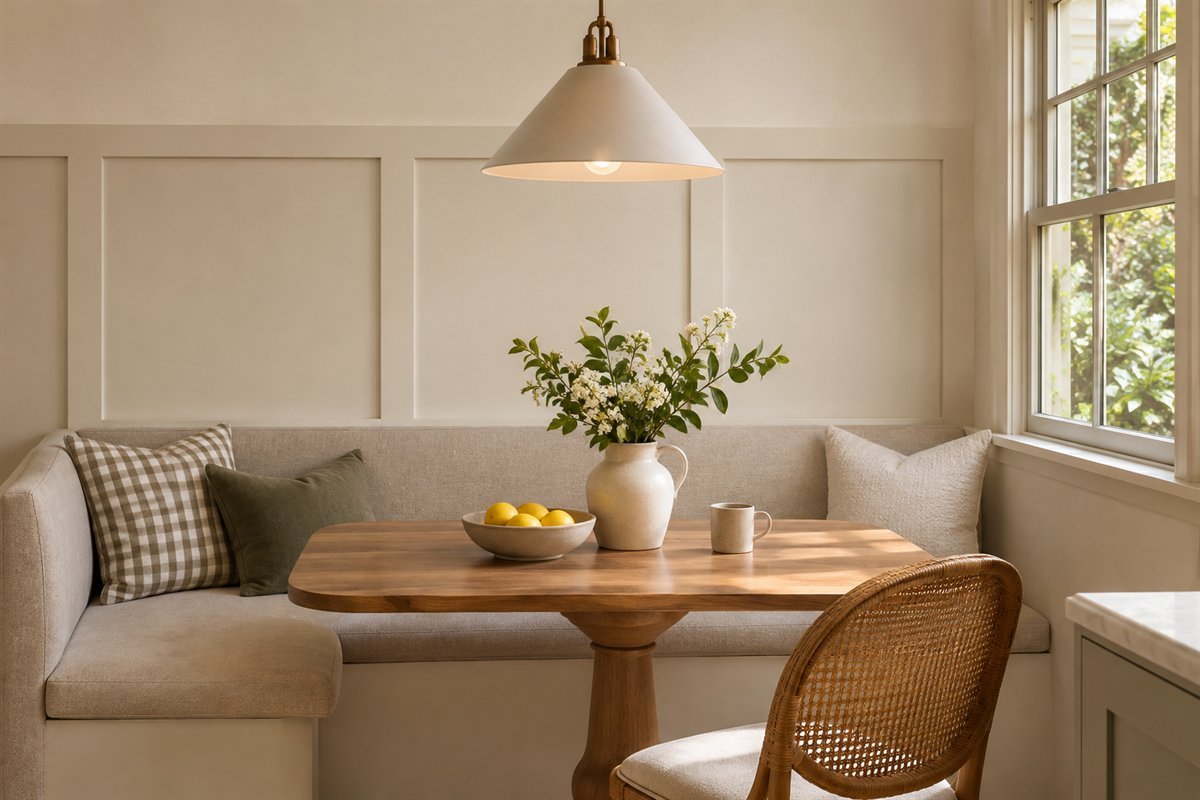
A panel rhythm can connect the wall behind a banquette to the rest of a breakfast nook. Draw the upholstered back and table before choosing the rail height so the trim does not leave an accidental sliver above the seating. Keep the finish and projection appropriate for ordinary contact and cleaning. The decorative wall is separate from the support and construction of the seating.
Compare the wall with the actual seat back height and cushion arrangement.
7. Give a landing a bounded feature wall

A level landing can have a clear feature wall without extending a pattern along every stair angle. Choose a bounded wall and compare its top line with adjacent doors. Keep circulation and access to the stair separate from the decorative layout. Where a project extends onto stairs, it requires its own measured plan rather than a direct repeat of the level-wall sketch.
Keep the first version to one clearly defined wall if the surrounding geometry is complicated.
8. Simplify the rhythm in a hallway with several doors
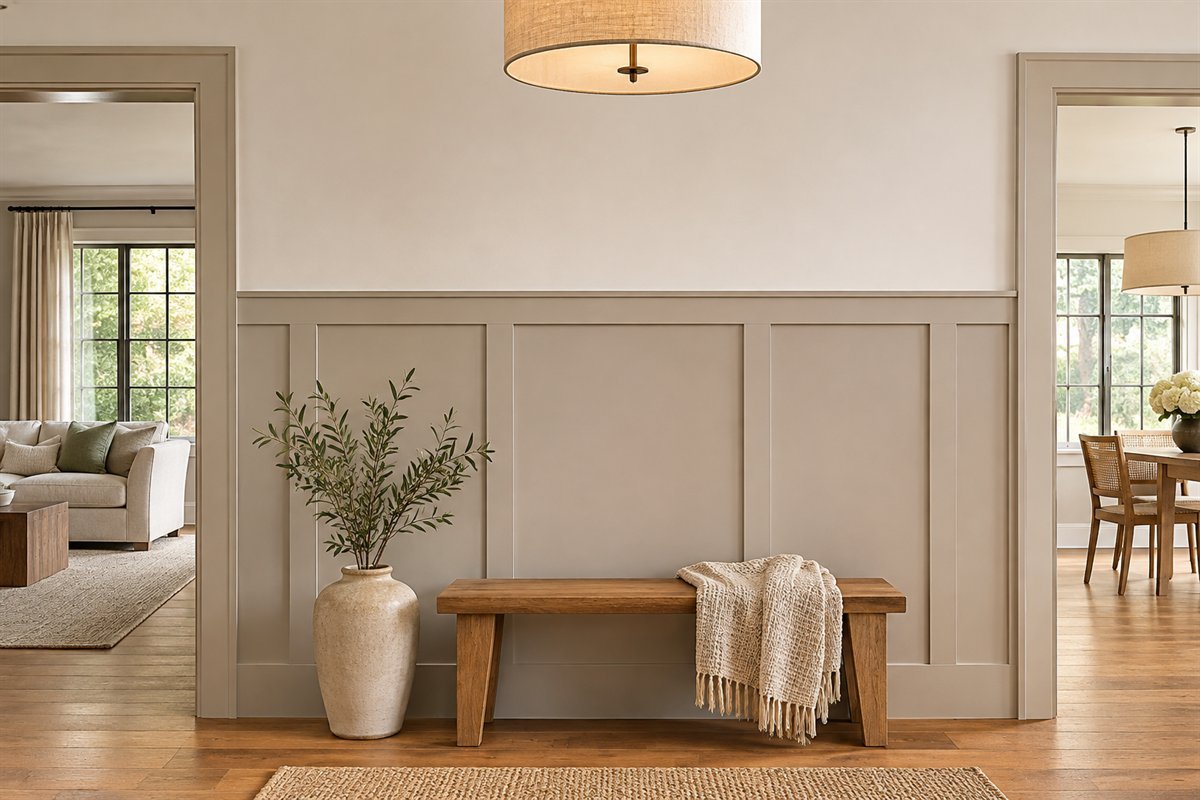
Several door openings can leave only short sections of visible wall. A simpler rhythm may be more coherent than squeezing a full-sized bay into every leftover strip. Draw the longest wall and the shortest return together. It is reasonable to make a deliberate adjustment at an architectural boundary rather than treating one repeated measurement as the only possible design.
Review the hallway from both ends before deciding which wall should lead the rhythm.
9. Set the top rail around a window deliberately

A window can provide a reference line for the top rail, but it also creates interruptions that need to be drawn. Compare alignment with the sill against a clearly separated lower option. Avoid deciding the height on a different wall and discovering the window conflict during installation. The finished detail should respect the actual casing and sill profile.
Draw the junction at a larger scale so the rail’s thickness and projection are visible.
10. Carry the pattern around an inside corner thoughtfully

A pattern wrapping around a corner is seen as two related walls, not only one long arithmetic exercise. Compare how the last field on one side meets the first on the next. A corner can be a natural place to rebalance the rhythm. Keep the actual trim and corner detail in the drawing so the visible field widths remain intentional.
Photograph the corner from the main doorway and compare the two walls in the same view.
11. End a single-wall treatment with a finished edge

A single-wall treatment needs a deliberate end. Compare a natural corner, a doorway or a suitable finished return before choosing an arbitrary stop in the middle of a broad wall. The edge can be more noticeable than the repeated middle bays. Ask for the actual proposed profile and finish so it reads as part of the design rather than an unfinished cut.
Include the side view of the edge in the project brief.
12. Let door casing set a clear termination
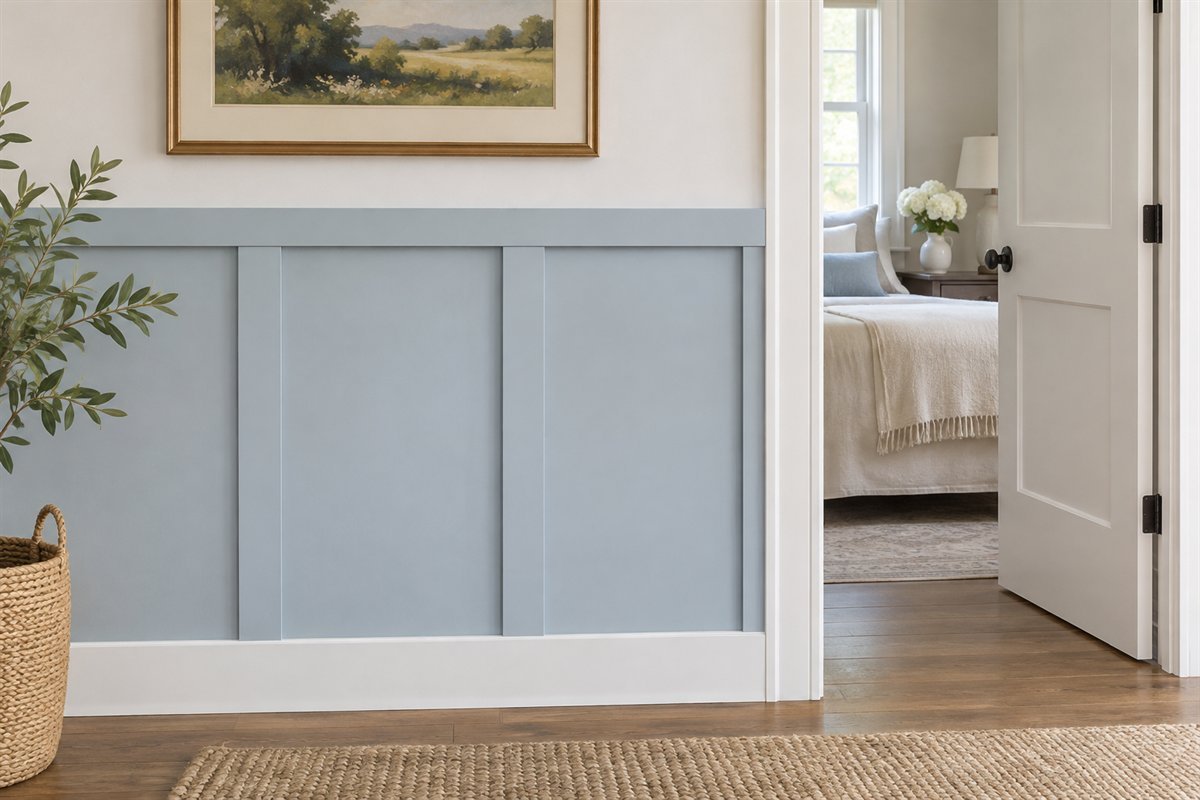
Door casing and the new trim have visible thickness as well as color. Compare their sections together before ordering the wall treatment. A batten that projects well beyond a delicate casing may need a different profile or a resolved termination. Decide the relationship with the real materials instead of expecting a painted joint to hide an unresolved step.
Place profile samples against the actual casing and inspect them from the side.
13. Keep switches and outlets clear of the pattern
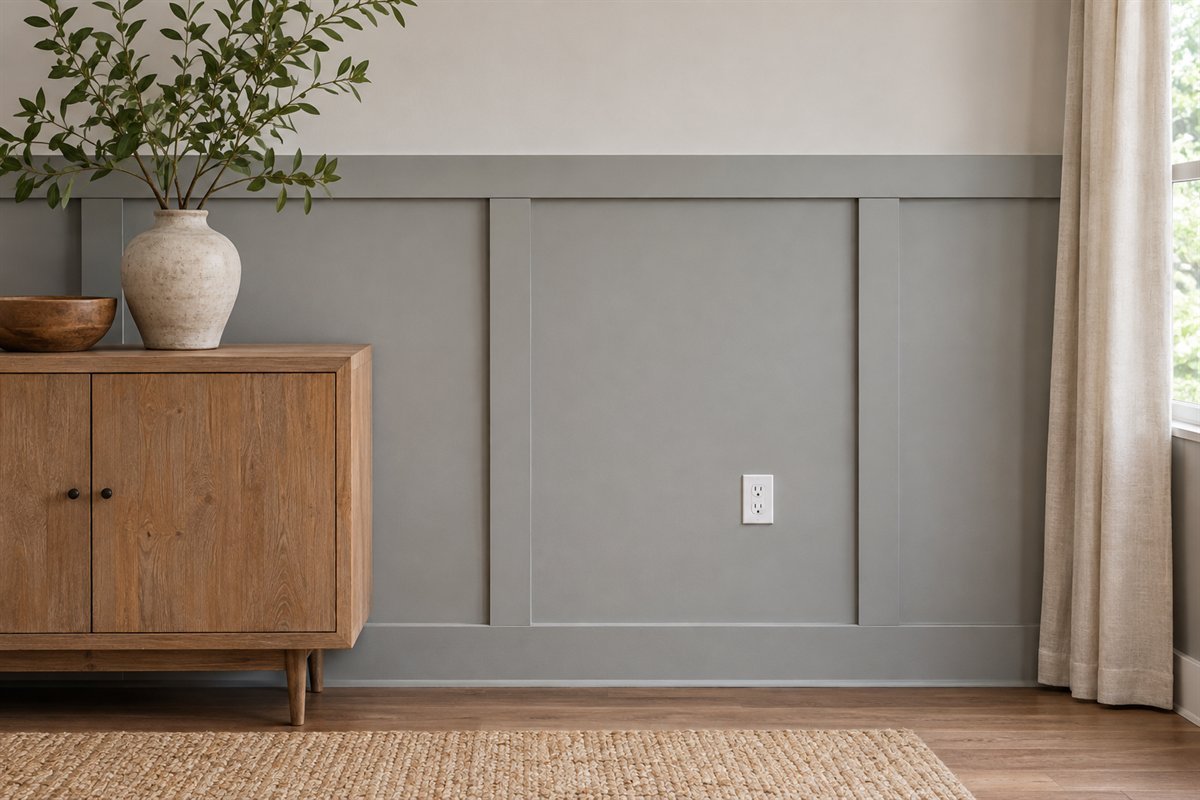
Mark switches, outlets and other service points on the elevation before dividing the wall. Shift the decorative rhythm where appropriate rather than running trim through a faceplate or disguising access. Any changes to electrical fittings belong with an appropriately qualified professional and the applicable requirements. A wall composition should not depend on improvising around working components.
Compare every planned batten position with the actual service locations before approving the layout.
14. Resolve the baseboard and batten junction as one detail

The junction at the floor establishes whether the new treatment looks integrated with the room. Compare the actual batten depth with the retained baseboard. You may prefer a clearly stepped detail or a coordinated replacement, depending on the existing profile and project scope. Do not select the batten only from its front width and leave the depth decision until the end.
Keep a small section sketch and the real profile samples together.
15. Keep the top rail a decorative line unless designed otherwise

A slim rail can finish the panel treatment without becoming another storage surface. This can be useful in a compact room where a deeper ledge would compete with furniture or collect unrelated objects. If you want a shelf, specify a suitable supported shelf as part of the project. Decorative trim should not be assumed to carry objects because it looks like a convenient ledge.
Decide whether the rail is purely decorative before choosing its projection.
16. Compare the visible bay with the trim width

Batten width and clear field width work together. A stronger flat profile may need more open wall around it to read as a deliberate frame. Compare two scaled elevations with the same wall and different profiles, keeping the furniture constant. Look at the empty field inside the trim rather than only the overall distance between the center lines.
Choose the profile from an actual sample before treating nominal board names as final dimensions.
17. Use a fine flat profile for a quieter rhythm

A finer flat profile creates a lighter outline than a broad board. It can be useful when nearby casing, furniture or a small room already has delicate proportions. Keep enough spacing for the field to remain clear; making both the trim and the gaps very small creates a different, busier texture. Compare the sample from normal viewing distance.
View the proposed profile from the doorway rather than approving it only in close-up.
18. Paint the paneling and upper wall one shade

One shade across the treatment and upper wall lets relief provide the pattern. This can be a useful choice when the room already includes a patterned rug or varied furniture finishes. Sample the actual products on their intended surfaces; a shared color is a visual decision, not a guarantee that one coating suits the whole assembly. Let the trim’s shadow remain part of the composition.
Compare the wall from the room’s usual seat, where the relief may appear quieter than in side light.
19. Give a darker lower wall a quiet upper companion

A darker lower wall makes the top rail a clear horizontal boundary. Keep the upper companion quiet if you want that line and the panel rhythm to carry the room. Compare the boundary with doors, furniture and any artwork before settling on the height. A strong color division can make small alignment conflicts more noticeable than a single-color scheme.
Hold the dark and light samples together beside the floor before making the final choice.
20. Place an original wallpaper pattern above plain bays

Plain bays can provide a restrained base for a patterned upper wall. Compare a full wallpaper repeat with the panel spacing so the two rhythms do not compete at nearly the same scale. Choose the material for the actual room and follow its preparation and installation guidance. Keep the panel color related to the paper without trying to match every small motif.
Review the corner and doorway with both finishes shown on the same drawing.
21. Decide whether the existing wall texture should remain visible
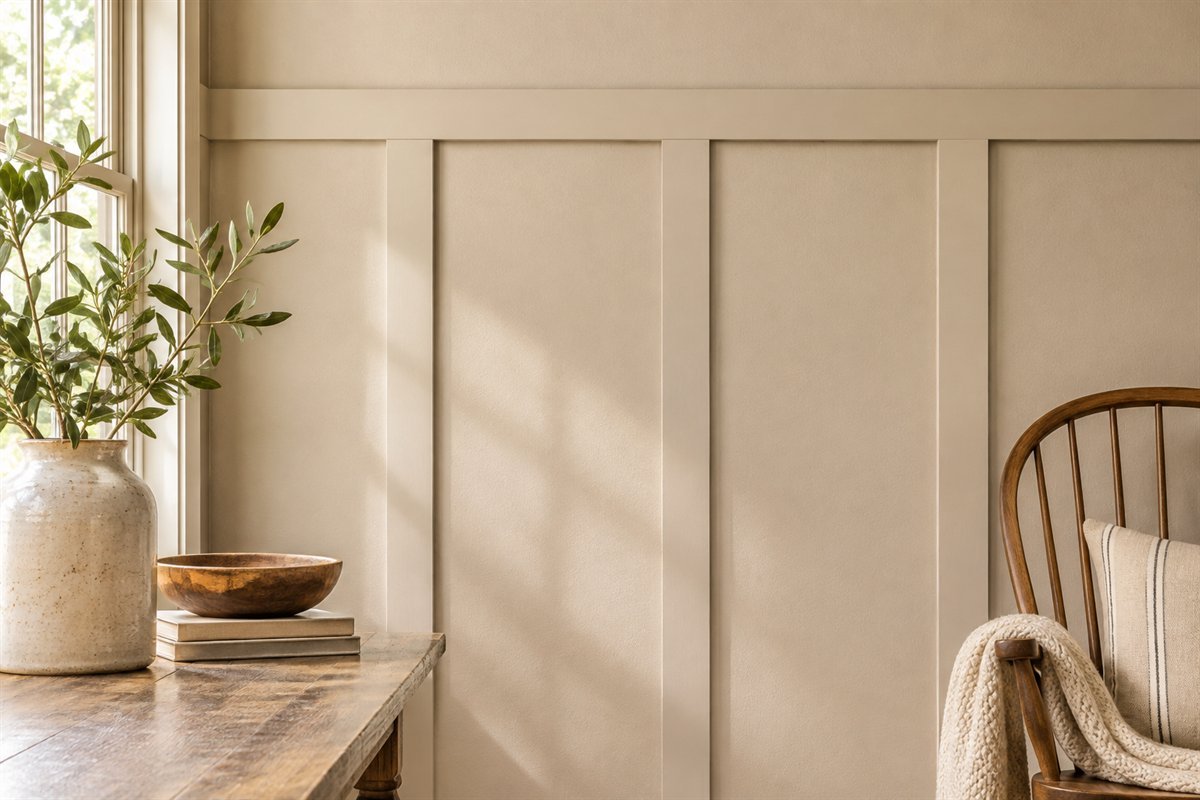
In an applied-batten design, the existing wall may remain visible between the strips. Its texture therefore becomes part of the finished result. Compare the actual wall and trim sample under side light before deciding whether the project needs a different prepared background. A photograph of smooth panels does not establish that battens alone will make a textured wall look smooth.
Include the background finish in the scope before comparing the cost of trim alone.
22. Test the complete rhythm at full scale before ordering

A full-scale layout can reveal conflicts that a small sketch misses. Use a suitable temporary marking method for the actual surface and permission, keeping the finish’s limitations in mind. Include both ends, the top rail, furniture silhouettes and service points. Stand at the doorway and the usual seat before approving the pattern. The exercise compares composition; it is not a final cutting or fixing plan.
Record the chosen arrangement and give the installer the actual measured elevation.
An original board-and-batten spacing worksheet
Begin with one uninterrupted horizontal span and define its boundaries. Record the measured width W, the actual visible batten width b and the proposed number of battens N. In this particular model, a full batten sits at each end and every clear gap between battens is equal. The number of gaps is therefore N minus 1.
For that model only, clear gap g = (W minus N multiplied by b) divided by (N minus 1). Use consistent units, require N to be at least 2 and check that the remaining clear width is positive. This is the same basic equal-space relationship explained by The Moulding Company; the assumed example and planning exercise here are original. It does not automatically describe a wall with extra side margins, different end pieces, doors or windows.
Hypothetical example: a clear 120-inch span, seven battens and an actual 3-inch face width. The battens occupy 7 × 3 = 21 inches. The six clear gaps share 120 minus 21 = 99 inches, giving a 16.5-inch clear gap. The left edge of each successive batten is 19.5 inches after the previous one: 0, 19.5, 39, 58.5, 78, 97.5 and 117 inches. The final 3-inch batten ends at 120 inches. These numbers illustrate one assumed design, not a recommended spacing or a material order.
Now draw the real openings, service points and retained furniture. If an equal rhythm conflicts with them, revise the composition before preparing quantities. End margins, corner profiles and actual site dimensions may change the model. Ask for a final measured elevation and a product-specific cutting and installation plan. This worksheet does not determine support, hidden services, fasteners or compliance.
Review the pattern from the room and from the edge
Make two comparisons before ordering. First, view the complete wall with furniture shown at its real size. Look for a narrow leftover field, a top rail that almost touches a window sill or a vertical line that collides with the main furniture group. Choose which architectural boundary should lead the layout instead of allowing the first convenient measurement to decide everything.
Second, inspect the profile junctions. Include a section at the baseboard, the end beside the door and any outside corner. The front elevation may look balanced while the side view reveals a large unexplained step. Keep actual profile widths and depths in the brief, along with the background finish and the surfaces that remain accessible.
Separate composition approval from installation approval. A decorative line can be moved on the drawing to avoid a service point; it should not lead to an improvised electrical change. A deep cap can be drawn as a feature, but it needs a suitable design if intended as a shelf. Resolve the actual products and requirements with the appropriate supplier or professional before work begins.
What is an interior board and batten wall?
It is a decorative arrangement of broader wall fields and narrower applied battens, sometimes with rails or a grid. Some versions include a separate background board; others leave the existing wall visible. Specify which construction and finish you mean.
How far apart should the battens be?
Choose the visible rhythm from the wall, furniture and profile, then calculate the clear gaps for the selected layout. There is no single spacing that resolves every opening and corner. The worksheet states the assumptions for one equal-gap model.
Does the top rail have to be one third of the wall height?
No fixed fraction resolves every room. Compare the rail with the actual window sill, door trim, furniture and intended effect before selecting its height.
Can I keep the existing baseboard?
That depends on the actual profiles and the planned junction. Compare their depths and the proposed termination before deciding whether to retain or replace it.
Can a decorative board-and-batten wall be used as waterproofing?
Do not assume a decorative appearance establishes wet-area suitability. Use the exact complete system and guidance required for the intended location. This article concerns interior decorative composition, not waterproof assembly design.
A practical next step
Choose the wall, draw the furniture and openings, then compare the profile and clear fields. A spacing calculation is most useful after its assumptions match the design. Resolve the edges and actual product requirements before ordering the final materials.
Compare board and batten with other accent wall directions. Review bathroom-specific lower-wall composition and location checks. Consider a single-color room envelope around decorative trim.
Images are original AI-generated interior concepts, not installation diagrams or verified material assemblies. The numerical example is hypothetical and independently checked for arithmetic only. Actual materials, support, surface preparation, services and installation require the appropriate product guidance and project assessment.
Sources and care references
- Metrie: board-and-batten and other wall-treatment definitions, 2019 guide
- The Moulding Company: equal-gap calculation and stated layout assumptions
Optional digital guide for this topic
If you prefer a structured workbook, explore this related paid guide.