Thoughtful cut flower garden ideas connect an outdoor growing space with the arrangements you actually want indoors. A dedicated plot can look attractive while leaving room for routine tending, supports and the changing gaps left after picking. Begin with a manageable area and a clear purpose.
These 27 concepts focus on the layout and visual organization of a home cutting plot. Choose plants and timing for your region, soil, light and household. The illustrations show design possibilities rather than verified varieties, simultaneous flowering dates or a guaranteed supply of bouquets.
Contents
- 1. Start with one clearly defined trial bed
- 2. Use short rows when they clarify the work
- 3. Keep a narrow bed reachable from its useful sides
- 4. Separate two beds with a purposeful central route
- 5. Turn a path-side strip into a deliberate picking area
- 6. Divide a small plot into readable planting blocks
- 7. Choose a restrained palette for the first season
- 8. Give warm colors their own compact group
- 9. Use cool colors near a calm garden backdrop
- 10. Let white flowers and foliage form a quiet combination
- 11. Repeat a useful selection instead of collecting single specimens
- 12. Build a local flowering calendar before promising continuity
- 13. Give spring bulbs an identifiable area
- 14. Leave permanent planting room to establish
- 15. Use one annual trial row for deliberate experimentation
- 16. Choose plant forms for the containers you use
- 17. Include a considered place for supporting floral texture
- 18. Plan foliage as a deliberate part of the palette
- 19. Resolve plant supports before the bed becomes crowded
- 20. Assess exposure before using a boundary as shelter
- 21. Make watering access part of the route
- 22. Give the picking bucket a stable landing place
- 23. Check the carrying route back to the house
- 24. Choose a view that still works after picking
- 25. Leave a separate group for outdoor enjoyment
- 26. Keep a simple bed map with identifiable selections
- 27. Expand only the part that proved useful
Match the plot to its conditions and the intended use
RHS guidance distinguishes a dedicated cutting area from taking flowers throughout an ornamental border, and emphasizes suitable conditions, mature spread, access and appropriate support. University of Vermont Extension also describes several possible layouts and recommends keeping plants within reach. Use those principles before choosing a decorative shape. Record the site's actual light, drainage, exposure and usable route, then check selected plants against regional guidance and their mature size. Do not transfer another region's planting calendar directly to your garden. Keep the first season small enough to observe, and treat soil amendments, planting distances and watering as plant- and site-specific decisions rather than one formula for every flower.
Choose an arrangement that fits your situation
- First home cutting plot: Begin with one manageable, reachable trial bed
- Regular tending and picking: Use a clear route and readable planting groups
- Indoor color preference: Choose a restrained palette among site-suitable plants
- Seasonal gaps: Keep a local record before expanding the selection
- Outdoor display matters too: Allocate distinct picking and ornamental areas
1. Start with one clearly defined trial bed

A small dedicated bed gives the project a visible limit and a useful first-season learning area. Choose a spot that can be reached for ordinary care without crossing another planted group. Keep the outline simple enough to understand from the house. A modest successful routine provides better planning evidence than a large first plot whose middle becomes difficult to tend.
2. Use short rows when they clarify the work

Short rows can give a small cutting plot an orderly structure without making it feel like a commercial field. Give each row a clear beginning and a practical approach. Let the selected plants determine their actual spacing. A simple repeated direction makes the plot easier to map and revise while preserving a decorative view from outside the growing area.
3. Keep a narrow bed reachable from its useful sides

Choose the bed depth from the way it will be tended rather than a universal dimension. Test the reach before planting, including the bucket or tools normally carried there. Keep the required route outside the soil used for growing. A narrow accessible plot can offer more usable picking positions than a larger bed with a visually impressive but unreachable center.
4. Separate two beds with a purposeful central route

Two small growing areas can frame a central route when that route has a real job. Give it enough room for the actual tending and carrying routine, using a surface appropriate for the site. Keep the approach connected to the rest of the garden. A symmetrical view is a bonus only after the access works with plants at mature size.
5. Turn a path-side strip into a deliberate picking area

A border beside an existing route may provide a compact cutting zone without adding a separate path. Choose plants and spacing that keep the route usable when growth is full. Keep the area distinct from a border expected to remain untouched for display. The strip should serve its cutting purpose without requiring every flower to lean into the walking space.
6. Divide a small plot into readable planting blocks

A few simple blocks can make it easier to keep track of what occupies each part of a bed. Use the layout to compare a limited number of selections, with room for their actual spread. Keep the mapping readable in a notebook. The blocks are an organizational choice, not a reason to force plants with incompatible requirements into a decorative checkerboard.
7. Choose a restrained palette for the first season

A limited palette can help the plot connect with the rooms where flowers will be displayed. Start with a small group of related colors and suitable foliage, then refine the selection from actual results. Keep site suitability ahead of the color scheme. One well-chosen combination can be easier to arrange and assess than an unrelated plant for every possible hue.
8. Give warm colors their own compact group

A warm-toned group can provide a different decorative direction without changing the entire plot. Compare the colors with the containers and spaces used at home. Keep the plants suitable for the same intended location, and allow their required spread. A contained accent group can supply variety while leaving the rest of the garden visually calm.
9. Use cool colors near a calm garden backdrop

A cool-toned planting group can read clearly against a simple hedge or plain garden boundary. Compare the actual light before deciding which plants belong there. Keep the backdrop's maintenance and root needs separate from the cutting area. The decorative relationship should work without assuming that all flowers of a similar color have similar growing requirements.
10. Let white flowers and foliage form a quiet combination

A pale group can be useful when the indoor arrangement needs a restrained look. Consider the complete plant shape and foliage as well as the open flower. Keep the growing plan appropriate for the actual selections. A simple combination can offer a clear design direction while allowing the plot to look intentional before and after its most noticeable flowering period.
11. Repeat a useful selection instead of collecting single specimens

A repeated group can give the bed a clearer visual rhythm than many unrelated single plants. Start with selections suited to the plot and the intended arrangements. Keep enough space for their actual growth rather than compressing the repetition into a dense ribbon. Review whether the group is useful after picking before increasing its share of the garden.
12. Build a local flowering calendar before promising continuity

A seasonal record can reveal whether the chosen plants provide useful overlap or leave long gaps. Record the specific selection and the conditions in your own garden. Keep expectations realistic during establishment. A calendar based on local guidance and actual observation is more useful than a concept image showing every spring and summer flower open together.
13. Give spring bulbs an identifiable area
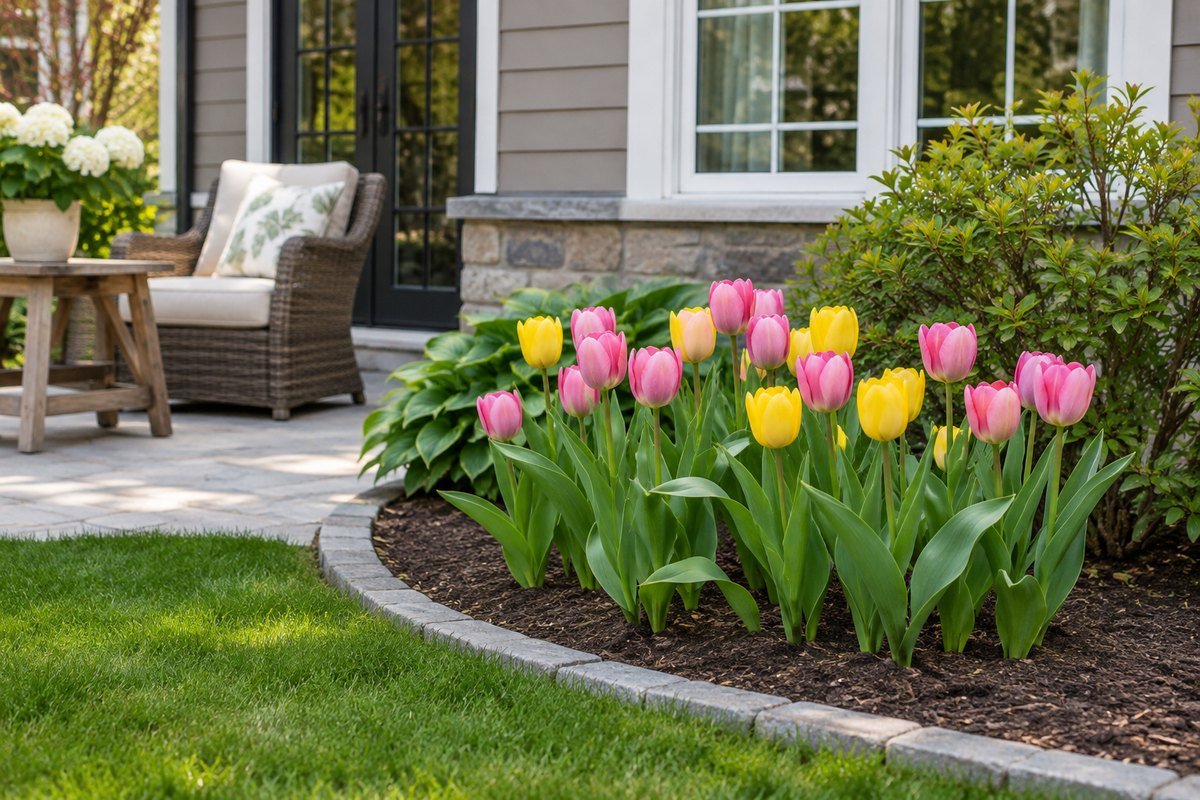
An identifiable bulb group can remain understandable when its flowers are no longer the main feature. Choose suitable selections and follow their specific planting and aftercare guidance. Keep the position recorded so later work does not disturb forgotten planting. Use the group as one part of the seasonal plan rather than assuming that every bulb will repeat the same display indefinitely.
14. Leave permanent planting room to establish

A long-term group needs space for the size it is expected to reach, even when the first planting looks sparse. Keep a record of its intended outline and avoid filling every apparent gap with a permanent neighbor. Assess the growing area as it changes. A small plot is easier to maintain when future expansion has been considered before the first season feels crowded.
15. Use one annual trial row for deliberate experimentation

A defined trial row can hold a limited new selection while the rest of the plot remains familiar. Record the exact seed or plant source and follow its local timing and spacing needs. Compare the results after an ordinary season. Keep the trial small enough to learn from rather than introducing so many variables that the garden becomes difficult to evaluate.
16. Choose plant forms for the containers you use

The favorite vessel at home can help define the desired decorative effect, but the plant still needs to suit the garden. Compare a small table vase with a broader arrangement before making the whole plot about large flowers. Keep a simple list of the forms actually useful indoors. This connects the growing project to ordinary use without claiming a fixed stem yield.
17. Include a considered place for supporting floral texture
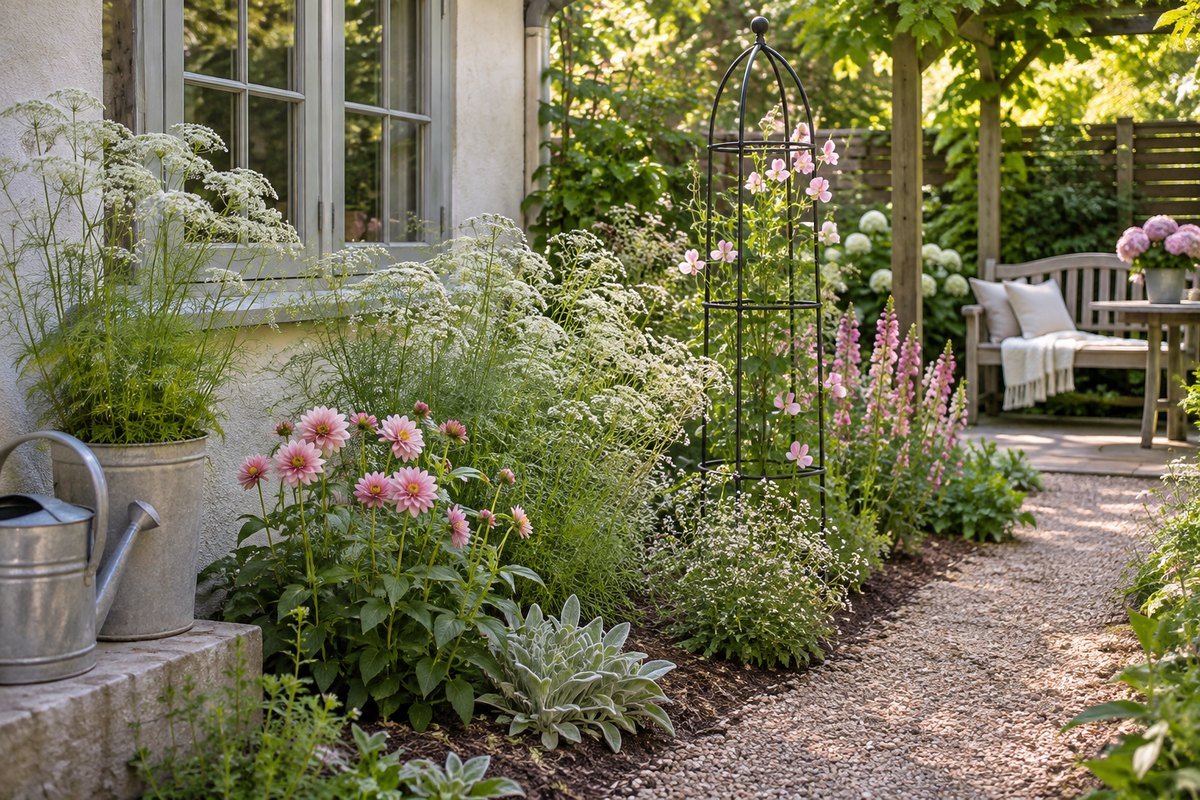
A bouquet can use contrasting forms as well as its most prominent flowers. Decide what kind of secondary texture you enjoy and choose appropriate plants rather than buying an unspecified filler mix. Keep their mature space and growing needs in the plan. A dedicated modest group makes the design role easier to follow without overwhelming a small plot with competing choices.
18. Plan foliage as a deliberate part of the palette

Foliage can contribute shape and visual balance to an arrangement. Identify suitable selections and their growing and handling requirements instead of assuming every attractive leaf belongs in a vase. Keep the source plants accessible without cutting through another group. A small recorded foliage area can make the overall plan feel more complete while leaving room for the flowers themselves.
19. Resolve plant supports before the bed becomes crowded

Some selected plants will need appropriate support. Decide the actual system and its position during planning so the access route and growing space remain useful. Follow plant-specific guidance and the support's intended use. Keep supports clear of ordinary movement; a decorative concept cannot establish whether a stake, net or frame is adequate for a particular mature plant.
20. Assess exposure before using a boundary as shelter

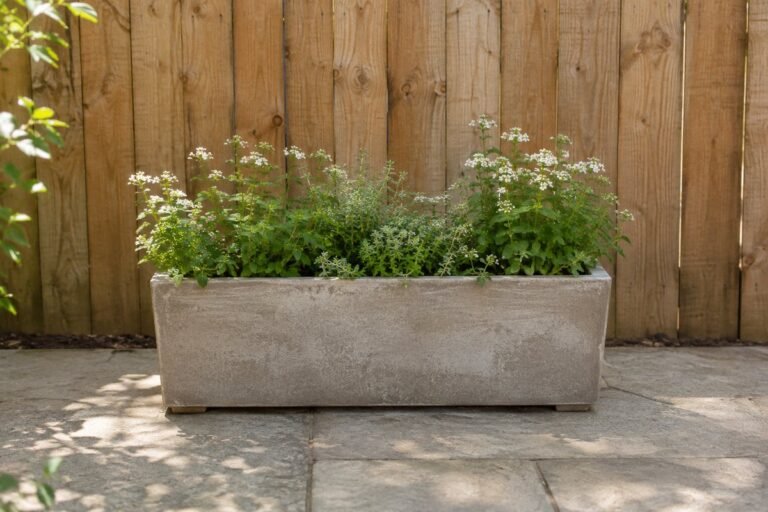
A boundary may change the growing conditions around a small plot. Observe shade, exposure and the access needed to maintain both the boundary and the bed. Keep the planting decision site-specific. A sheltered-looking photograph cannot show the actual wind or frost behavior, so choose the position from observations rather than adding a fence solely to imitate an attractive backdrop.
21. Make watering access part of the route

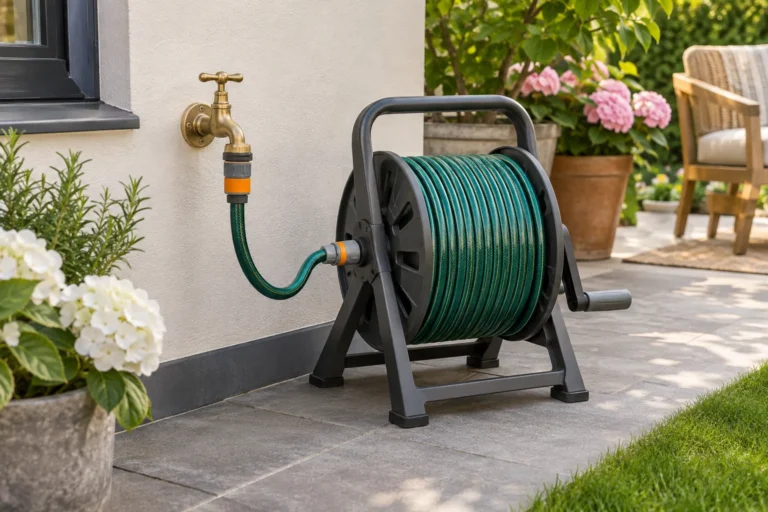
The garden needs a realistic way to receive its appropriate care. Check how water will reach the plot without leaving equipment across the normal route. Choose the method for the actual plants, conditions and site requirements. Keep the arrangement straightforward enough to reset after use; a beautiful bed becomes inconvenient if every visit starts with moving several unrelated objects.
22. Give the picking bucket a stable landing place

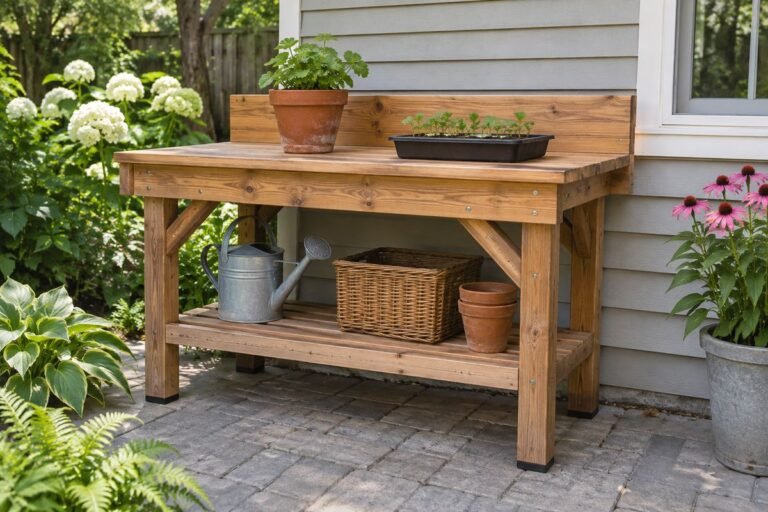
A small clear landing area can make the transition from garden to arranging more organized. Place it near the useful approach without occupying the walkway. Choose a stable suitable surface and keep the area easy to clean. It needs to hold the actual container used there, not become a display shelf filled with unrelated garden ornaments.
23. Check the carrying route back to the house

Walk the proposed route while considering the bucket and the gates or doors normally used. Keep the bed's approach connected to that route. If a narrow turn or obstructed gate makes access awkward, revise the layout before adding more planting. A convenient growing position is useful only when the harvested material can leave it without an unnecessary obstacle course.
24. Choose a view that still works after picking

A cutting plot changes as flowers are removed. Use a clear edge, simple route or restrained backdrop to keep the overall structure readable between displays. Avoid expecting every position to remain in full bloom. A useful garden can show active work and temporary gaps while still looking considered from the window or the ordinary outdoor seating place.
25. Leave a separate group for outdoor enjoyment

If the garden serves both indoor arrangements and outdoor viewing, decide where the main picking will happen. A distinct ornamental group can preserve the view you value while the working plot changes. Keep each area's care appropriate for its plants. This is a design allocation, not a promise that every flower or insect will benefit equally from the same planting decision.
26. Keep a simple bed map with identifiable selections

A notebook map can connect the garden's appearance to the exact plants used. Record sources, positions and observations in a form that is easy to update. Keep any physical markers suitable for the site and out of the route. The record should help identify what to retain or replace rather than create a decorative labeling project more complicated than the plot itself.
27. Expand only the part that proved useful
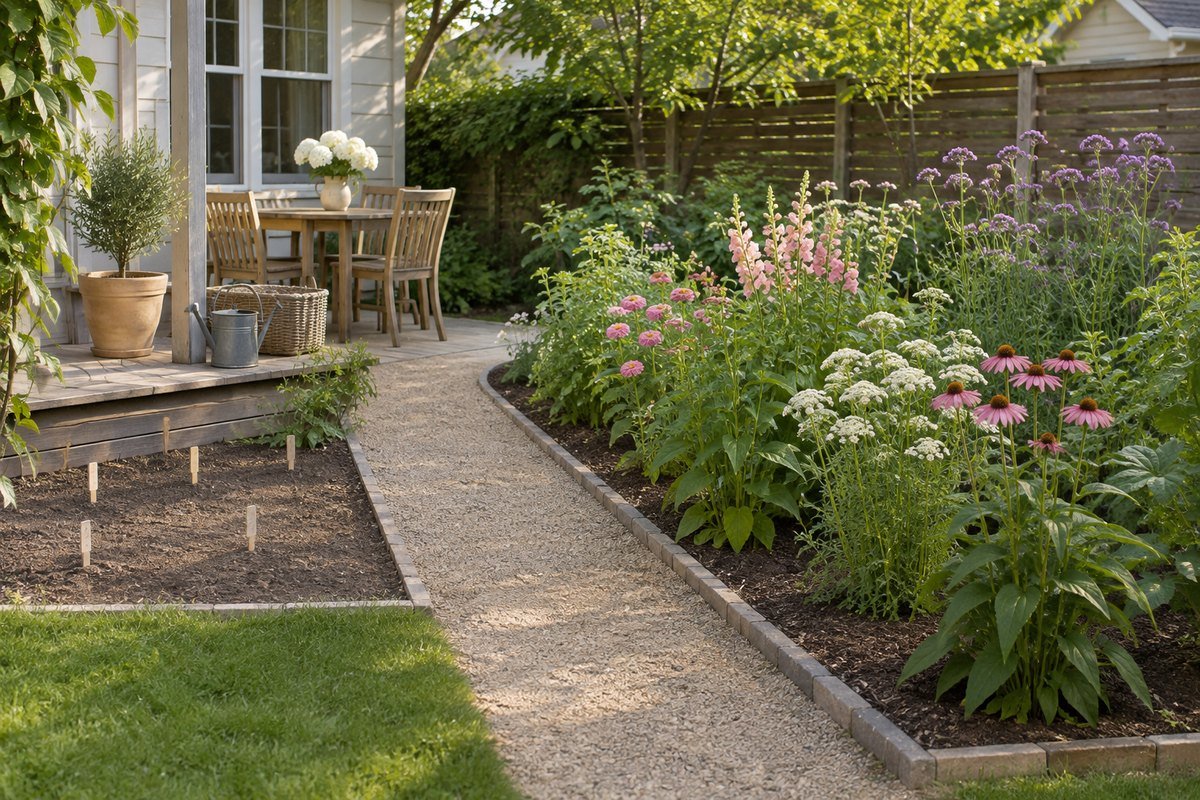
At the end of the trial, review access, care, appearance and the kinds of arrangements actually made. Keep what worked and change one clear problem at a time. A larger plot may be unnecessary if the existing space serves the household well. Strong cut flower garden ideas grow from an understandable routine and a recorded season, not from filling every spare corner.
A first-season cutting-plot card
Record the usable footprint, observed light, soil information, exposure, water route and reach from each side. List a limited number of locally suitable selections, their source, mature size and care needs. Add the indoor containers and colors you expect to use. As a hypothetical layout exercise, compare two short beds with one central route against one deeper bed using the same overall space; mark the area you can actually reach without stepping into planting. The better layout is the one that fits the actual user and site, not the one with the most growing area on paper. Add flowering observations after the season rather than promising dates in advance.
A practical next step
Choose cut flower garden ideas that make the plot easy to understand, reach and care for. Let local growing conditions guide the plants, then connect their shapes and colors to the arrangements used at home. A modest recorded first season can provide a practical foundation for the next design.
For the surrounding room, compare the different purpose of a wildflower garden. review raised garden bed layout ideas.
The images are original AI-generated design concepts, not photographs of tested products or verified installations.
Sources and care references
- RHS: cut flower growing, site selection, access and plant groups
- University of Vermont Extension: planning a home cutting garden
Optional digital guide for this topic
If you prefer a structured workbook, explore this related paid guide.