The most useful key holder is the one you reach for without thinking when you come home. It needs to work with the route from your door, the things already in your hands and the space available beside your bag or coat. A beautiful bowl on the wrong side of the hall can be less useful than a plain hook in the right place.
These entryway key holder ideas focus on that everyday routine. They cover open bowls, visible hooks and contained drawer storage, with styling details that make a small arrangement feel finished. Choose the organization that suits your household and handle access to keys and personal information according to your own needs.
Contents
- 1. Start with a shallow bowl on the console
- 2. Use a divided tray for two everyday sets
- 3. Mount a short hook rail beside the daily route
- 4. Pair a small shelf with hooks underneath
- 5. Set a key dish inside a larger catchall tray
- 6. Use a lined drawer compartment
- 7. Repeat the mirror frame in the key rail
- 8. Choose a contrasting dish for a busy countertop
- 9. Give oversized fobs more room
- 10. Keep mail in a separate section
- 11. Place the holder beside the bag return spot
- 12. Use a small wall-mounted pocket
- 13. Let a sculptural ceramic dish be the accent
- 14. Create separate hook positions for a shared entrance
- 15. Keep bicycle accessories from taking over the key tray
- 16. Use a tray that lifts for cleaning
- 17. Choose a compact oval for a narrow console
- 18. Keep a lanyard in its own position
- 19. Use matching small dishes on a broad console
- 20. Combine a key drawer with an open return cue
- 21. Work with existing wall texture
- 22. Give a charging area a separate boundary
- 23. Limit the organizer to current daily sets
- 24. Build a short leaving-home check around the holder
Give the keys one clear destination
Count the sets that genuinely belong in the daily entrance routine. Include bulky fobs and the space needed to lift a set away from its neighbors. Try the proposed position with a bag in your hand before choosing a bowl or rail. For mounted products, use the maker's compatible surfaces, fixing method and load instructions; advice for one adhesive hook does not apply to every wall or product. Keep private labels, addresses and personal details out of any visible display or photograph.
Compare the storage or placement options
- Open bowl: Fast tabletop return; keep its contents limited and visible.
- Hook rail: Separate positions; check ring fit, hanging length and mounting suitability.
- Divided tray: Useful for shared routines; leave room for bulky fobs.
- Drawer insert: Clear console surface; keep the compartment obvious and easy to open.
1. Start with a shallow bowl on the console
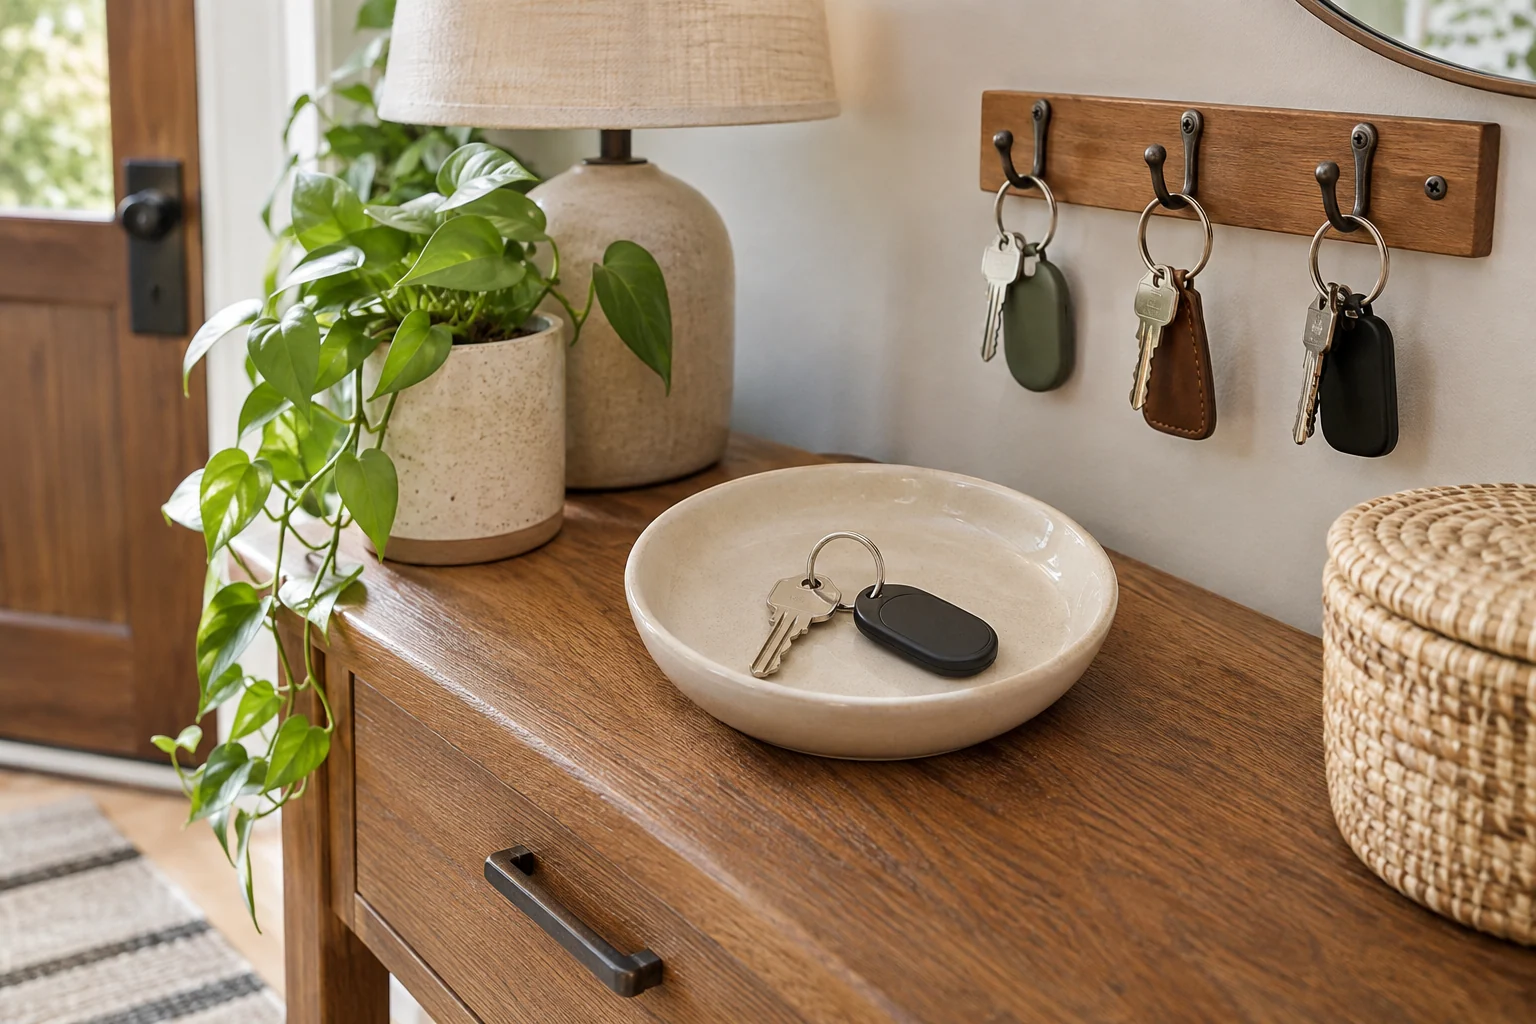
A shallow bowl makes a simple landing spot when the entrance already has a table. Choose a wide enough opening that a bulky fob lies comfortably rather than hanging over the rim. Keep this bowl for keys alone, at least while establishing the habit. Once receipts, coins and small cables accumulate, finding the right set becomes another task in the morning.
2. Use a divided tray for two everyday sets
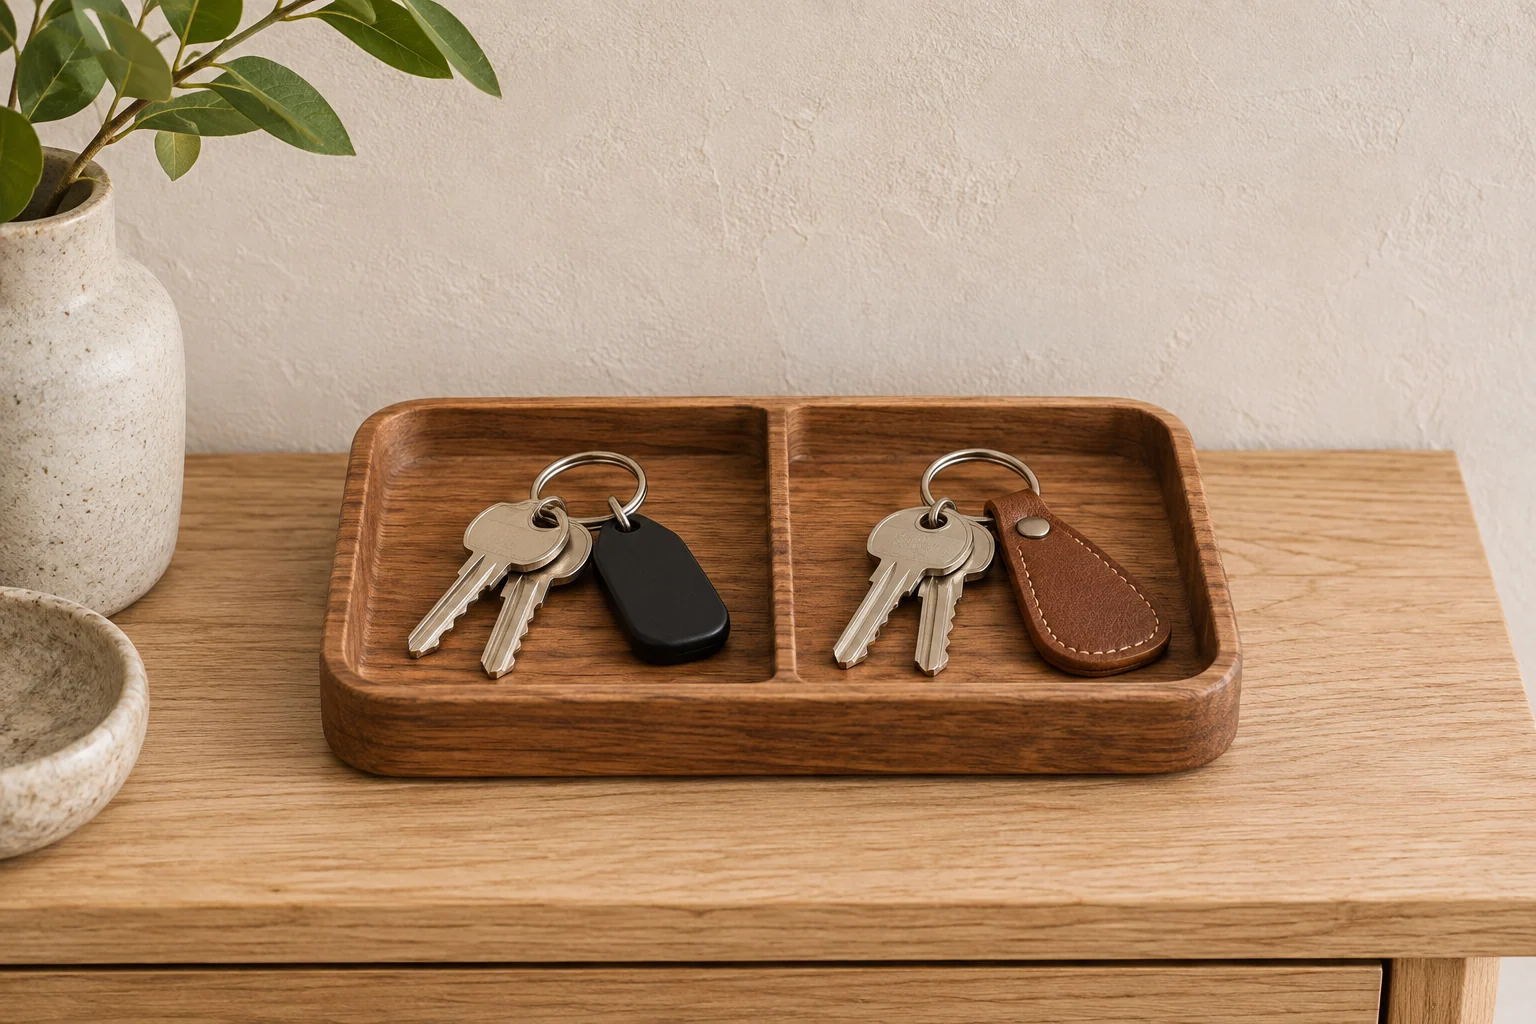
A tray with two clear sections can stop frequently used sets from tangling together. Assign positions naturally, such as left and right, rather than adding labels with private details. Check that both users can lift their keys without moving the other set. A little empty space makes the tray easier to use and looks calmer than compartments filled to their edges.
3. Mount a short hook rail beside the daily route
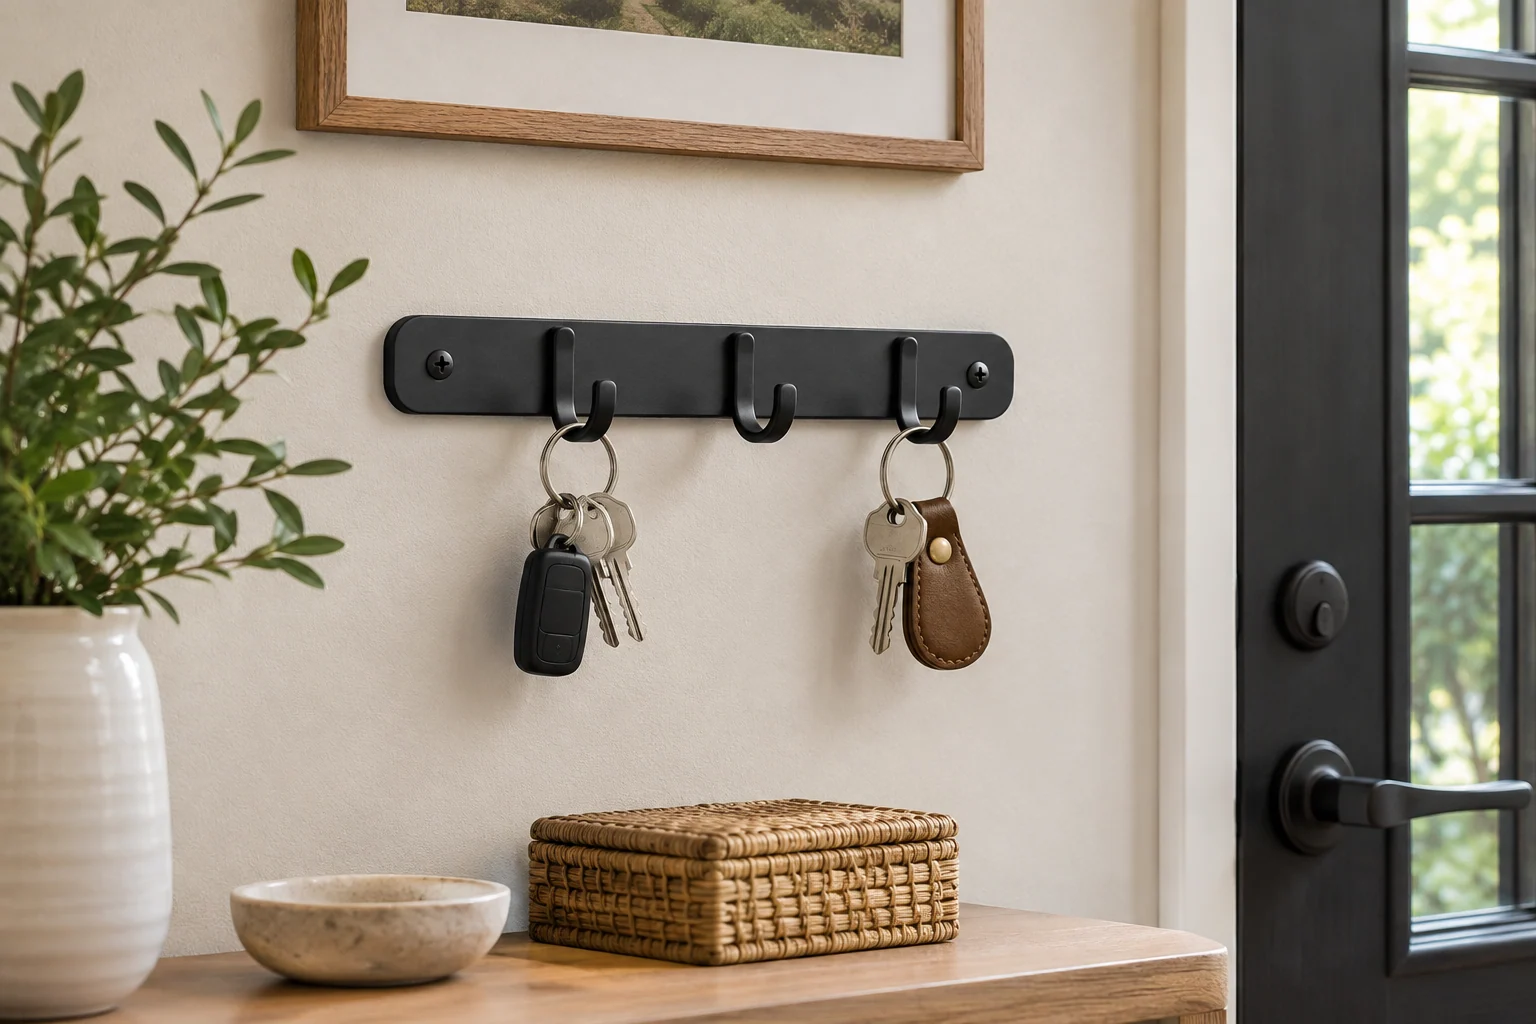
A short rail offers visible positions without using the console top. Choose hooks that accept the actual rings and fobs you carry; a narrow decorative peg may not accommodate a thick ring comfortably. Check the complete mounting instructions before buying. Position it where returning a set is easy, while avoiding a location where a passing bag catches the hanging keys.
4. Pair a small shelf with hooks underneath
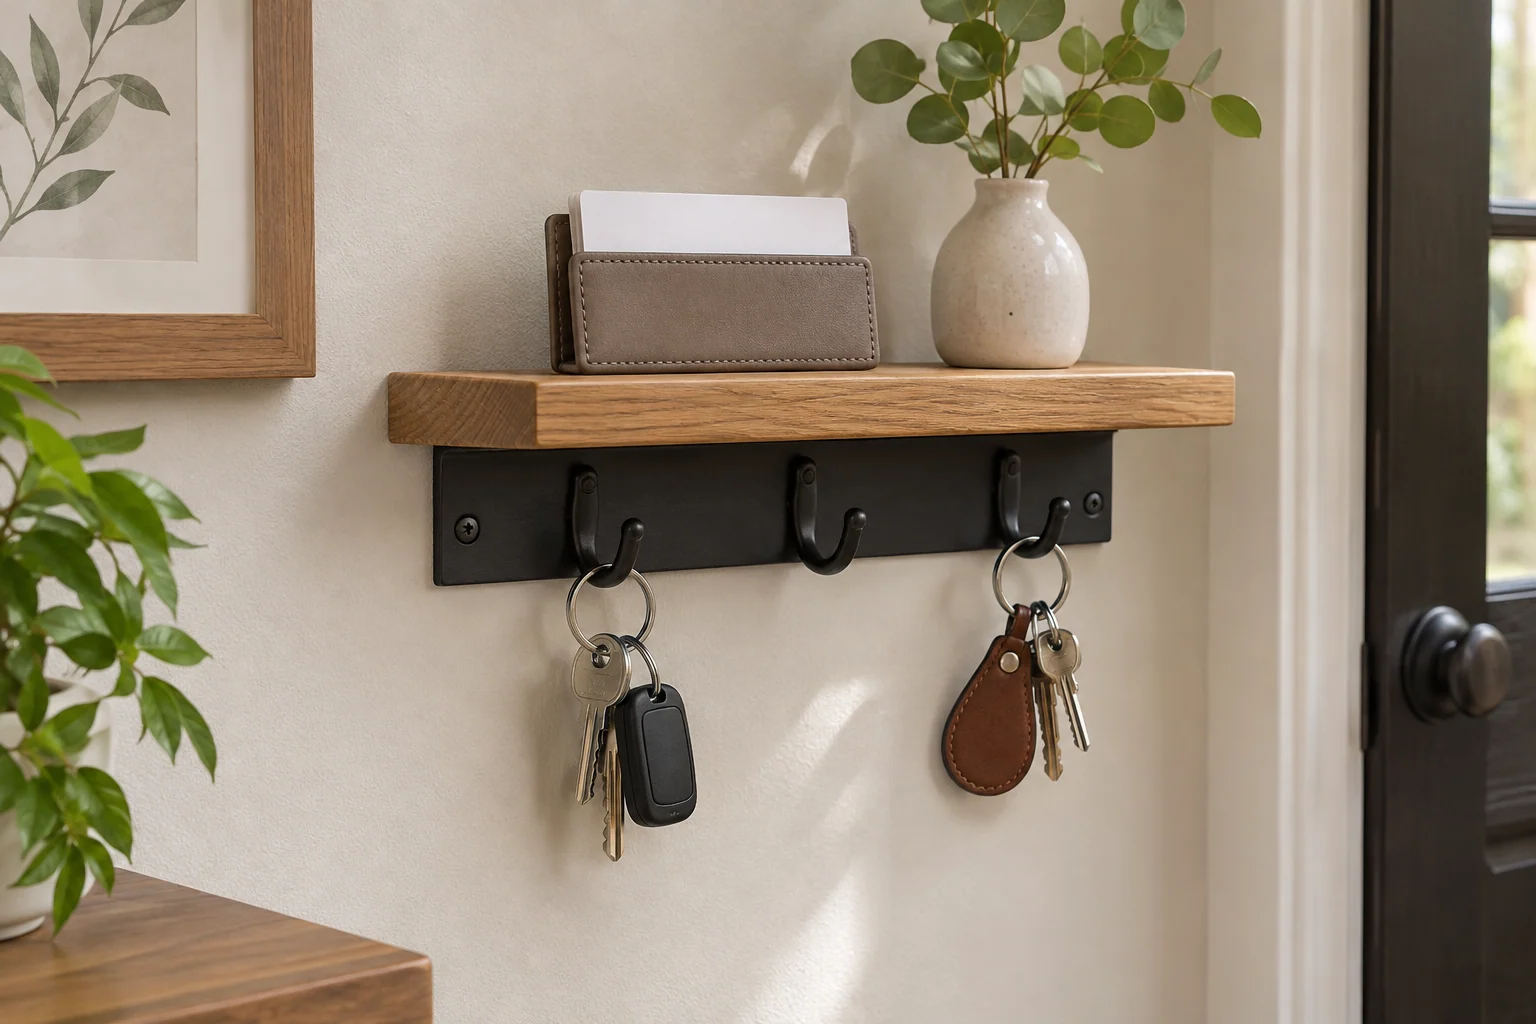
A shelf-and-hook combination can hold a compact everyday object above while keeping keys visible below. Keep the shelf shallow enough for the entrance and avoid loading it with unrelated decor. Verify the product's limits for both shelf and hooks. A combined organizer should simplify two nearby tasks, such as returning keys and setting down a card case, rather than becoming a miniature clutter shelf.
5. Set a key dish inside a larger catchall tray
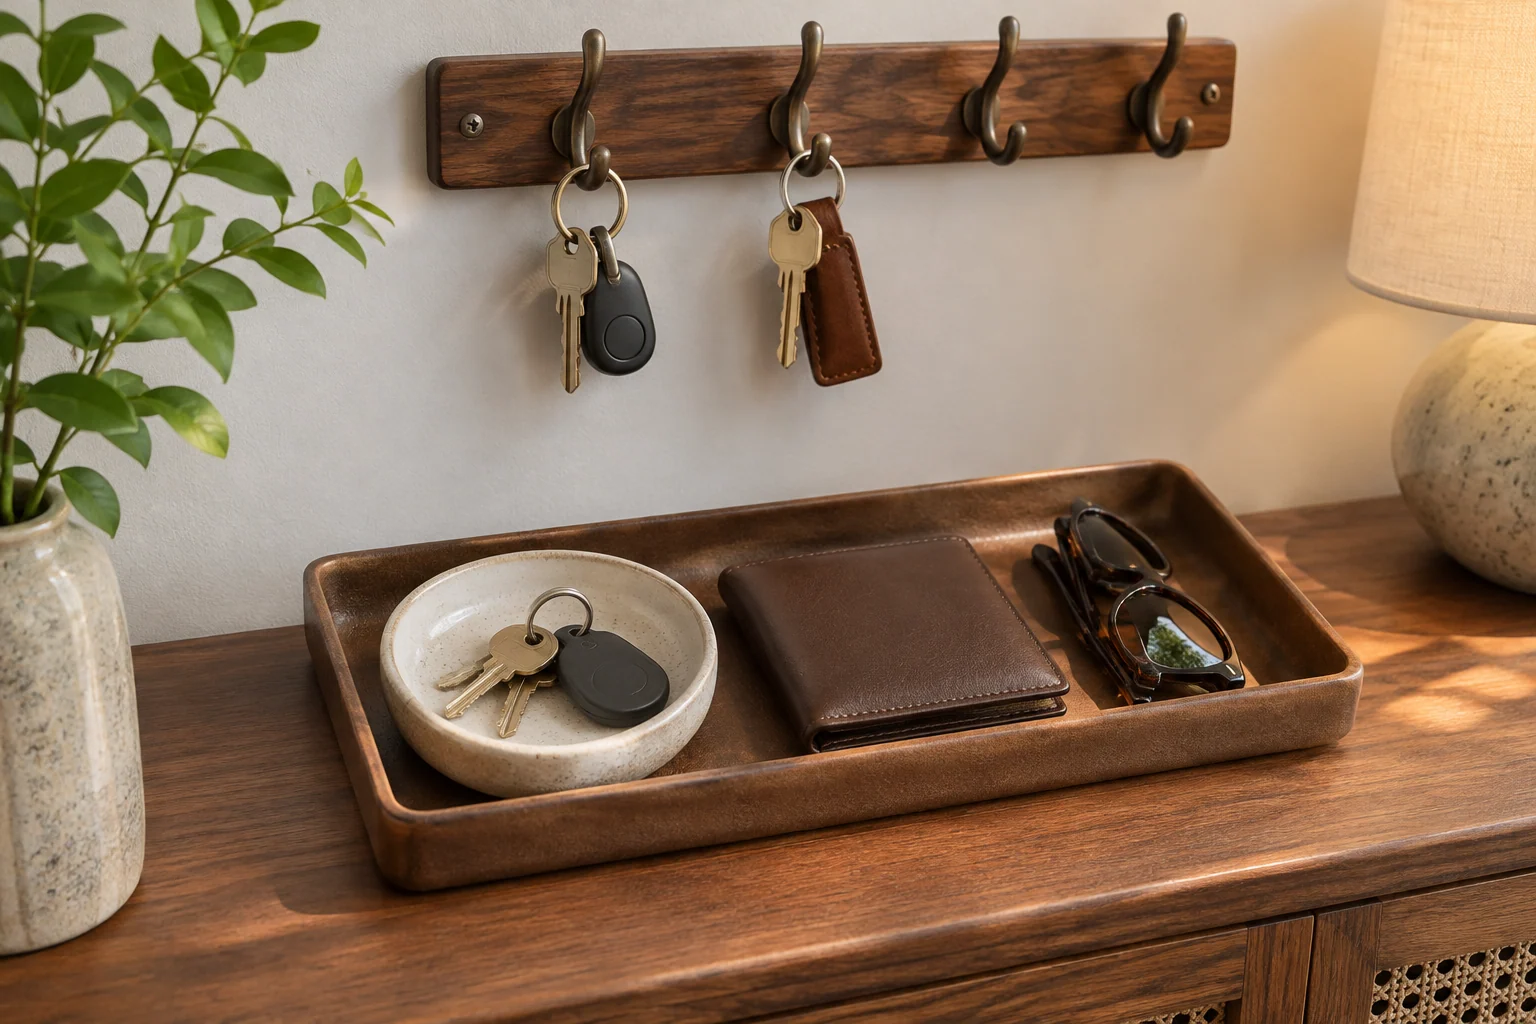
A small dish inside a larger tray gives keys a distinct place while allowing a separate position for sunglasses or a wallet. Leave space between the groups so the tray can be understood at a glance. Choose objects you really carry every day. Decorative filler reduces the useful landing area and can make the arrangement feel full before anyone has arrived home.
6. Use a lined drawer compartment
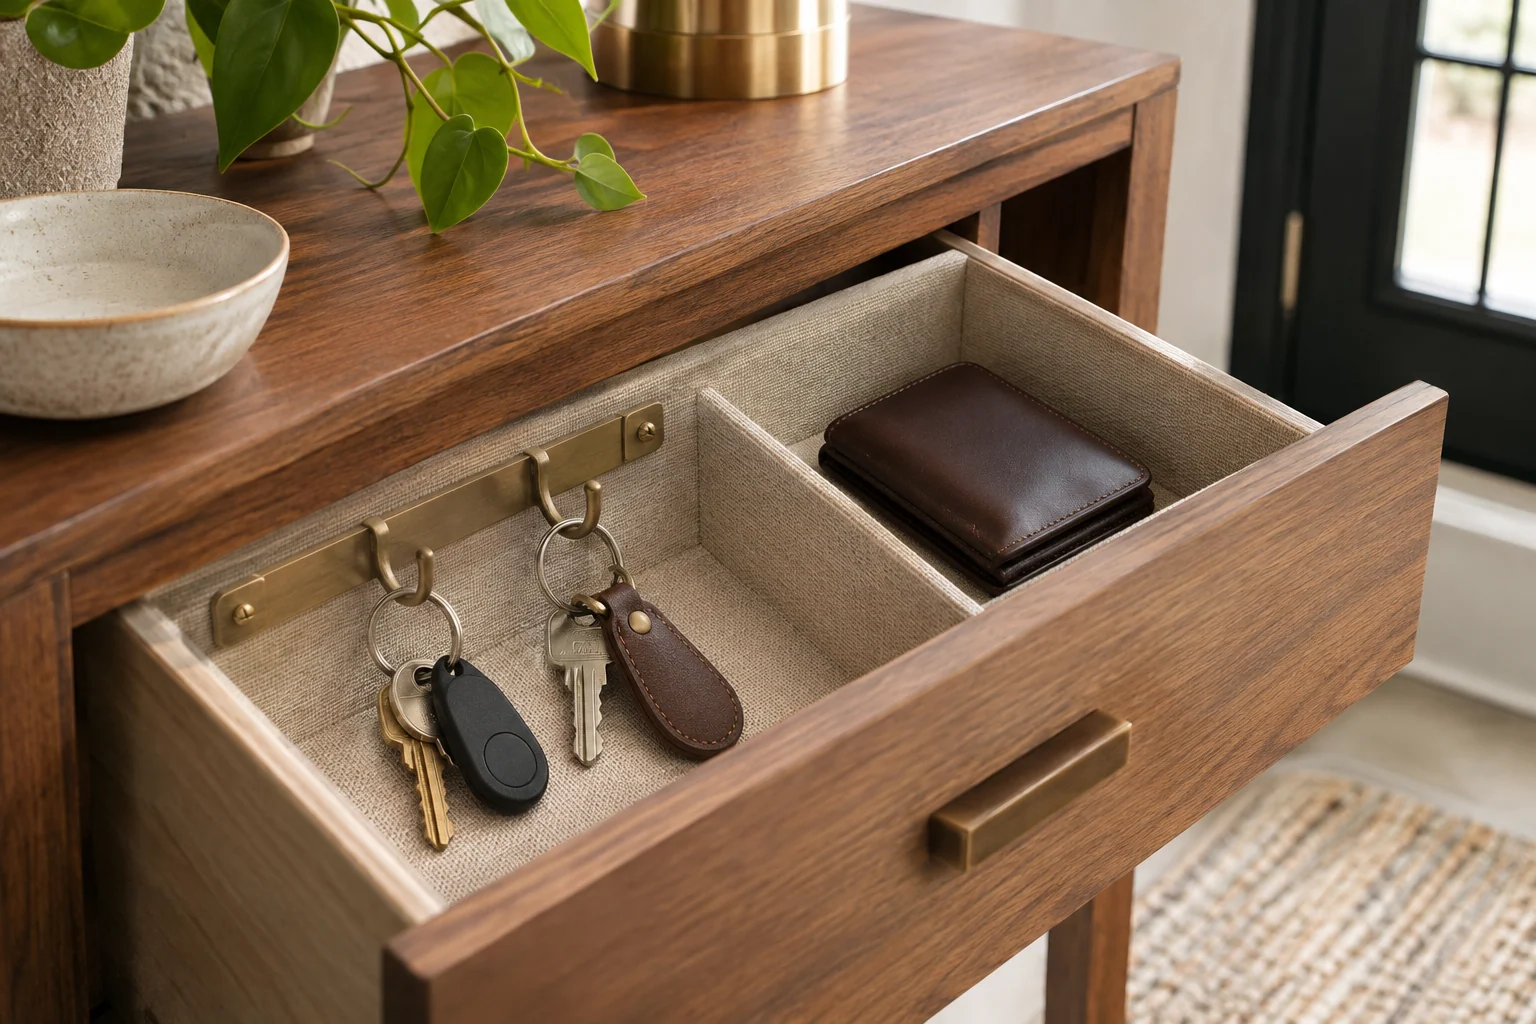
If you prefer a clear console top, dedicate a shallow drawer compartment to keys. Open the drawer and check whether you can see the entire set without rummaging. Choose a removable liner or insert suitable for the drawer and maintain a separate space for other small items. Contained organization works only when putting the keys away remains quick enough to become automatic.
7. Repeat the mirror frame in the key rail
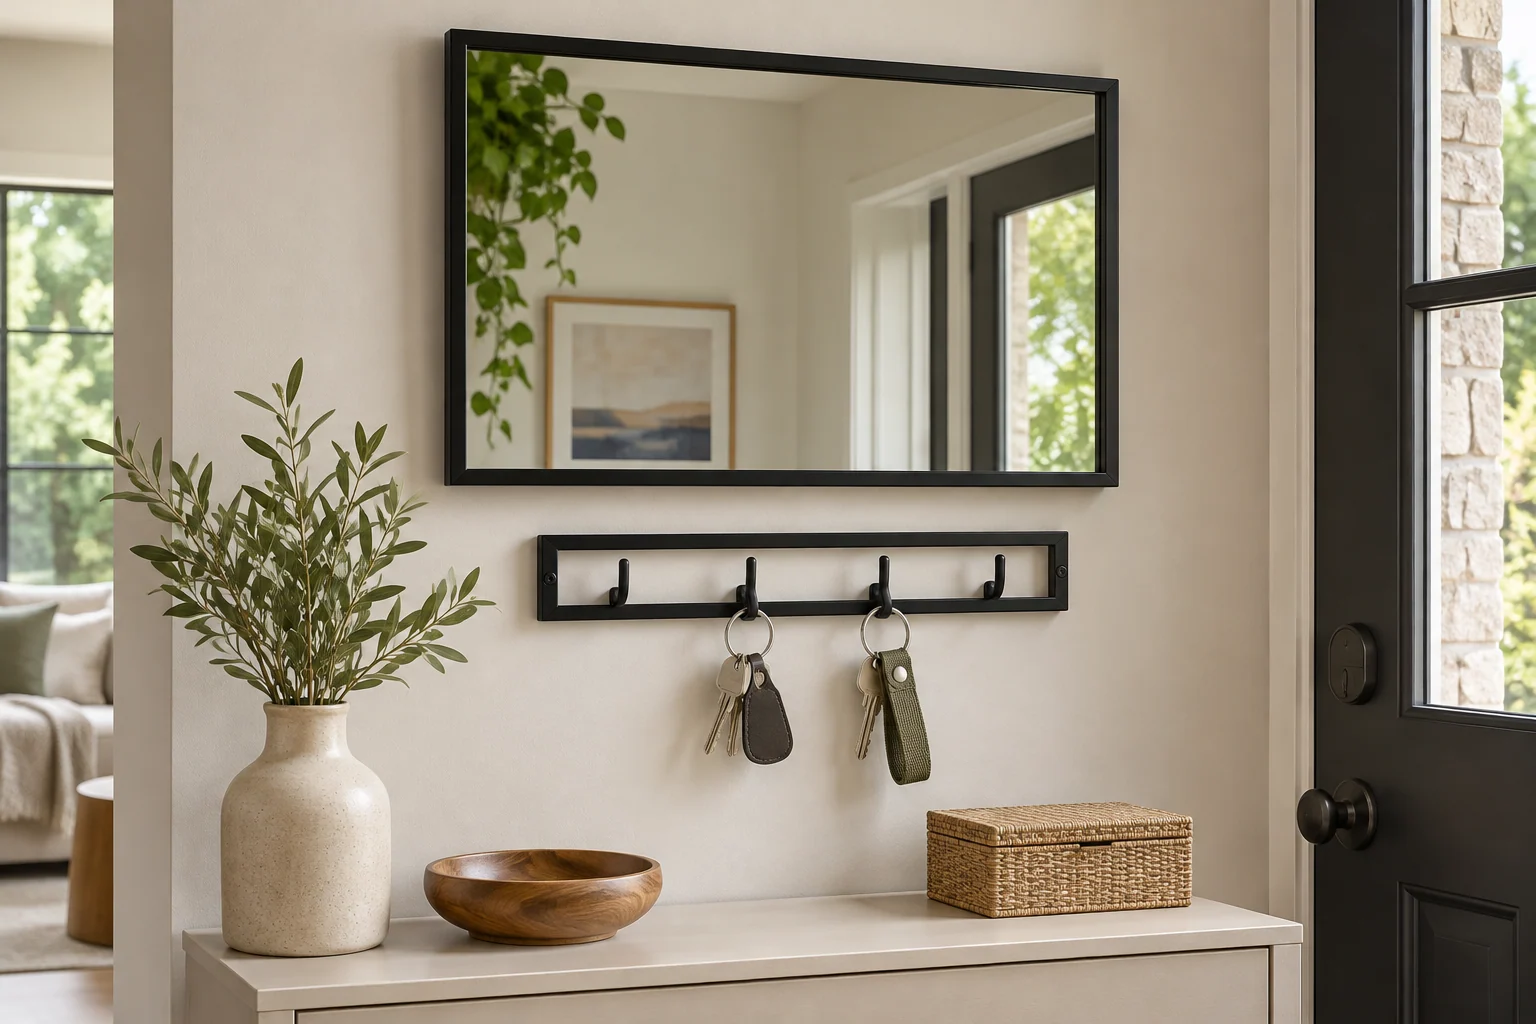
A black rail below a black-framed mirror creates a quiet visual connection. Brass-toned or pale wood pieces can do the same with an existing frame. Keep the shapes simple and check the mounting position before arranging surrounding art. The matching detail should help the organizer belong in the room, while the actual hook spacing still suits your keys.
8. Choose a contrasting dish for a busy countertop
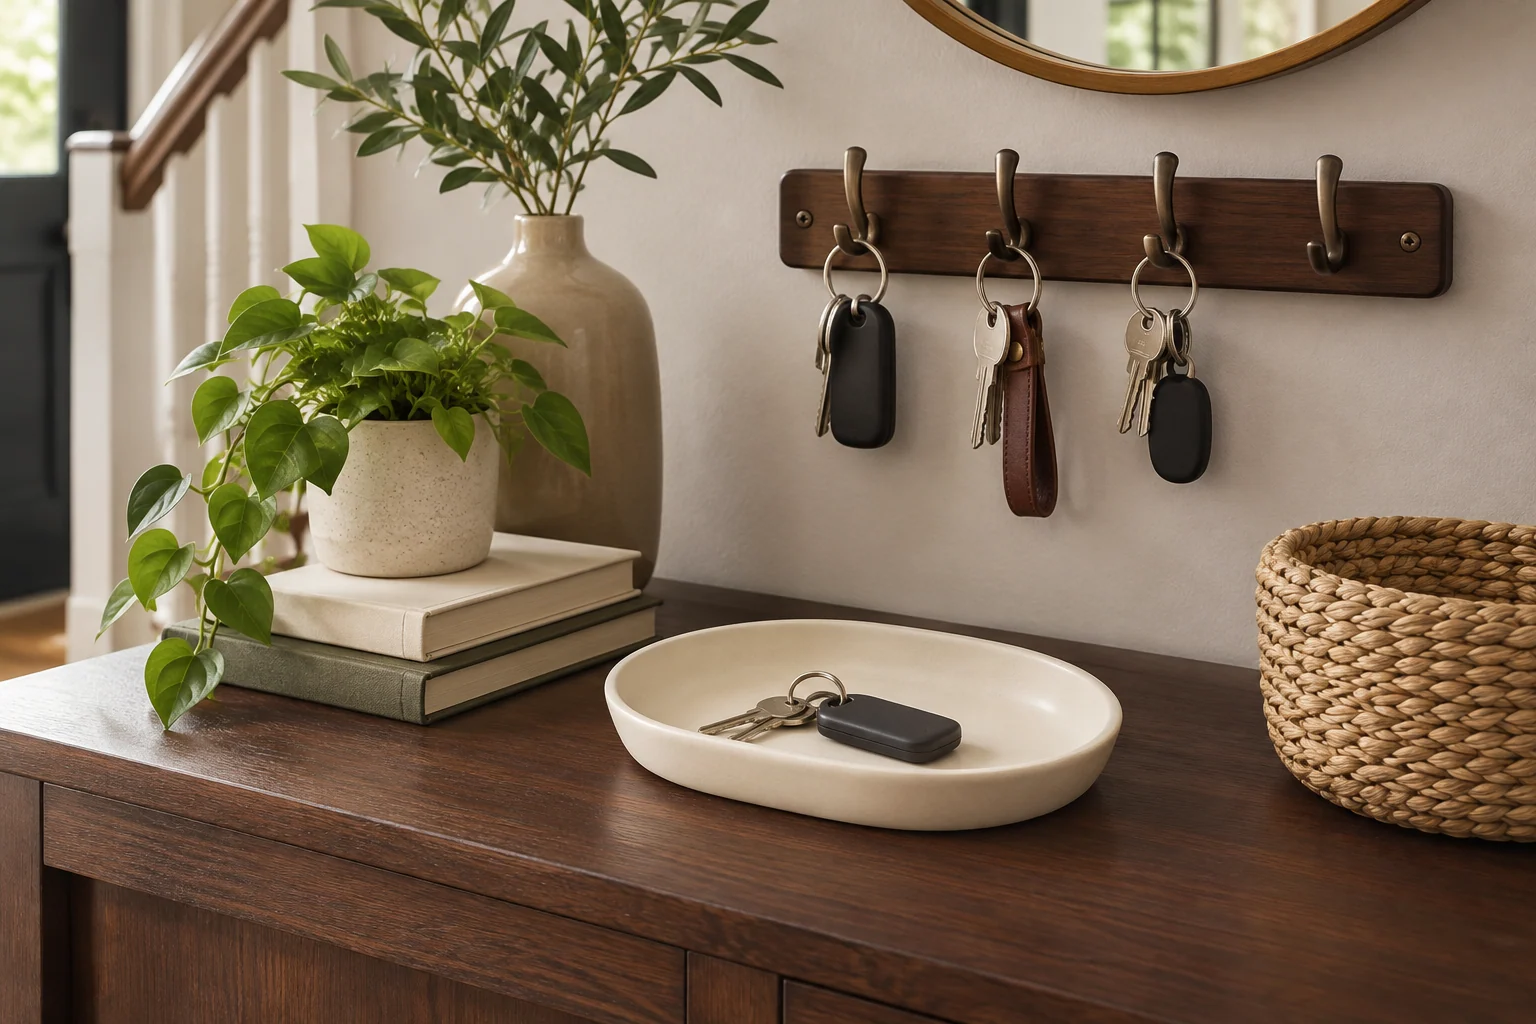
Keys are easier to locate when their landing place is visually distinct from the surface below. A pale dish on dark wood or a dark tray on a light console creates that boundary. Compare the combination with your actual fob colors. Strong contrast is useful, but it does not require a bright accent if a restrained cream-and-walnut palette already fits the hall.
9. Give oversized fobs more room
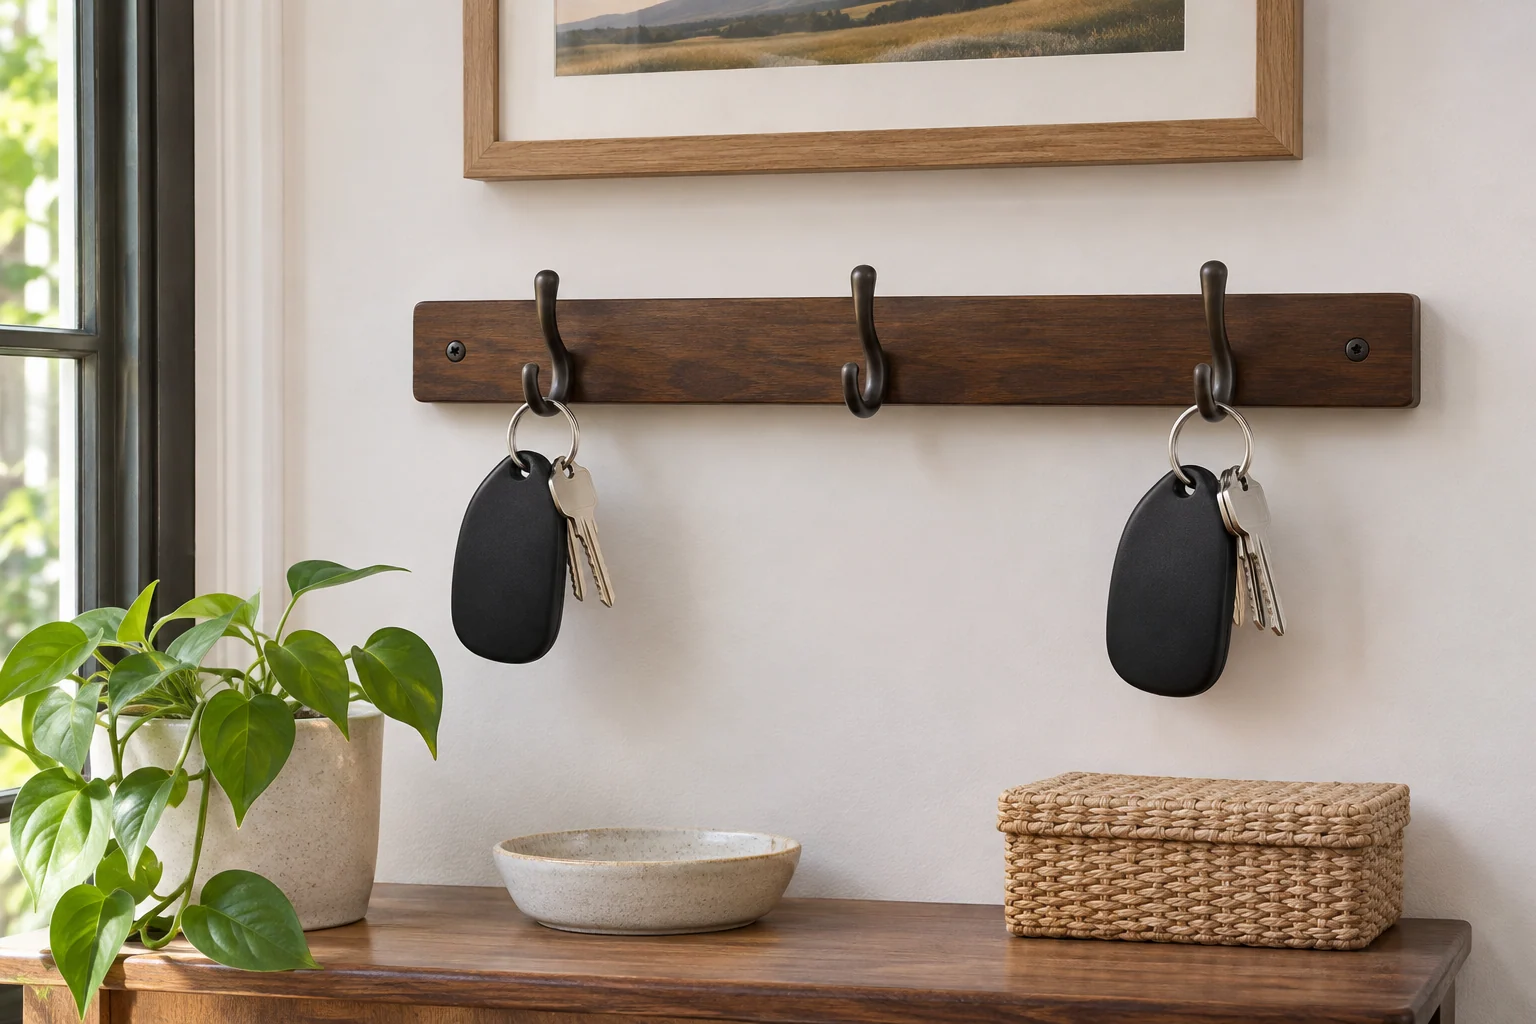
Large vehicle fobs, clips and lanyards may need wider hook spacing or a larger tray than a small ring of keys. Lay the complete sets out before selecting an organizer. Keep clips from bridging neighboring hooks and let lanyards hang without dragging over a console lamp or decor. Choose for the objects you carry now rather than an idealized photograph of two tiny keys.
10. Keep mail in a separate section
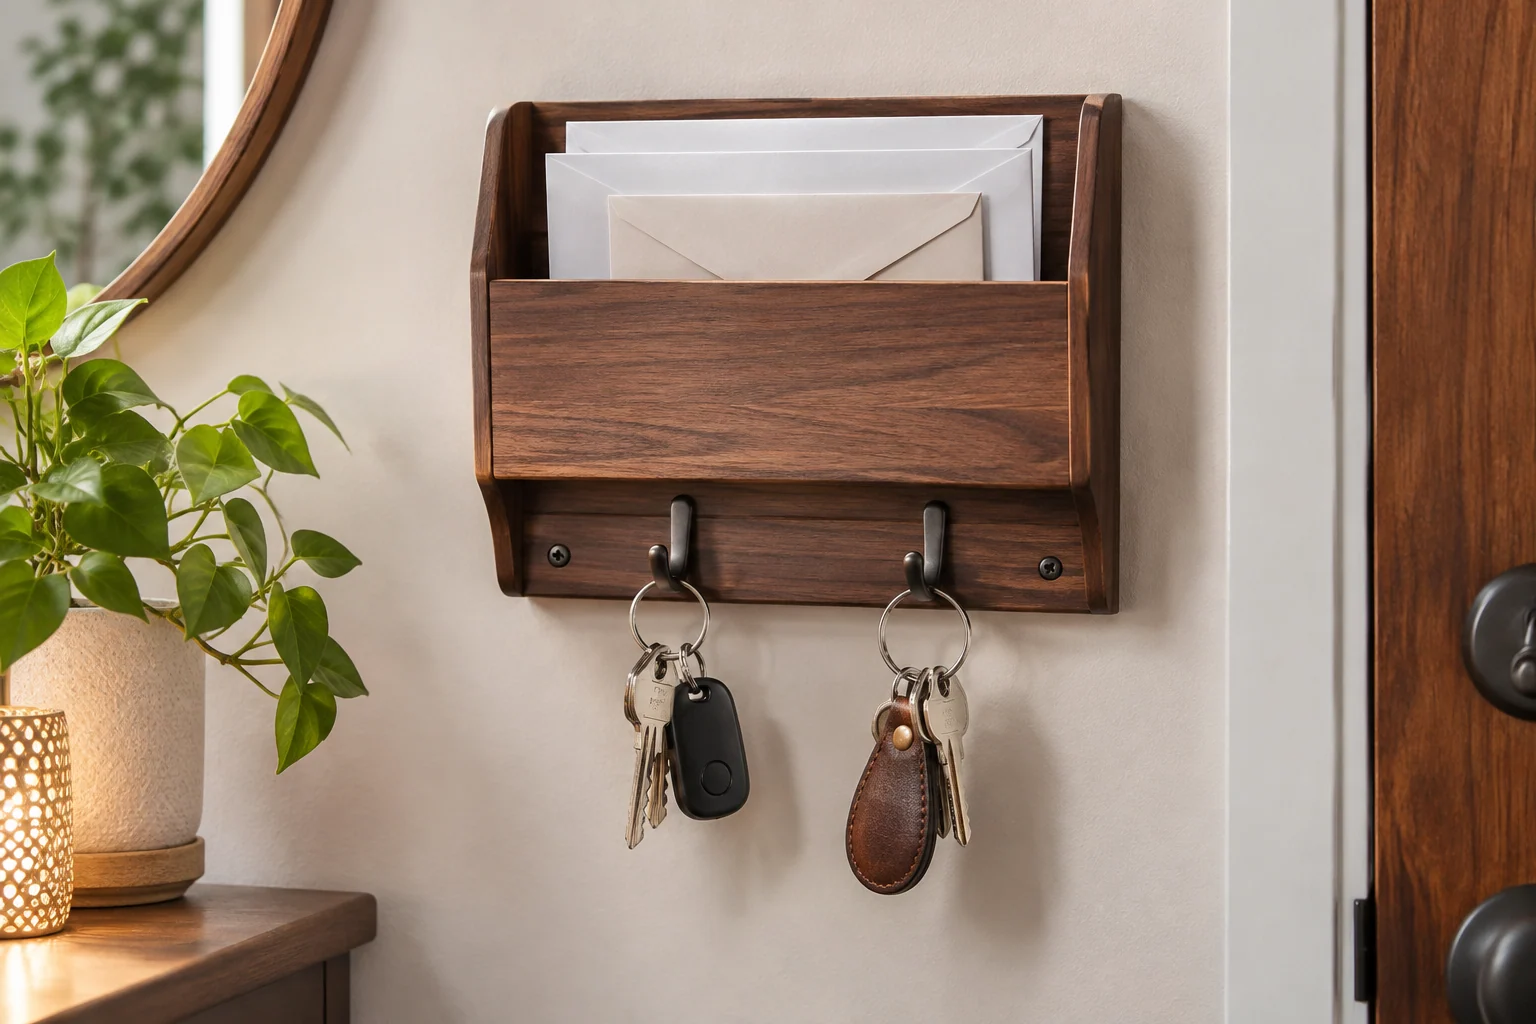
A combined entry organizer can work well if incoming mail has its own vertical slot and keys have clear positions below or beside it. Do not allow envelopes to cover the dish or hooks. Review the paper section regularly so it stays a temporary landing spot. Keep mail faces turned away in photographs and avoid using real addresses as styling props.
11. Place the holder beside the bag return spot
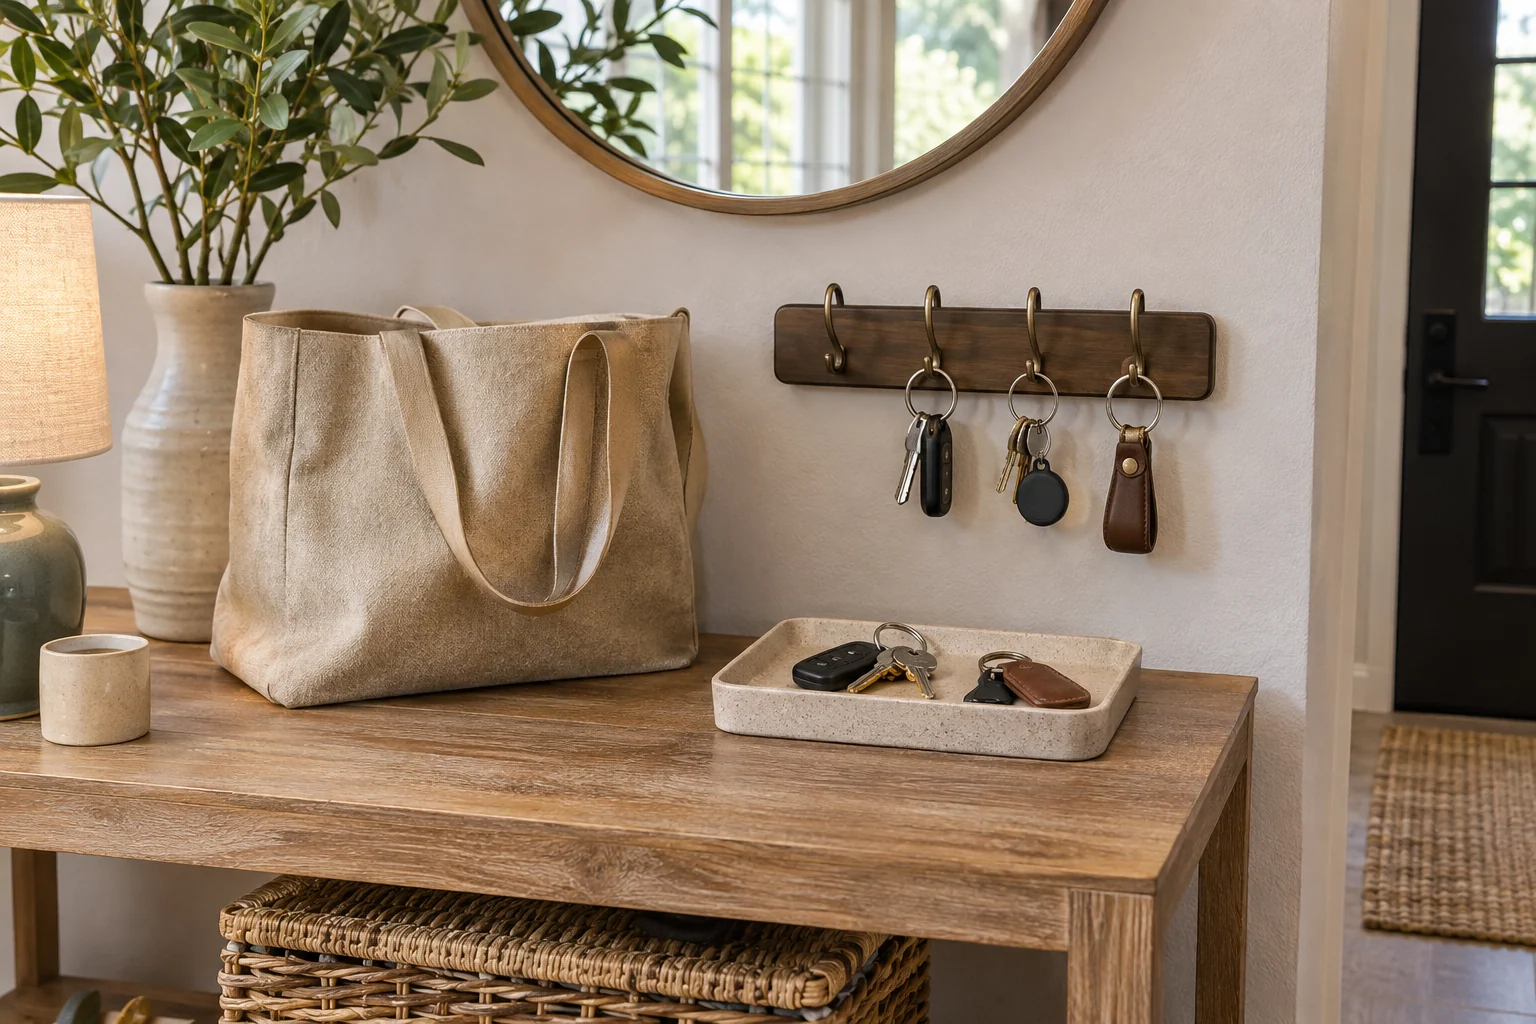
Think about the order in which you arrive: bag down, keys away, then coat off, or a different sequence that suits you. Put the holder beside the relevant step instead of across the room. Test it with the normal bag in place. The key position should remain visible rather than disappearing behind handles, straps or the body of a tote.
12. Use a small wall-mounted pocket
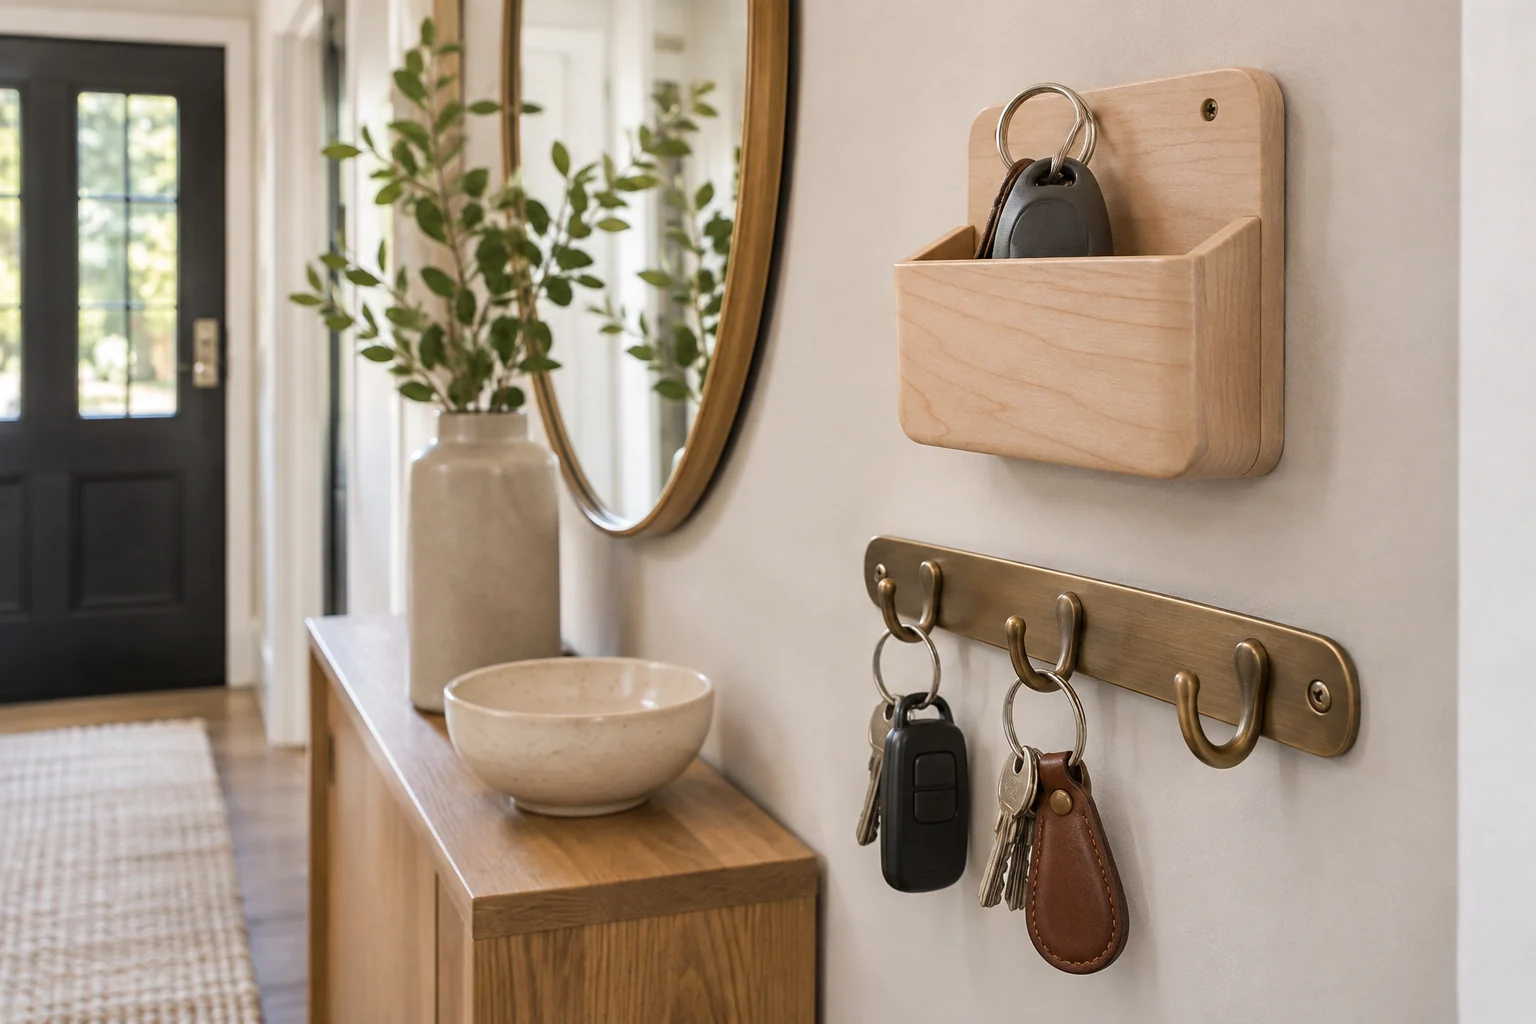
An open wall pocket can hold a key set when there is no table and hanging hooks do not suit the routine. Check its depth and opening with the actual keys; a deep narrow pocket can be awkward for short fingers or bulky fobs. Reserve the pocket for a limited group. It is more useful as an obvious destination than as general storage for miscellaneous objects.
13. Let a sculptural ceramic dish be the accent
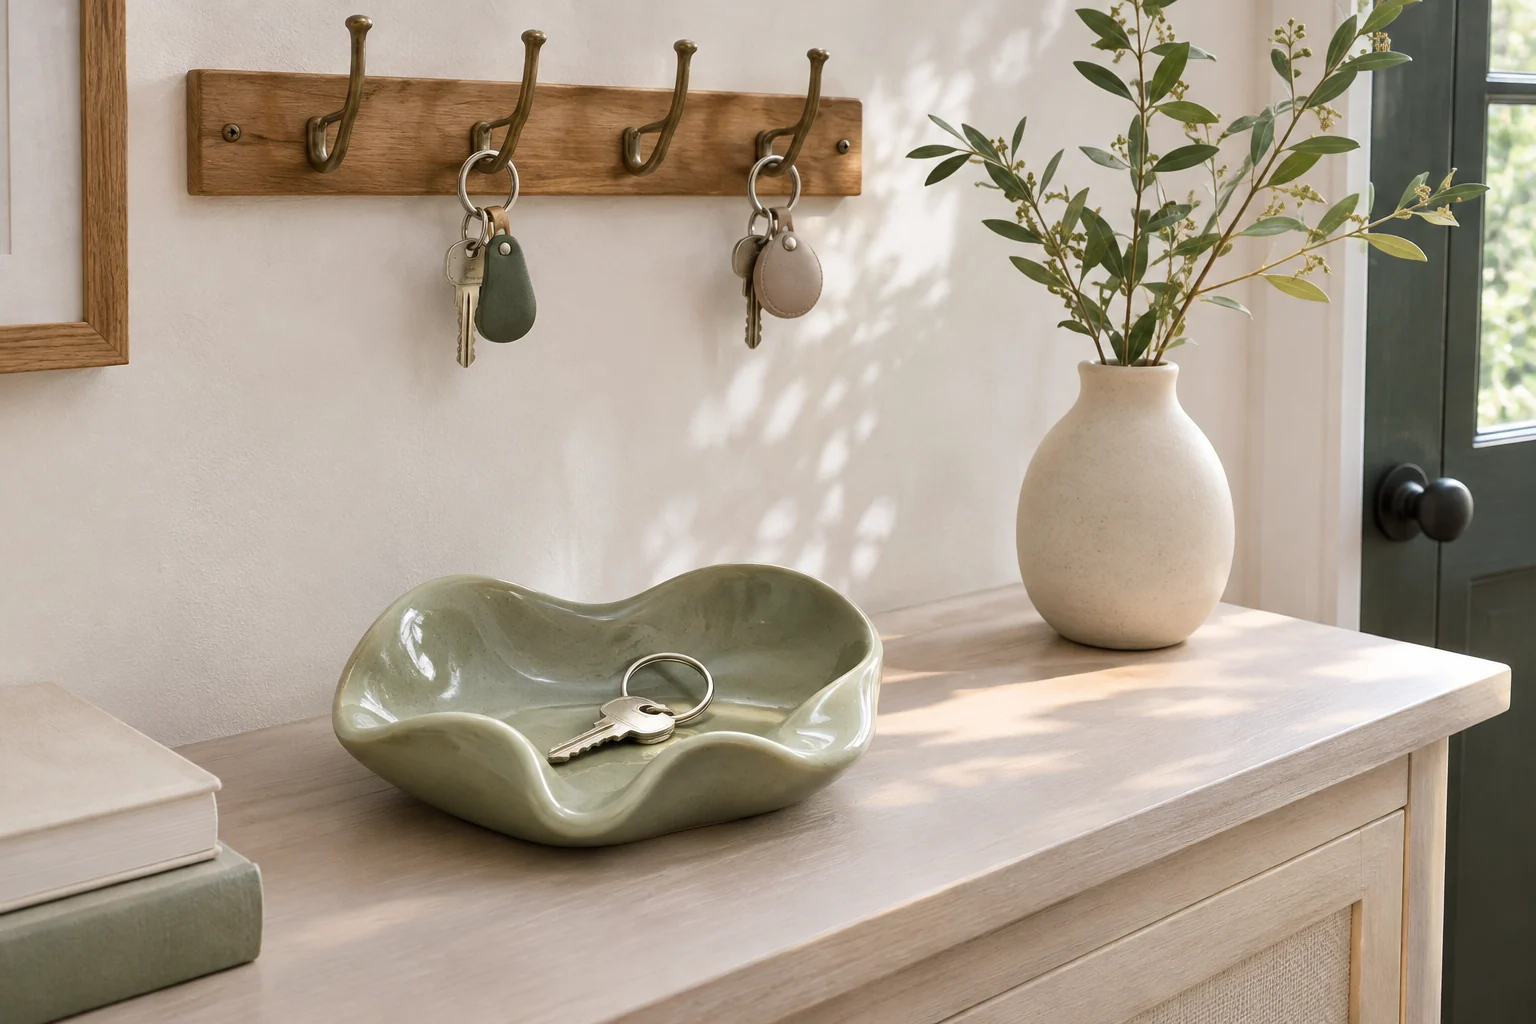
A gently irregular dish can add personality to a plain console without requiring more objects. Keep the interior smooth enough for easy retrieval and choose a stable base appropriate for the surface. Use the dish as the one colorful or textured element in the arrangement. Nearby items can stay simple so a practical key drop does not turn into a crowded decorative display.
14. Create separate hook positions for a shared entrance
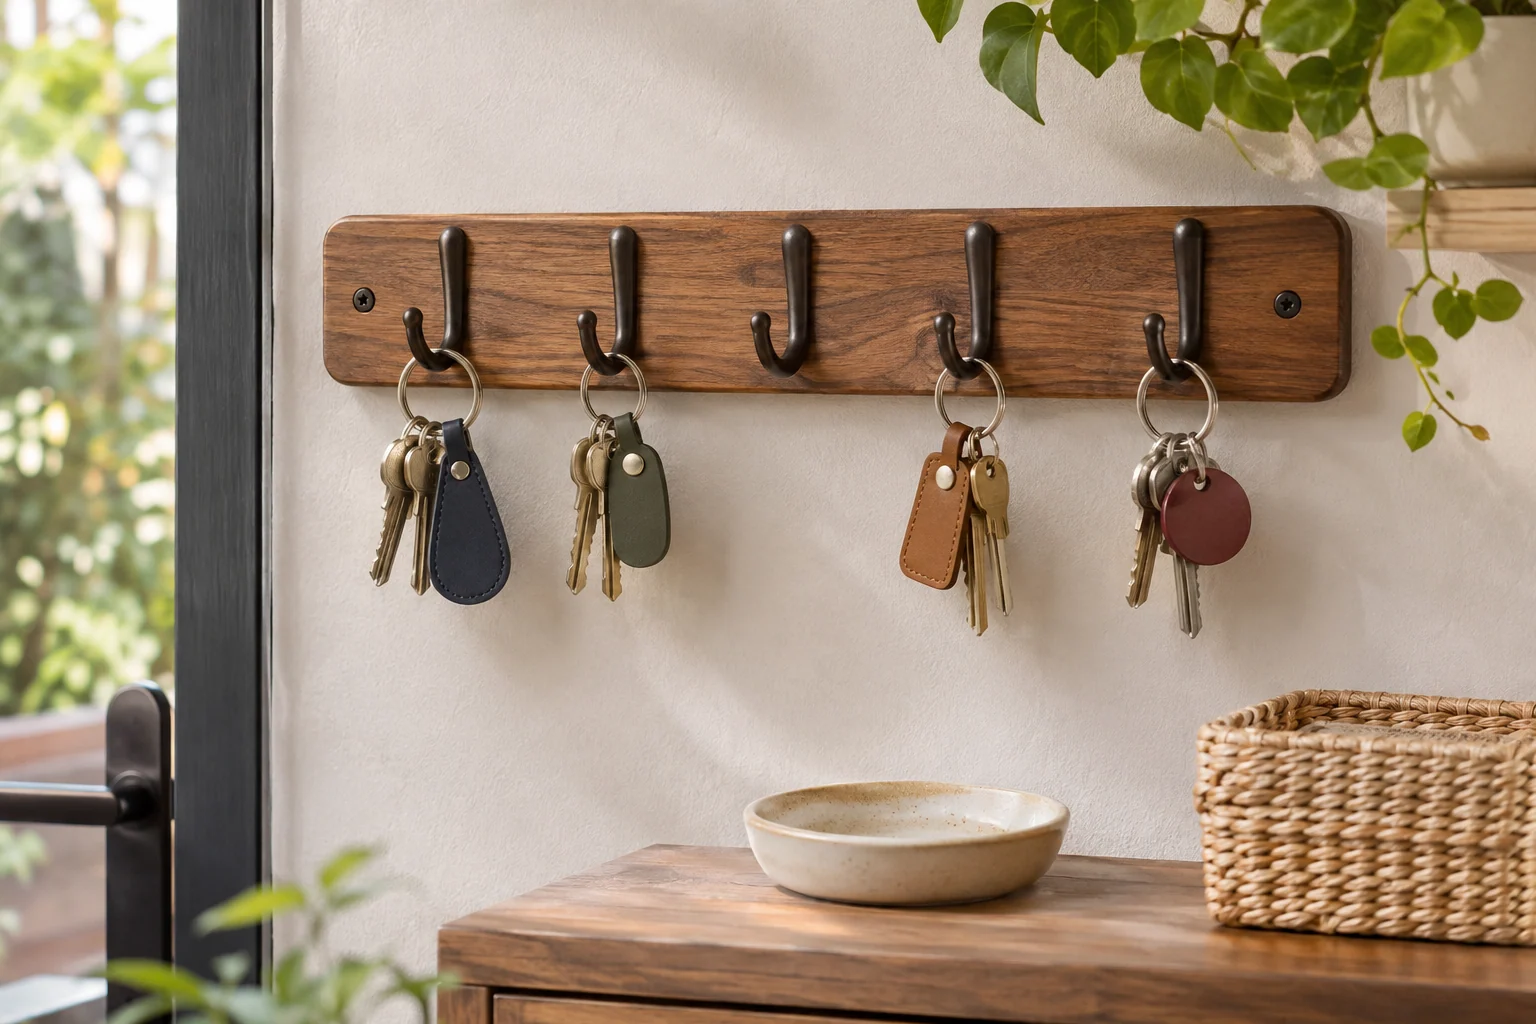
When several people use the same organizer, give each daily set enough room to hang independently. Different positions or simple color cues can be sufficient without personal names or addresses. Leave one hook empty if it makes occasional returns easier. Check that the rail's total supported load and each hook's intended use suit the arrangement rather than multiplying a per-hook claim without evidence.
15. Keep bicycle accessories from taking over the key tray
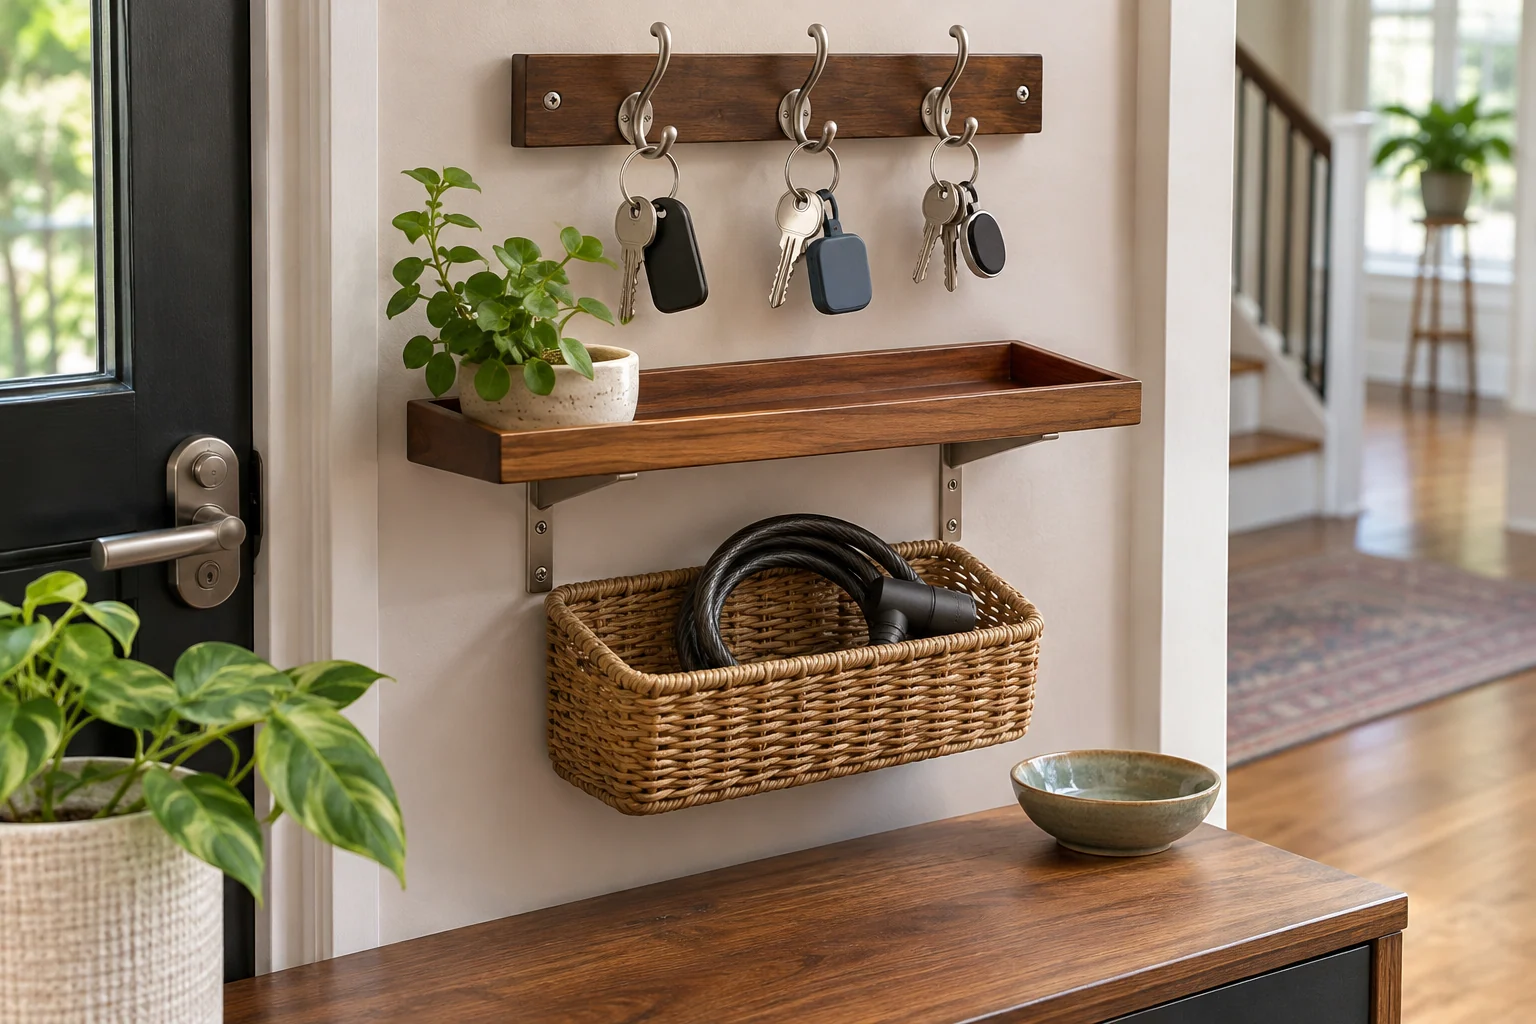
A bike key may be part of the daily set, but bulky locks and accessories often need a separate home. Give keys the same clear return position as other everyday sets and place larger equipment in appropriate adjacent storage. This prevents a small tray from becoming overloaded. The distinction is about shape and convenience, not a claim that an entry organizer is a secure lock-storage system.
16. Use a tray that lifts for cleaning
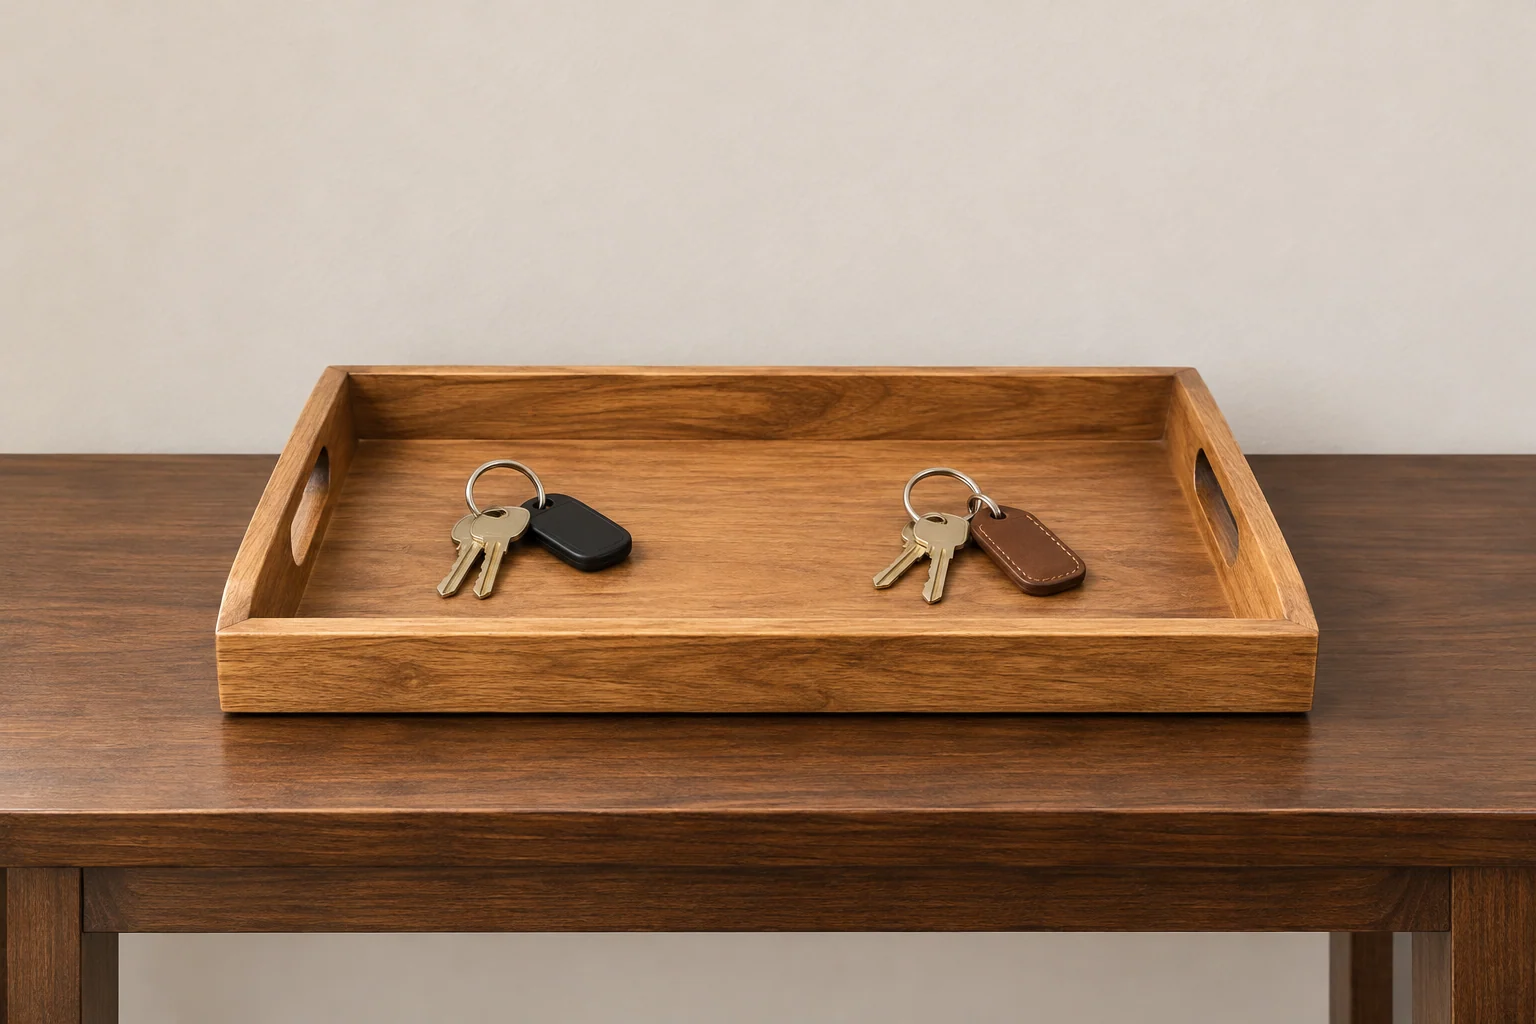
A removable tray makes it easier to clear the console and clean the landing area. Check the tray's base and use surface protection compatible with both materials if needed. Keep the contents modest enough to lift without spilling. A simple weekly reset can remove receipts and loose change before they hide the keys or scratch against the other objects in the dish.
17. Choose a compact oval for a narrow console
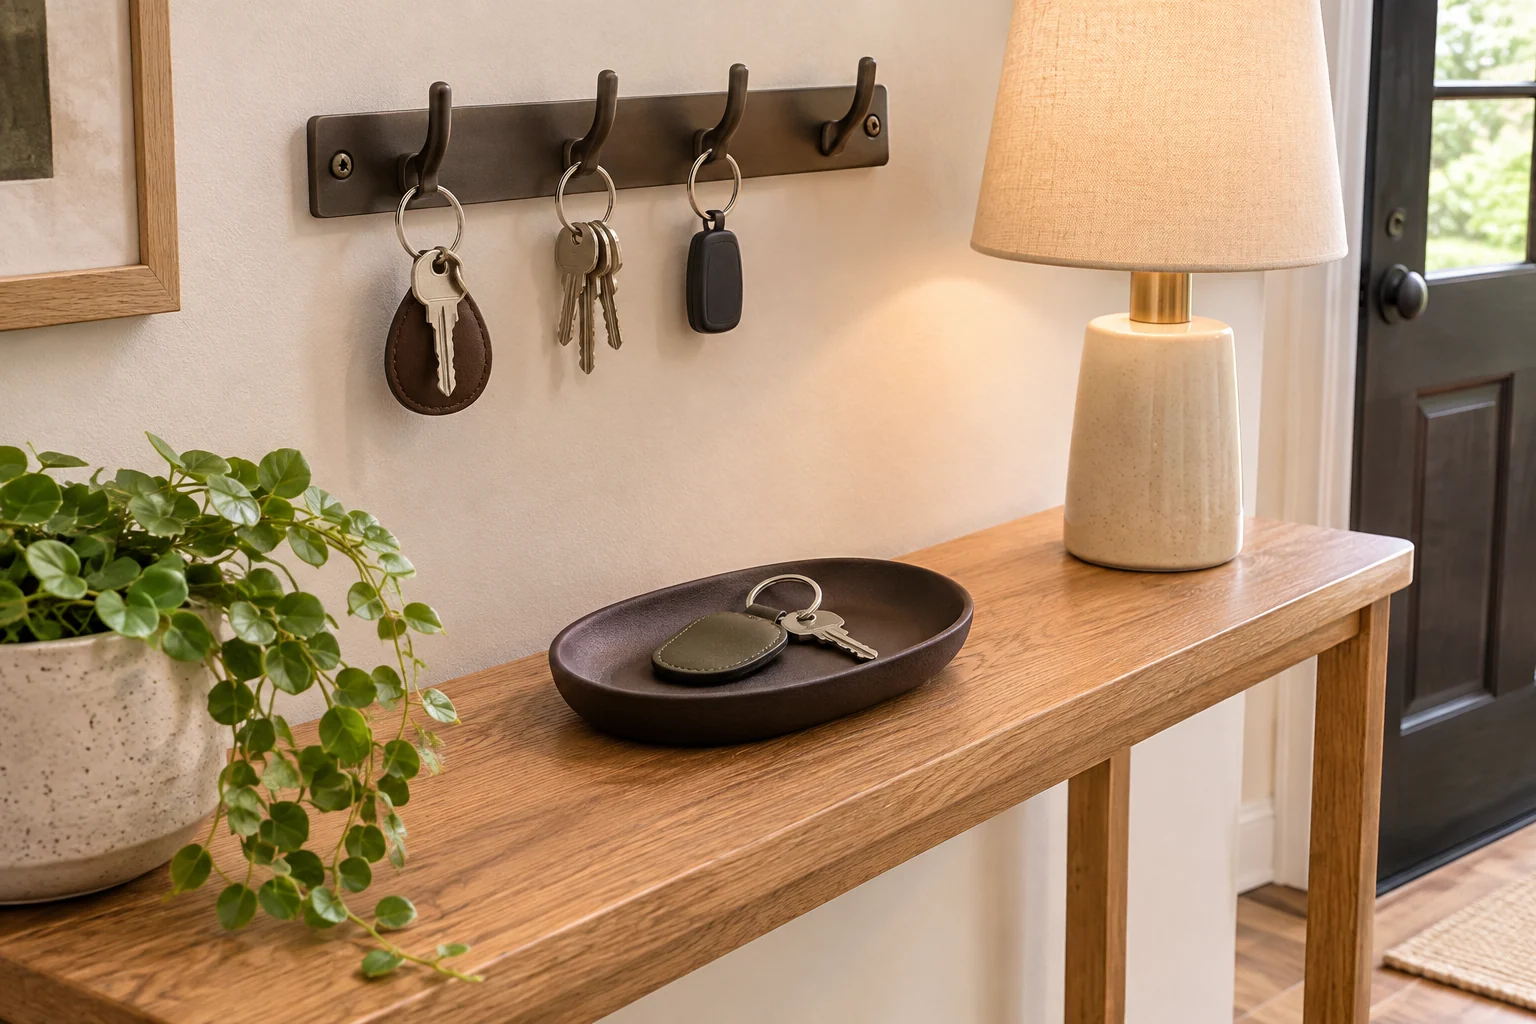
An oval dish can feel less bulky than a broad square tray on a shallow console. Measure the usable top, including the space already occupied by a lamp or mirror base. Place the dish so its whole base is supported. A narrow entrance benefits from a clear outer edge; nothing should project into the route simply to make a styled arrangement look balanced.
18. Keep a lanyard in its own position
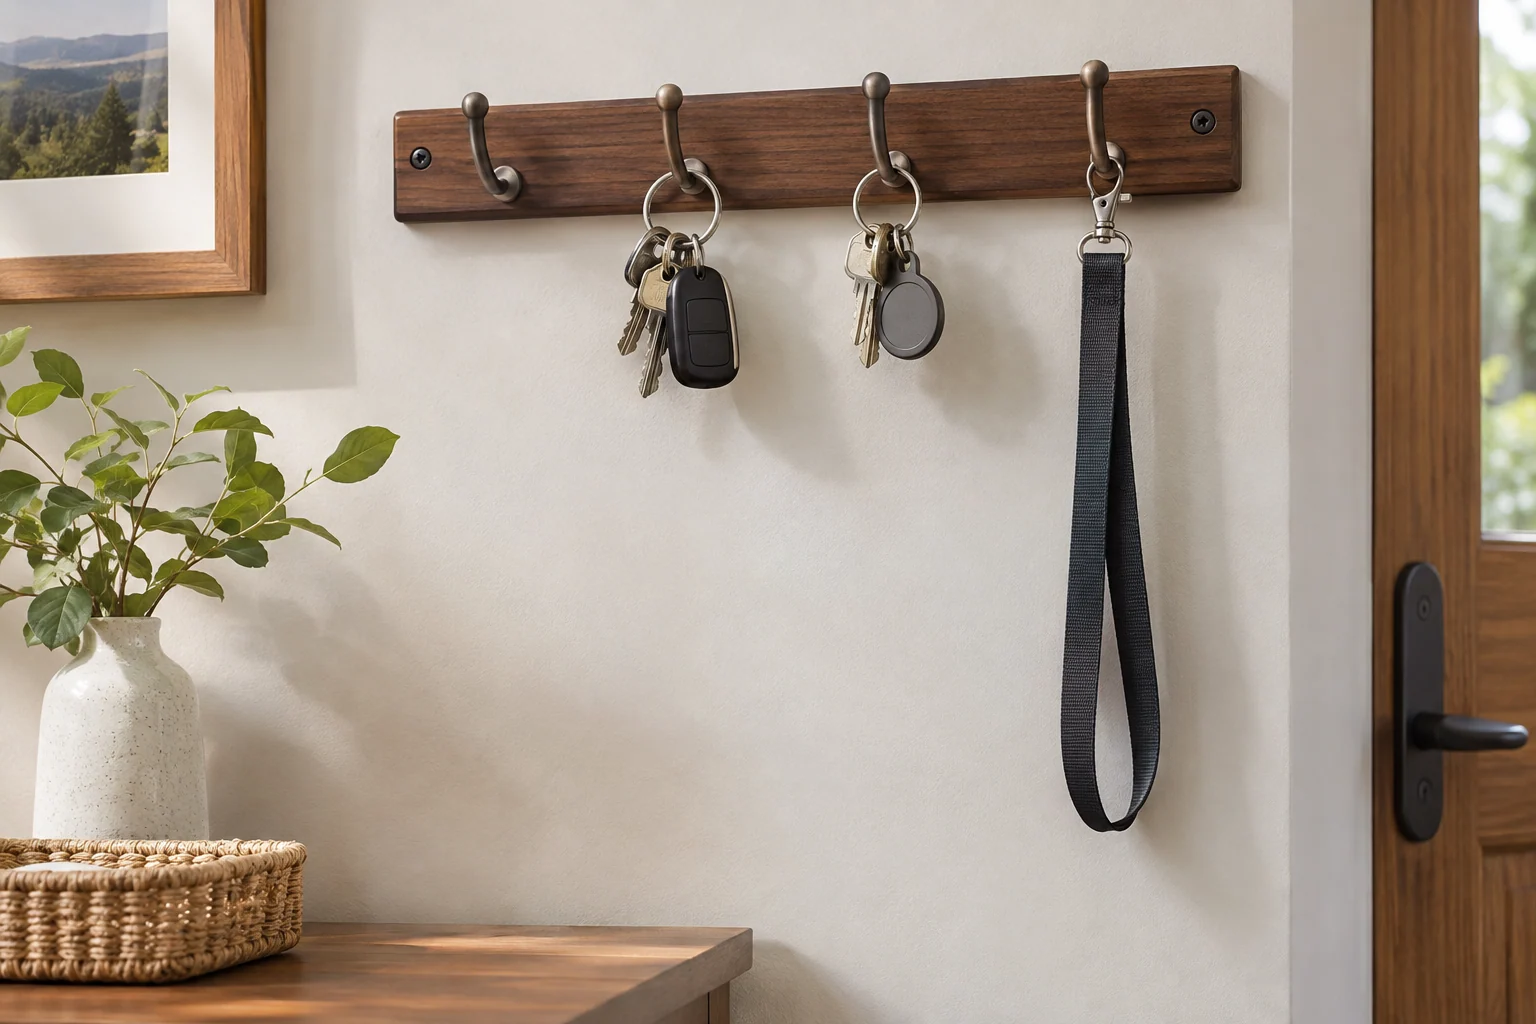
A long lanyard can cover neighboring keys or fall across a tabletop arrangement. Give it a separate hook or a compartment large enough for a loose fold without tangling. Check the full hanging length against furniture below. Avoid attaching extra objects merely because a hook is available; the holder should make the necessary set easier to retrieve, not encourage a heavier daily bundle.
19. Use matching small dishes on a broad console
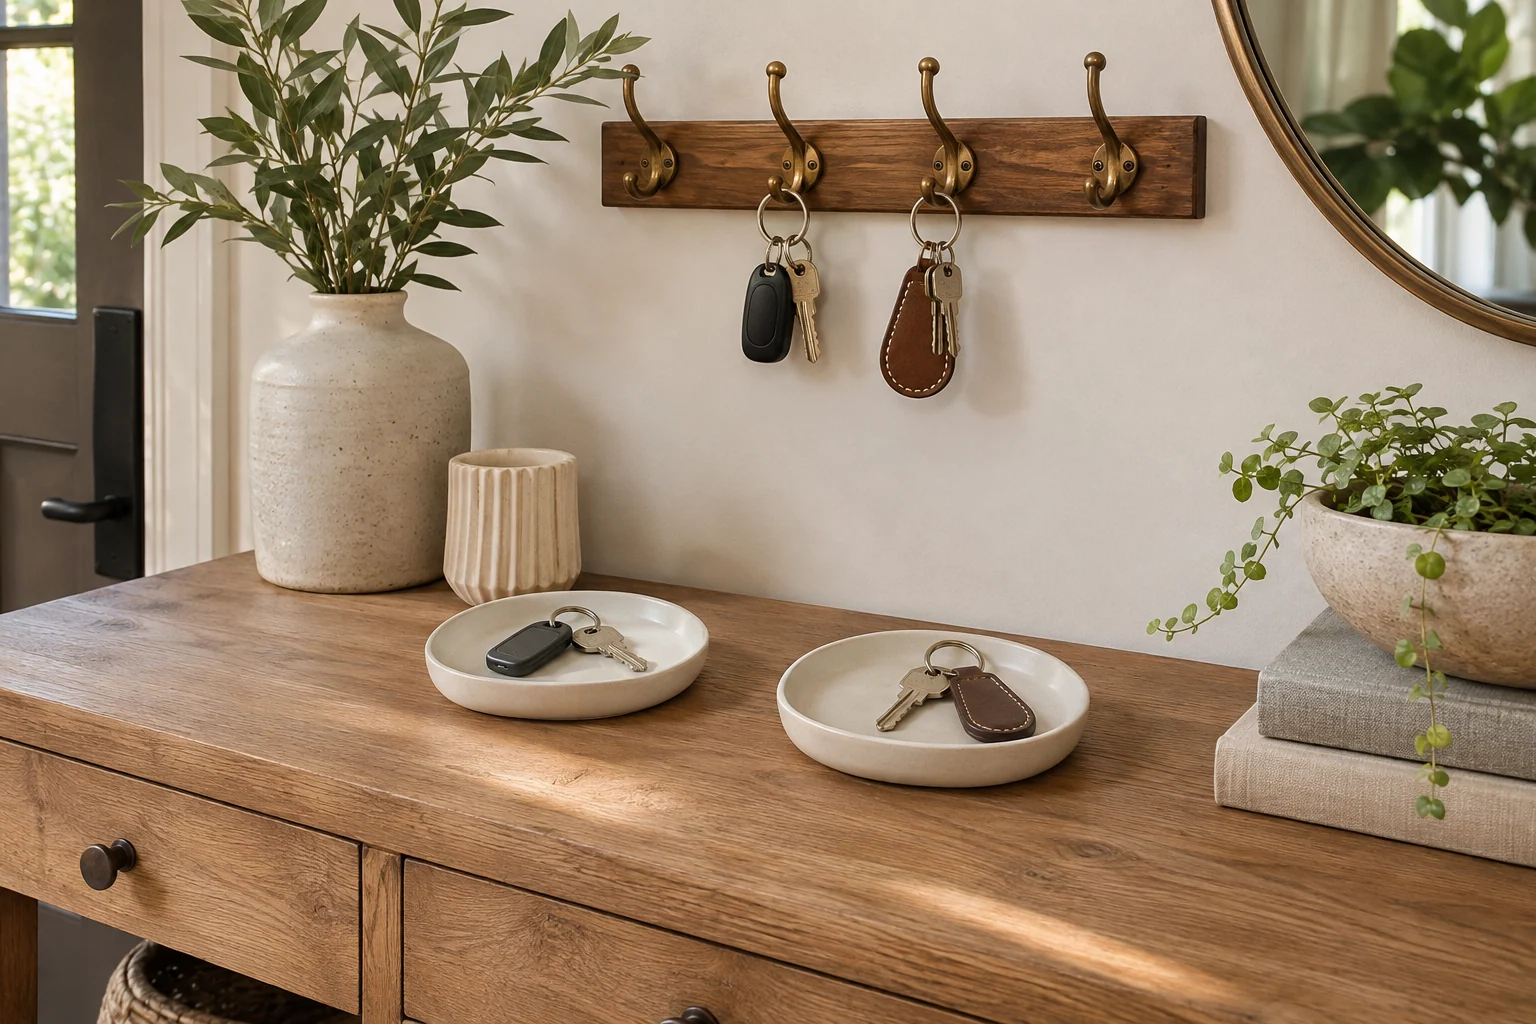
Two simple dishes can give a shared console clear territories while keeping the top visually consistent. Leave a visible gap between them and avoid filling the intervening space with little ornaments. This option needs enough surface area to remain generous. In a narrow hall, a single divided tray may do the same job with a smaller footprint and less daily cleaning.
20. Combine a key drawer with an open return cue
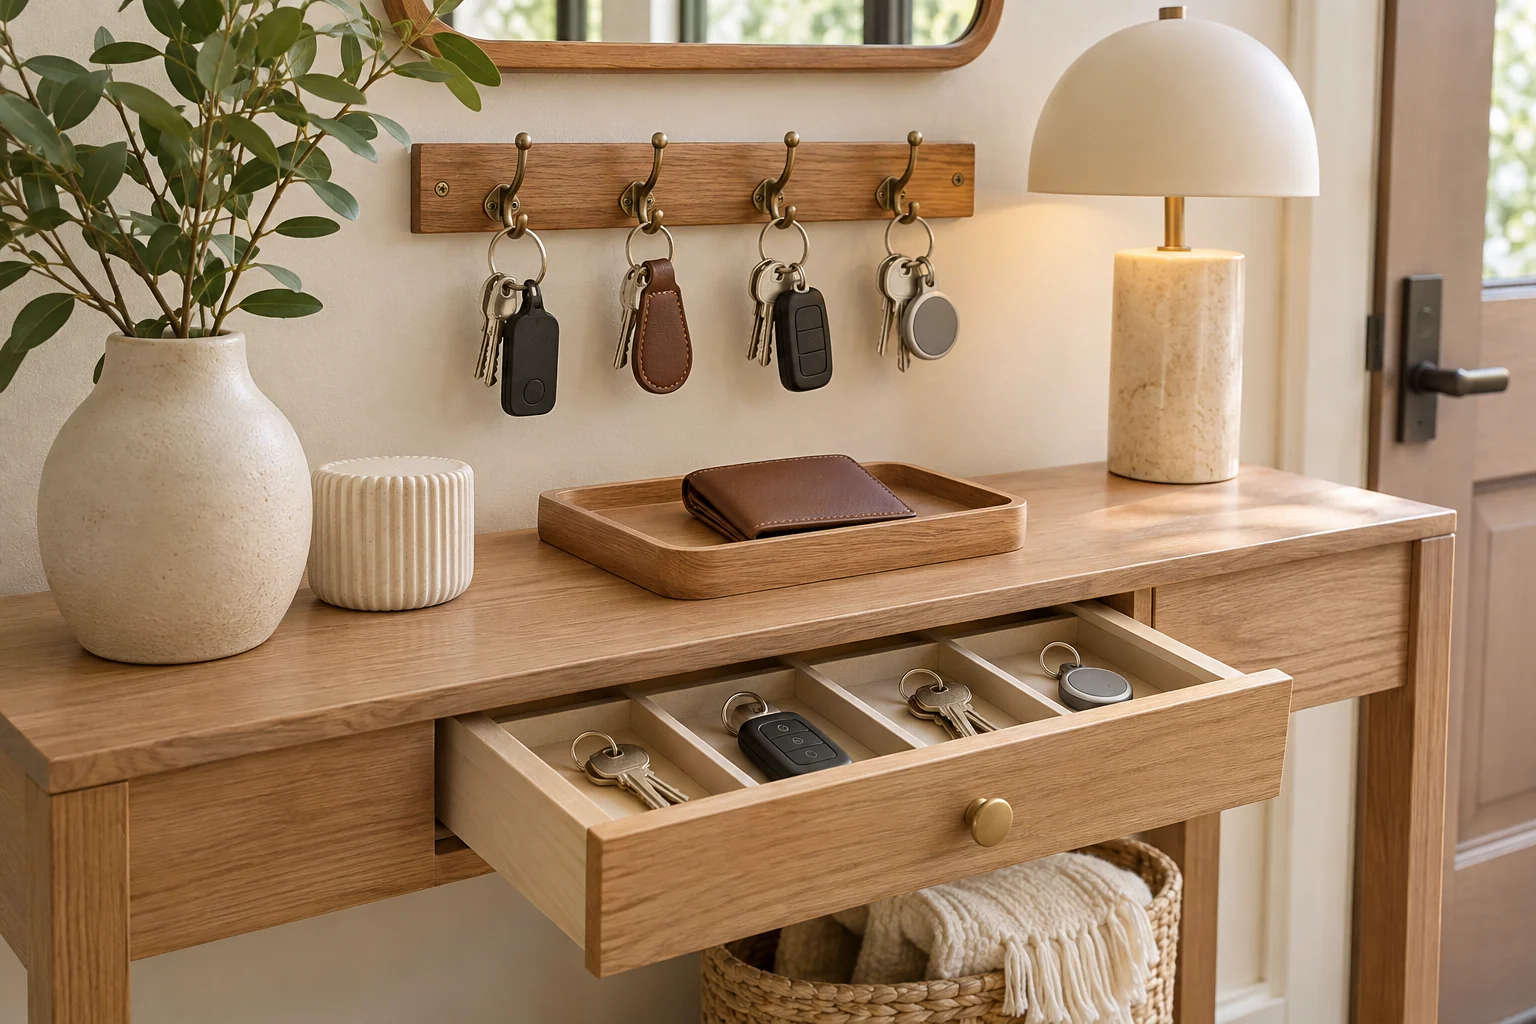
If you use a drawer but forget where the keys belong, establish a consistent small cue beside its handle, such as the same simple tray for a wallet. Keep the drawer compartment directly below that spot. The cue should support the routine without displaying personal information. Try the system for a week and adjust the position if returning keys still requires a conscious search.
21. Work with existing wall texture
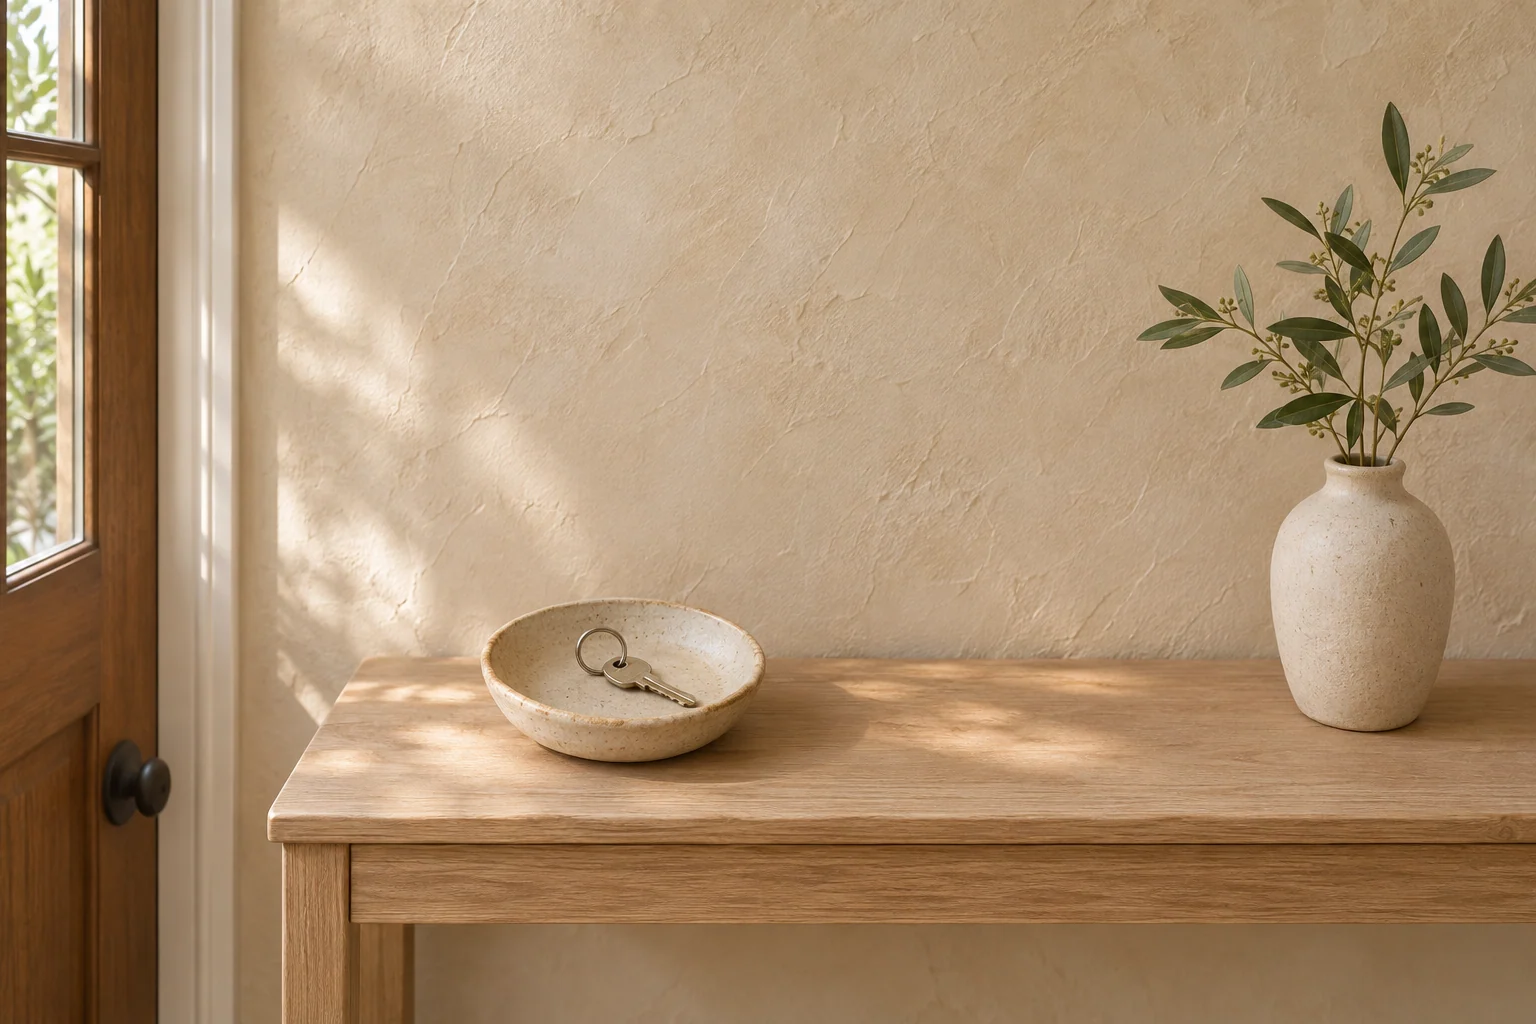
Textured plaster, wallpaper and paneling can limit which mounting products are suitable. Choose a freestanding dish if you cannot confirm a compatible fixing method, or use an organizer intended for the actual surface with the correct installation. Do not assume a removable adhesive works everywhere. The decorative result should follow the wall's practical limits rather than leaving damaged finishes behind a small accessory.
22. Give a charging area a separate boundary
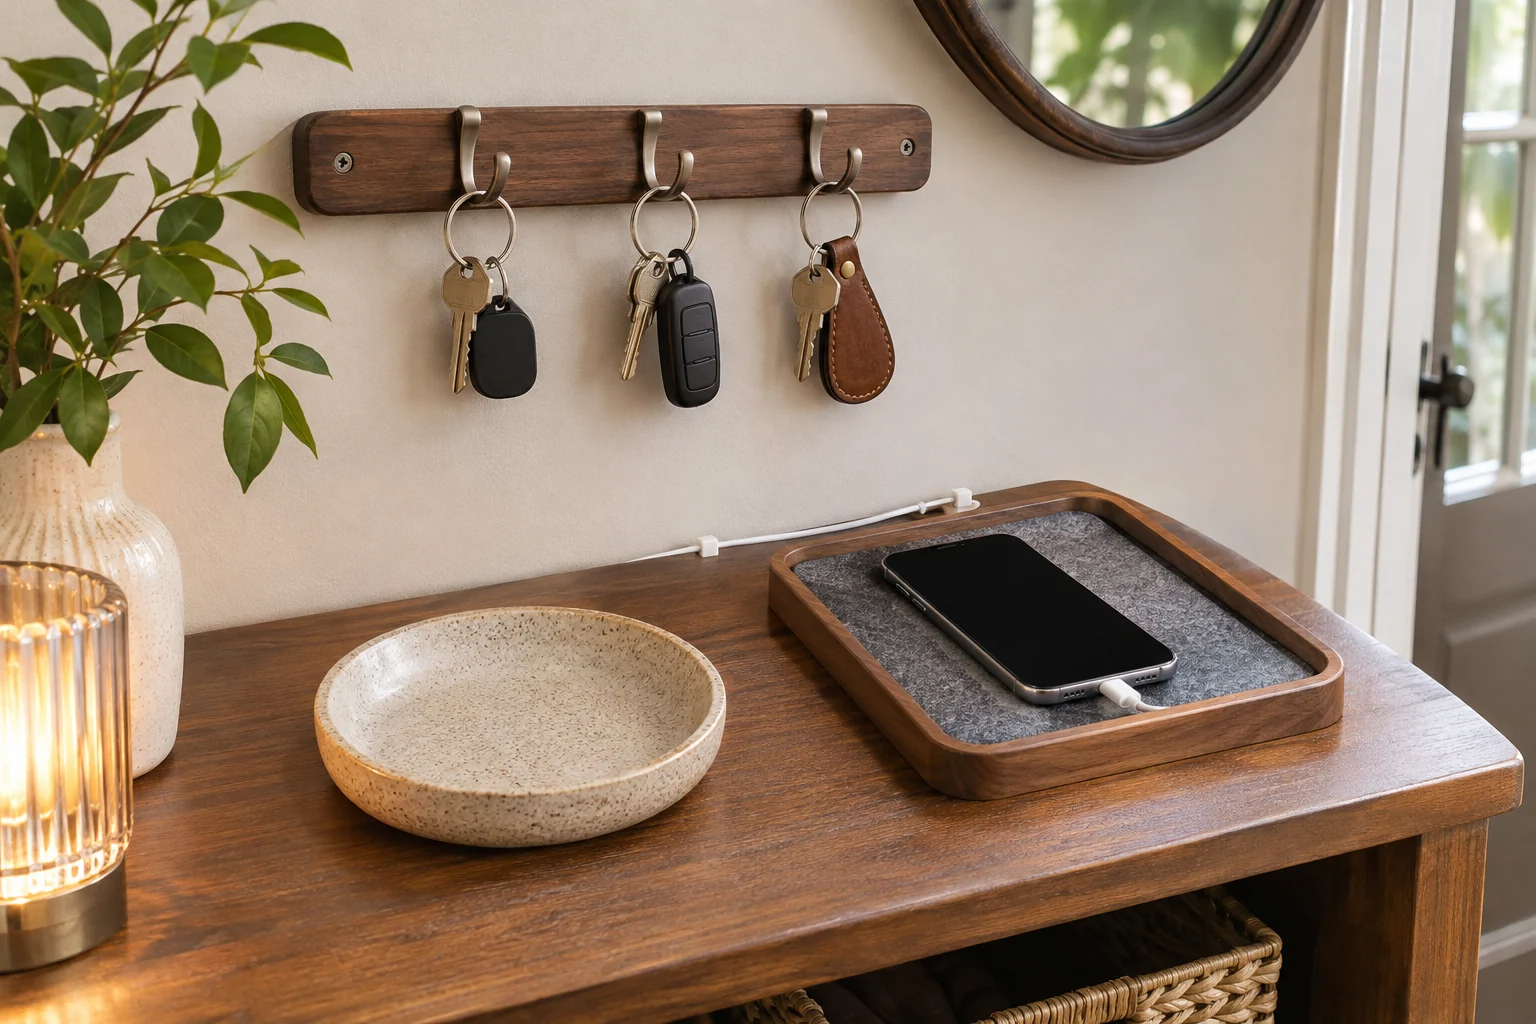
When phones also land in the entrance, keep the key holder outside the cable path. A separate dish prevents a fob or ring from disappearing beneath a device. Use the charger's instructions for placement and cable management rather than building a decorative enclosure around it. Leave the arrangement easy to wipe and inspect, with space to pick up either object without moving the other.
23. Limit the organizer to current daily sets
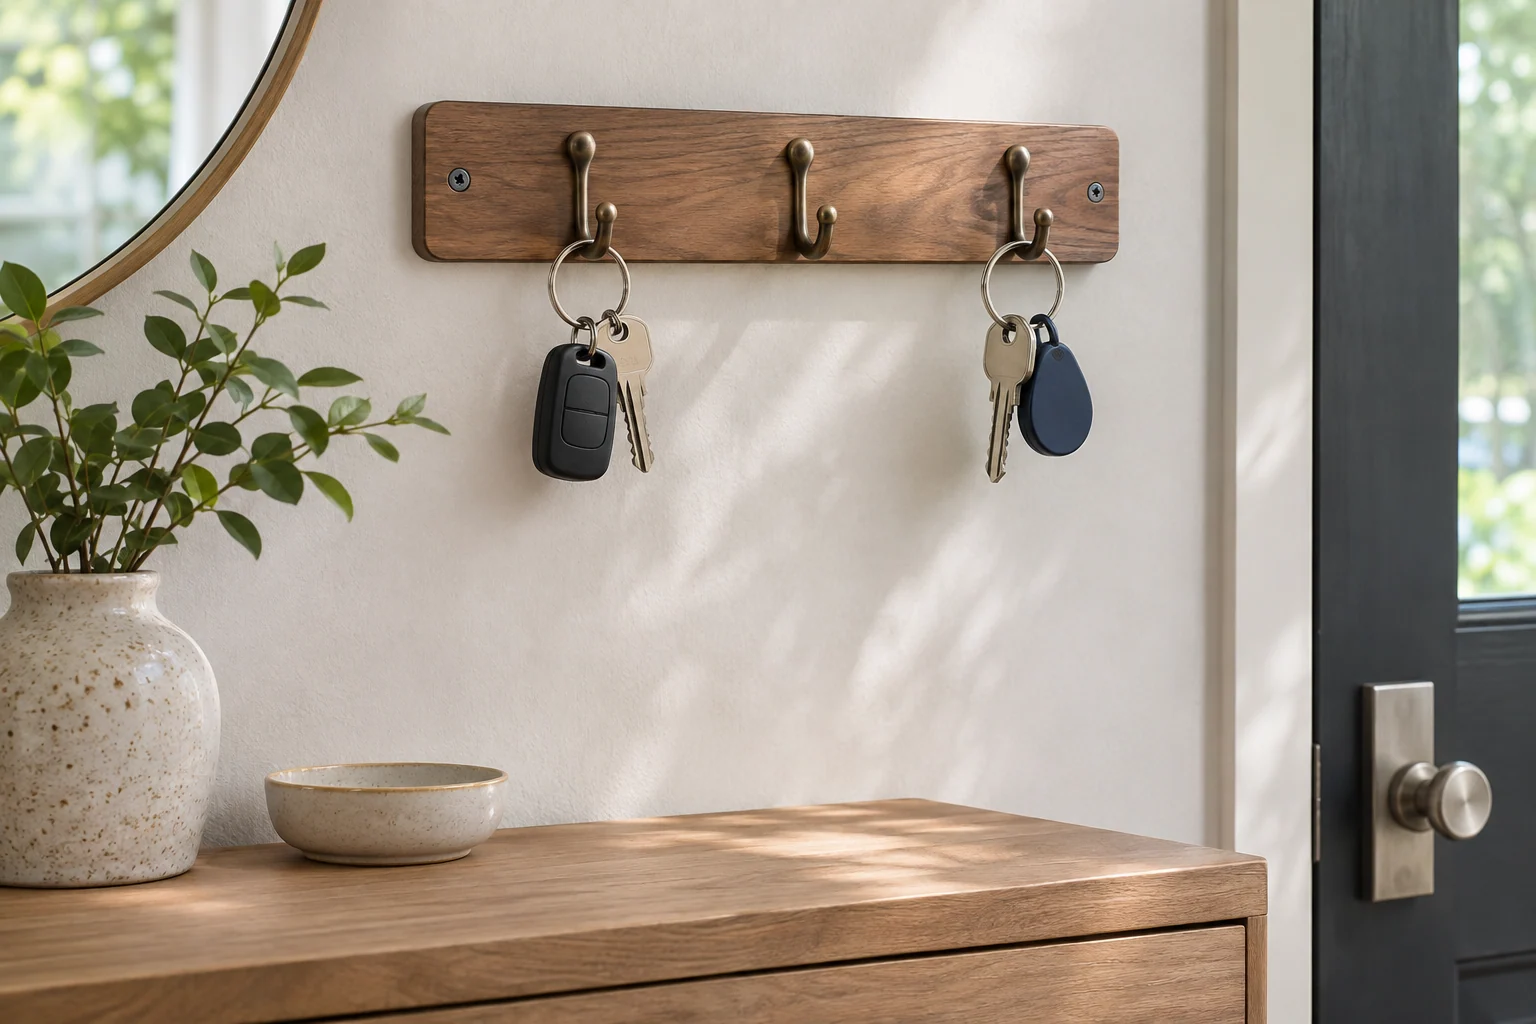
Occasional keys and unidentified duplicates can overwhelm a useful daily holder. Review them separately and choose an appropriate storage arrangement for your household. Keep only the sets that belong in the everyday entrance routine in the main organizer. This reduces visual clutter and makes a missing set easier to notice without needing a bigger tray or a longer rail.
24. Build a short leaving-home check around the holder
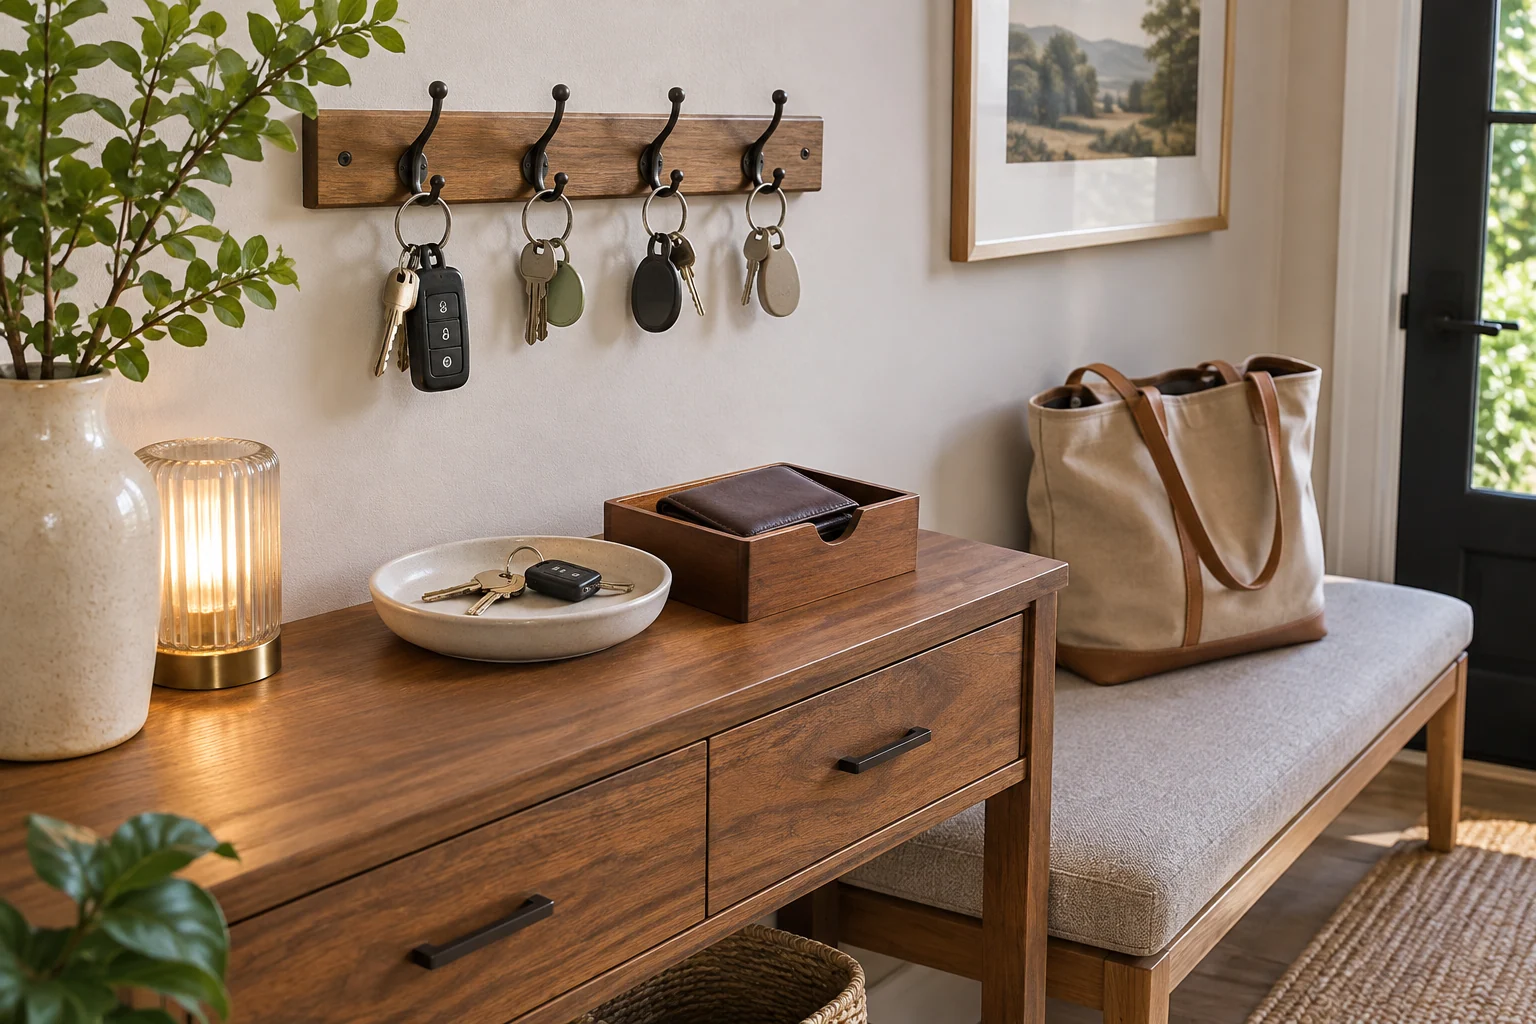
Place the items you routinely need in distinct nearby positions: keys in their holder, wallet in its own section and bag in its established spot. Keep the grouping compact enough to scan before leaving. If an object repeatedly lands elsewhere, change the arrangement to follow that behavior. A useful entry station develops from the household's real habits rather than a perfectly symmetrical photograph.
Map your arrival routine before choosing hardware
Write the order of three actions you already take on entering, then mark the key return point within that sequence. Lay each complete key set on paper to compare its footprint with a bowl, drawer section or hook gap. For a hypothetical two-person entrance with one bulky fob and one lanyard, two widely separated hooks may be easier than a compact dish; a broad tray may work better if both people prefer to put objects down. Test the position temporarily without drilling, then confirm the actual product's installation instructions before mounting anything.
A practical next step
A key holder earns its place when everyone knows where the keys go and can return them easily. Choose the position around your arrival routine, then use shape, color and finish to connect it with the entrance. Keep the arrangement small, clear and adaptable as the things you carry change.
The images are original AI-generated design concepts. They illustrate arrangements rather than tested products, installations or measured performance.
Sources and care references
Related reading on Nestroxe
- Make the rest of the entry console useful and attractive
- Plan storage beyond the daily landing spot
- Choose a mirror for the entrance wall
Optional digital guide for this topic
If you prefer a structured workbook, explore this related paid guide.