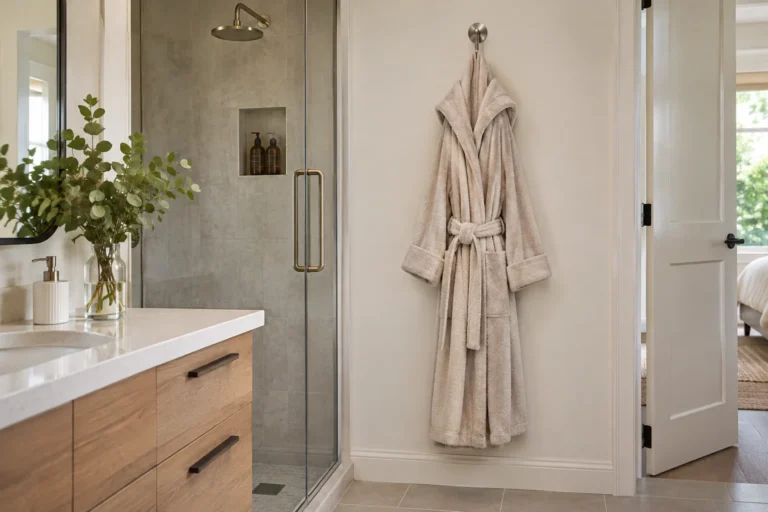
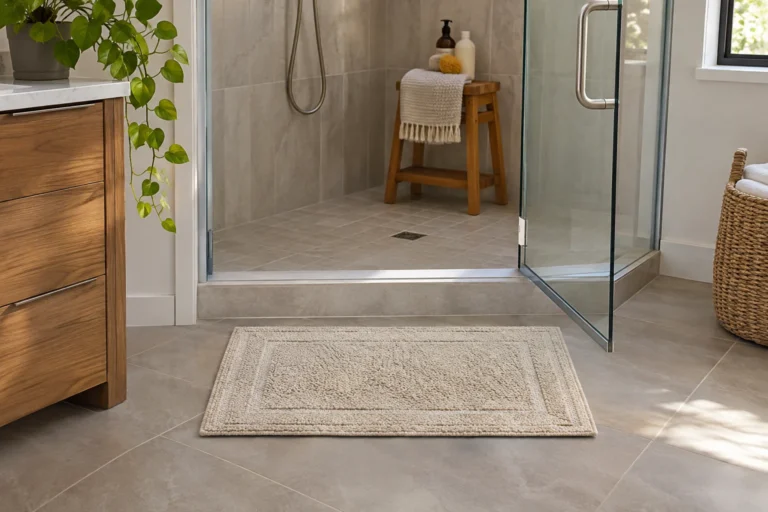
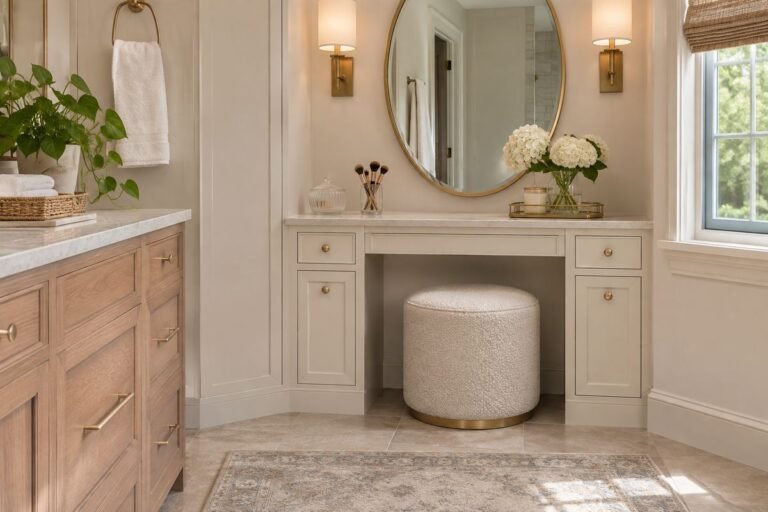
A freestanding bathroom cabinet can add a defined home for spare towels and everyday supplies when the existing vanity is too small. Its usefulness depends on the complete room: the floor it occupies, the door it opens into and the objects that must come out of it. Start with those movements before choosing a finish.
Freestanding does not mean that wall restraint is unnecessary. CPSC's Anchor It guidance addresses furniture with drawers, doors and shelves. Follow the actual cabinet's assembly, loading and restraint instructions, and choose a product intended for the bathroom conditions. The images illustrate furniture arrangements rather than certified installations.
Contents
- 1. Choose a narrow tall cabinet for a genuinely clear wall
- 2. Use a low cabinet when height would crowd the room
- 3. Keep spare towels in a dedicated closed bay
- 4. Give daily supplies a comfortable middle shelf
- 5. Separate occasional reserves from the working group
- 6. Choose shallow drawers for small accessories
- 7. Use deeper drawers only for items that fit them
- 8. Mix open and closed storage deliberately
- 9. Use baskets around their internal openings
- 10. Keep the cabinet door clear of the vanity
- 11. Check a narrow room with the entrance door open
- 12. Leave room for cleaning beside the unit
- 13. Compare legs with a plinth around the actual floor
- 14. Use a pale front for a quieter wall
- 15. Let a wood-look finish connect existing warm materials
- 16. Choose a darker unit as a deliberate accent
- 17. Use glass doors for a modest visible collection
- 18. Keep tall bottles on a correctly sized shelf
- 19. Give personal groups their own simple sections
- 20. Keep hair tools in an appropriate cooled return space
- 21. Use a removable tray for a small product group
- 22. Keep the top clear of the cabinet's opening
- 23. Choose a corner form only when its doors work
- 24. Plan a small spare-linen section rather than a deep pile
- 25. Keep the product information with the cabinet record
- 26. Finish with an ordinary storage-return test
Measure the usable position, not an empty rectangle
Record the full cabinet width and depth, the skirting-board projection, nearby door and drawer movement, the bathroom entrance and the ordinary cleaning route. Check the product's intended location, care and restraint method before purchase. A cabinet that fits an empty wall can still prevent the vanity opening or occupy a standing area. Keep electrical, plumbing and any required service access outside the proposed storage footprint.
Compare the storage or placement options
- Small daily group: Accessible middle shelves or shallow drawers with a clear return position.
- Spare towels: A separate suitable clean dry textile bay with usable folded depth.
- Restricted floor area: Compare shallow and narrow options with every normal door movement.
- Freestanding furniture: Follow actual assembly, loading, bathroom-use and wall-restraint requirements.
1. Choose a narrow tall cabinet for a genuinely clear wall
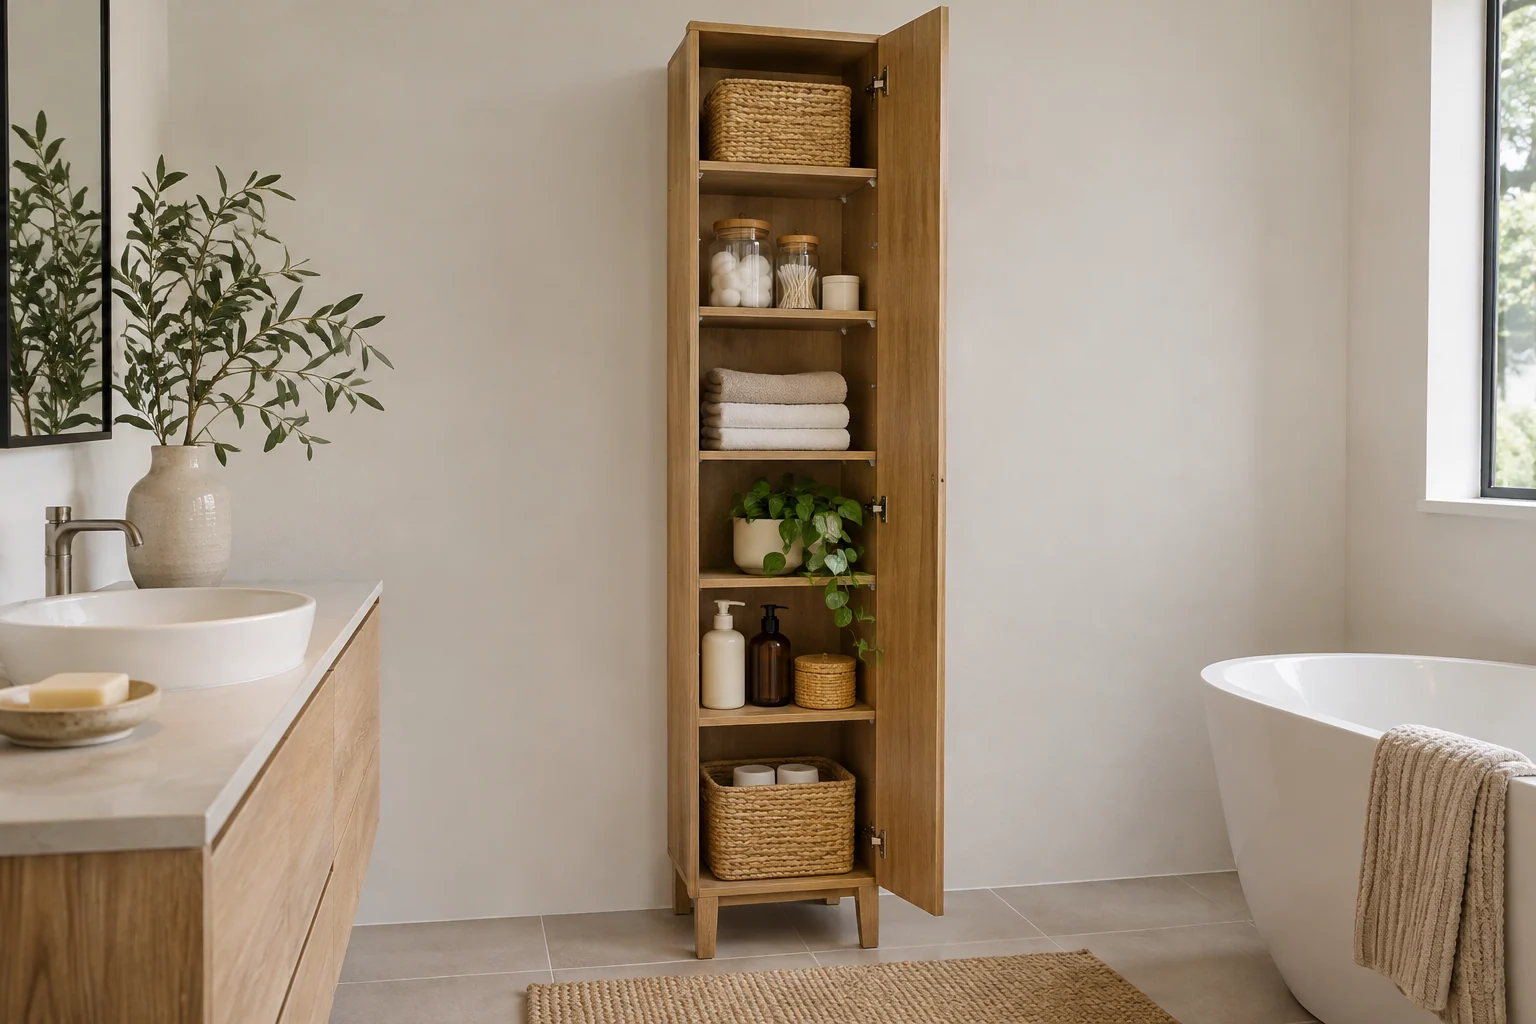
A tall slim cabinet can use vertical space when the wall position and product are suitable. Check the complete depth and open-door projection rather than judging the narrow front alone. Place frequently used contents in comfortable reach and follow the restraint instructions. Keep the upper part for suitable occasional items, without creating an awkward overhead retrieval routine.
2. Use a low cabinet when height would crowd the room
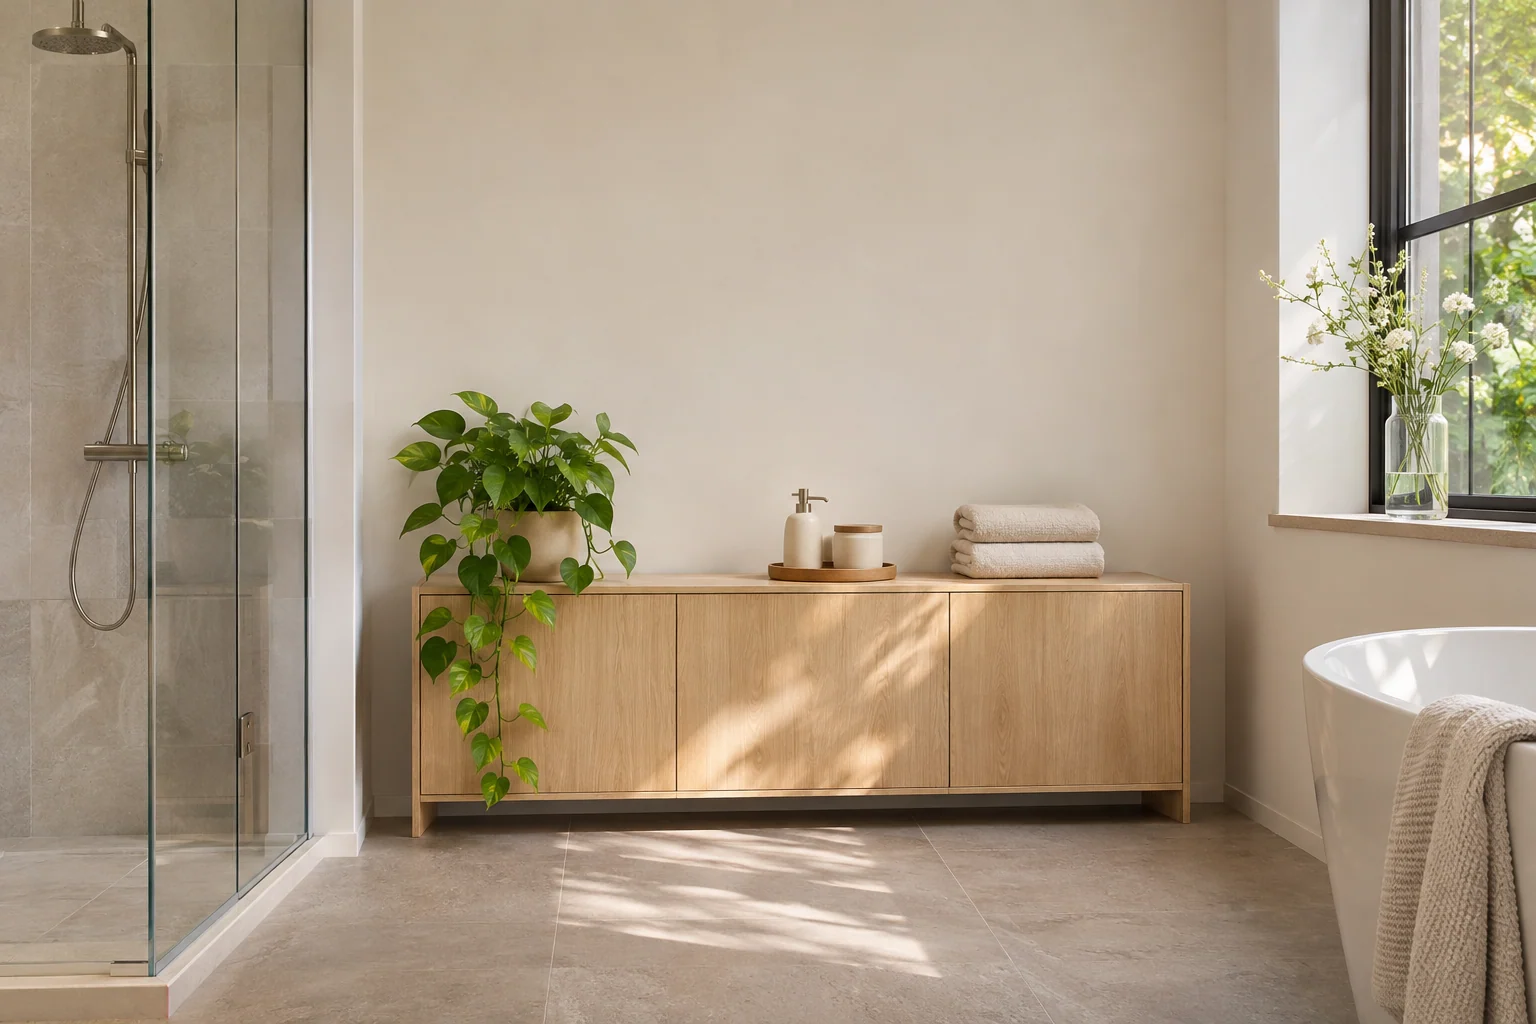
A lower unit can provide storage while leaving more of the wall visible. Compare the actual floor depth with the taller alternative. Keep its top modest and follow its loading and restraint guidance. The low silhouette should help the room's arrangement without becoming an excuse to place a large unstable display above frequently opened drawers.
3. Keep spare towels in a dedicated closed bay
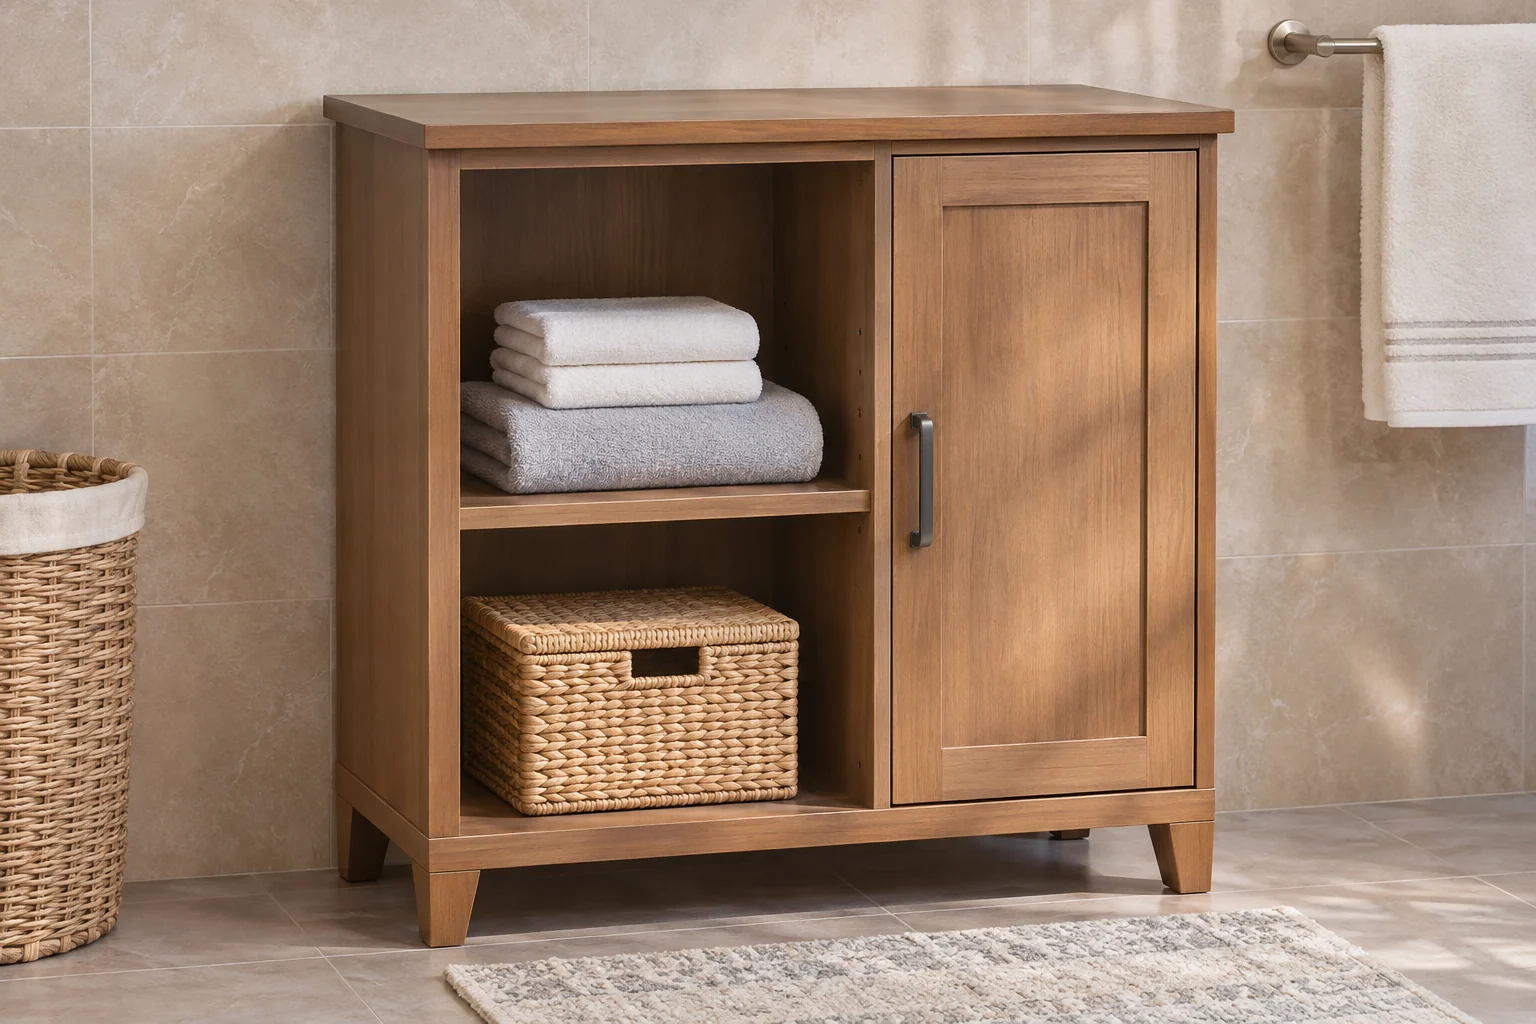
A defined towel section can make the cabinet understandable when the door opens. Measure the folded towels and keep the group suitable for the shelf. Store textiles clean and completely dry according to their own care. Avoid sharing the towel bay with loose products that could spill simply because both groups fit within the same outside cabinet.
4. Give daily supplies a comfortable middle shelf
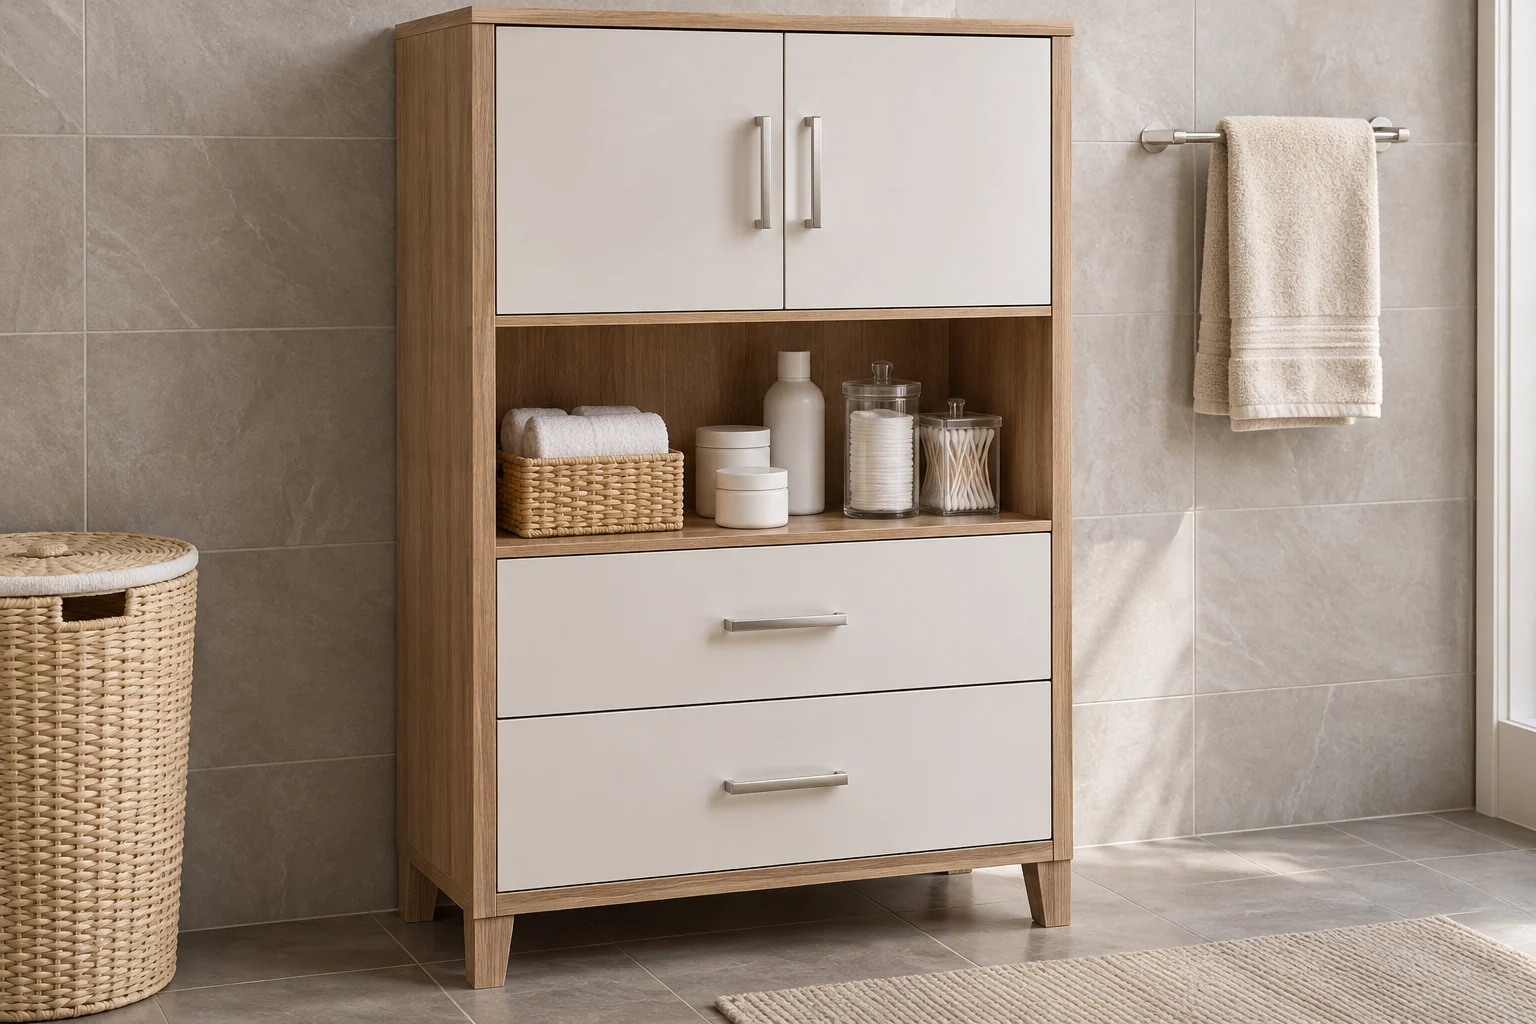
The easiest shelf should serve the items used most often. Arrange a modest group so each object can be returned without shifting several neighbors. Check the opening with the actual door position. A deep cabinet may need a smaller front group or an appropriate organizer to prevent everyday items disappearing into an inaccessible rear row.
5. Separate occasional reserves from the working group
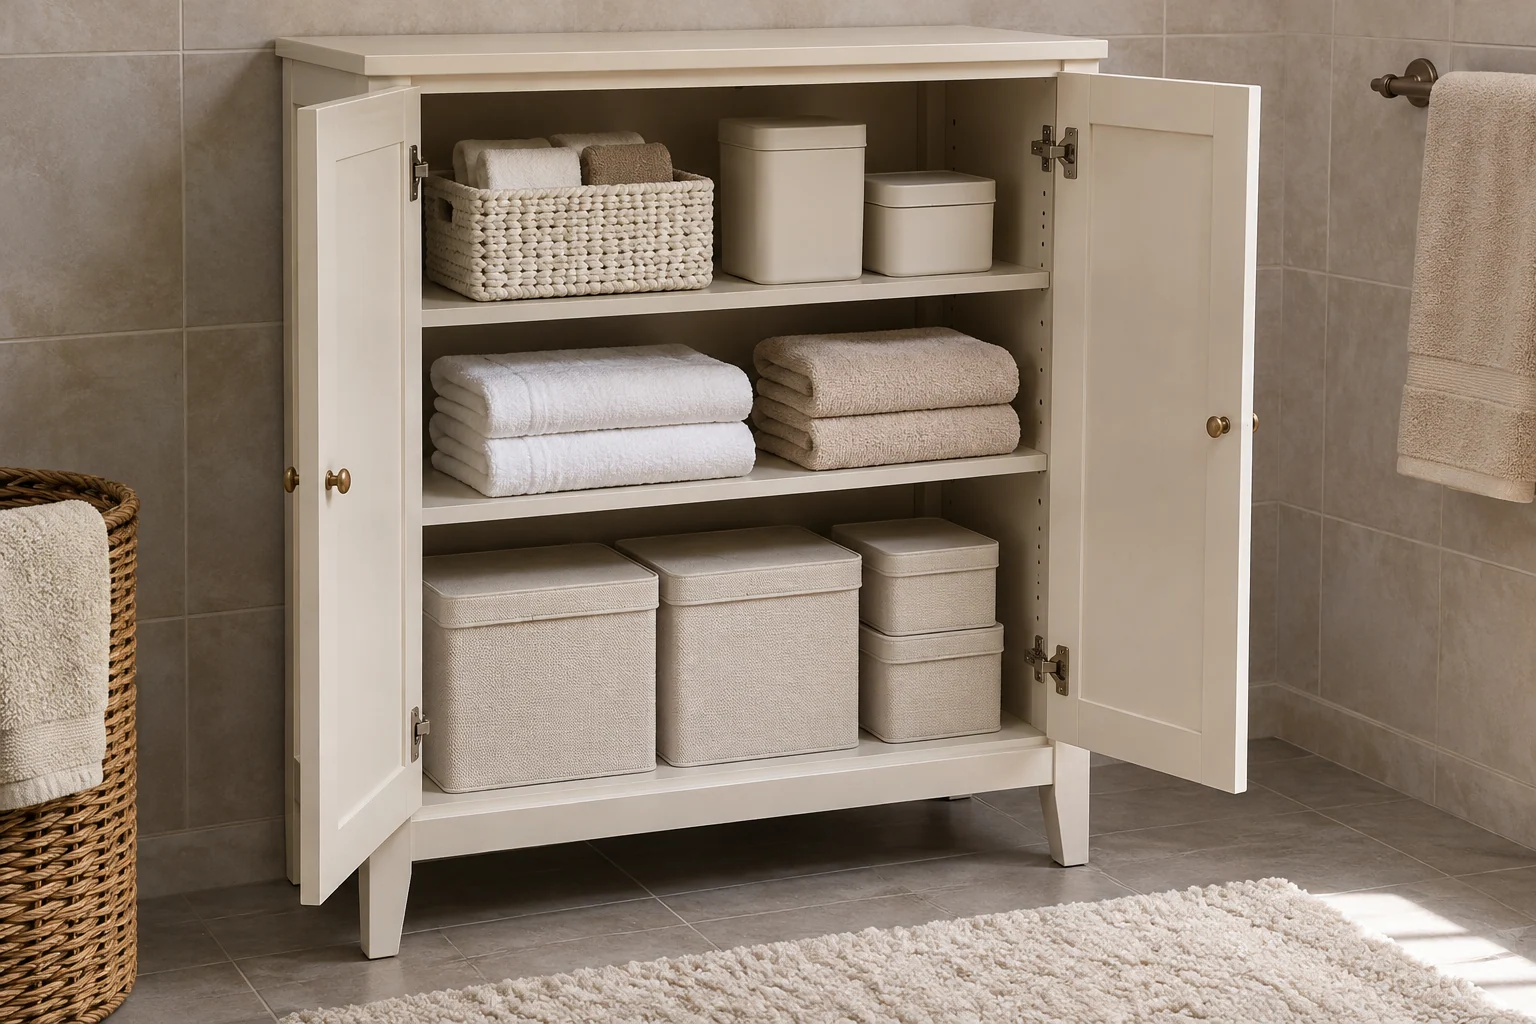
A reserve section can keep duplicates out of the vanity's daily space. Keep the quantities visible and review them before adding more. Use suitable closed containers where appropriate and follow storage instructions for each product. A reserve cabinet is most useful when it prevents scattered duplicates, not when it hides an unknown collection behind every shelf.
6. Choose shallow drawers for small accessories
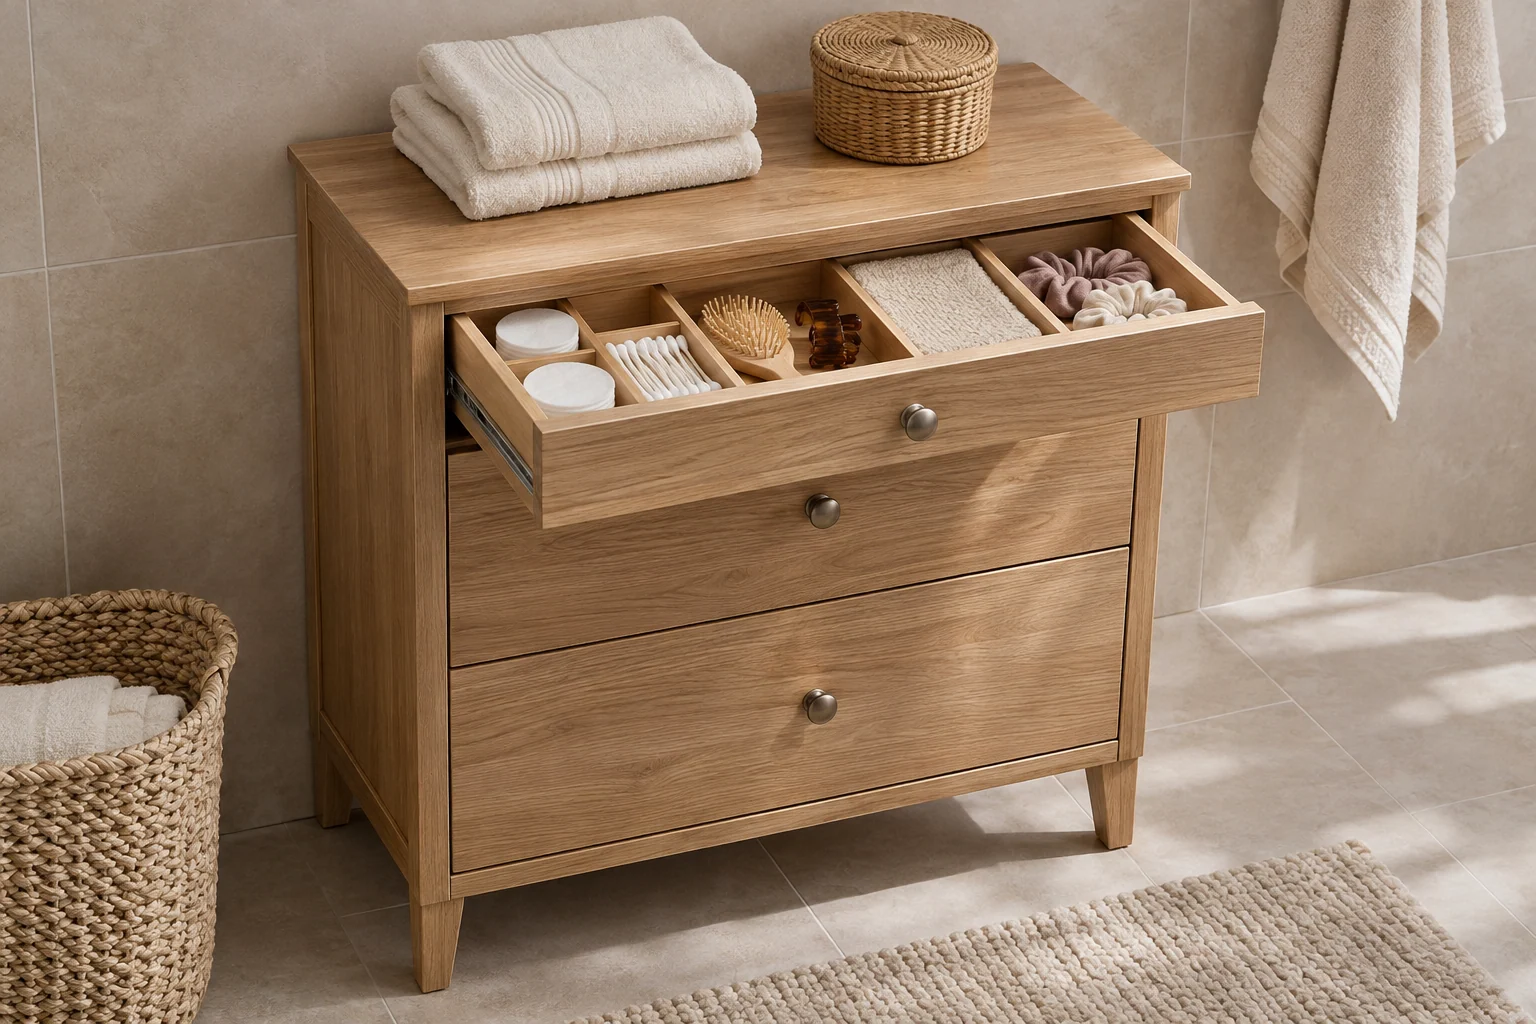
A drawer can make small bathroom accessories easier to see when its internal depth suits them. Check the full opening and the clearance above any organizer. Keep the contents grouped around real use instead of filling every compartment. A shallow drawer that shows one layer may serve small objects more comfortably than a tall bin that requires repeated searching.
7. Use deeper drawers only for items that fit them
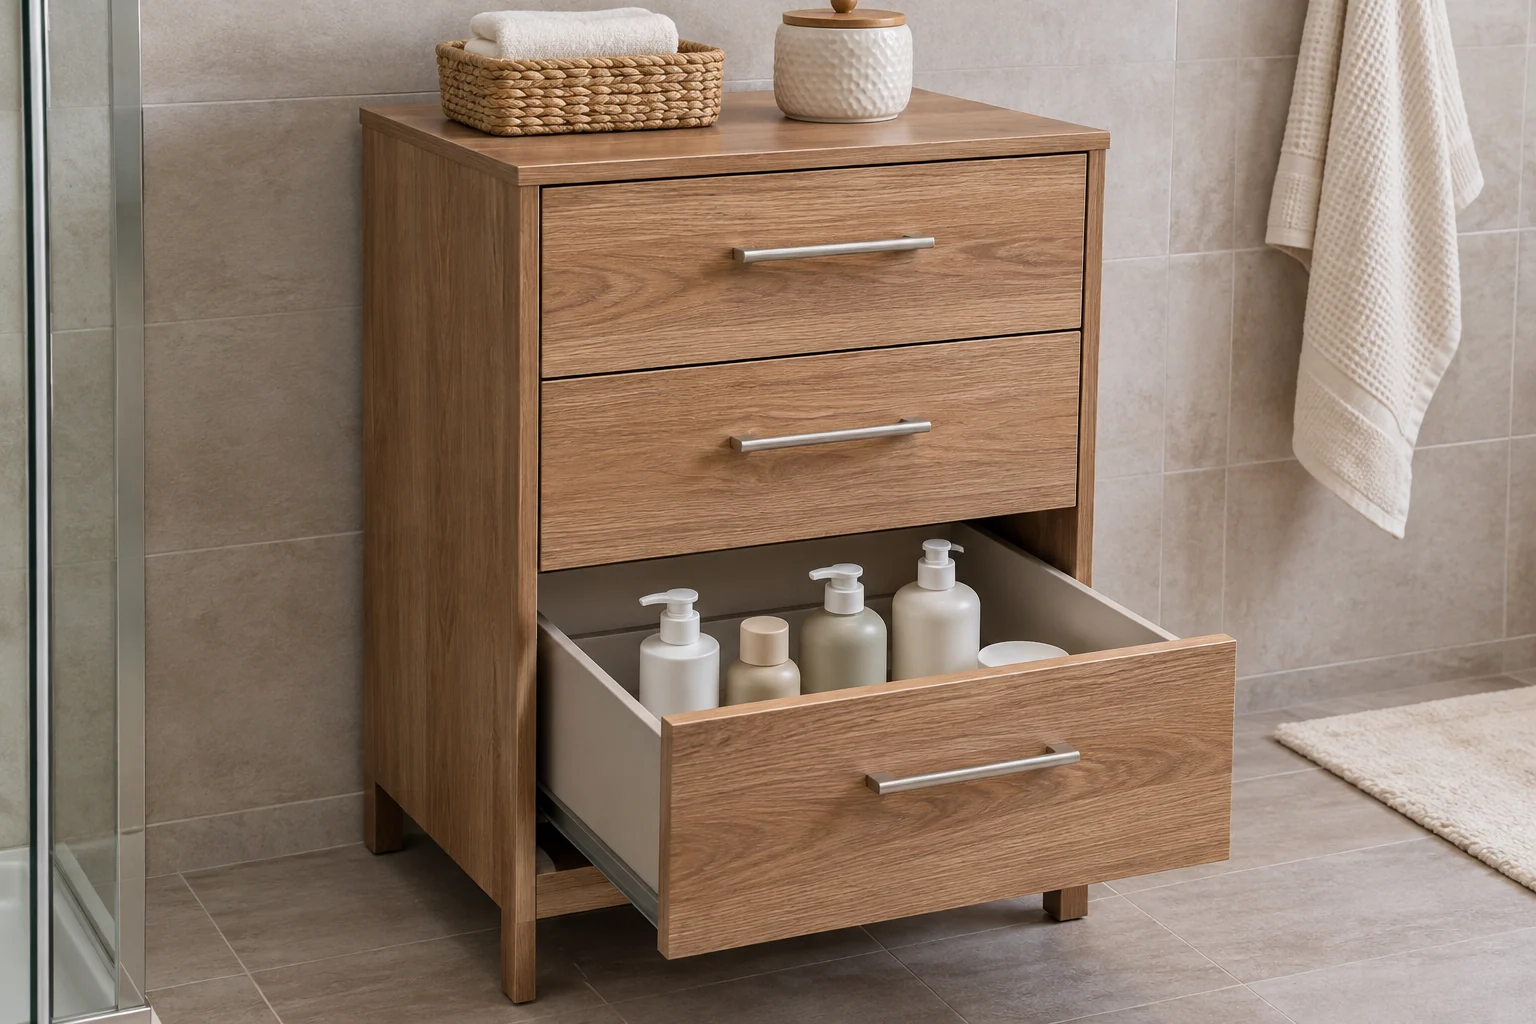
A deeper drawer can accommodate larger bottles or folded items when the product guidance and usable height suit the arrangement. Measure the tallest intended item in its stored position. Keep contents contained as appropriate for the actual system. Do not assume a tall front describes the drawer's full internal height or permits any load.
8. Mix open and closed storage deliberately
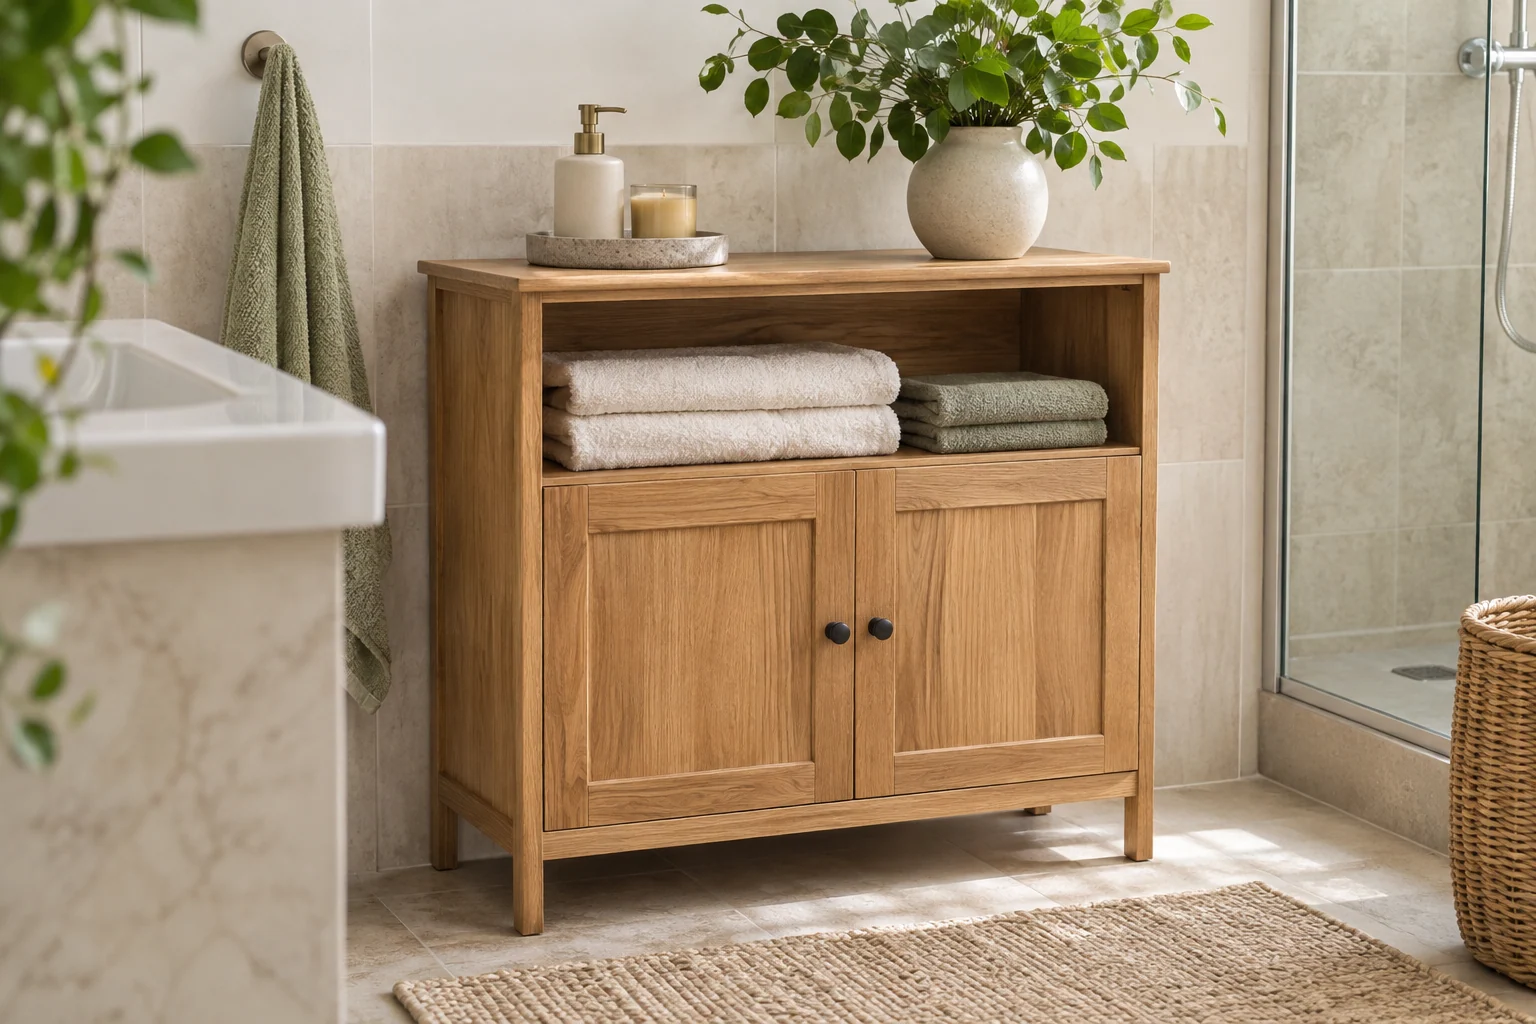
An open shelf can keep a small attractive working group visible while doors contain the less decorative reserve. Assign the functions before arranging the objects. Keep open storage manageable in the actual bathroom conditions. A cabinet can look balanced without filling each open shelf with a matching basket that makes retrieval more complicated.
9. Use baskets around their internal openings
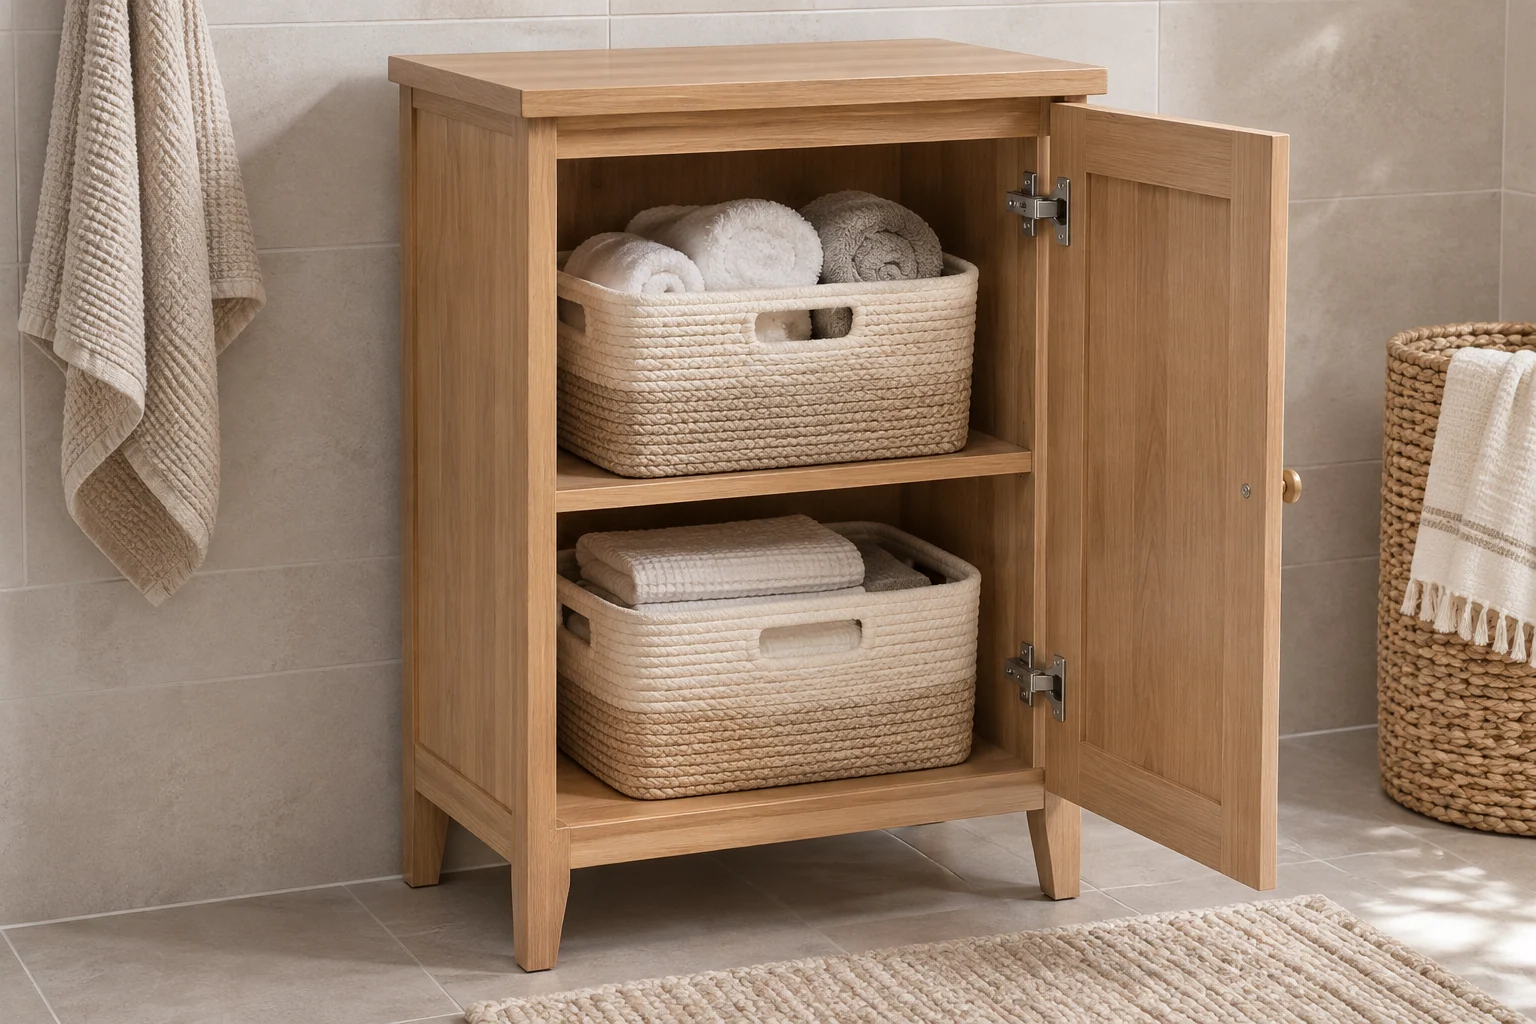
A basket can contain a suitable group when it fits fully on the shelf and leaves room to lift it out. Compare its usable interior with the items rather than only matching its outside width to the cabinet. Choose a surface and lining appropriate for the contents. Keep the basket light enough for the intended handling and shelf guidance.
10. Keep the cabinet door clear of the vanity

A cabinet beside a vanity can make storage feel connected, but both pieces need independent movement. Open the vanity drawers and cabinet door in their normal positions. Include projecting handles in the check. A neat alignment from the doorway is less useful when one storage unit must always be closed before the other can be reached.
11. Check a narrow room with the entrance door open
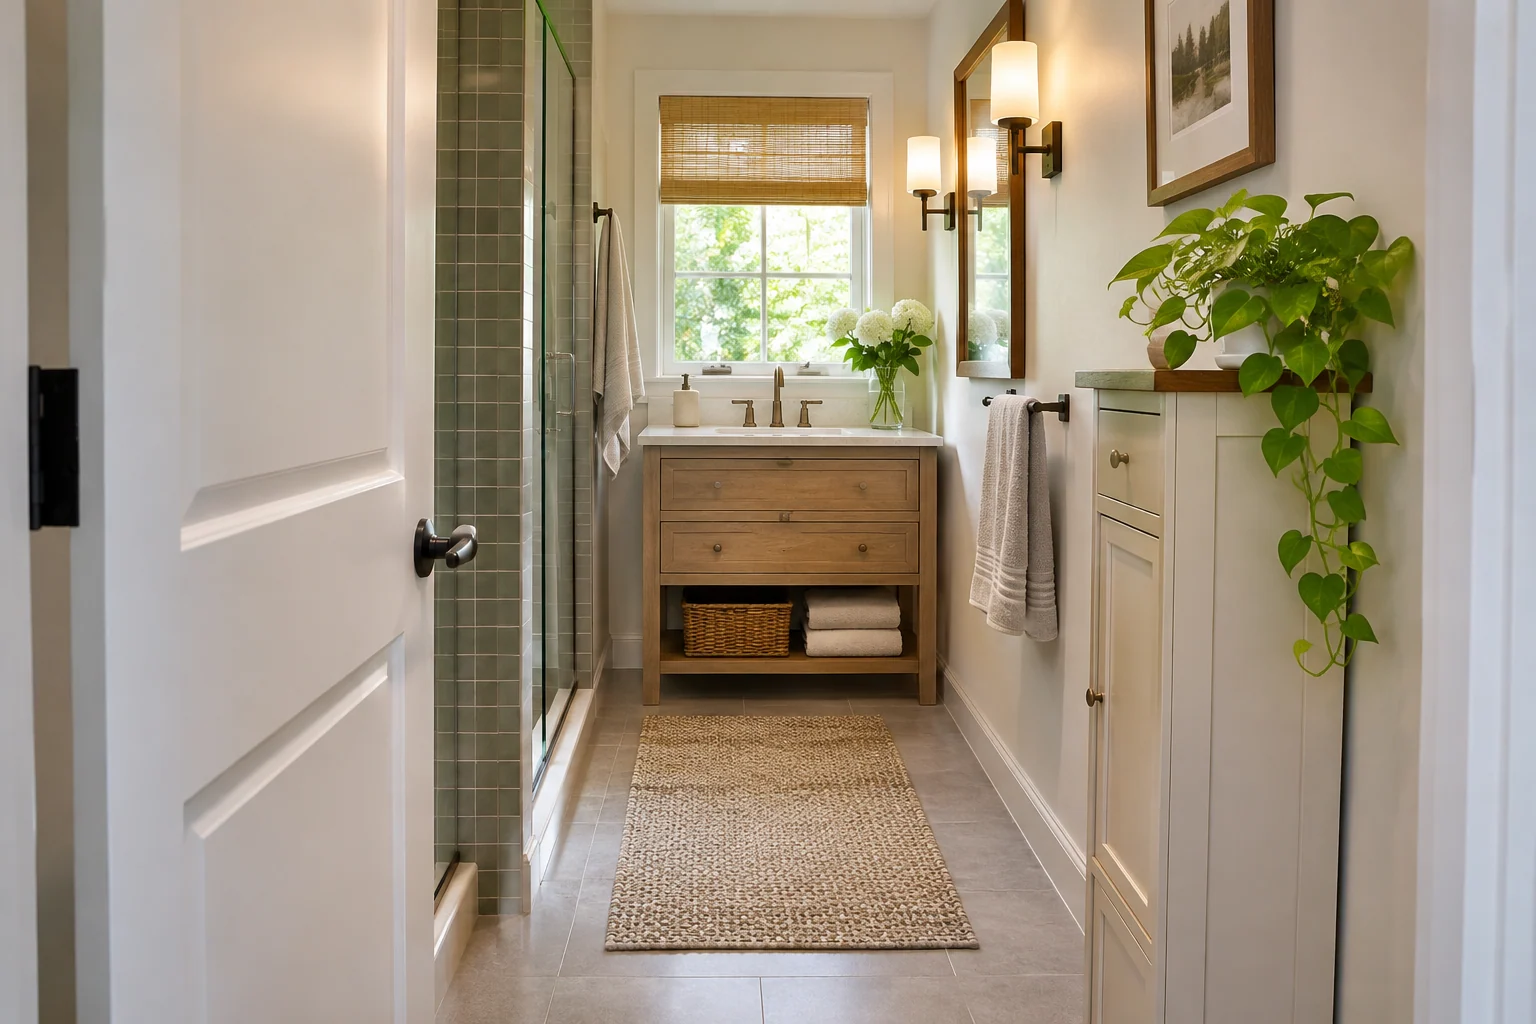
The bathroom entrance can occupy the same area as a proposed cabinet. Measure its full movement and the ordinary way the room is entered. Keep the storage outside that route. Choosing a shallower suitable unit or another wall can be more practical than forcing a tall cabinet into the only clear approach.
12. Leave room for cleaning beside the unit
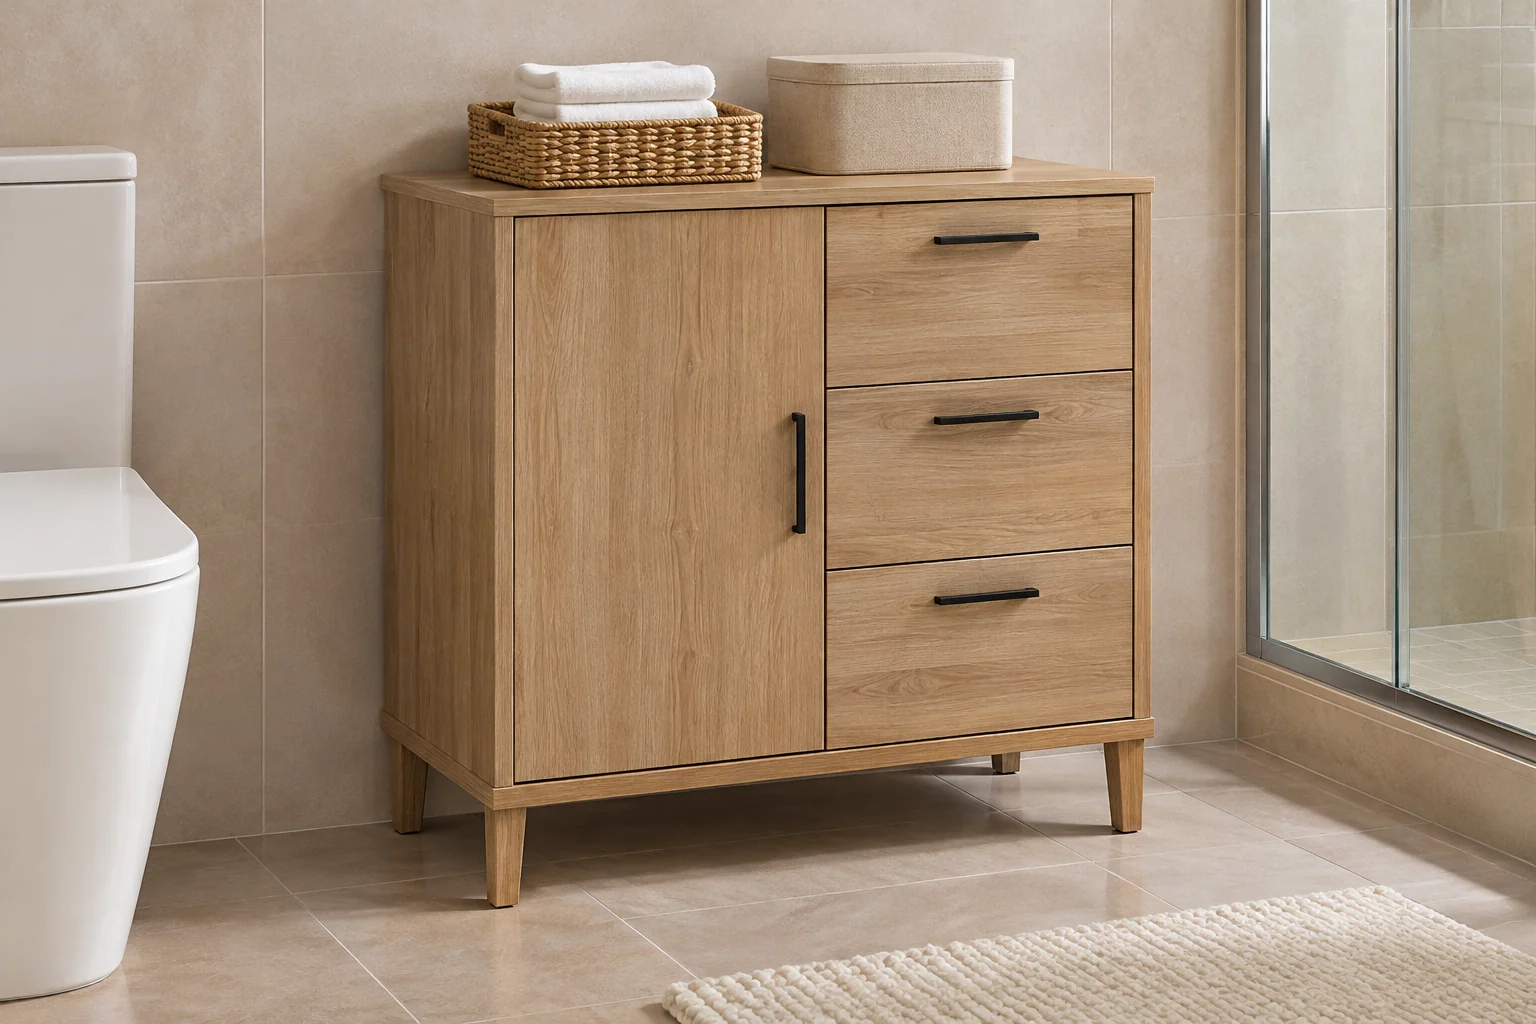
Consider how the cabinet's side and the floor around it will be maintained. A very narrow gap can be difficult to reach without moving furniture. Follow the product's placement and care guidance, including its relationship to the wall. The useful size is the one that fits both storage and routine care, not simply the largest cabinet that can be pushed into the opening.
13. Compare legs with a plinth around the actual floor
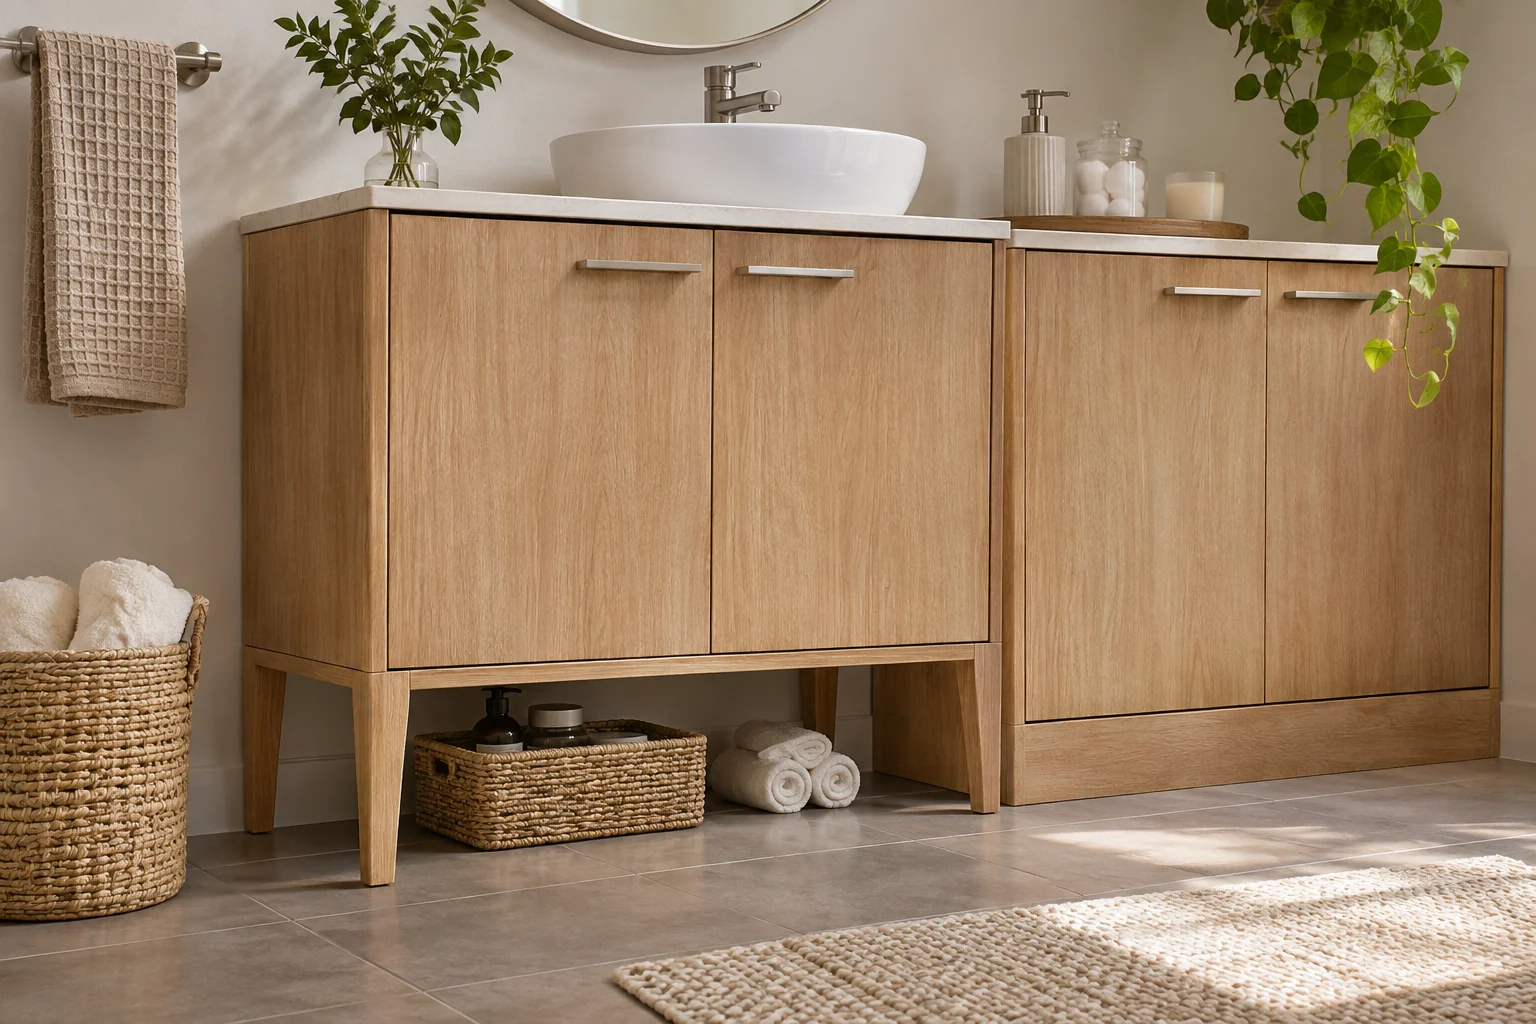
Raised legs and a closed base create different appearances and cleaning access. Choose around the floor, product instructions and the household's routine. Do not treat adjustable feet as permission to ignore an unsuitable surface or required restraint. Check the complete assembled cabinet rather than assuming the base style determines its stability by itself.
14. Use a pale front for a quieter wall
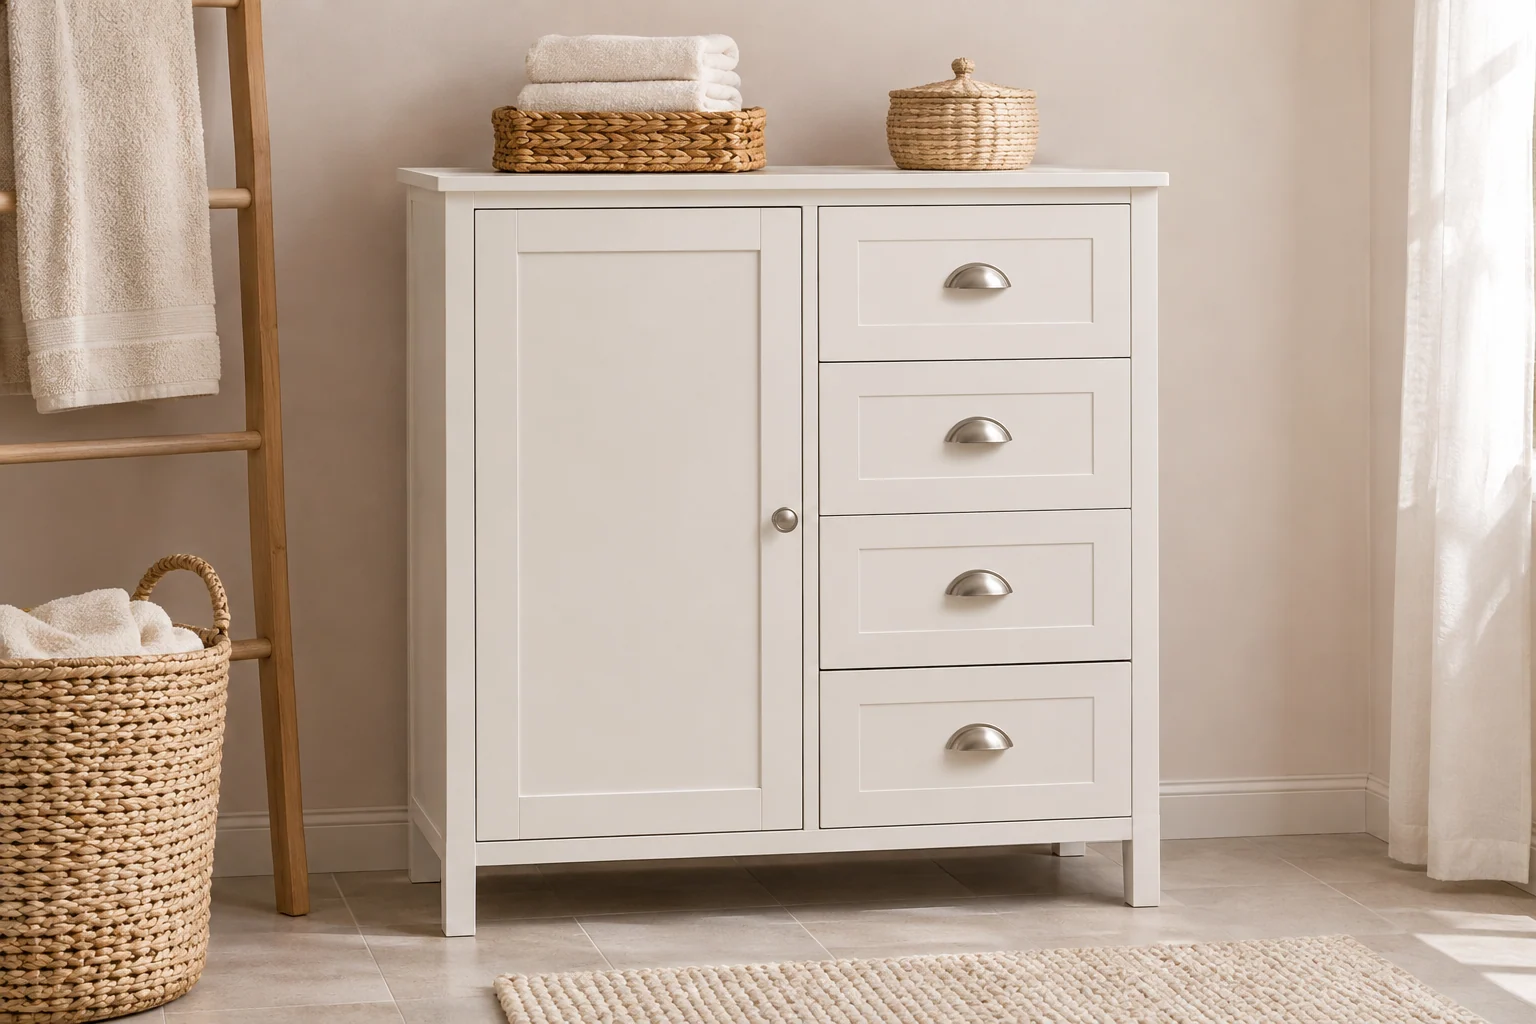
A pale cabinet can blend with a light wall while other bathroom details provide contrast. Compare the finish with the existing vanity and tile in ordinary light. Keep care and intended use part of the decision. A white appearance does not establish that an ordinary bedroom cabinet is suitable for bathroom moisture or splashes.
15. Let a wood-look finish connect existing warm materials
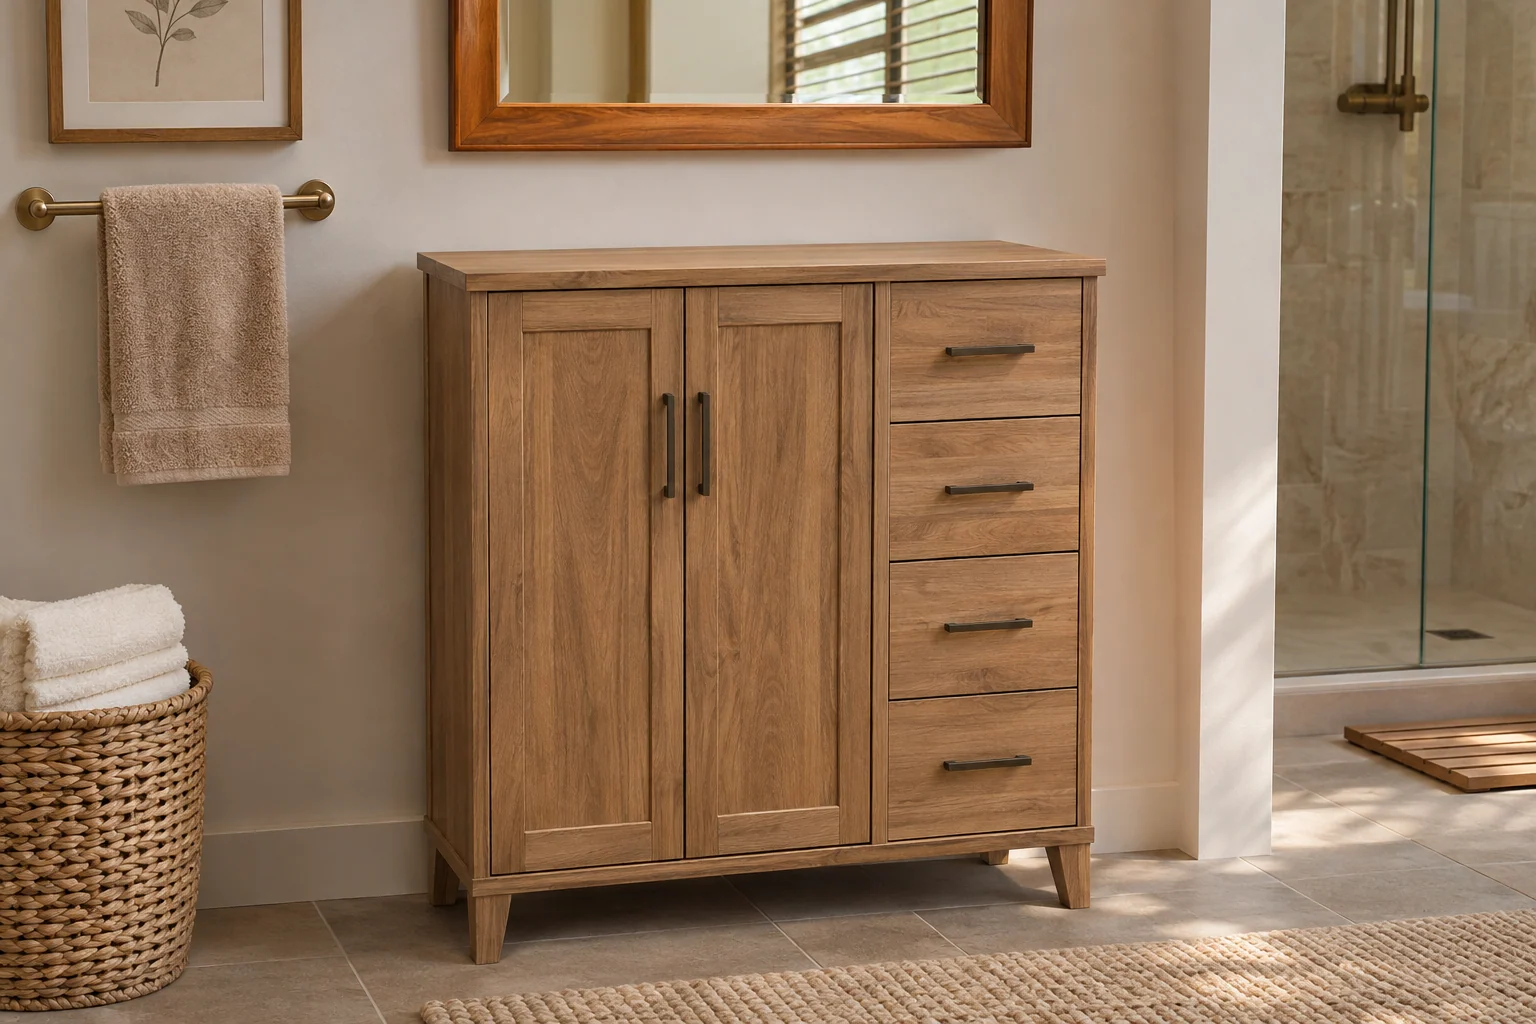
A warm wood tone can relate to a mirror frame or another small detail without matching every finish exactly. Choose a bathroom-intended product and follow its care instructions. Keep direct water exposure within the actual use guidance. The visual grain cannot establish the construction or water resistance of the cabinet shown in a concept image.
16. Choose a darker unit as a deliberate accent
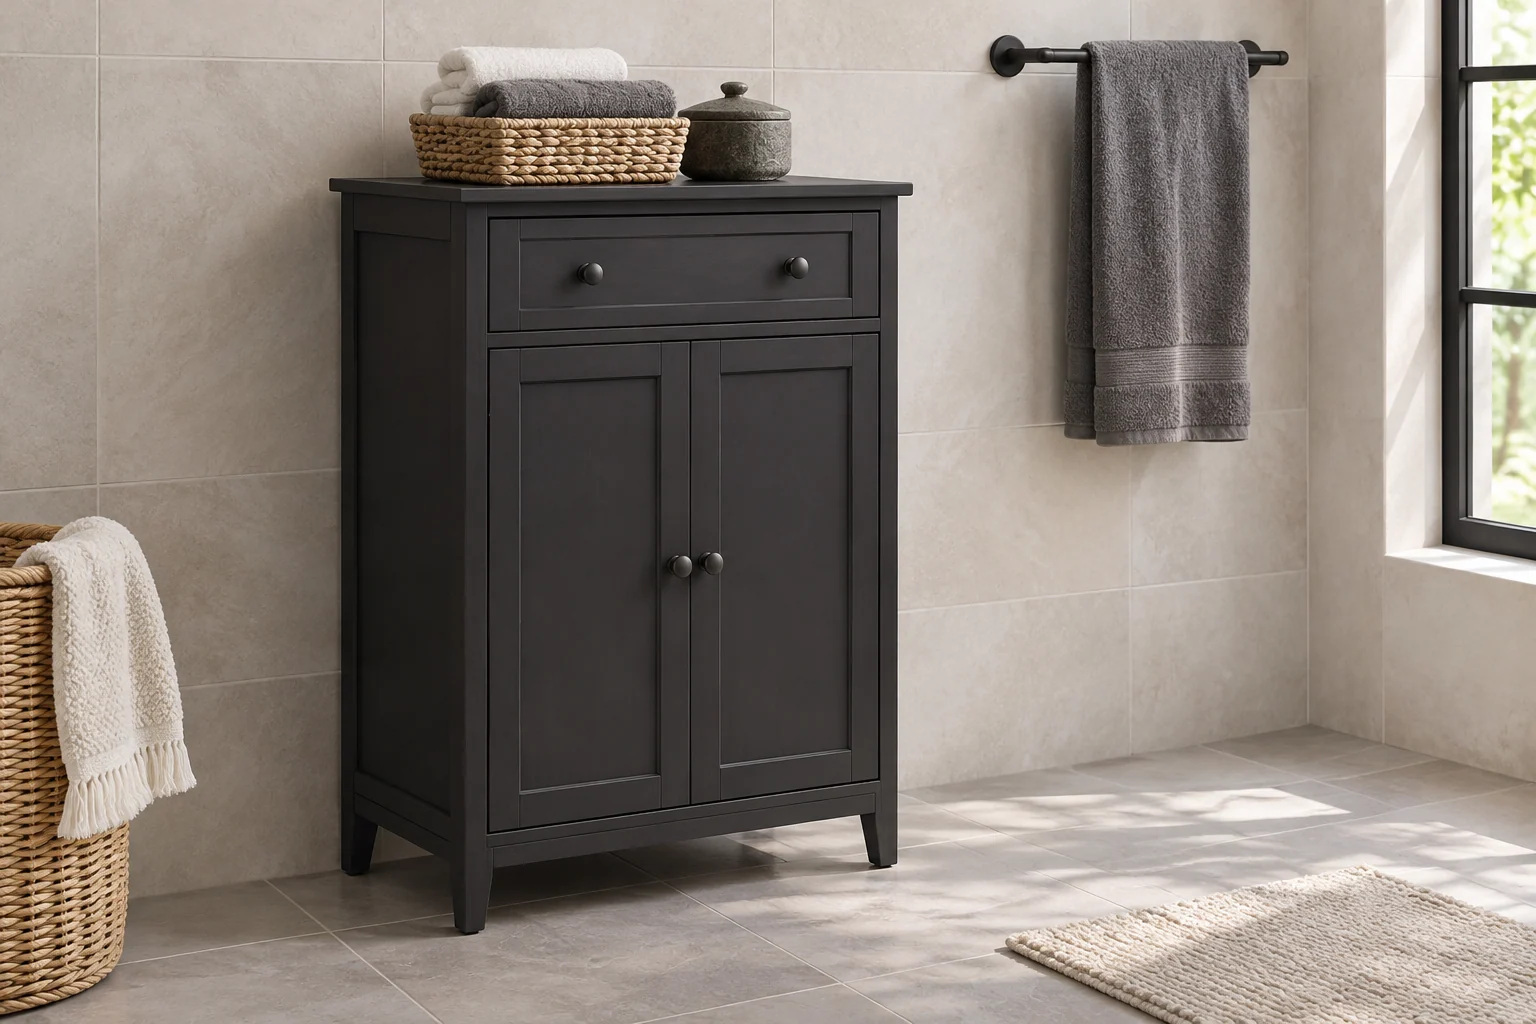
A dark cabinet can give a plain bathroom a clear furniture outline. Repeat a small related detail if useful and keep the rest of the arrangement restrained. Check whether its depth feels prominent from the entrance. Color can define the storage area, but it should not distract from the practical checks of opening, reach and floor space.
17. Use glass doors for a modest visible collection
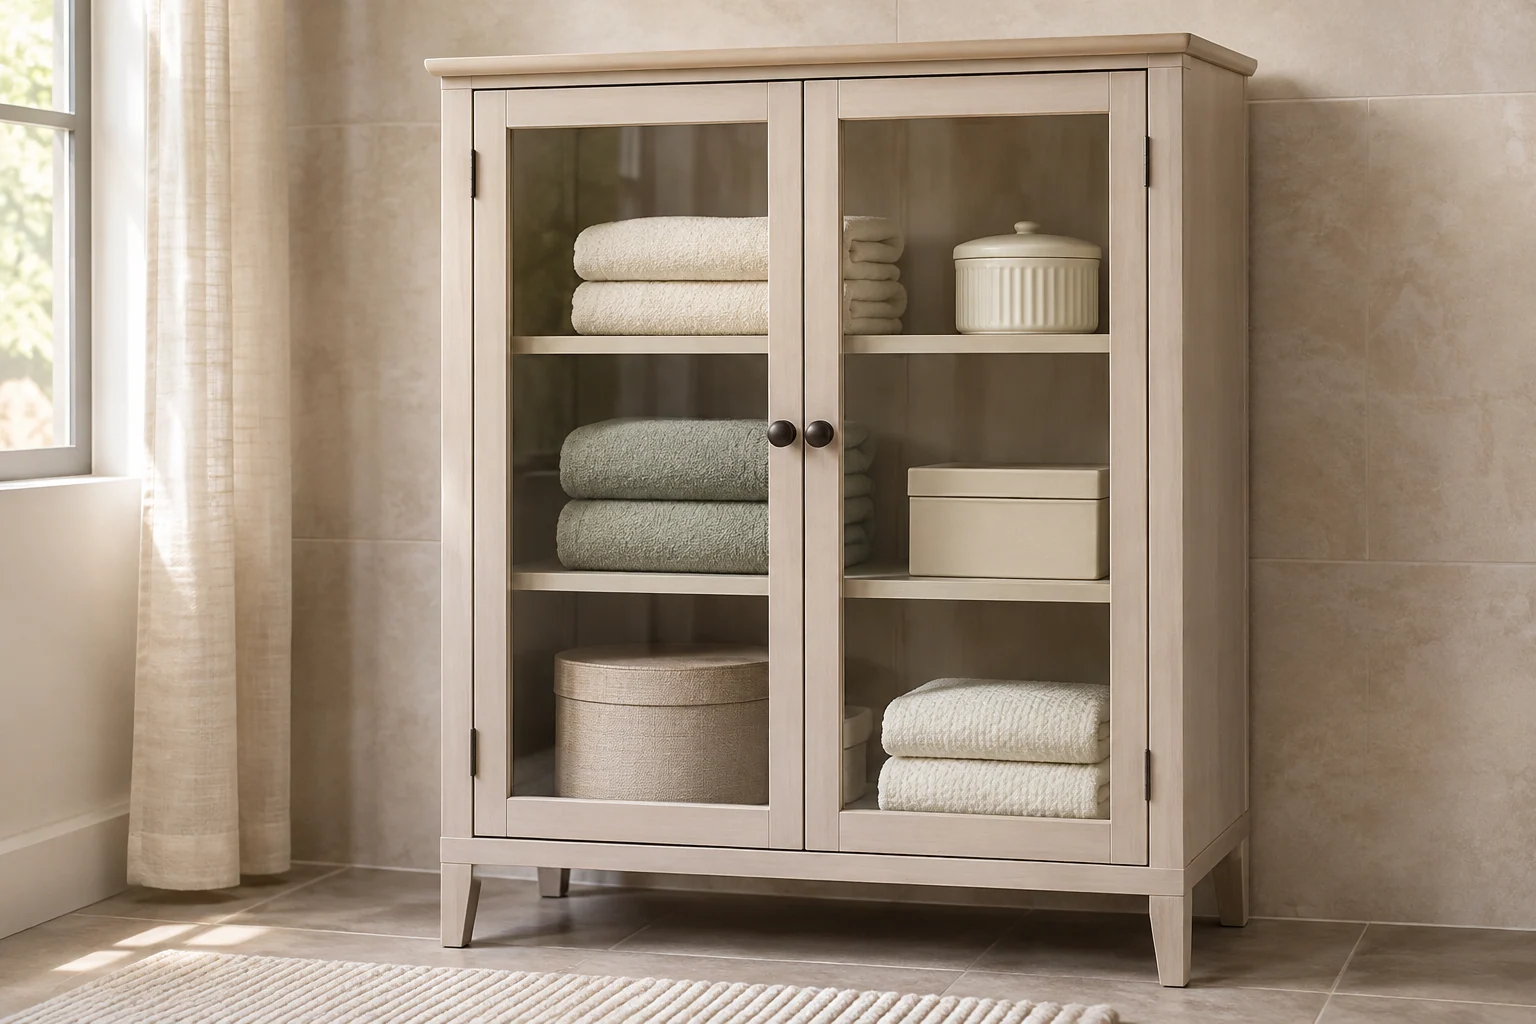
A glass-front section can make folded towels or a few suitable containers part of the room's appearance. Keep the group small and easy to retrieve. Test the open-door access and maintain the product as directed. The transparent front is a visual choice, not proof of ventilation, moisture control or the suitability of every stored product.
18. Keep tall bottles on a correctly sized shelf
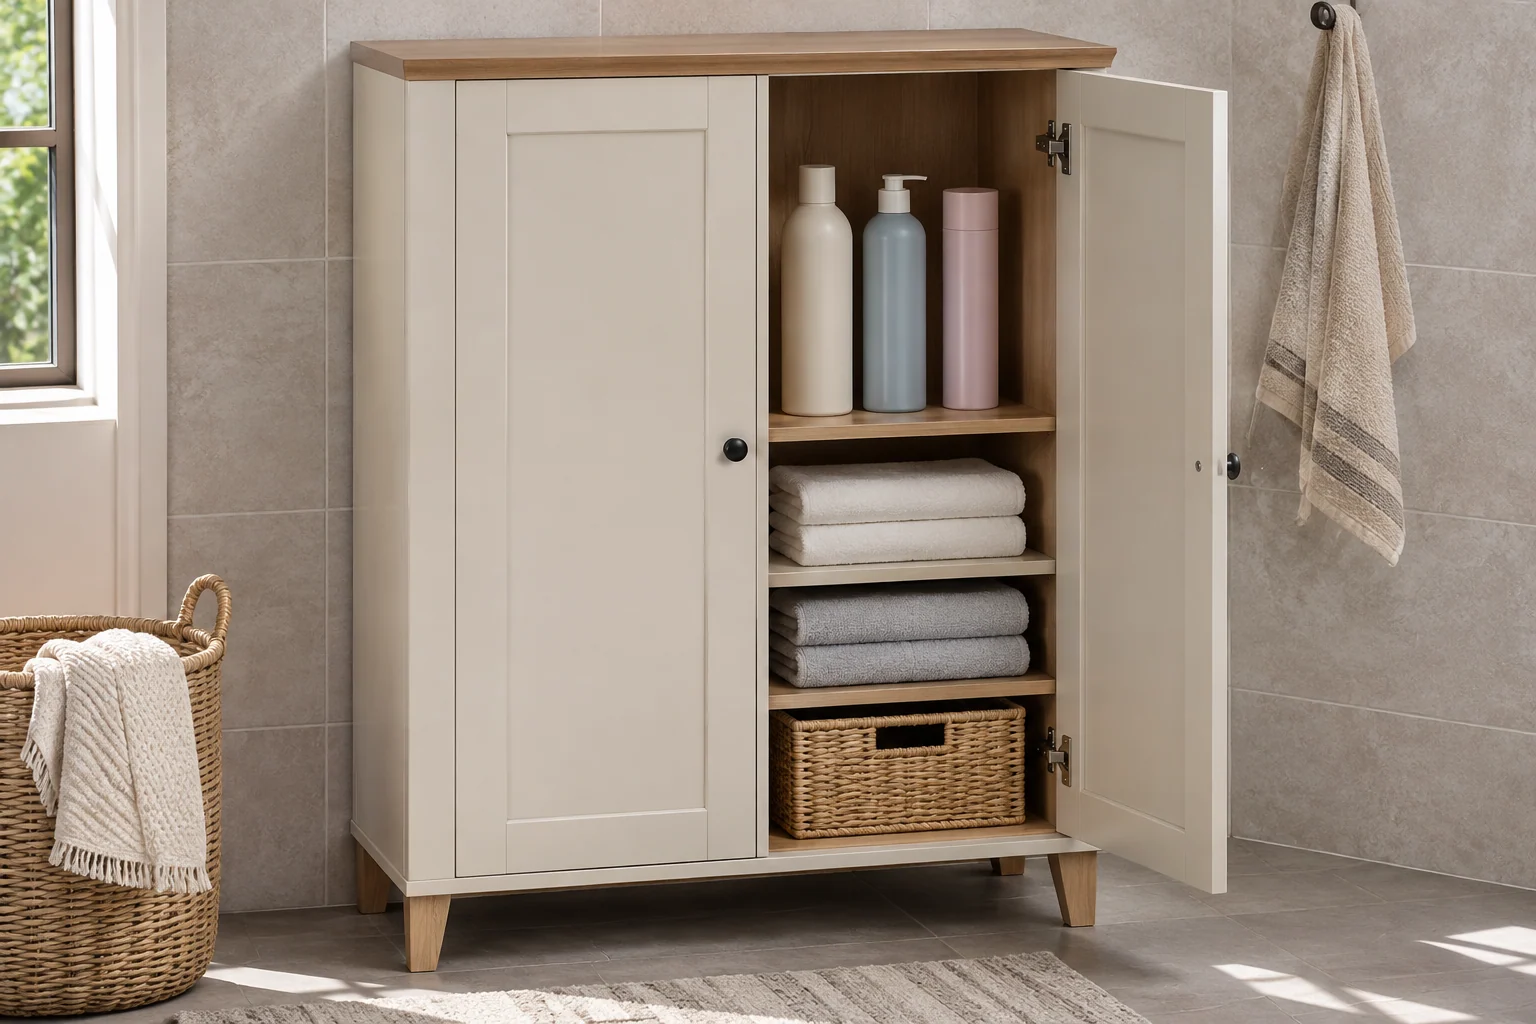
Measure the tallest closed container, including pumps or lids in their stored position. Choose an appropriate shelf bay with room to remove it comfortably. Keep products upright as their instructions require and separate them from clean textiles where appropriate. An adjustable shelf is useful only when the actual cabinet supports the intended position and load.
19. Give personal groups their own simple sections
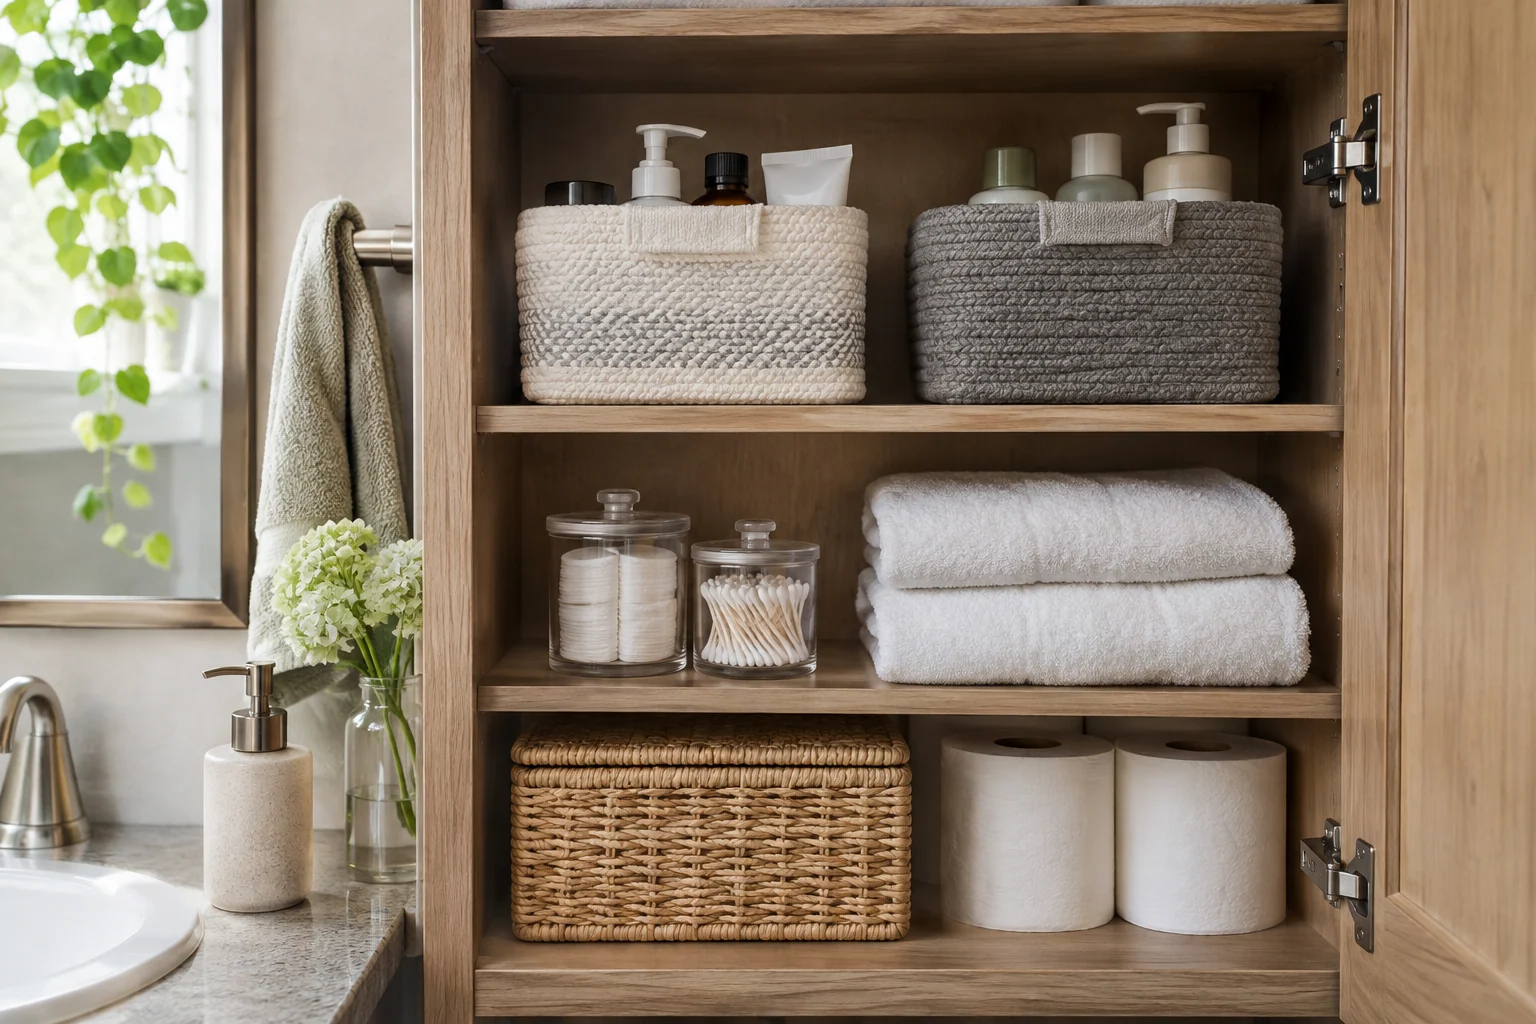
A shared cabinet can be easier to use when each person's ordinary items have a defined suitable area. Keep the division broad enough to maintain without constant sorting. Choose section sizes around the actual contents rather than identical baskets for appearance alone. Shared reserve products can have a separate home so the personal areas remain clear.
20. Keep hair tools in an appropriate cooled return space
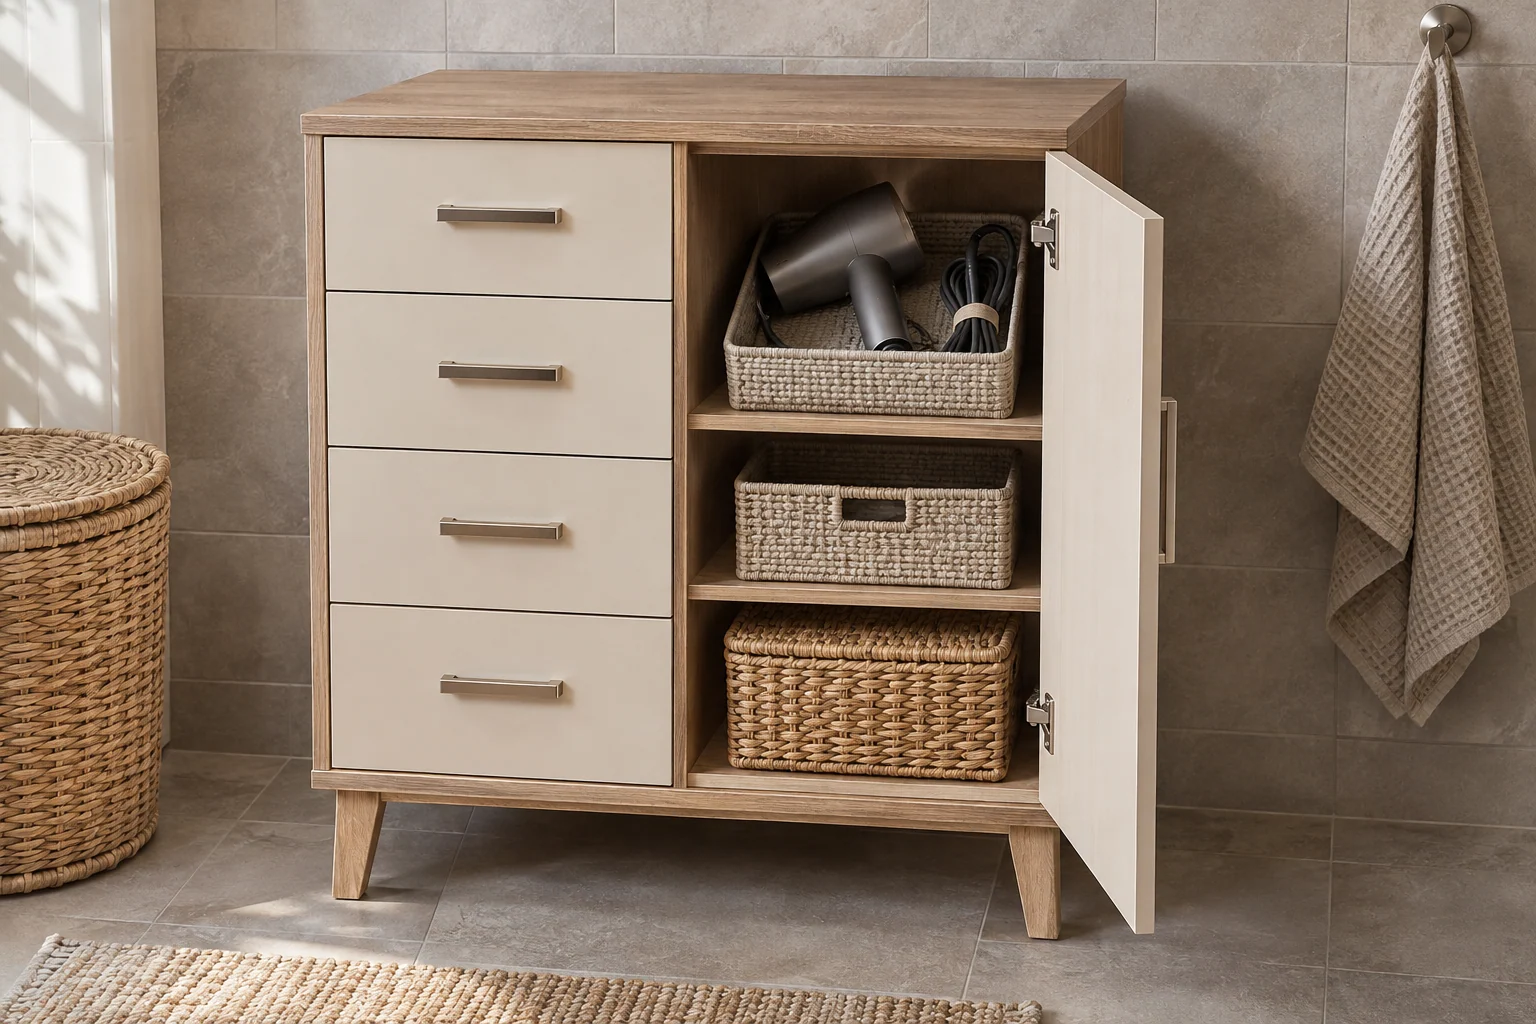
Follow each tool's use and storage instructions, including its required cooling before it is put away. Choose a suitable separate storage arrangement rather than placing it among folded towels or loose cords. Check that the cabinet opening accommodates the complete item. The storage idea does not authorize using an appliance inside an enclosed cabinet.
21. Use a removable tray for a small product group
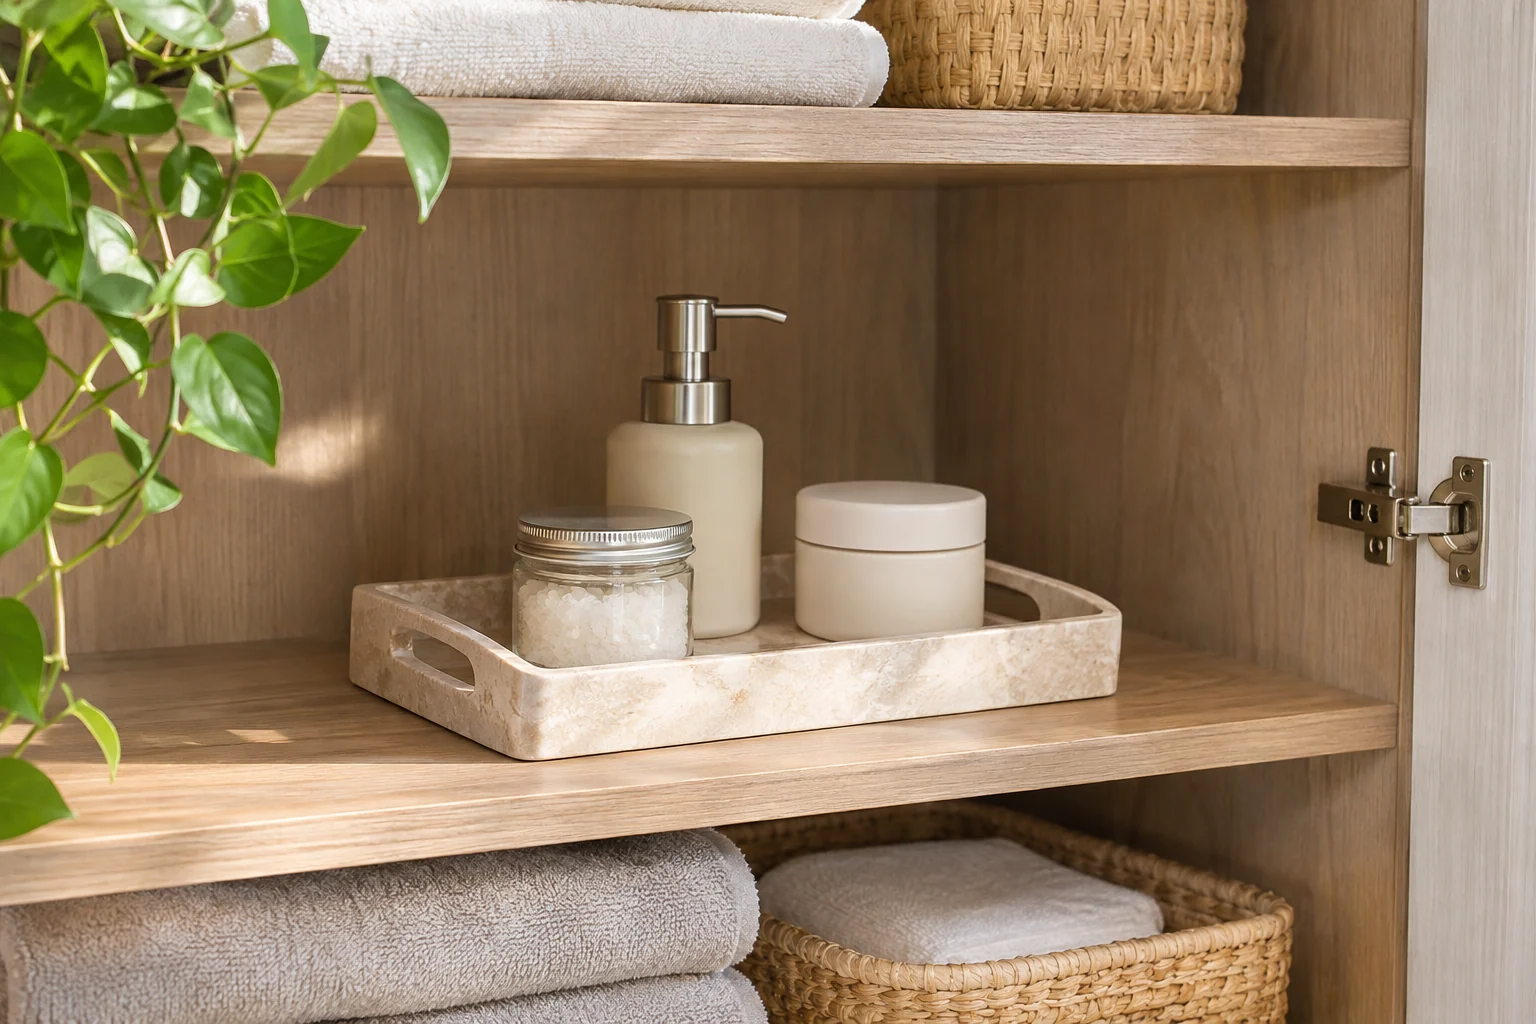
A suitable tray can define one group without turning the whole shelf into several fixed compartments. Keep it fully supported and leave room to lift it out. Check the tray and contents together against the shelf guidance. A decorative tray should not be assumed suitable for carrying a heavy loaded collection simply because it has a raised rim.
22. Keep the top clear of the cabinet's opening
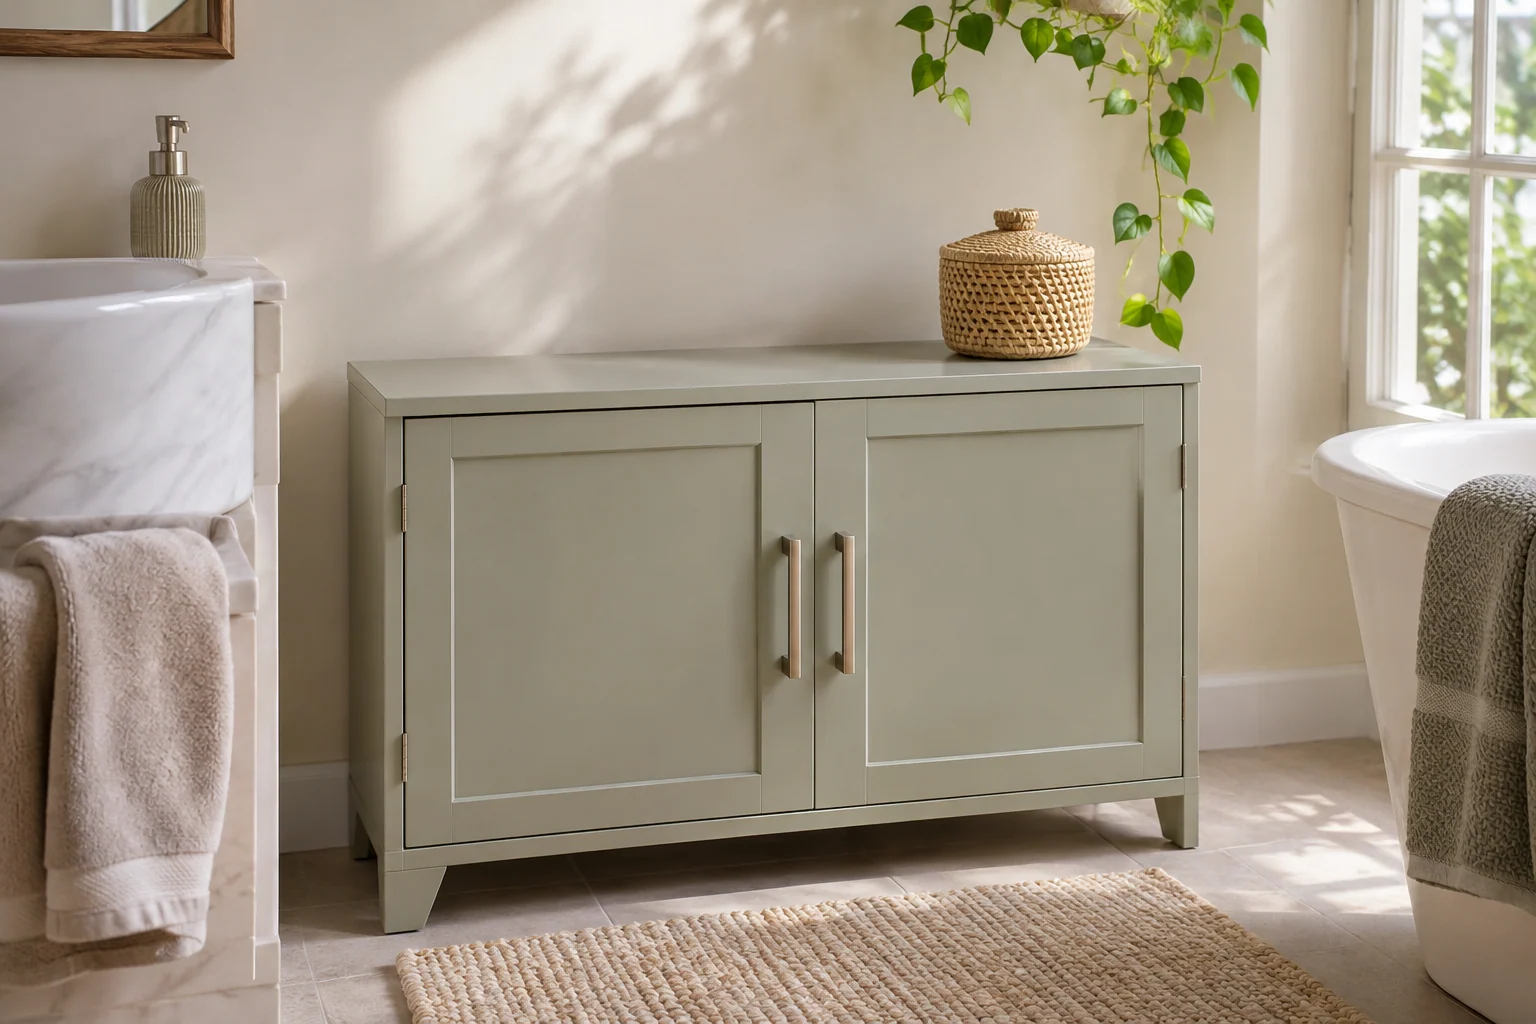
A restrained top can make the cabinet feel finished while leaving its normal controls and doors easy to use. Avoid draping textiles over the front or placing objects where they interfere with a moving lid or door. Follow the unit's intended use for the top. A single suitable dry object may serve the room better than a dense decorative arrangement.
23. Choose a corner form only when its doors work
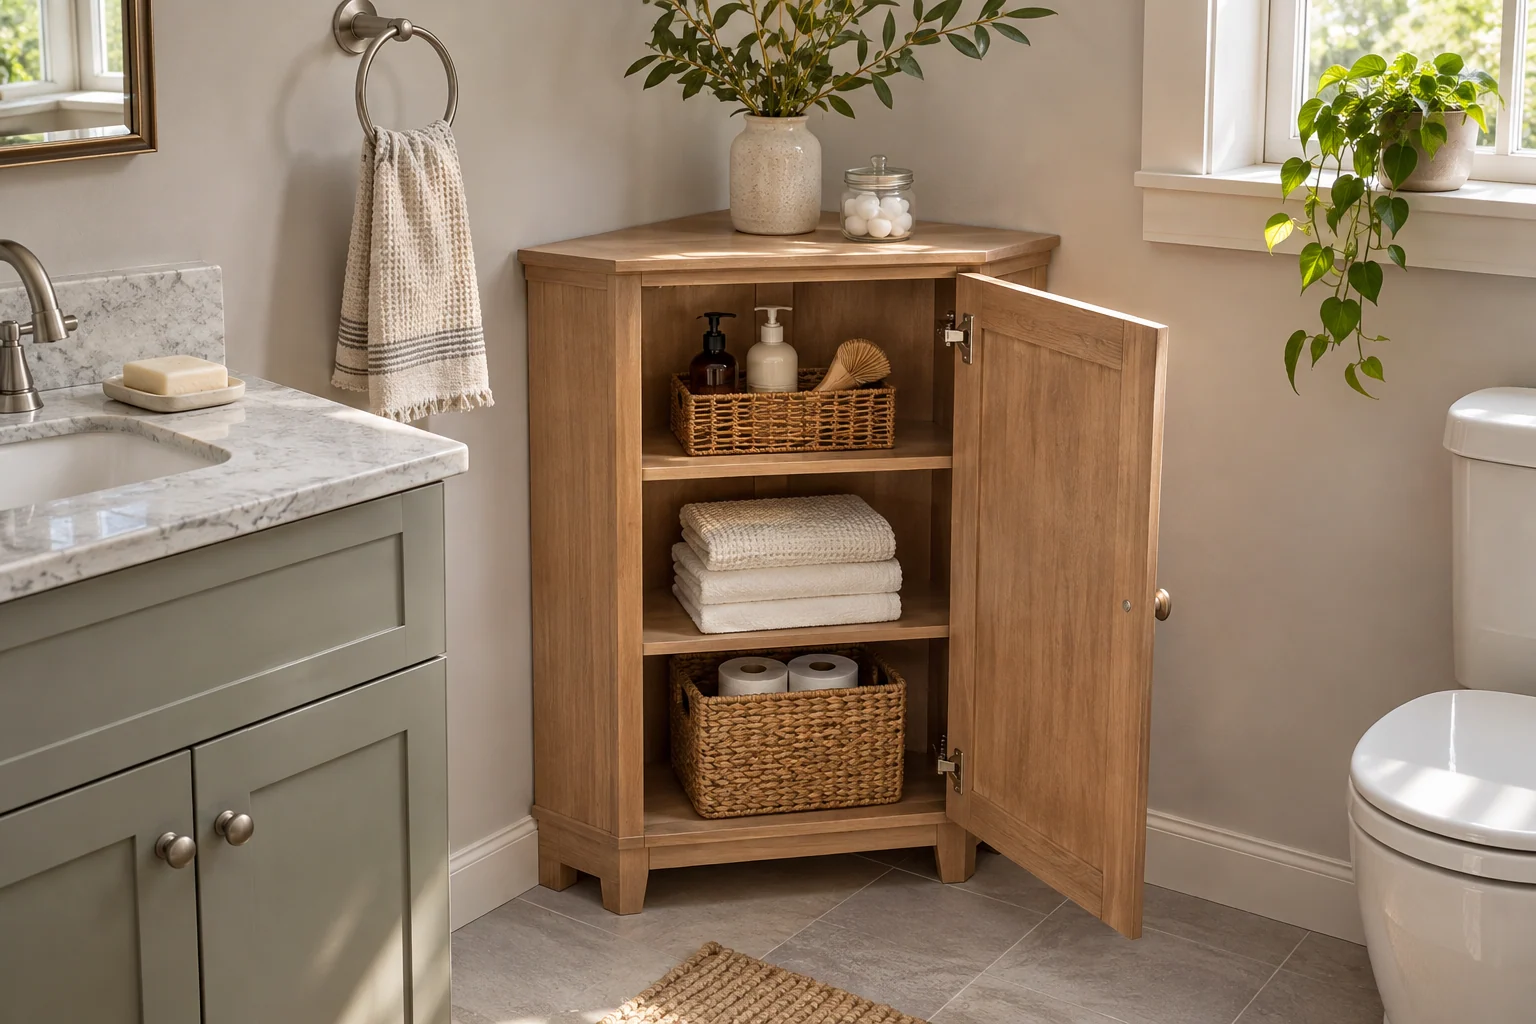
A purpose-designed corner cabinet can use a particular wall shape, but its outside footprint is only part of the fit. Check shelf depth toward the rear and the complete opening movement. Keep stored items retrievable without reaching around a tightly packed front row. An ordinary rectangular unit may be simpler when the corner form creates difficult access.
24. Plan a small spare-linen section rather than a deep pile
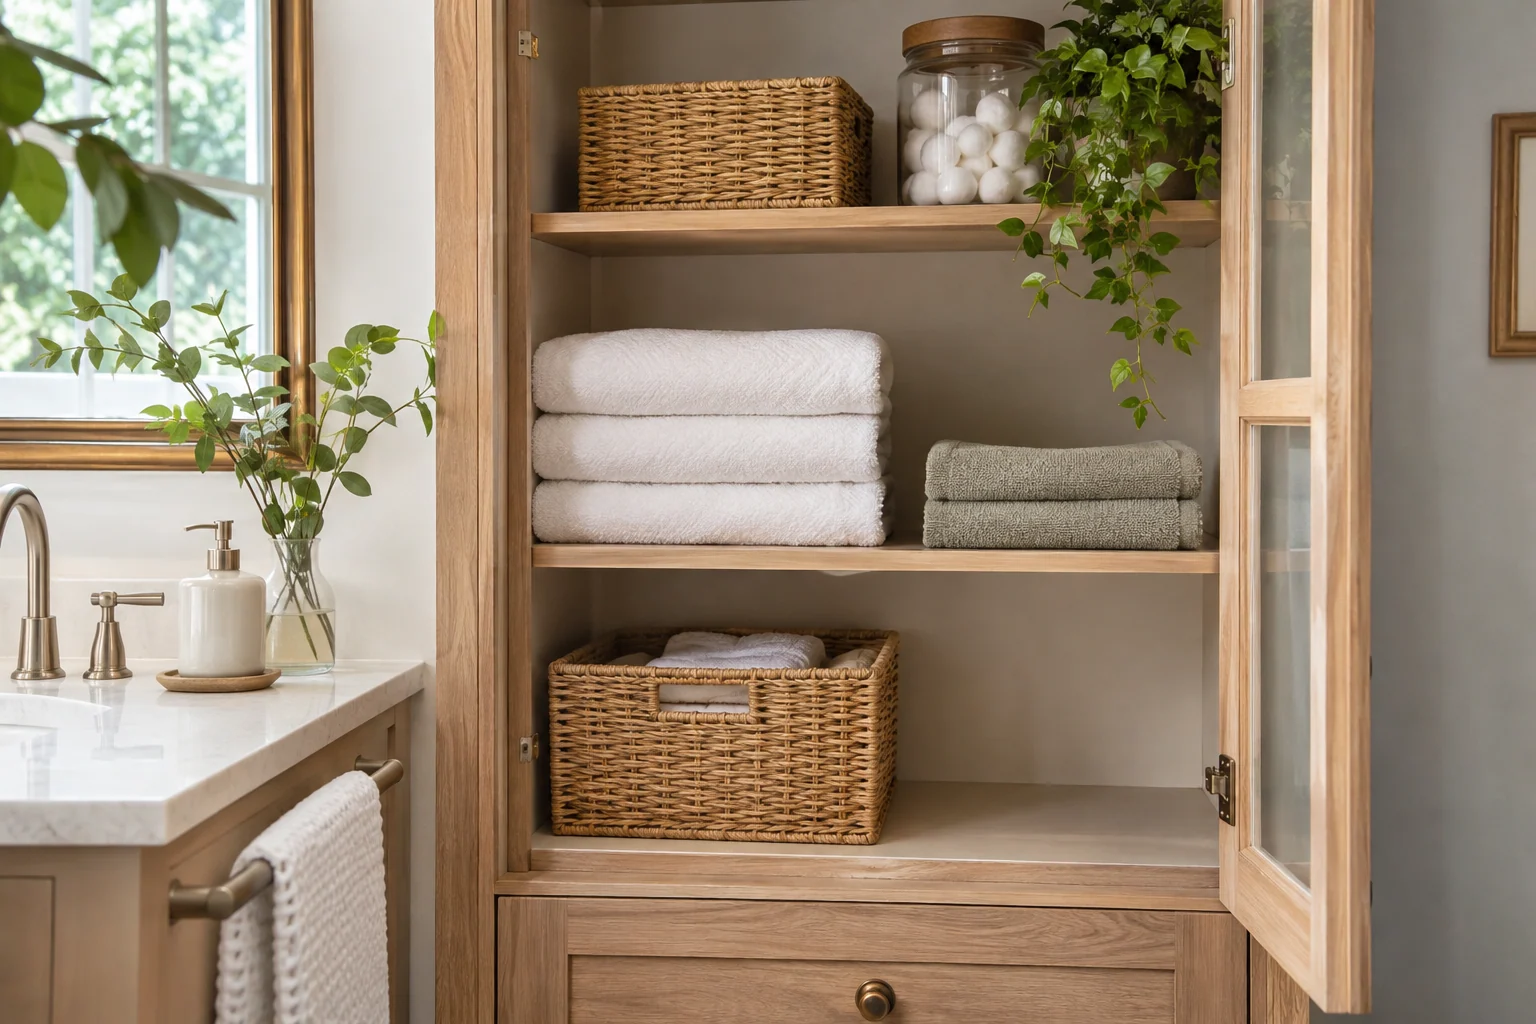
A limited spare group can support the bathroom's routine while the main linen collection lives elsewhere. Fold around the usable shelf depth and keep items identifiable. Store only clean dry textiles in an appropriate environment. If the cabinet is too small for the whole household's linen, choose a practical working amount instead of compressing the entire collection into it.
25. Keep the product information with the cabinet record
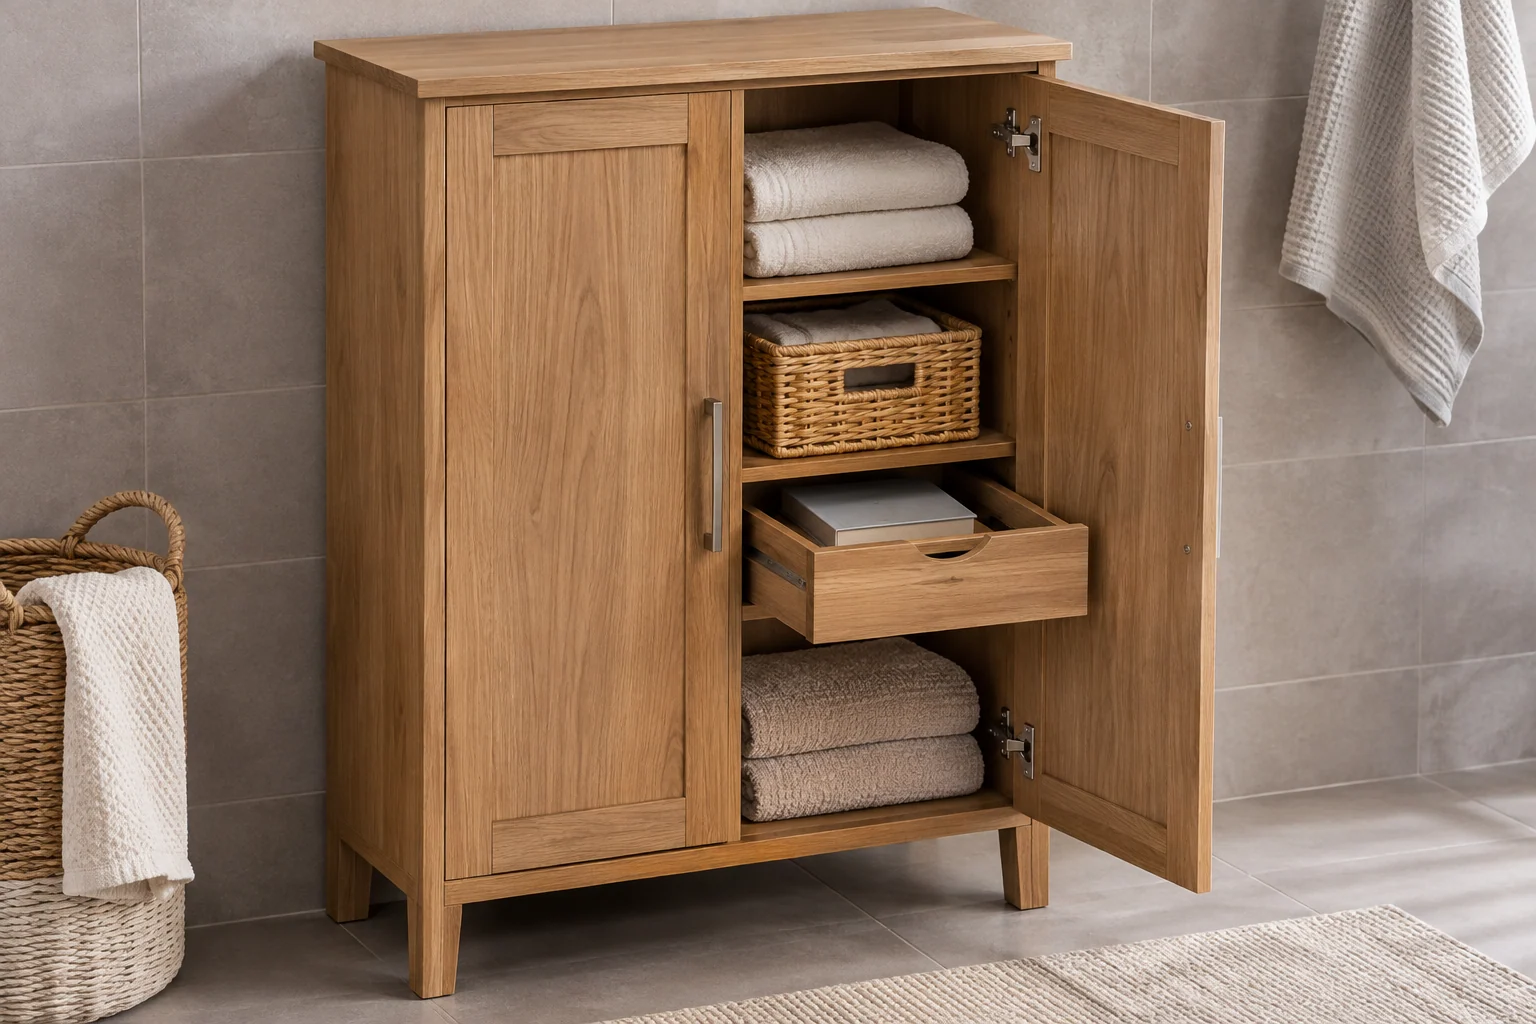
Save the exact model, assembly instructions, loading guidance, care and restraint requirements in a place you can find later. This helps when a shelf position changes or a replacement part is needed. Do not borrow a similar cabinet's specifications from an online photograph. The relevant instructions belong to the actual furniture in the room.
26. Finish with an ordinary storage-return test
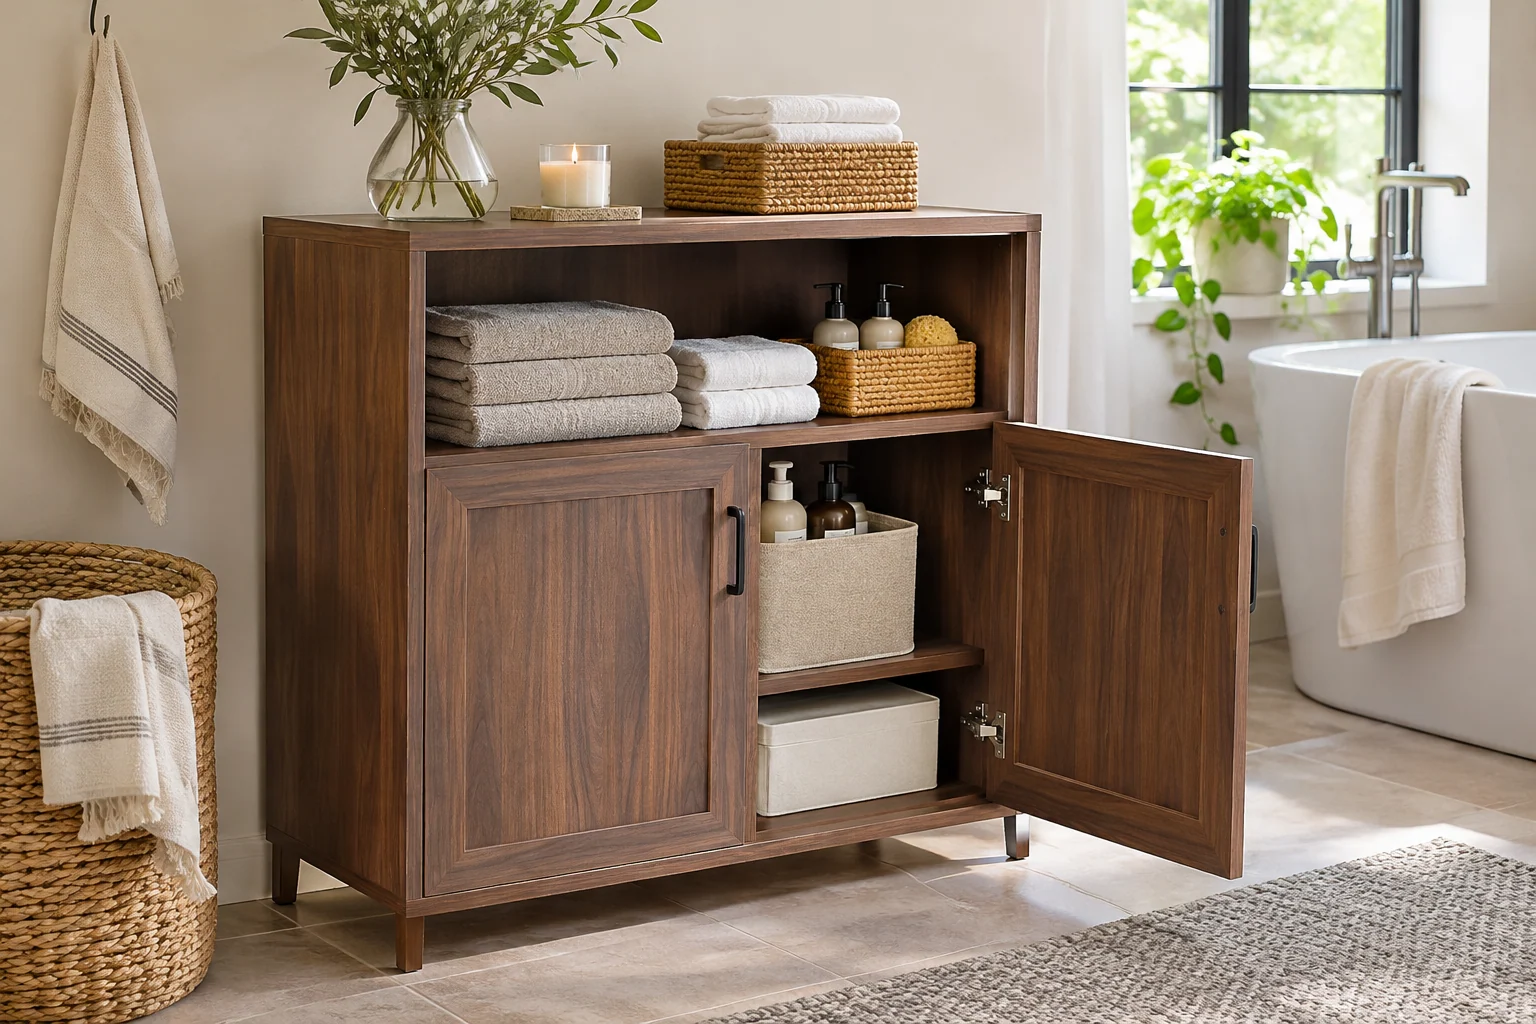
Open the cabinet with the surrounding bathroom in normal use and return one frequent item. Notice an obstructed hinge, an unreachable rear row or a basket that catches. Correct that specific problem before adding more organizers. A useful cabinet remains understandable during the daily routine, beyond the first carefully arranged shelf photograph.
A cabinet fit card before purchase
Record assembled width and depth, skirting-board projection, clear door opening, drawer travel, usable internal shelves, restraint method and the largest stored item. In a hypothetical 20-inch-wide wall position, an 18-inch-wide cabinet leaves 2 inches across the remaining width before handles or wall irregularities. That arithmetic does not establish required clearances or installation suitability. Check the exact product and complete bathroom layout.
A practical next step
Choose the cabinet's complete working footprint first, then give each shelf a clear job. Storage that opens independently, holds the intended contents and follows its product guidance can make the bathroom easier to use without filling every gap.
The images are original AI-generated design concepts. They illustrate arrangements rather than tested products, installations or measured performance.
Sources and care references
Related reading on Nestroxe
Optional digital guide for this topic
If you prefer a structured workbook, explore this related paid guide.