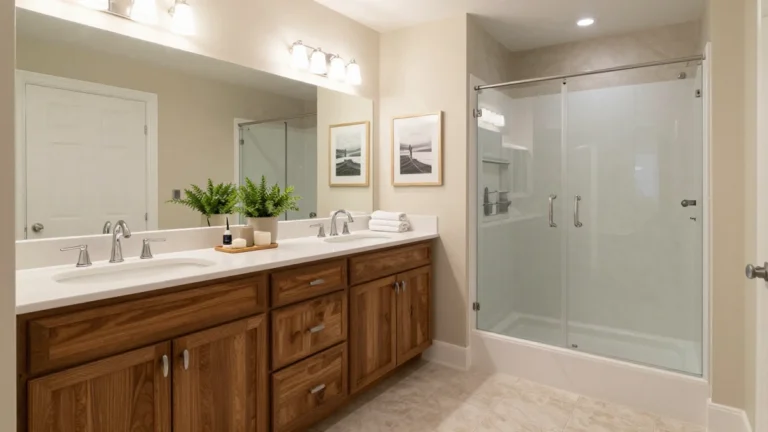
Most people shop for a bathroom vanity backward. They fall for a style online, order it, and only then discover it doesn’t actually fit the wall, or worse, it passes but leaves no room to open the door.
The correct approach runs the opposite direction: establish your maximum and minimum width first, then shop within that window.
Bathrooms are unforgiving spaces for sizing mistakes, since plumbing, code minimums, and door swings all interact in a room that’s usually smaller than any other in the house.
This guide walks through the real numbers, standard widths, clearances, and height, so you can measure first and shop second.
1. Measure Your Wall Before Choosing a Vanity Width
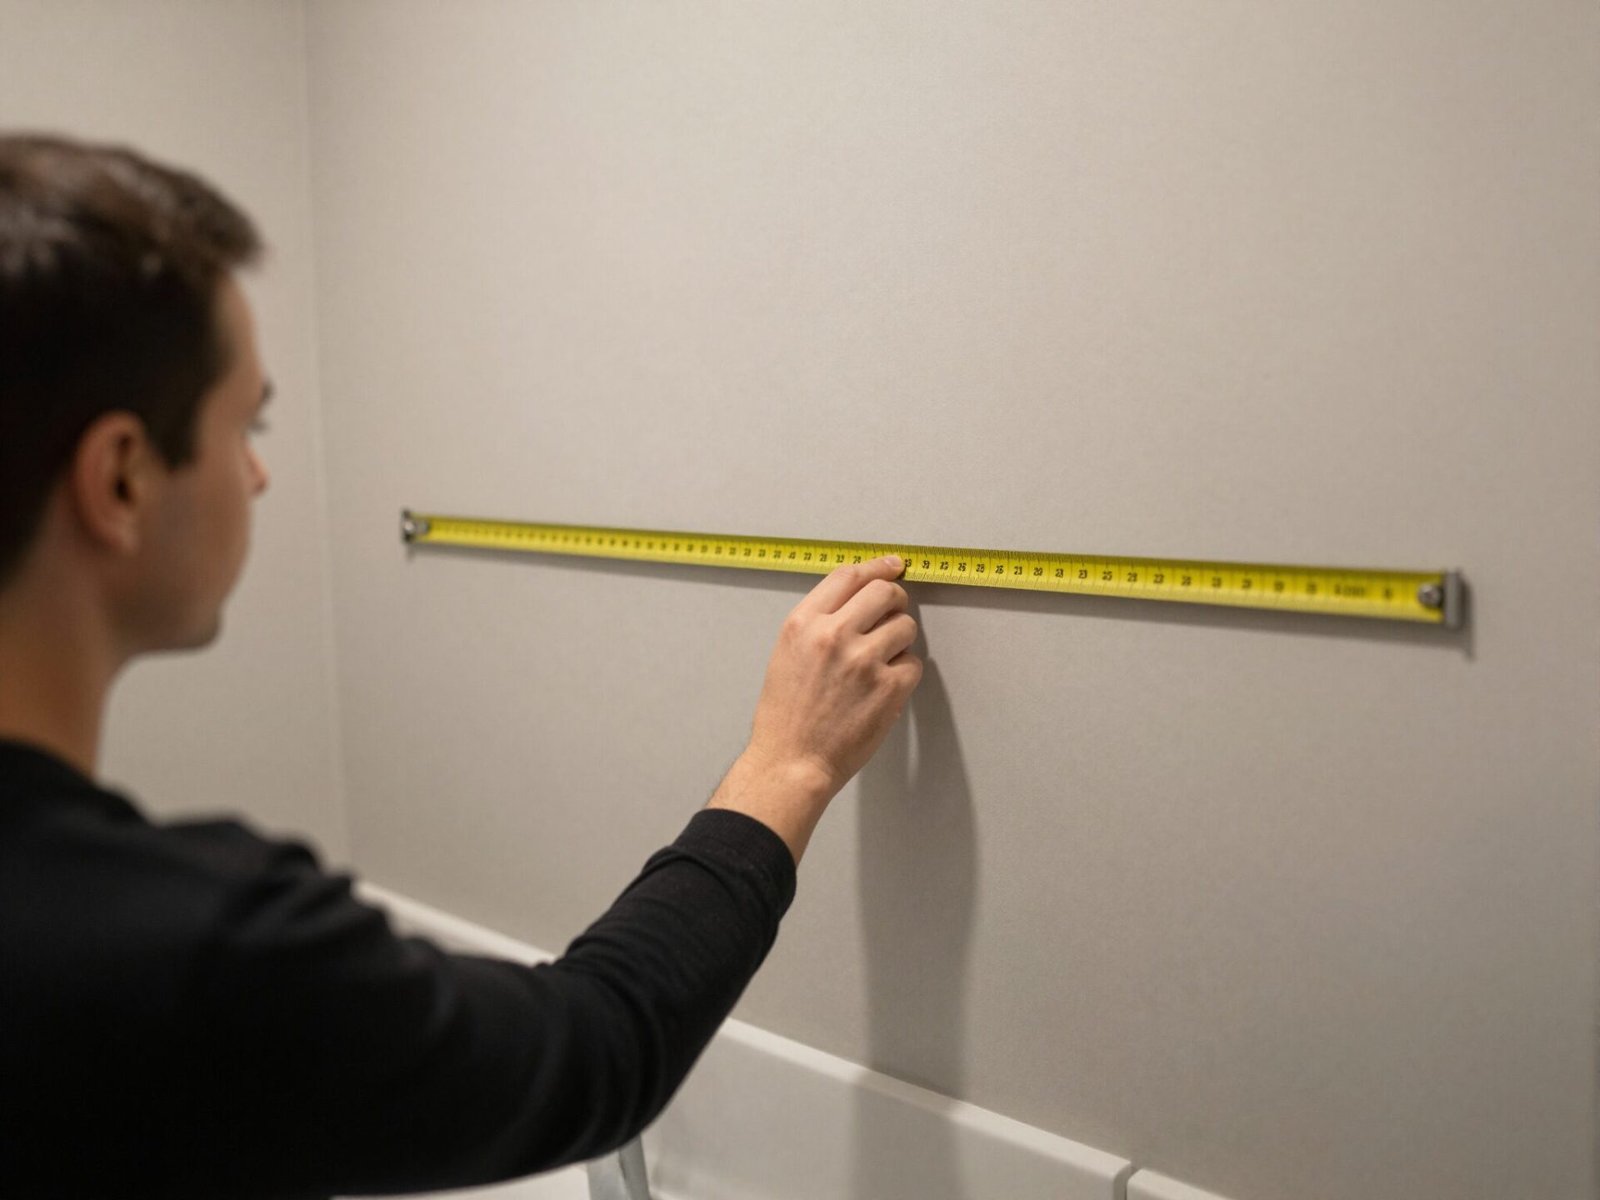
Start by measuring the full wall where the vanity will sit, then subtract space needed for door swings, toilet clearance, and walking room.
Whatever number remains is your true maximum usable width, not the wall’s raw measurement.
This single step prevents the most common vanity mistake: falling for a style before confirming it can physically fit the space with everything else accounted for.
💡 Smart tip: Write down your maximum and minimum width as a hard range before browsing vanities, so you’re not tempted by something that technically won’t fit.
⚠️ Mistake to avoid: Don’t measure only the flat wall length. Account for any trim, outlets, or fixtures that reduce the truly usable width.
2. Standard Single Vanity Widths
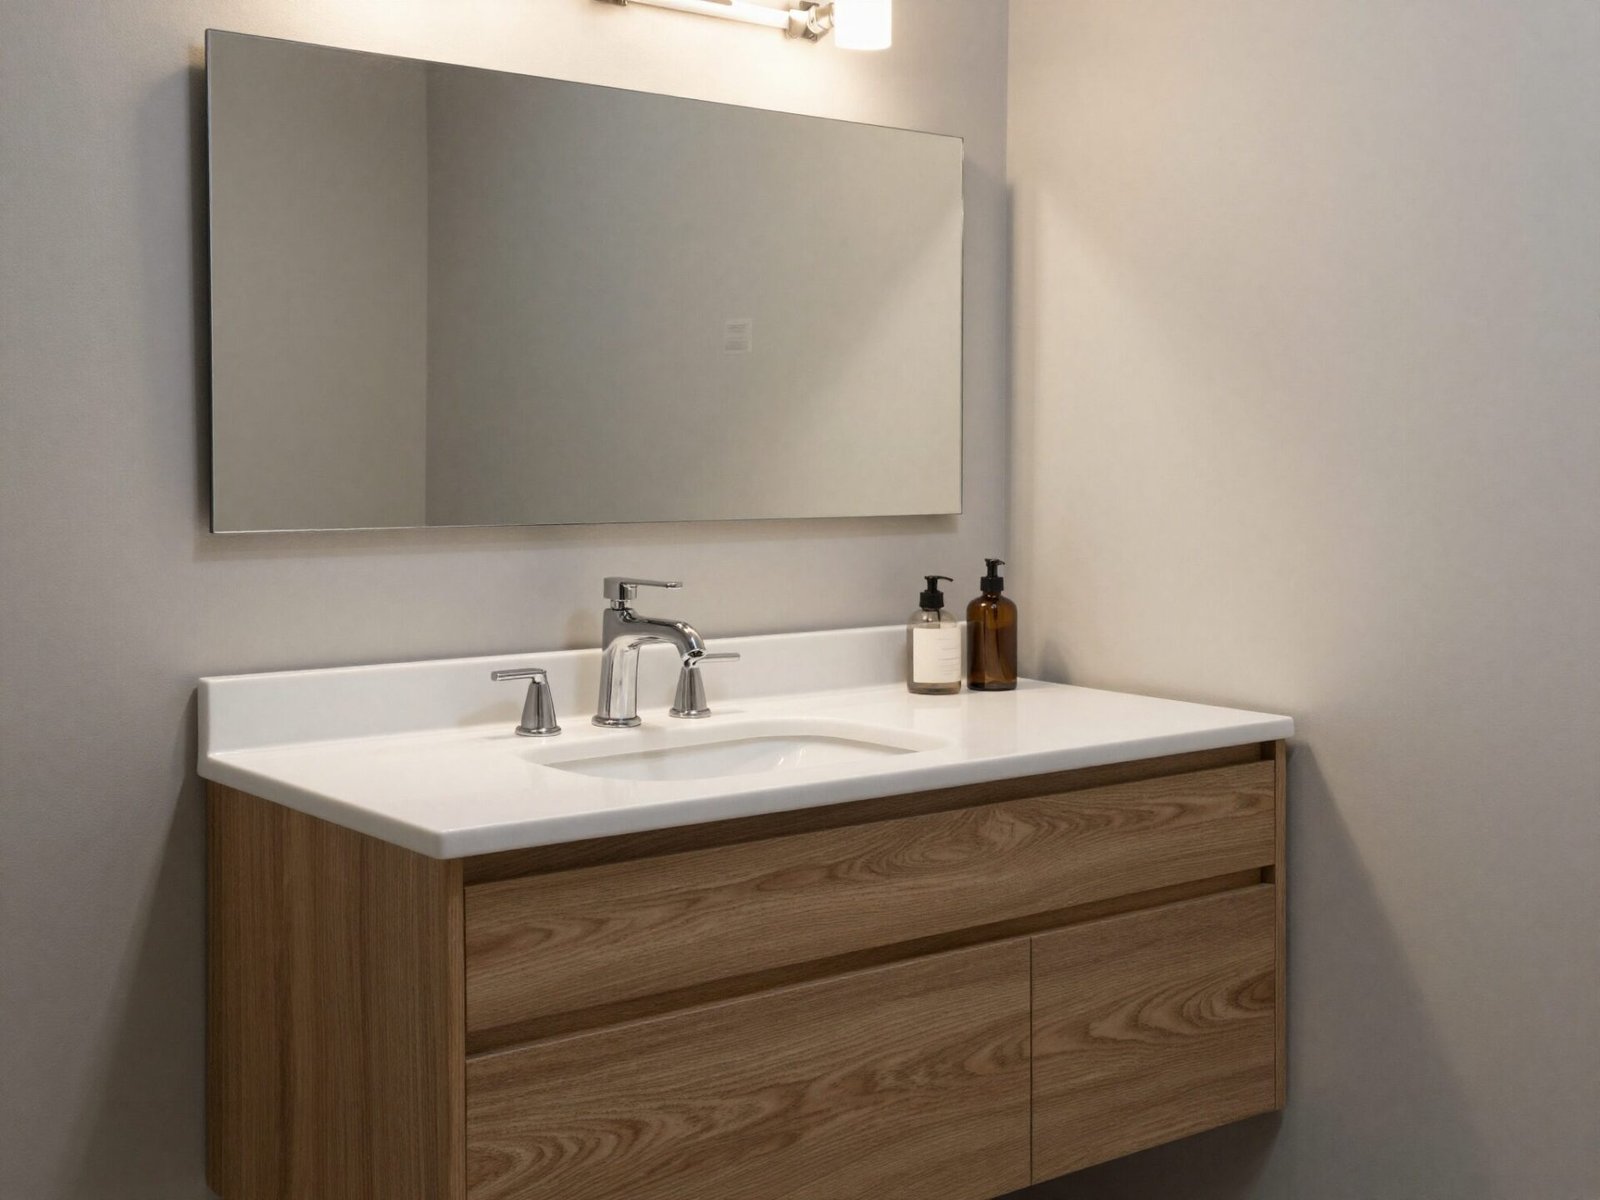
Standard single vanity widths run 24, 30, 36, and 48 inches, with 30 inches being the most common choice for an everyday bathroom.
A 36-inch vanity gives usable counter space on both sides of the sink bowl, which matters more than people expect for daily routines like brushing teeth or setting down toiletries.
Sticking to these standard widths also keeps costs down, since custom sizes take longer to source and cost noticeably more.
💡 Smart tip: If your space falls between two standard sizes, round down rather than special-ordering a custom width, unless the difference genuinely matters to your daily routine.
⚠️ Mistake to avoid: Don’t assume a 24-inch vanity works for daily use just because it fits a powder room. It’s tight for anyone who needs real counter space each morning.
3. Standard Double Vanity Widths
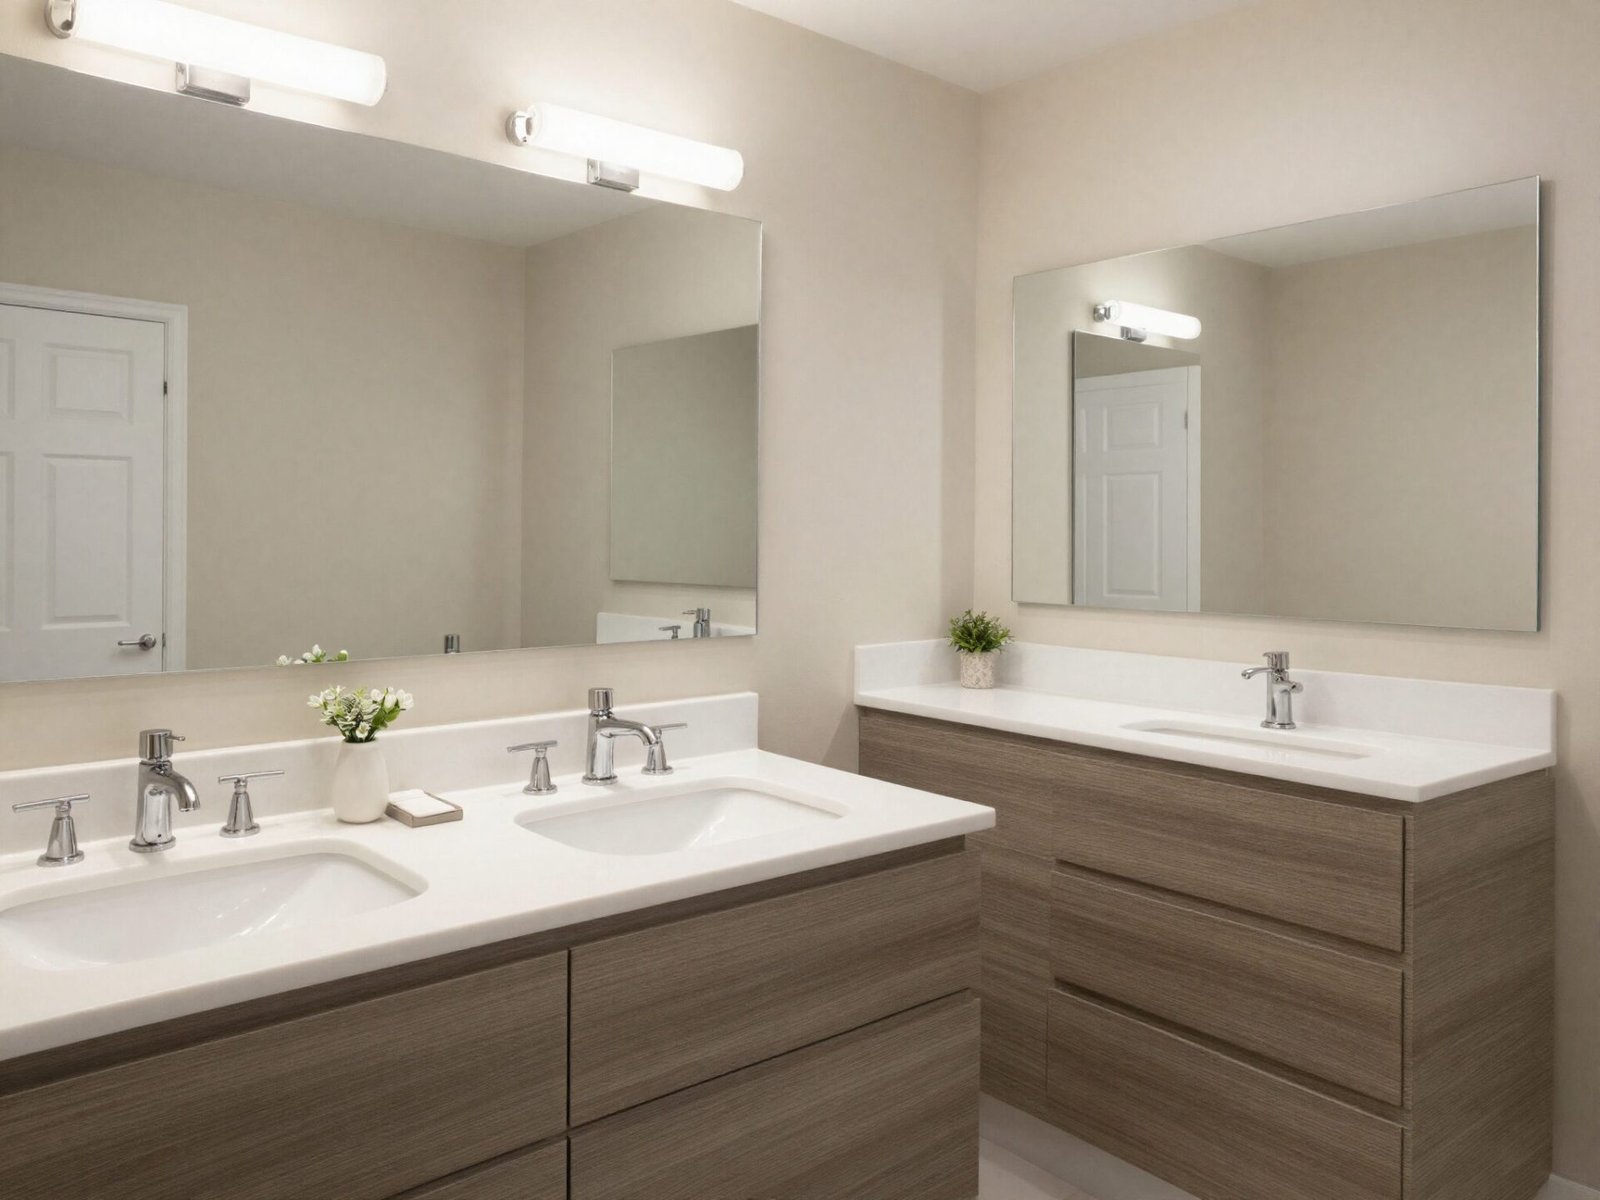
A double vanity needs a minimum of 60 inches to avoid cramped bowls with no usable counter or storage between them.
At 60 inches, each person gets roughly 30 inches of sink and counter space; a 72-inch double feels genuinely spacious and eliminates crowding entirely.
Beyond width, remember that a double vanity typically needs a wall spanning at least 7-8 feet once side clearance on both ends is included.
💡 Smart tip: If your wall can’t comfortably fit 60 inches, a single wide vanity with one large sink is often more functional than a cramped double.
⚠️ Mistake to avoid: Don’t attempt two sinks under 48 inches of total width. Two plumbing runs eat the entire cabinet, leaving no real counter or storage space.
Loving These Ideas? Get the Step-by-Step Guide
Grab the full 5-day eBook and turn these ideas into a finished room.




4. Choose the Right Vanity Depth for Your Space
Standard vanity depth runs 20-22 inches, measured from the back wall to the front edge of the cabinet, not including any countertop overhang.
Shallow options at 16-18 inches exist for very tight bathrooms where preserving floor space matters more than extra counter depth.
A bathroom vanity is intentionally shallower than a kitchen cabinet, roughly 3 inches less at the same nominal width, so the two aren’t interchangeable.
💡 Smart tip: Measure door swing clearance before committing to anything deeper than 21 inches in a small bathroom — the extra depth can interfere with the door’s full range of motion.
⚠️ Mistake to avoid: Don’t substitute a kitchen base cabinet for a bathroom vanity. The plumbing, countertop, and clearance requirements are different enough that it won’t work out cleanly.
5. Leave 21-30 Inches of Clear Floor Space in Front
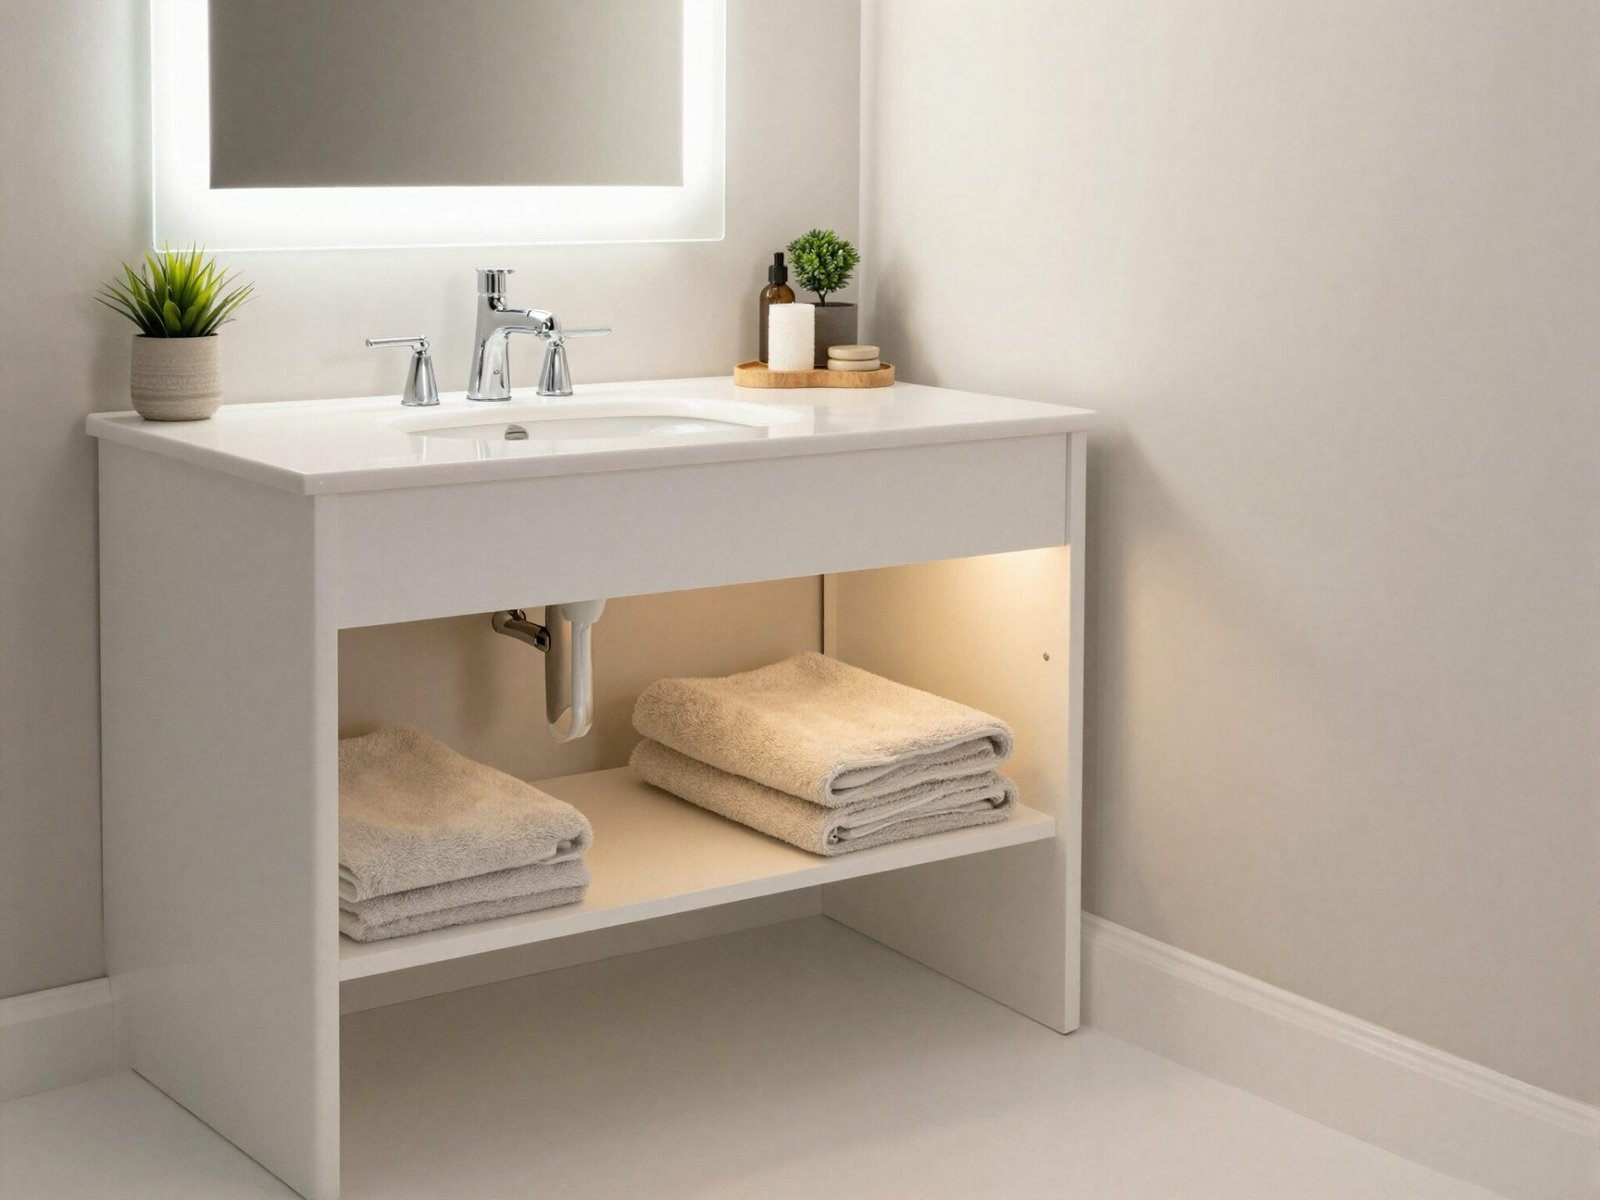
Twenty-one inches is the code minimum in most jurisdictions, but 30 inches is what actually feels comfortable, especially if someone needs to walk past while you’re at the sink.
This clearance is measured from the vanity’s front edge to the nearest obstacle, whether that’s the toilet, a tub edge, or the opposite wall.
Going below the code minimum isn’t just uncomfortable — it can also cause problems during a permitted renovation inspection.
💡 Smart tip: If your bathroom is shared by multiple people in the morning, prioritize the comfortable 30-inch clearance over squeezing in a slightly wider vanity.
⚠️ Mistake to avoid: Don’t go below 15 inches under any circumstances. Anything tighter than that typically fails inspection during a permitted renovation.
6. Keep 15 Inches from Toilet Centerline to Vanity Edge
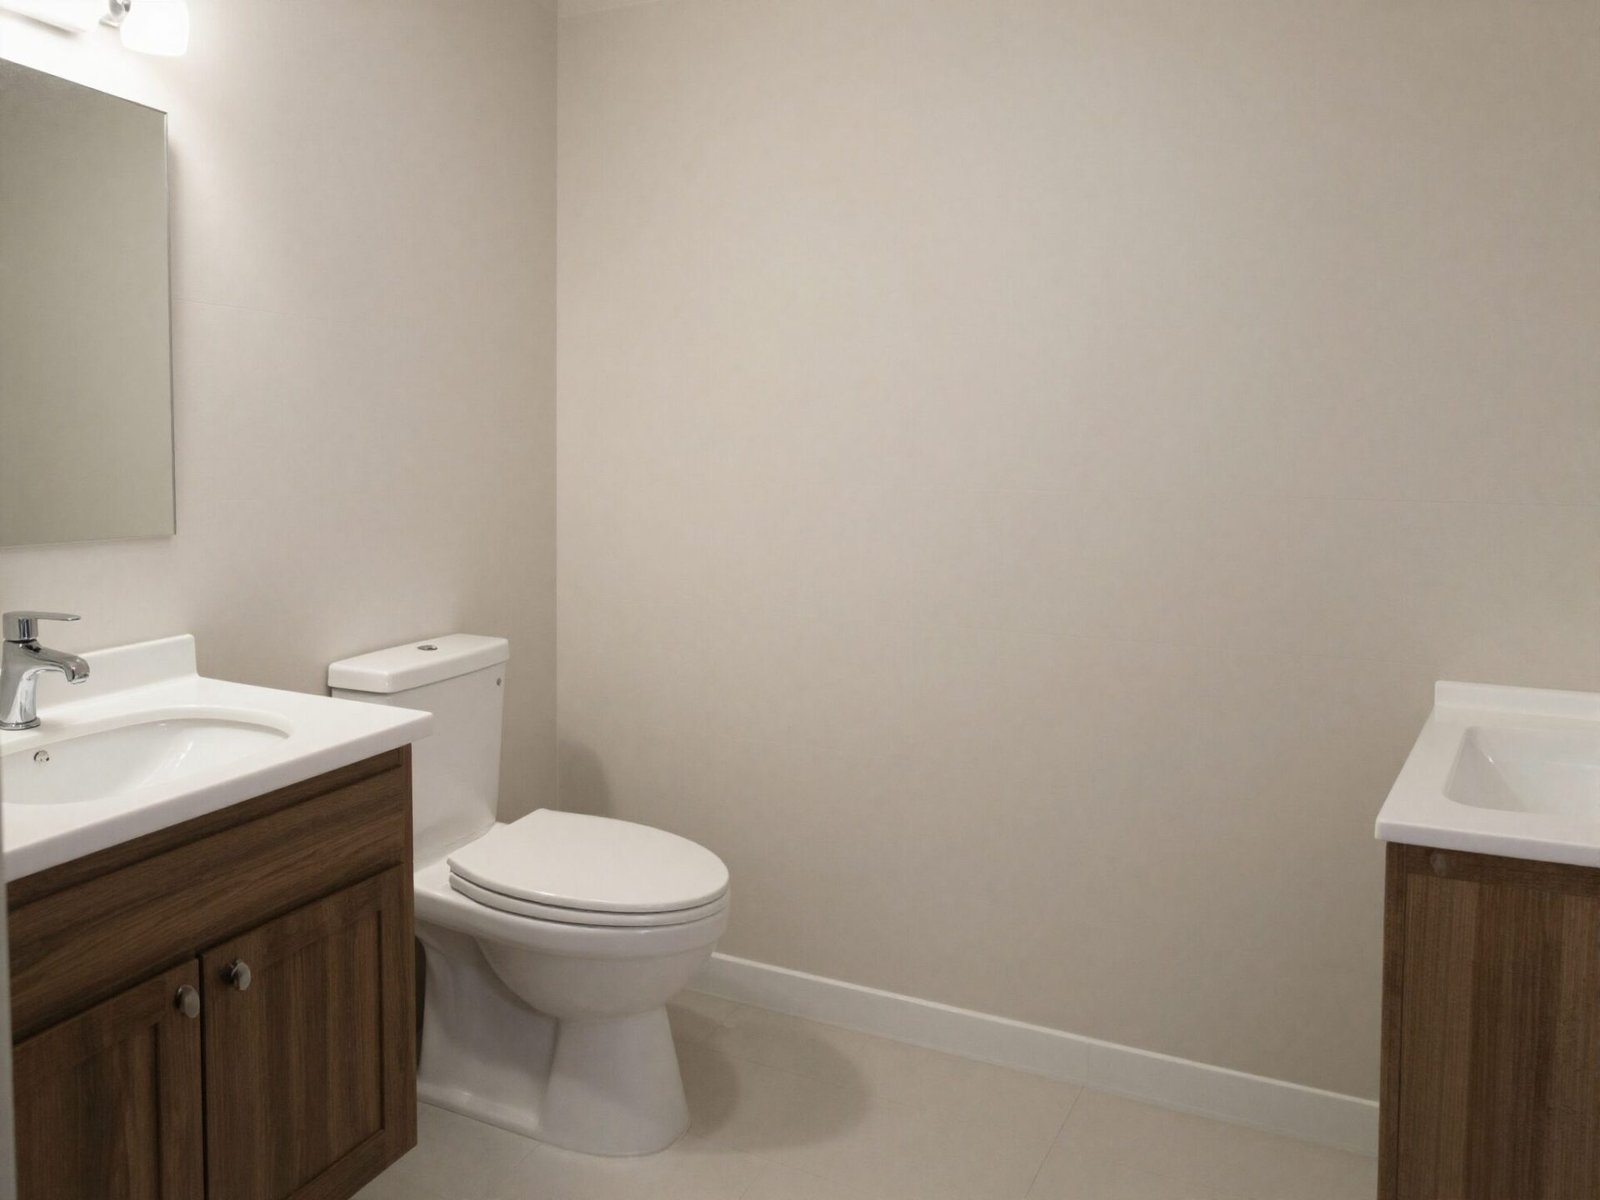
The NKBA recommends a minimum of 15 inches from the toilet’s centerline to the nearest side wall or fixture, including the vanity edge.
For front clearance specifically, between the toilet and whatever sits opposite it, 24-30 inches is the recommended range for comfortable use.
This spacing matters for accessibility too, giving enough room to sit down and stand up comfortably, which is especially relevant for anyone with mobility considerations.
💡 Smart tip: Measure from the toilet’s actual centerline, not the edge of the bowl, since that’s the reference point every code and design guideline uses.
⚠️ Mistake to avoid: Don’t treat 15 inches as generous just because it’s the recommended minimum. In daily use, tighter spacing than that feels cramped almost immediately.
7. Give the Toilet 24-30 Inches of Front Clearance
Beyond side clearance, the toilet needs its own front clearance, typically a minimum of 24 inches, with 30 inches feeling noticeably more comfortable.
This space is separate from vanity clearance and should be calculated independently, especially in a small full bathroom where every fixture competes for the same limited floor area.
Below this range, the space starts to feel tight fast, which is one of the more common complaints in poorly planned small bathrooms.
💡 Smart tip: When floor space is genuinely tight, prioritize toilet front clearance over vanity width — a cramped toilet area affects daily comfort more than a slightly narrower vanity.
⚠️ Mistake to avoid: Don’t let vanity or tub clearance planning accidentally eat into the toilet’s own required front space. Calculate each fixture’s clearance separately before combining them.
8. Set Vanity Height at Comfort Height
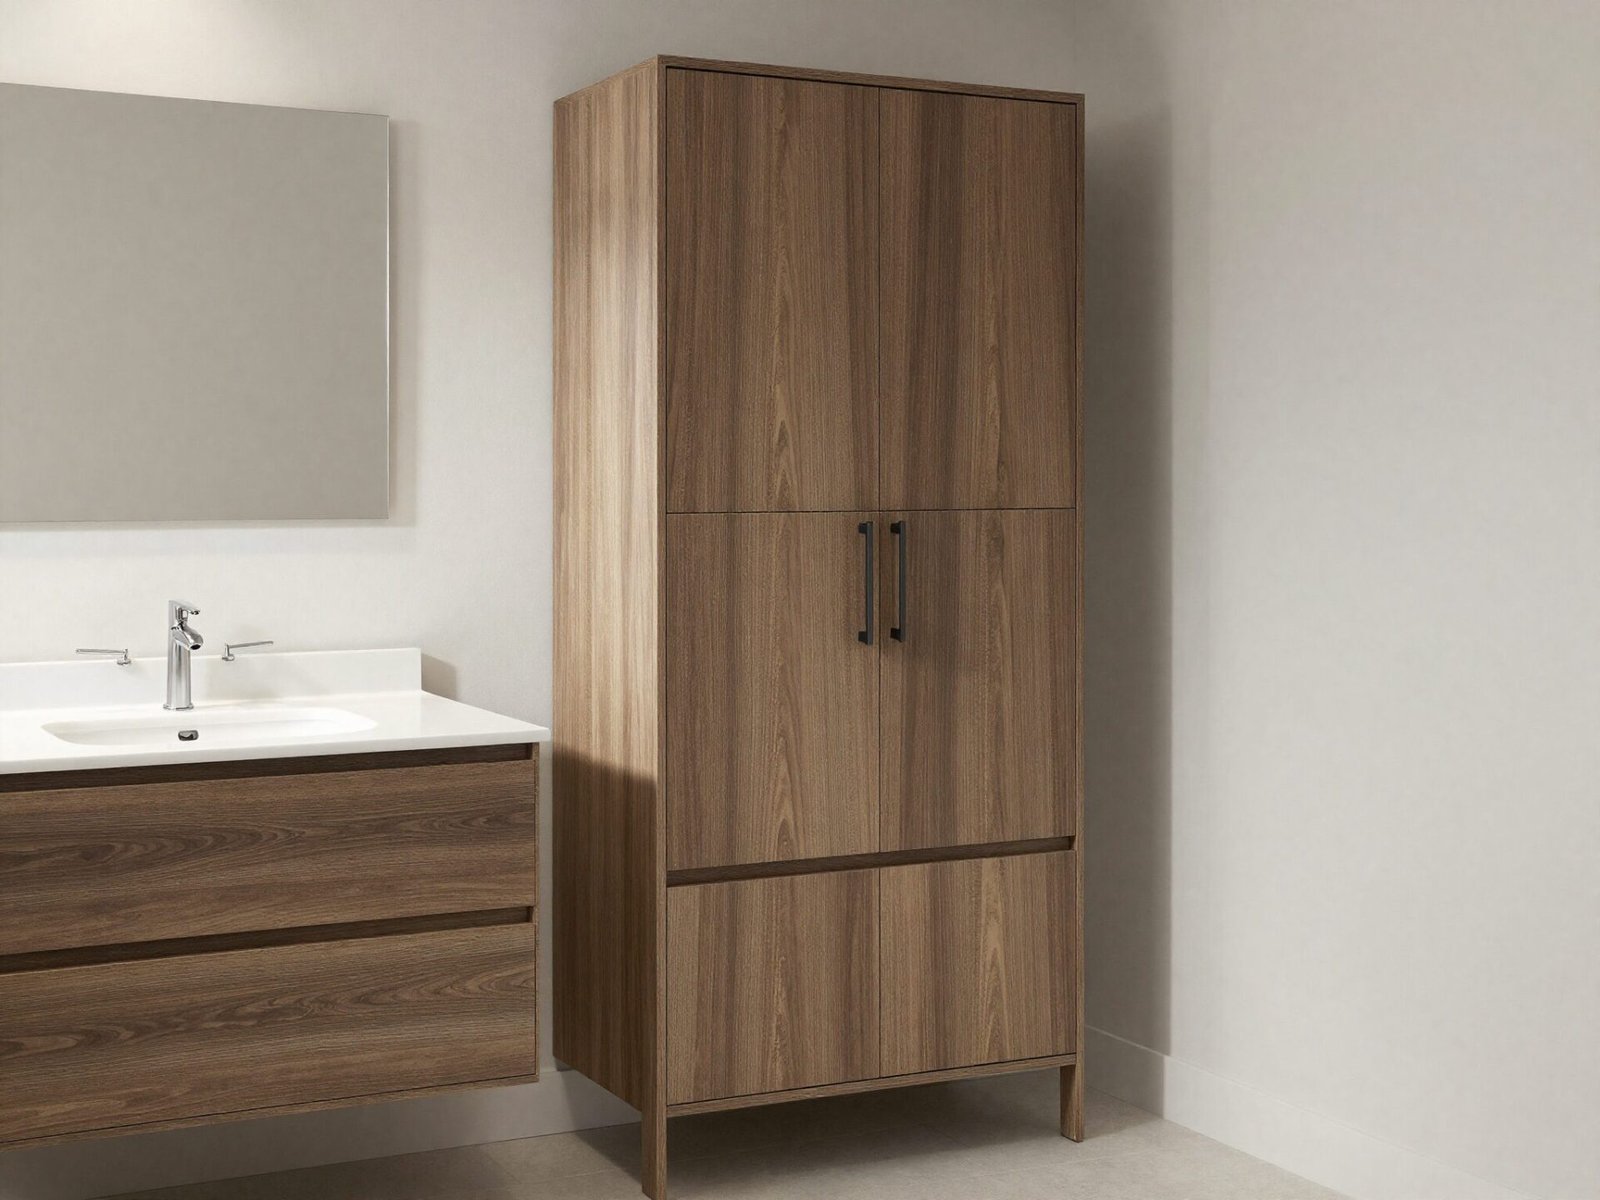
Comfort height, 34-36 inches, has become the modern standard in new construction, matching typical kitchen counter height for a more consistent feel throughout the home.
Legacy “standard height” vanities run 30-32 inches, which some households still prefer, particularly for households with children who need to reach the sink independently.
Neither height is objectively wrong; the right choice depends on who uses the bathroom most and their typical height.
💡 Smart tip: In a bathroom used primarily by kids, consider standard height instead of comfort height, or add a sturdy step stool as a practical middle ground.
⚠️ Mistake to avoid: Don’t default to comfort height just because it’s trending in new builds. Match the height to who actually uses the room daily.
9. Center the Drain Within the Middle Third of the Cabinet
For a single-sink vanity, the existing drain should land within the middle third of the cabinet’s total width for proper plumbing alignment.
If you’re planning a double vanity and need a second drain, factor that additional plumbing run into your width decision from the very beginning.
Getting this wrong after cabinetry is already ordered often means expensive plumbing relocation, which adds real cost and delay to any renovation.
💡 Smart tip: Mark your existing drain center on the floor or wall before shopping, and measure to each side wall to confirm your intended vanity width will actually align.
⚠️ Mistake to avoid: Don’t assume any vanity width will accommodate your existing plumbing. Off-center drains relative to a chosen cabinet width are a common and costly surprise.
10. Don’t Go Below 48 Inches for a Double Sink
This bears repeating on its own: a double-sink setup genuinely needs 48 inches as an absolute floor, and even that will feel cramped in daily use.
Below 48 inches, you get two bowls with no meaningful counter space or storage between them, which defeats much of the purpose of having two sinks in the first place.
A single sink in a 48-inch vanity is, in most cases, more genuinely useful than two sinks squeezed into the same width.
💡 Smart tip: If two people need to get ready simultaneously but your wall can’t fit 60+ inches, consider a single wide vanity with two mirrors instead of two sinks.
⚠️ Mistake to avoid: Don’t choose double sinks purely because a “his and hers” setup sounds appealing. Without adequate width, it functions worse than one well-sized single vanity.
11. Check Door Swing Before Choosing a Deep Vanity
Any vanity deeper than the standard 21 inches needs its door swing checked against the space, since the extra depth eats directly into the room’s usable floor area.
This is especially relevant in a small bathroom where the door swings inward and the vanity sits close to that arc.
A vanity that measures perfectly on paper can still create a real conflict once you account for how the door actually moves through the room.
💡 Smart tip: Open the bathroom door fully and measure the remaining clearance to your intended vanity location before finalizing depth.
⚠️ Mistake to avoid: Don’t assume a slightly deeper vanity is a minor upgrade. In a small bathroom, even a couple of extra inches of depth can conflict with door swing.
12. Choose a Wall-Mounted Vanity for a Small Bathroom
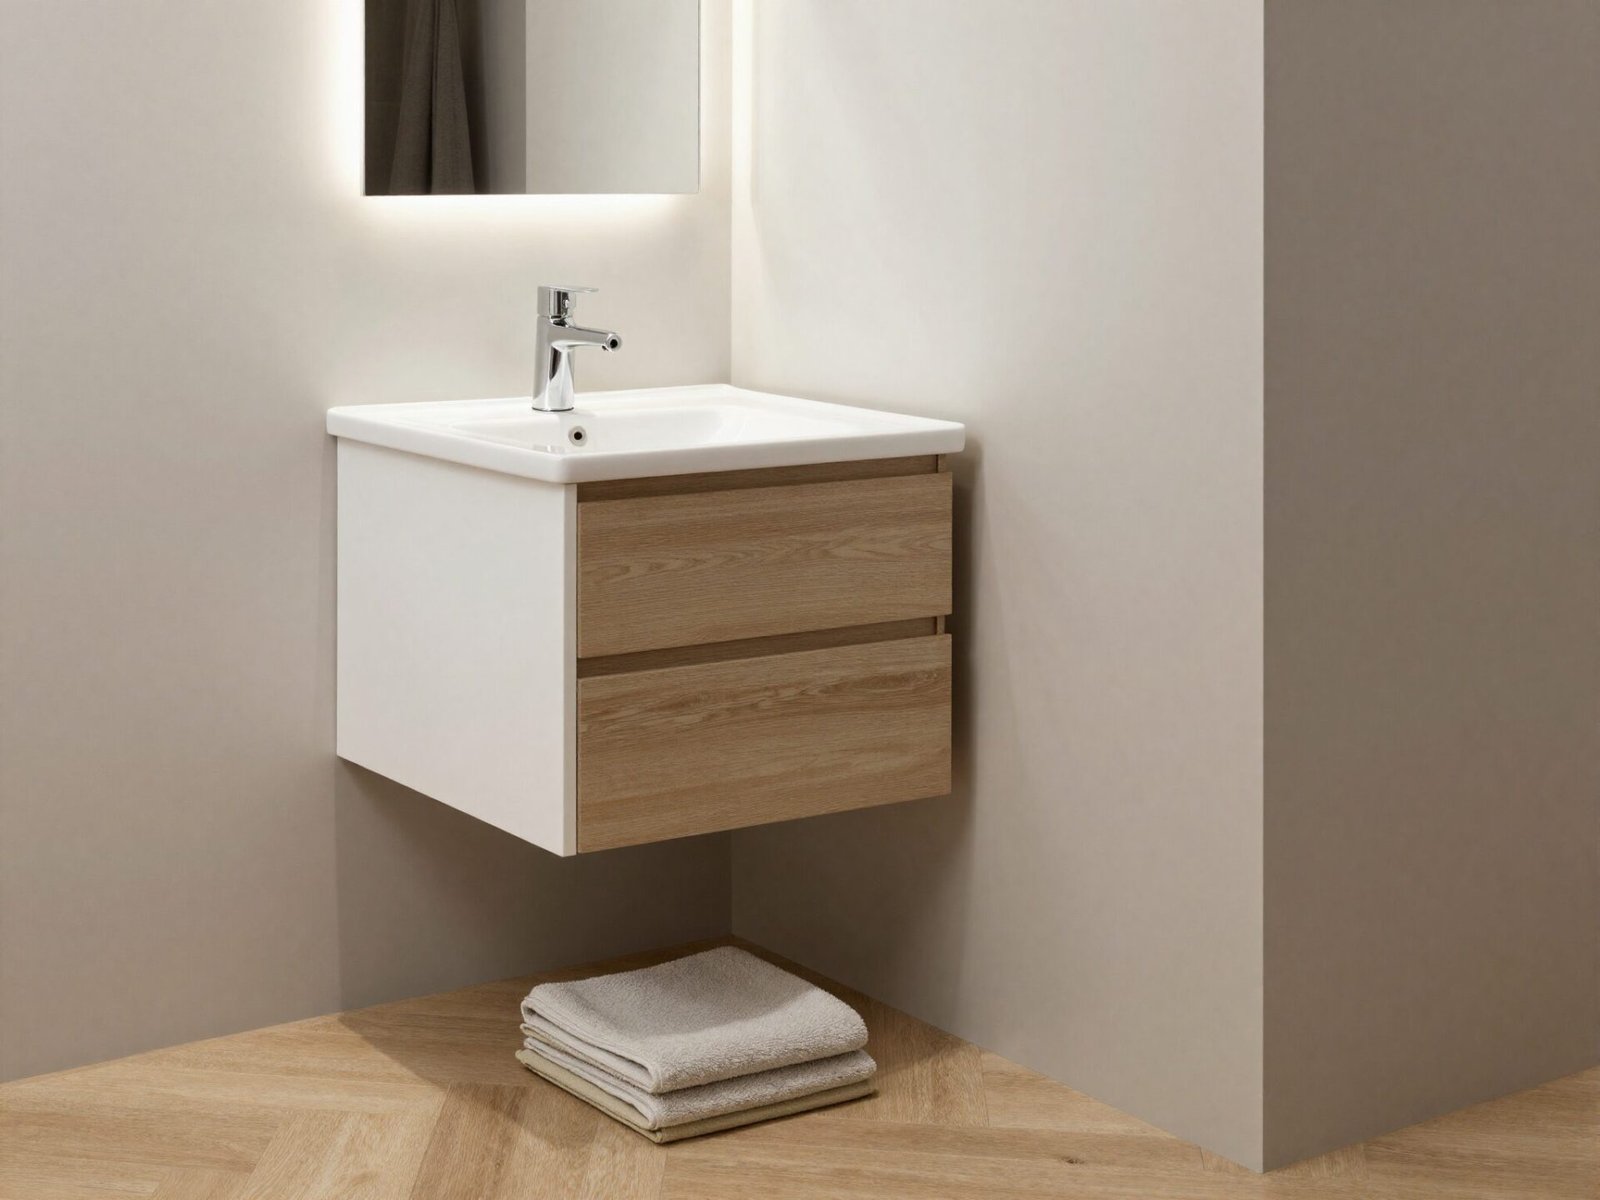
In a bathroom under roughly 40 square feet, a wall-mounted or floating vanity creates visible open floor space that a floor-standing cabinet can’t match.
Even when the room’s actual dimensions don’t change, exposed floor beneath the vanity makes the whole space read as more open.
This is one of the highest-impact small-bathroom upgrades available, since it changes how the room feels without any structural work.
💡 Smart tip: Pair a wall-mounted vanity with a corner sink if the layout allows it — the combination frees up meaningful central walking space in a tight half bath.
⚠️ Mistake to avoid: Don’t choose a wall-mounted vanity without confirming your wall can support it structurally. This typically requires blocking or reinforcement behind standard drywall.
13. Account for Sloped Ceilings and Overhead Obstructions
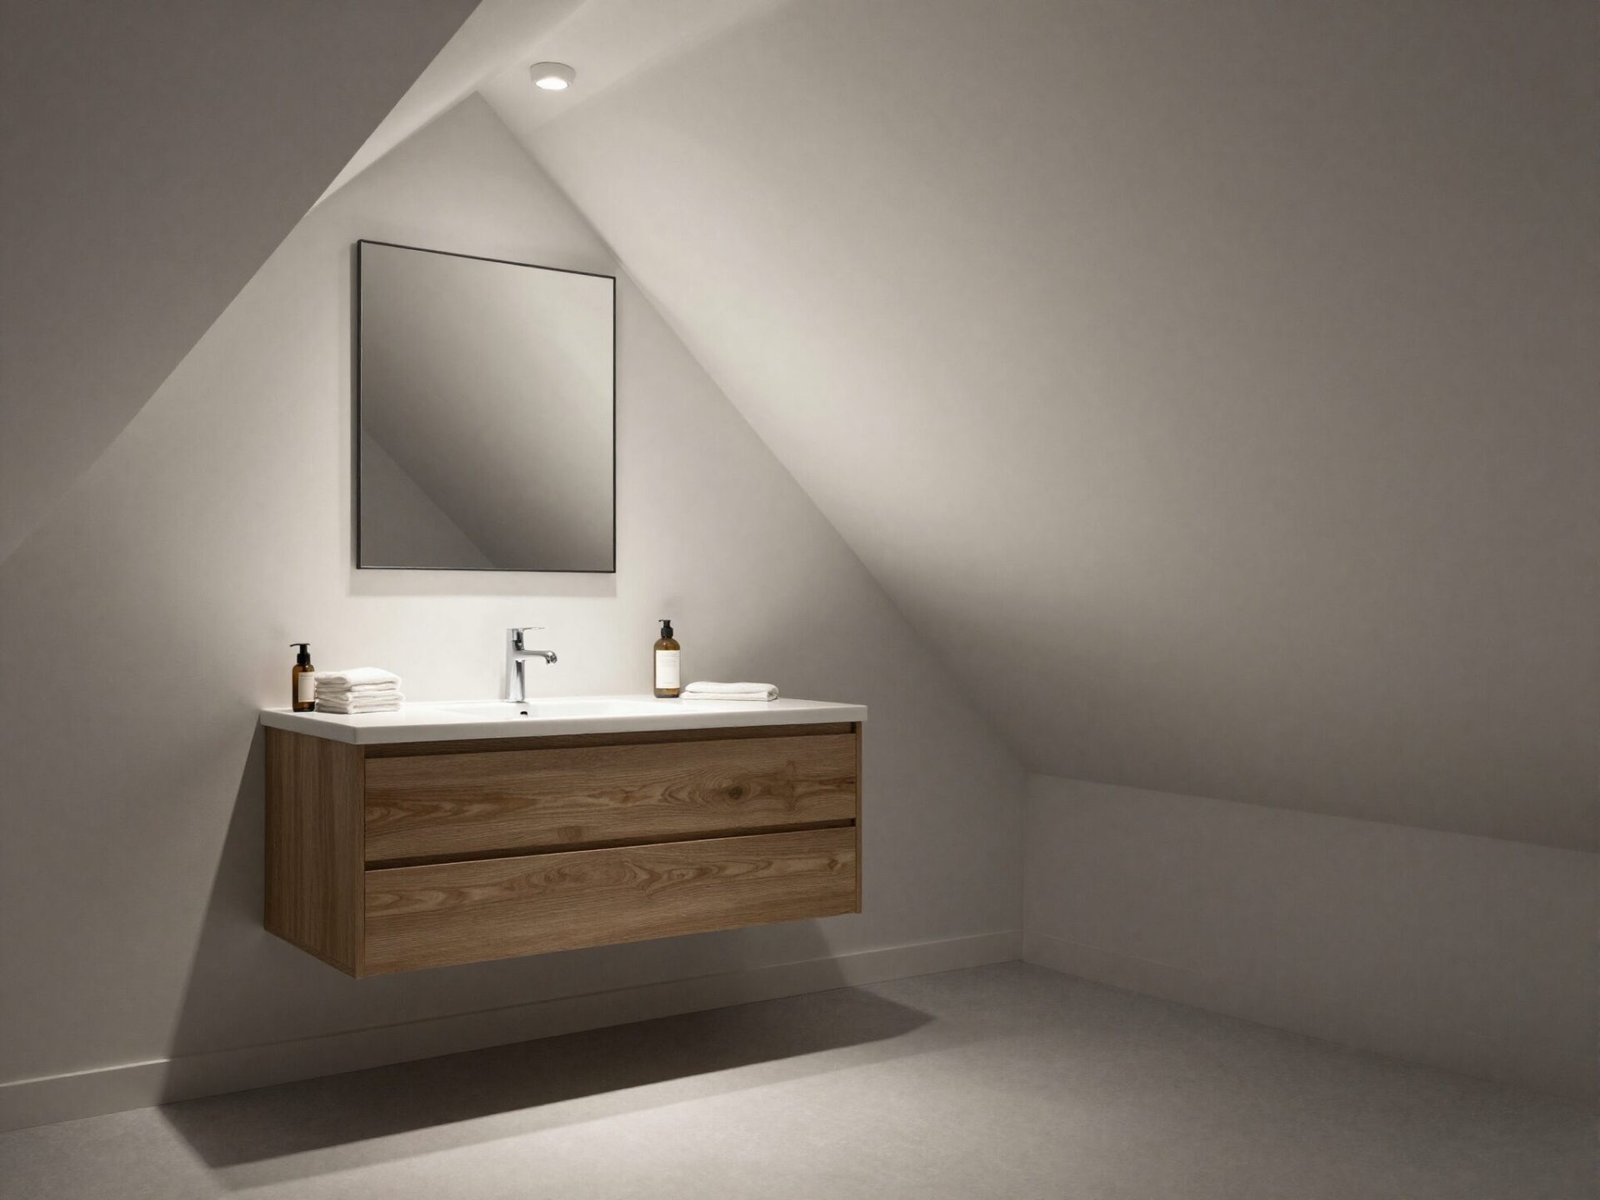
In most bathrooms, overhead clearance is a non-issue, but it becomes genuinely important in attic conversions or bathrooms tucked under a staircase.
Check for sloped ceilings, exposed plumbing stacks, or overhead cabinets that could limit how tall a vanity or its mirror can actually be.
This is easy to overlook when focused on floor-level measurements, but it can force a shorter vanity or a repositioned layout entirely.
💡 Smart tip: Measure ceiling height directly above your intended vanity location, not just at the room’s tallest point, especially under any slope.
⚠️ Mistake to avoid: Don’t finalize vanity height and mirror placement without checking overhead clearance in an attic or under-stair bathroom — it’s an easy detail to miss until installation day.
14. Common Bathroom Vanity Sizing Mistakes
A handful of sizing mistakes come up repeatedly, even among homeowners who did real research before shopping.
Choosing a vanity style before confirming the width window is the most common, closely followed by ignoring door swing on a deeper cabinet.
Underestimating how cramped a double vanity feels below 48 inches, and forgetting to check overhead clearance in an attic bathroom, round out the usual list.
💡 Smart tip: Treat every measurement in this guide as connected — width, depth, clearance, and height all interact, so check them together rather than one at a time.
⚠️ Mistake to avoid: Don’t finalize a vanity purchase based on style alone. Confirm your full clearance window first, then shop within it.
Effort & Cost Snapshot
| Idea | Effort | Approx. Cost |
|---|---|---|
| 1. Measuring the Wall | Low | $0 |
| 2. Single Vanity Width | Low | $150–$800 |
| 3. Double Vanity Width | Medium | $500–$2,000 |
| 4. Vanity Depth Choice | Low | $0 (spec decision) |
| 5. Front Floor Clearance | Low | $0 |
| 6. Toilet-to-Vanity Spacing | Low | $0 |
| 7. Toilet Front Clearance | Low | $0 |
| 8. Comfort Height Setup | Low | $0 (spec decision) |
| 9. Drain Centering Check | Low | $0–$500 (if relocated) |
| 10. Double Sink Minimum Width | Low | $0 |
| 11. Door Swing Check | Low | $0 |
| 12. Wall-Mounted Vanity | Medium | $300–$1,200 |
| 13. Sloped Ceiling Clearance | Low | $0 |
| 14. Avoiding Sizing Mistakes | Low | $0 |
Every number in this guide costs nothing to check beyond a tape measure and a few minutes before you start shopping for styles.
Establish your width window and clearances first, then let personal taste guide the rest of the decision.
Continue Your Home Transformation
Explore the full collection of step-by-step eBooks and get the guide that fits the room you're working on.