A kitchen appliance garage earns its place when it makes a machine easier to put away without taking over the counter you need for cooking. The most useful design starts with the appliances you own, the movement of the door and the spot where each item will actually be used.
Separate storage from operation at the beginning. An enclosure that neatly holds a toaster, mixer or coffee machine does not automatically provide a suitable place to run it. Follow the appliance instructions for its operating location, clearances and ventilation, and have the cabinet and electrical arrangements resolved for the actual project. The images here show idle storage concepts, not verified installations.
Use these 24 ideas to compare cabinet arrangements, door movements and interior organization. You do not need all of them: one well-sized bay with a clear purpose is often more useful than a large cabinet filled with seldom-used equipment.
The images are original AI-generated decor concepts, not installation diagrams or photographs of completed client projects.
Browse These 24 Kitchen Appliance Garage
Jump to an idea
- Place a compact bay at the end of a cabinet run
- Use a hinged pair when broad access matters
- Compare a front that lifts parallel to the cabinet
- Let pocket fronts clear the sides of the opening
- Separate an upper cupboard from the appliance bay
- Treat a deep corner as storage with a retrieval plan
- Give one blender a narrow dedicated home
- Park a heavy mixer where handling is manageable
- Group breakfast storage without crowding the working counter
- Keep coffee accessories close to the machine you actually use
- Divide a busy household into two modest bays
- Build one usable opening into a taller storage wall
- Use a removable tray for a light collection
- Put attachments in a shallow drawer below
- Give removable jugs and bowls their own stable spaces
- Use an interior shelf for a distinct lighter category
- Match the front to the surrounding cabinetry
- Add warmth with a simple wood interior
- Use a darker interior to define a pale cabinet opening
- Let a muted green front repeat an existing room color
- Choose a quiet back panel behind a mixed equipment group
- Align the garage front with a useful cabinet rhythm
- Preserve a landing surface beside the storage opening
- Leave some useful spare room around the current machine
Plan a kitchen appliance garage around the machines you keep
List each appliance with its closed storage width, depth and height, then note the parts that move: a mixer head, blender jug, coffee tank or lid. Draw the clear internal cabinet opening rather than relying on the outside cabinet size. Add the door hardware, handles and shelves to that drawing. Finally mark a suitable place to set down and use the machine outside the enclosure, according to its instructions.
| Storage need | A useful arrangement | Main tradeoff |
|---|---|---|
| One daily blender | A narrow reachable bay beside preparation space | A deep bay can hide the jug and parts |
| A heavy mixer | An accessible counter-level parking position | Cabinet capacity and handling need a real assessment |
| Several breakfast appliances | Separate places with a nearby working counter | A larger cabinet removes useful worktop |
| A wide storage opening | Compare paired, lift or pocket fronts | Each mechanism occupies a different envelope |
| Few small items | One simple bay and a parts drawer | Avoid building an oversized storage wall |
Use an equipment worksheet before comparing cabinet sizes
Imagine a storage-only layout with a blender 8 inches wide, a coffee grinder 5 inches wide and a removable container 4 inches wide. Their bodies total 17 inches, but a 17-inch opening is not a workable specification: it leaves no room to grasp an item, accommodate handles, move parts or account for hardware. These are illustrative item measurements, not recommended cabinet dimensions. Draw your own items to scale and test retrieval before agreeing to the cabinet.
Compare the complete door movement, not just the closed front
Blum describes AVENTOS HL top as a front that rises parallel to the cabinet and identifies appliance garages among its applications. Its REVEGO pocket systems store opened fronts in dedicated pockets. These are different planning envelopes. The product documentation and cabinet design determine which complete system can suit a particular opening; a photograph cannot establish the hardware or installation.
Decide what is worth hiding
A machine used repeatedly through the day may be better left on a suitable open worktop, while its spare bowls, attachments and less-used neighbors go behind the cabinet front. Write down what you currently move twice each morning. The most valuable change is often removing that repeated shuffle, rather than making every appliance disappear.
1. Place a compact bay at the end of a cabinet run
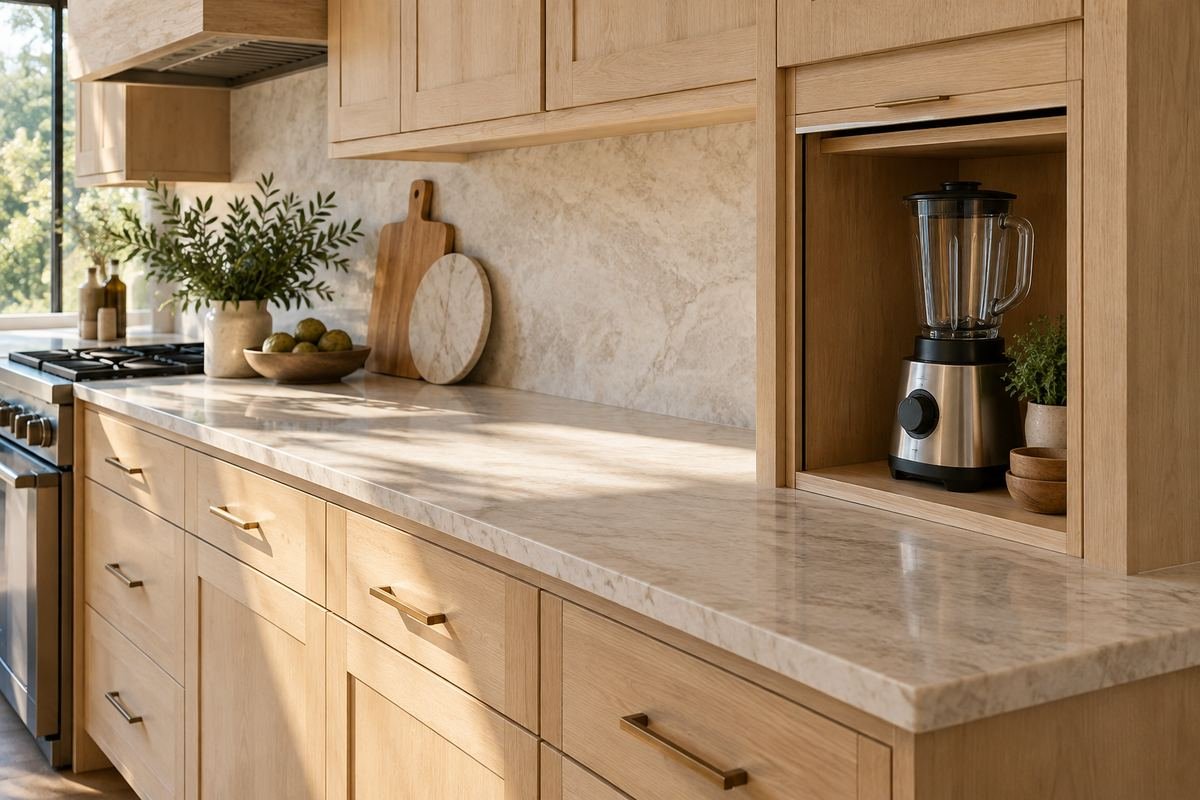
An end position gives an appliance garage a clear boundary. It can keep equipment away from the main preparation stretch while leaving an adjacent counter available for setting an item down. This works especially well when the room already has a small unused end section, rather than a valuable central work surface.
Make the side return part of the design. A handle, wall or nearby doorway may matter more than the closed cabinet width. A compact end bay is useful only if you can lift the actual machine out in a natural movement without turning awkwardly around the cabinet side.
Practical tip: Map the retrieval path from the stored machine to its intended working position.
2. Use a hinged pair when broad access matters
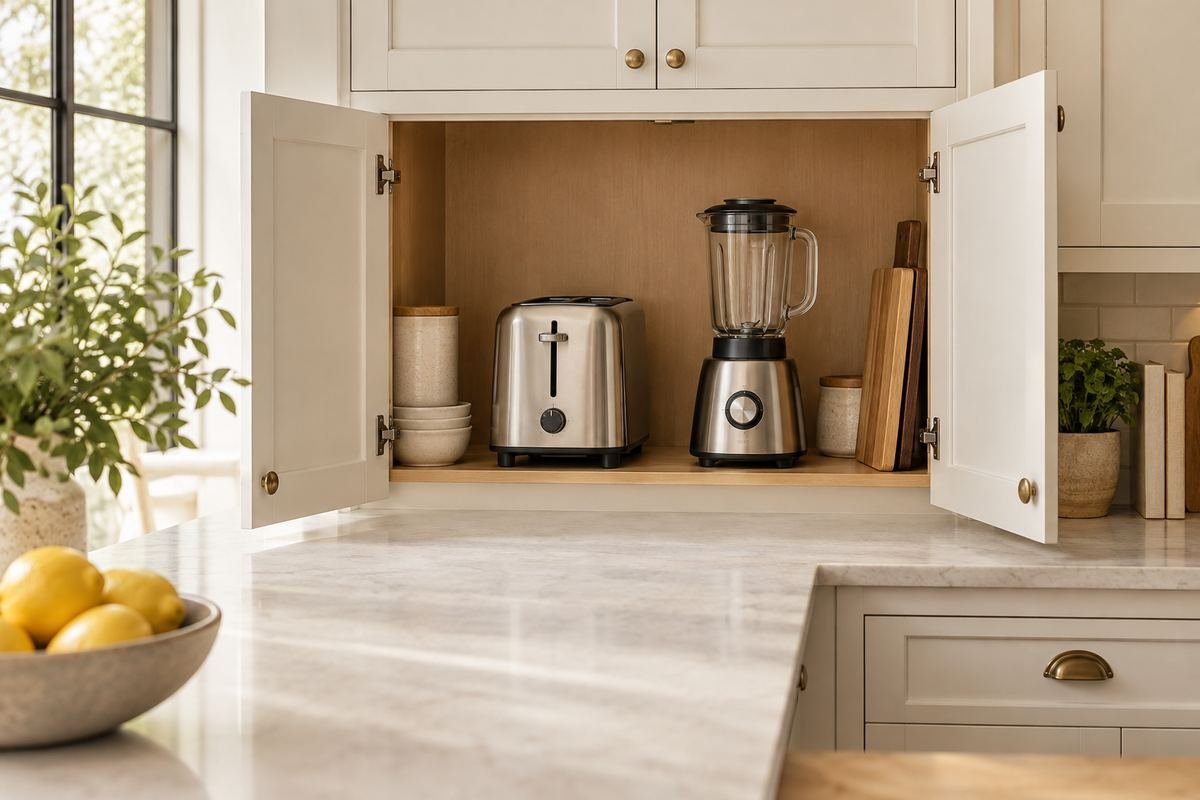
Two opening fronts can expose a wide storage bay without a large single door projecting from one side. A paired arrangement makes sense when several small items sit side by side and you want to see the whole group before taking anything out.
The fronts still need their full opening room. Keep neighboring handles and drawers in the mock-up, and compare the position with someone standing at the counter. The useful question is whether both hands can reach the item comfortably, not whether the closed doors look symmetrical.
Practical tip: Include nearby handles in the full-size door-swing test.
3. Compare a front that lifts parallel to the cabinet

A parallel-lift front moves upward while keeping its face broadly upright. Visually it can create a calm horizontal cabinet line, and it avoids leaving a conventional hinged front beside the storage opening. Choose it for a reason that relates to the kitchen layout.
However, the lifted front and complete mechanism need their specified space. Do not select it from the closed elevation alone or assume a particular product suits any cabinet. A sample opening demonstration is more informative than a photograph of a front suspended above a machine.
Practical tip: Compare the fully open position with the cabinets and trim above it.
4. Let pocket fronts clear the sides of the opening
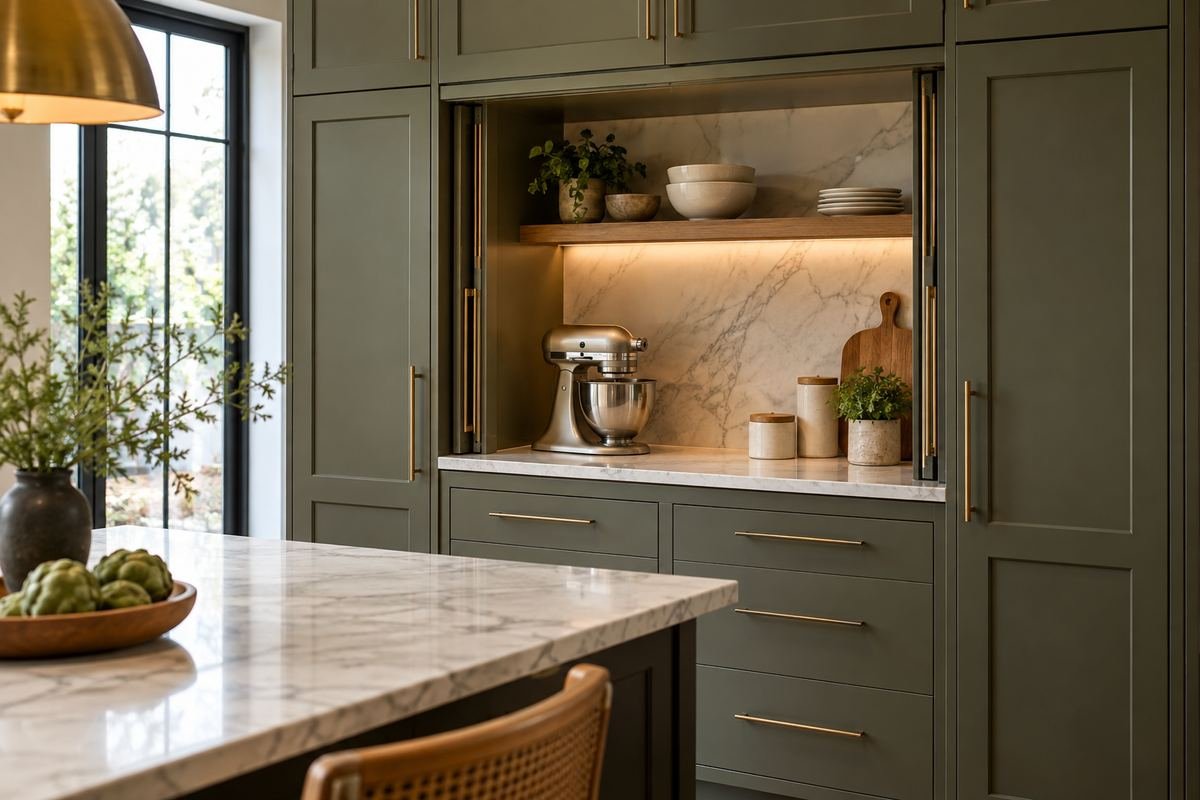
Retracting fronts can make an open appliance zone feel integrated with the rest of the kitchen. This is helpful when a wide area would otherwise have large doors standing beside it during retrieval. It can also suit a storage wall visible from an adjoining living room.
The fronts need dedicated pocket space, which reduces the room available to the useful opening within a given overall width. Ask for a drawing that identifies both the storage cavity and the pockets. A generous-looking cabinet exterior can conceal a narrower usable bay.
Practical tip: Compare clear opening width separately from the overall cabinet width.
5. Separate an upper cupboard from the appliance bay

A distinct upper cupboard can hold light occasional items while the lower counter-level bay serves the small appliances. This gives the elevation a useful rhythm without mixing every category inside a single tall opening. It also makes the daily storage area easier to understand.
Keep the divider and upper storage from consuming the height needed to retrieve the real machine. If an appliance lid or removable tank only clears when you tilt the machine, the drawing has missed a daily task. Store occasional accessories above only when they are manageable to reach.
Practical tip: Draw the appliance in its retrieval position as well as its parked position.
6. Treat a deep corner as storage with a retrieval plan
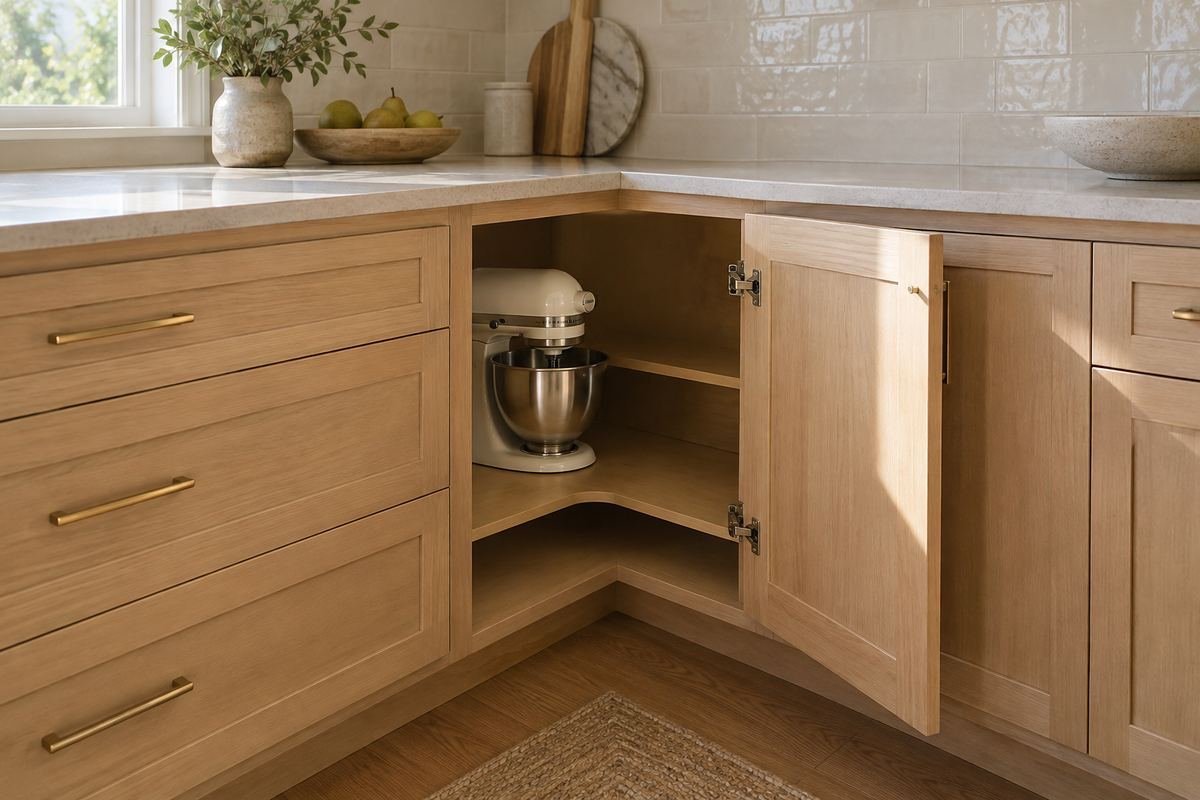
A corner can hide equipment neatly, but it can also become the place where useful machines disappear behind other things. Give a corner bay one clear category and a visible front row. The layout should let the most frequently used item come out without moving another appliance first.
Use the corner as a storage decision rather than assuming it is a suitable operating position. Diagonal depth can exaggerate the apparent capacity in a drawing. Compare the actual hand reach and the lifting direction with the front opening, particularly for anything heavy.
Practical tip: Keep the daily item at the front instead of using every inch of depth.
7. Give one blender a narrow dedicated home
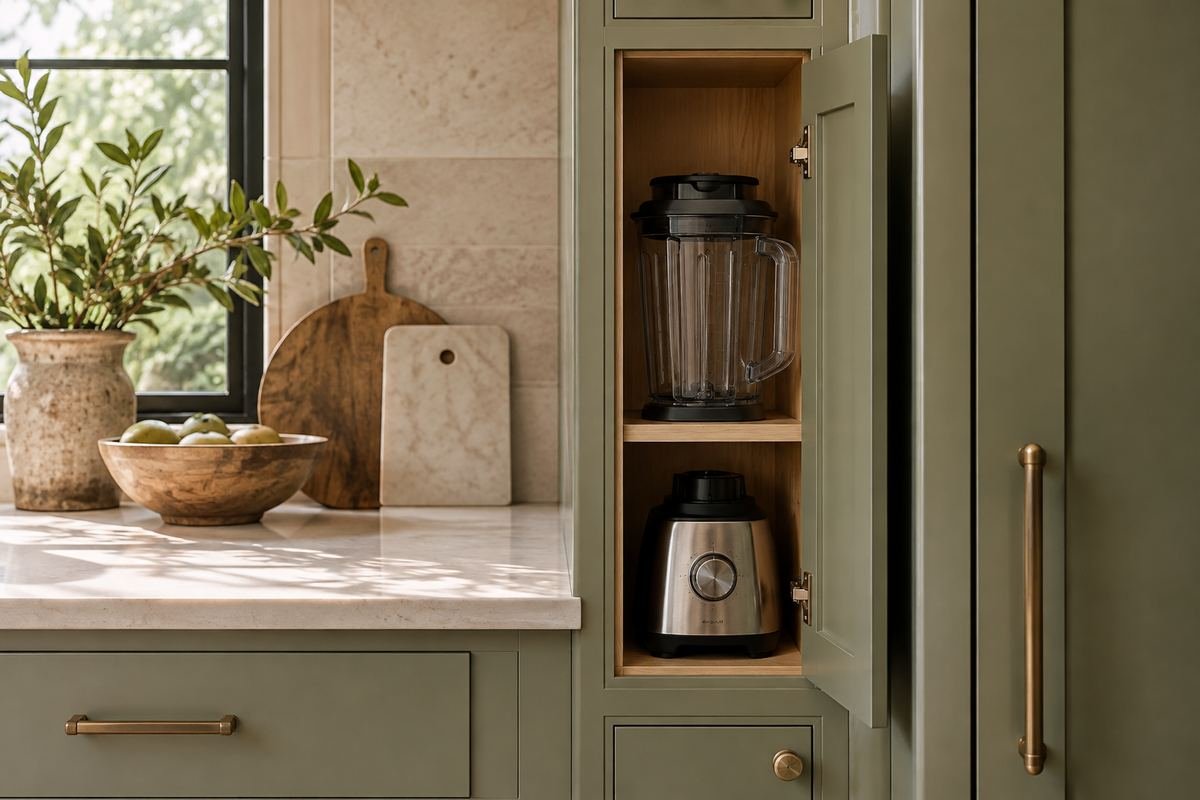
A slim bay can be more useful than a large mixed cupboard when the household mainly needs somewhere to park a blender. Keep its jug, lid and small attachments together so that taking it out does not become a search through several drawers.
Measure the widest part of the assembled appliance rather than only the base. If the jug is stored separately, give it an obvious stable position instead of balancing it behind the motor. The opening should support the storage arrangement you will really use after washing and drying the parts.
Practical tip: Base the opening on the complete stored set, not the motor alone.
8. Park a heavy mixer where handling is manageable
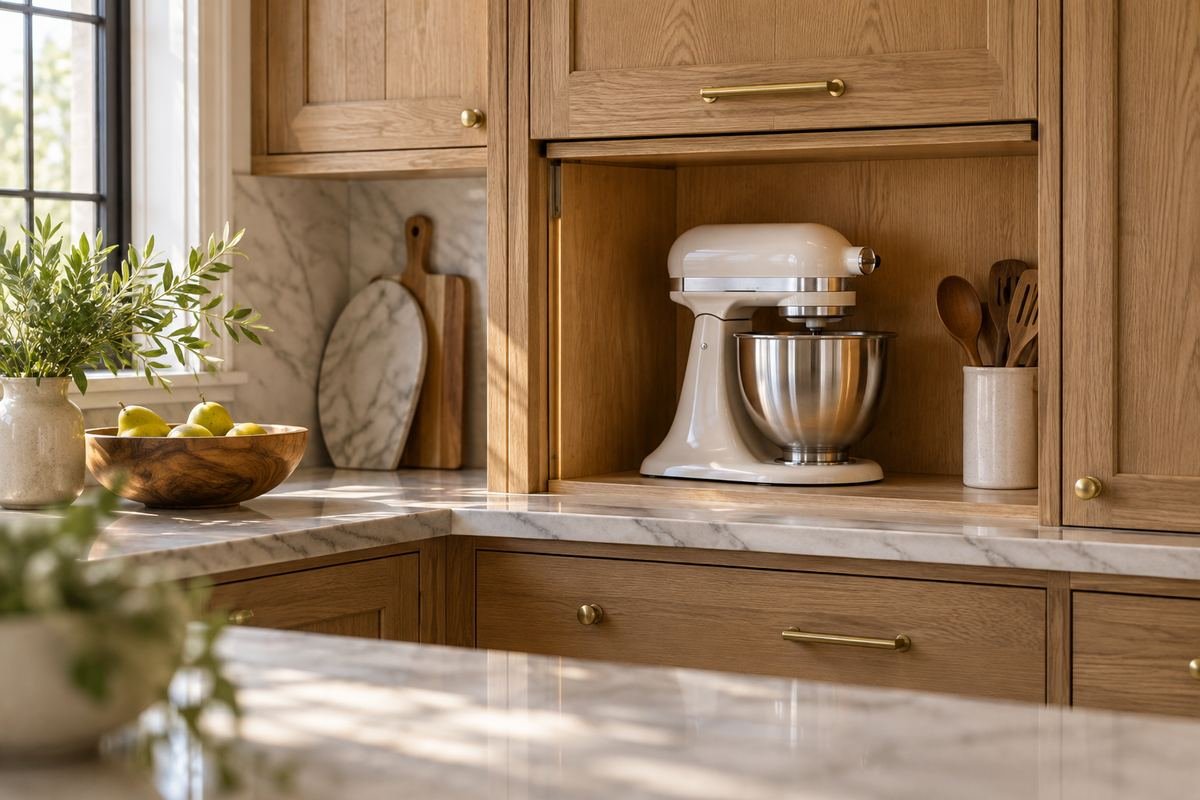
A mixer can justify a counter-level storage position because moving it from a low shelf may be inconvenient. Give the machine an uncluttered place so that its weight and shape, rather than a decorative arrangement, determine the retrieval movement.
A convenient height does not establish the capacity of a shelf or pull-out. Have any support and mechanism assessed for the actual equipment. If relocating the mixer is still awkward, a suitable open working position with only the attachments concealed may be the better arrangement.
Practical tip: Compare the effort of putting the mixer away with the effort of using it.
9. Group breakfast storage without crowding the working counter
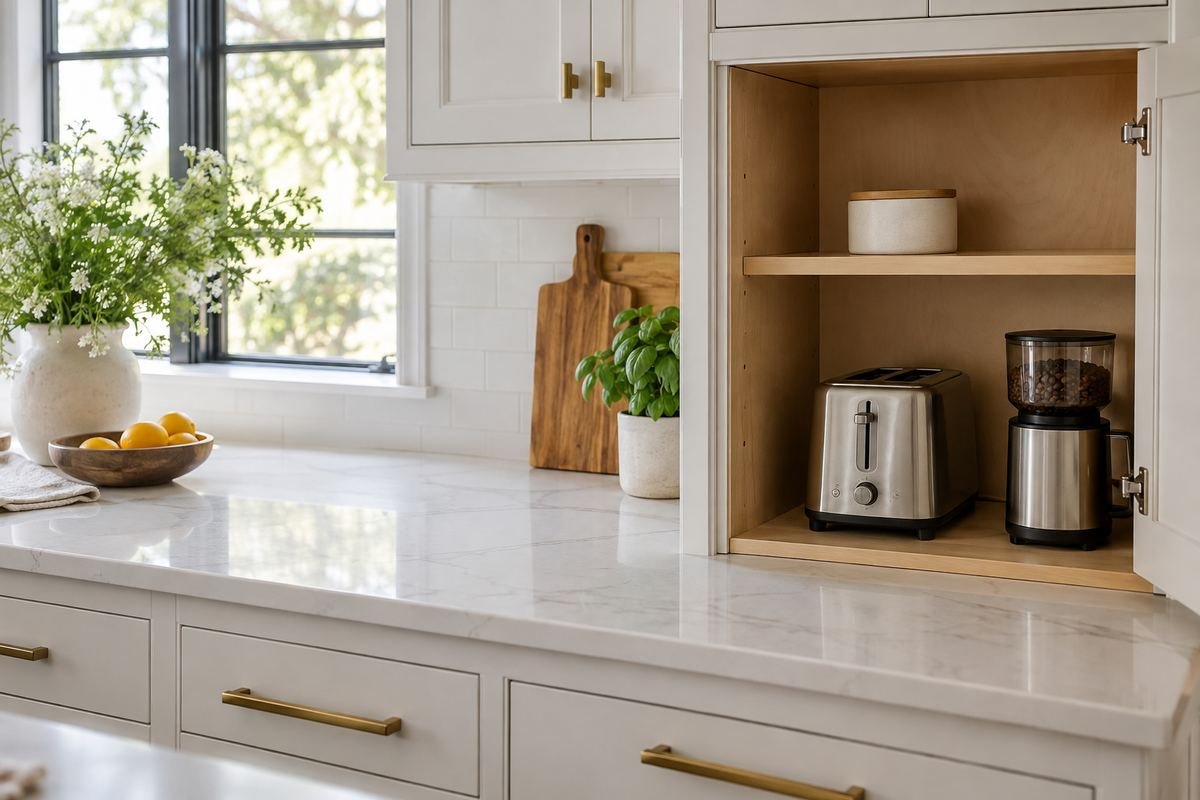
A breakfast bay can gather a cool unplugged toaster, small preparation items and the accessories that are currently scattered around the kitchen. Grouping makes sense when the household uses these items in the same part of the morning routine.
Keep the place where appliances operate outside the storage assumption and appropriate to their instructions. Do not fill the adjacent counter with jars and decorative trays until there is nowhere to put the machine. A breakfast group should shorten the routine rather than move the clutter behind a door.
Practical tip: Leave the intended working counter clear when planning the storage group.
10. Keep coffee accessories close to the machine you actually use

Sometimes the most useful garage holds the grinder, spare jug and coffee accessories while the daily machine remains in an appropriate open position. This avoids repeatedly moving a machine that is used several times a day, while still reducing the number of small objects on display.
Make the distinction visible in the plan. The main machine has a suitable open home, and the cupboard serves supporting items. An interior lined with beautiful material should not tempt you to turn storage into an operating station without checking the actual equipment requirements.
Practical tip: Store supporting equipment together before deciding to conceal the daily machine.
11. Divide a busy household into two modest bays
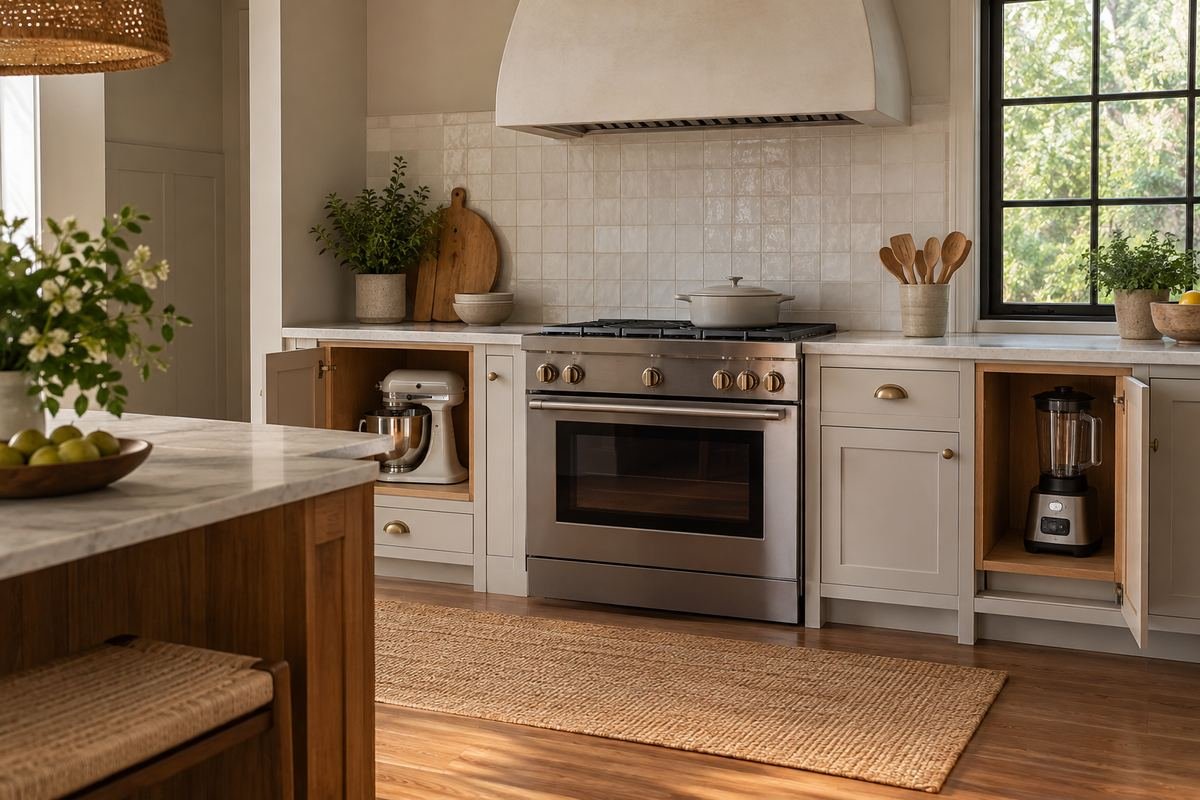
Two smaller storage areas may suit different routines better than one oversized appliance garage. One bay can serve baking equipment and another breakfast items, especially when people work in different parts of the kitchen. This arrangement gives each group a clear destination.
It also uses more cabinet fronts and may duplicate storage you do not need. Start by observing whether the routines actually happen separately. If the same person retrieves all the equipment in one sequence, two distant cupboards can make the work slower rather than easier.
Practical tip: Choose separate bays only when they serve genuinely different routines.
12. Build one usable opening into a taller storage wall
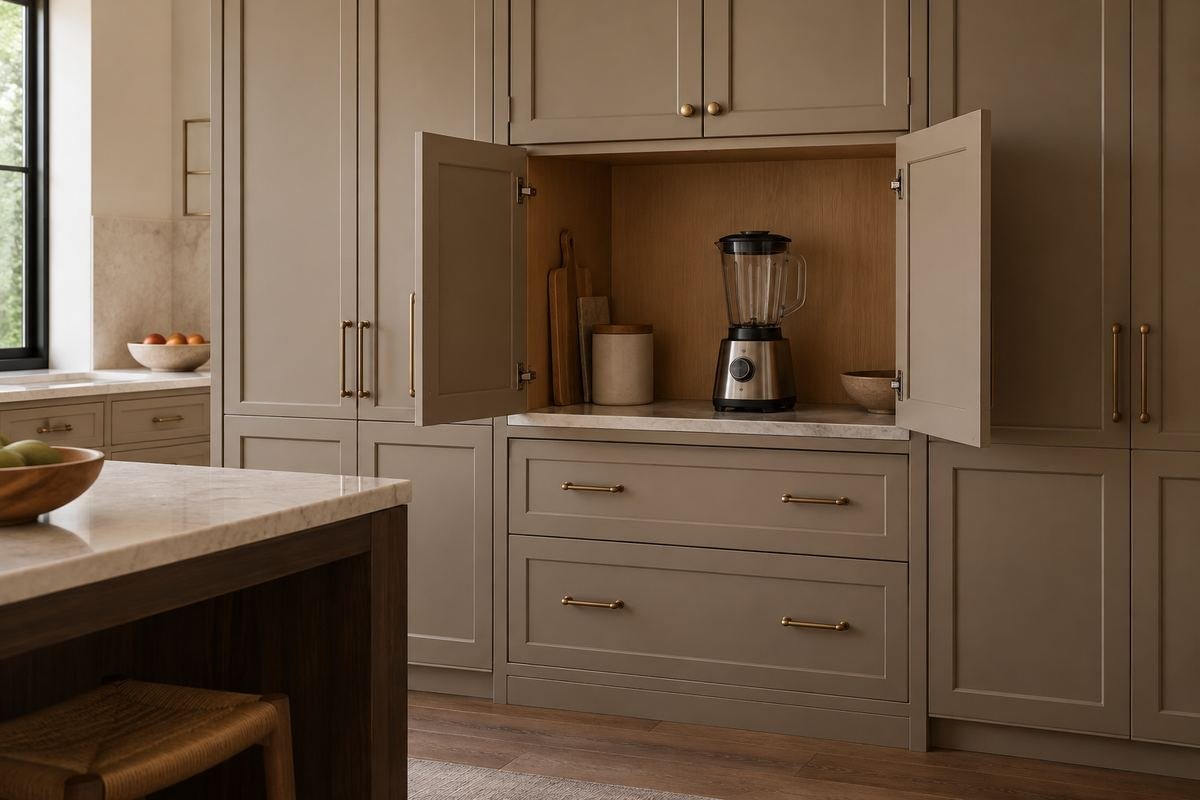
A tall cabinet wall can contain a counter-level equipment opening and closed storage above and below. This can reduce the visual fragmentation of a kitchen seen from another room, especially when the appliances are not used throughout the day.
Make the opening a usable part of the wall rather than a small decorative recess. The shelf height, depth and approach must suit the person handling the equipment. Do not assume that a symmetrical elevation provides a comfortable retrieval position for everyone in the household.
Practical tip: Test the proposed opening height with the actual user before finalizing the elevation.
13. Use a removable tray for a light collection

A small tray can keep a lightweight grinder and its supporting pieces together in a storage bay. The tray gives the group a defined footprint and can make it easier to clear the shelf for cleaning. It is most useful when the collection stays small enough to handle comfortably.
Avoid turning the tray into a platform for dragging a heavy machine across a surface. Include the tray handles in the storage footprint and choose a surface that suits its purpose. If the group grows too heavy, divide the items rather than forcing them into the original arrangement.
Practical tip: Count the tray handles as part of the stored width.
14. Put attachments in a shallow drawer below
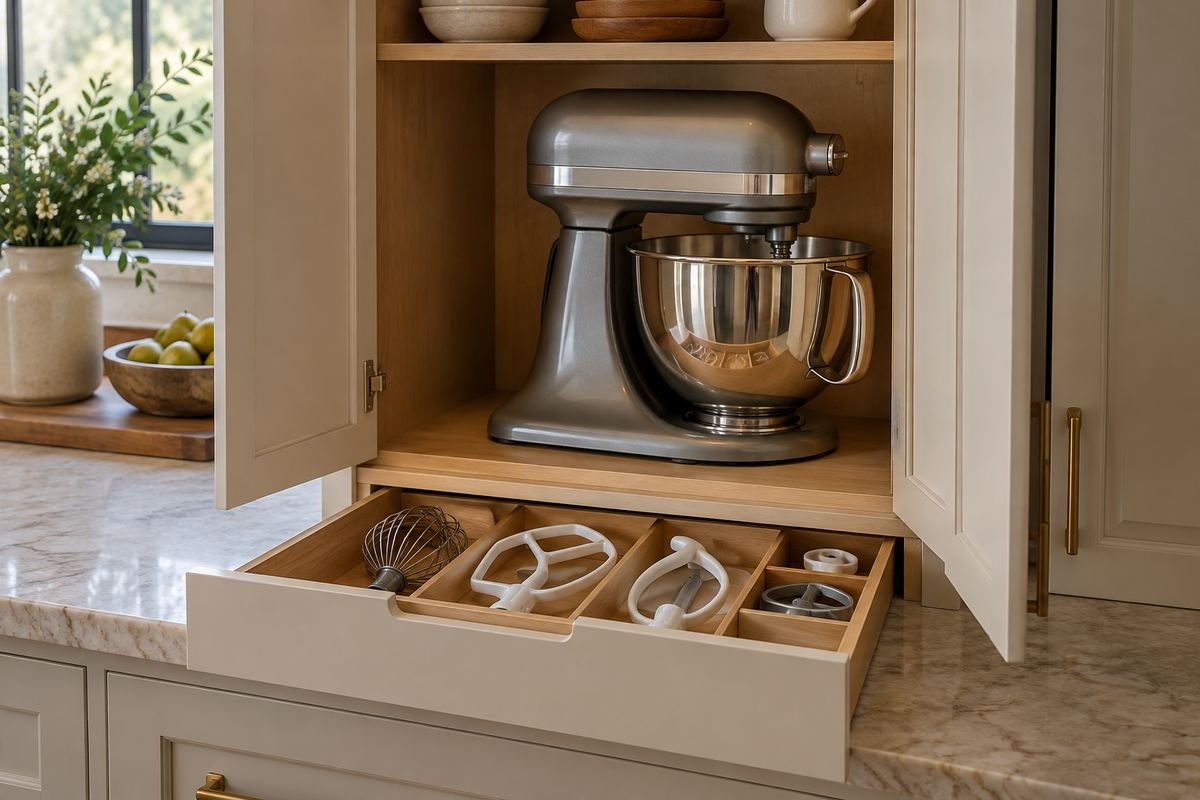
A drawer directly below the bay can hold beaters, measuring accessories and detachable tools that otherwise become a loose pile beside the machine. The separation keeps the main opening readable and allows the equipment body to stand in one clear place.
Organize the drawer around the pieces rather than a decorative set of matching boxes. Long attachments may need a different compartment from short lids. Keep the stored pieces dry and follow their care instructions; the drawer is a destination, not a shortcut around cleaning them.
Practical tip: Lay the actual attachments in the drawer outline before buying dividers.
15. Give removable jugs and bowls their own stable spaces

Appliance parts do not always nest neatly on the main machine. A separate position for a bowl or jug can reduce awkward overhead lifting and make the whole set easier to put away. This is especially helpful when the assembled appliance is too tall for the intended storage opening.
Keep each part visible enough to retrieve without unpacking the bay. Do not create a dense display of every accessory supplied with the appliance if only a few are used. Move occasional pieces to another appropriate cabinet and preserve a simple daily arrangement.
Practical tip: Store the regular working set together and move rare accessories elsewhere.
16. Use an interior shelf for a distinct lighter category

One upper interior shelf can hold small light accessories above a lower storage position. This works when there is genuine spare height and the shelf does not interfere with lifting out the appliance. It keeps the cabinet from becoming a single deep stack.
Do not use the shelf to justify running an appliance inside the enclosure. Treat the arrangement as storage and verify the actual support and access. A shelf full of rarely used objects can make a simple appliance bay feel cramped without improving the daily task.
Practical tip: Prefer one useful shelf to several shallow layers that obstruct retrieval.
17. Match the front to the surrounding cabinetry

A matching front makes the appliance garage part of the cabinet composition instead of a separate feature. It suits a kitchen where the room already has a patterned backsplash or strong floor. Repeat the door profile and finish rather than introducing another decorative language.
The matching exterior should not conceal a poor interior arrangement. Draw the daily contents with the doors open before approving the finished elevation. A quiet closed front is a useful design result only when the cupboard can be used without reshuffling its contents.
Practical tip: Approve the open storage drawing alongside the closed cabinet elevation.
18. Add warmth with a simple wood interior

A warm wood interior can make a pale appliance bay feel finished when its door is open. The material can relate to the kitchen floor or nearby dining furniture without making the entire cabinet run darker. Keep the grain quiet enough to read as a background.
Choose the actual finish for the intended cabinet use and care, rather than assuming every wood-look surface behaves alike. Limit decorative objects inside the bay so the warm interior frames the equipment instead of becoming another shelf display to maintain.
Practical tip: Compare the interior sample beside the exterior cabinet and countertop samples.
19. Use a darker interior to define a pale cabinet opening

A deep interior tone gives an open bay a clear outline and can relate to dark appliance bodies. This is a visual choice for a kitchen that benefits from a little depth, not a promise that marks, crumbs or spills will become invisible.
Inspect the sample in the actual room light. Very dark interiors can make small items harder to distinguish, particularly at the back. If visibility becomes worse, use a lighter shelf surface or simplify the contents instead of adding more contrasting accessories.
Practical tip: Test visibility with the actual items against the chosen dark sample.
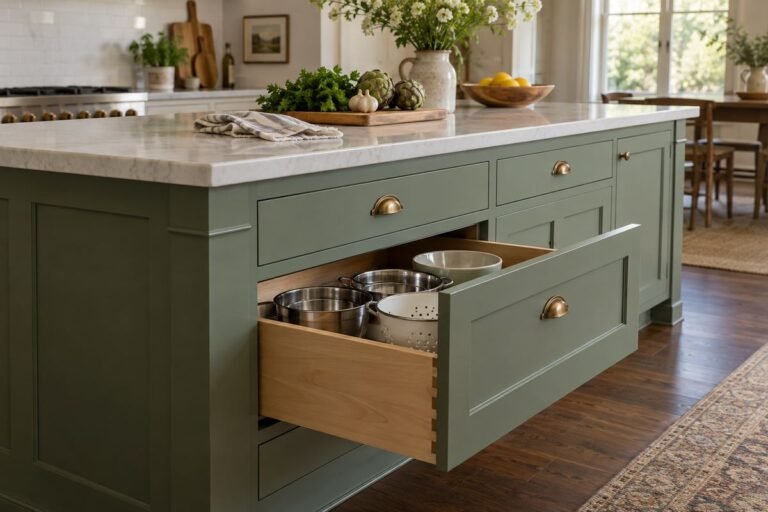
20. Let a muted green front repeat an existing room color

A green cabinet front can connect the appliance garage with a painted island, nearby furniture or a color already present in the room. The effect is more considered when the color has another place to land instead of appearing only on one isolated door.
Use a real sample beside the counter and fixed finishes. Green can shift noticeably between warm and cool light, and the surrounding white may change how it reads. Keep the rest of the cabinet detail restrained if the color is intended to be the main accent.
Practical tip: Repeat the chosen color in one existing element rather than adding many small green objects.
21. Choose a quiet back panel behind a mixed equipment group
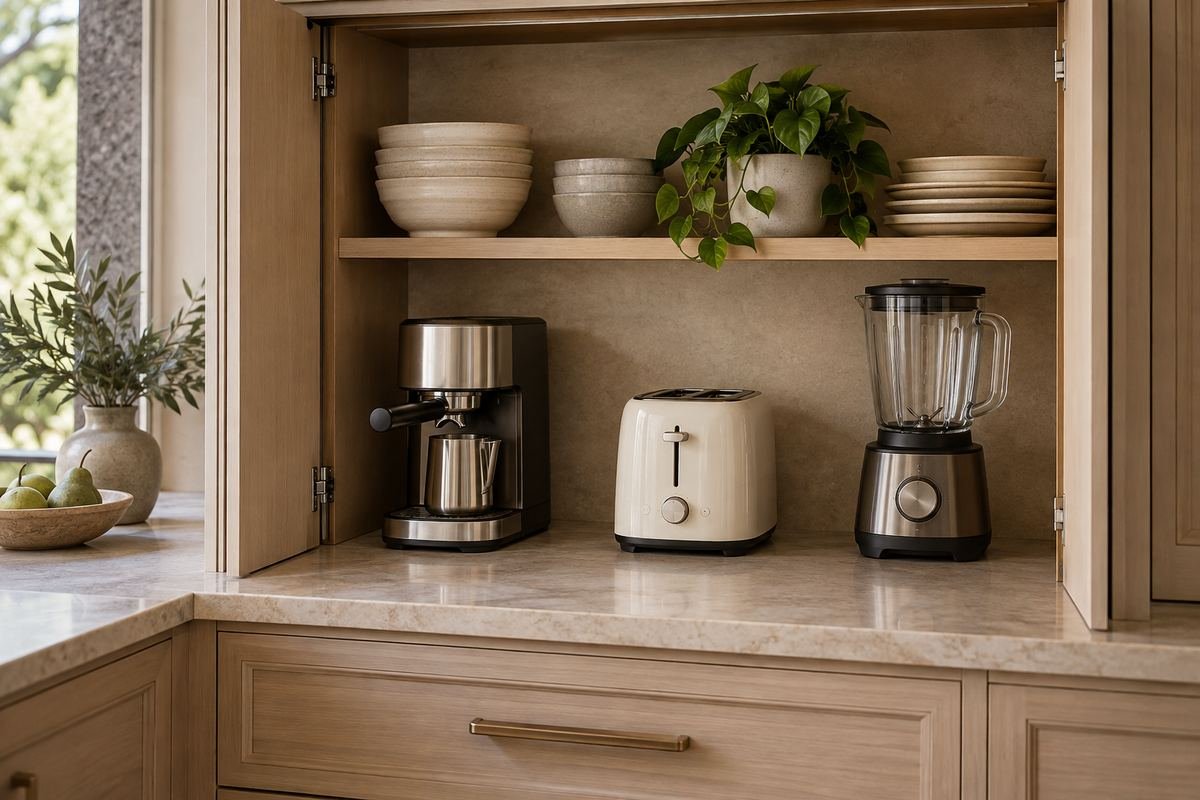
A plain back panel keeps machines of different shapes from looking more visually crowded. It is a useful choice when the collection includes stainless steel, black plastic and white parts that cannot realistically be made to match. The background gives the bay a calmer edge.
An intricate small tile pattern can look attractive in an empty cabinet but become busy behind the actual equipment. Compare a sample with the contents in front of it. Specify the material and joints for the real cabinet conditions without treating a decorative finish as evidence of appliance-operating suitability.
Practical tip: Review the back panel with the equipment present, not as an empty-box photograph.
22. Align the garage front with a useful cabinet rhythm
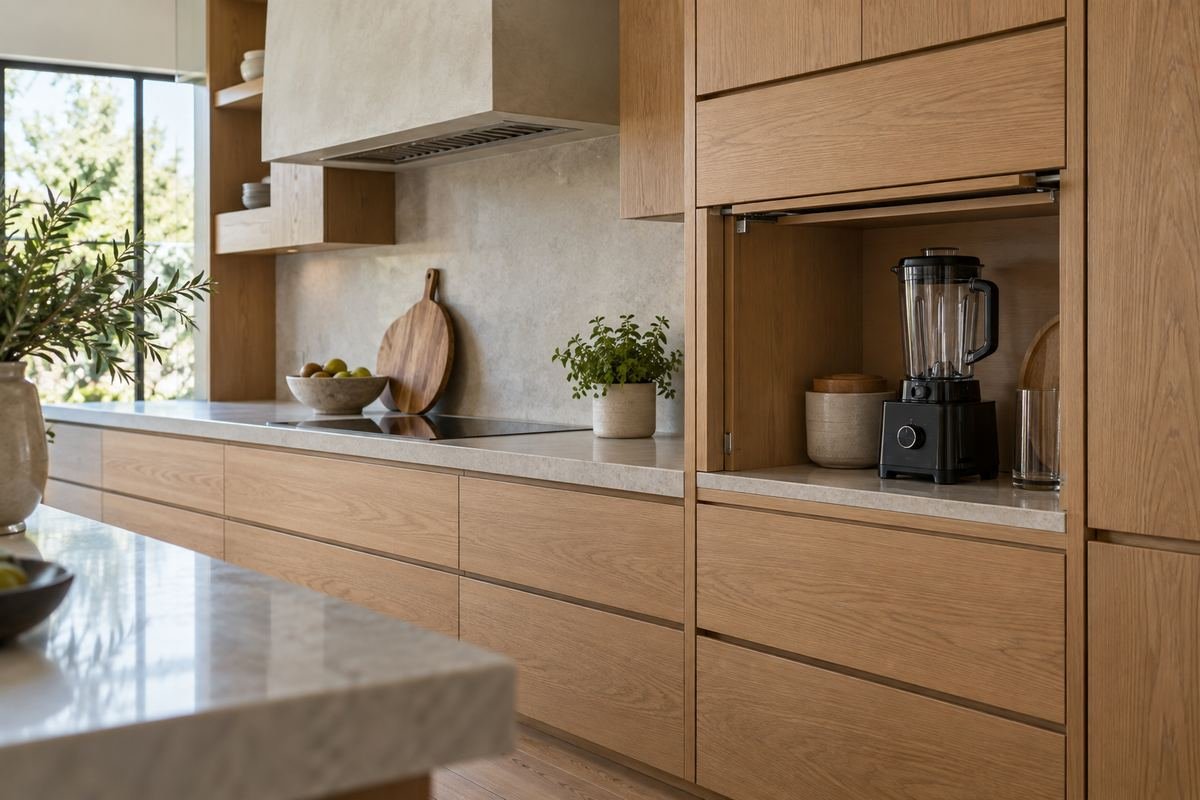
A horizontal line shared with neighboring drawers can make the storage opening feel intentional. This is particularly effective in a simple slab-front kitchen, where uneven lines are more noticeable. Let the appliance bay join the cabinet composition without forcing every front to be the same size.
Function still determines the opening. If aligning a line removes the height needed for the machine or creates an awkward shelf position, change the elevation. A tidy drawing is less valuable than a cupboard that accommodates its intended contents.
Practical tip: Keep the usable opening in the drawing while adjusting exterior cabinet lines.
23. Preserve a landing surface beside the storage opening

An empty counter beside the bay gives you somewhere to set down an item before opening a lid, replacing a jug or returning a clean part. It also separates the act of retrieving equipment from the task of using it in a location suitable for that appliance.
Treat the landing surface as part of the design rather than leftover space. If a decorative lamp, bowl or collection of jars occupies it permanently, the cupboard may be difficult to use despite having the right internal dimensions. Keep the daily hand movement in mind when arranging the counter.
Practical tip: Include the landing surface in your appliance garage plan from the beginning.
24. Leave some useful spare room around the current machine
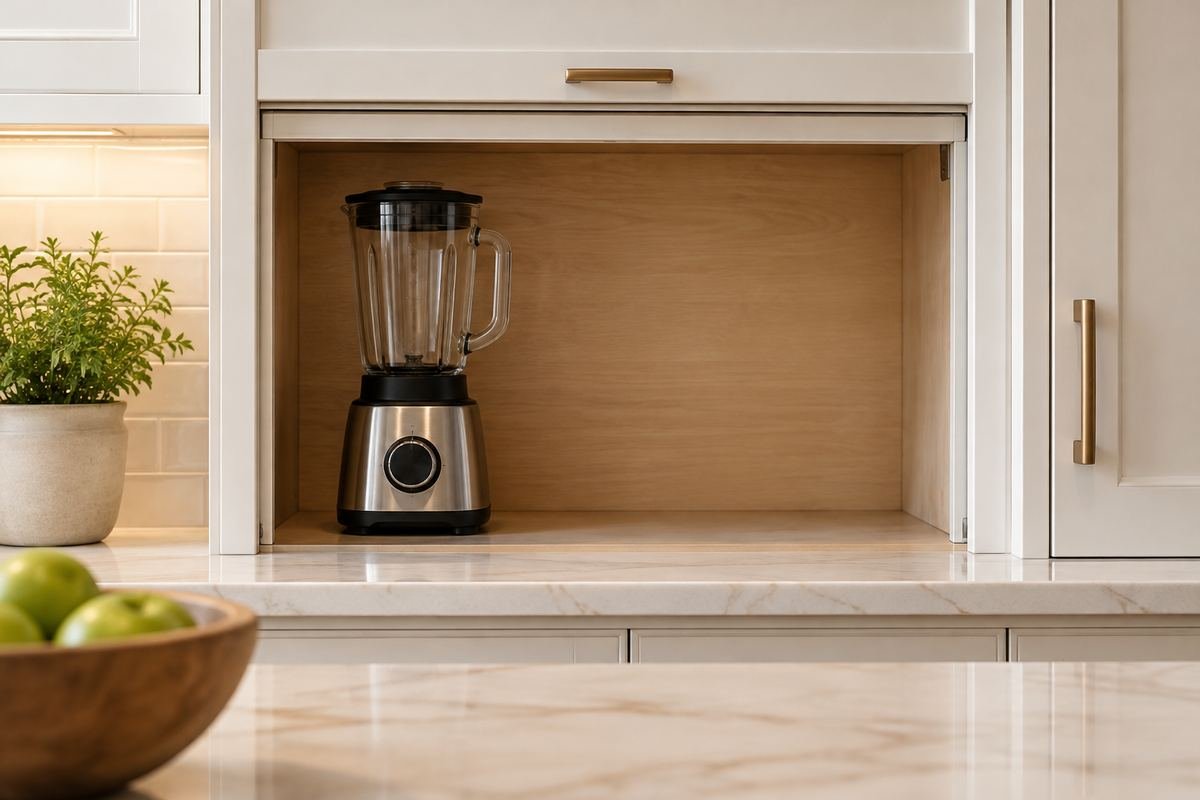
A little unassigned space can make the bay easier to clean and less dependent on one exact appliance shape. It may allow the household to change a small item later, although no cabinet can guarantee a fit for an unknown future machine.
Resist filling every gap with another container simply because it fits. A single machine, its regular accessories and room for a hand can be a more flexible arrangement than a completely packed cupboard. Review the bay after a few ordinary weeks and keep only what improves the routine.
Practical tip: Judge the cabinet by easy retrieval and return, not by how full it looks.
Frequently Asked Questions
What is a kitchen appliance garage?
It is an enclosed cabinet area intended to store small appliances, often near counter height. The useful difference from an ordinary cupboard is how the equipment is retrieved and put away. Storage suitability does not establish that an appliance can be operated inside it.
Which appliance garage door is best?
Choose through the opening movement and the actual cabinet plan. A hinged front needs swing room, a lift front needs its specified travel space, and a pocket system reserves space for the retracted fronts. There is no best door for every kitchen.
Can I run a toaster or coffee machine inside an appliance garage?
Do not assume so. Follow the exact appliance instructions and have the operating location, ventilation, clearances and power arrangements assessed appropriately. A cabinet photo, open door or convenient outlet is not proof that operation there is suitable.
How deep should an appliance garage be?
Start with the equipment and the clear internal space, including handles, removable tanks and the door mechanism. Outside cabinet depth is not the same as usable depth. Test a full-size outline and the retrieval movement rather than copying a universal number.
Is an appliance garage useful in a small kitchen?
It can be, if the appliances are worth keeping and the cabinet does not consume the only useful preparation surface. Compare a modest storage bay with a simpler parts drawer and an open parking position for the machine you use most.
Choose the Details That Work in Your Home
Choose one storage task, draw the real equipment and compare the cabinet with its door open. Keep the operating location separate from the storage concept, and preserve a useful counter beside the bay. A kitchen appliance garage should remove a daily obstacle, not create a larger cupboard to reorganize later.
For related ideas, explore coffee bar ideas for small spaces, kitchen counter decor ideas, kitchen drawer organization ideas.
Planning References
Blum: AVENTOS HL top door movement and applications; Blum: REVEGO pocket-system planning. Follow the instructions for the exact products you choose.
Optional digital guide for this topic
If you prefer a structured workbook, explore this related paid guide.