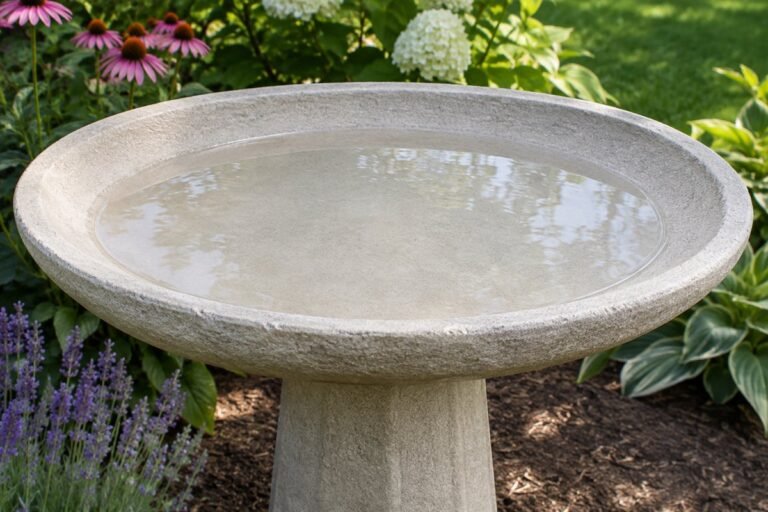
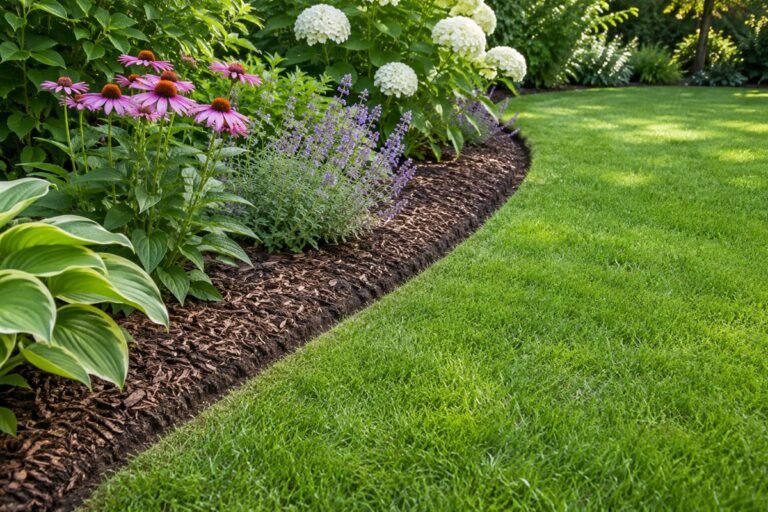
Lavender garden ideas work when the site supports the plant: useful sunlight, suitable drainage and a selection that fits the local climate. A small repeated group can be more convincing than a large planting whose conditions are wrong. Begin with the growing space, then refine the outline, color and view.
These 24 concepts focus on home-garden composition and practical care access. They are not instructions to turn every soil into a lavender bed. Confirm the botanical name, mature size and regional guidance before buying, and resolve drainage problems before planting.
Contents
- 1. Begin with one sunny trial group
- 2. Make a short border from one selection
- 3. Use a compact form beside a small path
- 4. Leave a deliberate gap at an entrance
- 5. Use a broad curve instead of a tight corner
- 6. Give a straight row a clear beginning and end
- 7. Compare a raised planting area when ground drainage is unsuitable
- 8. Use a freestanding container for a small display
- 9. Group separate pots without merging their care
- 10. Use a plain wall as a distant backdrop
- 11. Combine the planting with a simple gravel view
- 12. Let a few rocks frame the planting
- 13. Use gray-green foliage as part of the palette
- 14. Choose one flower color before mixing several
- 15. Use a pale-flowered selection as a contained accent
- 16. Compare flower forms by botanical name
- 17. Give larger lavandins their own space
- 18. Keep companion planting within compatible conditions
- 19. Separate the planting from the lawn watering zone
- 20. Frame a seat without crowding the user
- 21. Plan a small separate picking position
- 22. Make trimming access part of the outline
- 23. Plan the winter care before choosing a tender type
- 24. Keep a season record before extending the design
Use a site record before choosing lavender garden ideas
Observe direct sunlight, soil drainage, irrigation and the available mature footprint. Iowa State’s current guide emphasizes full sun and excellent drainage, and distinguishes established drought tolerance from first-season watering needs. Keep the selected plant’s actual requirements ahead of a Mediterranean-looking surface or a photograph of a dense flowering field.
Choose the first layout from the real constraint
- Sunny suitable ground: Begin with a small spaced trial group.
- Narrow route: Choose mature size that keeps the walkway clear.
- Unsuitable drainage: Resolve the complete site design or consider an appropriate container.
- Container display: Plan drainage, watering and winter care before planting.
- Different watering nearby: Keep the lavender group out of unsuitable lawn-irrigation coverage.
1. Begin with one sunny trial group

A small group lets you assess the site before repeating the planting across a whole border. Choose an identified lavender that fits the local climate and record the actual sun and drainage. Leave the first group large enough to read as one composition but small enough to inspect easily. Expand only after observing how it grows and survives the relevant seasons.
Try this: Set a review date before ordering the next group.
2. Make a short border from one selection

One repeated selection can make a border feel calm. Use the expected mature width to work out the number of plants, then check how the line looks without flowers. Keep room for air and ordinary care. A young planting may look open at first; adding extra plants simply to close every gap can make the later arrangement crowded.
Try this: Draw the mature outlines before buying multiples.
3. Use a compact form beside a small path
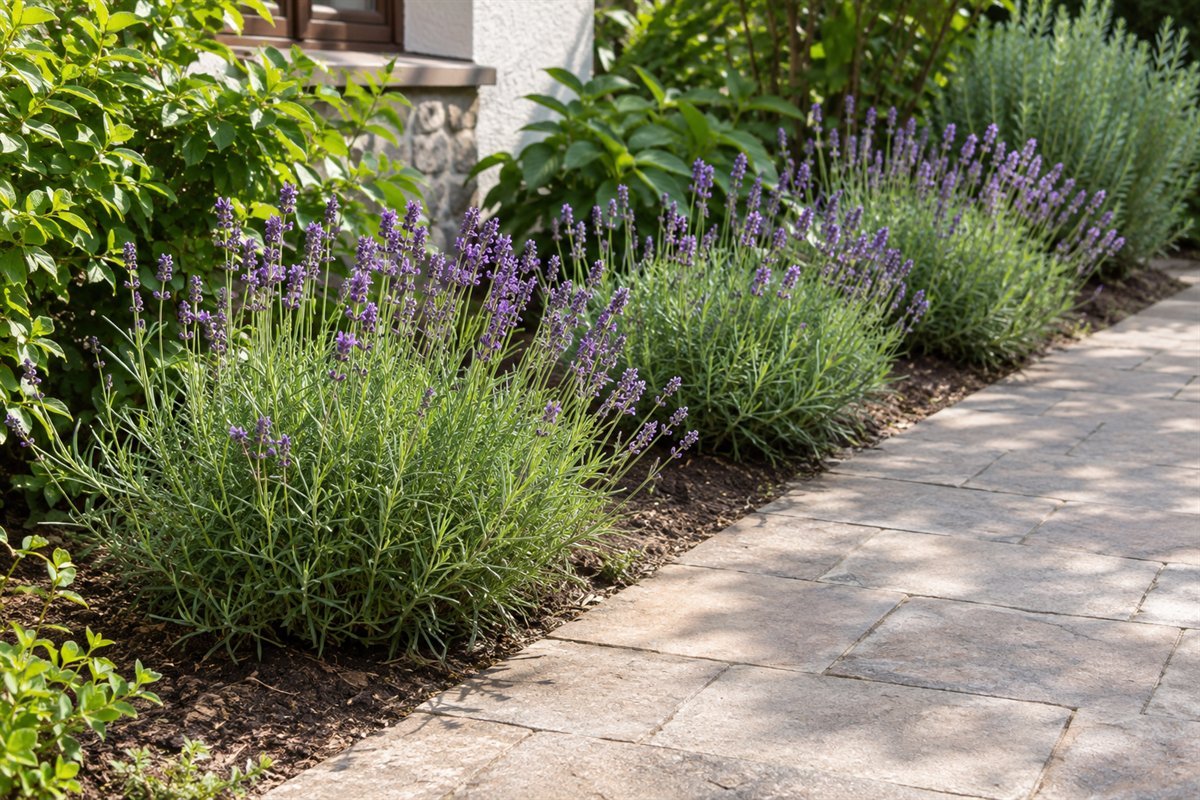
A compact form can define a route where its full flowering spread stays outside the walking space. Compare the plant’s dimensions with the narrowest part of the path. Do not rely on brushing through stems for the main experience; people still need a clear route. Keep the planting reachable for trimming without standing in the bed.
Try this: Mark the flowering outline as well as the foliage outline.
4. Leave a deliberate gap at an entrance

A break in the planting can make an entrance easier to read. Place the groups around the useful opening rather than forcing the path between mature plants. Check gate movement, carrying space and the view of the route ahead. The repeated lavender provides the visual connection while the unplanted opening does the practical work.
Try this: Walk through with the largest item normally carried into the garden.
5. Use a broad curve instead of a tight corner

A generous curve can suit a garden whose other beds use soft outlines. Keep the inside of the curve roomy enough for the plants to mature without bunching together. A tight turn often looks attractive on a drawing but becomes the most crowded part of a repeated border. Compare the entire outline from the main viewing position before planting.
Try this: Lay out the curve with flexible markers and review it from the house.
6. Give a straight row a clear beginning and end

A straight line works well when it relates to an existing path or simple garden geometry. Give it a deliberate end instead of allowing the last plant to drift into another border. Keep the line short enough to inspect and maintain from a clear route. The arrangement can look formal without shearing the plants into an unsuitable rigid shape.
Try this: Decide where the line stops before choosing the plant count.
7. Compare a raised planting area when ground drainage is unsuitable

A raised planting area may be an option where ordinary ground conditions are unsuitable, but the whole drainage arrangement needs to work. Adding height alone does not prove that water will leave the root zone. Resolve soil, outlet and construction details appropriately before planting. Keep the bed reachable and choose its size around the mature plants and care route.
Try this: Ask how excess water leaves the complete planting area before selecting the finish.
8. Use a freestanding container for a small display

A container can make a small lavender display easier to position and observe. Choose a vessel with drainage and a suitable growing medium rather than treating the decorative pot as a sealed bowl. Include watering and the local winter plan from the beginning. A pot gives you control over placement, but it still needs enough sun and care for the actual selection.
Try this: Test the container’s care and storage route before filling it.
9. Group separate pots without merging their care

Several pots can provide repetition while keeping each plant removable. Leave enough room to reach the growing medium and inspect the base. Matching containers do not mean every plant dries at the same rate; exposure and size still matter. Keep the group manageable enough that watering and moving it remain ordinary tasks rather than a weekly rearrangement.
Try this: Check that every pot can be lifted out without bending through another plant.
10. Use a plain wall as a distant backdrop

A plain surface can make the fine stems more visible. Keep the planting far enough from the wall for appropriate access and the plant’s mature width, and check actual light and heat there. A sheltered-looking position can still be too shaded or poorly drained. Use the backdrop only after the growing conditions and building needs are understood.
Try this: Record the afternoon exposure at the proposed position.
11. Combine the planting with a simple gravel view
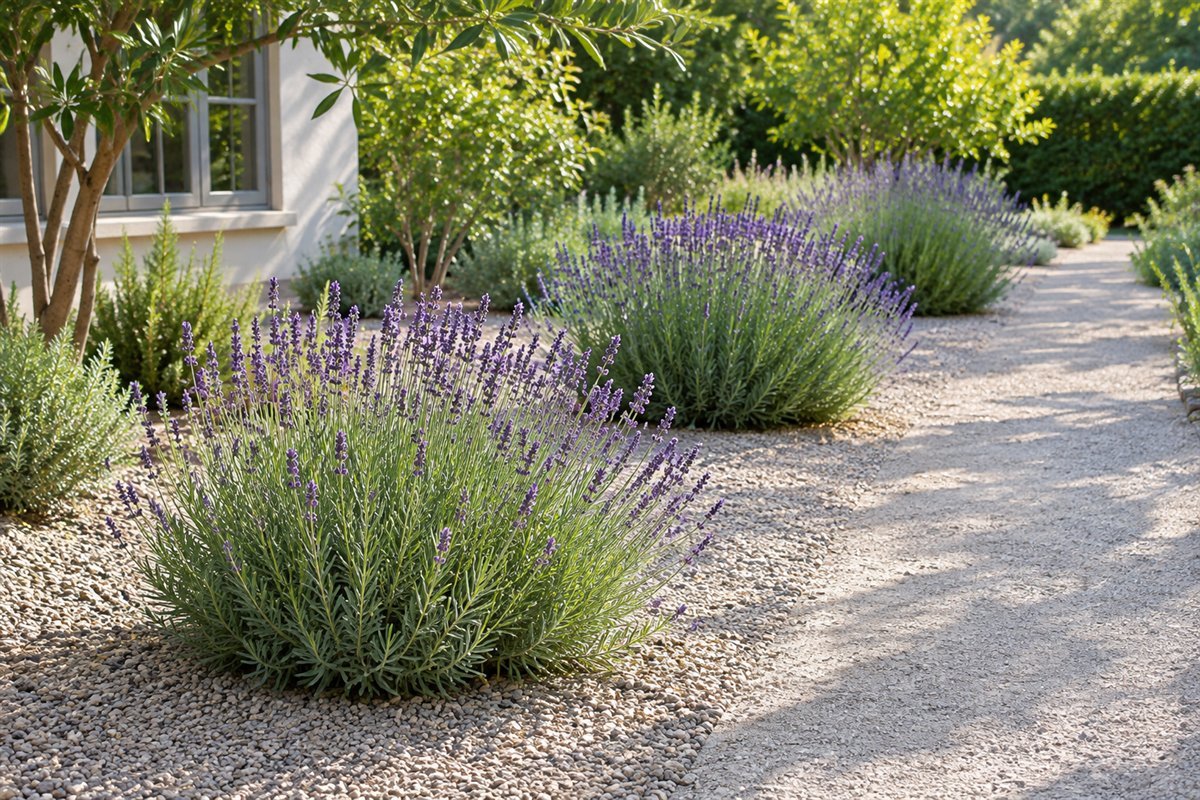
Gravel can create a quiet visual background for the foliage. Treat the surface finish and root-zone drainage as separate decisions; gravel on top does not correct unsuitable soil underneath. Keep the plant bases inspectable and the walking route distinct. Use a limited material palette so the small flowers remain the most noticeable detail.
Try this: Resolve the soil and water movement before ordering decorative stone.
12. Let a few rocks frame the planting

A small number of rocks can anchor the composition visually. Place them with the plant’s future spread and care access in mind, and avoid crowding every open area with stone. The rocks should make the grouping easier to read rather than create hidden pockets where debris collects. Keep any heavy placement and site stability appropriately assessed.
Try this: Compare one or two useful stones with a much busier arrangement before committing.
13. Use gray-green foliage as part of the palette
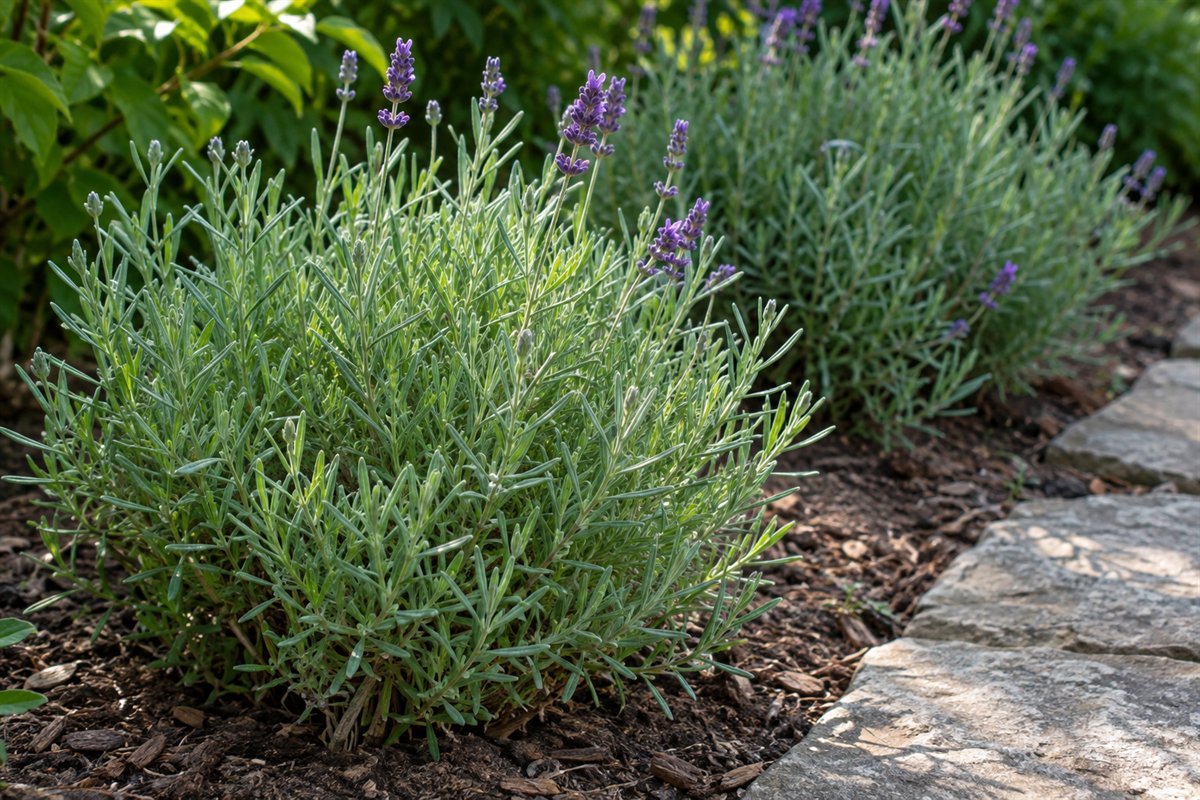
Lavender contributes more than its flowers. Compare the leaf color with nearby paving, pots and other planting, then check the shape that remains after flowering. A composition built around the foliage can feel settled through more of the year. Keep expectations tied to the actual selection and climate rather than assuming every plant keeps the same appearance in winter.
Try this: Save a foliage reference alongside the flowering photograph.
14. Choose one flower color before mixing several
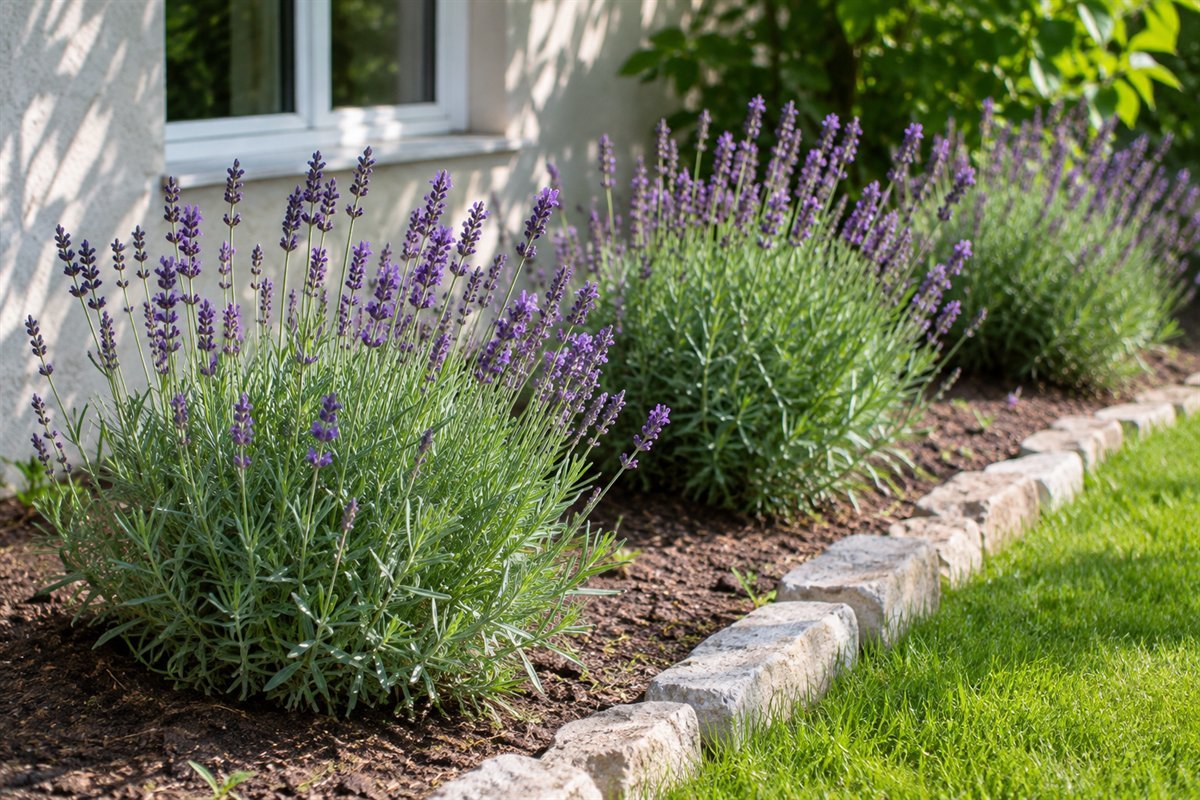
A single flower direction can make a small planting look more deliberate. Compare the actual cultivar rather than buying from a color name alone. Subtle differences in flowering time and plant size can matter more than a small color variation in a nursery image. Repeat the selection only where it has the right growing conditions.
Try this: Put the cultivar name next to the color on the plan.
15. Use a pale-flowered selection as a contained accent
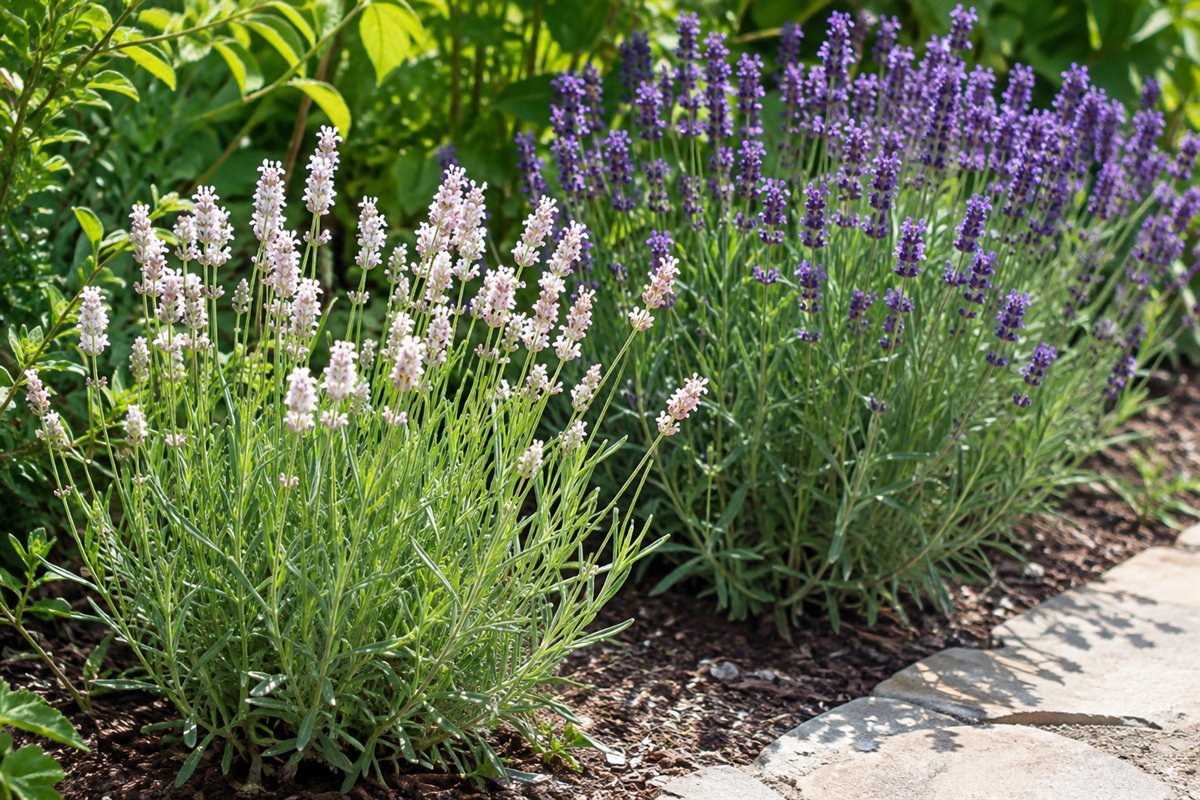
A pale-flowered selection can be an accent where a reliable identified plant suits the site. Keep it in a clear group so the effect is readable. Compare its mature size and flowering season with the surrounding plants instead of assuming a color variant will behave exactly like the purple plant beside it. Avoid filling the border with unrelated selections just to obtain every available shade.
Try this: Research one named pale selection before adding it to the purchase list.
16. Compare flower forms by botanical name
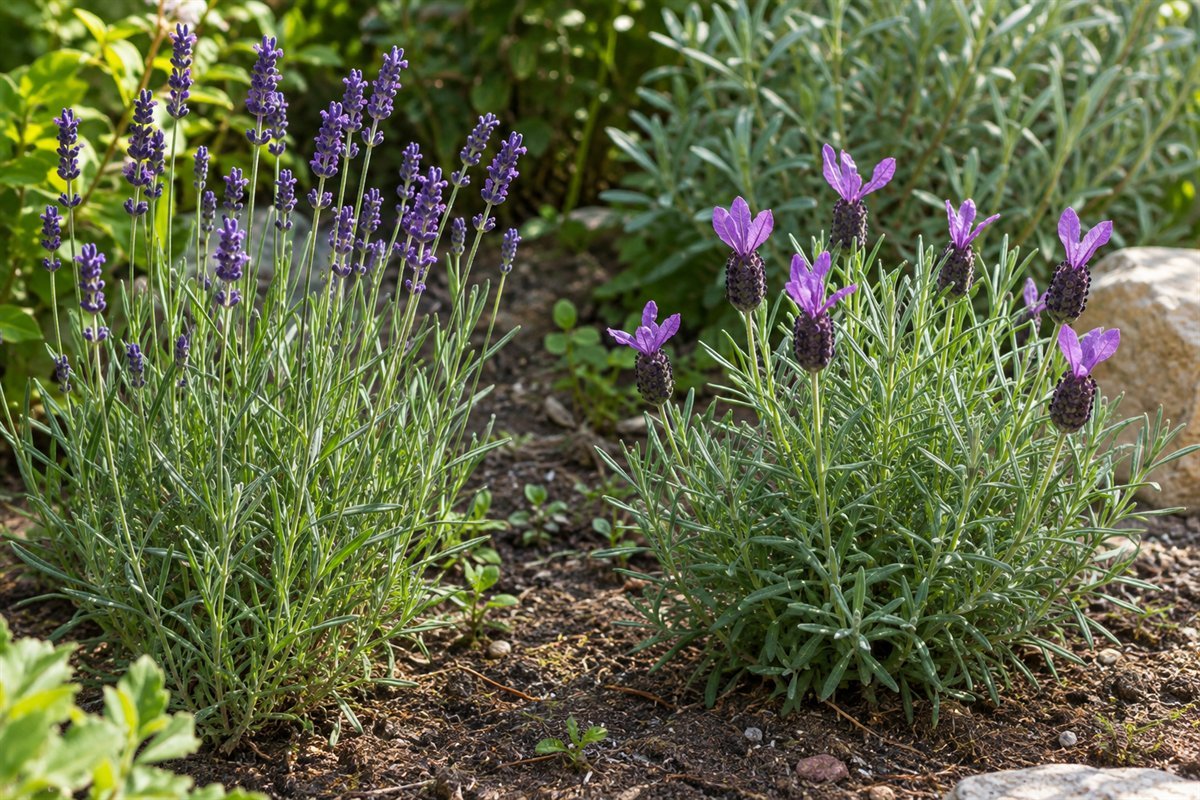
Common names can be confusing. Lavandula angustifolia, Lavandula stoechas and Lavandula dentata are different plants, and regional names do not always describe them consistently. Keep the botanical name with the purchase record. Compare the flower form only after checking local winter tolerance and growing needs; the showiest tufted flower may not be the best permanent outdoor choice for your climate.
Try this: Ask for the botanical name when a label says only French or Spanish lavender.
17. Give larger lavandins their own space
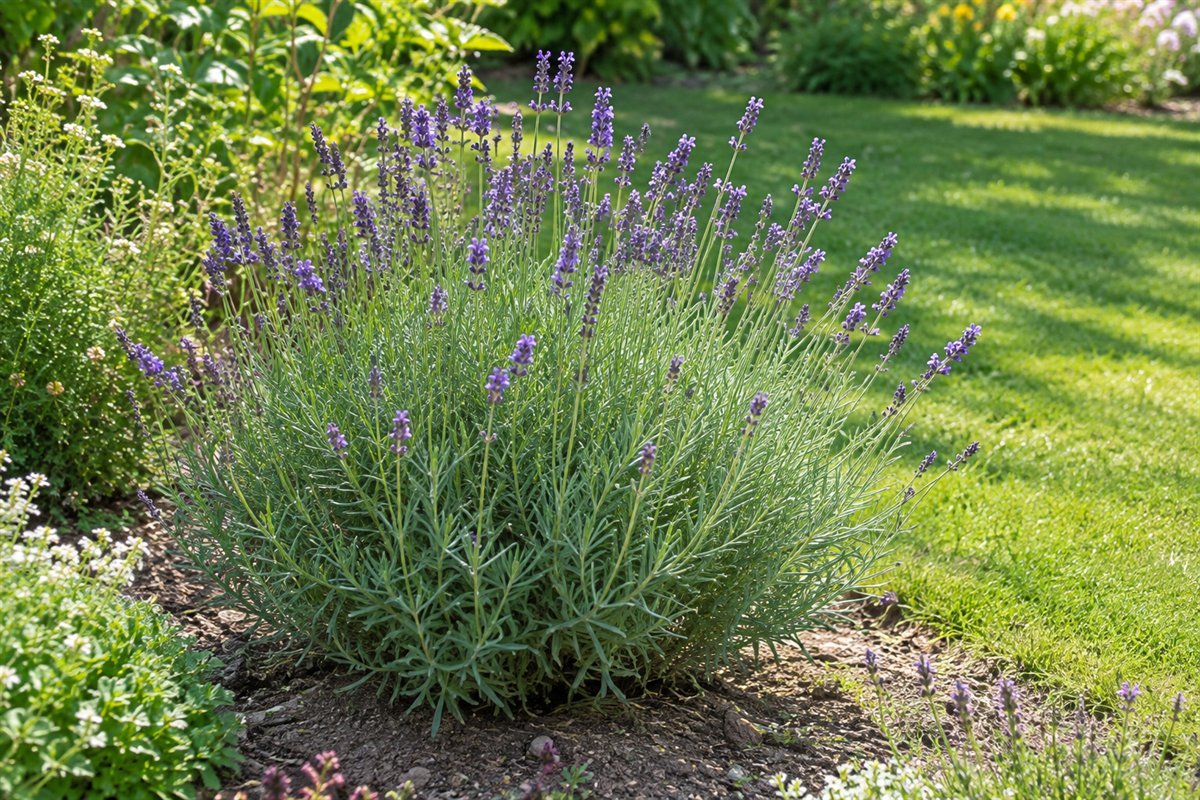
A larger selection can create a stronger flowering outline, but it needs the room assigned to it. UC Sonoma describes Lavandula × intermedia as a group whose size varies by cultivar. Check the exact plant before using it in a narrow edging role. A larger form may be more useful as one background group than as a tightly spaced line beside the path.
Try this: Compare mature width with the smaller selection before deciding their roles.
18. Keep companion planting within compatible conditions
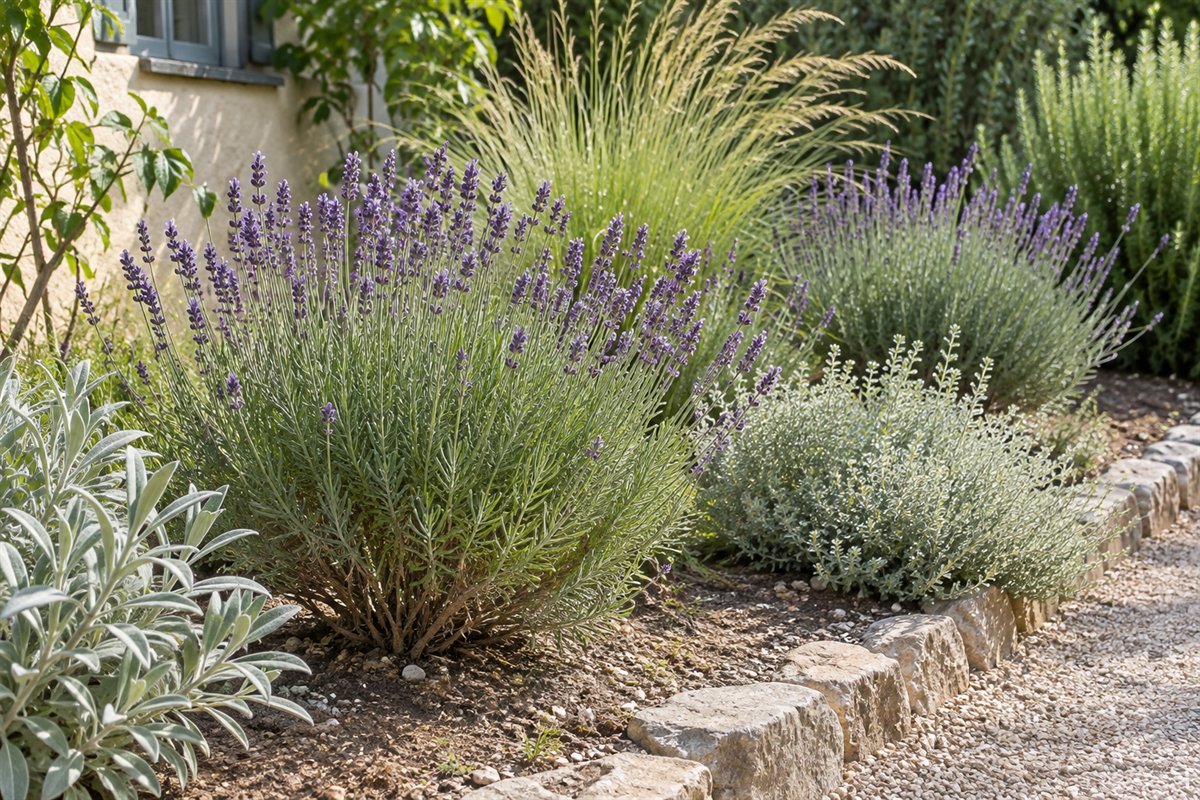
Choose companions from plants that fit the same actual light and moisture arrangement. Color harmony alone does not establish compatibility. Keep their mature spread and care access visible on the plan, and avoid choosing a thirsty foreground that makes the lavender’s root zone continually wet. A small compatible group is easier to manage than a complicated mixed bed with conflicting routines.
Try this: Compare water needs before comparing flower colors.
19. Separate the planting from the lawn watering zone

A lawn and a lavender group may need different watering routines. UC IPM recommends keeping lavender away from lawn sprinkler coverage. Observe the actual spray and runoff before placing the border. Keep the plant’s root zone and establishment needs in the plan without assuming that drought tolerance means a new plant can be left unattended.
Try this: Check the irrigation pattern during its normal operation before marking the bed.
20. Frame a seat without crowding the user

A seat lets you enjoy the fine flowers at close range. Keep enough space between the plant and the user, and preserve the normal approach. If the household prefers not to sit immediately beside flowering plants, place the view farther away rather than forcing a close scented arrangement. The garden should suit the people who use it.
Try this: Test the view from the seat before planting the nearest group.
21. Plan a small separate picking position
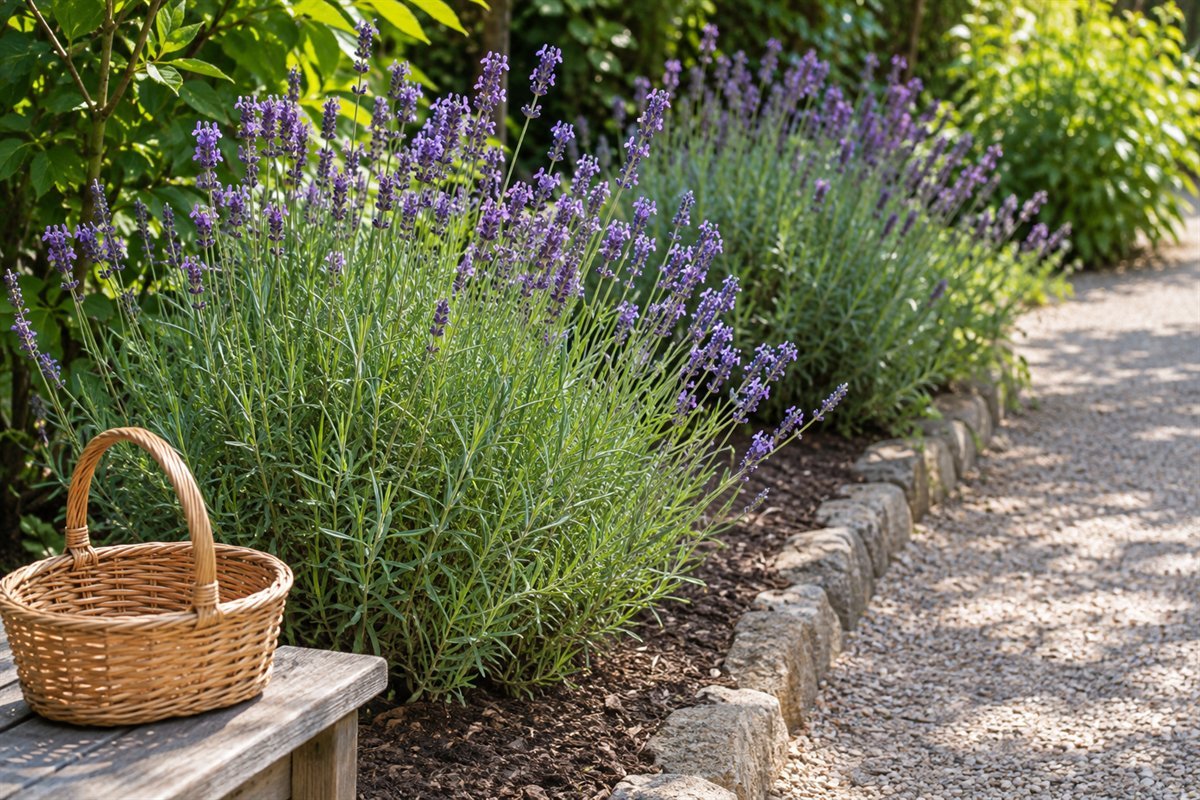
If you want stems for indoor decoration, leave a practical position from which to reach the selected plants. Keep the picking purpose in balance with the outdoor view, and use plant-specific harvesting guidance. A separate small group can make the intention clearer than removing the most visible stems from the entrance border every time. This guide makes no stem-yield promise.
Try this: Decide which group is for picking before the flowering season.
22. Make trimming access part of the outline

A usable care position makes regular shaping easier. Keep the plant name with appropriate local pruning guidance and avoid cutting back into bare woody growth simply to recover the original outline. A plant that has become unsuitable for the space may need a different decision. Do not adopt another region’s autumn cutting calendar without checking the climate and type.
Try this: Keep the pruning note with the purchase record.
23. Plan the winter care before choosing a tender type
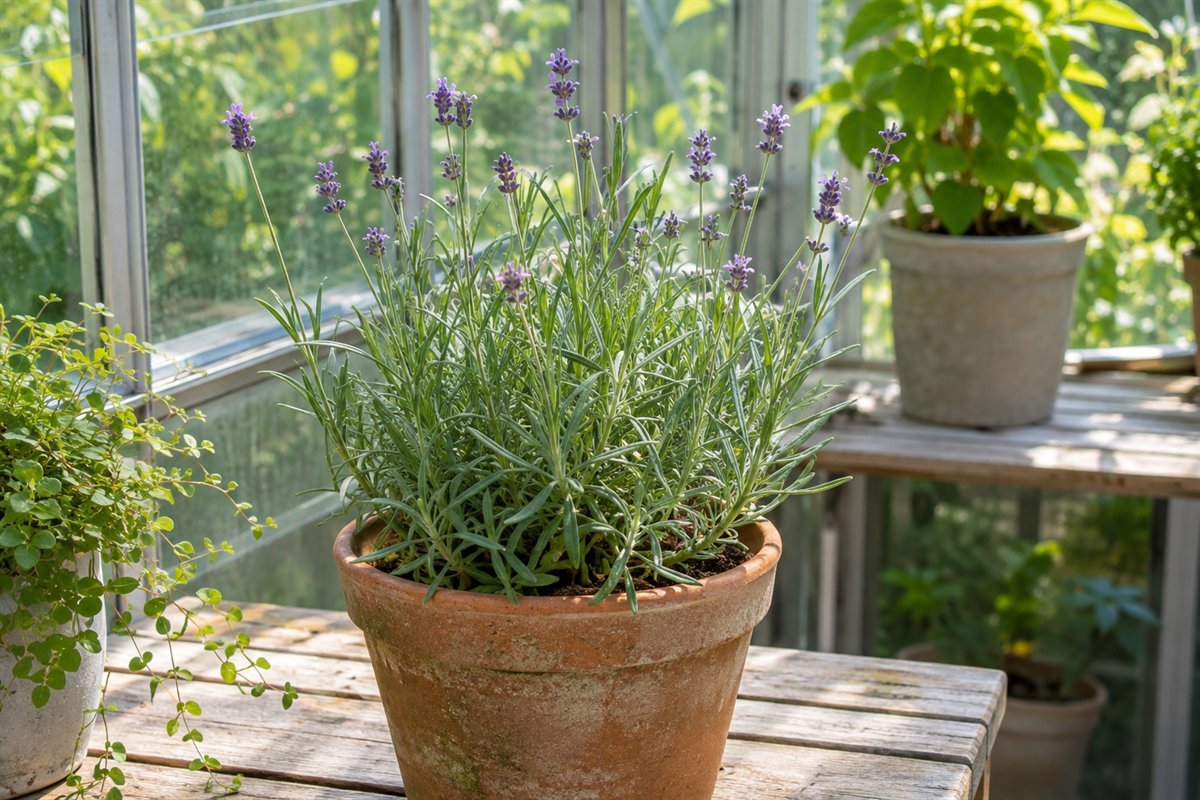
Winter tolerance differs between lavender types and growing situations. A tender selection in a pot needs a realistic plan for suitable protection where required. Check that the planned place provides the actual light and conditions needed; moving a pot into a dark room is not a complete winter-care method. Decide before buying rather than waiting for a forecast to make the choice.
Try this: Confirm the local container-wintering advice for the exact plant.
24. Keep a season record before extending the design

Record growth, flowering, care effort and the plant’s condition after the relevant winter or wet season. Note where the design became crowded or awkward to trim. Use those observations to keep the strongest part and change one clear problem at a time. Useful lavender garden ideas grow from a suitable site and manageable routine, not from repeating a picturesque field at home.
Try this: Review the record before buying the next row.
A lavender border card before ordering plants
Write the botanical name and cultivar, source, mature width and height, local winter guidance and expected flowering character on one card. Common names vary between regions, so keep the scientific name instead of relying on French or Spanish alone. A named selection should be researched for its own dimensions and conditions.
Add a sketch of the usable footprint, the timed sunlight observations and the water sources nearby. Mark lawn sprinkler coverage and any place water collects. Gravel, a raised edge or a sunny photograph does not prove that the soil below drains appropriately. Use local soil and drainage advice for any correction rather than adding an untested universal recipe.
Draw the mature foliage outline and the flowering spread separately beside paths, seats and entrances. Work out plant numbers from the identified selection and the intended use. Keep a trimming position outside the planting. A young border can look open while still having the correct long-term spacing.
For containers, record the vessel’s drainage, suitable growing medium, watering access and the local winter plan. RHS distinguishes the continuing water needs of containers from established plants in the ground. Keep the plan appropriate to the actual climate; UK calendar dates are not a planting schedule for every US garden.
Keep pruning advice with the plant record. Avoid treating bare woody stems as if they reliably regrow after hard cutting. Check the timing for the actual type and region, and review older misshapen plants individually. This is a composition and planning guide, not a universal cutting height, irrigation interval or amendment formula.
Finally, keep a dated photograph and a short note on survival, flowering, unwanted spread, watering and trimming effort. Review the trial through the conditions that matter locally before expanding. Change the design from the evidence in your own garden rather than promising continuous bloom from a concept image.
Does lavender grow well in shade?
It needs a suitably sunny position for the kinds of planting discussed here. A shaded or damp corner should not be chosen simply because there is unused space; verify the exact selection and local growing guidance.
Does drought-tolerant lavender need watering?
New plants need establishment care, and containers need their own checks. Drought tolerance after establishment does not mean every plant in every setting can be ignored.
Can I use one pruning calendar for all lavender?
No. Keep the botanical name, selection and regional climate in the decision. Follow suitable local guidance and avoid assuming that bare woody growth will respond to a hard cut.
A practical next step
Choose lavender garden ideas that keep the growing conditions, mature space and care route clear. Start with a manageable group, let the foliage contribute beyond flowering and expand only where the planting performs well.
Garden edging ideas for a clear border and maintenance route. Cut flower garden ideas for a separate, reachable picking area.
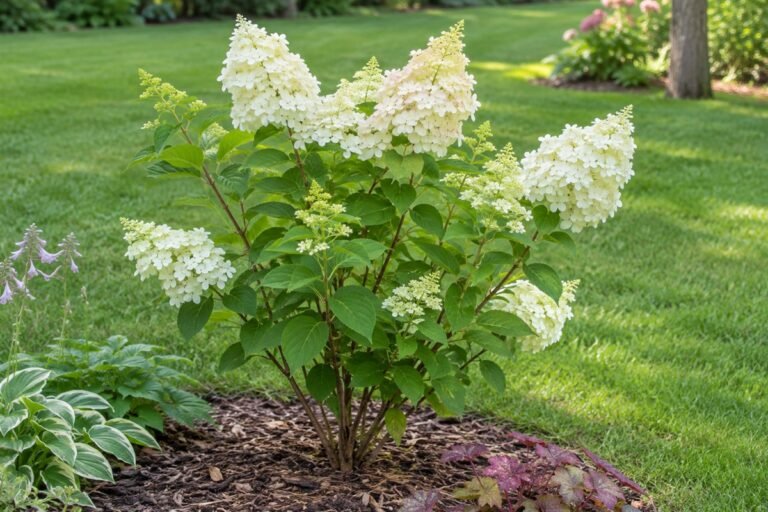
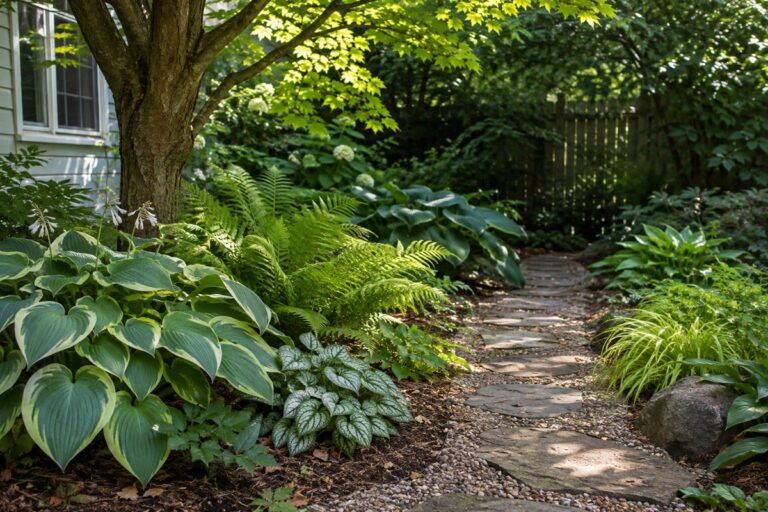
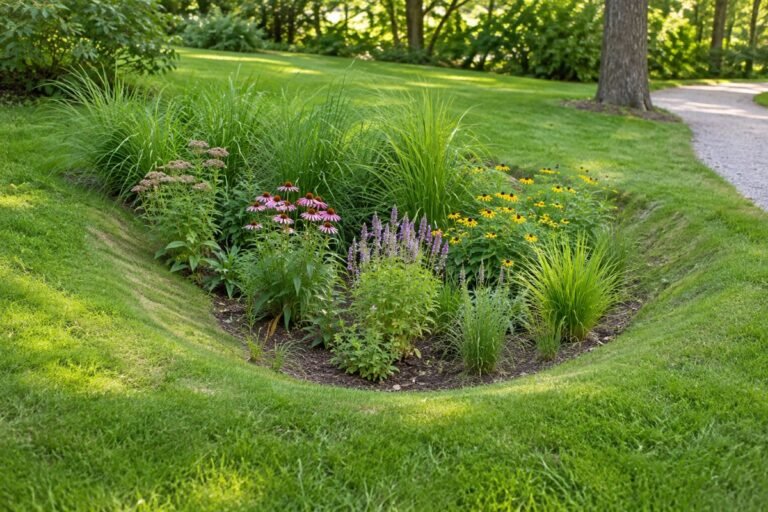
Images are original AI-generated garden concepts. They do not verify a cultivar, measured light, soil drainage, plant hardiness or performance in a particular climate.
Sources and care references
- Iowa State Extension: current lavender site, establishment and regional limitations
- NC State Extension: English lavender form and growing requirements
- UC Sonoma: botanical lavender groups and cultivar-size differences
- UC IPM: light, lawn irrigation and site-selection considerations
- RHS: container care, winter differences and woody-stem pruning cautions
Optional digital guide for this topic
If you prefer a structured workbook, explore this related paid guide.