Walk-in shower ideas are most useful when they explain how the whole bathroom works around the shower. Start with the entrance, screen, fittings and place used to leave the wet area. Those relationships shape the room more than a new tile color alone.
These 24 concepts compare room arrangements, visual boundaries and everyday details. They complement the separate guides to shower sizing, doors and tile linked below. Use the layout brief after the ideas to bring your preferred arrangement to an appropriate project professional before ordering.
Contents
- 1. Give an end-wall shower a clear place in the room
- 2. Run a longer shower along one side wall
- 3. Use a corner to define a compact shower zone
- 4. Let an existing recess give the shower its outline
- 5. Compare a tiled privacy return instead of an all-glass front
- 6. Use glass above a lower partition for a layered boundary
- 7. Offset the entry beside one main fixed screen
- 8. Consider two entrances only when the room gives them a purpose
- 9. Give a bath and shower separate working positions
- 10. Compare a floor-level entrance through the real construction
- 11. Let a low threshold remain a considered design choice
- 12. Use a separate floor field to make the shower legible
- 13. Let one strong shower surface sit behind a quieter screen
- 14. Use an obscured side panel for a specific sightline
- 15. Connect the hardware to one existing bathroom finish
- 16. Give a planned seat an end position with a clear approach
- 17. Place everyday bottles on a quieter side of the shower
- 18. Give a single showerhead a clear working wall
- 19. Consider a handshower as part of one coordinated fitting group
- 20. Borrow daylight from the dry side of the bathroom
- 21. Let the ceiling give the shower a bounded visual zone
- 22. Keep the towel return on the dry side of the entrance
- 23. Make the vanity view part of the shower composition
- 24. Give spare supplies a place beyond the shower zone
Decide what the open entrance needs to do
Keep the actual users, measured room and complete water-management design together. An open-looking shower is not automatically floor-level, accessible or appropriate for every bathroom. Have construction, drainage, waterproofing, glazing, ventilation and electrical work designed and installed appropriately for the actual project; the illustrations show finished concepts rather than approved details.
Choose a whole-room comparison before choosing finishes
- A long bathroom: Compare an end-wall shower with a side-wall arrangement.
- An awkward view from the doorway: Compare a return or appropriate obscured panel.
- A floor-level appearance: Resolve the entry section and construction before ordering surfaces.
- Planned seating: Include the seat and its approach in the complete design.
- Several competing finishes: Give one surface the main visual role and quieten the screen.
- Daily bottles and spare supplies: Separate useful shower storage from a dry-side reserve.
1. Give an end-wall shower a clear place in the room

An end-wall shower can make the far side of a bathroom feel deliberate. Compare the complete width of that part of the room with the entry position, rather than letting a screen end wherever the remaining tile happens to stop. A restrained front keeps the whole arrangement easy to read.
Keep the approach separate from the vanity’s working area. View the shower from the bathroom entrance, then mark where someone would stand before stepping in. The best end-wall position is the one that belongs to the measured room and daily routine, not necessarily its most symmetrical photograph.
2. Run a longer shower along one side wall

A side-wall arrangement can leave a direct route through a longer bathroom. Keep the shower’s long edge visually distinct from the circulation space with a considered screen and a clear entry. A simple vanity opposite can help the two sides relate without filling the middle.
Draw the actual width of both areas before choosing the furniture. A long shower is not useful if the remaining room becomes a passage squeezed between projections. Compare the everyday approach with drawers and the bathroom door in their normal operating positions.
3. Use a corner to define a compact shower zone

A corner can give a shower two existing boundaries and leave the rest of the room understandable. Compare an appropriate screened configuration with the available approach, keeping its actual interior and entrance part of the decision. The diagonal view from the doorway often reveals conflicts that a front view hides.
Avoid assuming that every corner solution saves usable space. Keep the basin and toilet approaches on the same plan, and let the selected system establish its required support and geometry. Choose a quieter surrounding cabinet arrangement while the shower footprint is being resolved.
4. Let an existing recess give the shower its outline

An existing recess can create a contained shower composition without adding a decorative surround. Compare the finished opening, ceiling and depth with the proposed entry and fittings. Use the recess as a starting condition, not as proof that a shower assembly will fit inside it.
Keep the visible edges simple so the depth of the alcove remains the main feature. Confirm the room’s construction and water-management design before ordering finishes. If the recess is unsuitable, a different arrangement is preferable to forcing the concept into an unverified opening.
5. Compare a tiled privacy return instead of an all-glass front
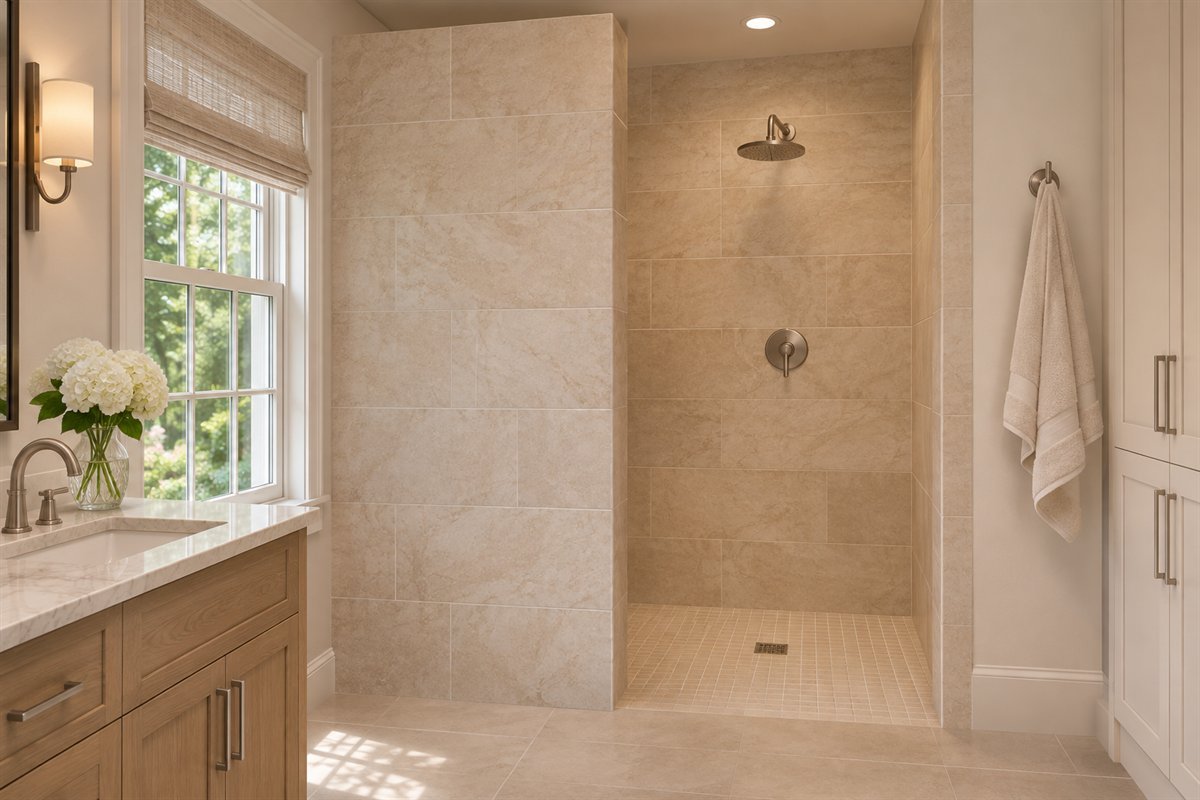
A short tiled return can give the shower a more contained feel from the bathroom entrance. It can also introduce a clear architectural edge beside a plain vanity. Compare the opening behind the return with the route a person will actually use.
Have its complete construction and shower arrangement assessed before deciding on its appearance. The return should earn its place through the entry and sightline it creates. Avoid enlarging a decorative wall until it consumes the usable shower or makes the entrance difficult to understand.
6. Use glass above a lower partition for a layered boundary

A lower tiled partition with a supported glass panel above can divide the bathroom without making the shower read as a solid box. Compare the partition with the vanity and adjoining wall as one elevation. A restrained material group keeps the change in height deliberate.
Treat the lower wall, top surface and glazing as one specified assembly. Decide which view the partition should interrupt and which view should remain open. Its height should follow the actual design and users rather than a generic proportion copied from an illustration.
7. Offset the entry beside one main fixed screen

A single main screen can give the shower a quiet face while the entrance sits beside it. Compare the entry at either permitted end of a suitable design, especially where one side leads directly into the vanity’s working area. The position of the gap matters as much as the panel’s appearance.
Keep the showerhead, screen and exposed opening on the same project drawing. Ask the designer how water exposure is controlled in the actual configuration. A generous-looking fixed panel in a picture cannot establish that the bathroom beyond it will remain dry.
8. Consider two entrances only when the room gives them a purpose

A larger shower may be approached from either end of a central screen. Compare this arrangement only when both entries serve the real room, such as separate approach routes around a long bathroom. Keep the additional opening attached to a clear reason rather than a hotel-style appearance.
More open sides also require a complete project assessment. Compare usable movement, screen support and water exposure with the actual shower fittings. If a second entrance adds no useful route, a simpler arrangement may give the bathroom a more legible layout.
9. Give a bath and shower separate working positions

A freestanding bath beside a shower can look composed when each has its own approach and purpose. Compare the two outlines with the space used to enter, leave and clean them. A continuous palette can connect the group without making the bath an obstacle beside the shower opening.
Decide whether the proposed room is a shared wet area or two differently managed zones with the project professional. Keep that decision explicit. A photograph showing both fixtures on similar flooring does not establish the construction, drainage or cleaning access of the space between them.
10. Compare a floor-level entrance through the real construction

A floor-level appearance can give the bathroom a visually continuous floor. Explore it early with the project designer so the entrance section and surrounding room levels are understood before the finish palette is selected. It should be a resolved part of the project rather than a last-minute styling request.
Keep this option separate from claims about accessibility or suitability for an individual. Compare the finished entry with the actual user needs and applicable requirements. If the floor construction cannot accommodate the proposal appropriately, retain a different entry solution instead of editing the step out of a drawing.
11. Let a low threshold remain a considered design choice
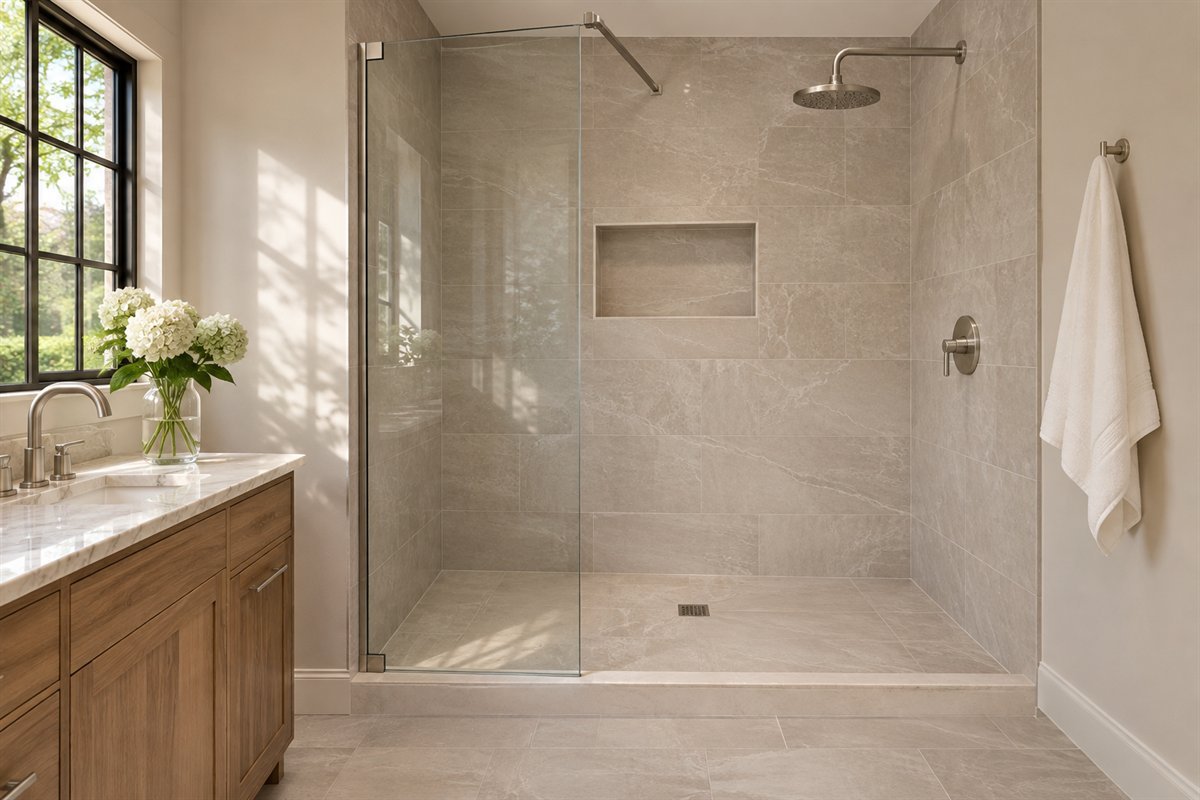
A low-threshold shower can still have a clear, restrained appearance. Compare its edge with the floor and screen so the entrance feels like part of the room. A compatible base or complete tiled system should guide the detail rather than a decorative strip chosen independently.
Record the actual threshold with the entry and care requirements. Do not describe it as step-free or assume that one small-looking edge suits every user. Choosing an appropriate supported arrangement is more useful than insisting that every bathroom reproduce a floor-level image.
12. Use a separate floor field to make the shower legible
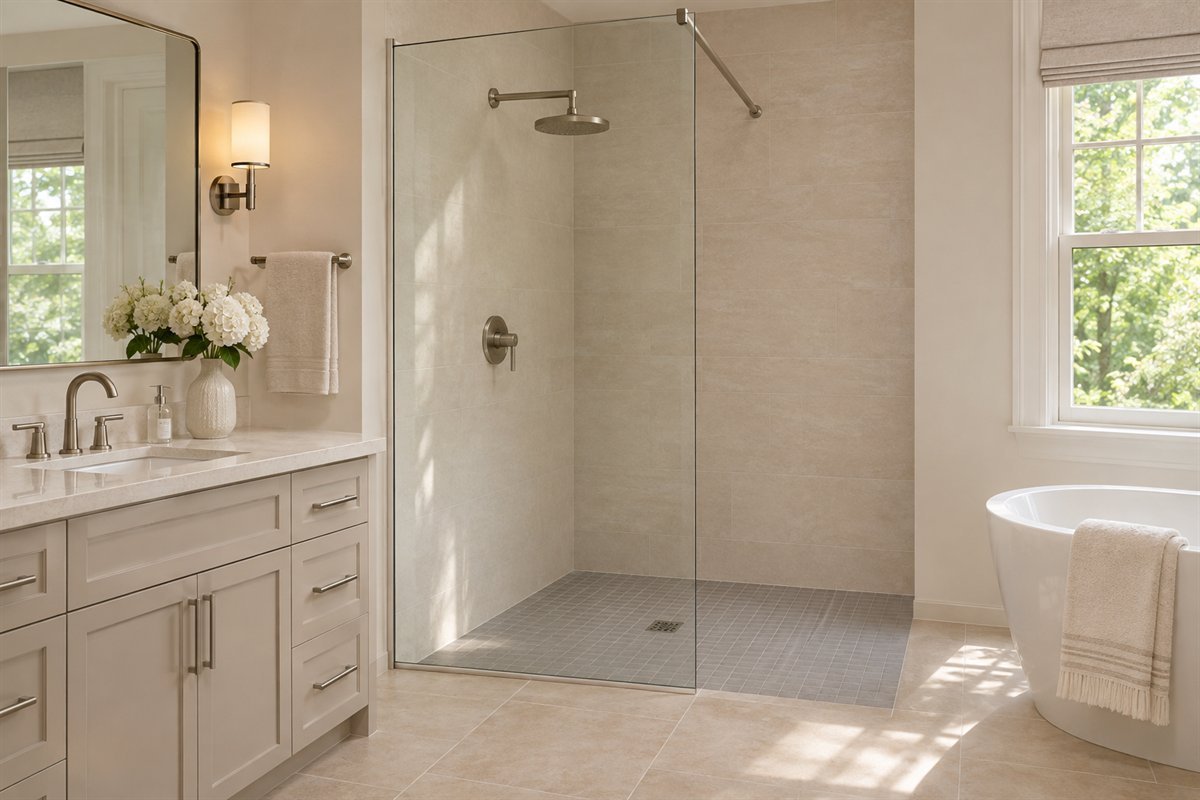
A distinct shower-floor field can make the zone easy to understand while the walls stay quiet. Compare a restrained change in tone or scale with the surrounding floor. The distinction can be subtle; it does not need a strong border around every edge.
Select the actual floor product through its intended shower use and the complete drainage layout. Appearance alone cannot establish traction or suitability. Approve the visible transition with the installer so the two surfaces relate without forcing the same tile format into every part of the bathroom.
13. Let one strong shower surface sit behind a quieter screen
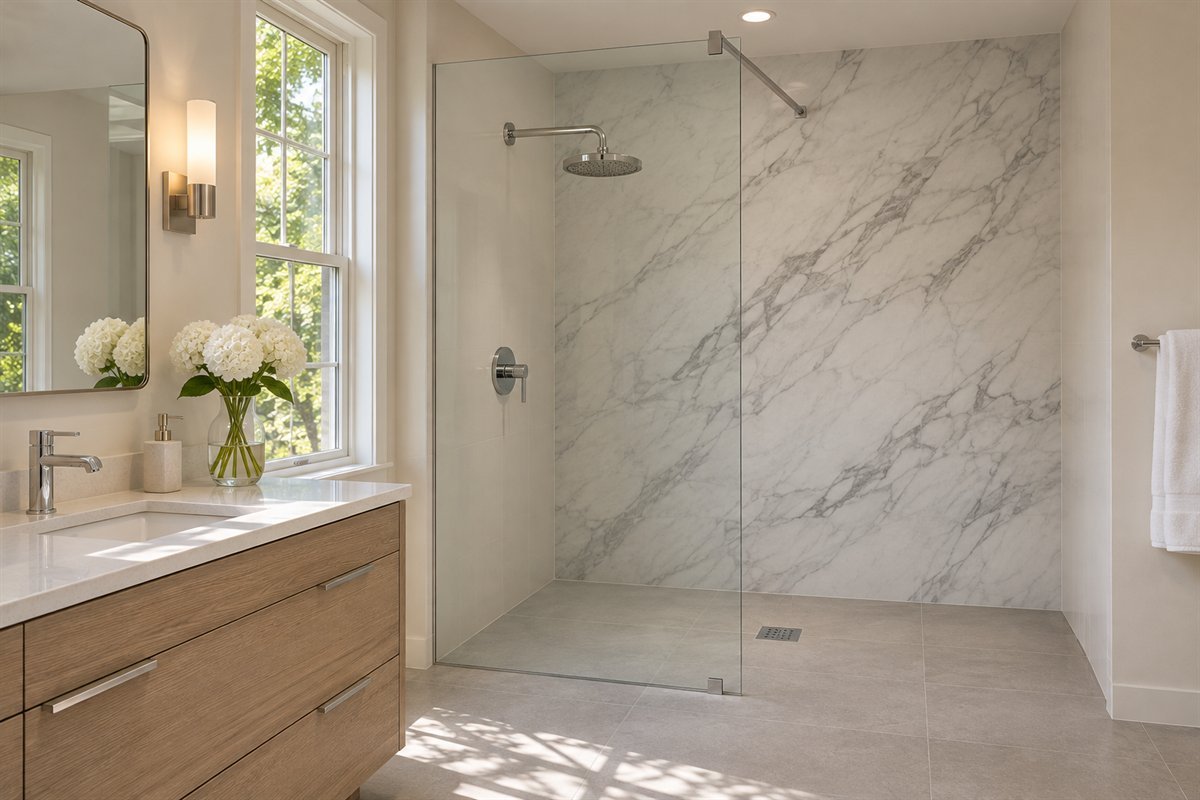
When a wall already supplies the main pattern, a restrained screen can keep the overall room from becoming crowded. Compare the complete view through the glass from the bathroom entrance. Give the surrounding vanity and floor a quieter role instead of matching every line of the wall feature.
Keep all supports required by the selected glazing system. Visual simplicity comes from choosing compatible elements, not removing necessary parts. Use the separate shower-tile guide for the detailed wall grid once the whole-room composition and entry arrangement are clear.
14. Use an obscured side panel for a specific sightline

An appropriate obscured panel can soften a view from the vanity or doorway while another part of the shower remains visually open. Choose the panel through the sightline that matters. A full opaque front is not automatically necessary when only one angle creates an unwanted view.
Compare real glazing samples under the room’s expected lighting and distances. Keep privacy as an observed preference rather than a guarantee inferred from the word frosted. Confirm that the finish and orientation belong to the selected suitable shower system.
15. Connect the hardware to one existing bathroom finish

A restrained hardware group can make the shower belong beside an existing vanity tap or mirror detail. Compare physical finish samples where possible. The small repeated metal note can connect the room without requiring matching outlines around every wall and accessory.
Keep the fittings and screen hardware appropriate to their own compatible systems. Similar finish names do not prove identical color or interchangeability. Choose the complete working products first, then decide whether the slight differences look considered in the bathroom’s normal light.
16. Give a planned seat an end position with a clear approach
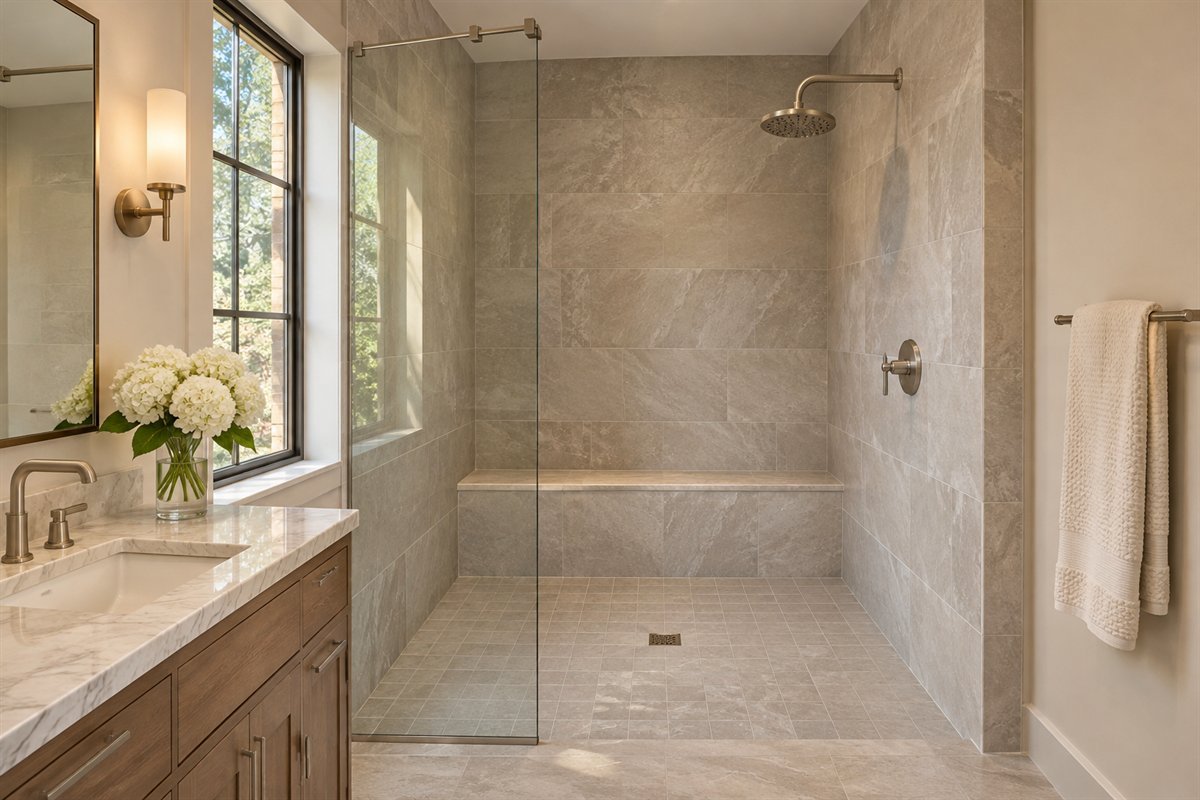
A properly designed shower seat at one end can give the room a clear resting position without placing an object in the middle. Include the actual seating requirement before finalizing the screen and entrance. Compare how it is approached and how the remaining shower area will be used.
Resolve the seat’s support, surface, water management and user needs through the project design. A bench in a concept image is not a load rating or an accessibility assessment. Keep loose decorative cushions and ordinary household stools outside the shower proposal.
17. Place everyday bottles on a quieter side of the shower

A modest specified niche or shelf can hold the actual daily products without turning the main shower view into a display. Compare the retained bottles before choosing the opening. A small useful group may need less space than a decorative arrangement of several identical recesses.
Choose the position with the shower’s complete construction and reach requirements resolved. Keep the entry and seat approach clear. The related niche guide covers detailed storage composition; here the goal is to give the supplies a sensible place within the whole room.
18. Give a single showerhead a clear working wall
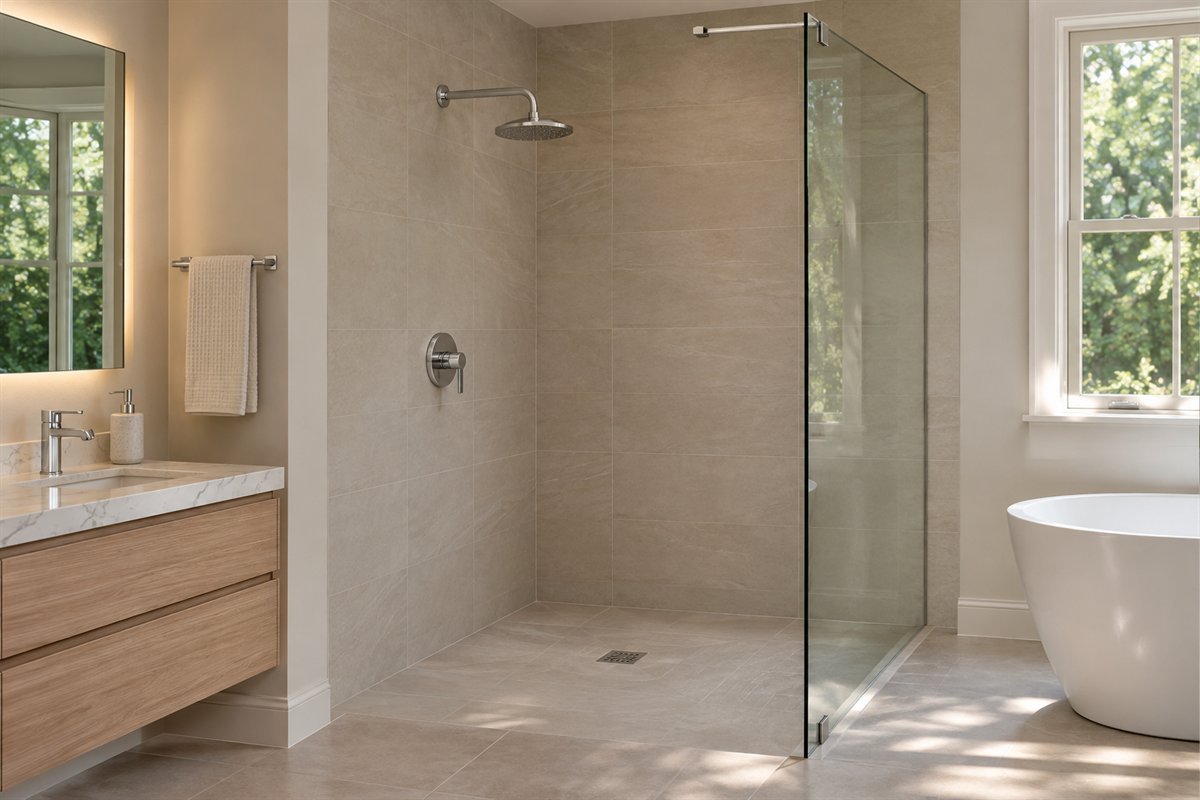
One complete showerhead and its controls can make the shower’s working side easy to understand. Compare that wall with the screen, opening and planned standing position. Keep the decision attached to the intended routine instead of adding several fittings to fill a large tiled surface.
Have the actual product positions, water supply and installation coordinated by the project professional. The concept is a readable room arrangement, not a universal mounting schedule. A simpler fitting group can leave more attention for the room’s proportions and useful storage.
19. Consider a handshower as part of one coordinated fitting group

A handshower may answer a specific household preference when its actual controls, hose and storage position work with the chosen system. Compare how it is returned after use and how the hose sits beside the seat or entry. Give the extra fitting a defined task.
Confirm compatibility and installation requirements for the complete selected group. Do not infer accessible reach or suitable water performance from an attractive rail. Keep the fittings clear in the project record so a later substitution does not change the arrangement without review.
20. Borrow daylight from the dry side of the bathroom

A shower can feel connected with daylight through clear glazing even when the window is outside the wet zone. Compare the view from the shower and the privacy of the whole bathroom. Let the existing opening remain useful without automatically moving it into a shower wall.
Keep the window’s real construction, operation and any covering part of the plan. If daylight is limited, choose the rest of the room’s lighting appropriately rather than promising that clear glass alone will brighten every corner. A useful opening is more valuable than an invented window in a mood image.
21. Let the ceiling give the shower a bounded visual zone

A defined ceiling area can make a shower feel like a considered part of a larger bathroom. Compare a simple change in plane or a restrained lighting composition with the screen and wall edges. Keep the overhead detail proportionate to the whole room instead of adding several competing borders.
Have height, ventilation, electrical suitability and the complete construction resolved for the location. Keep ordinary pendant lights and exposed wiring out of a shower concept. The visual boundary should support the room layout without being mistaken for a steam enclosure or technical specification.
22. Keep the towel return on the dry side of the entrance

A towel position can make the transition out of the shower feel deliberate when it belongs to the actual dry-side routine. Compare the place used to leave the shower with the nearby towel rail or hook. Keep the opening itself clear instead of filling it with a freestanding ladder.
Review the position with the project designer and actual room use. A towel shown close to an opening is not proof that it avoids water exposure or suits every user’s reach. Retain an easy cleaning route around the rail and adjacent cabinet.
23. Make the vanity view part of the shower composition
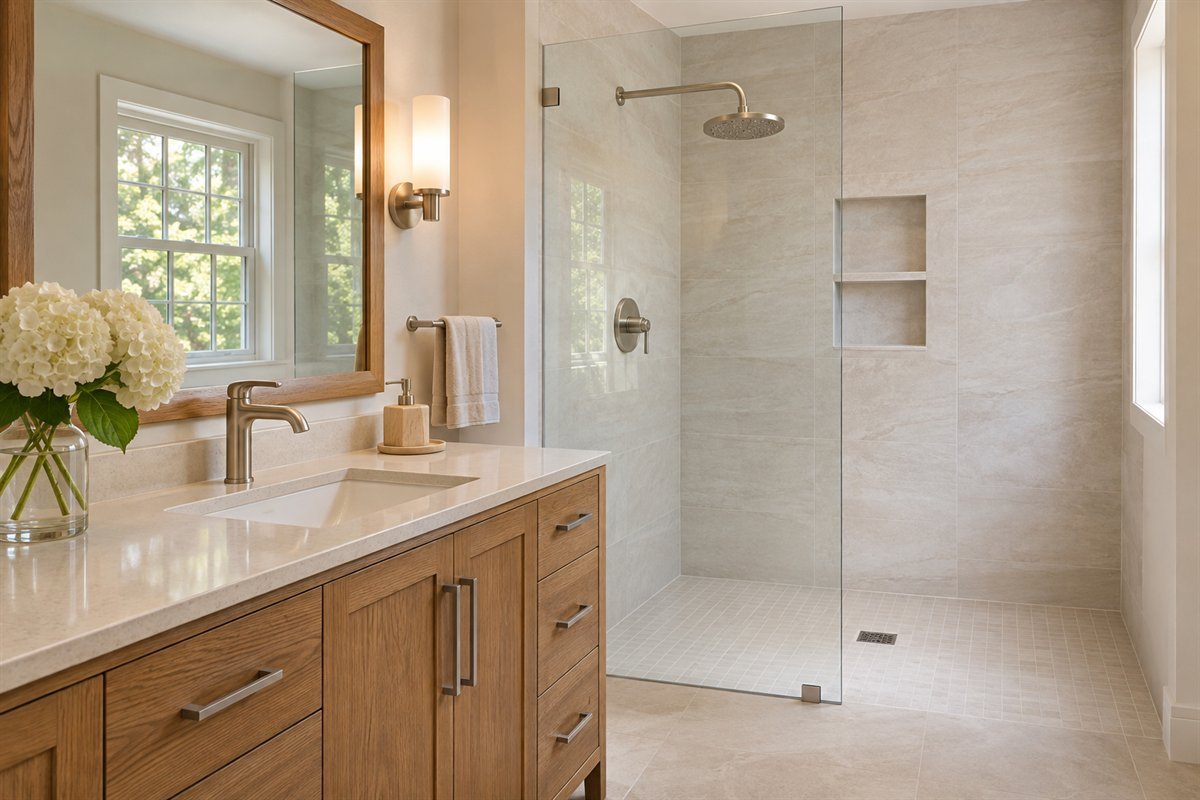
The shower is often seen from the basin as well as the bathroom entrance. Compare the cabinet, mirror and shower edge together before committing to their strongest details. One warm wood cabinet can balance a quiet pale shower without carrying wood-looking surfaces into every wet area.
Keep drawers, the person using the vanity and the shower approach on the same room plan. A pleasing straight-on elevation should still work while both areas are occupied. Adjust the furniture arrangement before adding another decorative finish to distract from a layout conflict.
24. Give spare supplies a place beyond the shower zone

A modest dry-side cabinet can hold spare towels and products while the shower carries only the daily essentials. Compare the cabinet door and retrieval position with the shower approach. This division can keep both areas useful without making the wet zone serve as the whole bathroom’s stockroom.
Choose the furniture through its actual location and care requirements. Keep supplies easy to identify and return, then stop adding storage once the retained contents have a suitable place. A considered shower layout can remain visually simple because the surrounding room has a practical reserve.
An original shower layout brief for the wet side and the dry side
Begin with a measured outline supplied or checked for the actual project. Mark the bathroom entrance, windows, retained fixtures and services that constrain the design. Add the proposed shower boundary and entry. Use actual product and assembly information when dimensions become decisions; do not scale a finished concept image.
Make a first overlay for the approach. Mark where someone enters the bathroom, uses the vanity and approaches the shower. Include normal open doors and drawers, and the positions of other users where relevant. Circle a specific conflict instead of writing that the room feels too small. The conflict may be a cabinet door across the approach or a towel position in the opening.
Make a second overlay for the shower itself. Show the proposed screen, fittings, seat if needed and daily product storage. Label which details are confirmed and which remain questions for the designer or installer. A proposed screen position belongs in the water-exposure discussion; it is not a splash calculation or a guarantee of a dry floor.
Use a third overlay for leaving and resetting the room. Include the towel return, the dry-side supplies and access needed for care of the selected surfaces and glazing. Ask how the normal cleaning routine reaches the relevant areas. Avoid planning a beautiful recess that cannot be maintained in the finished arrangement.
Compare two credible options against the same routine. For a hypothetical long room, an end-wall proposal and a side-wall proposal may put the shower entry beside different parts of the vanity. Mark that difference before comparing their wall colors. Keep the option that can be resolved as a complete project, rather than assuming that the larger drawn shower is the better one. This is a planning example, not a measured project or a tested installation.
Finish with a short decision record: retained room conditions, chosen arrangement, actual product group, the reason for the choice, unresolved questions and the person responsible for confirming them. Attach the current product instructions and the approved project information. If the base, screen, fittings or seat later change, reopen that record before ordering the substitute.
Keep the source principles separate from the decorative concepts
Schlüter’s walk-in shower guide distinguishes an open entrance, a floor-level design and a barrier-free design. It also discusses floor construction, drainage, waterproofing and the extra planning needed for an open arrangement. Use those distinctions when discussing the actual project. The guide includes European standards and examples; its numerical requirements are not reproduced here as universal rules.
Reveal by KOHLER presents wall patterns, fittings, bases and accessories as a coordinated shower selection. Its examples are useful for comparing a complete palette. They do not establish the fit or performance of a different product that has a similar appearance. No prices, promotions or installation-time promises are adopted here.
Choose a sample group that belongs to the whole bathroom
Bring together the actual wall finish, shower floor, surrounding floor and visible hardware. Add the retained vanity or an accurate material sample. Judge the group from the entrance and vanity viewpoints, not only as small pieces on a counter.
Keep each product’s intended application and care information with the sample. A matching collection name does not establish that every finish belongs on a shower floor. Record the approved transition and maintenance requirements with the complete design so the final palette remains practical after installation.
Does walk-in always mean there is no threshold?
No. Establish the actual entrance section and complete project design. The term is used for different arrangements; it does not on its own prove a floor-level entrance or accessibility for a particular person.
Can a small bathroom have an open shower?
It depends on the real room and complete design. Compare the approach, fixtures, screen and water-management requirements with a suitable professional. Removing a door in a drawing does not automatically create a usable or appropriately contained shower.
Will one fixed glass screen keep the rest of the room dry?
Do not assume it will. The actual fittings, layout, opening and complete water-management design need assessment. Choose the screen as part of that project rather than from its apparent width in a photograph.
Should a walk-in shower include a bench?
Include seating when it answers the intended users’ needs and can be properly designed into the shower. Plan its approach, support, surface and water-management details before treating it as an optional decorative addition.
Can I copy the floor shown in a concept image?
Use the image to discuss the appearance, then verify the actual product and assembly. Its shower-floor suitability, drainage-compatible layout, care and applicable requirements cannot be established from a picture.
A practical next step
Choose one clear room arrangement, then resolve the entrance, screen and daily routine as a complete project. A restrained finish group can make that practical layout feel considered without filling every surface with a different feature.
Prepare the complete sizing questions for the actual shower project. Develop the wall finishes with the shower-tile layout guide. Compare enclosure movement if the project needs a shower door.
Images are original AI-generated walk-in shower concepts, not measured plans, exact products or verified installations. The three-overlay layout brief and hypothetical room comparison are original planning aids, not hydraulic tests or accessibility assessments.
Sources and care references
- Schlüter: walk-in distinctions and complete project considerations
- Reveal by KOHLER: coordinated shower design options
Optional digital guide for this topic
If you prefer a structured workbook, explore this related paid guide.