Backyard and Patio
Getting the backyard privacy right makes the biggest difference in how the space actually feels day to day. A well-planned backyard privacy balances function and style, and even small tweaks to your backyard privacy can transform the whole area.
If you’ve ever caught yourself glancing over your shoulder while relaxing on your own patio, you know that a backyard without privacy never really feels like yours. The instinct is usually to reach for a taller fence, but height isn’t actually what makes a space feel enclosed — placement is.
By the end of this article, you’ll have 8 real ways to reshape how your backyard feels using layout, planting, and structure, without turning it into a boxed-in fortress.
Table of Contents
- 1. Lower the Seating Area Below the Surrounding Lawn
- 2. Build a Curved Wall That Redirects Sightlines
- 3. Enclose a Tight Seating Zone With Tall Foliage
- 4. Turn Furniture Inward to Create a Room
- 5. Add a Sculptural Screen With Climbing Vines
- 6. Mask Noise With a Small Water Feature
- 7. Close the Ceiling With a Louvered Pergola
- 8. Layer Low Hedges to Outline the Space
- Effort & Cost Snapshot
1. Lower the Seating Area Below the Surrounding Lawn for Your Backyard Privacy
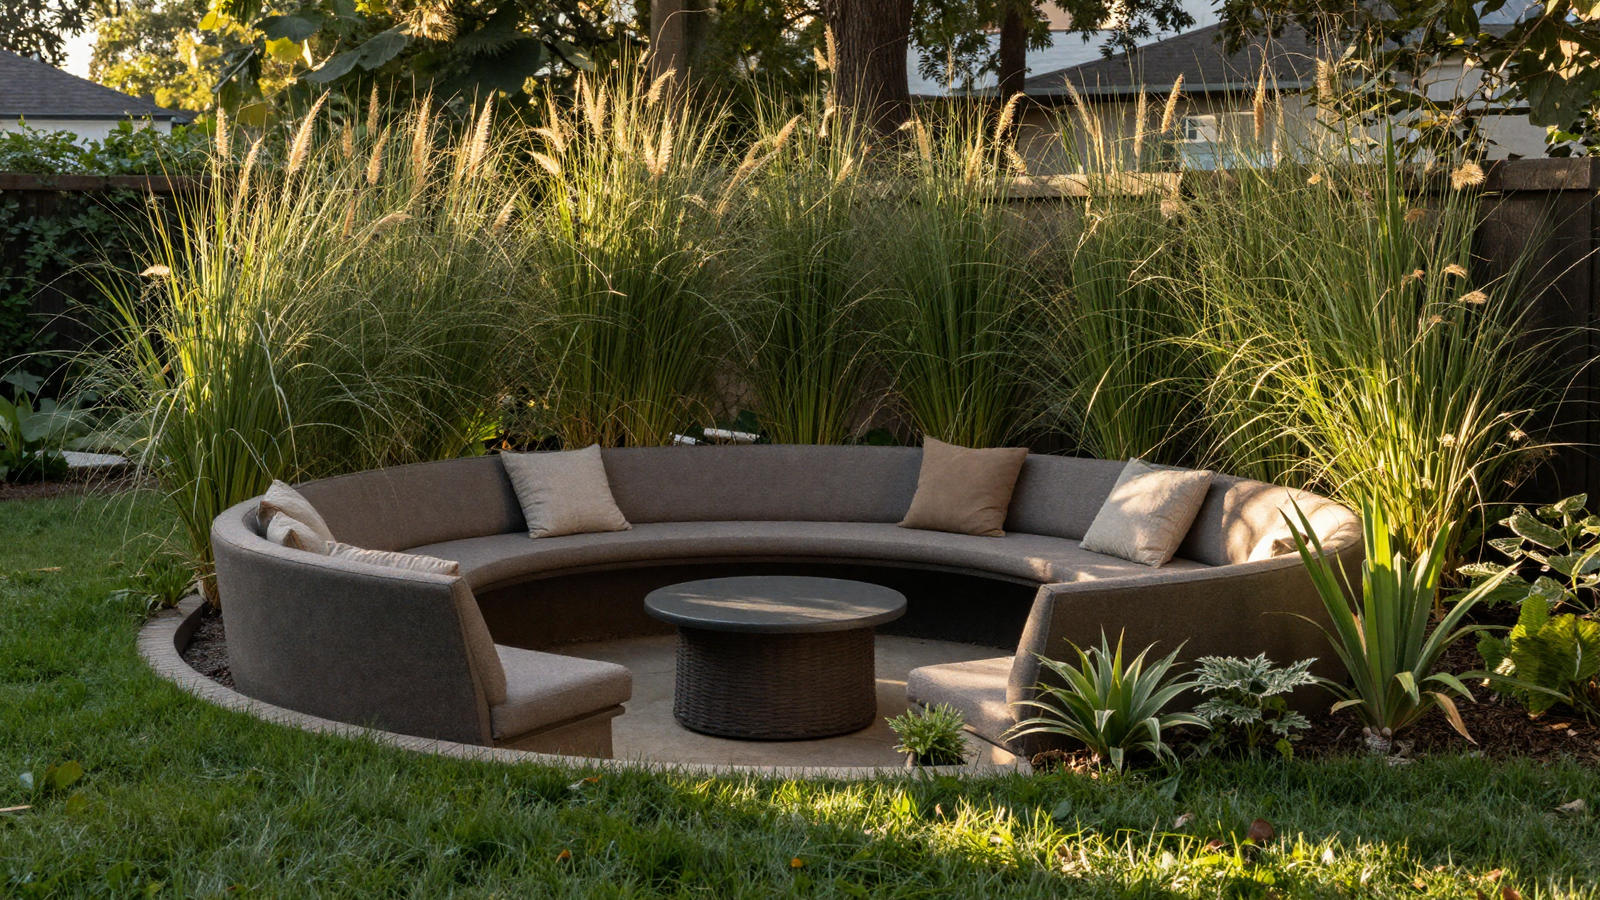
Dropping a seating area just a step or two below grade instantly changes how exposed it feels, even without adding a single fence panel. Surrounding plants appear taller from that lower vantage point, and the shift in level creates real separation while the space above stays completely open.
💡 Smart tip: Even a single 12 to 18-inch drop makes a noticeable difference — you don’t need a full excavation to get the effect.
⚠️ Mistake to avoid: Skipping proper drainage planning. A sunken area without a drain point will collect water after heavy rain.
2. Build a Curved Wall That Redirects Sightlines for Your Backyard Privacy
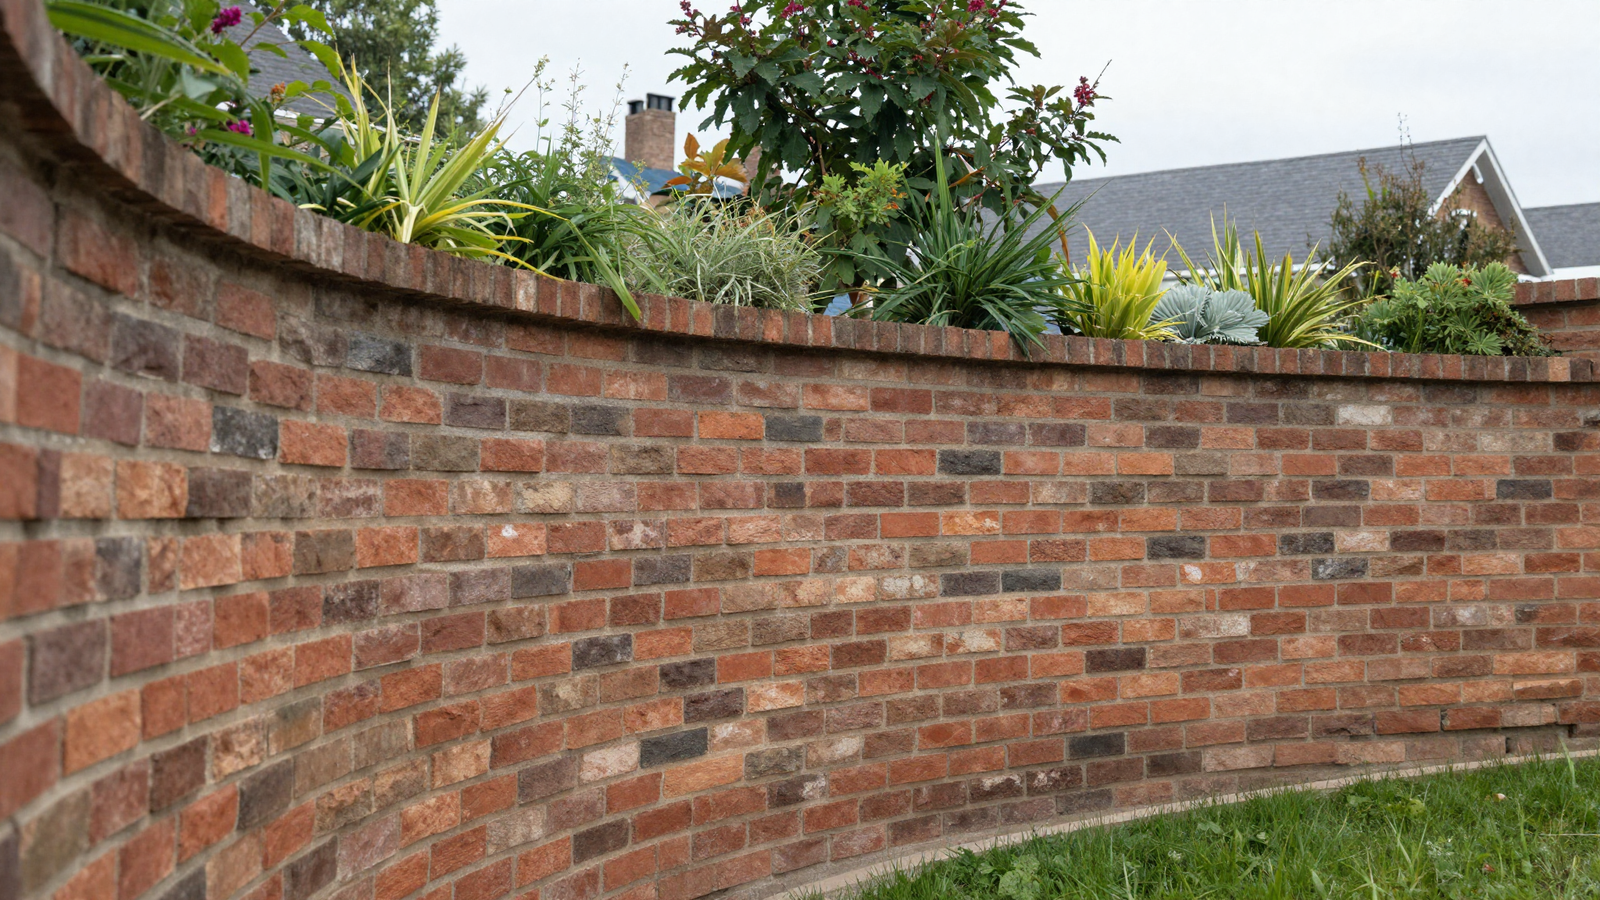
A curved wall does something a straight one can’t — it blocks direct views while guiding movement and attention along the space instead of across it. Planting along the top softens the hard edge, so it reads as a garden feature rather than a barrier.
💡 Smart tip: Position the tightest part of the curve toward your neighbor’s most direct sightline, and let it open up gradually toward your own seating.
⚠️ Mistake to avoid: Building the wall too short to actually block eye-level views while seated; test sightlines from a chair, not standing.
3. Enclose a Tight Seating Zone With Tall Foliage for Your Backyard Privacy
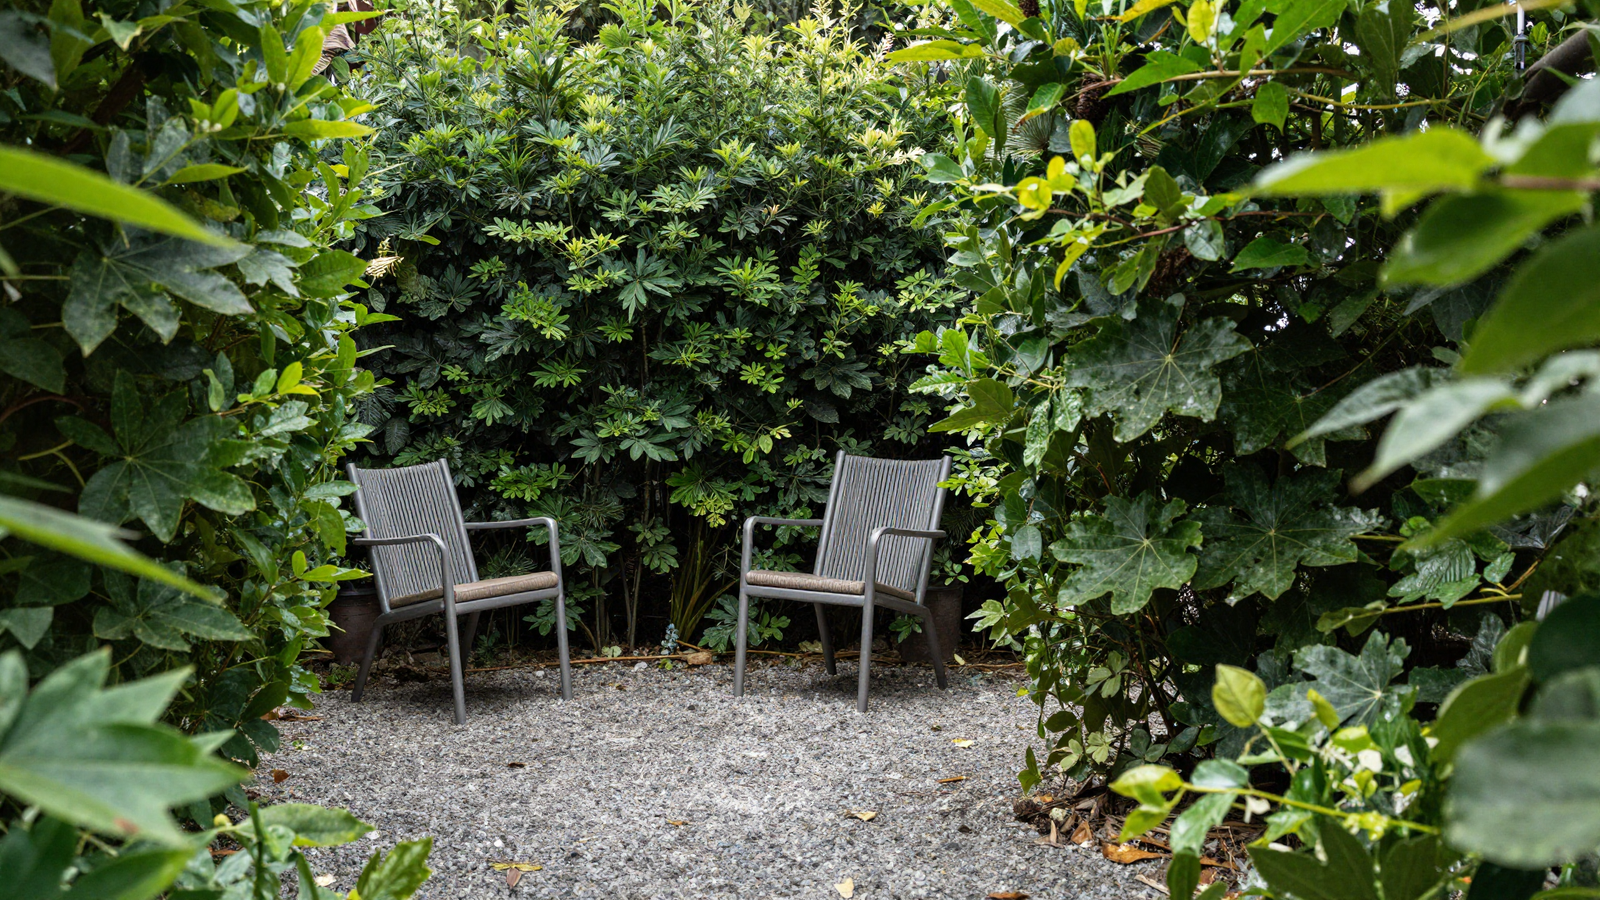
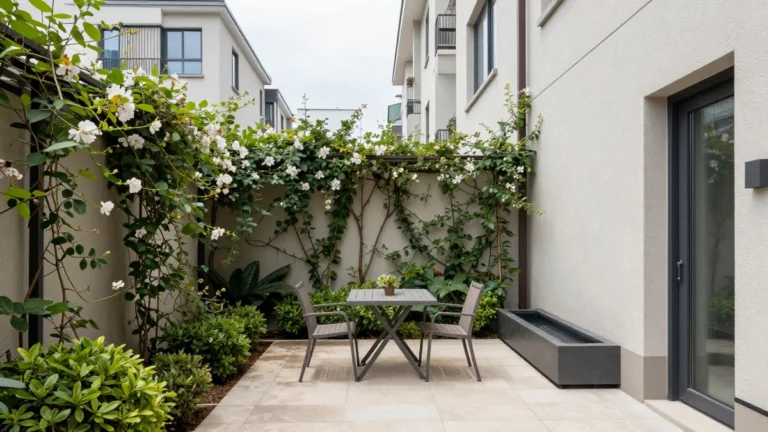
Two chairs set into a small gravel clearing feel far more secluded once tall shrubs and large-leaf plants close in around every side. The seating itself is simple — the real privacy work happens in the planting that surrounds it.
💡 Smart tip: Choose plants with dense lower growth, not just tall canopies, so the enclosure works at eye level while seated, not just from above.
⚠️ Mistake to avoid: Planting species that take years to fill in without a faster-growing temporary screen in the meantime.
Loving These Ideas? Get the Step-by-Step Guide
Grab the full 5-day eBook and turn these ideas into a finished room.


4. Turn Furniture Inward to Create a Room
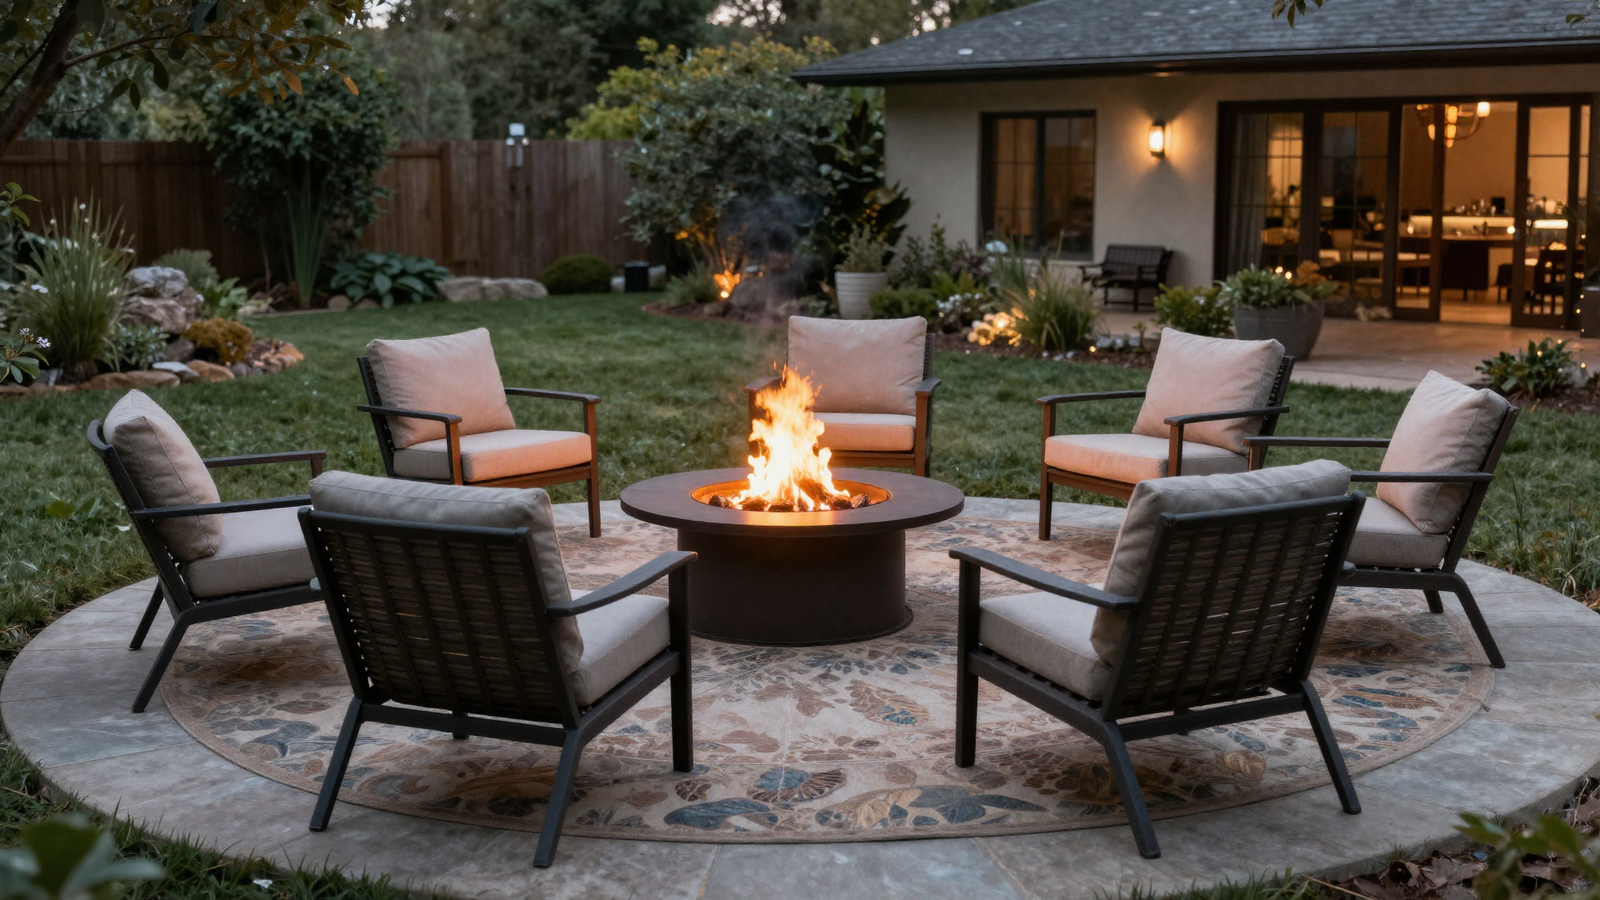
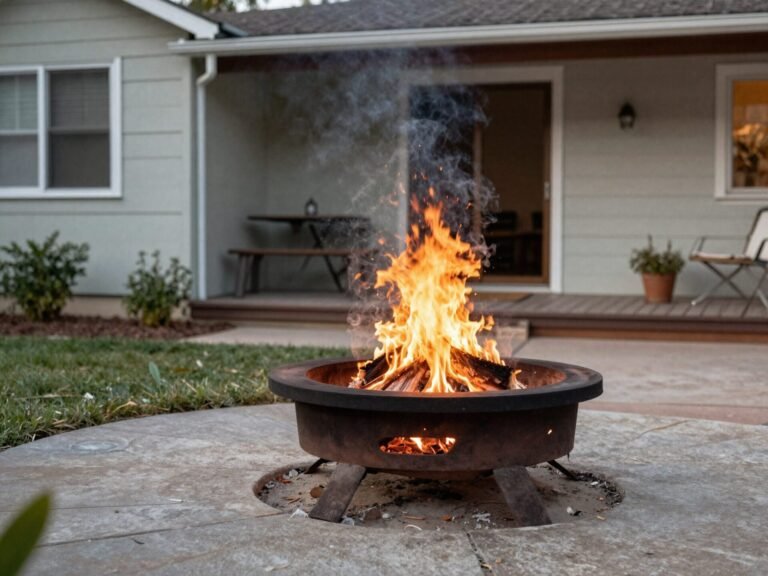
Sometimes the fastest privacy fix isn’t a structure at all — it’s furniture arrangement. Clustering seating around a fire pit or coffee table, backs turned to the yard’s perimeter, naturally directs attention toward the people in the circle instead of whatever’s beyond the fence line.
💡 Smart tip: Anchor the grouping with a large outdoor rug; it visually defines the “room” boundary even without any walls.
⚠️ Mistake to avoid: Leaving one open side facing a busy sightline, like a neighbor’s upstairs window or the street — close that gap with even a single tall planter.
5. Add a Sculptural Screen With Climbing Vines
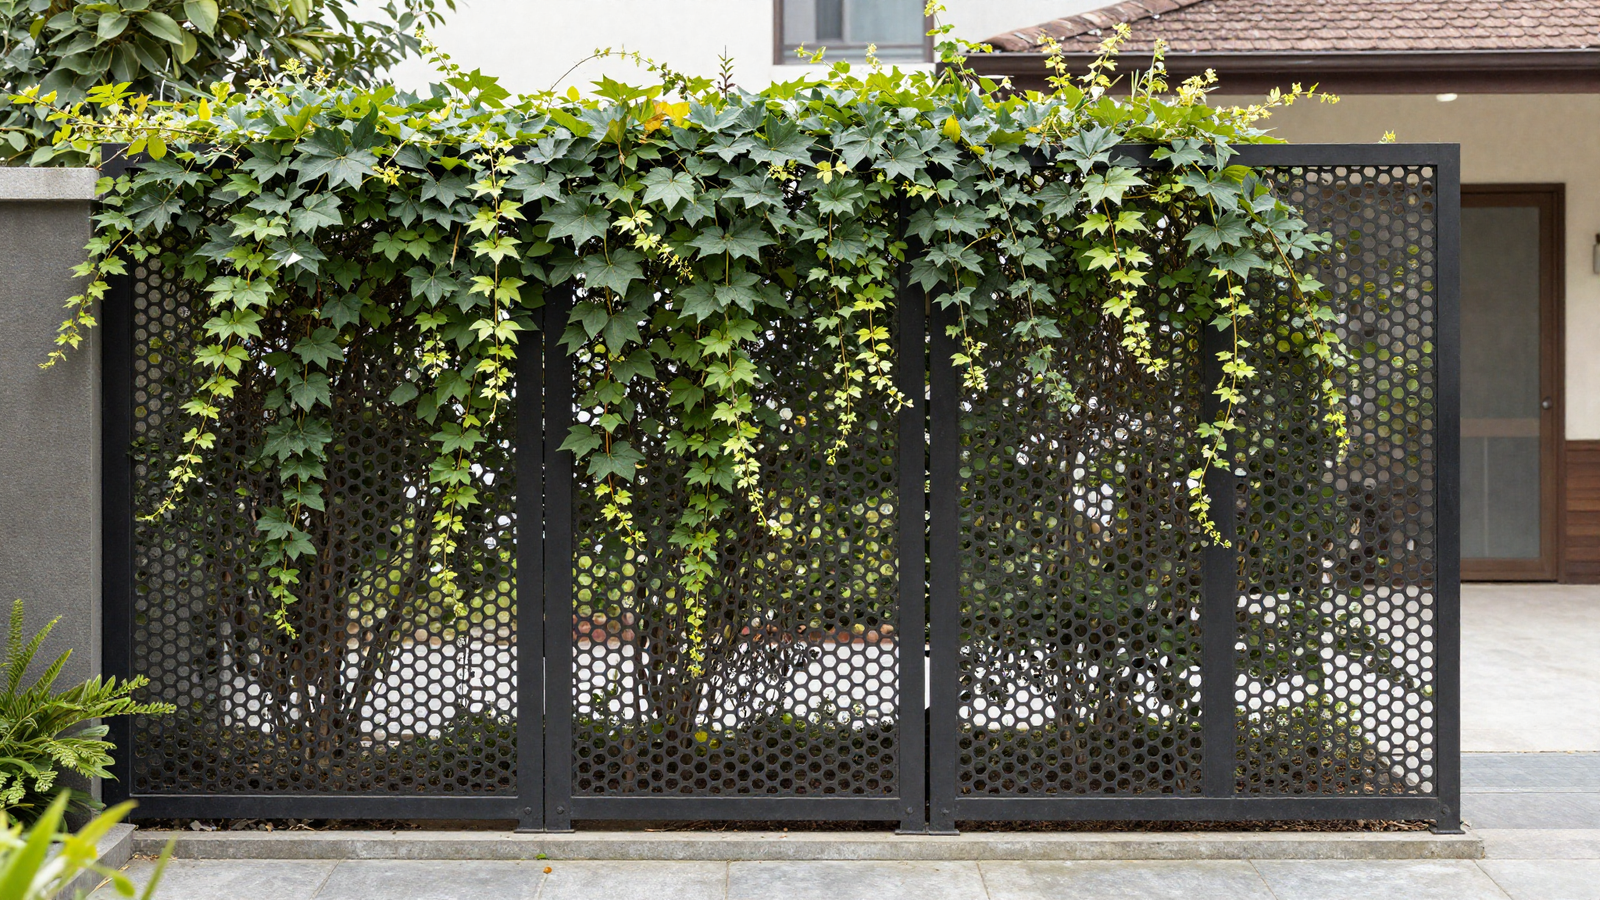
A perforated metal screen covered in a flowering vine gives you a defined boundary that’s as much sculpture as barrier. It blocks direct sightlines while still letting light and air move through, so the corner it defines never feels stuffy or closed off.
💡 Smart tip: Choose a fast, dense-growing vine like crossvine or clematis so the screen fills in visually within a single growing season.
⚠️ Mistake to avoid: Installing the screen without a sturdy enough frame; mature vine growth adds real weight over time.
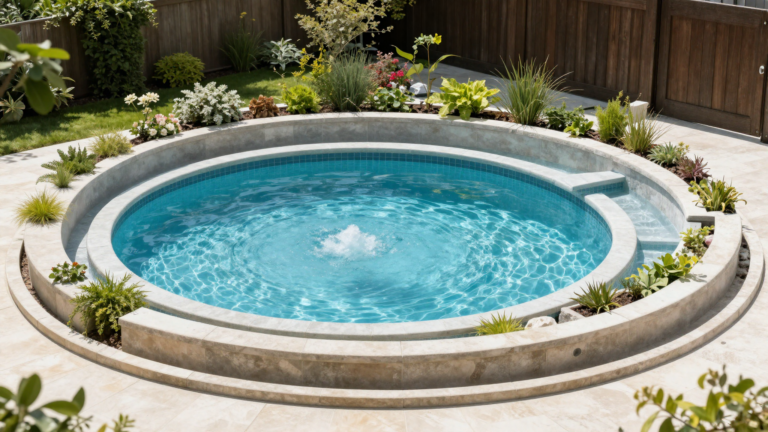
6. Mask Noise With a Small Water Feature
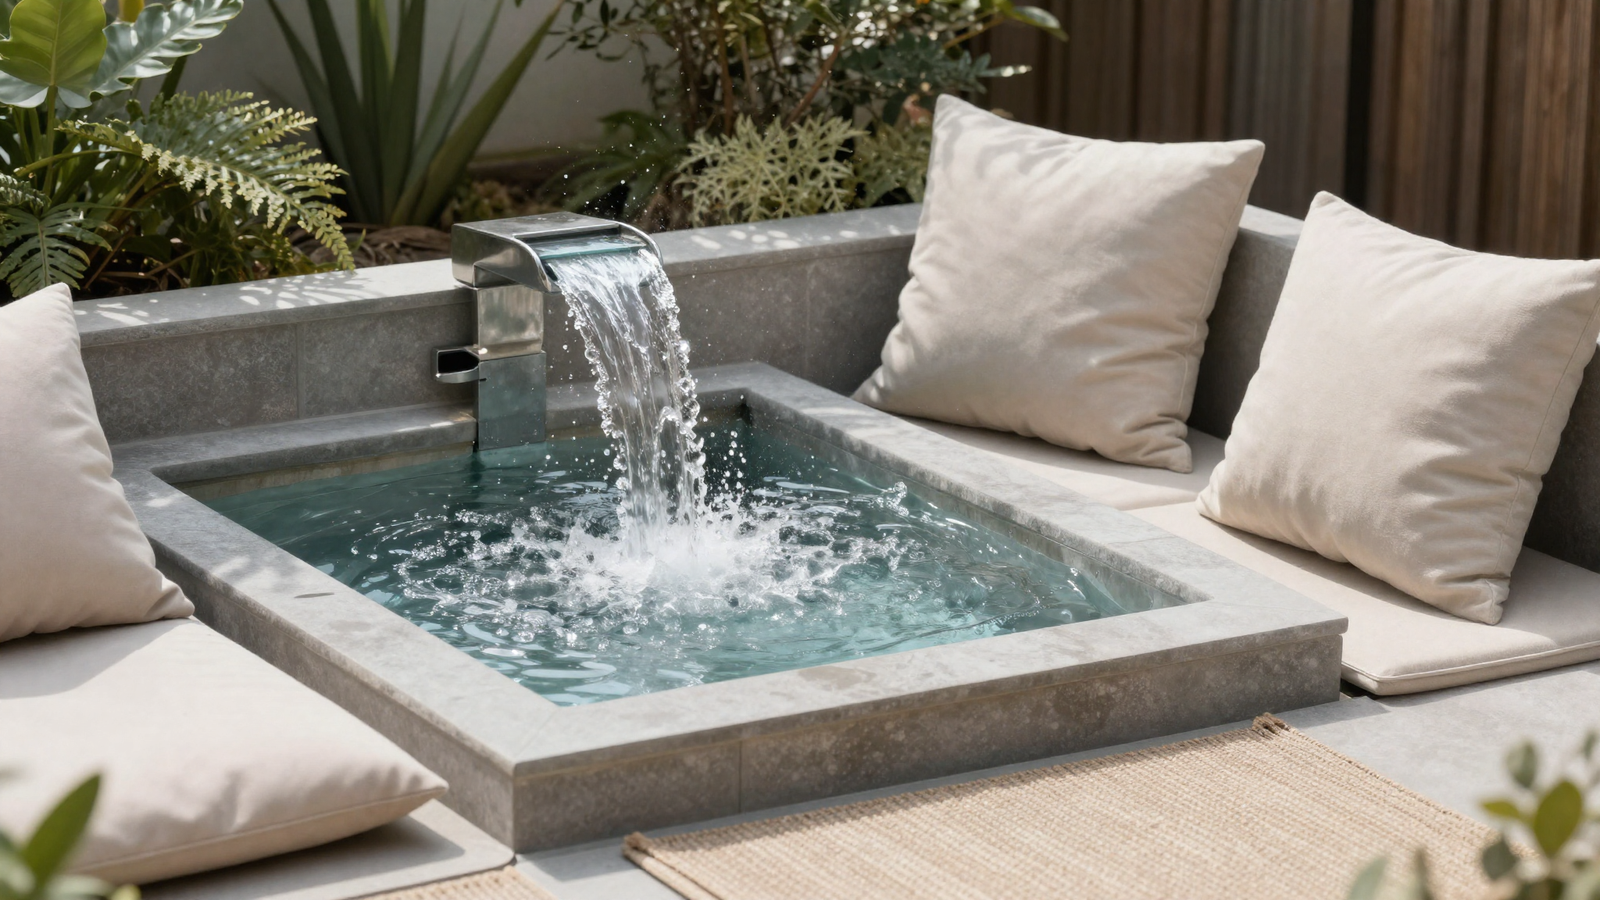
Privacy isn’t only visual — a busy street or chatty neighbor can undo a well-screened yard through sound alone. A small fountain with a steady splash breaks up background noise, while soft materials like outdoor rugs and plush cushions absorb it rather than bouncing it around a hard patio surface.
💡 Smart tip: Position the water feature between your seating area and the main noise source for the most effective masking.
⚠️ Mistake to avoid: Relying on hard surfaces like bare concrete throughout the space; they reflect sound rather than absorbing it.
7. Close the Ceiling With a Louvered Pergola
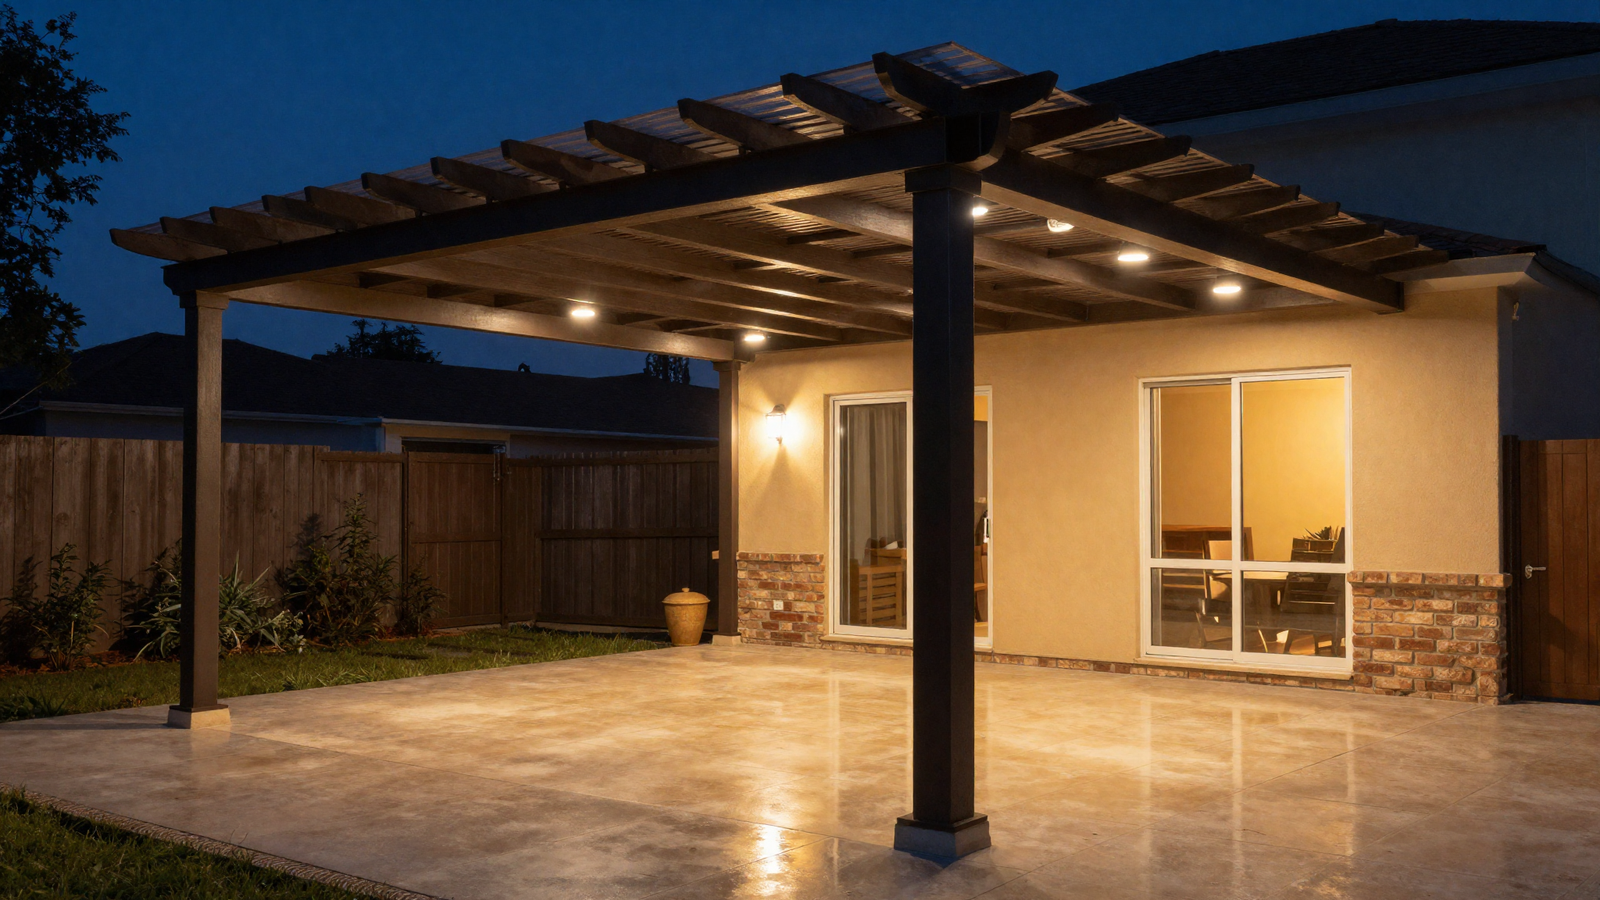
Privacy isn’t just about what’s beside you — a fully closable louvered roof blocks views from above, whether that’s a neighboring second story or just the open sky. Paired with recessed lighting, it transforms an exposed patio into something that reads as a genuine outdoor room.
💡 Smart tip: Pick a finish that reflects warm light back downward, like glossy tile or a light-toned ceiling panel, to keep the enclosed space feeling bright rather than cave-like at night.
⚠️ Mistake to avoid: Underestimating structural load requirements; a fully closable louvered system is heavier than a fixed pergola roof and needs appropriate support.
8. Layer Low Hedges to Outline the Space
Low hedges don’t block a view outright, but they clearly define where one zone ends and another begins, creating a subtle boundary rather than a hard wall. Layered behind taller trees and shrubs, they build the sense of enclosure gradually instead of all at once.
💡 Smart tip: Keep hedge height around knee to waist level so it defines the space without cutting off sightlines to the taller planting layered behind it.
⚠️ Mistake to avoid: Choosing a single hedge species for the entire border; mixing textures and heights reads as far more intentional than a uniform green wall.
Effort & Cost Snapshot
| Idea | Effort | Approx. Cost |
|---|---|---|
| 1. Sunken Seating Area | High (excavation required) | $1,500–$6,000 |
| 2. Curved Privacy Wall | High (contractor build) | $2,000–$8,000 |
| 3. Enclosed Foliage Nook | Medium (DIY planting) | $200–$900 |
| 4. Inward-Facing Furniture Layout | Low (rearrangement only) | $0–$400 |
| 5. Sculptural Vine Screen | Medium (DIY or pro) | $400–$1,800 |
| 6. Small Water Feature | Low–Medium (DIY) | $100–$500 |
| 7. Louvered Roof Pergola | High (pro install) | $5,000–$20,000+ |
| 8. Layered Low Hedges | Medium (DIY planting) | $150–$700 |
Real backyard privacy has less to do with height and more to do with how thoughtfully a space is arranged. Save this list to Pinterest so you can revisit it as you plan out your own secluded retreat, one layer at a time.
Continue Your Home Transformation
Explore the full collection of step-by-step eBooks and get the guide that fits the room you're working on.