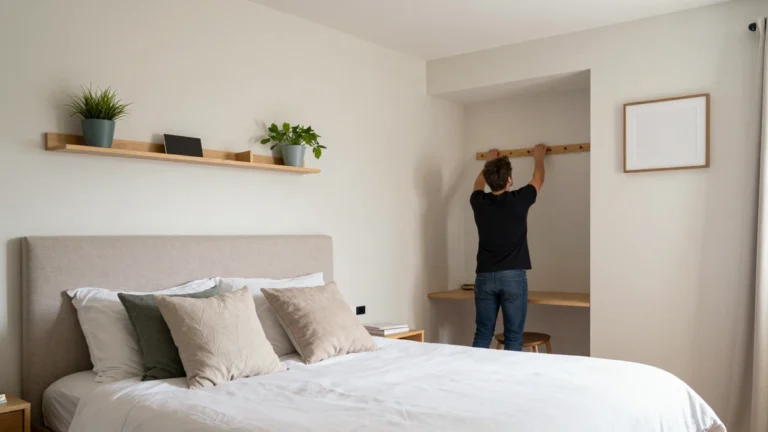
Most closets fail not because they lack space, but because the rods and shelves sit at heights nobody actually planned. A rod installed too high wastes hanging space below it. A shelf spaced too far from the rod above wastes even more.
Professional closet designers work from a fairly consistent set of measurements, refined over years of real installations. None of it is secret, but it rarely gets explained clearly in one place.
This guide walks through those exact numbers: rod heights, shelf spacing, depth requirements, and the small details that separate a closet that works from one that just holds clothes.
1. Choose Between Single-Rod and Double-Rod Systems
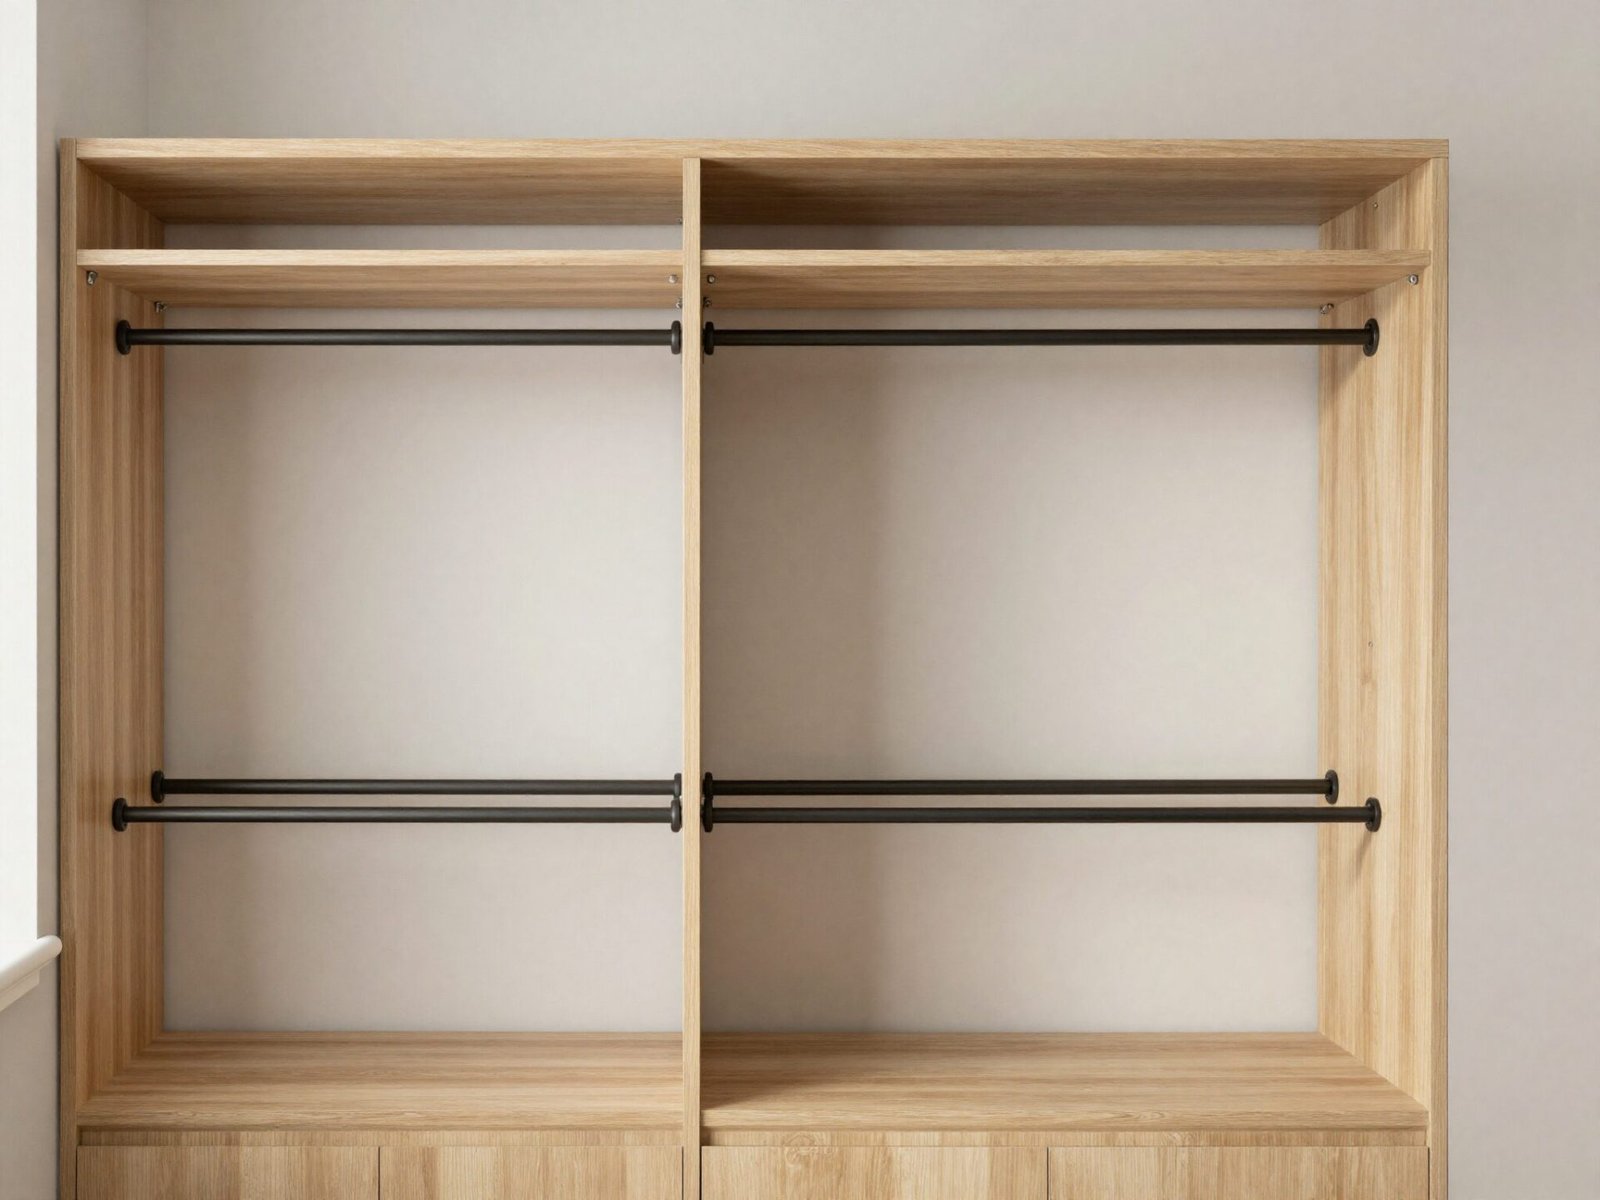
A single rod suits closets storing mostly long items: coats, dresses, and full-length garments that need the whole vertical run to clear the floor.
A double rod system roughly doubles hanging capacity by stacking two rods, one for shorter items like shirts and folded pants, above and below each other.
Most real closets benefit from mixing both approaches across different sections, rather than committing to one system for the entire space.
💡 Smart tip: Count your long garments before deciding. If you own fewer than five dresses or coats, a double-hang system throughout may serve you better than a single long rod.
⚠️ Mistake to avoid: Don’t install double rods throughout a closet without checking your actual wardrobe first. Long items forced onto a short lower rod will drag on the floor.
2. Set a Single Rod at 65-70 Inches
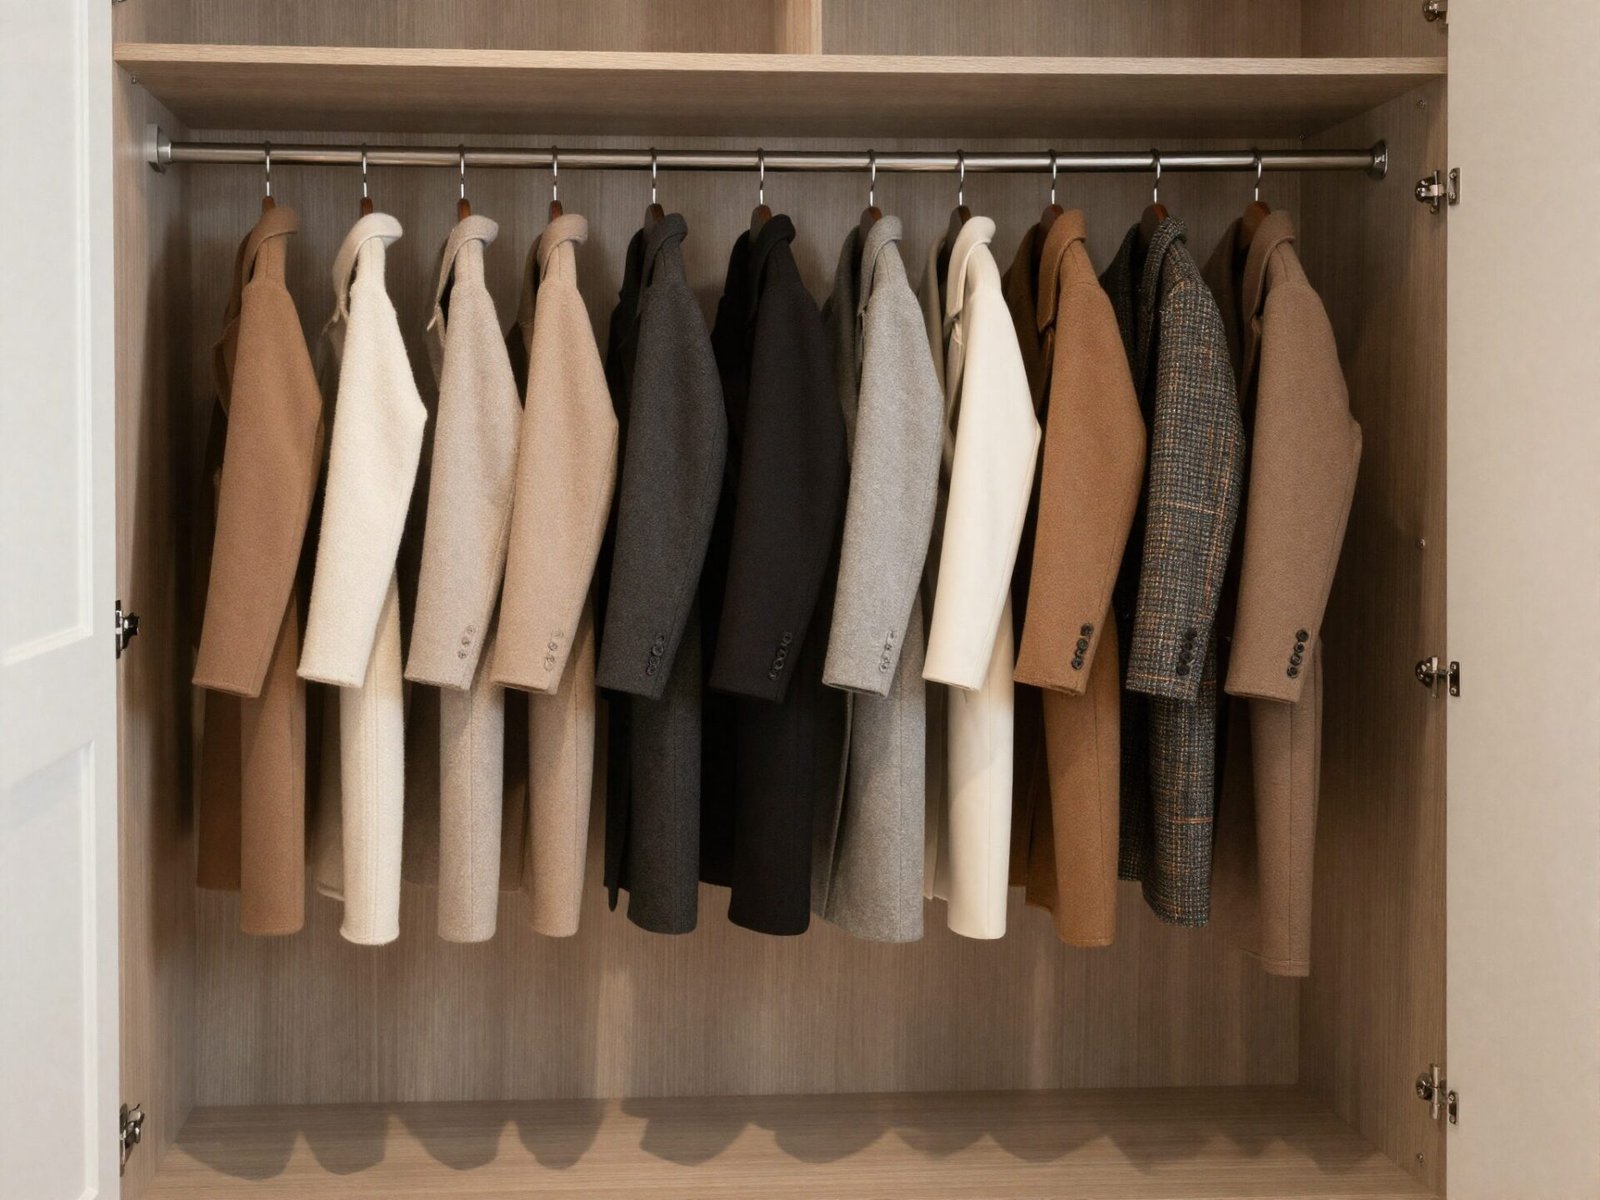
Standard single-rod height runs 65 to 70 inches from the floor, though a bare minimum of 60 inches is still considered functional for shorter garments.
This range gives most long dresses and coats enough clearance to hang freely without brushing the floor or bunching at the bottom.
The exact height within that range should shift based on your own reach and the length of your longest garments.
💡 Smart tip: If you’re tall or store mostly floor-length items, lean toward 70 inches; for a more accessible everyday closet, 65 inches works well for most adults.
⚠️ Mistake to avoid: Don’t default to 60 inches just because it’s the minimum. It works, but it leaves several unused inches of hanging space that a taller setting would capture.
3. Set Double Rods at 40 and 80 Inches
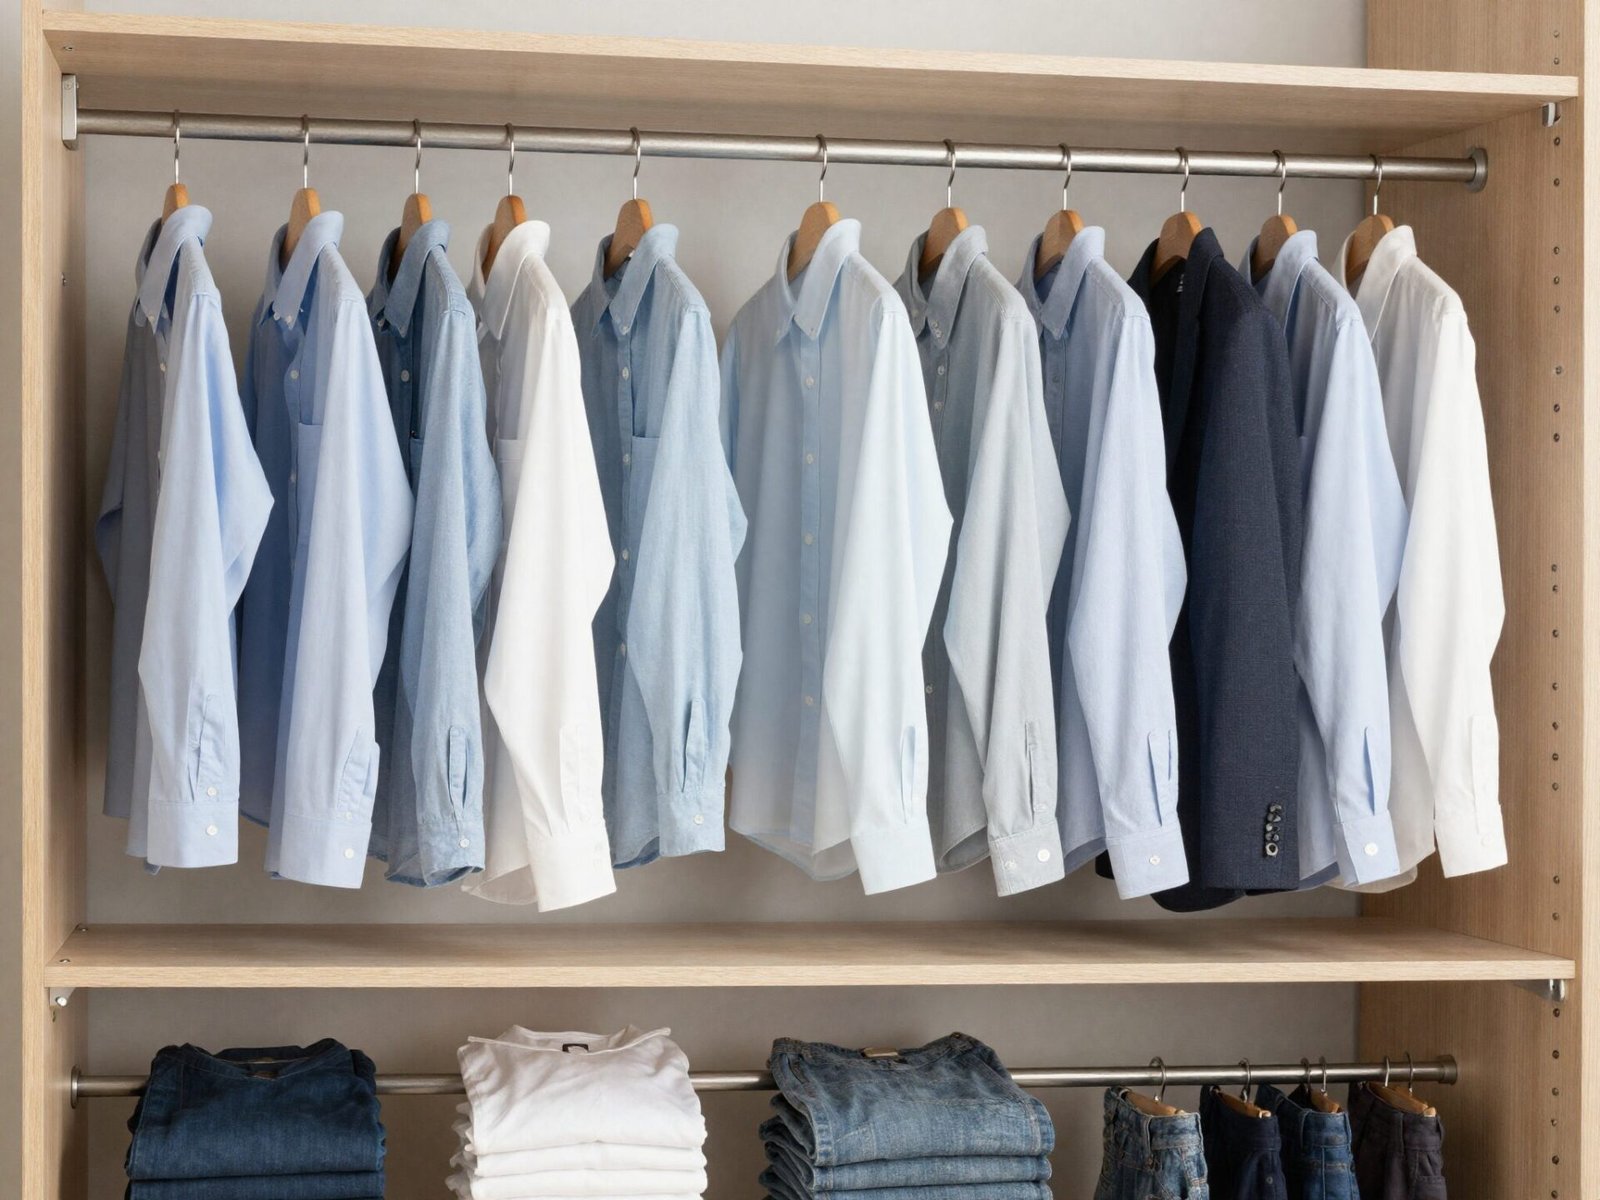
The standard double-rod configuration places the upper rod at 80 inches and the lower rod at 40 inches from the floor.
This spacing gives roughly 36-40 inches of hanging clearance on top for shirts and blouses, and a similar range below for folded pants or skirts.
A shelf typically sits above the top rod in this configuration, adding a third tier of storage to the same vertical run.
💡 Smart tip: Reserve the upper rod for items you reach for daily, since it sits at a more convenient height than either the very top shelf or the lower rod.
⚠️ Mistake to avoid: Don’t install both rods at equal spacing without checking your actual garment lengths. Standard 40/80 spacing doesn’t always suit every wardrobe.
Loving These Ideas? Get the Step-by-Step Guide
Grab the full 5-day eBook and turn these ideas into a finished room.



4. Leave 2 Inches Between Rod and Shelf Above
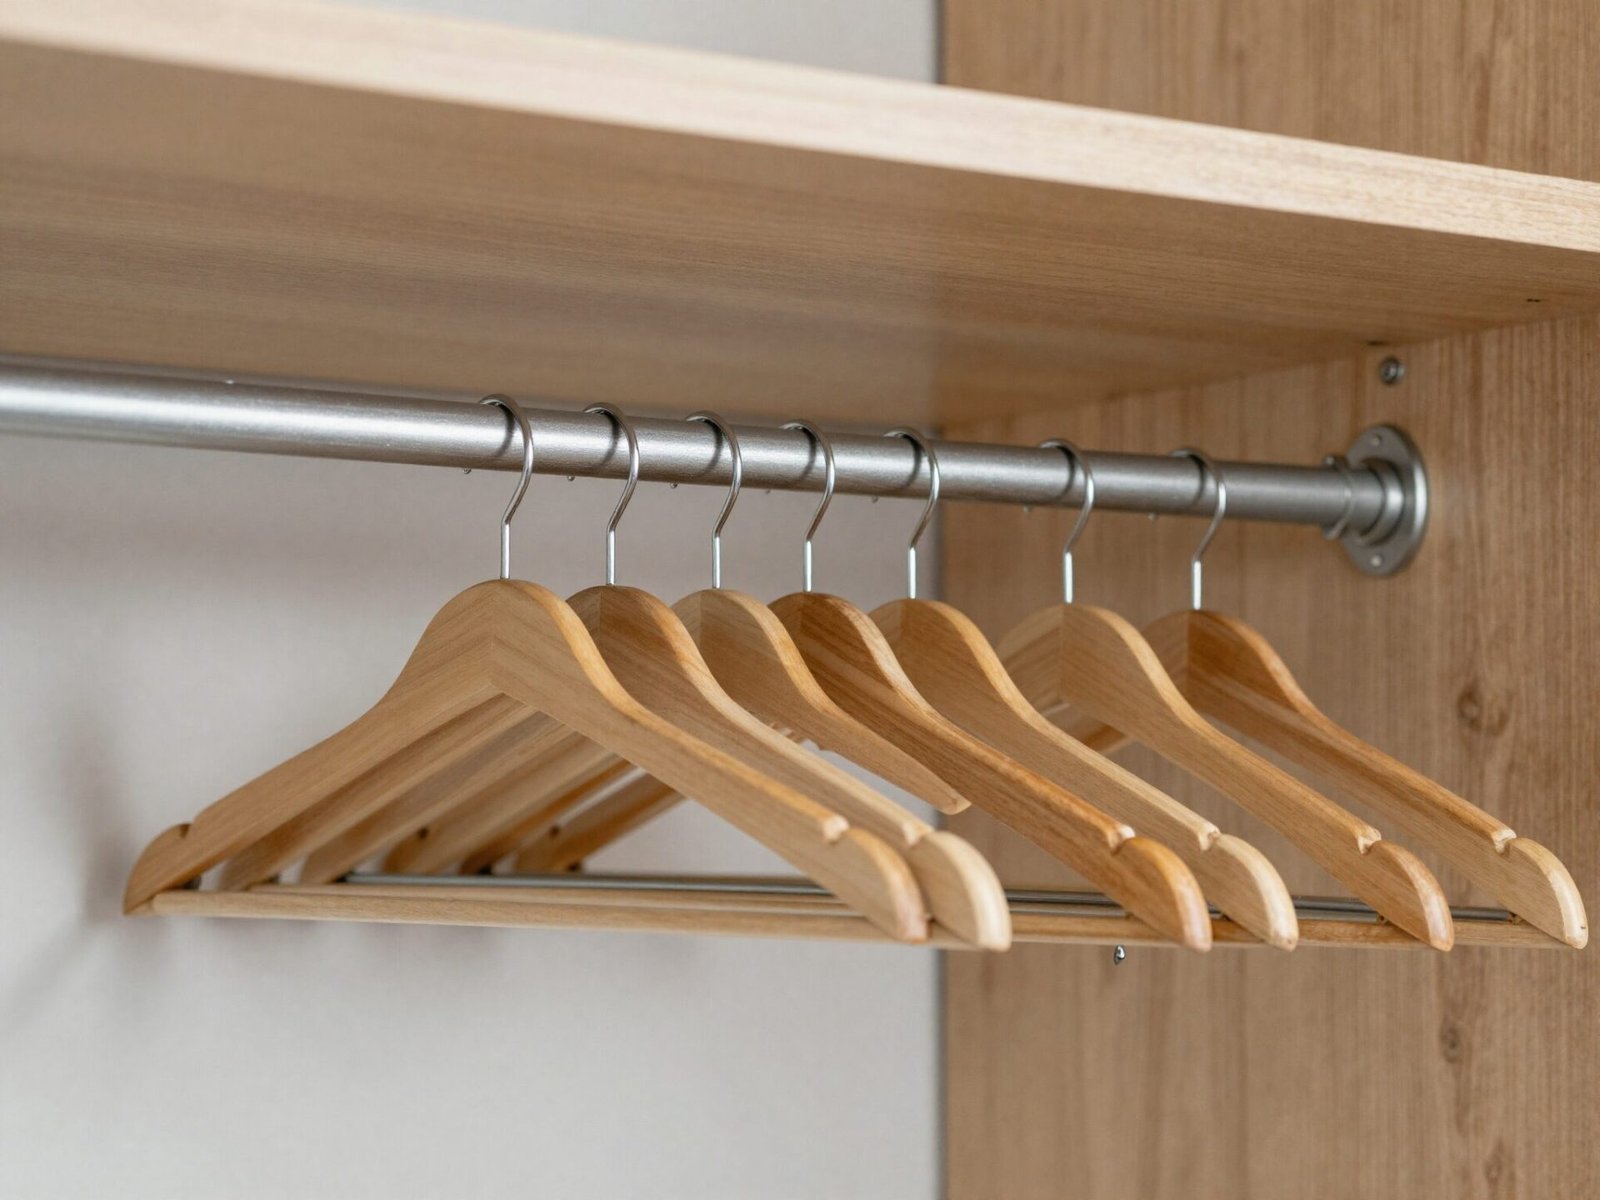
Whenever a shelf sits above a hanging rod, leave at least 2 inches of clearance between the top of the rod and the bottom of the shelf.
This gap lets hangers slide freely across the full rod without catching on the shelf edge every time you reach for something.
Skipping this clearance is a small detail, but it’s one of the most common reasons a otherwise well-planned closet feels frustrating to use daily.
💡 Smart tip: If you use thicker wooden or padded hangers, add an extra half inch beyond the standard 2-inch minimum to avoid any catching.
⚠️ Mistake to avoid: Don’t mount the shelf flush against the rod’s top clearance line. Hangers need real room to travel, not just squeeze past.
5. Space Shelves 12-15 Inches Apart for Folded Items
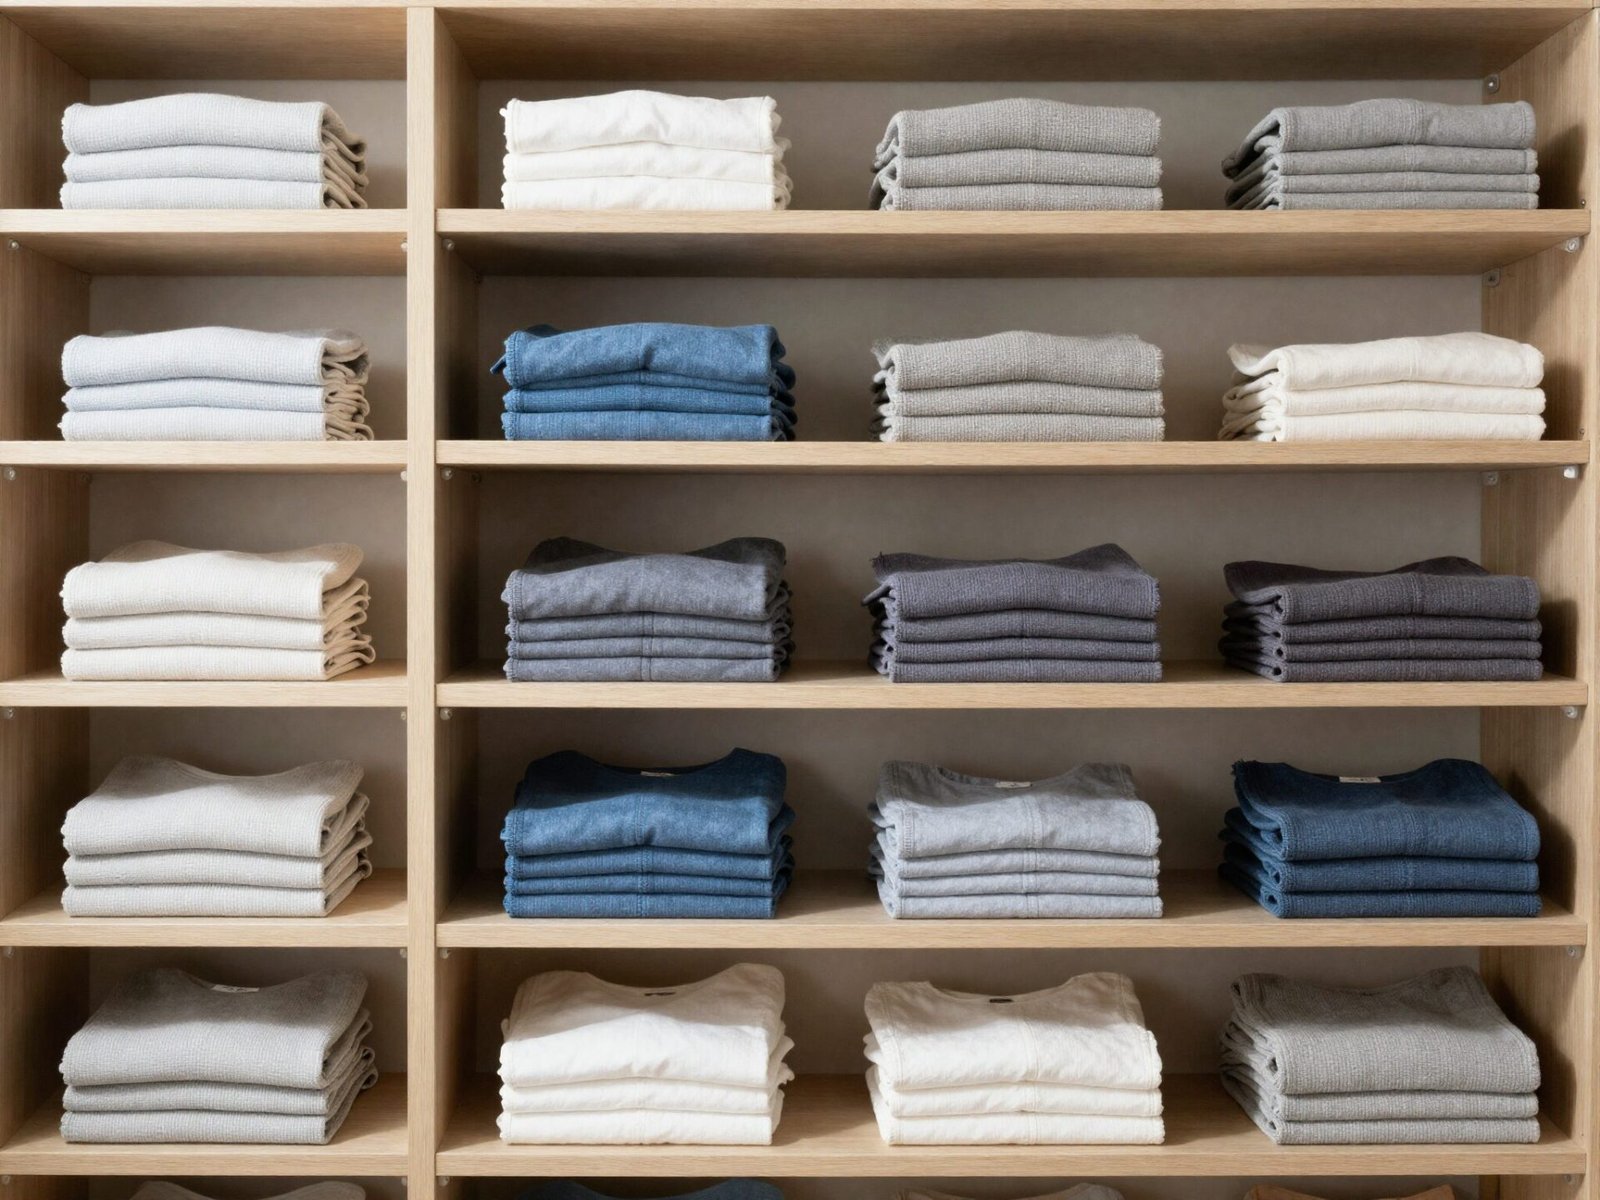
For shelves dedicated to folded clothing, space each one 12-15 inches apart to leave enough room for a reasonable stack without wasted air above it.
Linens and towels, being thicker than most folded clothing, benefit from the wider end of that range, closer to 15 inches.
Standard column shelving in a closet typically starts around 42 inches from the floor and works upward from there.
💡 Smart tip: Group similar item types on the same shelf tier so you can standardize spacing across that whole section rather than guessing shelf by shelf.
⚠️ Mistake to avoid: Don’t space every shelf identically regardless of contents. A shelf for folded towels needs more vertical room than one for thin t-shirts.
6. Start Shoe Shelves 6-7 Inches Off the Floor
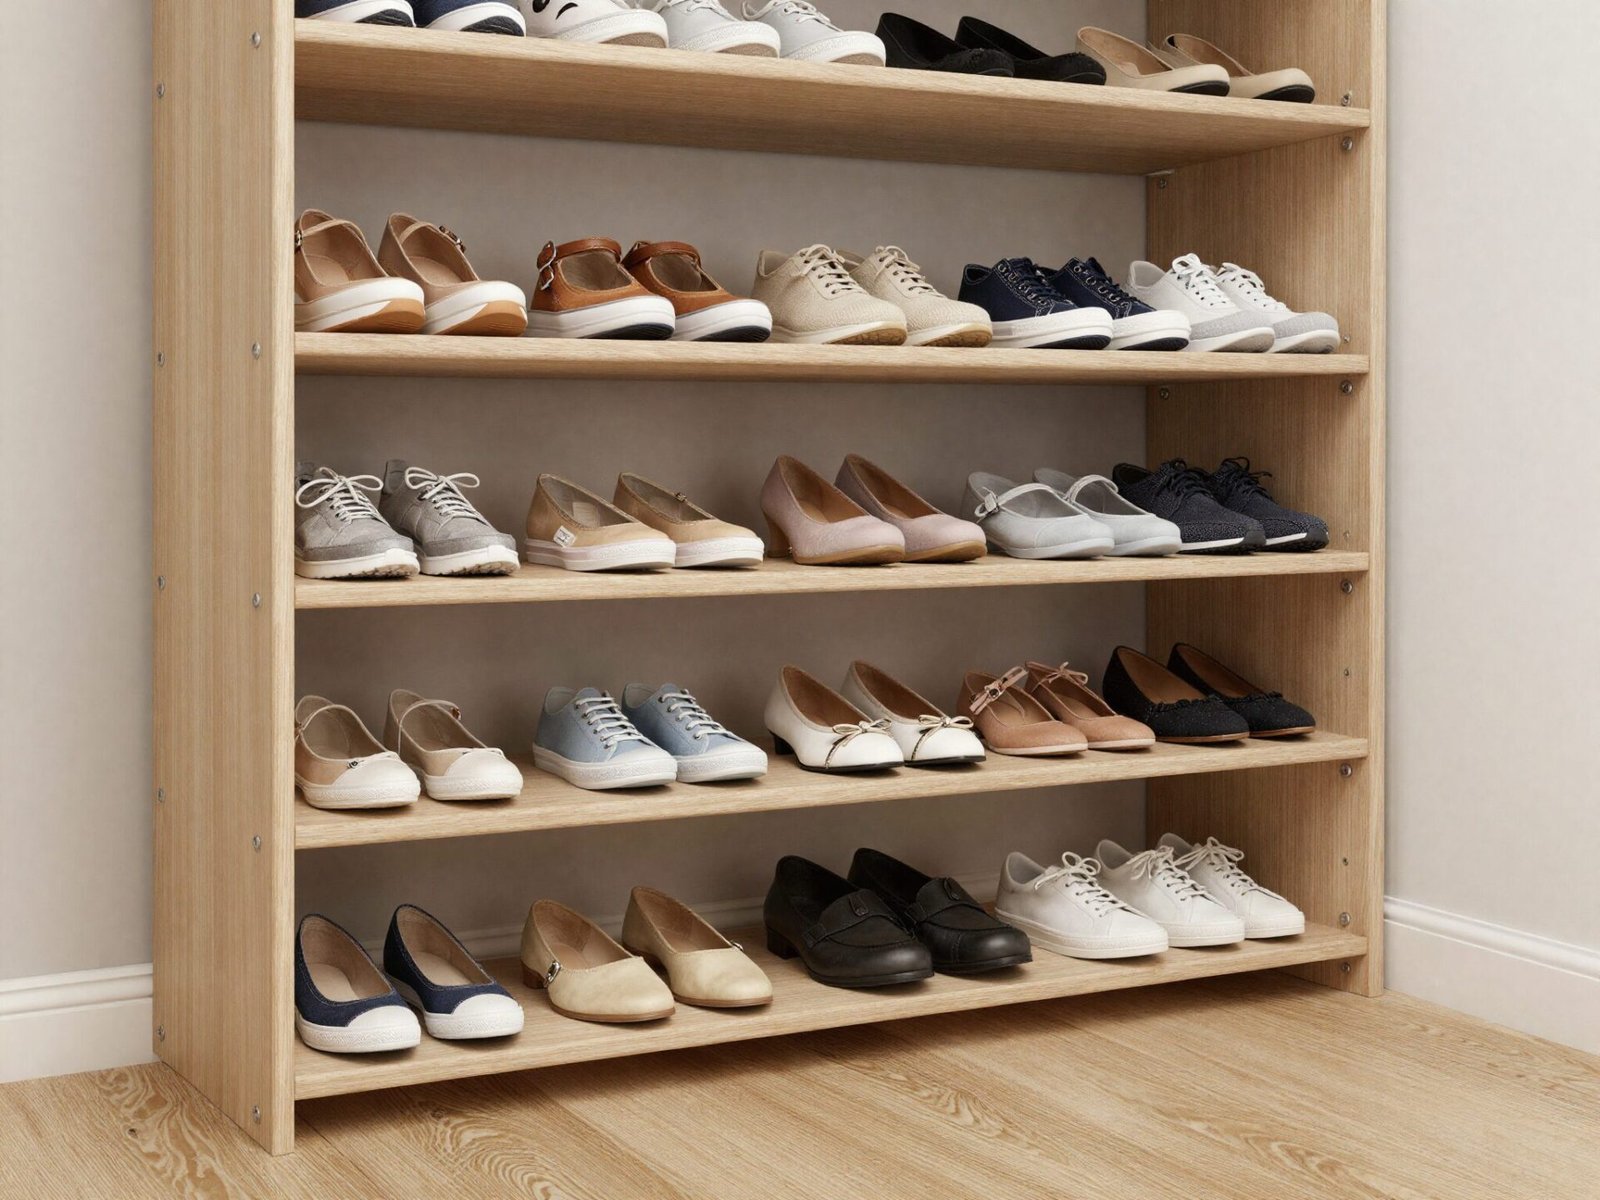
Dedicated shoe shelves typically start 6-7 inches off the floor, with each subsequent tier spaced similarly for standard shoes.
Boots and taller footwear need noticeably more clearance, so plan a separate, taller section if your wardrobe includes them regularly.
Placing shoe storage at the very bottom of the closet also keeps heavier items low, which is generally the more stable, practical arrangement.
💡 Smart tip: Reserve one section with taller, adjustable shelving specifically for boots, rather than forcing them into standard shoe-height shelving.
⚠️ Mistake to avoid: Don’t use uniform 6-7 inch spacing throughout if your shoe collection includes boots or platform styles. They simply won’t fit.
7. Keep Rod Depth 12 Inches from the Back Wall
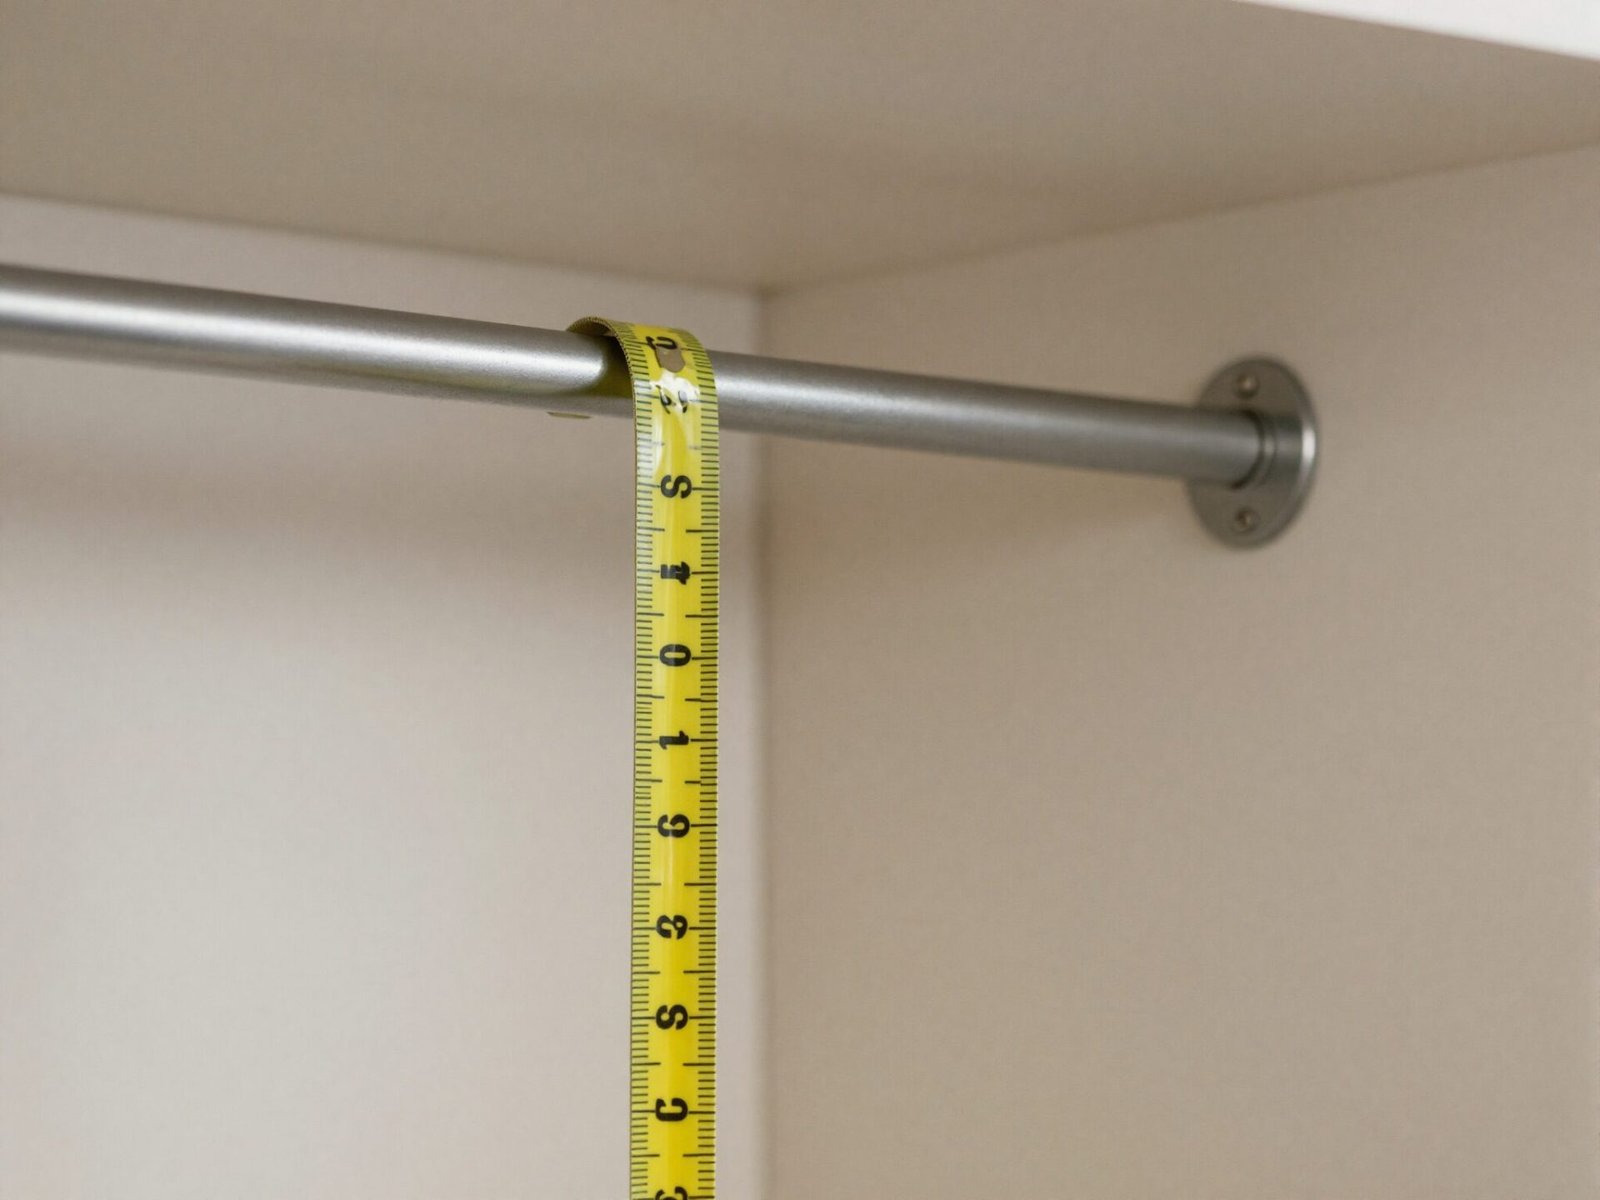
A closet rod should sit roughly 12 inches from the back wall, which gives hangers enough room to move without garments pressing flat against the surface behind them.
This depth also determines the closet’s minimum usable depth overall — most reach-in closets run 24 to 30 inches deep specifically to accommodate this rod placement.
Too shallow, and clothes get crushed against the wall; too deep, and you waste closet floor space that could serve another purpose.
💡 Smart tip: If your closet is on the shallow side, prioritize rod depth over shelf depth — hanging clothes need that clearance more than folded items do.
⚠️ Mistake to avoid: Don’t mount a rod flush against the back wall to save space. Garments will wrinkle and the closet will feel cramped even with adequate width.
8. Measure Your Longest Garment Before Setting Rod Height
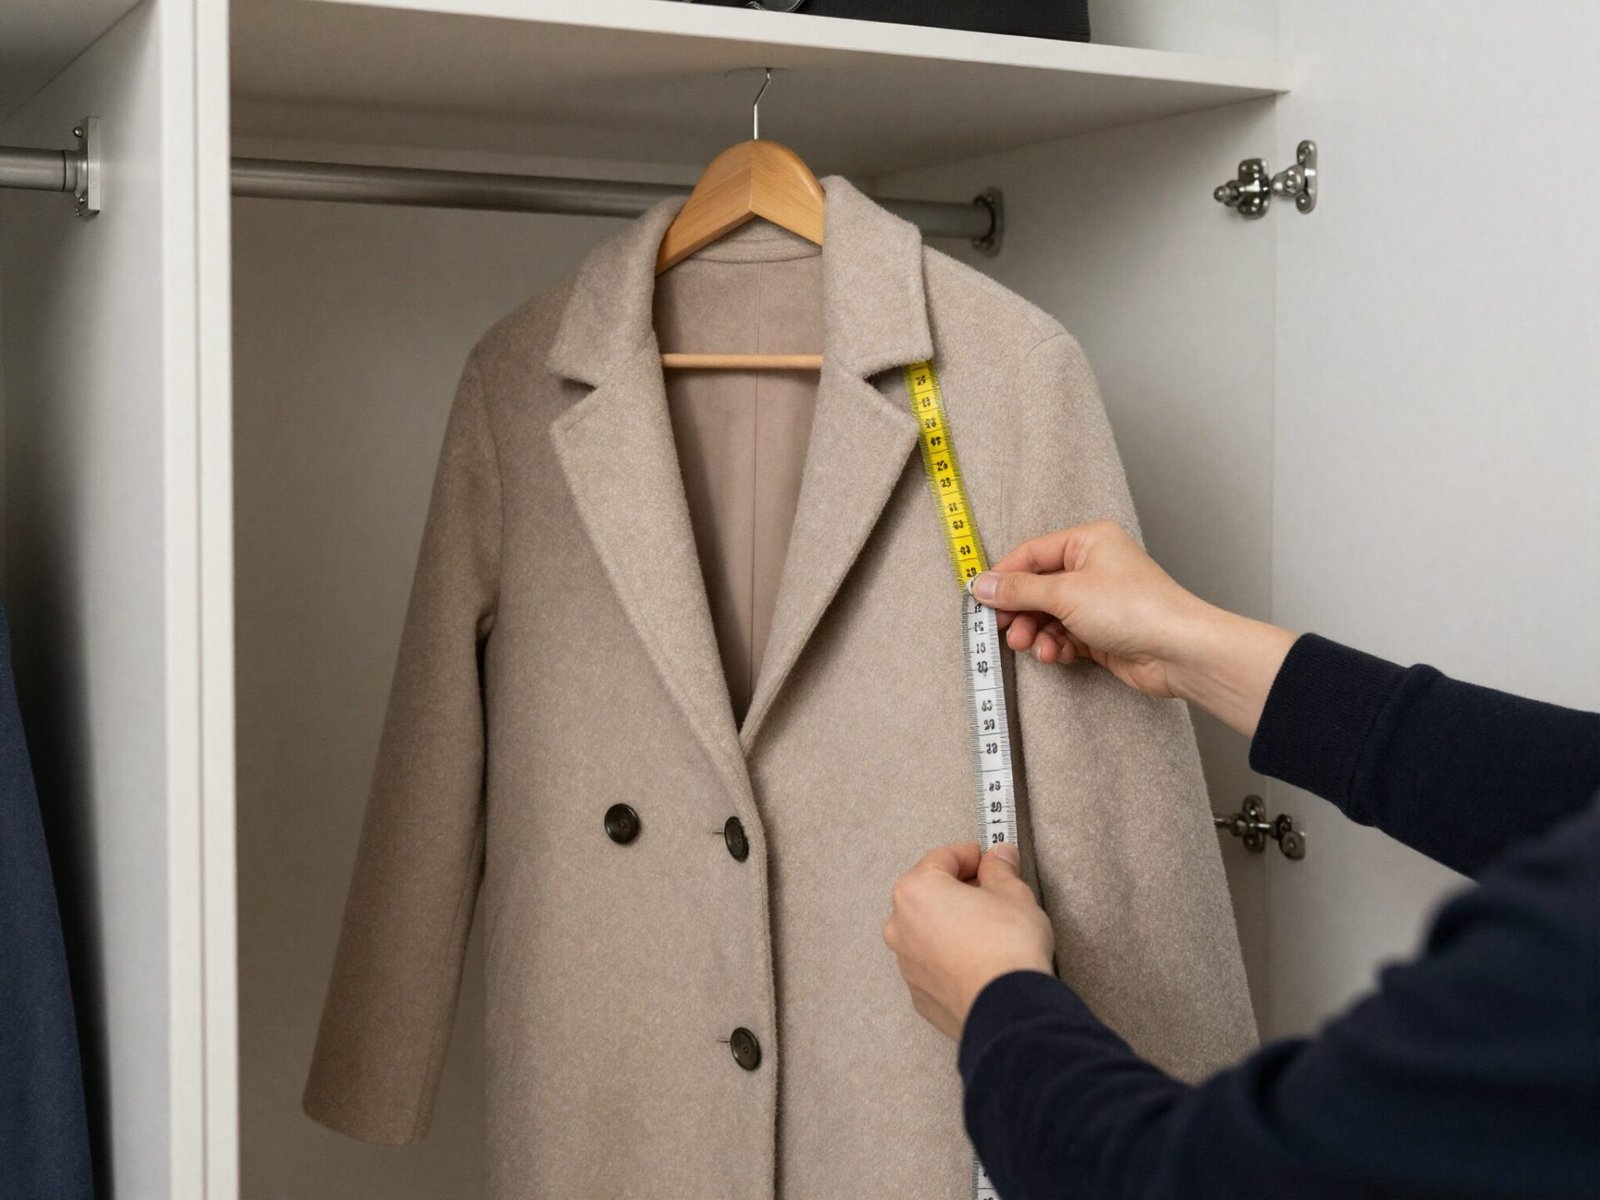
Before finalizing any rod height, measure your longest garment from the top of the hanger hook down to the hem while it hangs naturally.
Add 2-3 inches of clearance beyond that measurement to keep the item from brushing the floor, which is how you arrive at your true minimum rod height.
For full-length gowns measuring 60-64 inches, this typically lands the rod somewhere between 66 and 72 inches.
💡 Smart tip: Measure a handful of your longest pieces, not just one, since hanger style and fabric weight can shift the true hanging length slightly.
⚠️ Mistake to avoid: Don’t rely on a generic “standard height” without checking it against your own wardrobe. Standard measurements are a starting point, not a guarantee.
9. Set the Top Shelf at 80-84 Inches for Seasonal Storage
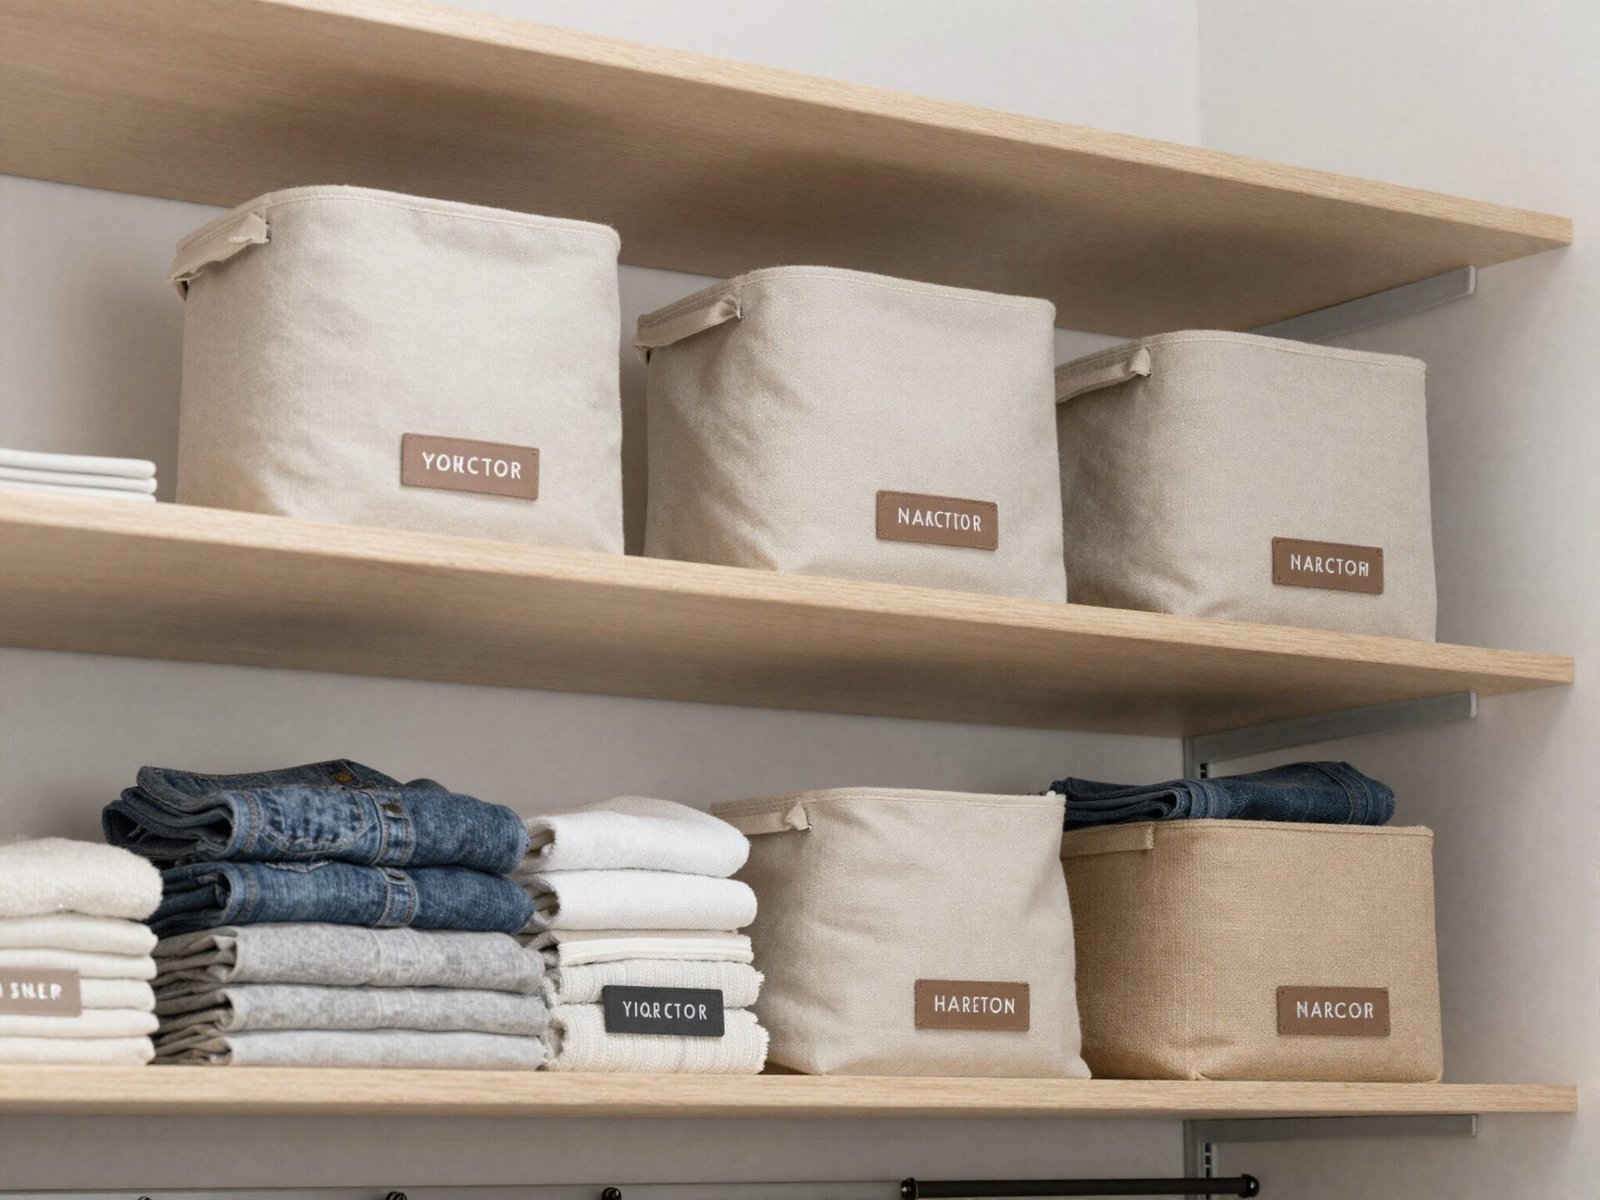
A top shelf set at 80-84 inches captures otherwise unused vertical space near the ceiling, ideal for seasonal items you access only a few times a year.
If the closet includes recessed ceiling lighting, keep the shelf at least 6 inches below the fixture to maintain proper fire safety clearance.
This top tier works best paired with labeled bins, since items placed there are, by design, harder to see and reach than anything below.
💡 Smart tip: Use clear or clearly labeled bins on the top shelf specifically, since you won’t be looking directly at the contents the way you would at eye level.
⚠️ Mistake to avoid: Don’t store frequently used items on the top shelf just because there’s room. Reserve that height strictly for genuinely occasional-use items.
10. Zone the Closet by Garment Type
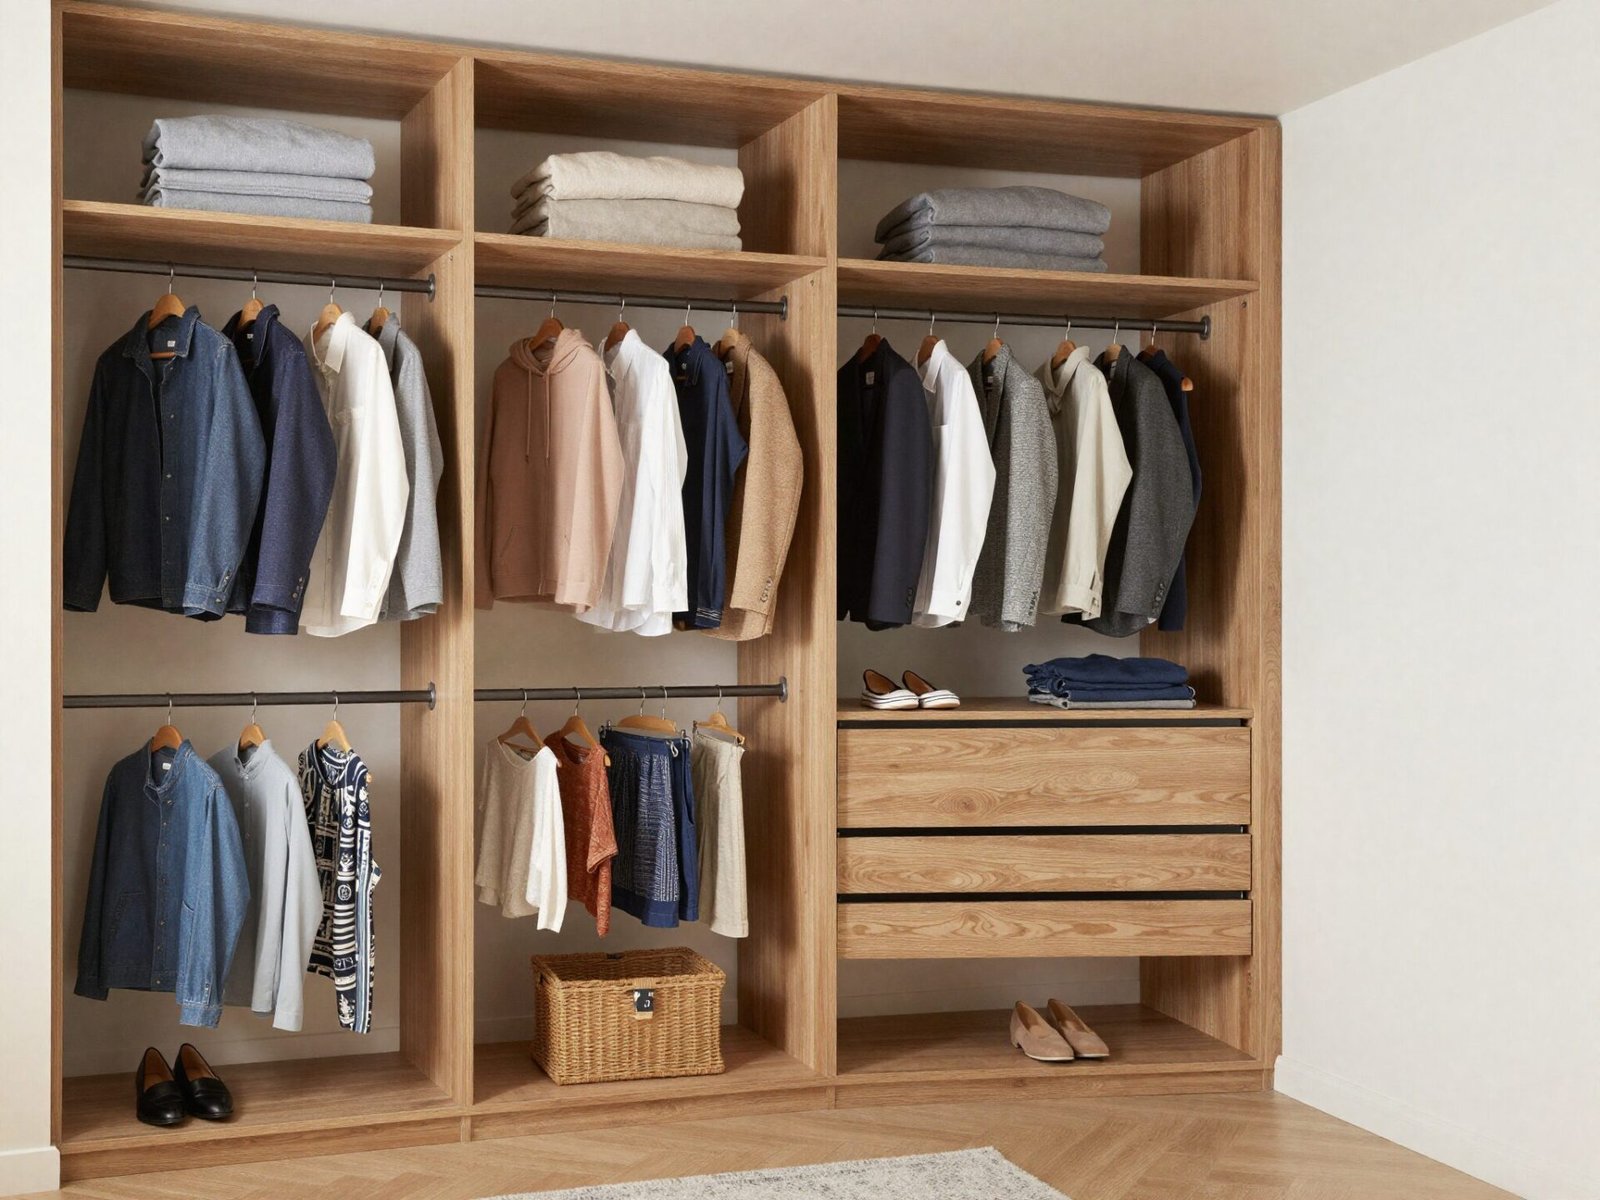
Beyond individual measurements, dividing a closet into clear zones, one wall for hanging clothes, another for shelving, a third for shoes, makes the whole system easier to maintain.
Walk-in closets offer the most flexibility for this kind of zoning, since there’s enough wall space to dedicate specific areas to specific functions.
Even a smaller reach-in closet benefits from a simplified version of this idea, separating hanging space from folded storage as clearly as the footprint allows.
💡 Smart tip: Plan your zones around how you actually get dressed, placing your most-used category, often work or daily-wear items, in the most accessible position.
⚠️ Mistake to avoid: Don’t zone a closet purely by aesthetics. A beautifully organized system that doesn’t match your actual daily routine falls apart within weeks.
11. Choose the Right Shelf Material for the Load
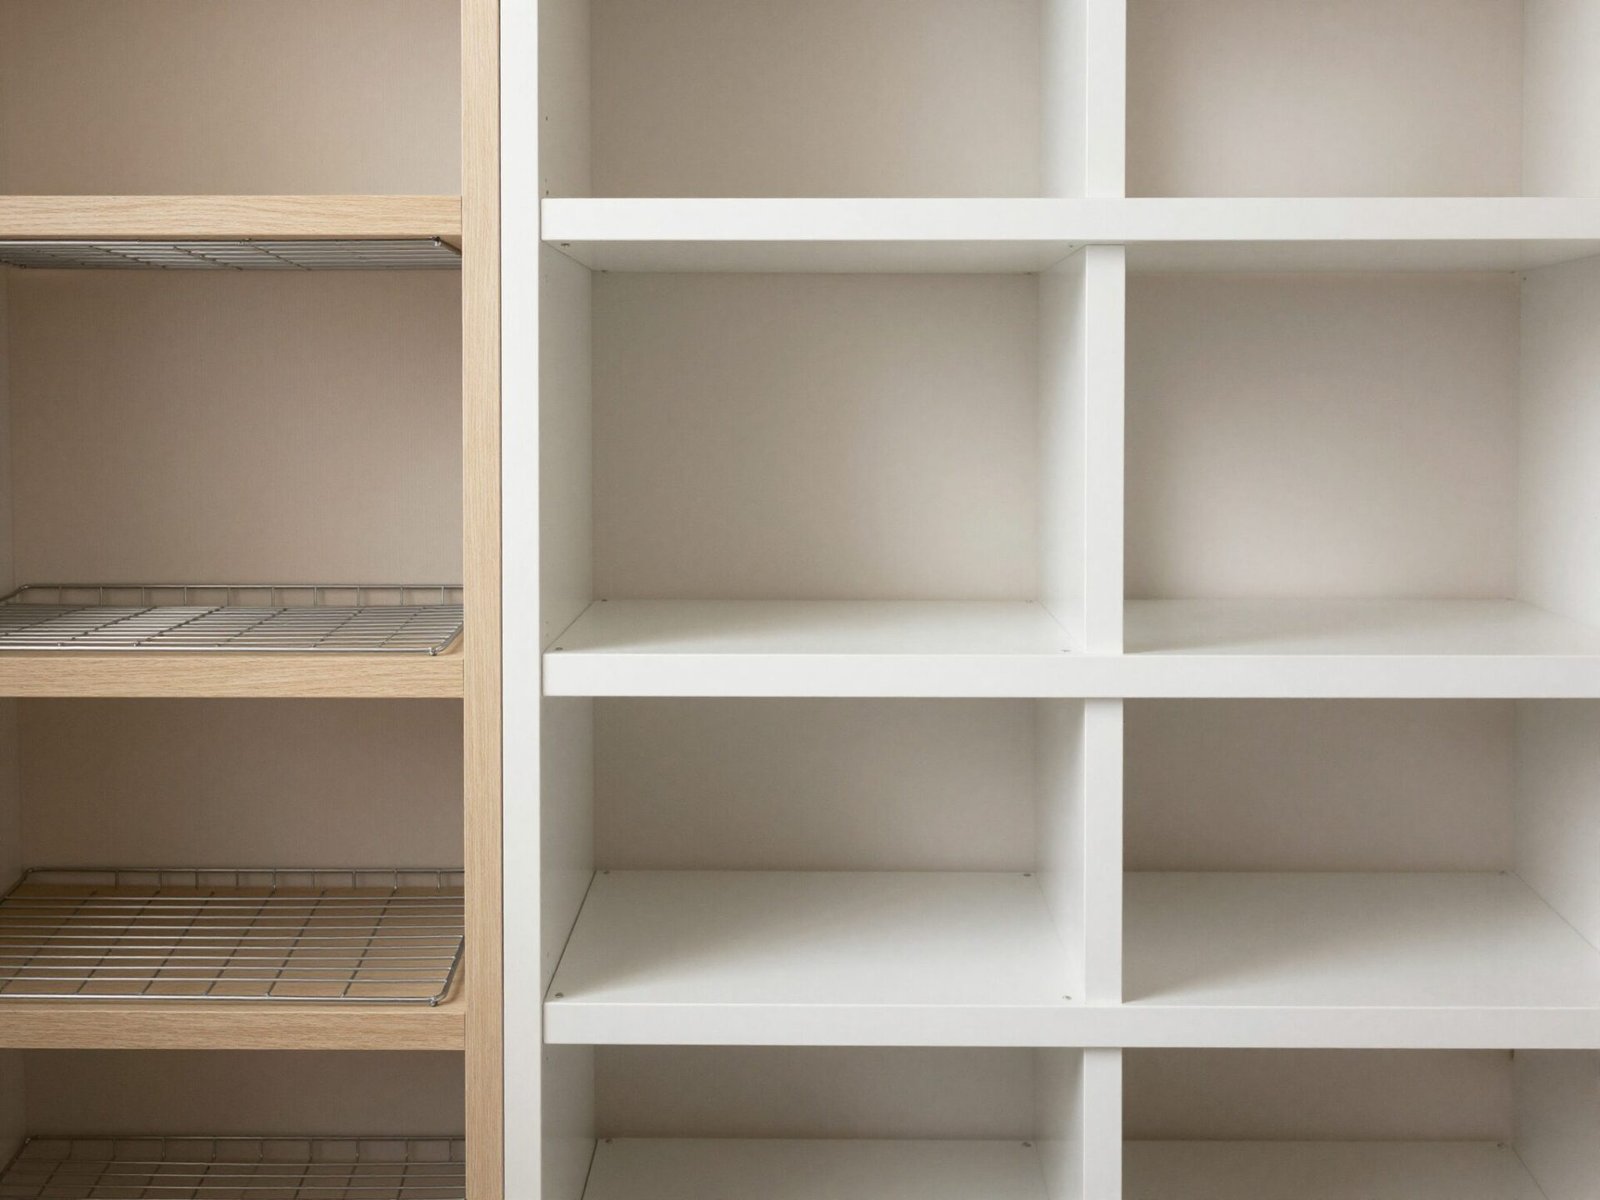
Wire shelving is affordable and allows airflow, which helps prevent moisture buildup, but it can leave marks on delicate fabrics over time.
Wood and melamine shelves offer a smoother, more finished surface and generally support heavier loads across a given span without sagging.
The right choice depends on both your budget and what you’re storing — heavier folded items benefit from the added rigidity of wood or melamine.
💡 Smart tip: Shorter spans between brackets support heavier loads regardless of material, so if you’re storing something heavy, add support rather than upgrading material alone.
⚠️ Mistake to avoid: Don’t choose shelf material by appearance alone. A beautiful wood shelf spanning too wide a gap without enough bracket support will sag under real-world weight.
12. Find Studs Before Mounting Anything
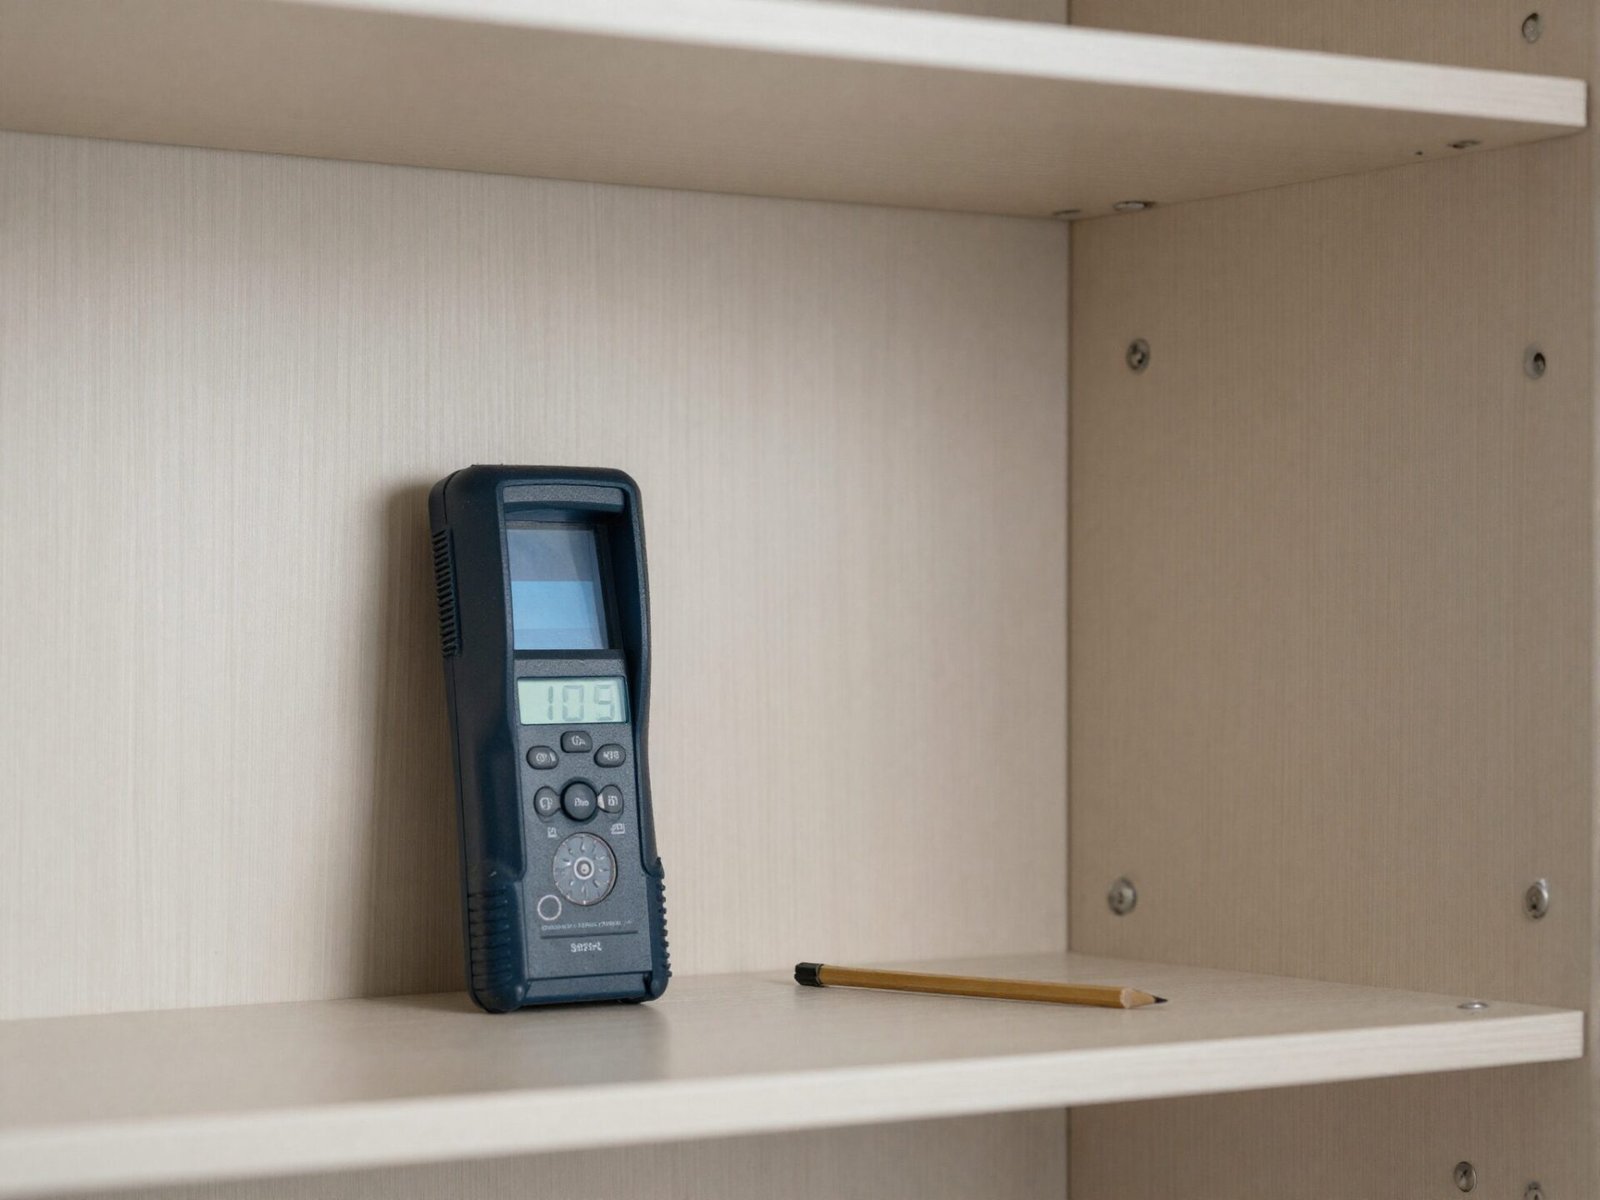
Before installing any shelving or rod hardware, use a stud finder to locate and mark the studs behind your closet walls.
Mounting directly into studs, rather than relying solely on drywall anchors, is what actually supports the real weight of a fully loaded closet system over time.
This step takes only a few minutes but prevents the far more frustrating scenario of a shelf pulling loose months after installation.
💡 Smart tip: Mark stud centers with painter’s tape rather than pencil directly on a finished wall, so you can adjust your layout without leaving visible marks.
⚠️ Mistake to avoid: Don’t rely on drywall anchors alone for a fully loaded shelf or rod system. They can hold light loads, but a closet full of clothes and shoes needs real stud support.
13. Adjust Rod Height for Kids’ Closets
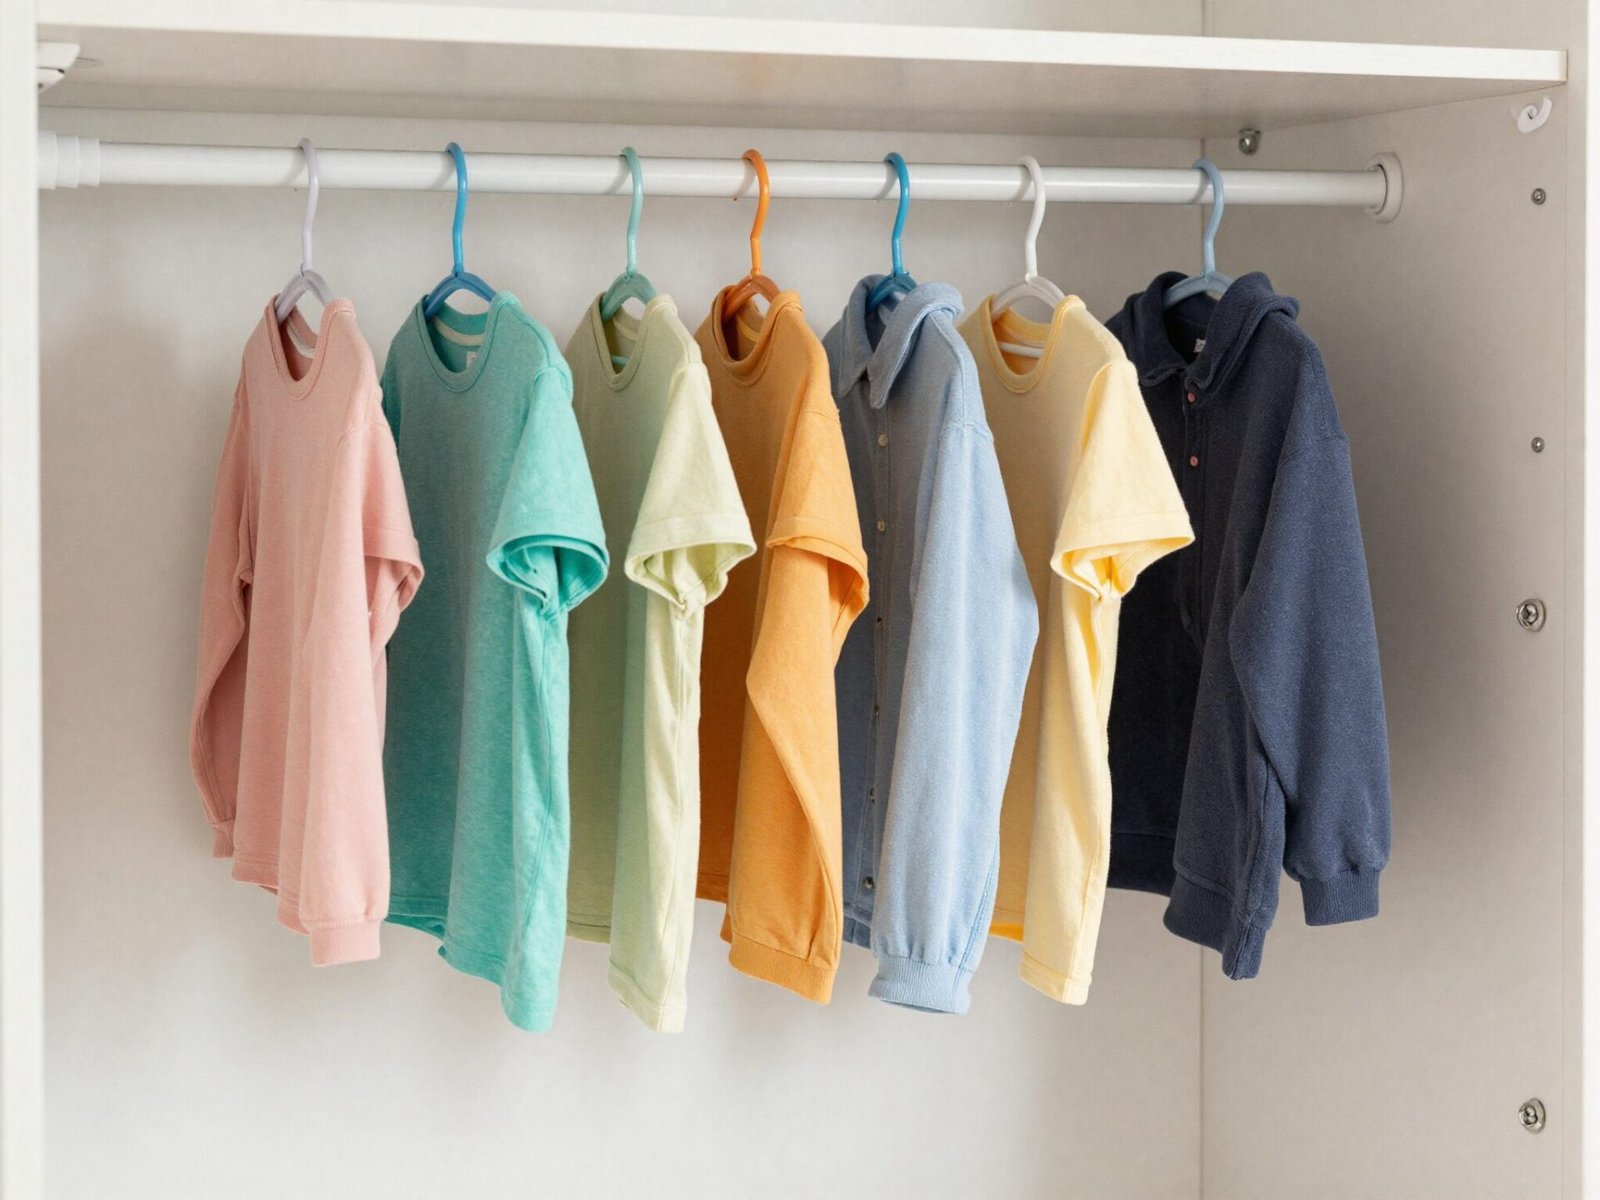
A kids’ closet needs a completely different height range than an adult closet, since the whole point is letting a child dress themselves independently.
For younger children, set the rod around 30 inches from the floor; as they grow into preteen years, 48 inches accommodates longer clothing while staying reachable.
An adjustable rod system that grows with the child avoids the need to reinstall hardware every couple of years.
💡 Smart tip: Choose an adjustable-height rod system for a kids’ room specifically, so the closet can grow with the child instead of needing full reinstallation later.
⚠️ Mistake to avoid: Don’t install a standard adult-height rod in a young child’s closet “for the future.” It defeats the purpose of a closet a child can actually use independently now.
14. Common Closet Organization Mistakes
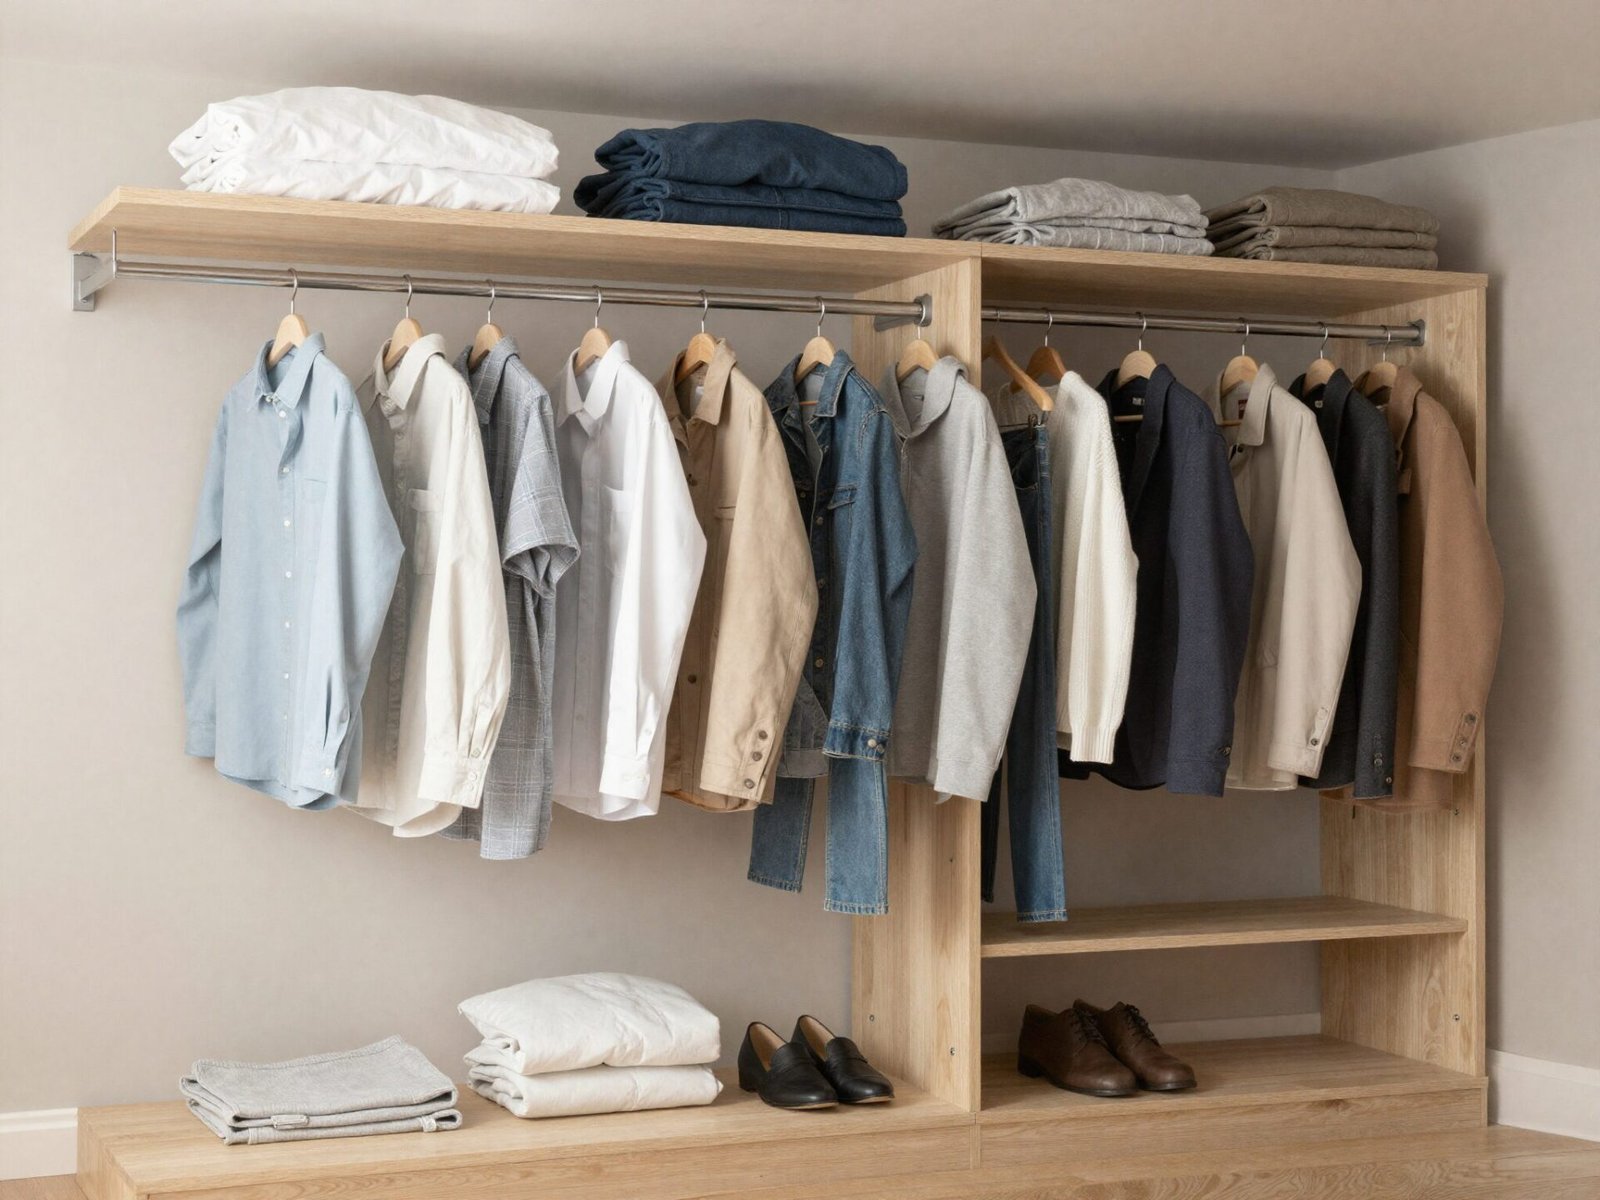
A handful of mistakes show up repeatedly, even in closets that started with a thoughtful plan.
Overloading a single rod with heavy coats or jackets, rather than distributing weight across a wider system, is one of the most common and most damaging.
Copying a generic “standard height” chart without ever measuring actual garments, and skipping stud support during installation, round out the usual list.
💡 Smart tip: Revisit your closet’s layout any time your wardrobe changes significantly, like a seasonal shift or a major shopping trip, rather than assuming the original plan still fits.
⚠️ Mistake to avoid: Don’t treat any single measurement in this guide as fixed. Every number here is a strong starting point that should be adjusted to your actual clothes and habits.
Effort & Cost Snapshot
| Idea | Effort | Approx. Cost |
|---|---|---|
| 1. Single vs Double Rod Choice | Low | $0 (planning) |
| 2. Single Rod Height | Medium | $30–$100 |
| 3. Double Rod Height | Medium | $60–$200 |
| 4. Rod-to-Shelf Clearance | Low | $0 |
| 5. Folded-Item Shelf Spacing | Medium | $80–$300 |
| 6. Shoe Shelf Height | Low | $40–$150 |
| 7. Rod Depth from Wall | Low | $0 |
| 8. Measuring Longest Garment | Low | $0 |
| 9. Top Shelf for Seasonal Items | Low | $30–$100 |
| 10. Zoning by Garment Type | Medium | $0 |
| 11. Shelf Material Choice | Medium | $100–$500 |
| 12. Finding Studs Before Mounting | Low | $15–$30 (stud finder) |
| 13. Kids’ Closet Rod Height | Low | $40–$150 |
| 14. Avoiding Common Mistakes | Low | $0 |
None of these measurements require professional installation to apply, though a stud finder and a level make the process far more reliable.
Start with rod height and the 2-inch shelf clearance rule — those two adjustments alone fix most of what makes a closet feel frustrating to use.
Continue Your Home Transformation
Explore the full collection of step-by-step eBooks and get the guide that fits the room you're working on.